

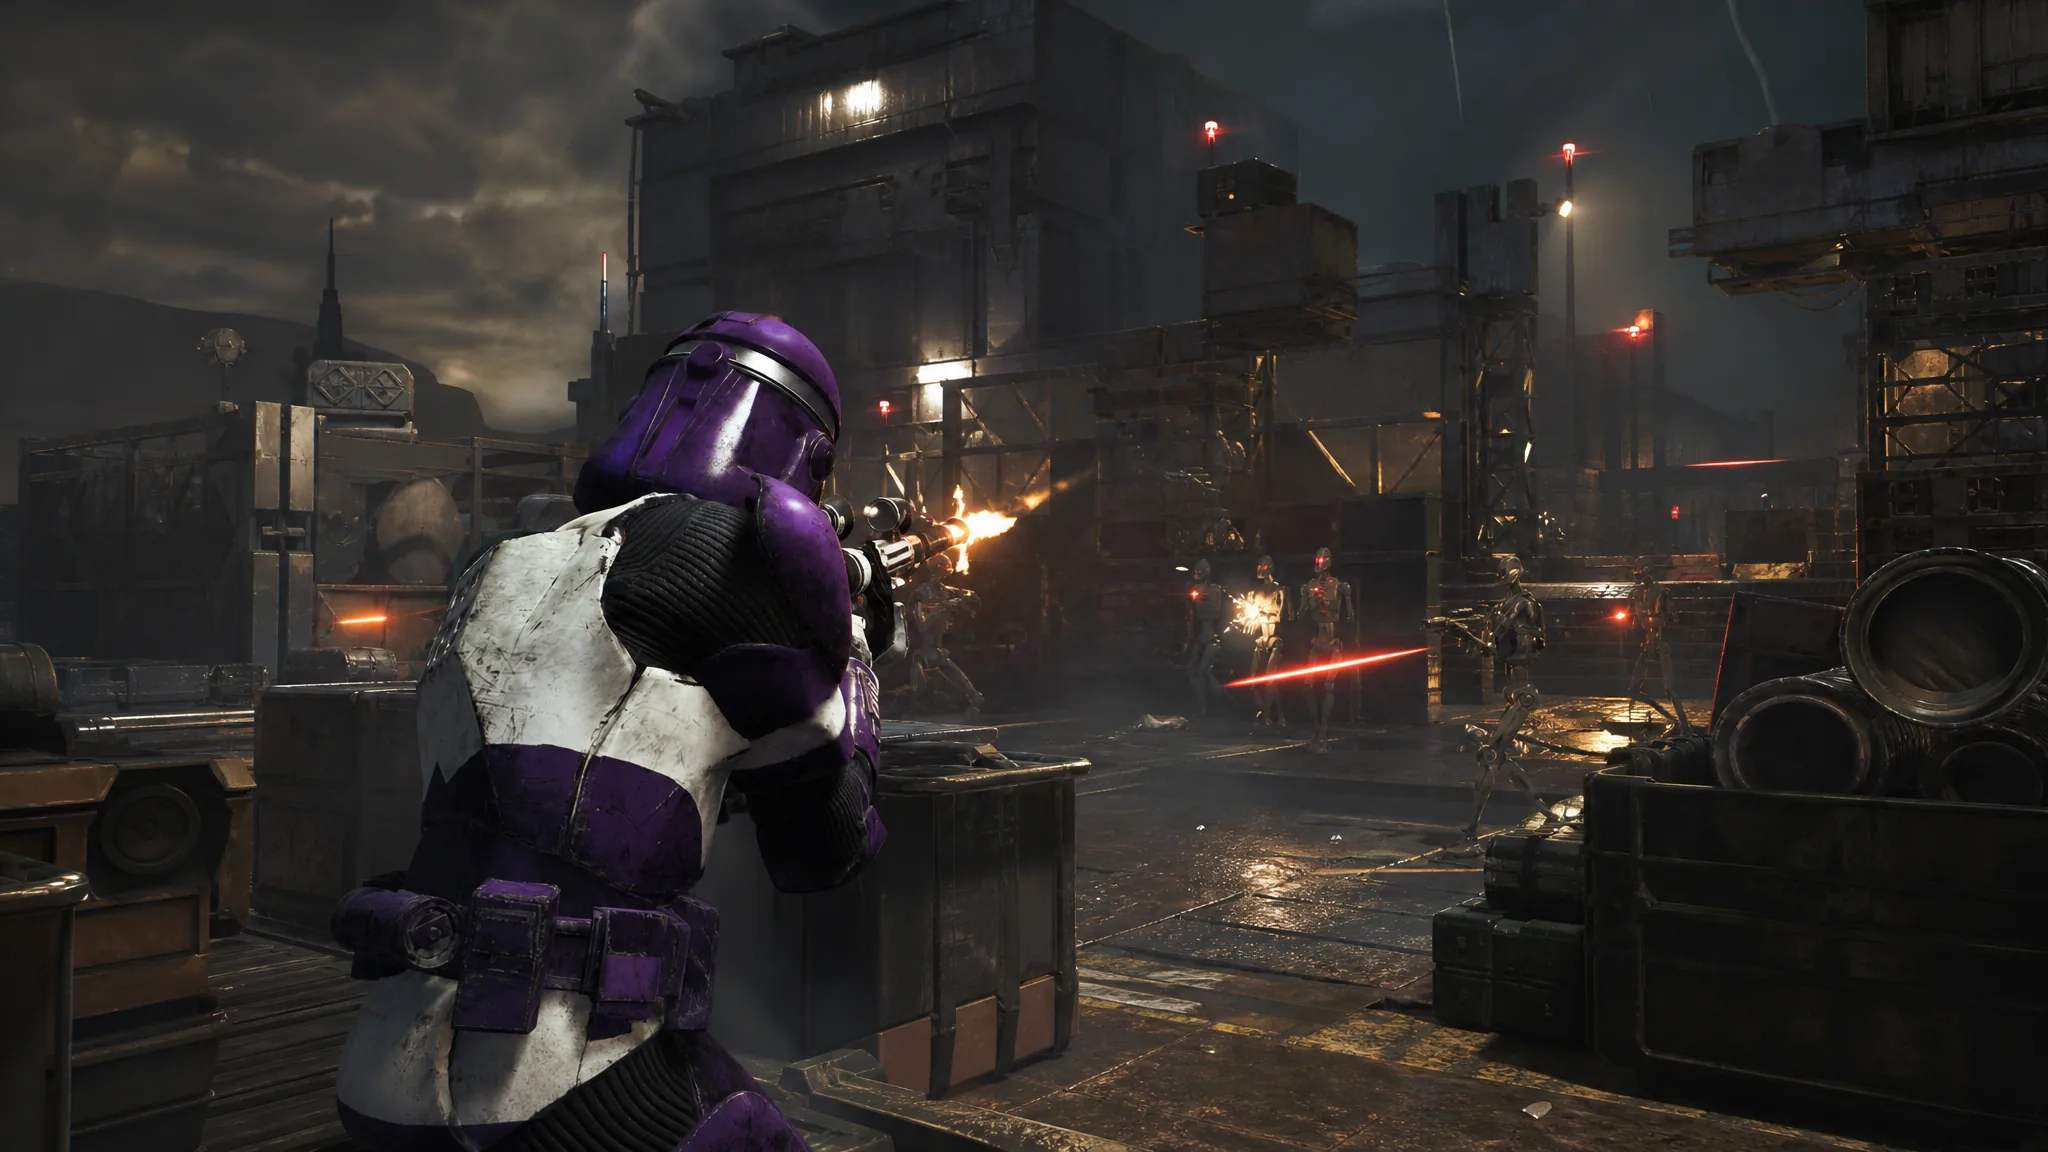
Distress Call is one of the critical missions in Star Wars Zero Company, and it drops your squad into a cramped industrial map on Florrum with a single named target at the center of it. The fight rewards patience over aggression: cover, backup attacks, and one operator holding the enemy’s attention will get you through it faster than trading blaster fire in the open.
Quick answer: Defeat Kinro Billix. Push Trick forward as the front-line body, keep Hawks and Jae Mordant behind crates for ranged fire, use Tel-Rea to flank around cover, and hold enough AP for Call for Backup and Overwatch as the Coil reinforcements arrive.
When Distress Call unlocks and where it takes place
Distress Call sits in Chapter 8, The Umbaran Connection, and deploys to Florrum. It is tied to Jae, and it is flagged as a critical mission, so the campaign will not move forward without it. Like every mission, running it advances the cycle counter, so finish anything outstanding at the Den before you launch.
Critical missions usually give you a few cycles of breathing room on the Holotable. Use that window to clear injuries in the MedBay first, because this map does not give you a quiet corner to recover in once the shooting starts.
Squad setup for the Florrum fight
A four-operator lineup of Jae Mordant, Trick, Hawks, and Tel-Rea Vokoss covers everything this map asks for: one durable body up front, two ranged attackers working from cover, and a Jedi who can close distance and hit enemies from angles their cover does not protect. Keep a healing specialization somewhere in the group, since Kinro’s supporting Coil troops chip away at whoever steps out of cover first.
| Operator | Job in this fight |
|---|---|
| Trick | Moves up close and absorbs enemy attention as the squad’s tank. |
| Hawks | Long-range damage with the Longarm Blaster from behind crates. |
| Jae Mordant | Advances alongside Hawks, holding cover and feeding backup attacks. |
| Tel-Rea Vokoss | Flanks around the crates to reach enemies that cover would otherwise protect. |
Turn 1: Take the crates before you take a shot
The mission opens with the objective banner reading DEFEAT KINRO across a crate-filled yard. Every operator gets three action points per turn to move, attack, and use abilities, and the opening turn is worth spending almost entirely on positioning.
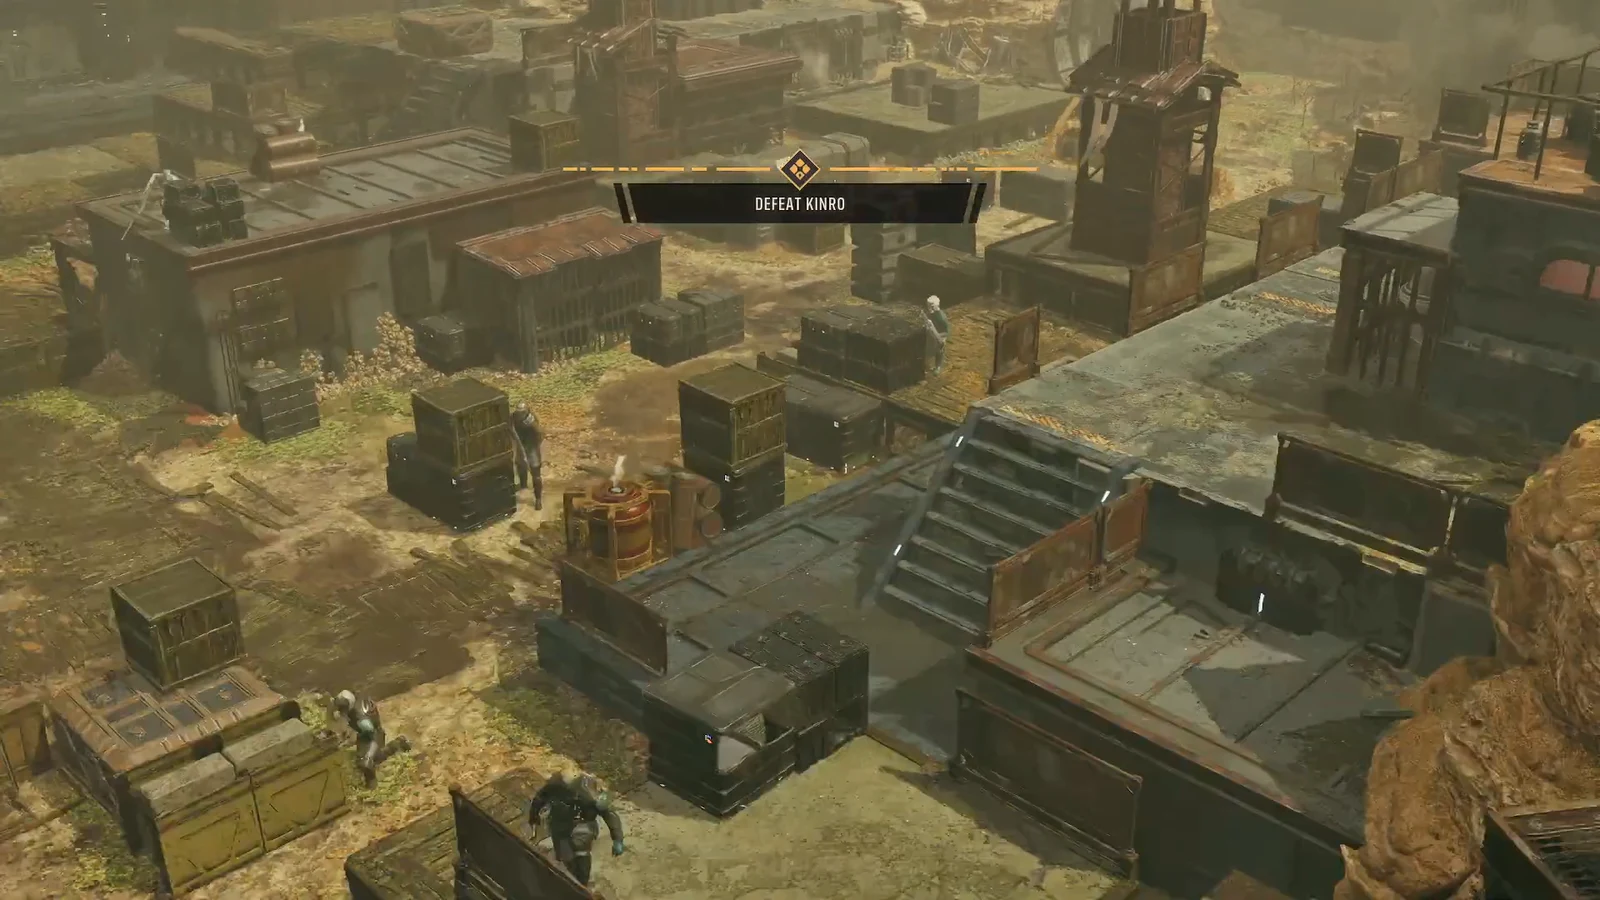
Stacking backup attacks and flanking Kinro
Call for Backup is the single most efficient damage tool in this fight. When an operator calls for an assist, a nearby teammate adds their attack on top, so keeping Jae and Hawks within supporting distance of each other turns one action into two hits. Watch for the on-screen prompt, such as “TRICK: Back me up!”, to see who is currently in range to help.
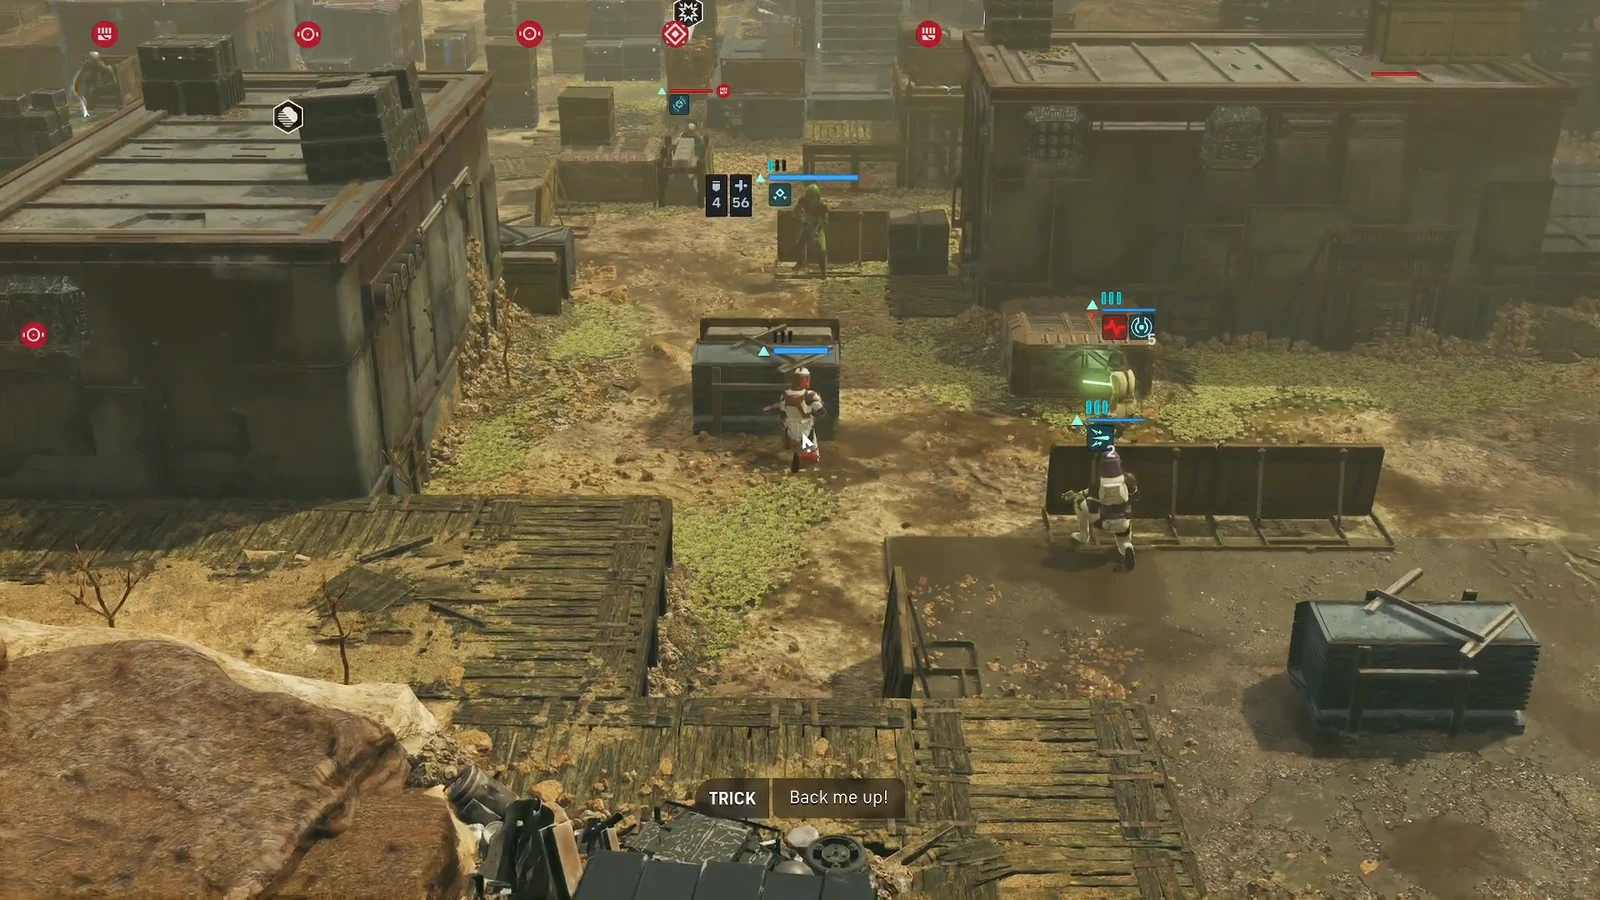
Tel-Rea handles the problem cover creates. Rather than shooting into a defended crate line, move her around the flank so Kinro and his escorts lose their protection bonus, then follow up with a backup attack from the operators still holding position. Save Advantage points for her most damaging special action and spend them on Kinro rather than on a Striker that a regular shot would finish anyway.
Note: Advantage builds up as your operators deal damage during the fight, so the early exchanges with the Strikers are what pay for the big hit on Kinro later.
Handling the Coil reinforcement waves
Dropping Kinro is not the last thing that happens on this map. Additional Coil forces arrive in waves afterward, and the squad has to clear them before the mission closes out. Do not scatter your operators the moment the boss goes down.
Reset into the same shape you used for the opening: Trick forward as the body enemies shoot at, ranged operators back in crate cover, Tel-Rea rotating to whichever flank the new group appears on. End turns on Overwatch when there is nothing worth shooting, and use Rally immediately on anyone who goes down. Each knockdown adds an injury, and three injuries kill an operator outright if you are playing with permadeath enabled.
Confirming the mission is complete
The objective tracker in the top left is the thing to watch. Once Kinro is defeated and the remaining Coil reinforcements are cleared, the objective resolves and the mission ends, returning you to the Den with the cycle counter advanced by one. Check the MedBay on arrival, because anyone who was rallied during the fight is carrying an injury into the next deployment.
If the fight goes badly, you can restart the mission from the game menu and run it again with the same operators. That is usually the better call than grinding through a wave down two members, since a restart costs nothing permanent while a lost operator on permadeath does.





