

Influence is the progression system in Star Wars Zero Company that decides which zone rewards you can claim. It works like experience points spread across twelve zones on the galaxy map, and each zone hands out gear and upgrades once you cross set thresholds. The catch is targeting the right zone, since the source of your Influence controls where it lands.
Quick answer: Complete Operations inside the zone you want to raise, then spend Contacts on that same zone for 7 Influence each. Hit 20, 30, and 50 Influence to unlock its Tier 1, Tier 2, and Tier 3 rewards.
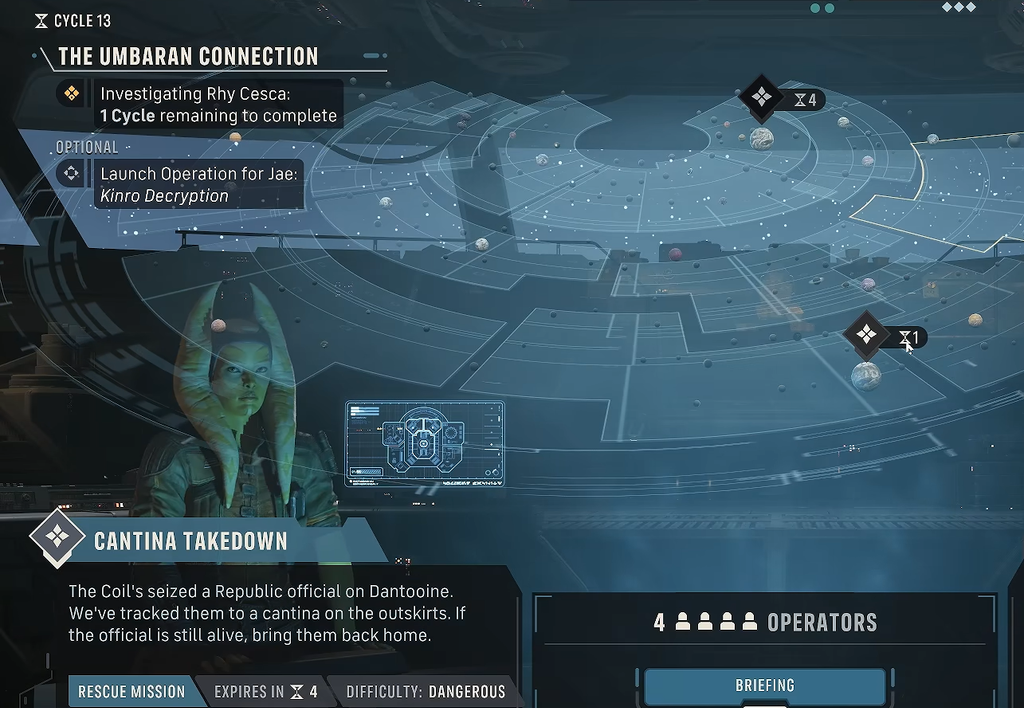
How Influence and zone tiers work
The galaxy map holds twelve zones, and every zone contains three reward tiers. The amount of Influence needed to clear a tier is identical in every zone, and once you earn Influence it can never be taken away. Zones are grouped into three rings, and you can tell which ring a zone belongs to by where its planet sits on the map.
| Zone ring | Position on map |
|---|---|
| Core | Inner ring planets |
| Mid | Middle ring planets |
| Outer | Outer ring planets |
Each tier needs a fixed amount of Influence before it releases its reward. Clearing a tier gives you the item shown in the bar at the bottom of the screen, which ranges from utility items and weapon mods to larger upgrades such as raising the quality of gear available in the black market.
| Tier | Influence required |
|---|---|
| Tier 1 | 20 |
| Tier 2 | 30 |
| Tier 3 | 50 |
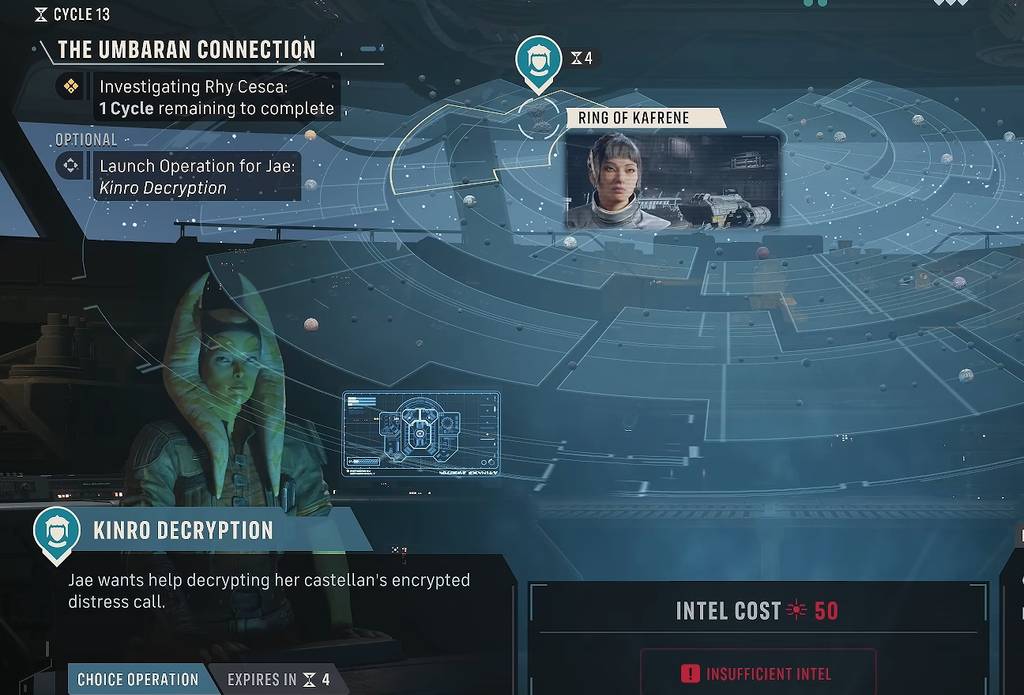
Every way to earn Influence
Influence is not hard to accumulate, but steering it into one specific zone takes planning. Unlike operator bonds, which rise from many small actions, Influence comes from a short list of reliable sources.
| Source | How it works |
|---|---|
| Successful Operations | Main source; awards Influence to the zone where the Operation takes place |
| Contacts | Rare resource worth 7 Influence per use, spendable on any zone you choose |
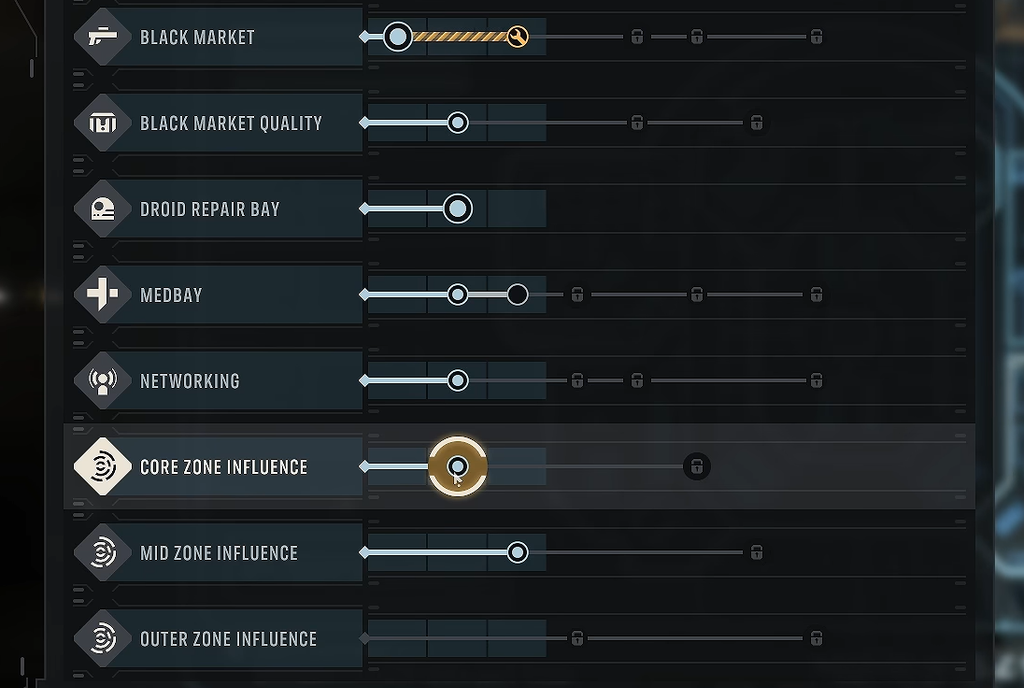
| Den Facility upgrades | Planet nodes grant up to 10 per planet; Networking node boosts Contact yield |
| Mission rewards | Granted for completing certain missions |
| Zone Grek Tier 2 reward | Unlocked as that zone’s second-tier payout |
Operations: your steady source
Operations are where most of your Influence comes from, because it appears as a reward in the large majority of them. The amounts are usually small, since you can run several Operations in one cycle when you have enough Intel to pay for them. You often cannot see the exact rewards before starting an Operation, so picking the ideal one carries some risk.
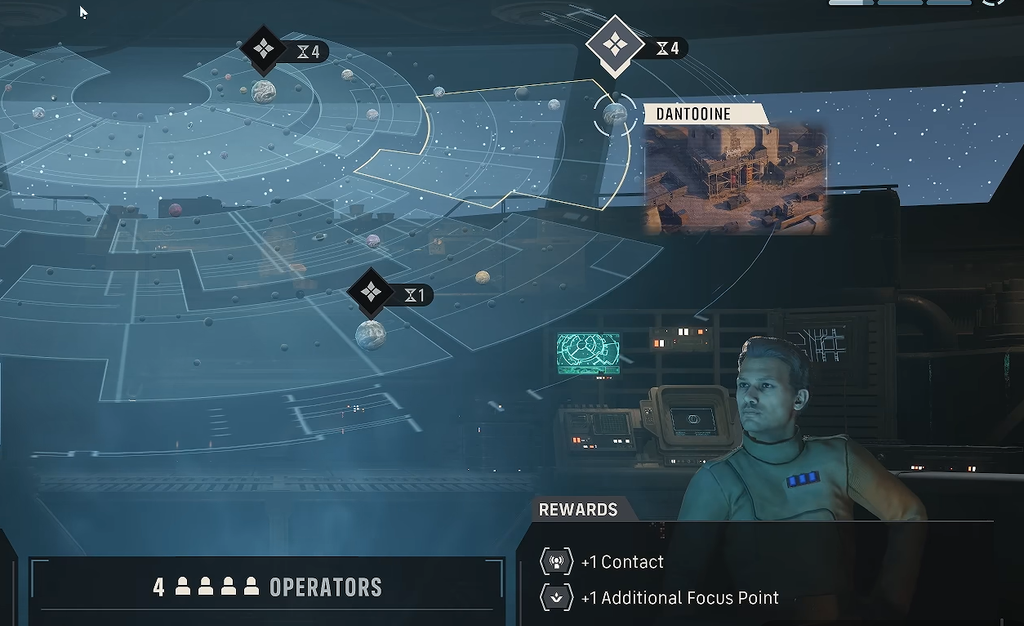
The zone that receives the Influence is set by where the Operation sits on the map. If you want to build up Zone Leth, keep clearing any Operations that appear over that region and their Influence flows straight into it.
Contacts: fastest way to finish a specific zone
Contacts deliver the biggest single burst of Influence. They are a finite, rare resource earned by advancing the story or as rewards from certain Operations. Each Contact you spend grants 7 Influence, and you can apply it to whatever zone you want.
There is no cap on how many Contacts you can stockpile or how many you pour into one zone. That makes them the tool for pushing a zone across a tier threshold quickly, so save them for the reward you need most rather than spreading them thin.
Because Contacts give a flat 7 each, two Contacts clear Tier 1 in any zone with a point to spare, and three cover most of Tier 2.
Den Facility upgrades that raise your output
The Den’s upgrade menu adds two long-term boosts. Both are found under the Facility tab in the Command Center.
Check your Influence progress in The Den
To confirm how close a zone is to its next tier, go to The Den and interact with the holotable, then pick the Influence tab at the top of the screen. The galaxy map appears with all twelve zones and a progress readout for each one. When a zone’s total crosses 20, 30, or 50, its matching tier reward unlocks and the item in the bottom bar becomes yours, which is your signal that the Influence landed where you intended.
Reaching Tier 3 in the zones that matter to your build is the real payoff here, since those rewards include the black market gear-quality boost and other upgrades that carry through the rest of the campaign. Point your Operations at one zone at a time, top it off with Contacts, and keep the Facility nodes upgraded to move through those tiers without wasting a finite resource.





