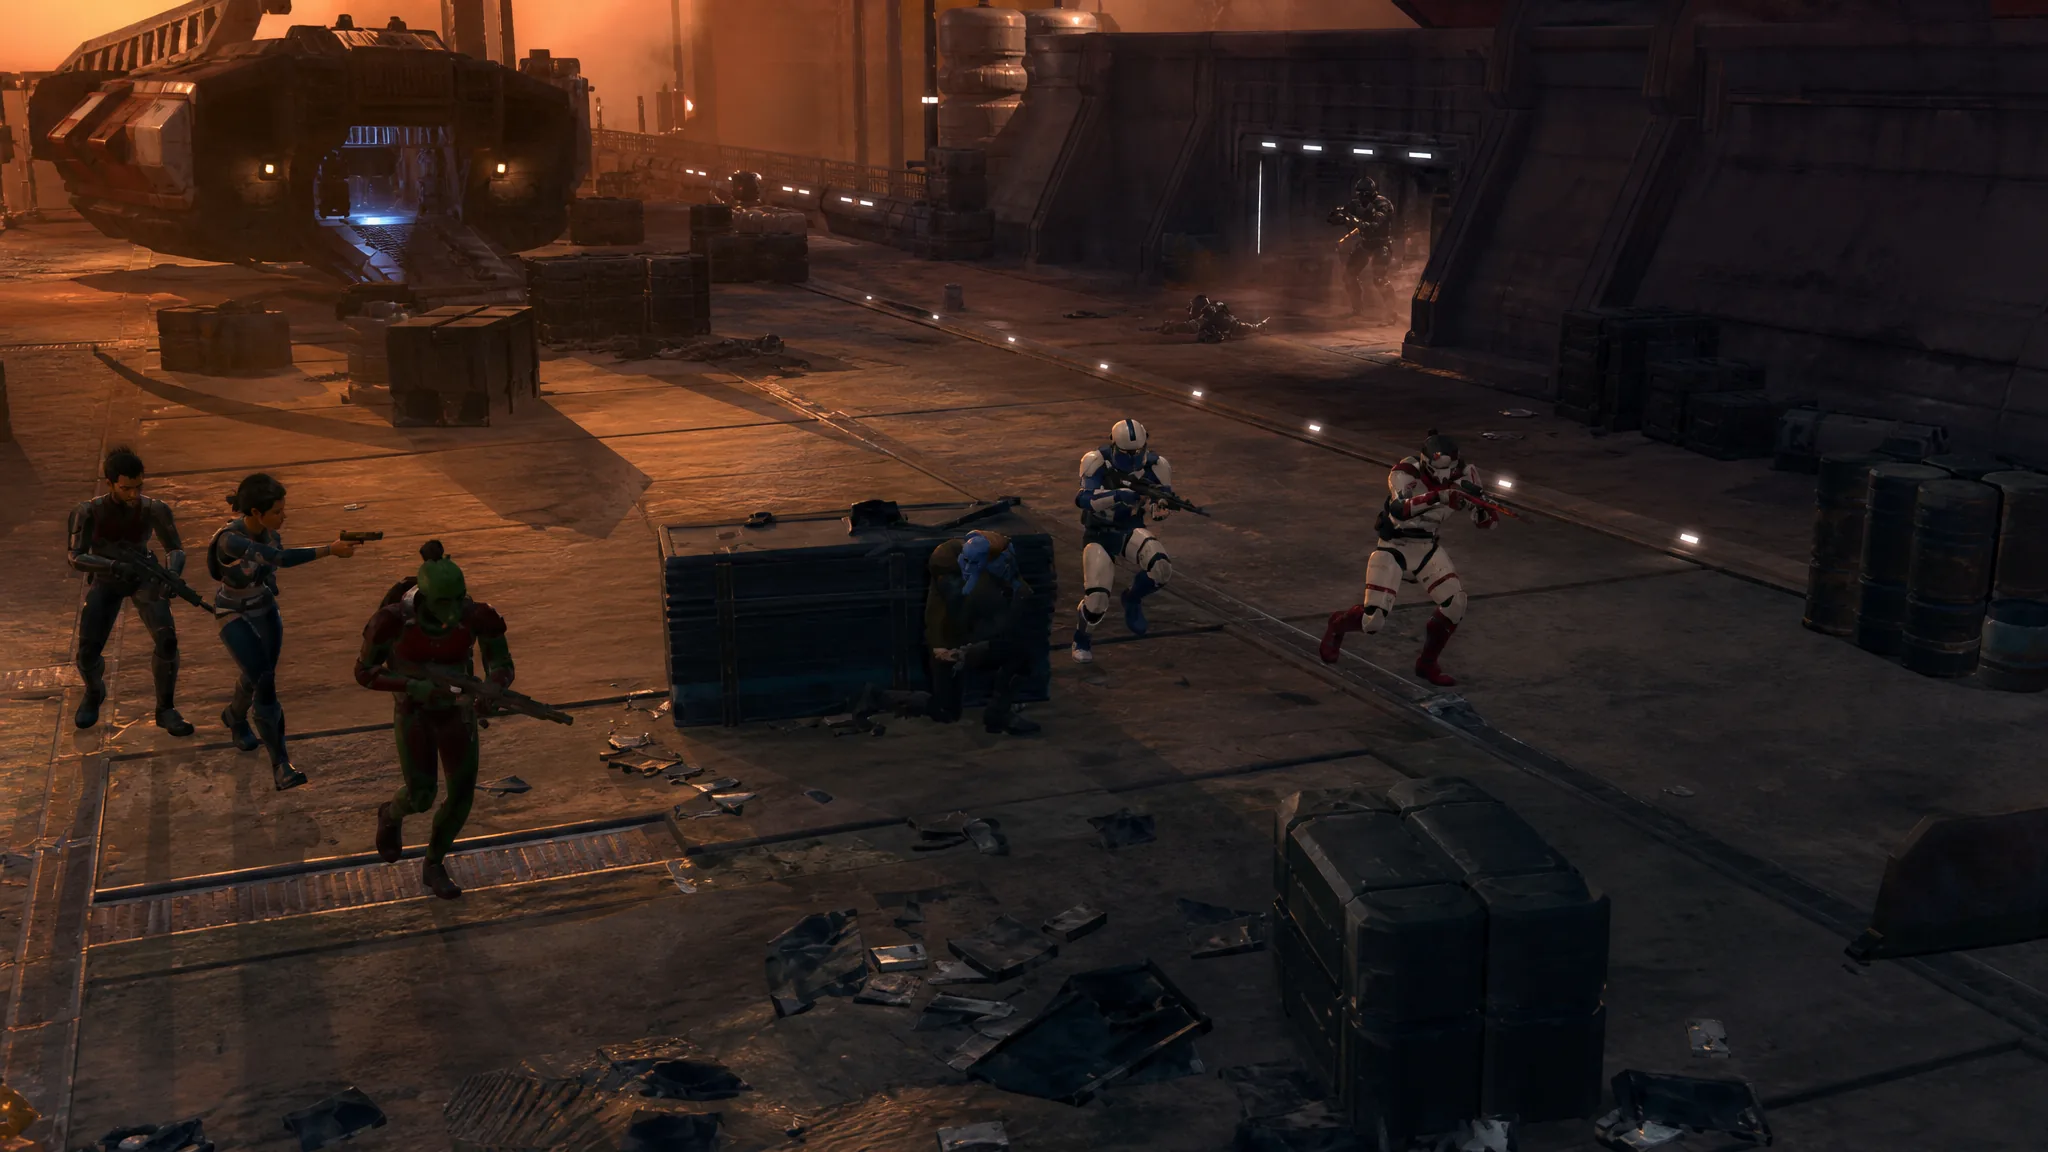
Rescue the Freedom Fighters is a timed-feeling rescue map in Star Wars Zero Company where a four-operator squad has to reach two captive Ryloth resistance fighters, keep them breathing, and then walk everyone off the map. The fight opens against a dense wall of B1 battle droids, escalates into B2 super battle droids and BX droid commandos, and ends with a reinforcement wave that spawns while you are trying to leave. The mission is far more about pace than kill count.
Quick answer: Open with an Impact Bomb on the packed B1 group, push the squad forward every turn instead of trading shots from spawn, move Fred into contact with each Ryloth resistance fighter to recruit them, then move all six units into the marked extraction zone to finish.
Rescue the Freedom Fighters objectives and fail conditions
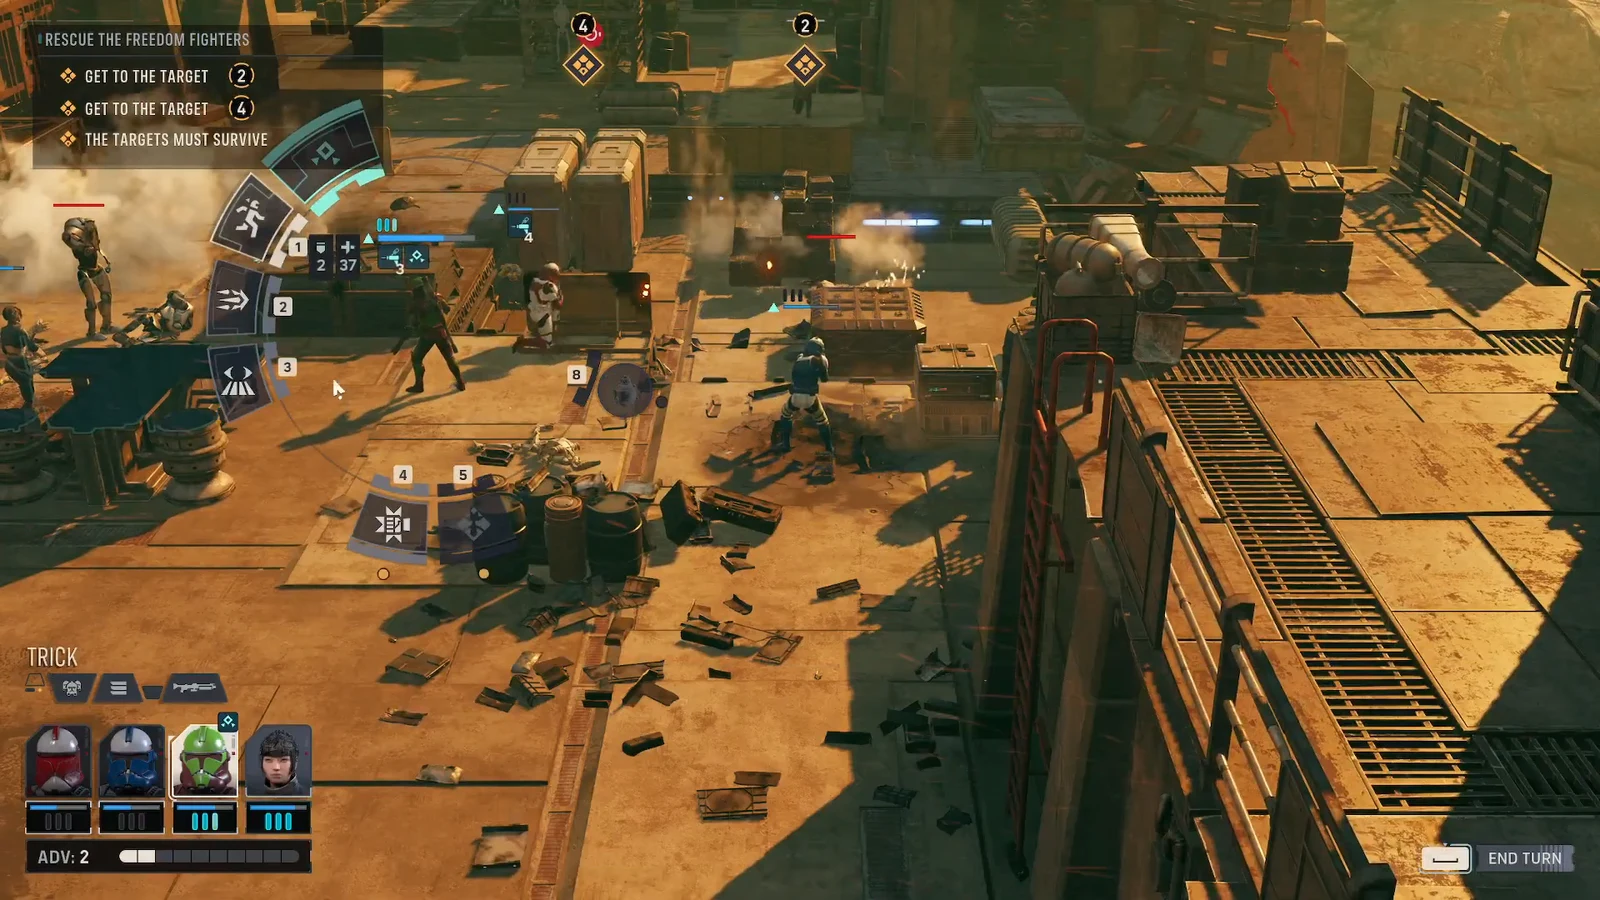
The objective tracker in the top left changes twice during the fight. Watch it, because the unit count in the extraction objective includes the two people you just rescued.
| Objective | What it means |
|---|---|
| GET TO THE TARGET | Move an operator into contact with each of the two captive Ryloth resistance fighters. |
| THE TARGETS MUST SURVIVE | Both captives have to live for the whole mission, including after they join your squad. |
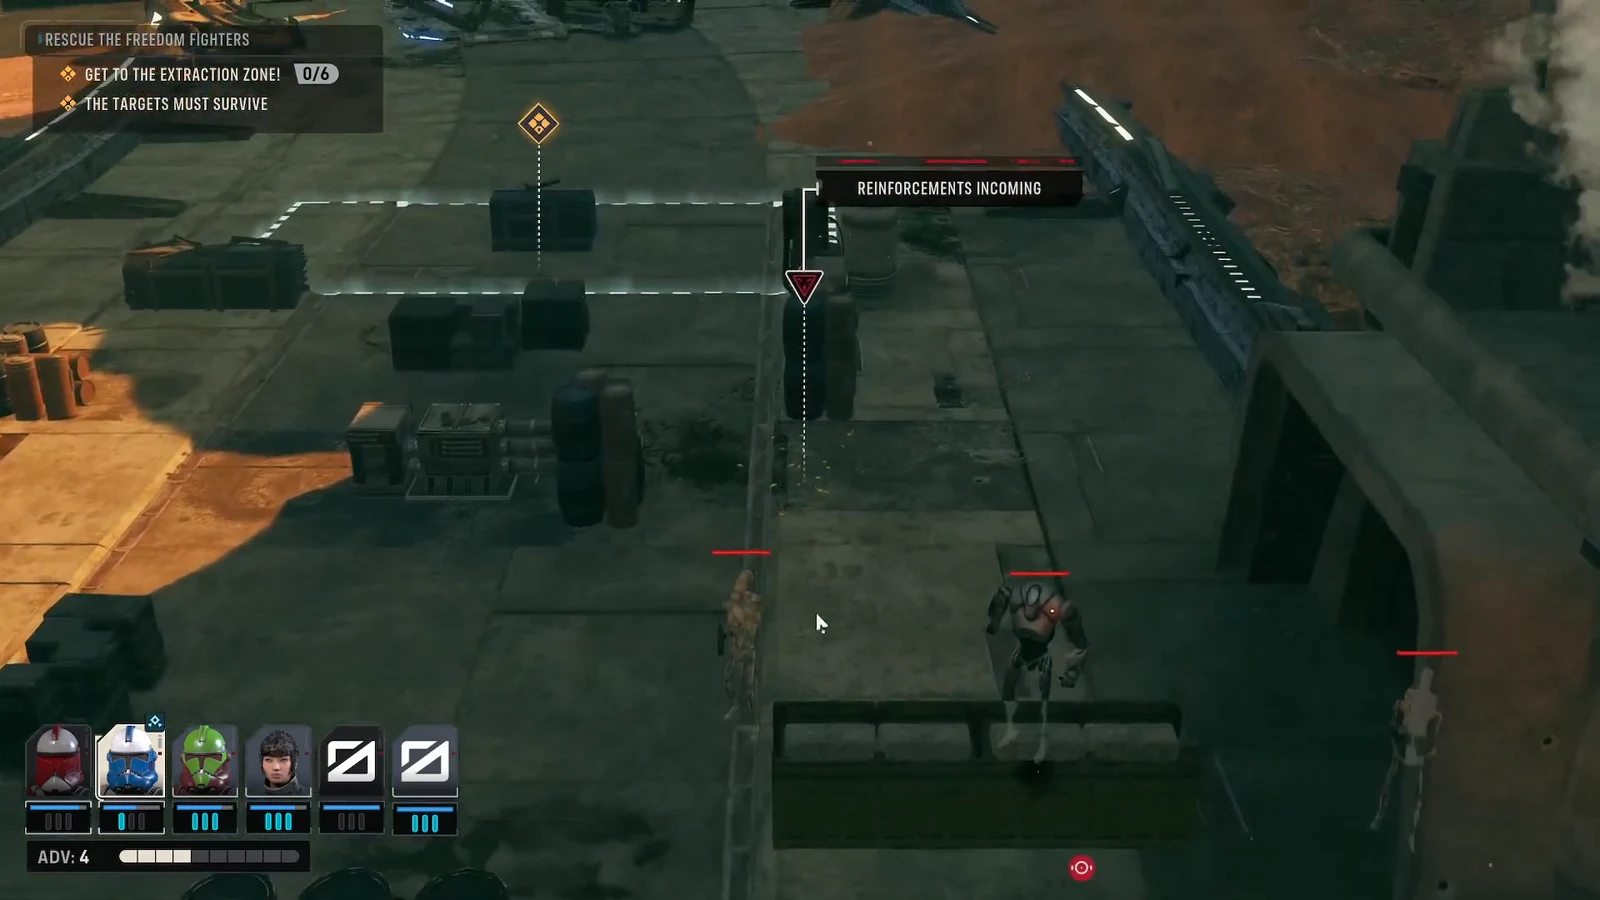
| GET TO THE EXTRACTION ZONE! 0/6 | All six units — your four operators plus both rescued fighters — must stand inside the zone. |
You do not have to wipe the map. Nothing in the objective list asks for it, and every extra turn spent cleaning up a corner is a turn the droids use to spawn more bodies between you and the exit.
Opening turns: break the B1 wall, then move
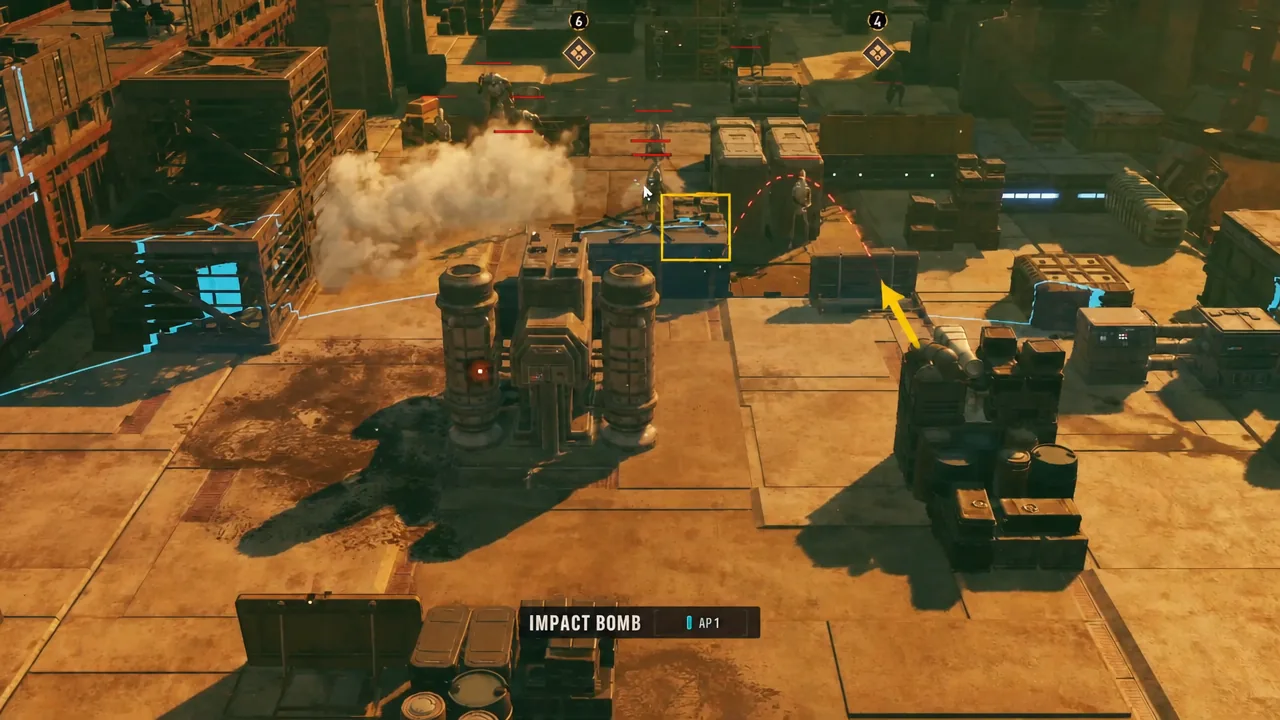
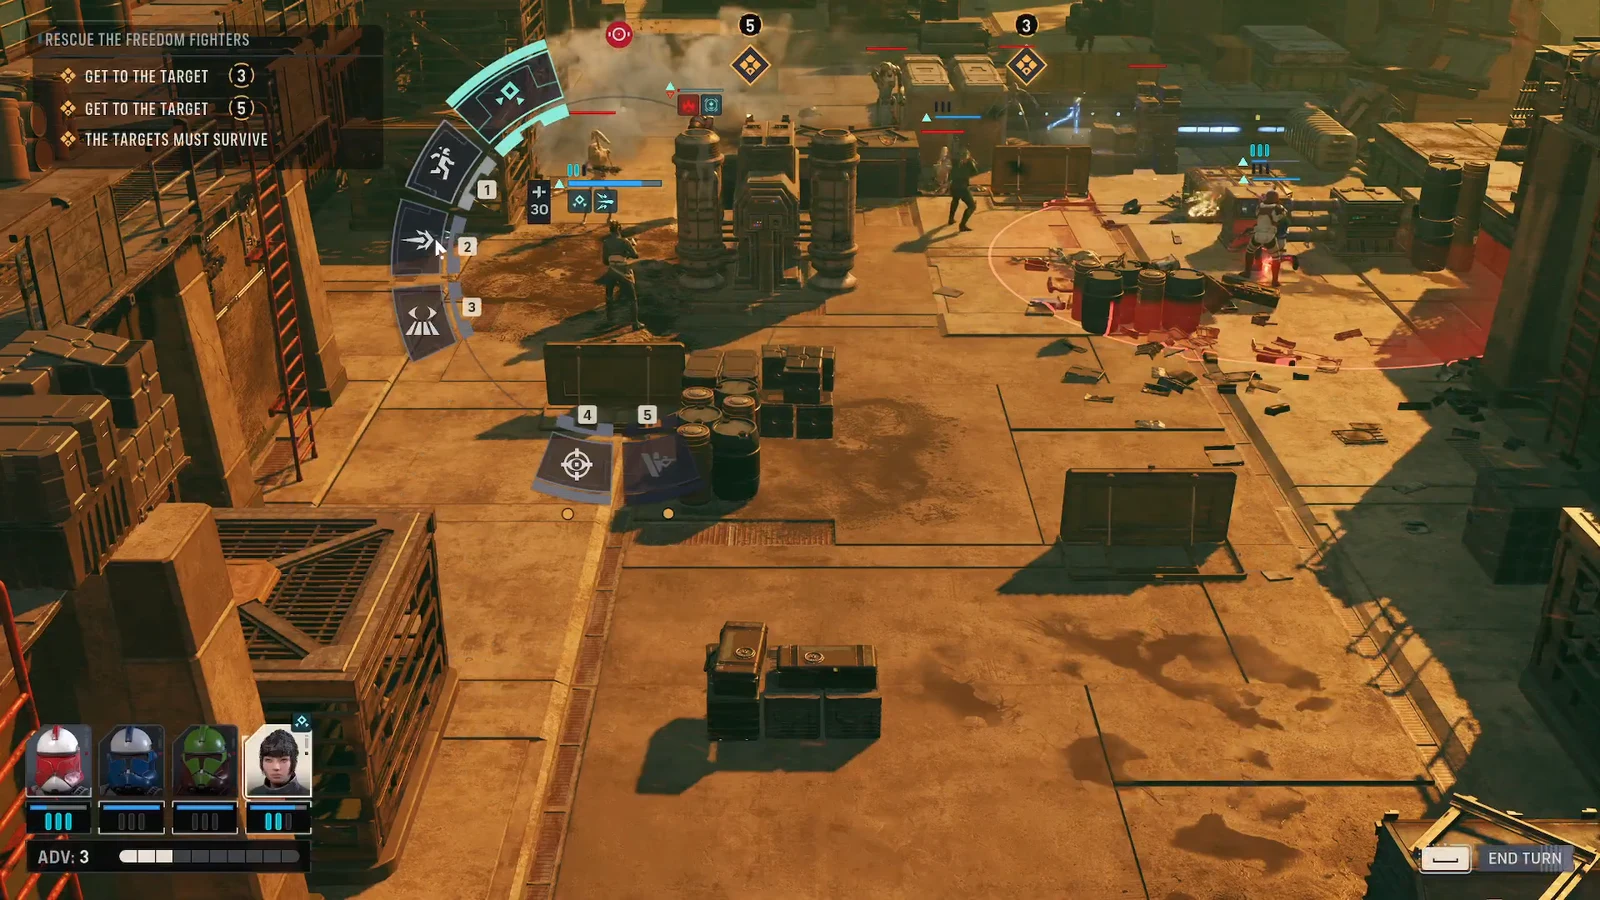
Expect the droids to fire back hard on their first turn. Damage here is normal and recoverable; losing tempo is not.
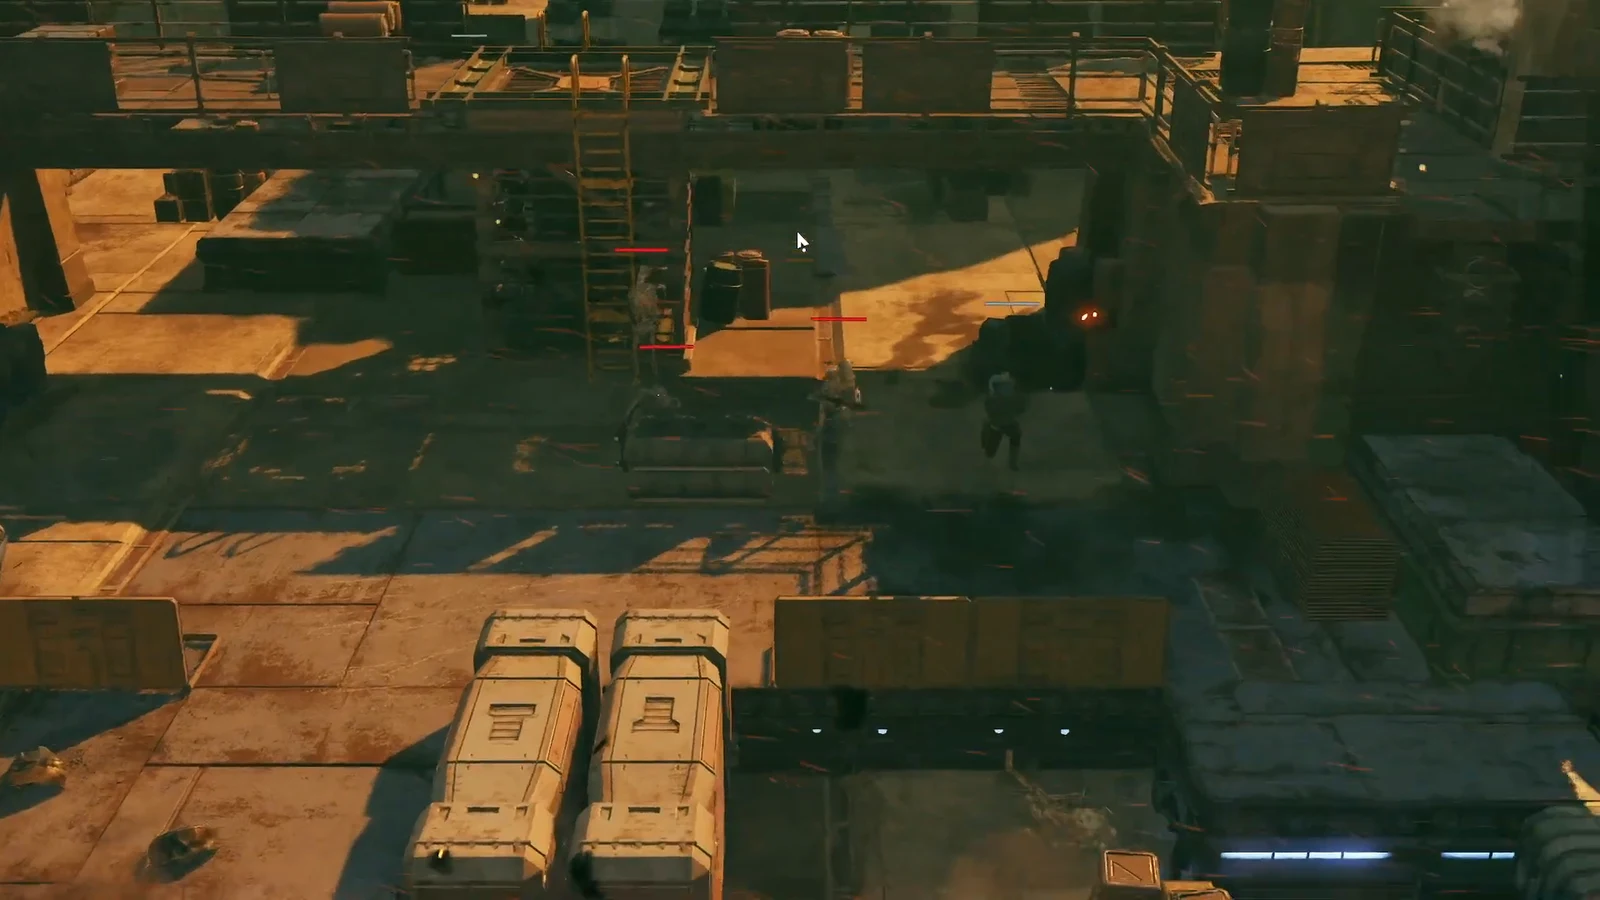
Target priority: rocket-primed droids first, then armor
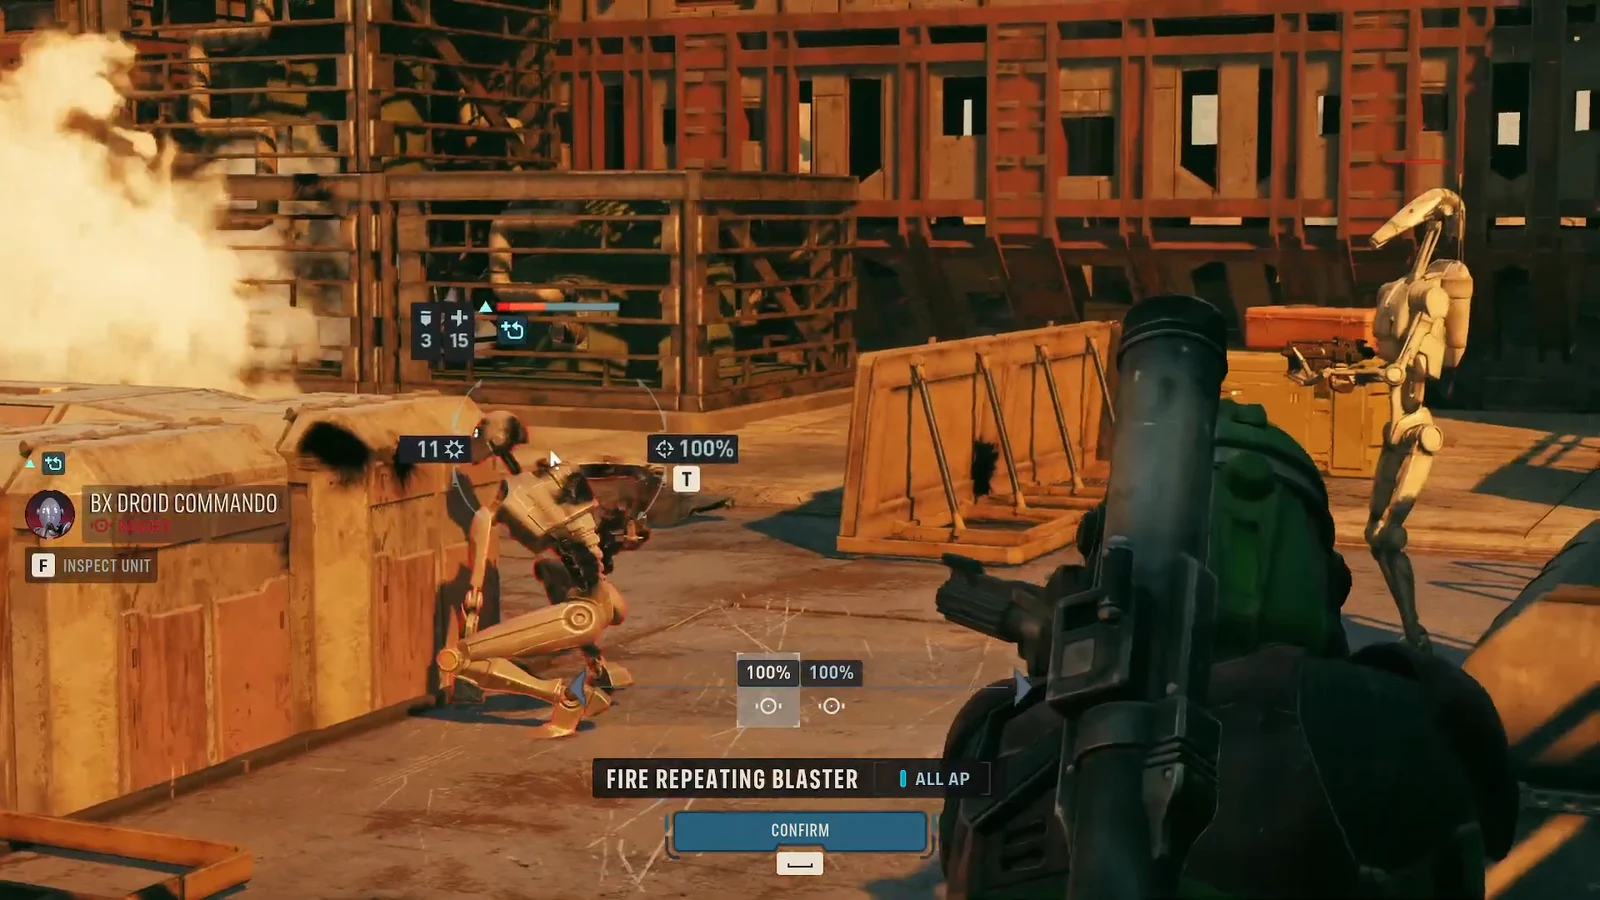
Any droid showing the Rocket Primed status is the single most dangerous thing on the board and should be deleted the moment it appears — a repeating blaster burst is usually enough. B2 super battle droids come next, especially the ones perched on rooftops with clean sightlines onto your advance. Ordinary B1s can wait, because they die to almost anything.
BX droid commandos are the exception to the shoot-it-from-range rule. Brutal Strike on a commando resolves the threat immediately instead of leaving a wounded, mobile unit next to your squishier operators.
Tip: heal between pushes rather than after someone drops. A Medpac Mk. II spent on a damaged operator costs one action; rallying a downed operator costs an action and adds an injury, which matters permanently if permadeath is switched on.
Rescuing the first Ryloth resistance fighter
Hold the bridge, then free the second captive
Once “REINFORCEMENTS INCOMING” appears, the route toward the second captive runs across a bridge, and that bridge is the best choke point on the map. End the turn with leftover action points spent on Overwatch covering it. Fresh droids that spawn and walk into the zone eat reaction shots before they ever get to fire.
With the crossing covered, buff Fred — Combat Stim III or a similar movement or accuracy buff works — and move him into the second Ryloth resistance fighter. That recruits the last unit and flips the objective to the extraction phase.
Getting all six units to the extraction zone
The tracker now reads GET TO THE EXTRACTION ZONE! 0/6, and the counter only ticks up for units standing inside the marked area. Droids will spawn along the path, so clear the blockers rather than trying to sprint past them with two rescued fighters in tow.
Grenades do the heavy lifting again on grouped spawns. Between throws, keep at least one operator on Overwatch each turn so the wave loses units on its own turn, and layer defensive buffs on whoever is furthest forward. Move the two resistance fighters last, behind the operators, so they are never the closest target.
The mission ends the moment the extraction counter reads 6/6. You do not need to kill the droids still standing when that happens.
Why the mission does not complete
- One of the Ryloth resistance fighters died. They count as protected targets even after joining the squad, so treat them as squad members with no cover discipline of their own.
- Only some units are in the zone. The counter needs all six; an operator left one tile short holds the whole extraction.
- The squad stalled at the start. Sitting in the opening cover and trading fire lets reinforcements stack up between you and the second captive.
- A unit ended a turn with an orange silhouette. Exposed units get hit reliably, even by B1 battle droids.
If a run goes badly, the mission can be restarted from the game menu with the same operators, which is worth doing early rather than limping into the extraction phase with two injured units and no medpacs left.