StarRupture Rotor Blueprint locations and how to survive getting them
Learn where the Rotor Blueprint spawns, how to navigate to each site from the crash zone, and what to expect once you’re there.
Learn where the Rotor Blueprint spawns, how to navigate to each site from the crash zone, and what to expect once you’re there.
by Pallav Pathak
The Rotor Blueprint is one of the first major progression gates in StarRupture. Without it, you are locked into basic crafting and can’t build the parts needed for more advanced machinery and stabilizers. The game explains very little about where these story blueprints live, which is why many players hit a wall as soon as the recipe station starts asking for rotors.
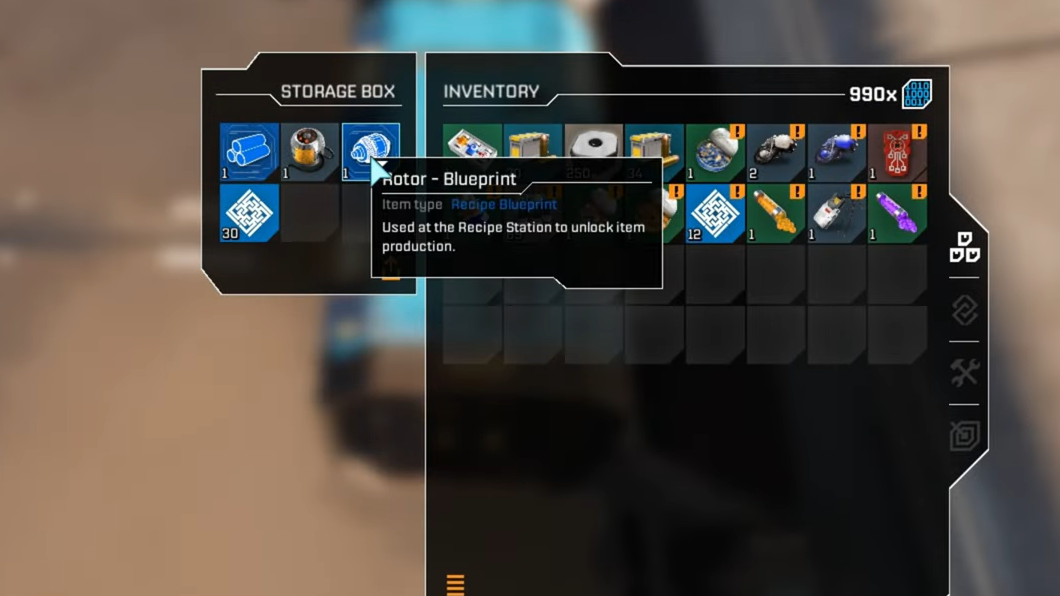
Rotor blueprints are story items. Once collected, they sit in the Story tab of your inventory and persist through death and solar flare wipes, so you only need to secure them once. The challenge is reaching the sites themselves and handling the insect swarms that guard them.
Main Rotor Blueprint at CRRO “Warm Dawn” (east of the crash site)
The most straightforward Rotor Blueprint sits in the CRRO “Warm Dawn” robotics outpost, in a narrow gulch east from your starting ship.
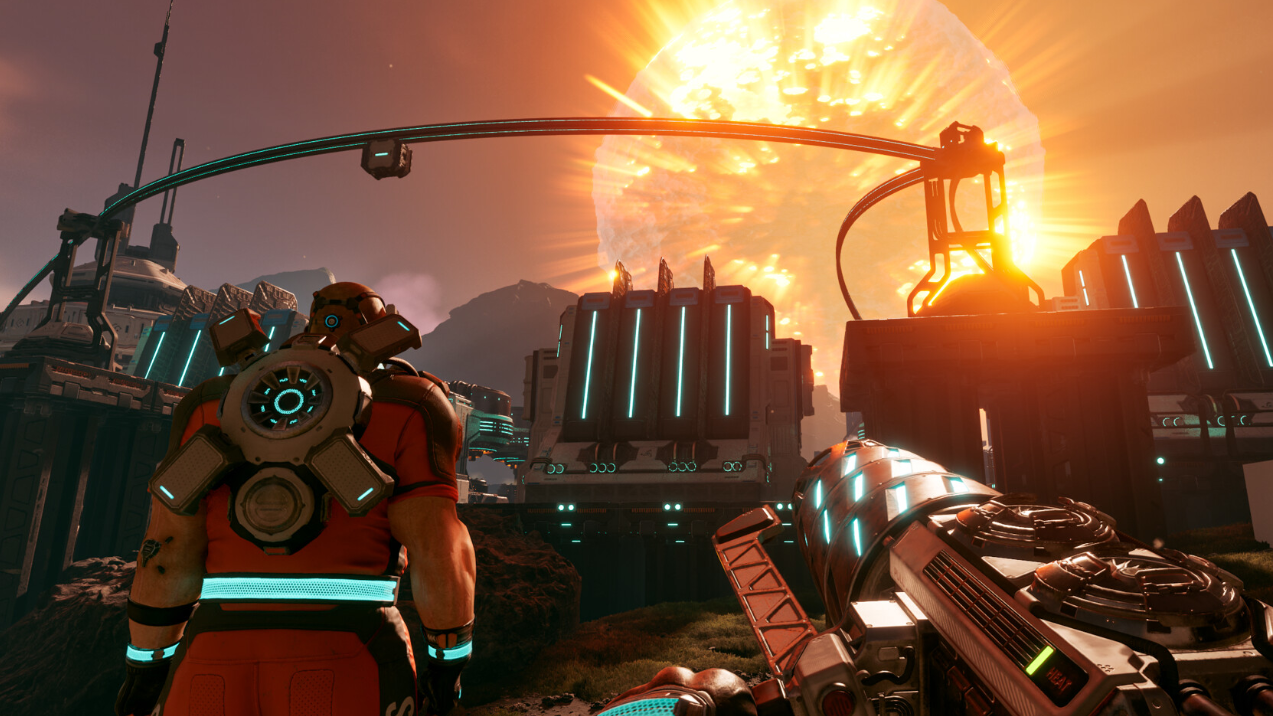
Exit the crash zone and face roughly east. Use two big landmarks to orient yourself. On your right, a dark mountain range forms a long ridge. On your left, you’ll see a huge, wheel-like thruster structure rising from the landscape. Your route runs straight between these two features.
Exit the crash and face east | Image credit: Creepy Jar (via YouTube/@MetaForge)
Move toward that gap until you enter a yellow-tinted area filled with orange plants. These plants slow your movement and drain your energy while you stand in them, so keep your path efficient and avoid sprinting in circles here. Push through to the trees beyond; you can grab grubs from the trunks if you need extra resources.
After you clear the trees, watch the horizon. A thin tower will come into view, poking up from a deep gulch. This tower marks the Warm Dawn facility. Approach from above rather than dropping blindly into the valley.
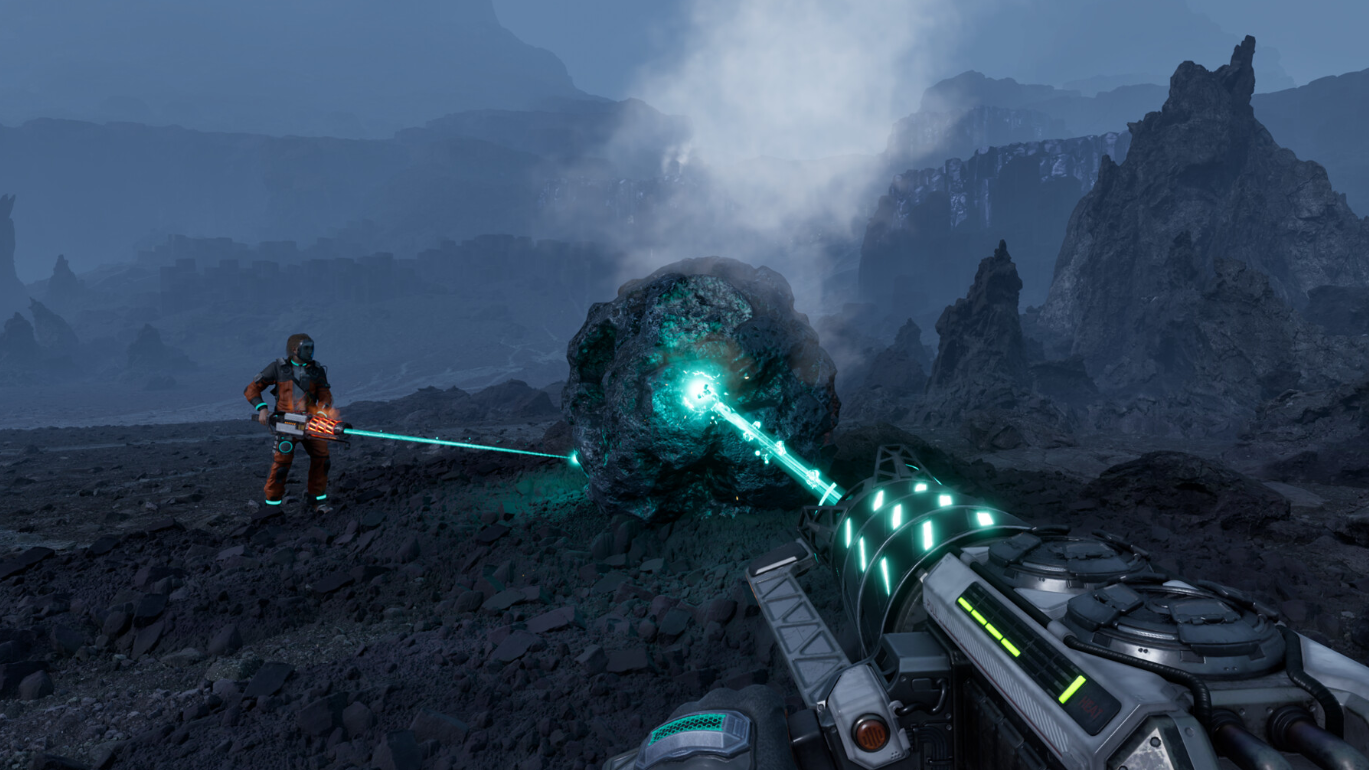
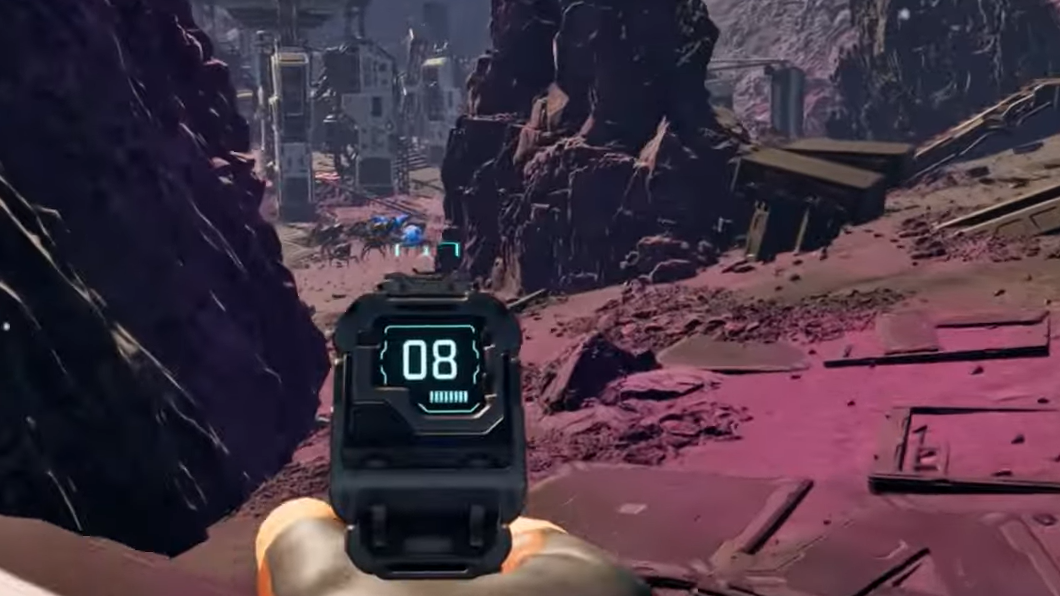
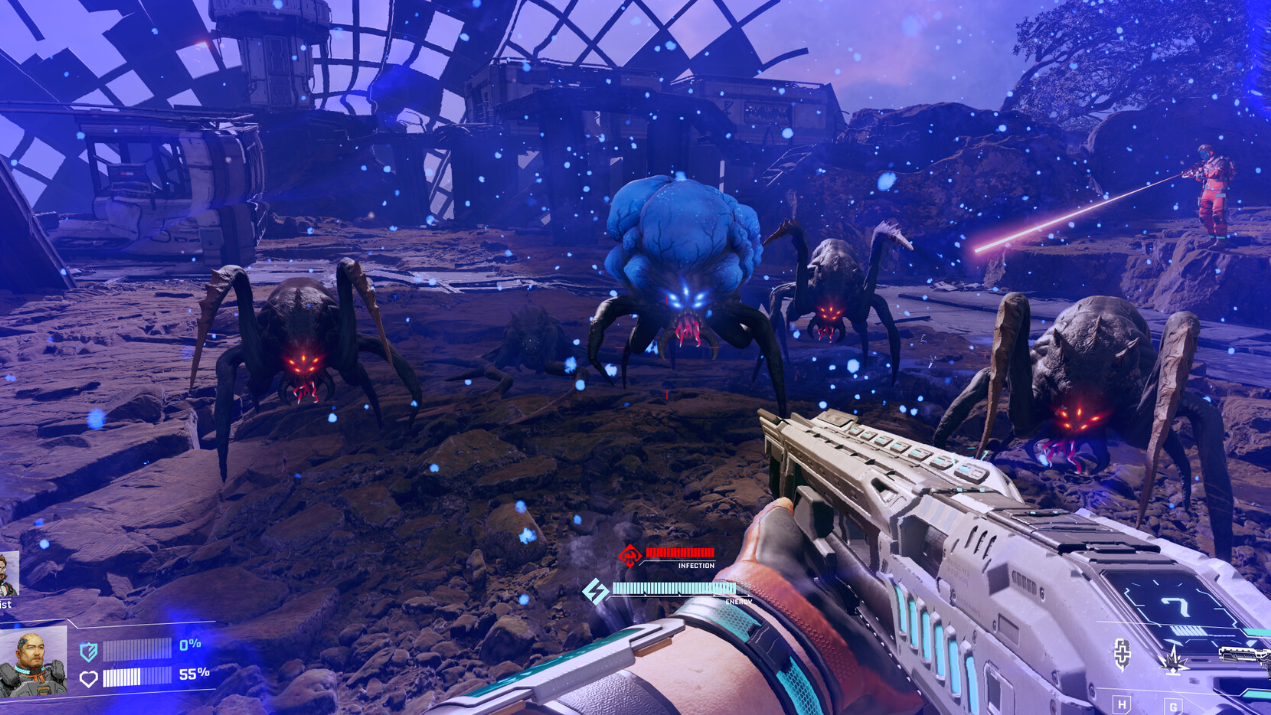
The gulch is home to several types of insects. Some behave passively if you stay high, while others will leap aggressively up the walls. Acid-spitting enemies are the main threat here, since they can arc damage onto you even when you feel safe on ledges.
Use the cliff edges as your firing line. Kite small groups, back away to reset pressure, and thin the swarm by shooting down into the gulch instead of committing to close-range fights on the floor. A pistol is enough if you stay disciplined with distance and line of sight.
Use the cliff edges as your firing line | Image credit: Creepy Jar (via YouTube/@MetaForge)
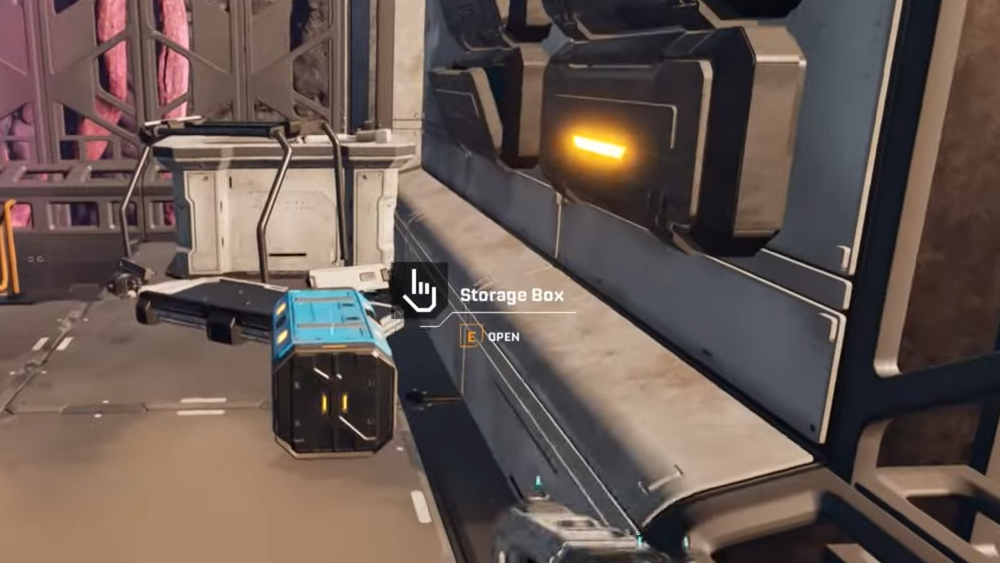
Once you’ve stabilized the area near the tower base, drop in and check the ground. Small glowing containers are scattered around the site and are easy to miss when you are dodging projectiles. Grab anything you see before you start climbing.
Every time you loot a blueprint, the game can spawn a fresh wave of insects nearby. Expect that surge and give yourself enough health and ammo buffer to handle a second round of combat on your way out.
How to climb the Warm Dawn tower and open the Rotor Blueprint chest
The Rotor Blueprint itself is stored in a blue chest at the top of the tower. The climb is simple, but the game doesn’t signpost it clearly.
Enter the tower interior at ground level. Look for a small cargo container you can stand on. Jump onto the container, then up to the low wall section above it.
Enter the tower interior at ground level | Image credit: Creepy Jar (via YouTube/@MetaForge)
From this short wall, line up a jump to the nearby platform inside the tower. The gap is small enough to clear without upgrades, but a double jump makes it more forgiving.
From that platform, look around for a ladder. It sits on the wall above you, reachable from the platform edge. Climb the ladder to the top of the tower.
At the top, a blue crate holds the Rotor Blueprint. Open it, collect everything inside, and be ready for the post-loot insect wave that often triggers right after you close the chest.
Collect everything inside the blue crate | Image credit: Creepy Jar (via YouTube/@MetaForge)
Once collected, the Rotor Blueprint moves into your inventory’s Story tab. To use it, visit a recipe or research station and insert it when prompted so the rotor can enter your crafting pool.
Additional Rotor Blueprint at the blown helium site (northwest)
A second Rotor Blueprint can also be found at a destroyed helium extraction facility in the northwest, where you also pick up the Tubes blueprint. This route is more dangerous, and it is better tackled once you have an assault rifle and a little more ammo stockpiled.
From the crash site, move toward the Wolfram deposits you probably spotted early on. Keep going in that general direction until a huge broken satellite dish comes into view, lodged against a mountain. The dish and surrounding purple haze mark the blown helium site.
Move toward the Wolfram deposits | Image credit: Creepy Jar (via YouTube/@MetaForge)
Approach from the right-hand side of the slope leading into the facility. This flank tends to be less steep and gives you better, more defensible high ground than walking straight up the center.
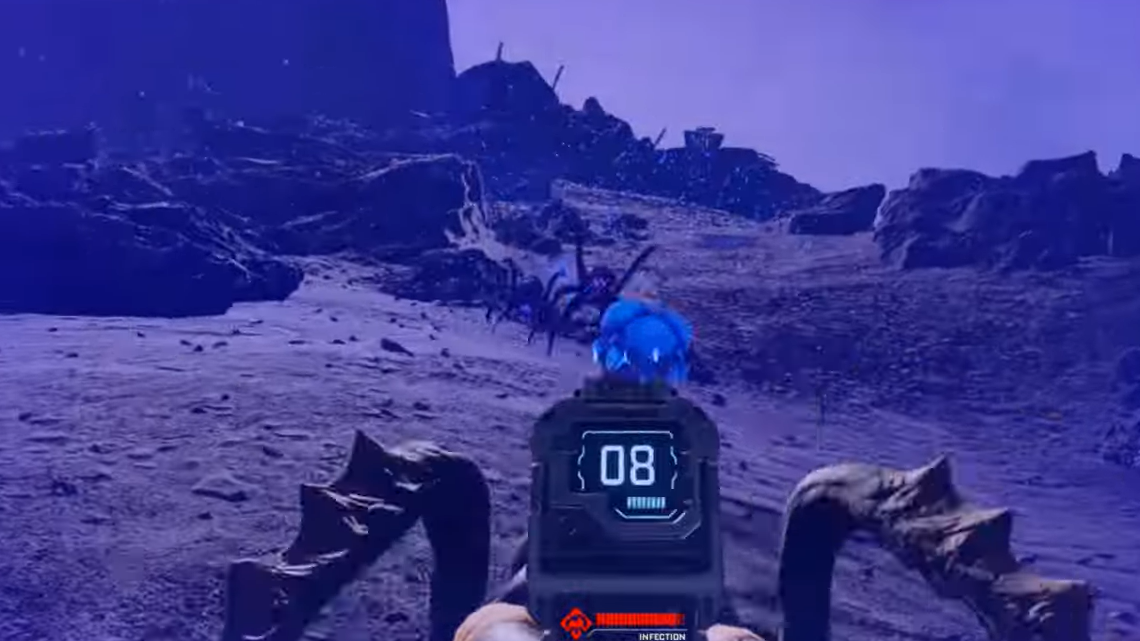
The interior of the site is covered in purple residue and broken helium collectors. Expect repeated waves of bugs as you push deeper toward the main buildings. Backtrack down the entry slope when you get overwhelmed; the incline funnels enemies and keeps your firing angles clean.
Expect repeated waves of bugs as you push deeper into the area | Image credit: Creepy Jar (via YouTube/@MetaForge)
Opposite the central facility building, there is a yellow loot chest on the ground. Grab that while you’re clearing the outer yard. Some helium collectors can still be looted for small helium deposits, which is useful later but not strictly required for the rotor run.
To reach the blueprint room, climb onto the rocks around the main structure and look for a debris-lined path that leads to an opening in the top floor. The regular door to this building may be locked, so treat this elevated route as the intended entrance.
Drop through the hole in the roof into the upper interior. Inside, you’ll find another blue chest that contains the Tubes blueprint and, again, a Rotor Blueprint. Loot both and prepare for yet another round of enemies as you leave through the lower exit door.
Open the blue crate to get to the Rotor blueprint | Image credit: Creepy Jar (via YouTube/@MetaForge)
If you already secured the rotor earlier at Warm Dawn, picking up the extra copy here simply ensures you don’t miss it while you’re in the area for tubes and general loot. If you are confident with combat and already have better weapons, this northwest route can double as your first rotor and first tubes in a single run.
Warm Dawn outpost variant and approach timing
The Warm Dawn name appears on a facility reachable from above the crash zone and is also described as a robotics research outpost. Whether you hit it during normal daylight or right after the rupture event changes how much fighting you will do.
During the rupture, when the sky goes black, the glowing containers and key interactable objects become much easier to see, and some players prefer to sprint through outposts in that window. After the rupture itself finishes, many of the worst bug swarms are gone, but you still face localized clusters at blueprint chests and on paths into tight structures.
The Warm Dawn entrance used in some routes has you climb over machinery and then up a ladder to reach a rooftop room. That room also contains a blue chest that can roll the Rotor Blueprint along with war bonds and other loot. Bodies and small loot containers are scattered through the adjacent sulfur fields and nearby cave, so it is worth sweeping the area once you have the rotor secured.
Image credit: Creepy Jar
What the Rotor unlocks and when to prioritize it
The rotor is not just another side collectible. It is a core component for higher-tier machinery and is directly required for stabilizers later in your progression.
At the recipe station, rotors typically consume metal rods and wolfram wire, which are both available relatively early. Tubes, which you often acquire during the same northwest helium-site run, hinge on titanium plates and titanium rods plus data points. Stators lean on titanium housings and additional wolfram wire.
Stabilizers sit further along the chain and explicitly require rotors as ingredients, along with more titanium rods and stators. That dependency means it makes little sense to push into the hardest stabilizer blueprint location before you can both craft rotors and keep your general resource economy stable. Picking up the Rotor Blueprint early, then building a basic production line for its components, smooths out the entire midgame curve.
Preparing for a Rotor Blueprint run
Rotor sites are tuned to be technically possible with only a pistol, but the difference between “possible” and “comfortable” is large. A few preparations make the trip far less punishing.
Craft or loot a pistol with a healthy ammo reserve before you leave the crash zone. If you have an assault rifle unlocked, bring it and set it aside for emergency bursts when the swarm density spikes.
Unlock the map as early as you can. The routes to Warm Dawn east and the helium site northwest rely on recognizing silhouettes and terrain features; a map makes it much easier to correct if you drift off-course.
Slot any limb upgrades (LEM or similar) that improve movement, dodge energy cost, or fall damage. The climbs into facilities often involve jumps between platforms and drops through roof openings, and a bit of extra mobility margin reduces the chance of dying in awkward terrain while being shot at from below.
Pack a few heals and some food, but do not overinvest time in cooking. Most outposts are dense with consumable loot, so you will often leave with more food than you brought in.
Familiarize yourself with your Story tab and the recipe station back at base. After each run, immediately insert any new blueprints you found so you do not accidentally forget and wonder why recipes are still locked.
Image credit: Creepy Jar
Once the Rotor Blueprint is in your Story inventory and inserted at a recipe station, the game opens up. You can scale into tubes, stators, and eventually stabilizers, and future blueprint hunts become easier as your weapons and defenses improve. The early trek to Warm Dawn and the northwest helium site doubles as combat training: it teaches you how to abuse high ground, how to kite swarms through narrow passes, and how to read the landscape from the crash site. After that, most of StarRupture’s blueprint hunts feel less like stumbling in the dark and more like deliberate expeditions.