Steal Eggs From Tsunami is built around one long runway. Your base and the Safe Zone sit at one end, and seven hazard zones stretch out ahead of you, each more dangerous than the last. The farther you run, the better the eggs. That only pays off if your speed can get you back before something stops you.
Quick answer: Take this route: Safe Zone, followed by Lake, then Desert, then Jungle, then Snow, next Volcano, onward to Abyss Ocean, and finally Prehistoric. Train for speed first, grab an egg, and race back over the Safe Zone line.
Steal Eggs From Tsunami zone order and danger tags
Each zone shows its name and a danger tag as you cross into it. The tag tells you how threatening that stretch is. Zones only get harder from here, so the table below doubles as your progression path.
| Zone | Danger tag | Eggs found there |
|---|---|---|
| Safe Zone | None (home base) | — |
| Lake 🙂 | SLOW | — |
| Desert 😅 | MEDIUM | — |
| Jungle 😬 | FAST | — |
| Snow 😨 | WONKY WAVE | — |
| Volcano 😱 | LIGHTNING | — |
| Abyss Ocean 💀 | RADIOACTIVE | Demon Egg, Ocean Egg |
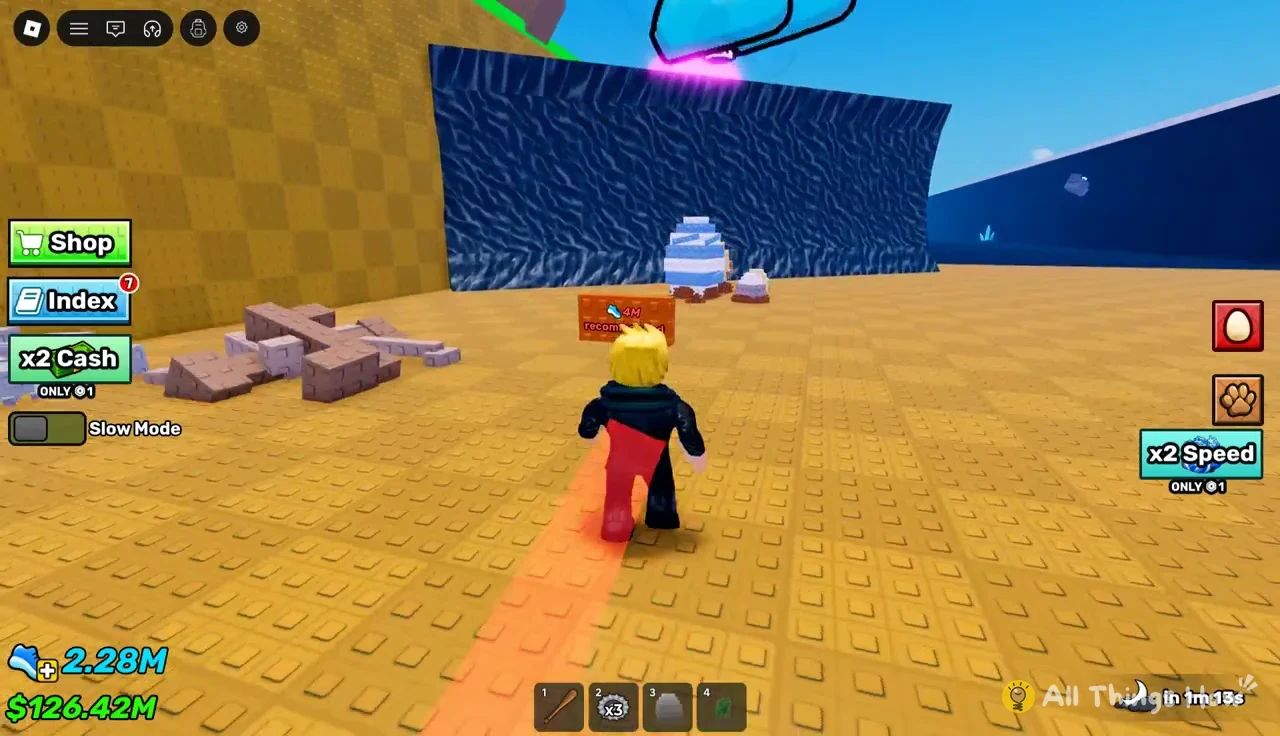
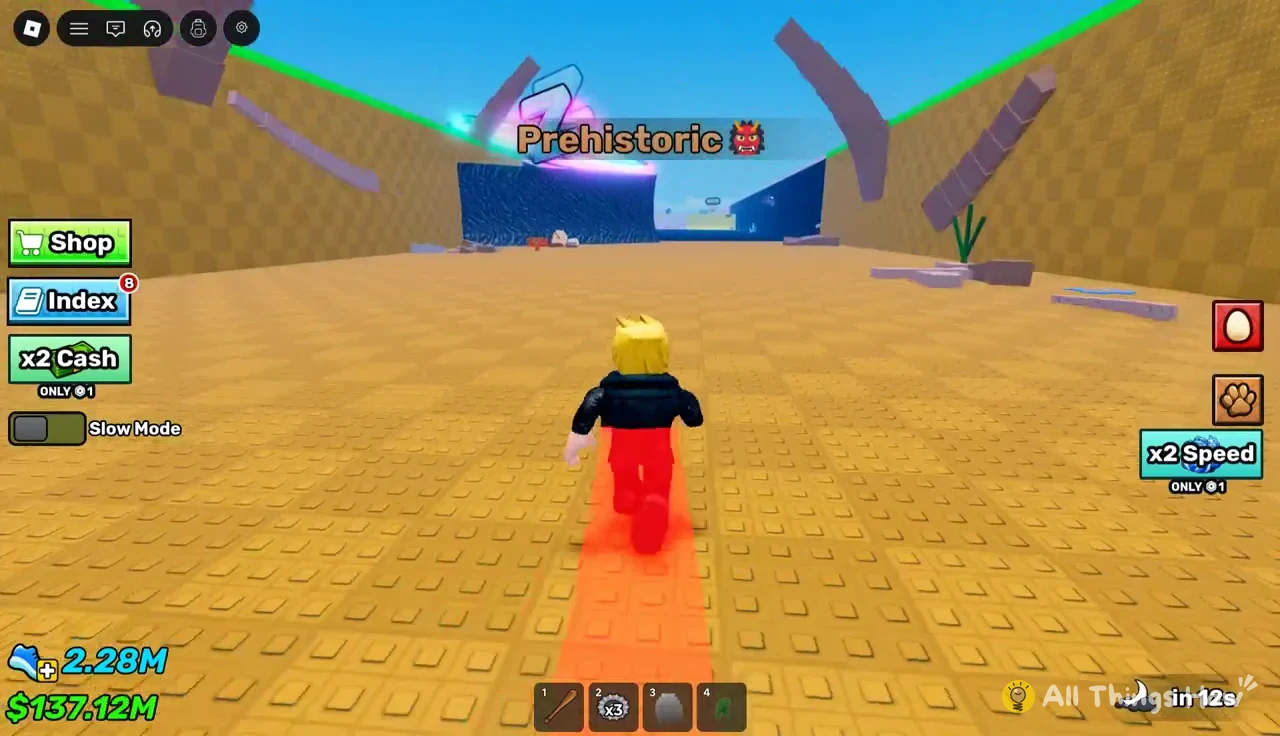
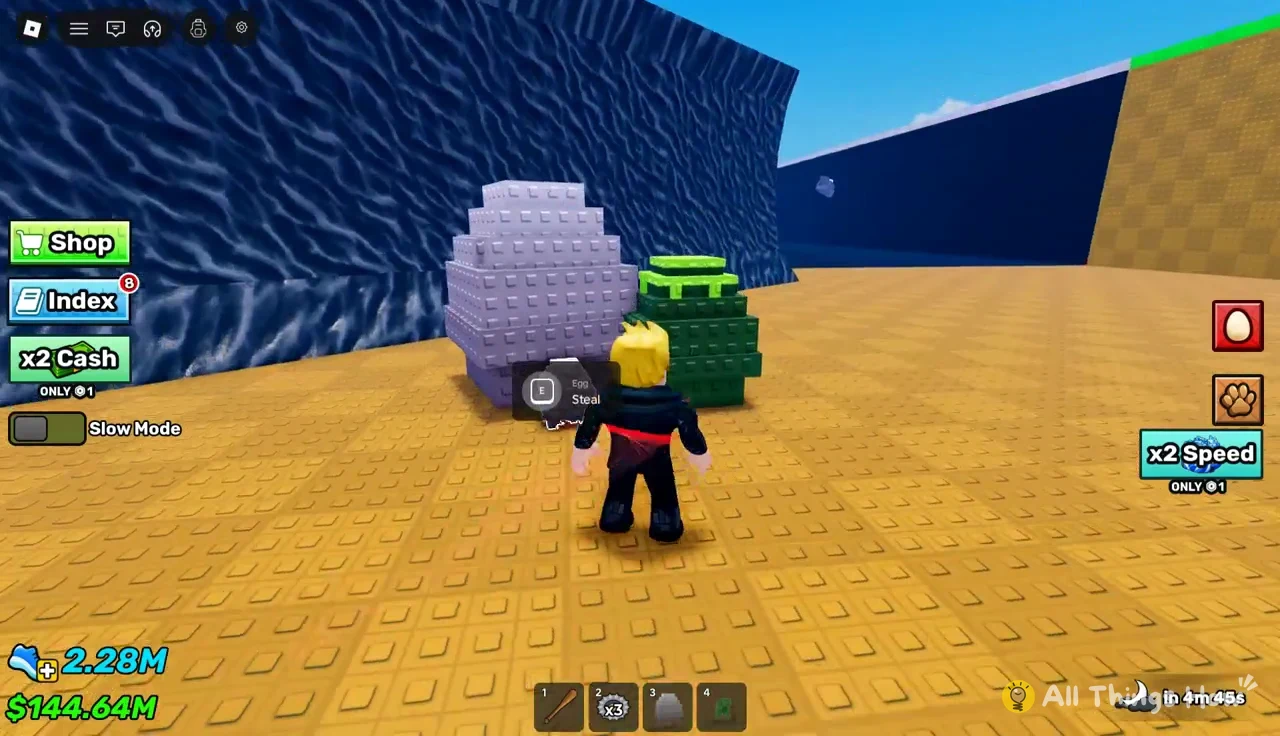
| Prehistoric 👹 | 4M recommended sign | Green blocky egg |
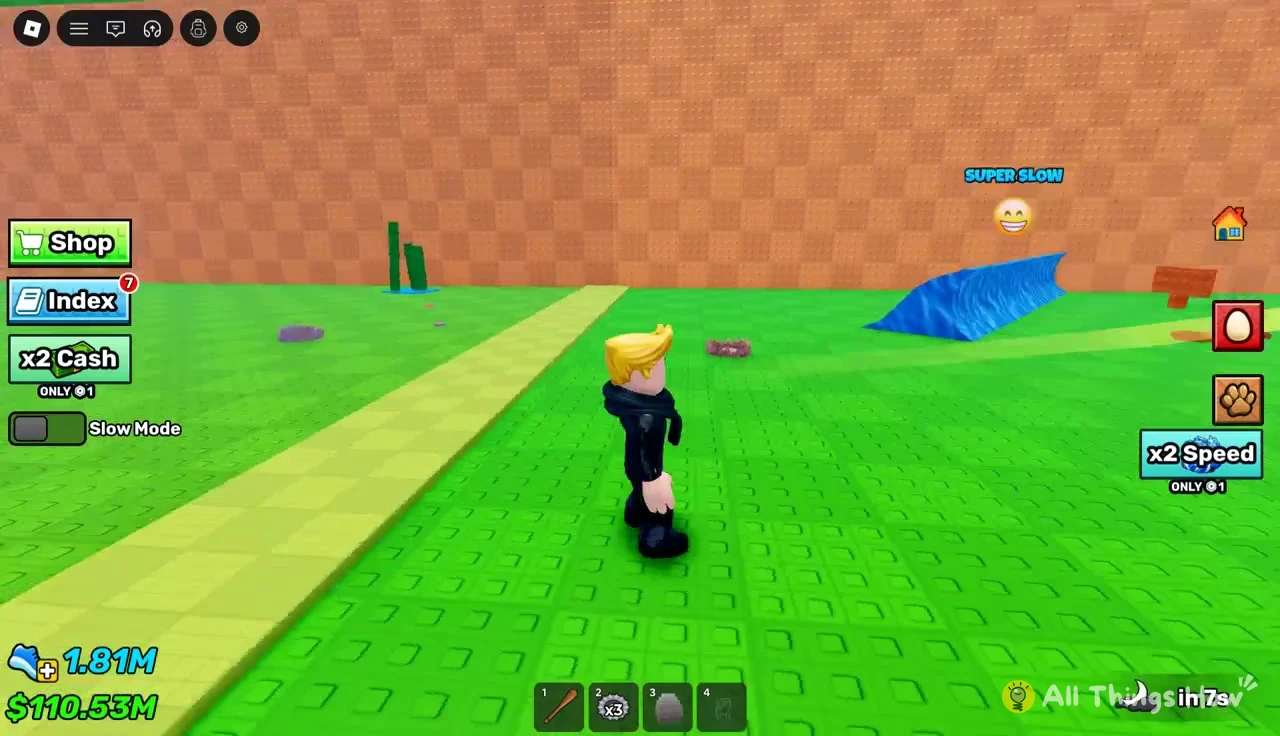
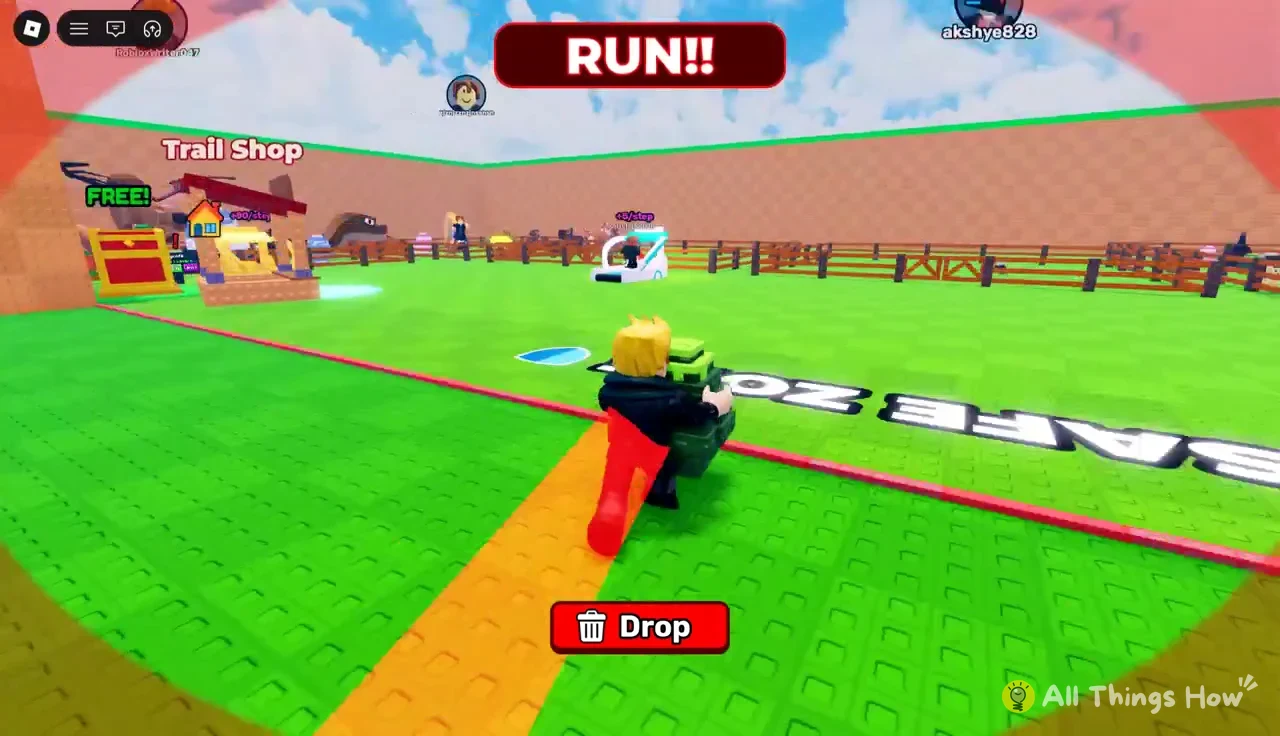
The opening stretch of green course just outside your base displays a SUPER SLOW status. It’s the gentlest place to learn the steal-and-return loop before you commit to longer runs. Prehistoric is the deepest zone on the runway, and its entrance carries a red sign recommending 4M speed.
Build speed before you leave the Safe Zone
Speed is the only real gear in this game. It decides how far down the runway you can go and whether you make it home with what you took. You build it in three ways, and you should stack all of them before a deep run.
Claim the free speed boost
A “DONT LEAVE!” popup sometimes appears with a free reward. Pressing Claim Reward gives you a x1.5 Speed Boost for 10 minutes. That’s long enough to cover several round trips, so do your training and your deepest runs while it’s active. A separate x2 Speed button also sits on the right side of the screen during runs.

Train on the treadmills
Your base has treadmills that add speed every step you take on them. The yellow Stud Blast treadmill pays +360 per step, and the gains keep coming as long as you stay on it. Shoe icons pop up as the points land, so you can see the stat climbing in real time.
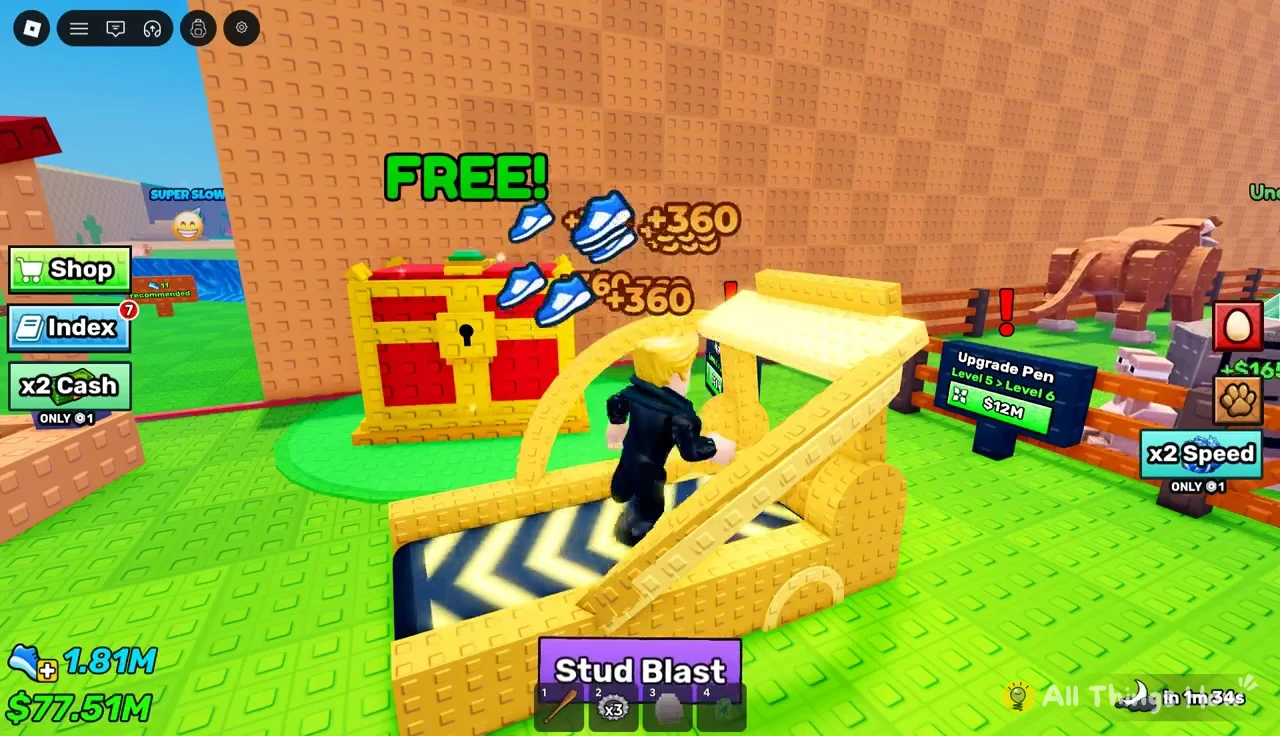
Long, uninterrupted sessions are how you climb toward the later zones. Staying on the treadmill between runs is the cheapest progress in the game, since it costs nothing but time.
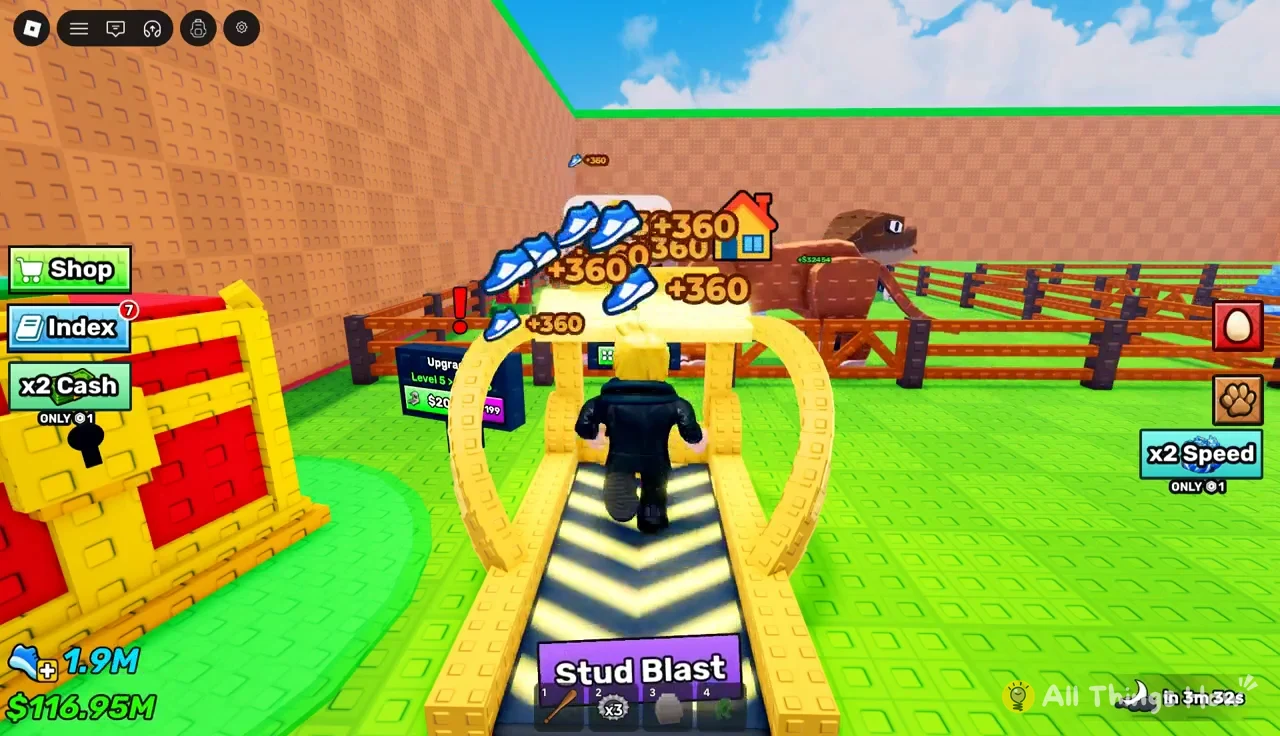
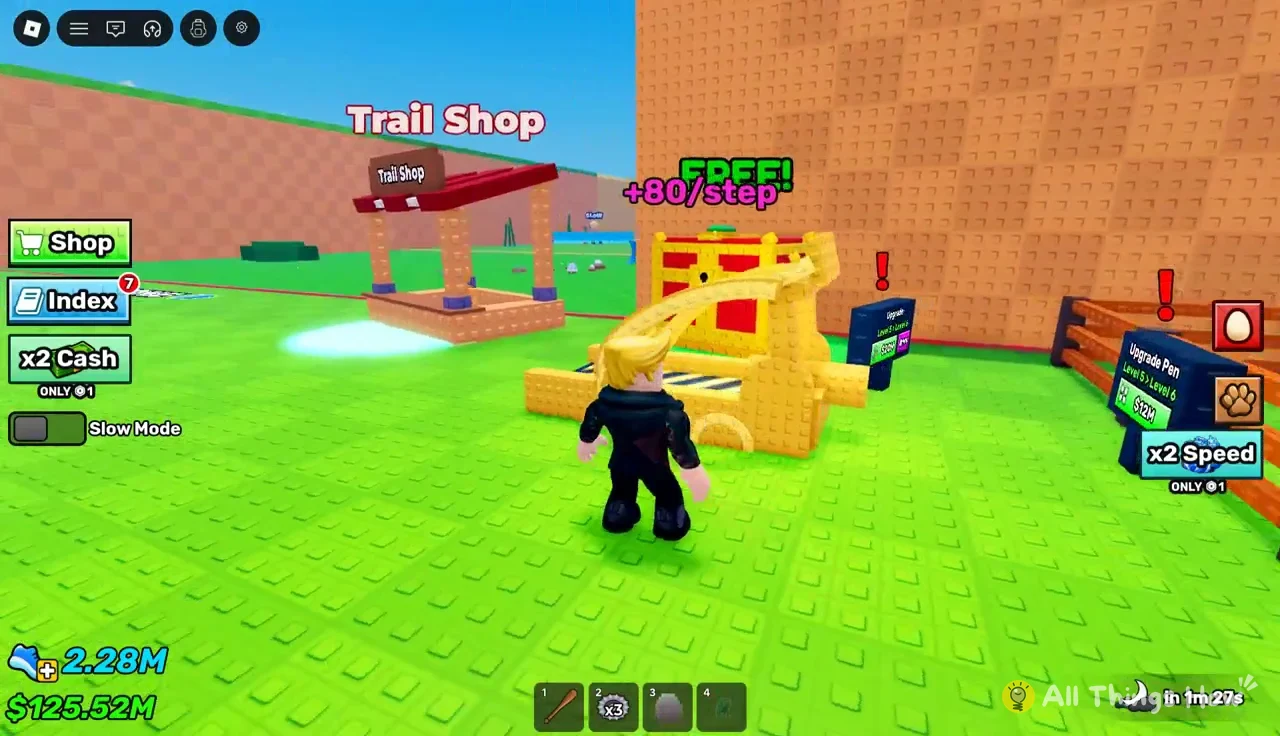
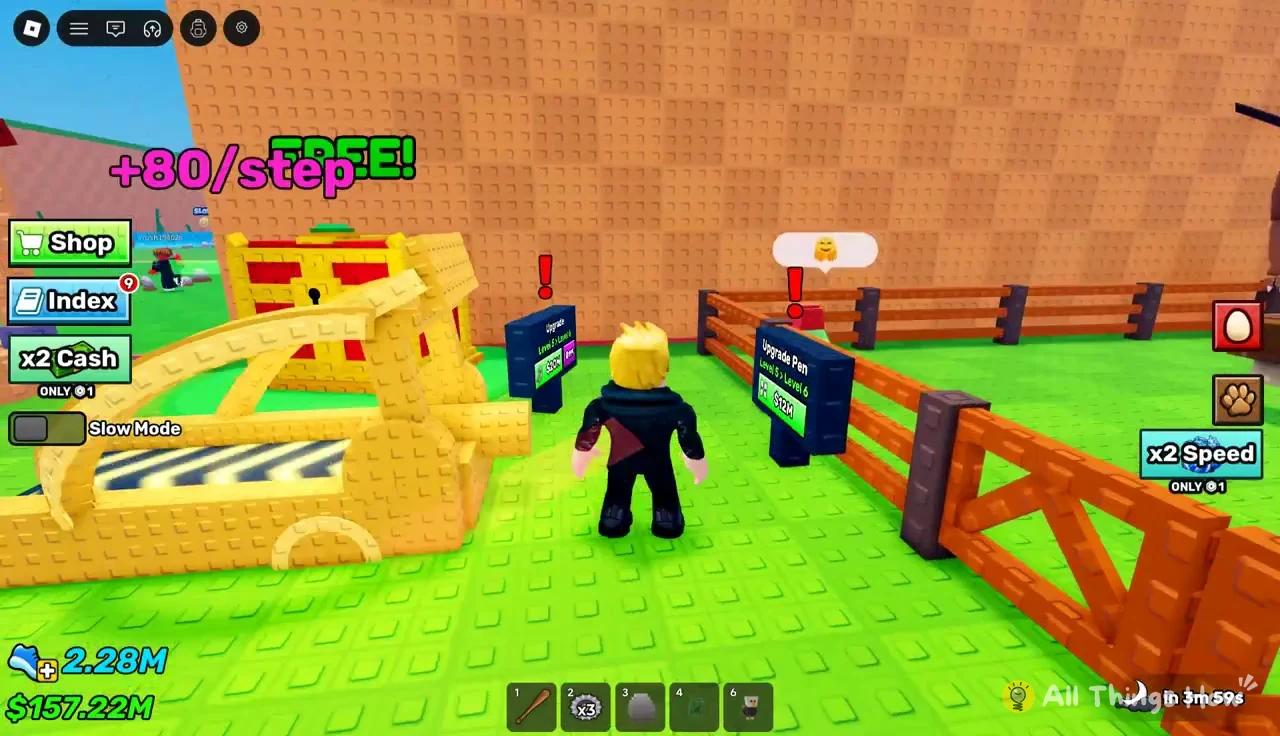
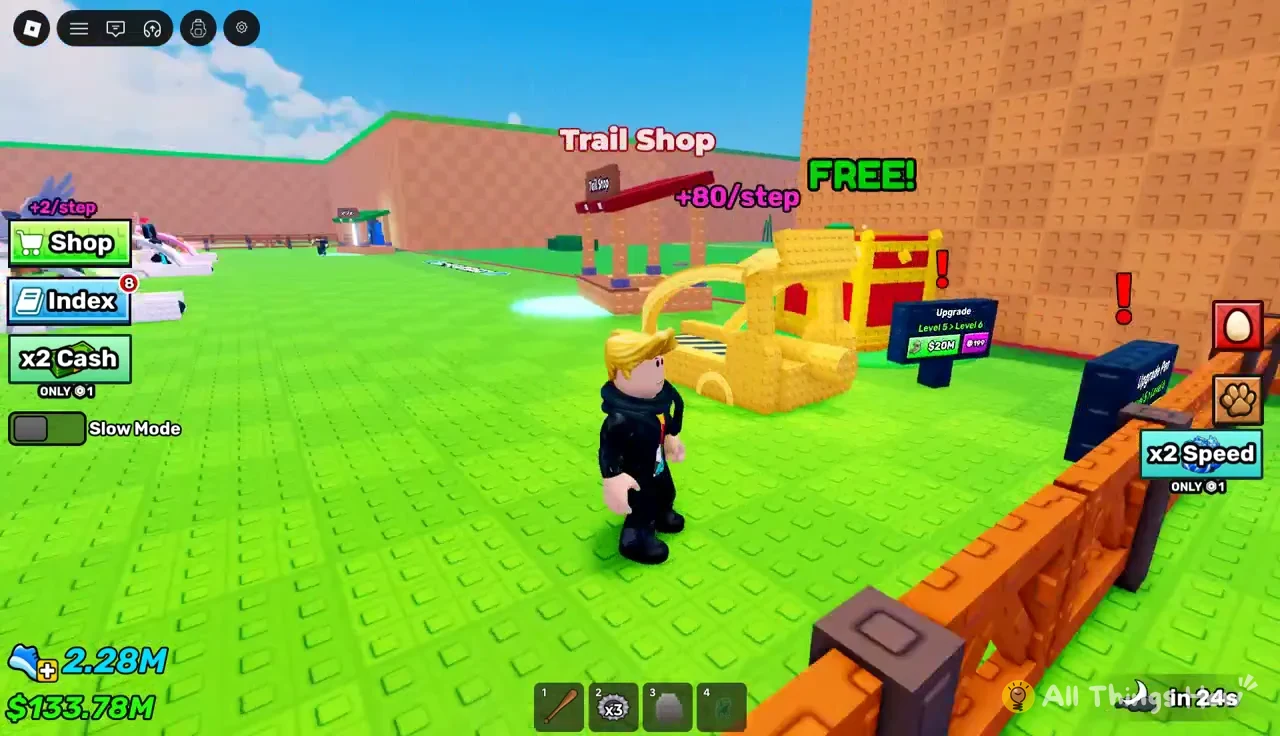
Smaller treadmills around the base pay lower rates, such as +80 and +100 per step. One of them runs along a yellow track near the fenced Upgrade Pen.
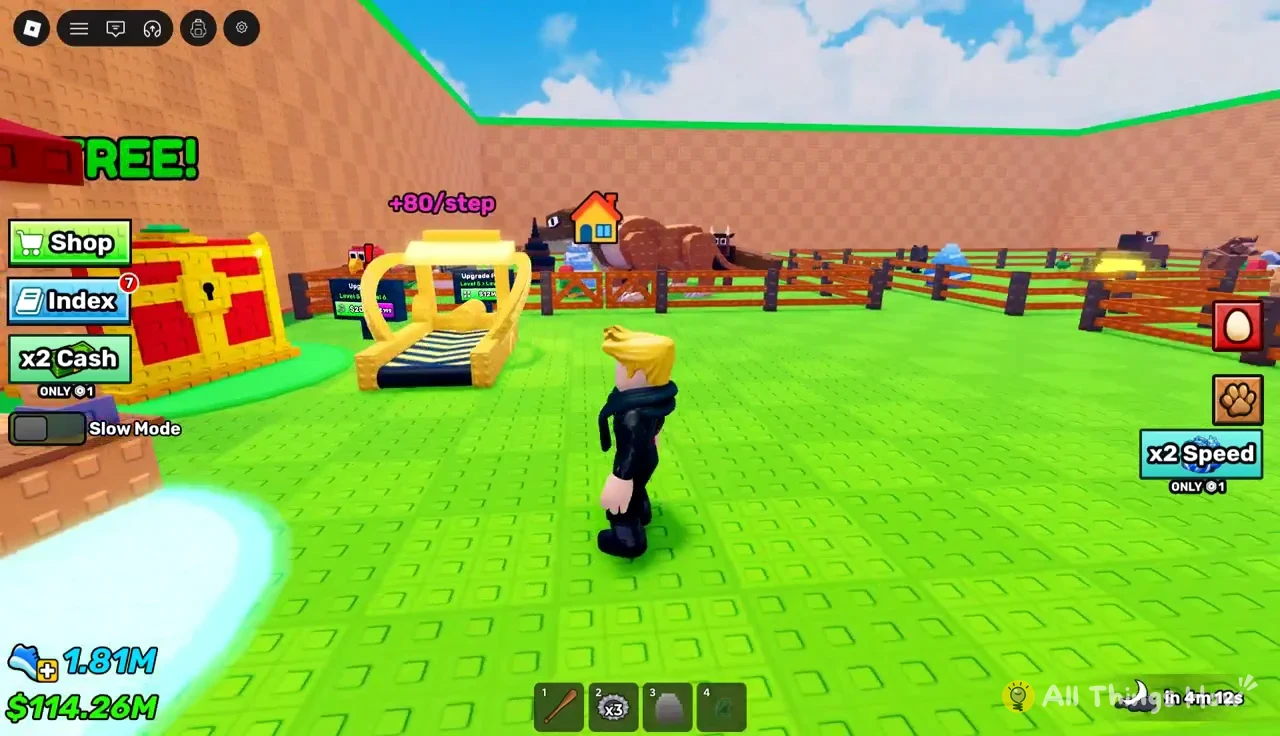
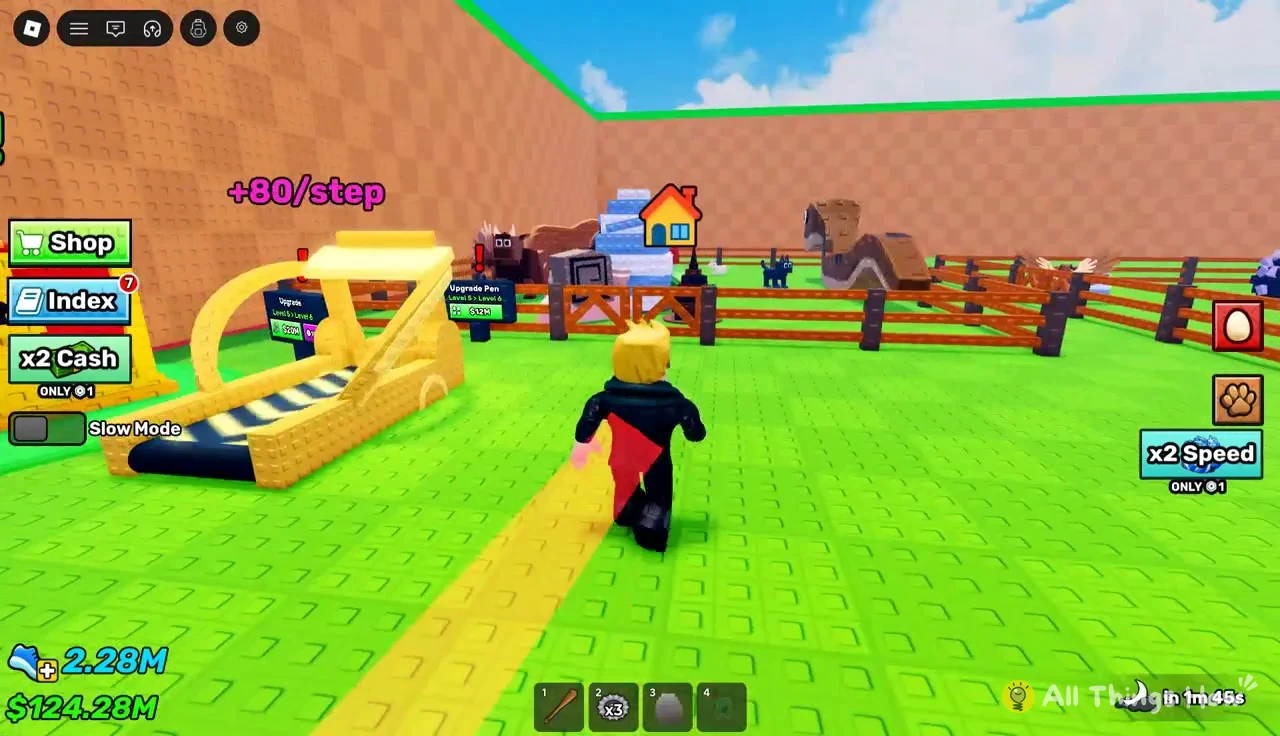
Near the Trail Shop, a golden machine labeled “FREE +80/step” offers a free upgrade. Walk up and claim it the first time you pass.
Buy a speed trail
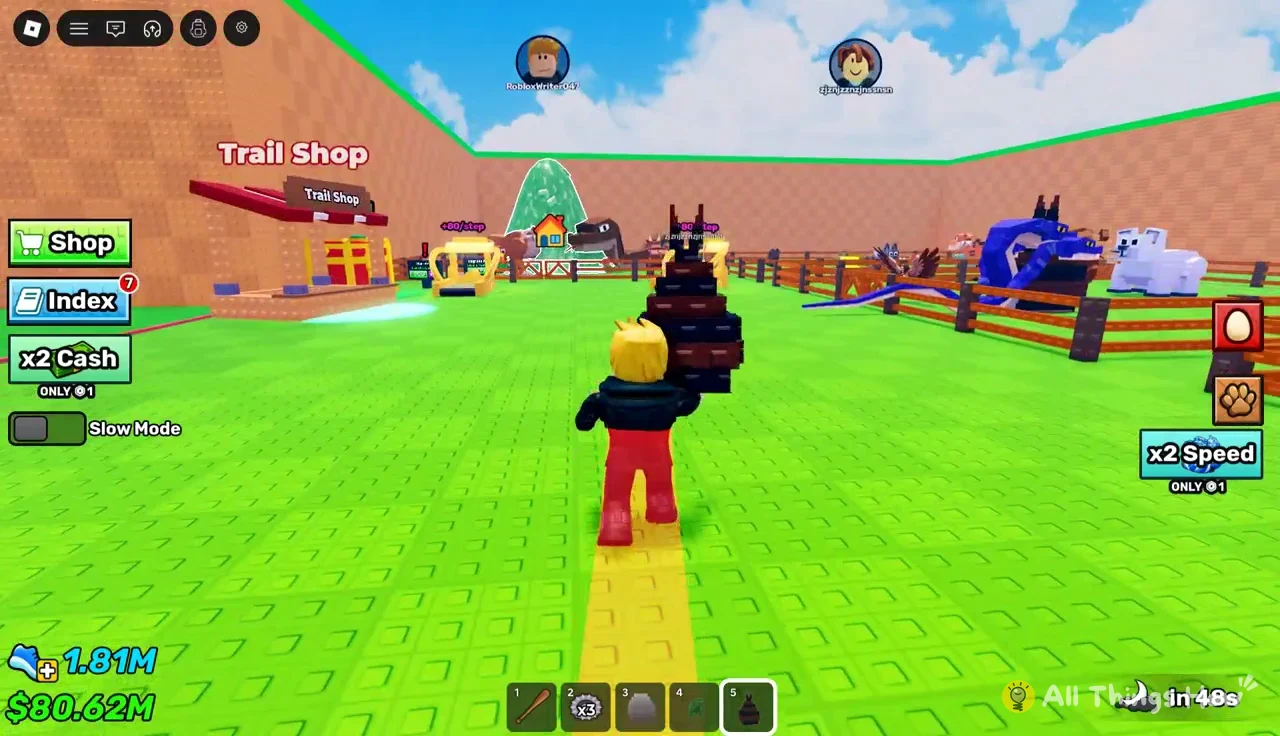
The Trail Shop is in the Safe Zone. Every trail it sells is a speed multiplier, and an equipped trail shows up as a colored streak behind your avatar on the course.
| Trail | Rarity | Speed | Cash price |
|---|---|---|---|
| Red Trail | Mythic | x4 Speed | — |
| Galaxy Trail | Cosmic | x5 Speed | $40M |
| Pink Trail | Cosmic | x6 Speed | $100M |
The Galaxy Trail and Pink Trail also list a second price of 119 and 159 next to their cash cost. Once you own a trail, the shop shows an Unequip button instead of a price. The Red Trail’s x4 multiplier is enough to carry runs all the way into Prehistoric.
How to steal an egg from Abyss Ocean
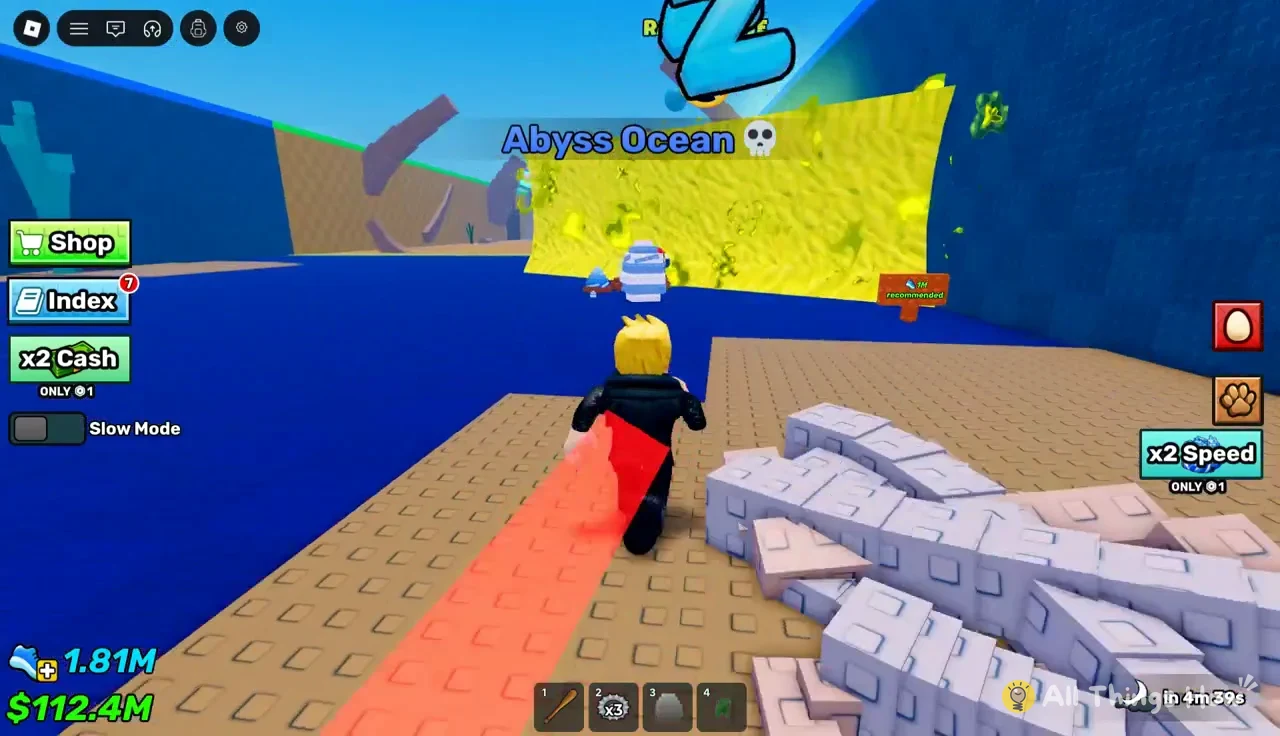
Abyss Ocean is the first zone where the Demon Egg and Ocean Egg show up, and both hatch into strong pets. The run there follows the same pattern as every other zone, just longer.
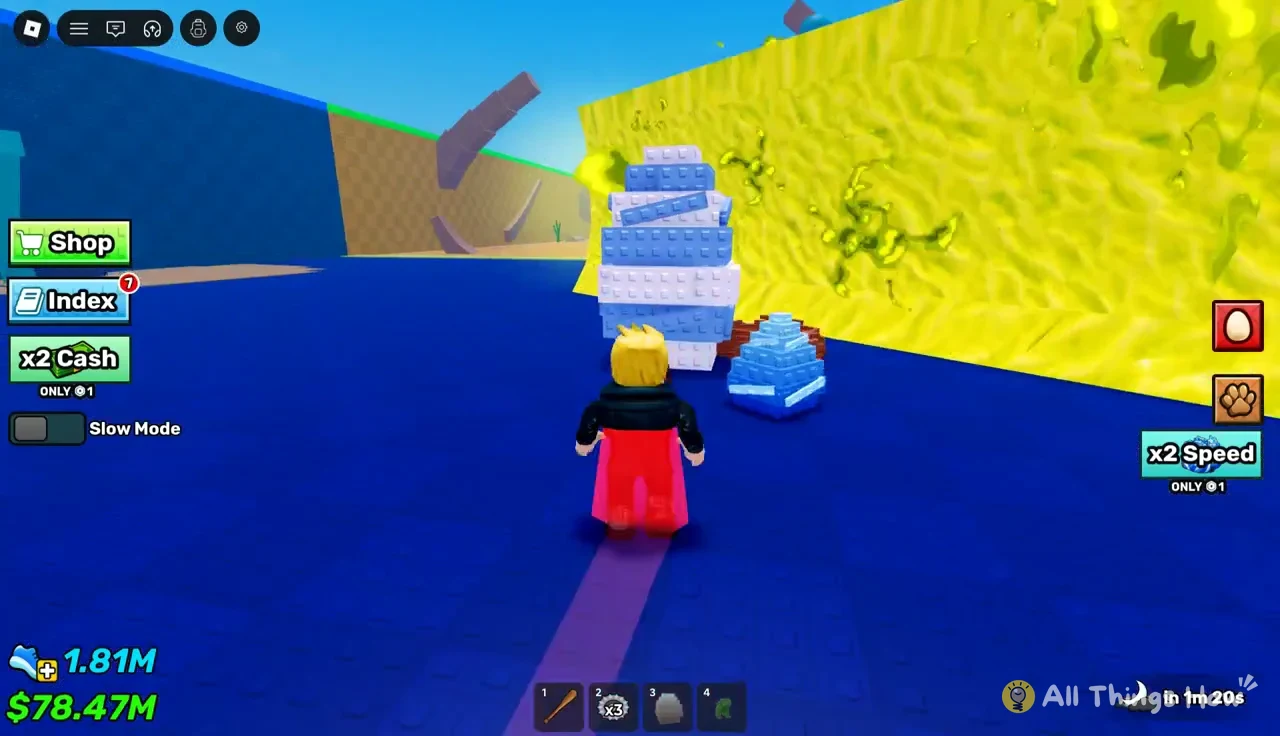
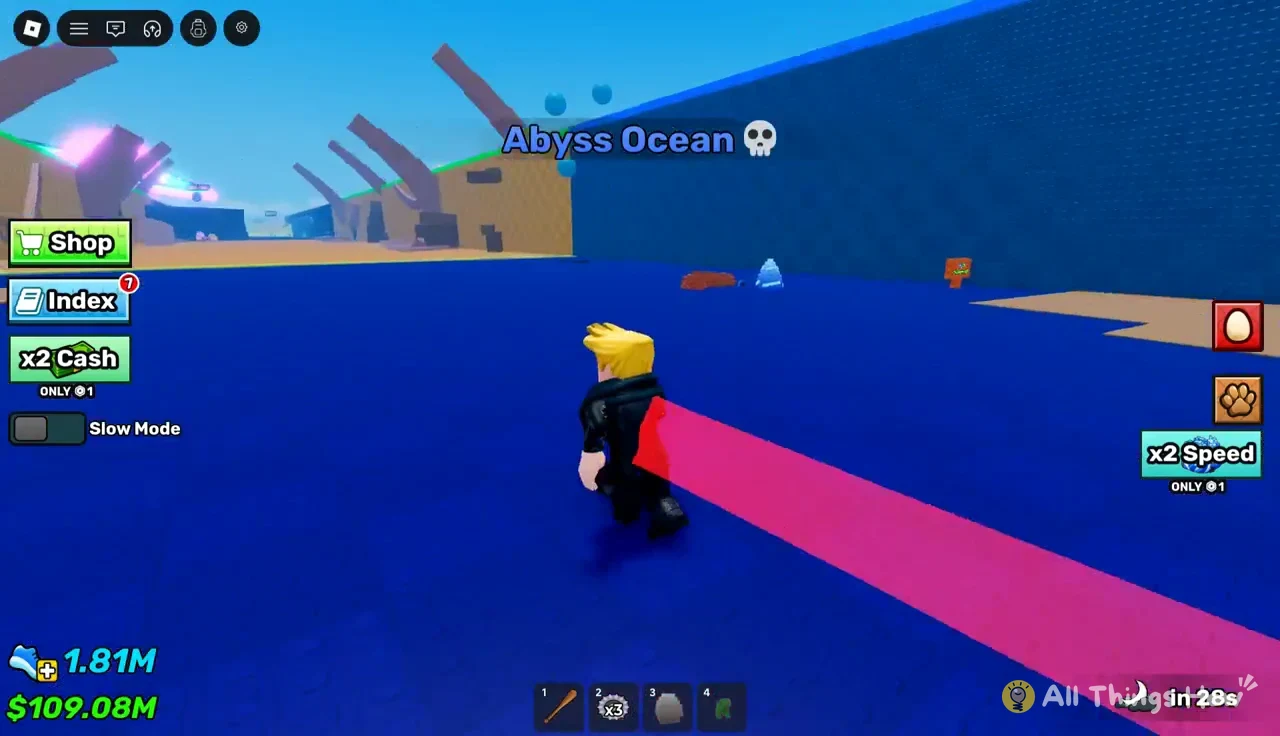
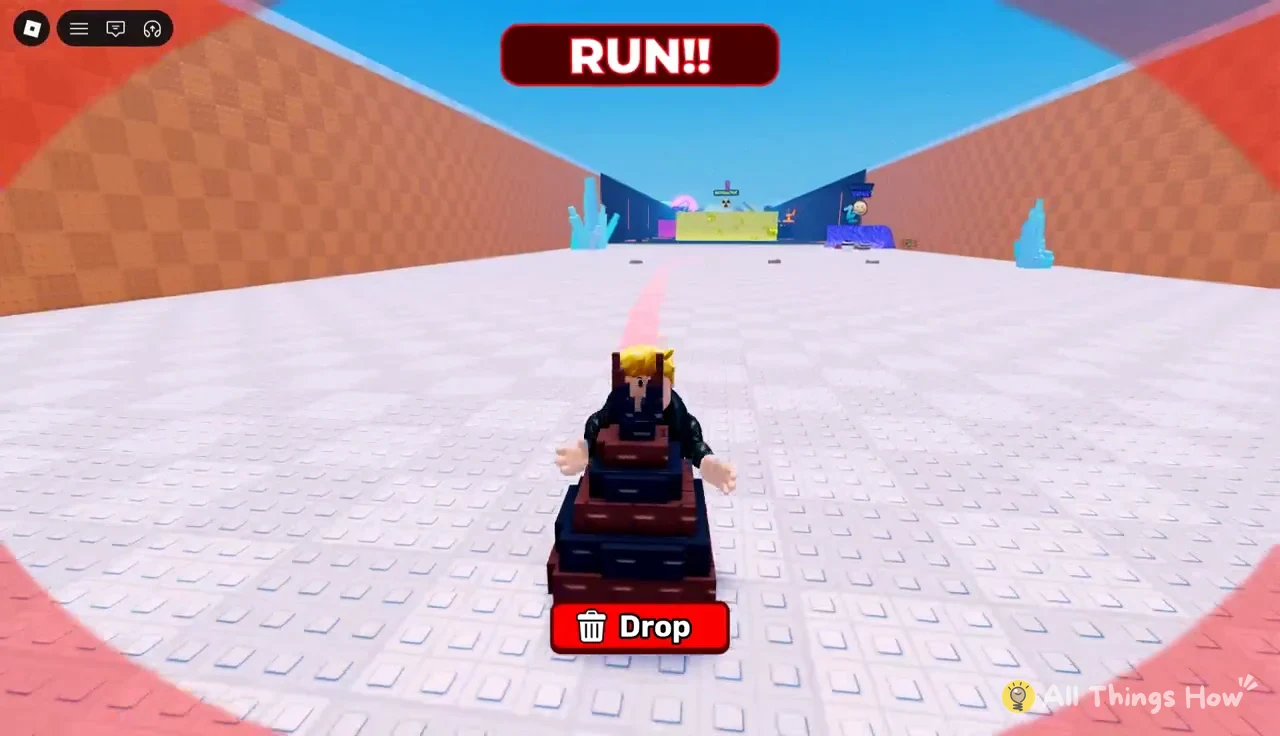
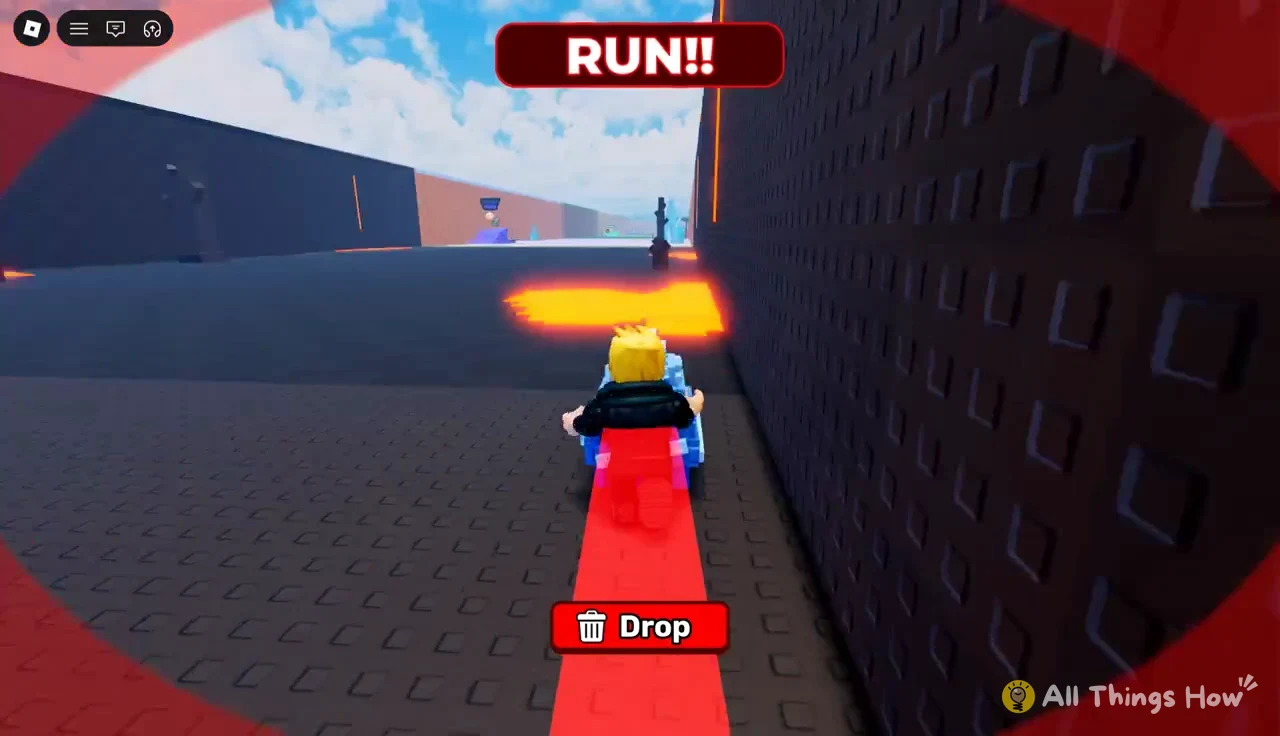
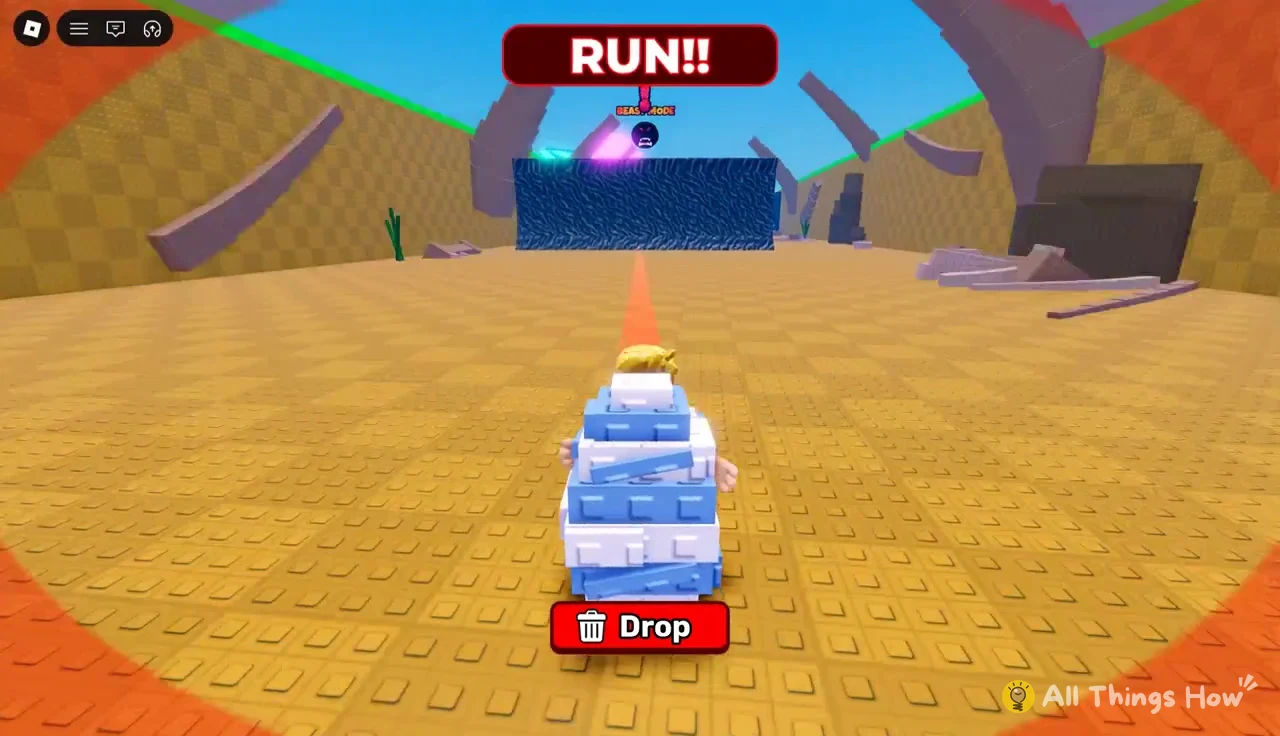
Stepping on a bear trap freezes you with a “TRAPPED” label and a countdown that starts at 7 seconds. While you’re stuck, enemies and other players can attack you and strip the egg off your back. If that happens, you have to run back out for another one.
The nests also refill on a timer. An “ALL EGG RESET!” message appears with a short countdown when the eggs across the map are about to reset, so a missed egg isn’t gone for good.
How to reach the Prehistoric zone
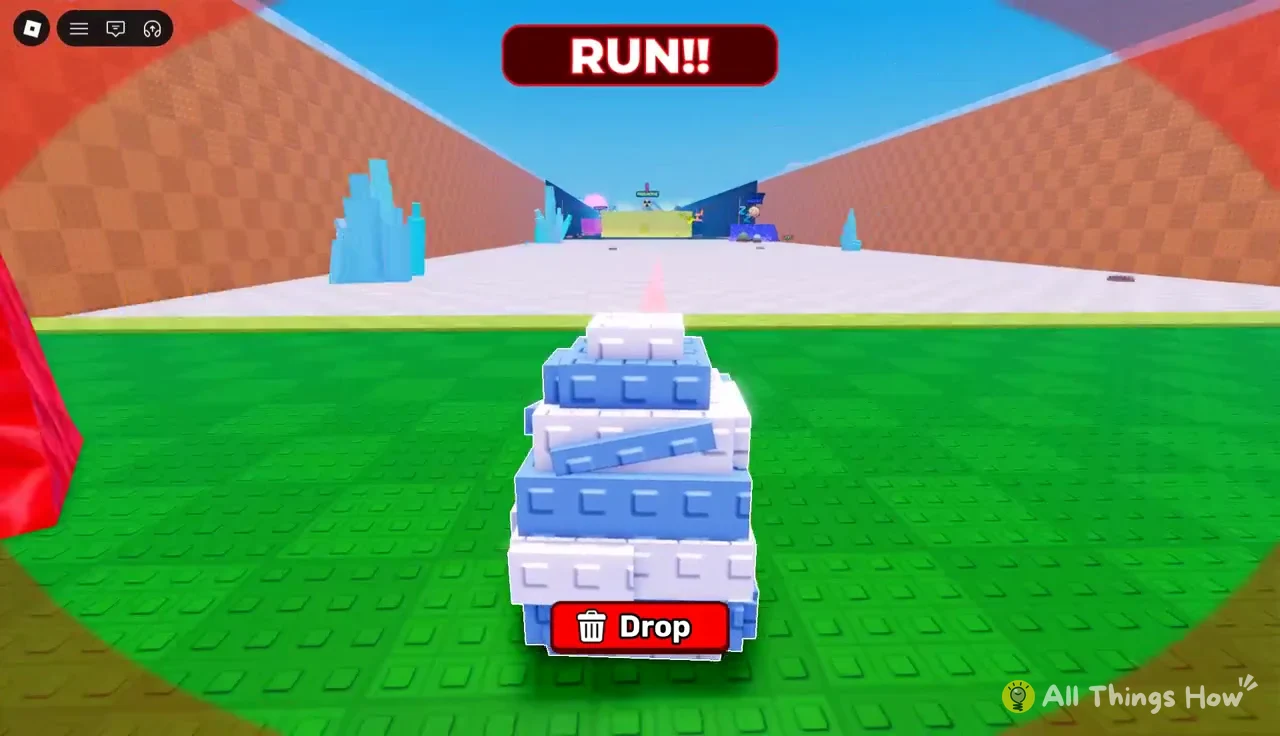
Prehistoric sits past Abyss Ocean at the very end of the runway. The route is the same, but the extra distance means more trap tiles and a longer return under the RUN!! alarm. Equip a trail and claim any speed boost before you go.
Hatch stolen eggs in your pen
A stolen egg does nothing until you place it in an open nest in your pen. Walk up to the pen with the egg and drop it into a free incubation spot. A hatch timer then appears above the egg, such as 6m 37s for a freshly placed Ocean Egg.
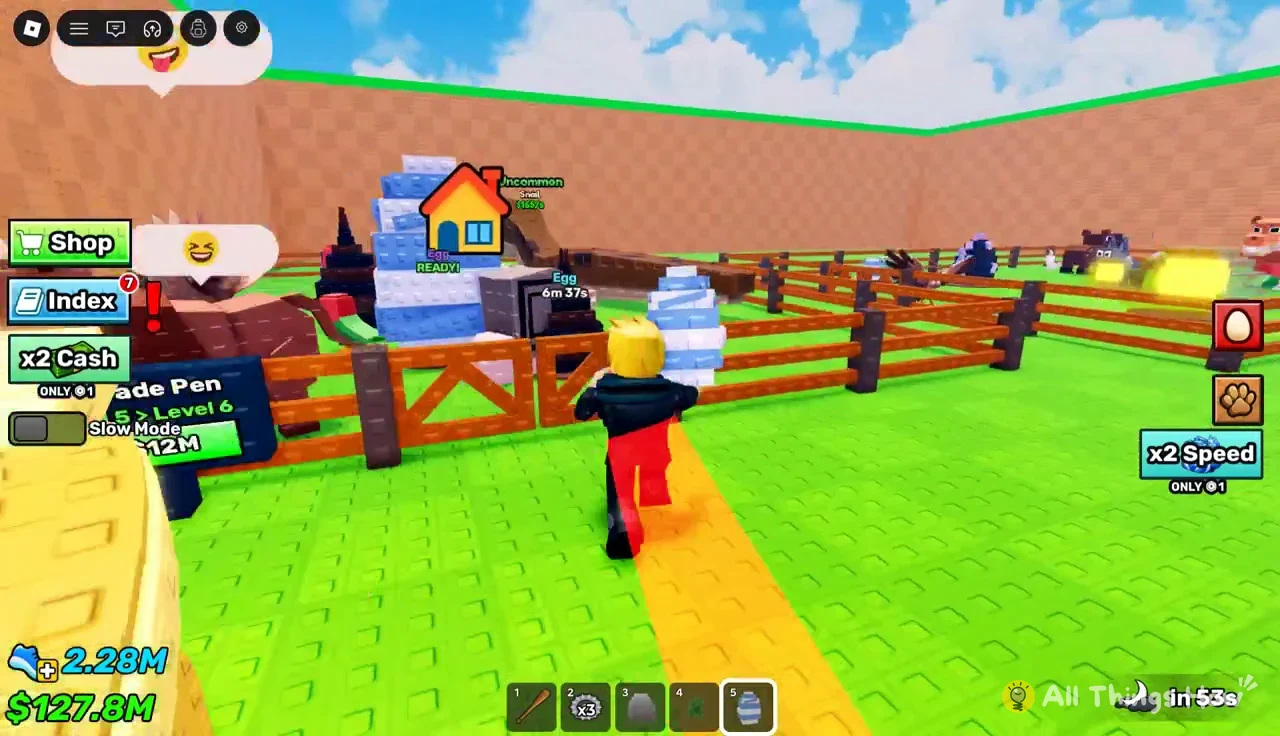
When the timer finishes, press E at the egg to hatch it. If you don’t want to wait, the F prompt triggers Instant Hatch for Robux. Each hatched pet earns cash every second, and that money keeps building while you’re away, which you collect as offline income when you return.
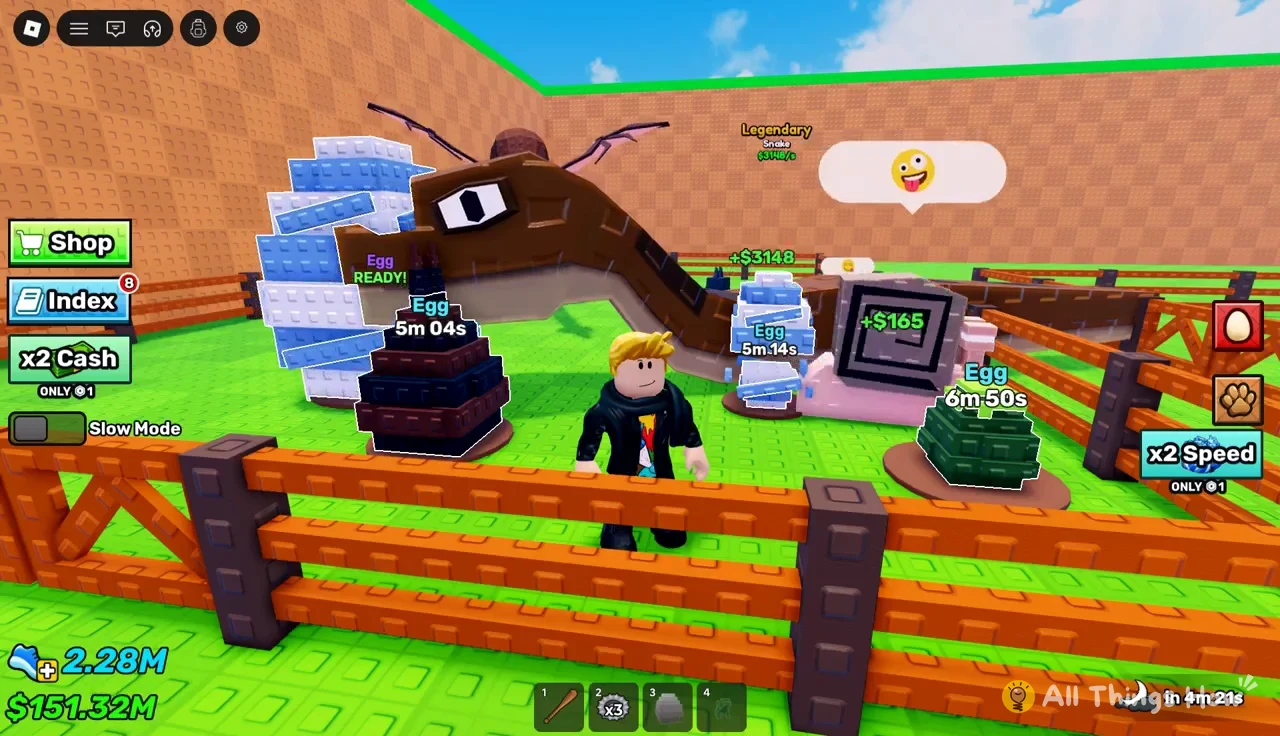
Deep-zone eggs are worth the trip. The Demon Egg from Abyss Ocean can hatch the Mythic Manticore, and the Ocean Egg can hatch the Epic Roc. Hatching and equipping a pet shows a confirmation such as “Successfully equipped Manticore!”
| Pet | Cash per second |
|---|---|
| Manticore | $209,419/s |
| Saber Tooth Tiger | $32,454/s |
| Bull | $20,362/s |
| Cockatrice | $12,039/s |
| Roc | $8,344/s |
| Snake | $3,148/s |
| Parrot | $641/s |
| Snail | $165/s |
| Cat | $95/s |
| Goat | $17/s |
Upgrade the pen when it fills up
The pen has a slot limit. Once every spot is taken, the game shows “Your pen is Full!” and you can’t place new eggs until you expand it. Upgrades are bought with cash at the Upgrade Pen sign beside the pen, and each level costs more than the last.
| Upgrade | Cost | Result |
|---|---|---|
| Level 5 > Level 6 | $12M | More pet slots |
| Level 6 > Level 7 | $30M | 13 slots |
Walk onto the sign and confirm the purchase. A “Pen upgraded!” message with the new slot count tells you it worked, and the next level’s price replaces the old one on the sign.
The loop from there is simple. Hatched pets fund trails and pen space, trails and treadmill time push your speed higher, and higher speed gets you safely to Abyss Ocean and Prehistoric, where the best eggs are waiting.