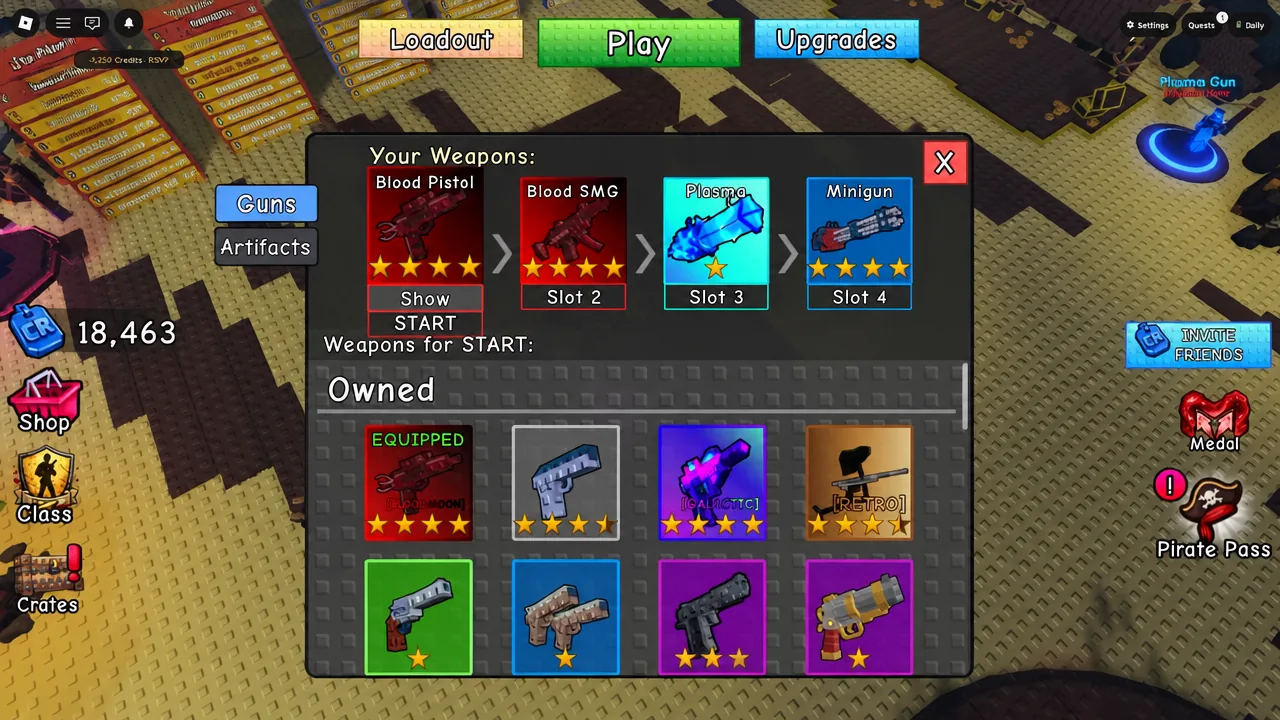
Wave counts in Survive Zombie Arena climb fastest when zombies cannot reach you at all. Two positions do exactly that. One sits behind a wall on Pirate Cove and still lets you shoot, the other drops you into a grassy dead zone outside Prison Yard where nothing spawns. Both run on Normal difficulty, and both work with the same core loadout.
Quick answer: Equip the Bastion class with Blood weapons, start Pirate Cove on Normal, drop to the bottom deck at the back of the ship, and jump into the wall beside the stairs to slide out of bounds — then place a shelter and ring it with laser turrets to clear waves for you.
Loadout requirements before you queue
Bastion is the class that makes both setups work, because the shelter it places is the anchor for the turret ring and for the Prison Yard roof jump. Everything else is damage and sustain so the early waves go quickly.
| Slot | What to equip |
|---|---|
| Class | Bastion (from the Class Shop) |
| Weapons | Blood Pistol and Blood SMG, upgraded |
| Artifacts | Deathbloom, Phoenix Feather, Special Drone, Cryo Fuel |
| Difficulty | Normal |
| Maps | Pirate Cove (active) or Prison Yard (AFK) |
The Bastion shelter gives +4 HP/s regeneration, +10% damage, and is zombie-proof, so it doubles as a safe box while you set up. Keep enough crystals in reserve for turrets rather than spending everything on weapon upgrades mid-run.
Pirate Cove wall clip for active wave farming
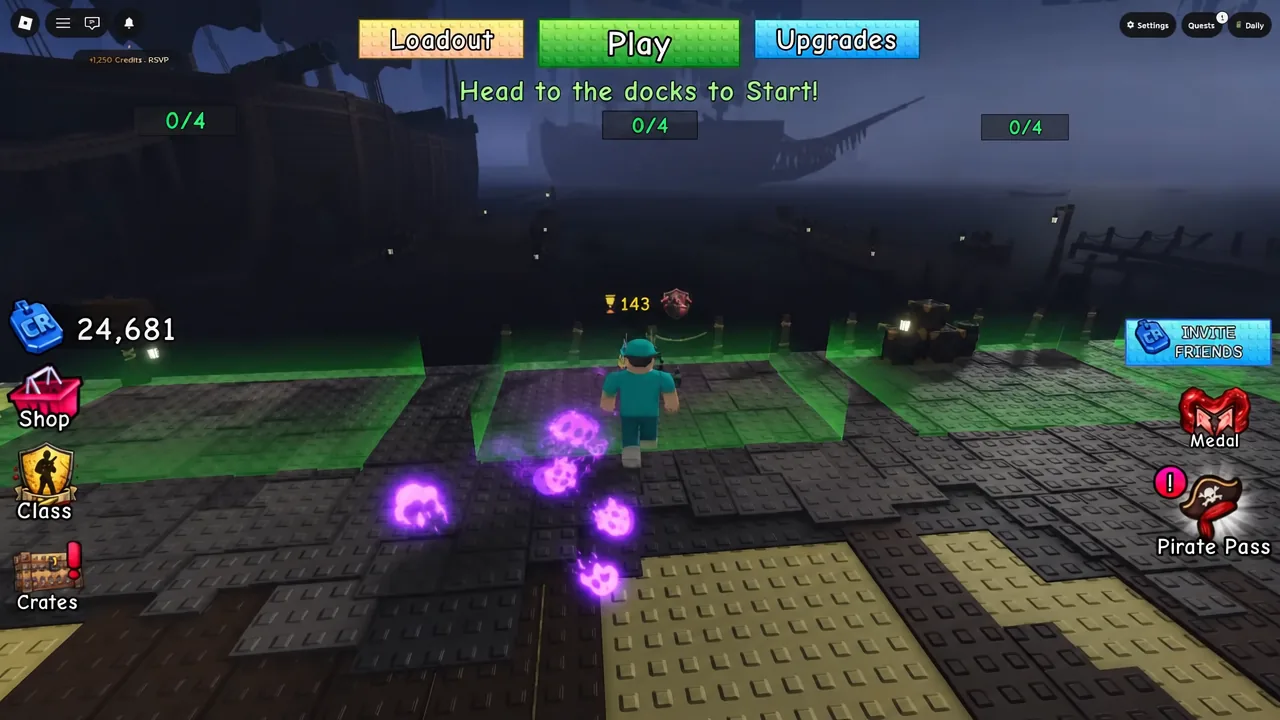
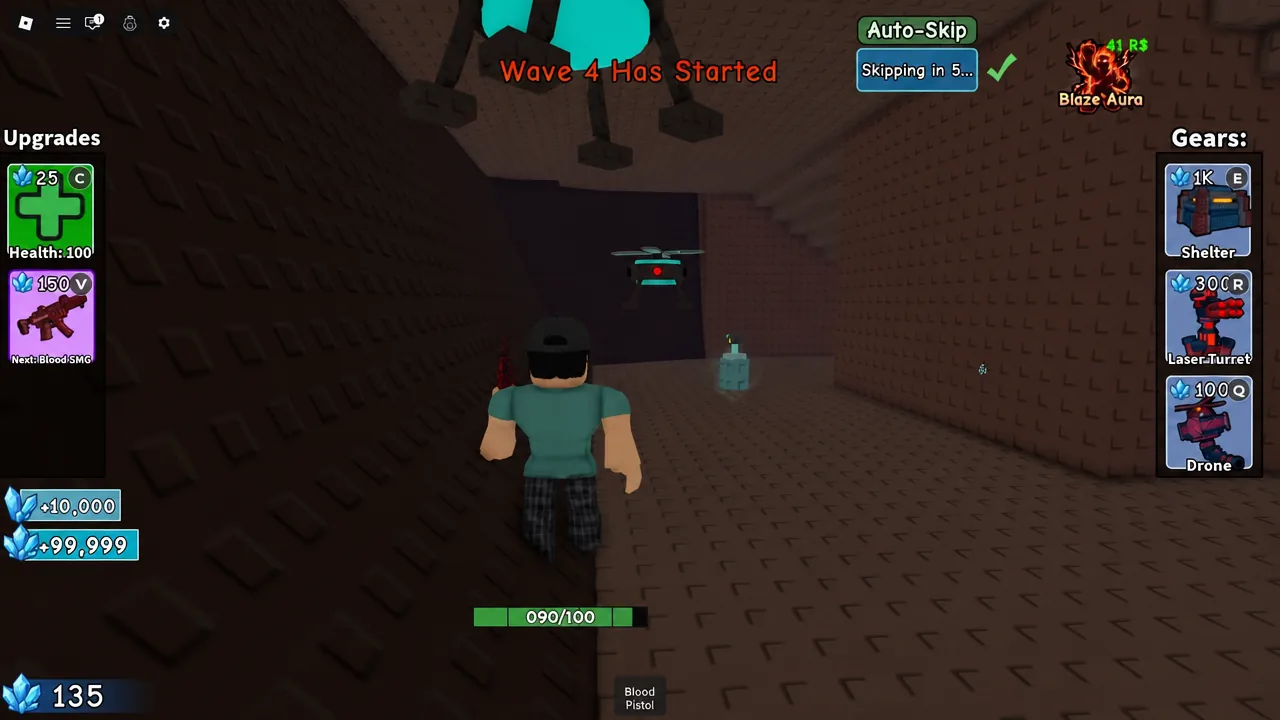
Note: this position still needs you at the keyboard. It is the faster of the two setups per wave, not the hands-off one.
Prison Yard roof jump for AFK farming
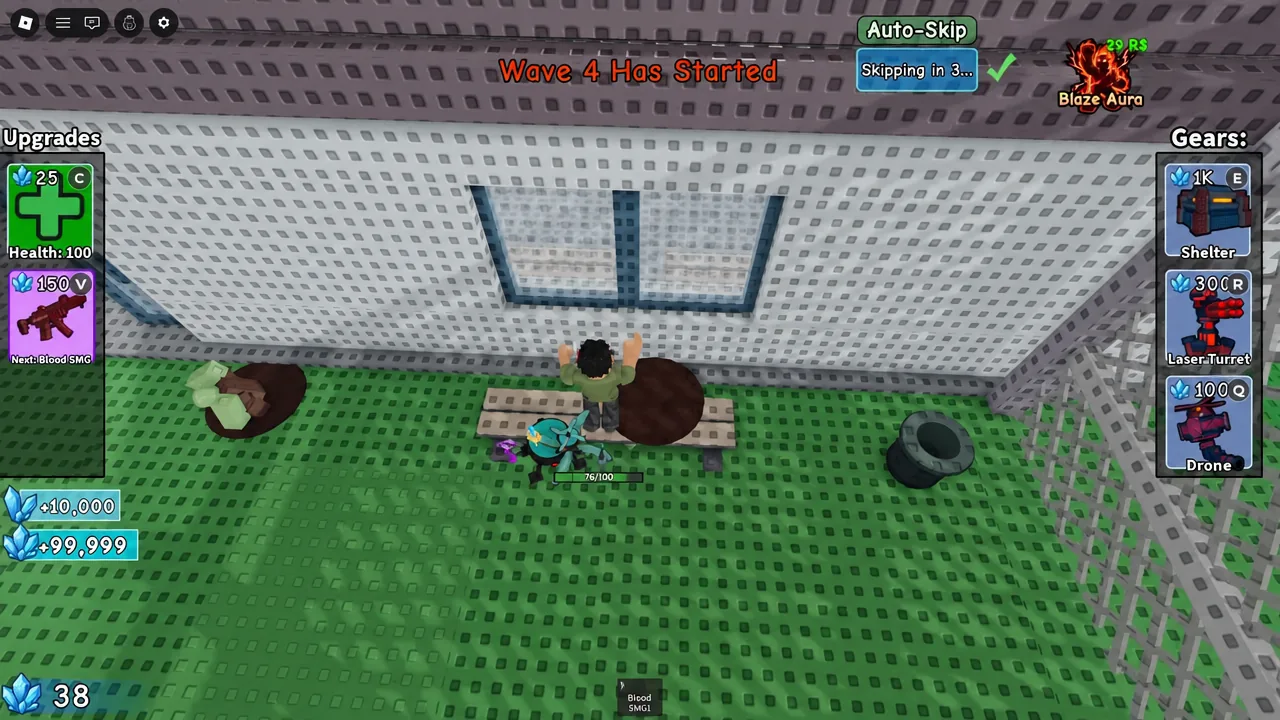
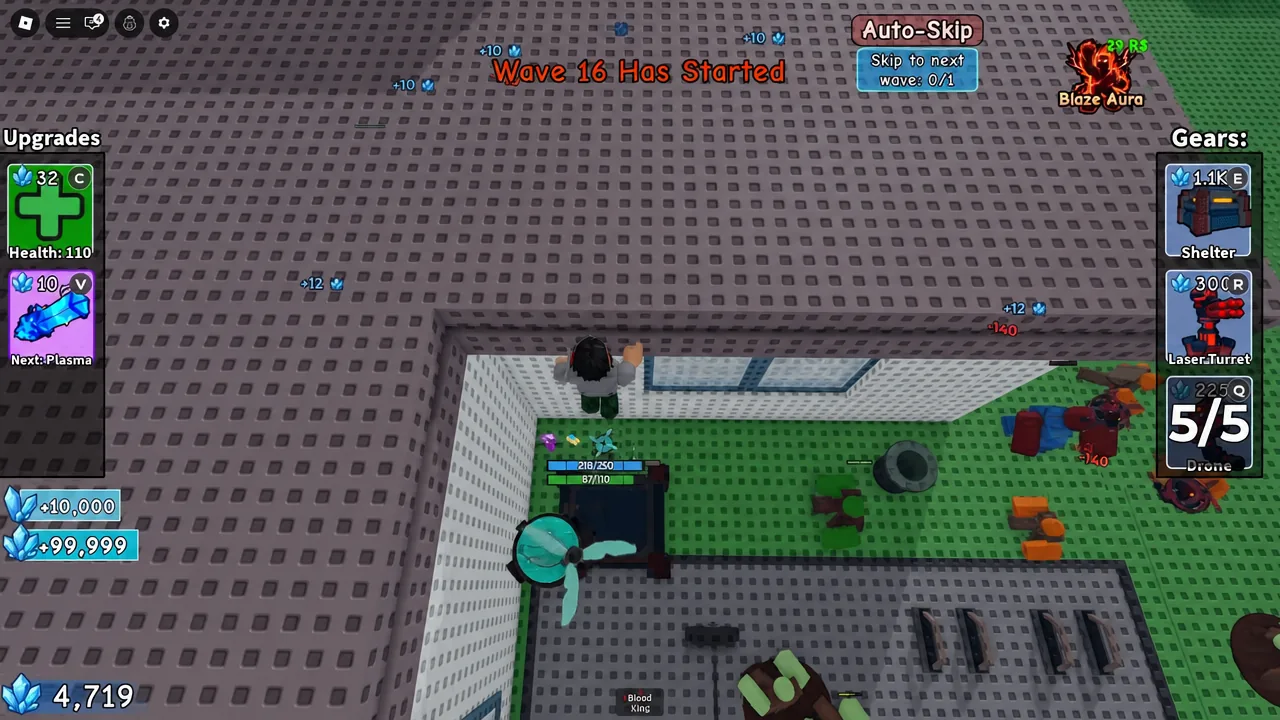
Players on smaller avatars have a shortcut available. A compact character can slip through the fence directly, skipping the shelter jump entirely.
Auto-clicker settings
OP Auto Clicker works for this. The point is to keep input registering so the session stays alive and your weapon keeps firing.
| Setting | Value |
|---|---|
| Click interval | 100 milliseconds |
| Mouse button | Left |
| Click type | Single |
| Click repeat | Repeat until stopped |
Confirming the setup worked and what it pays
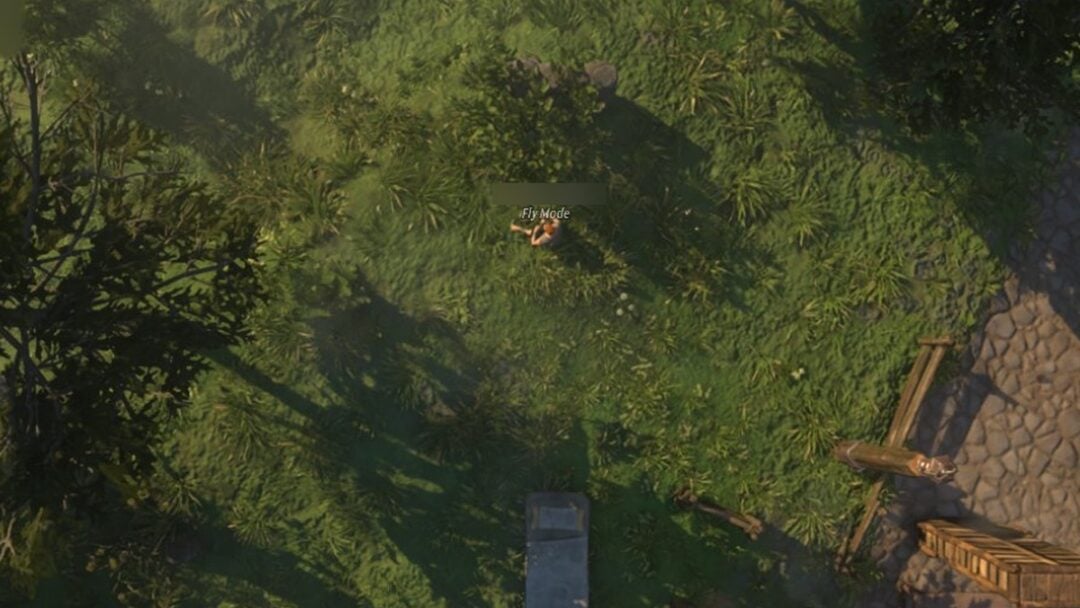
You know the Pirate Cove clip landed when zombies bunch up on the other side of the wall and your health bar stops moving while you fire. On Prison Yard, the confirmation is landing on the grass beyond the fence with the wave counter still ticking up and no enemies pathing toward you.
A Pirate Cove run taken to Wave 33 pays out 8.6K credits, or 17.2K with a double reward. That is a single mid-length session, and the number scales with how far you push before returning to the lobby.
When a run fails, it is usually one of a few things. Placing the Prison Yard shelter too far from the helicopter pad means the jump stack never reaches the roof. Stopping too close to the map edge leaves you exposed to flying zombies. And on Pirate Cove, jumping at the wrong part of the wall simply bounces you back onto the deck instead of sliding you through.
Both methods depend on map geometry that developers can close off in any update, so treat them as temporary rather than permanent farming routes. Automation tools and out-of-bounds positions also carry moderation risk on Roblox, and a patch can invalidate a setup with no warning. If either position stops behaving the way it does now, fall back to a turret-heavy corner base and clear waves the normal way while you re-test.