Gaming Guide

Talos Phase 2 in Castlevania: Belmont’s Curse (How to Kill All Four Drones and Hit the Core)

Where each of the four shield drones sits in the lower arena, how to latch them, and where to stand to strike the core.

Where each of the four shield drones sits in the lower arena, how to latch them, and where to stand to strike the core.

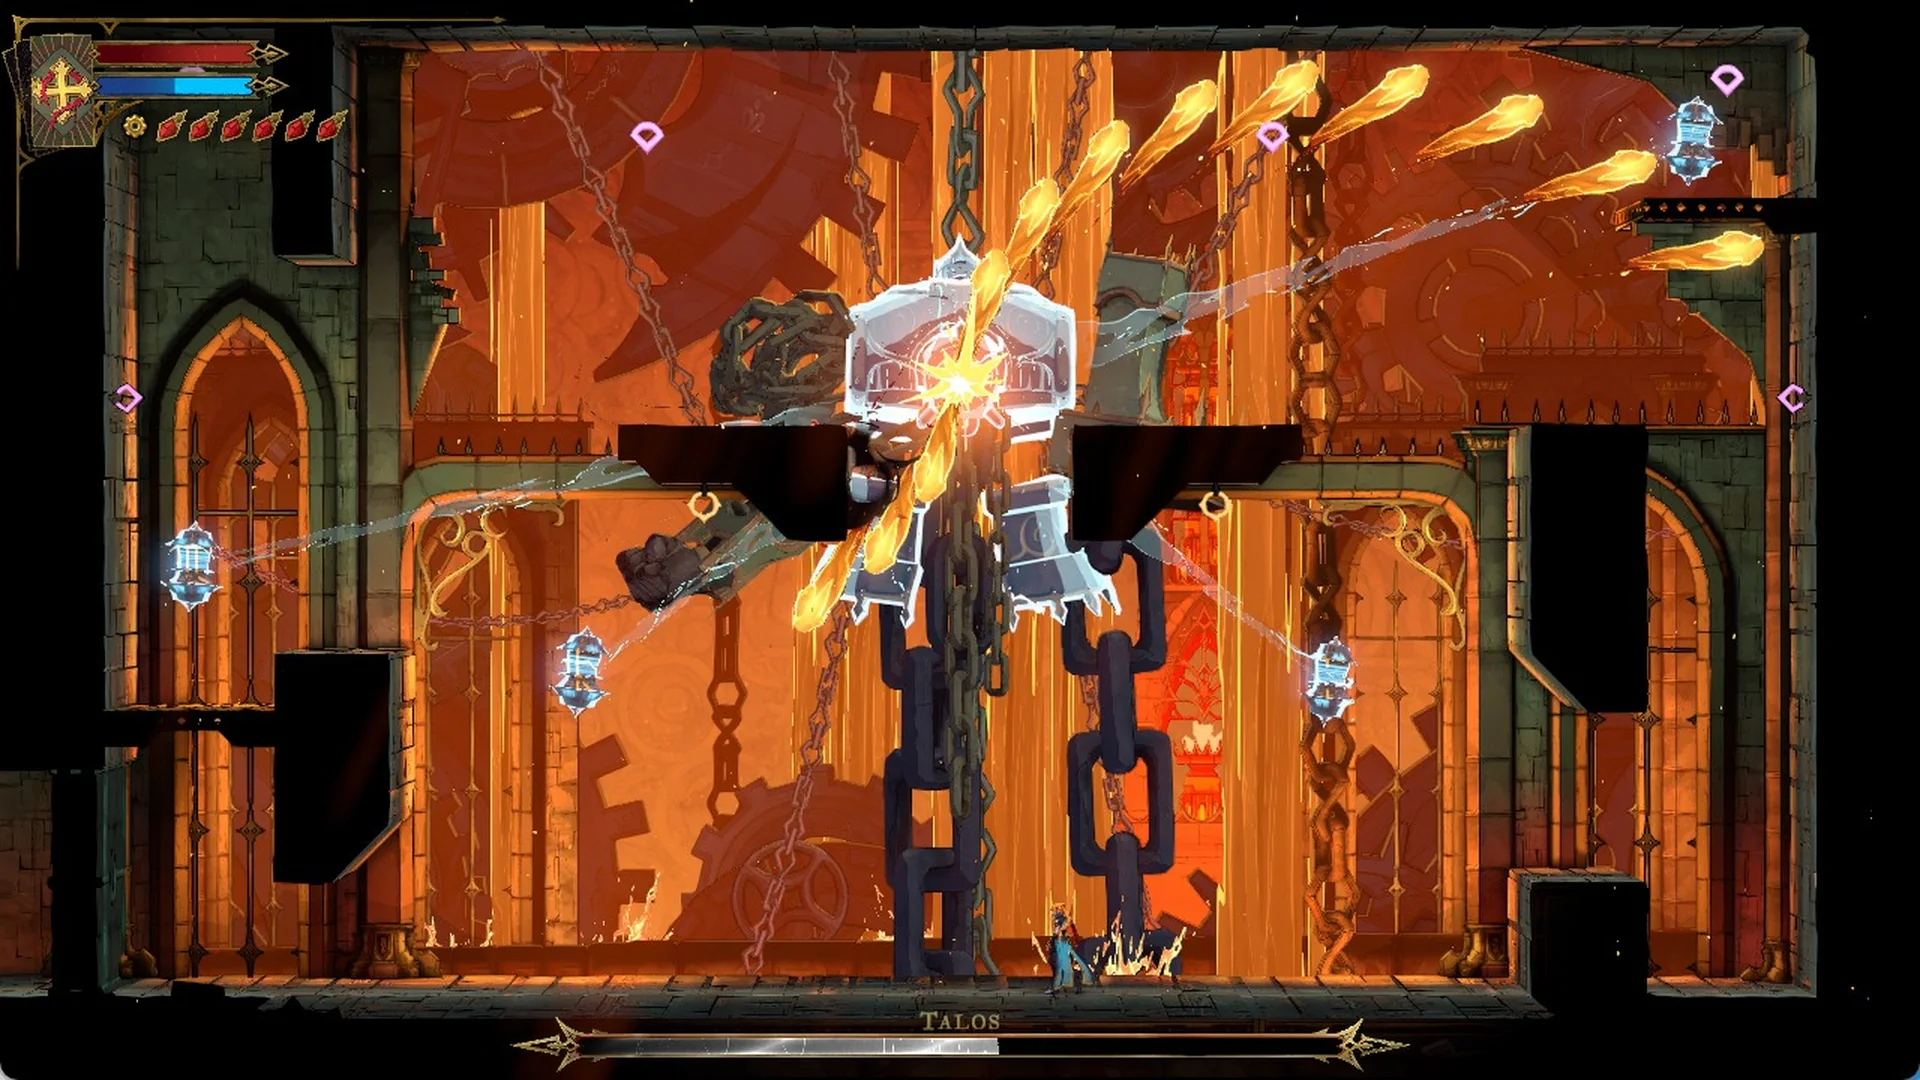
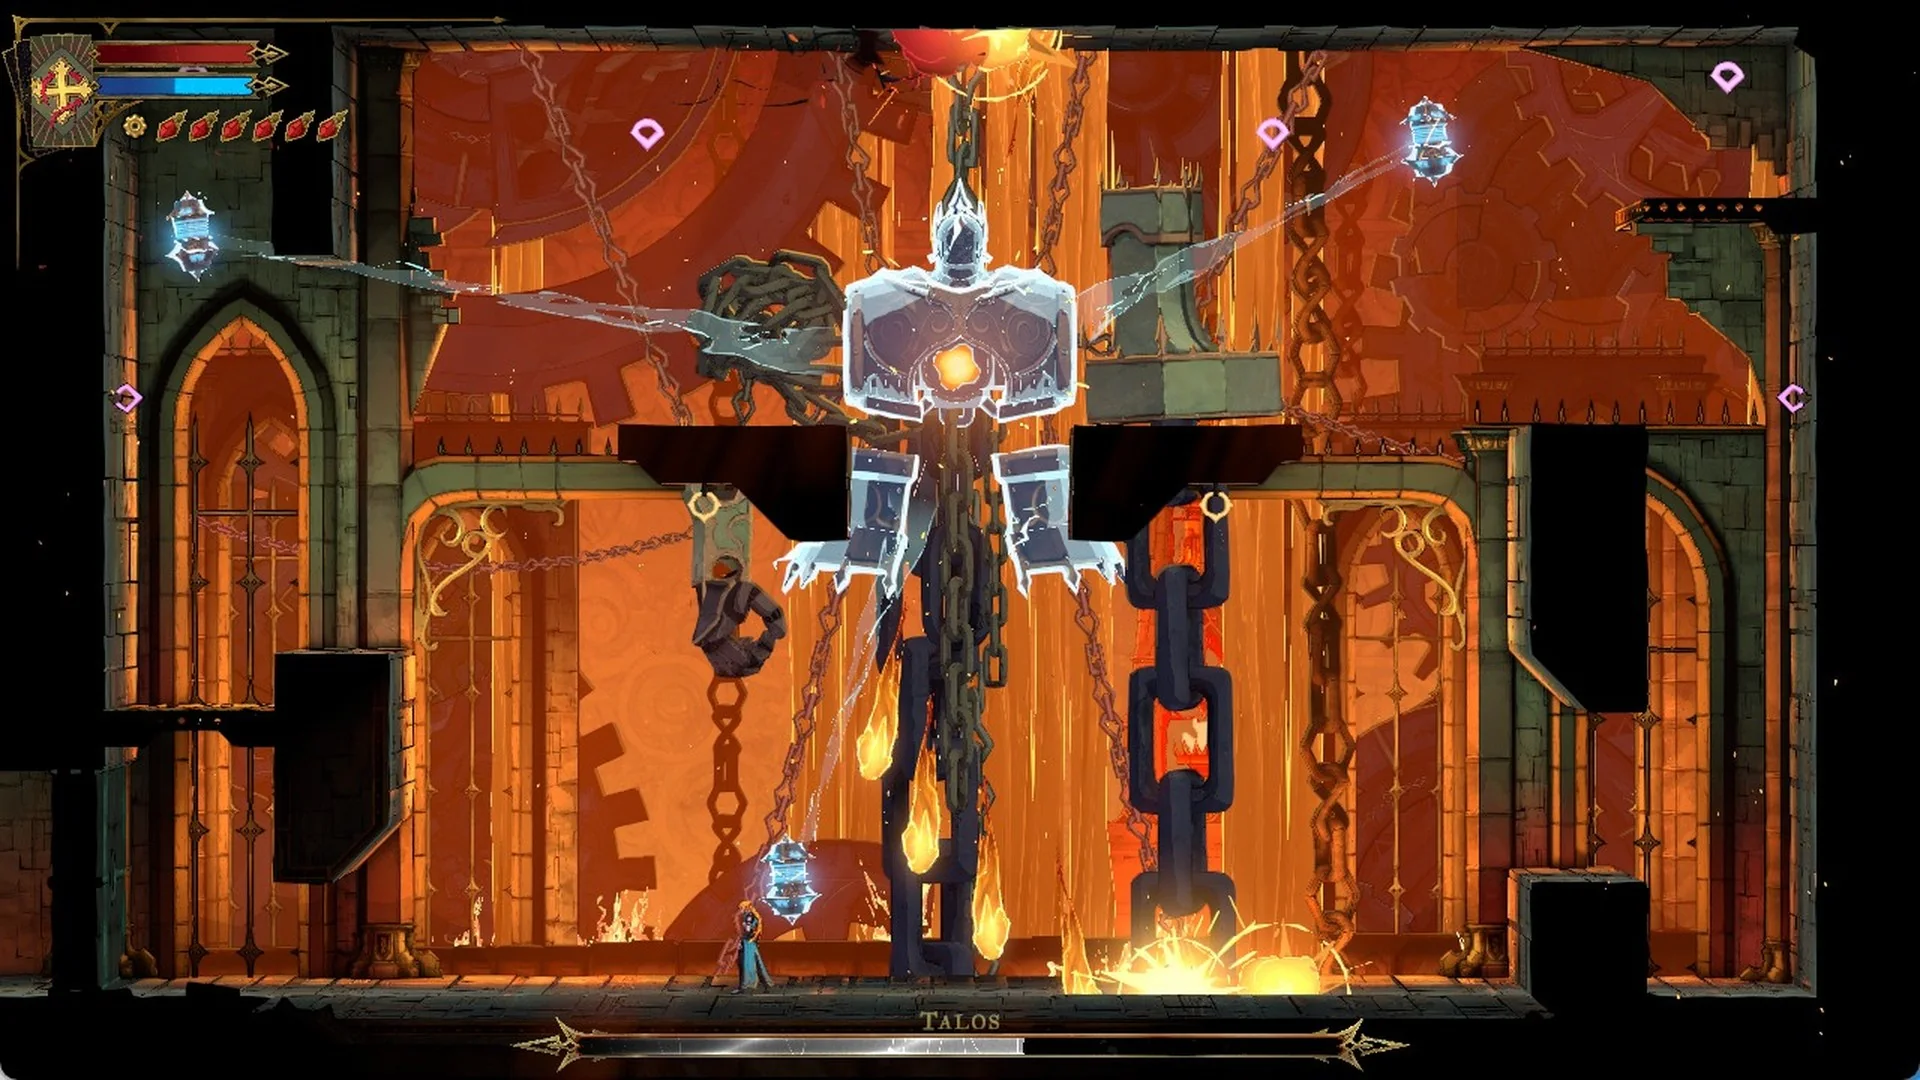
Talos under his blue shield in the lower arena with four drones in Castlevania: Belmont's Curse

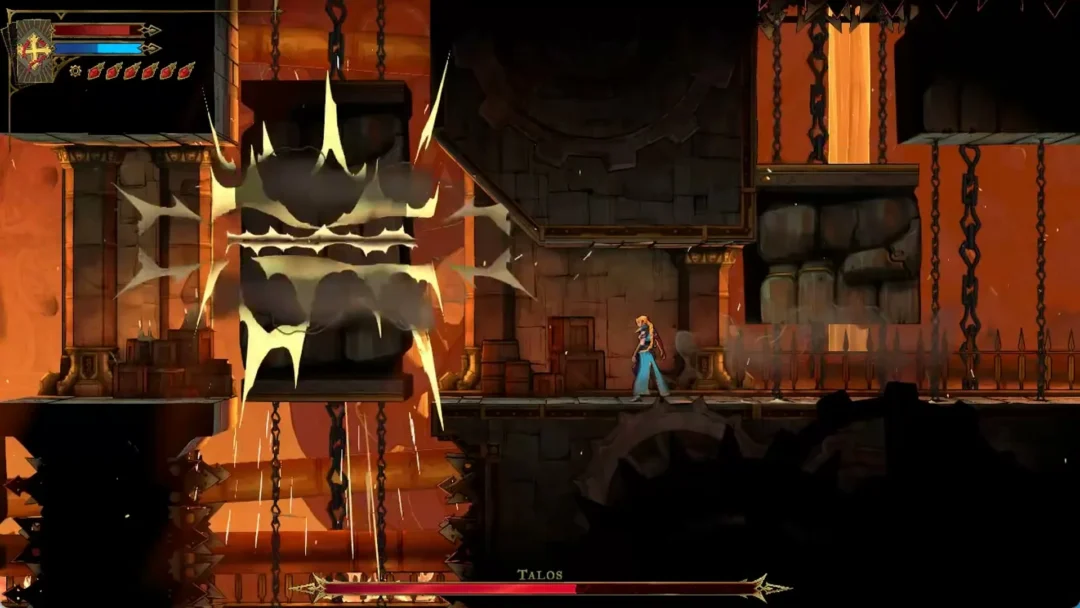
In Castlevania: Belmont’s Curse, Talos’s second phase unfolds in the Clock Tower’s lower arena immediately after the Talos gauntlet. The setup initially resembles the first stage, though the shield now has four drones behind it instead of three. The difficult target is the drone hovering high on the right, beyond reach from ground level.

Quick answer: From the ground, latch onto both low drones and the one by the left wall when each reaches its lowest point. Use the ring beneath the right central platform to swing over to the right pillar for the elevated drone, then hit the core.


What changes in phase 2

You land on the floor of the lower arena. Talos is chained between two central platforms again, behind the same pale blue shield. His health bar continues from where stage 1 ended. If you need a refresher on the first round, see how to break Talos’s shield.

Beams now link four drones to him:

  • A low drone to the left of the central chains, bobbing just above the floor
  • A low drone to the right of the chains, also bobbing just above the floor
  • A higher drone by the left wall that bobs up and down
  • A high drone on the right that drifts left and right near the top of the hall

Your hits on Talos do no damage while any drone is still alive. His attacks haven’t changed since stage 1. He uses fire columns, floating mines, and fans of fireballs. Get down to the floor when they start.
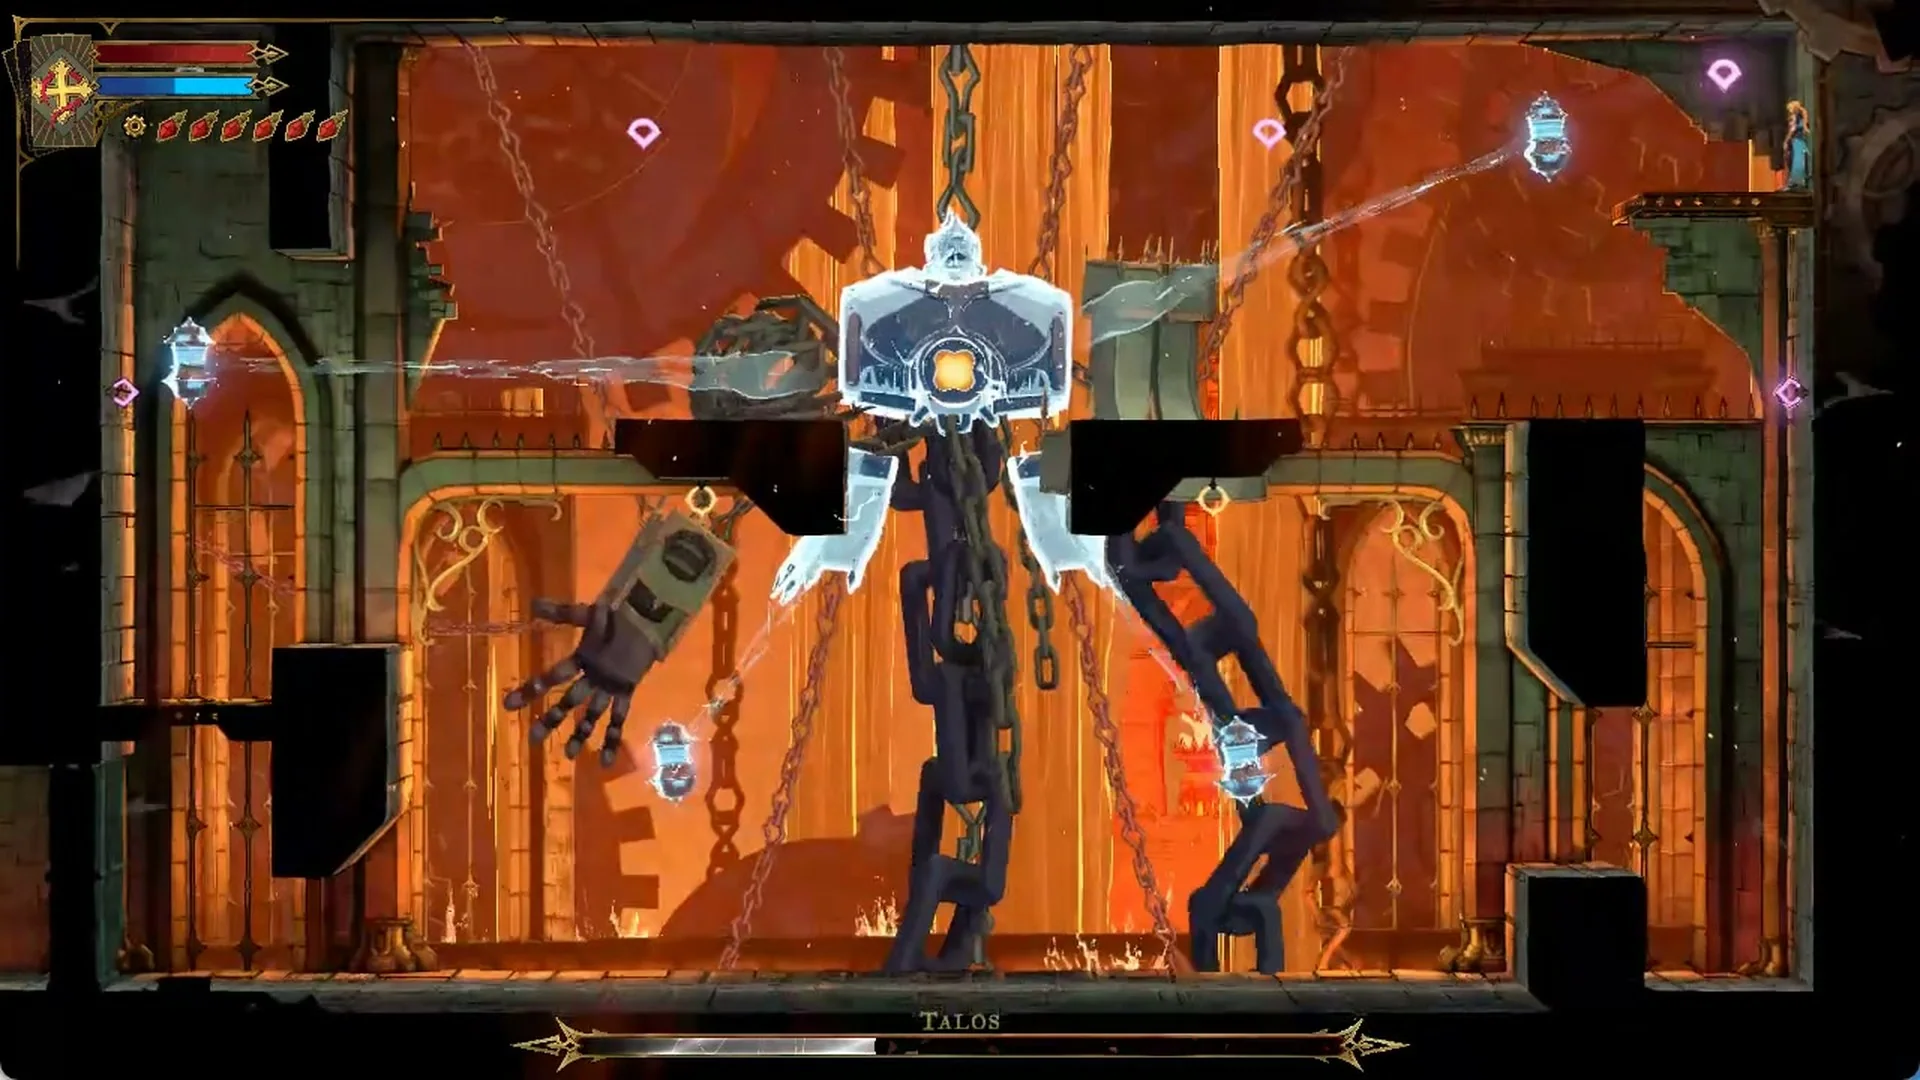
Talos under his blue shield in the lower arena, linked by beams to four drones in Castlevania: Belmont's Curse
Phase 2: four drones hold up the shield.

You still use the Arcane Whip. Controls:

  • Jump: Cross, or Space on PC
  • Attack: Square, or left mouse button on PC
  • Arcane Whip: R2, or right mouse button on PC
  • Aim up: Up, or W on PC

The two low drones
Move along the floor until you are directly below one of the low drones.
Rose on the arena floor under a low shield drone in Castlevania: Belmont's Curse
Stand under a low drone and wait for it to bob down.
Wait for the drone to bob down to its lowest point. The whip won’t latch if you throw it while the drone is high.
Press jump with Up held, then keep the whip button pressed. It catches the drone and lifts you toward it.
Strike the drone a few times while you’re beside it. Latch and strike again until it breaks.
A latch will often leave you on the left central platform. Drop back to the floor before pursuing another drone.

The left-wall drone

The drone hovers beside the left wall, above the two low ones. Its slow bob brings it down about every ten seconds.
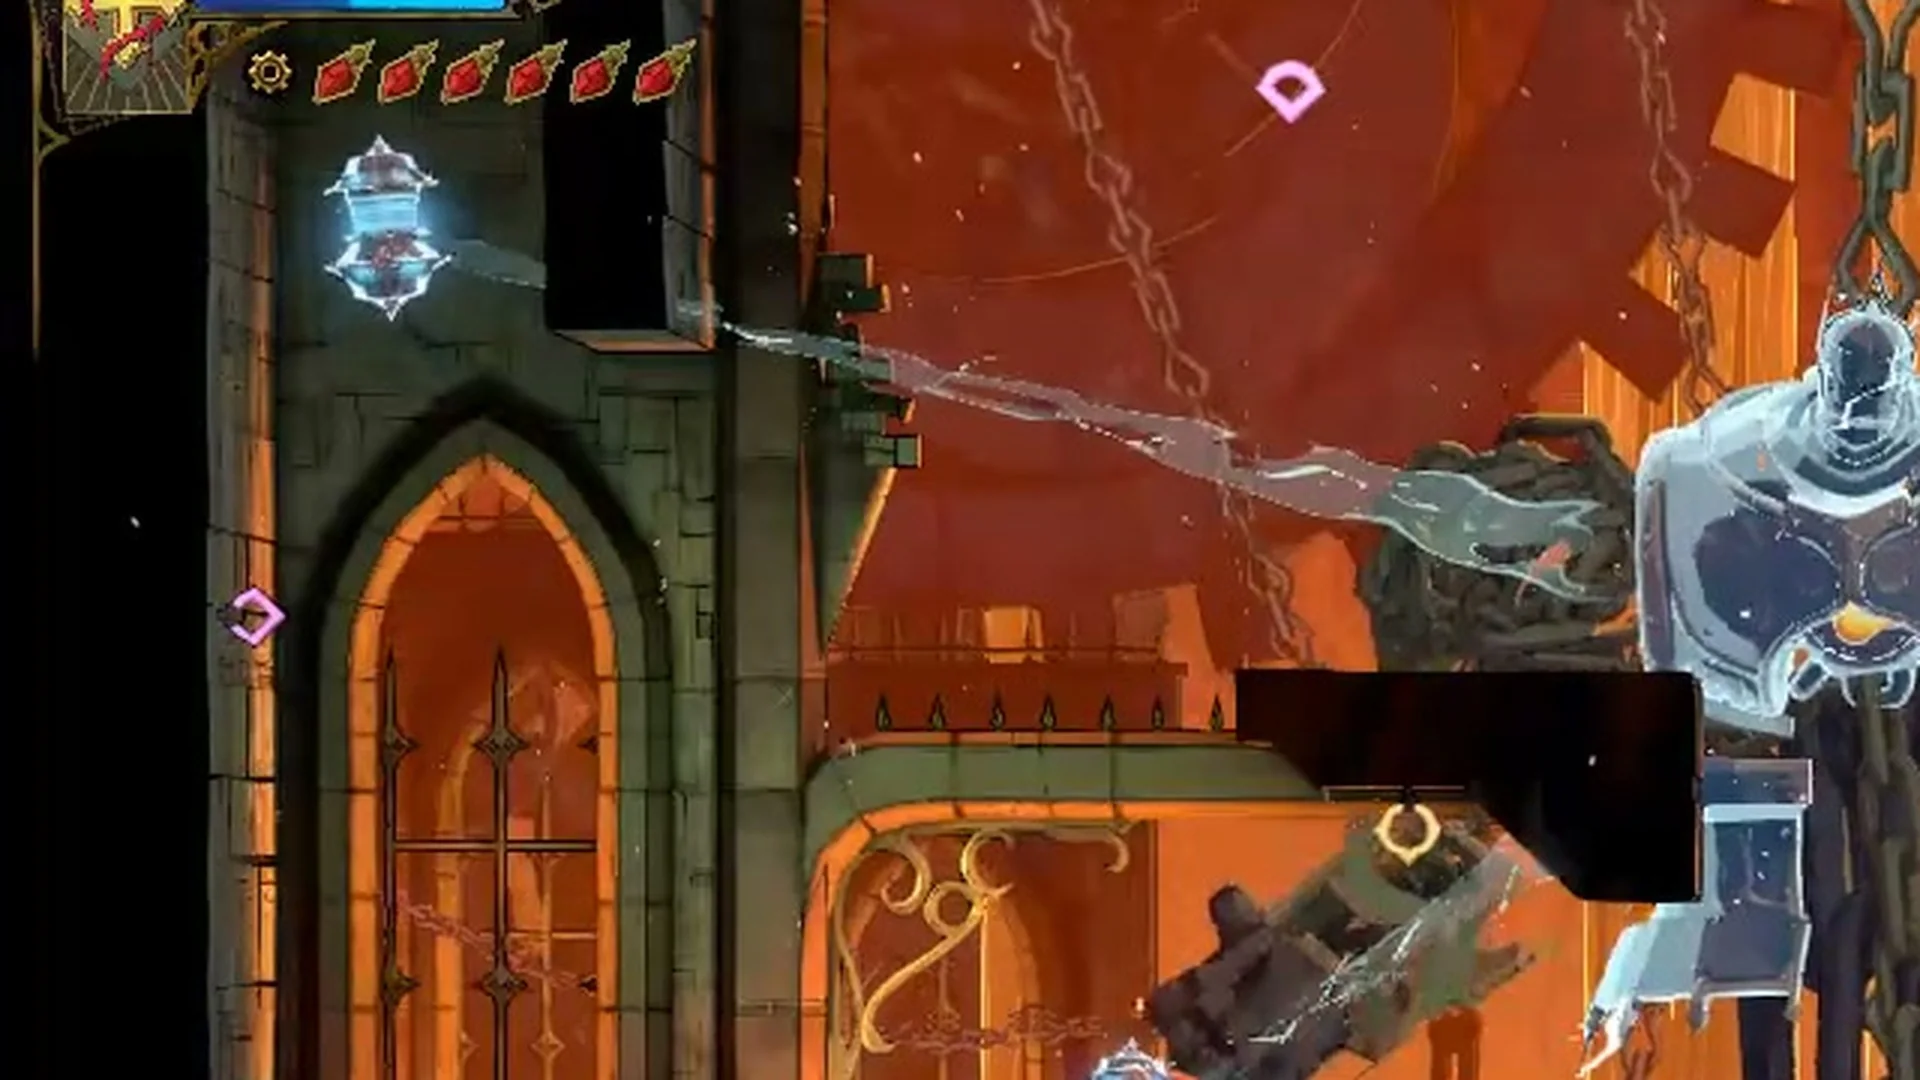
The shield drone floating high by the left wall of the lower arena in Castlevania: Belmont's Curse
The drone by the left wall dips low about every ten seconds.
Stand on the floor under it, against the left wall.
As it reaches the bottom of its bob, leap with Up held and keep the whip button pressed to attach. Follow with a strike.
Miss that low point? Wait until it dips again. Don’t use the whip against it while it’s high.

The high-right drone

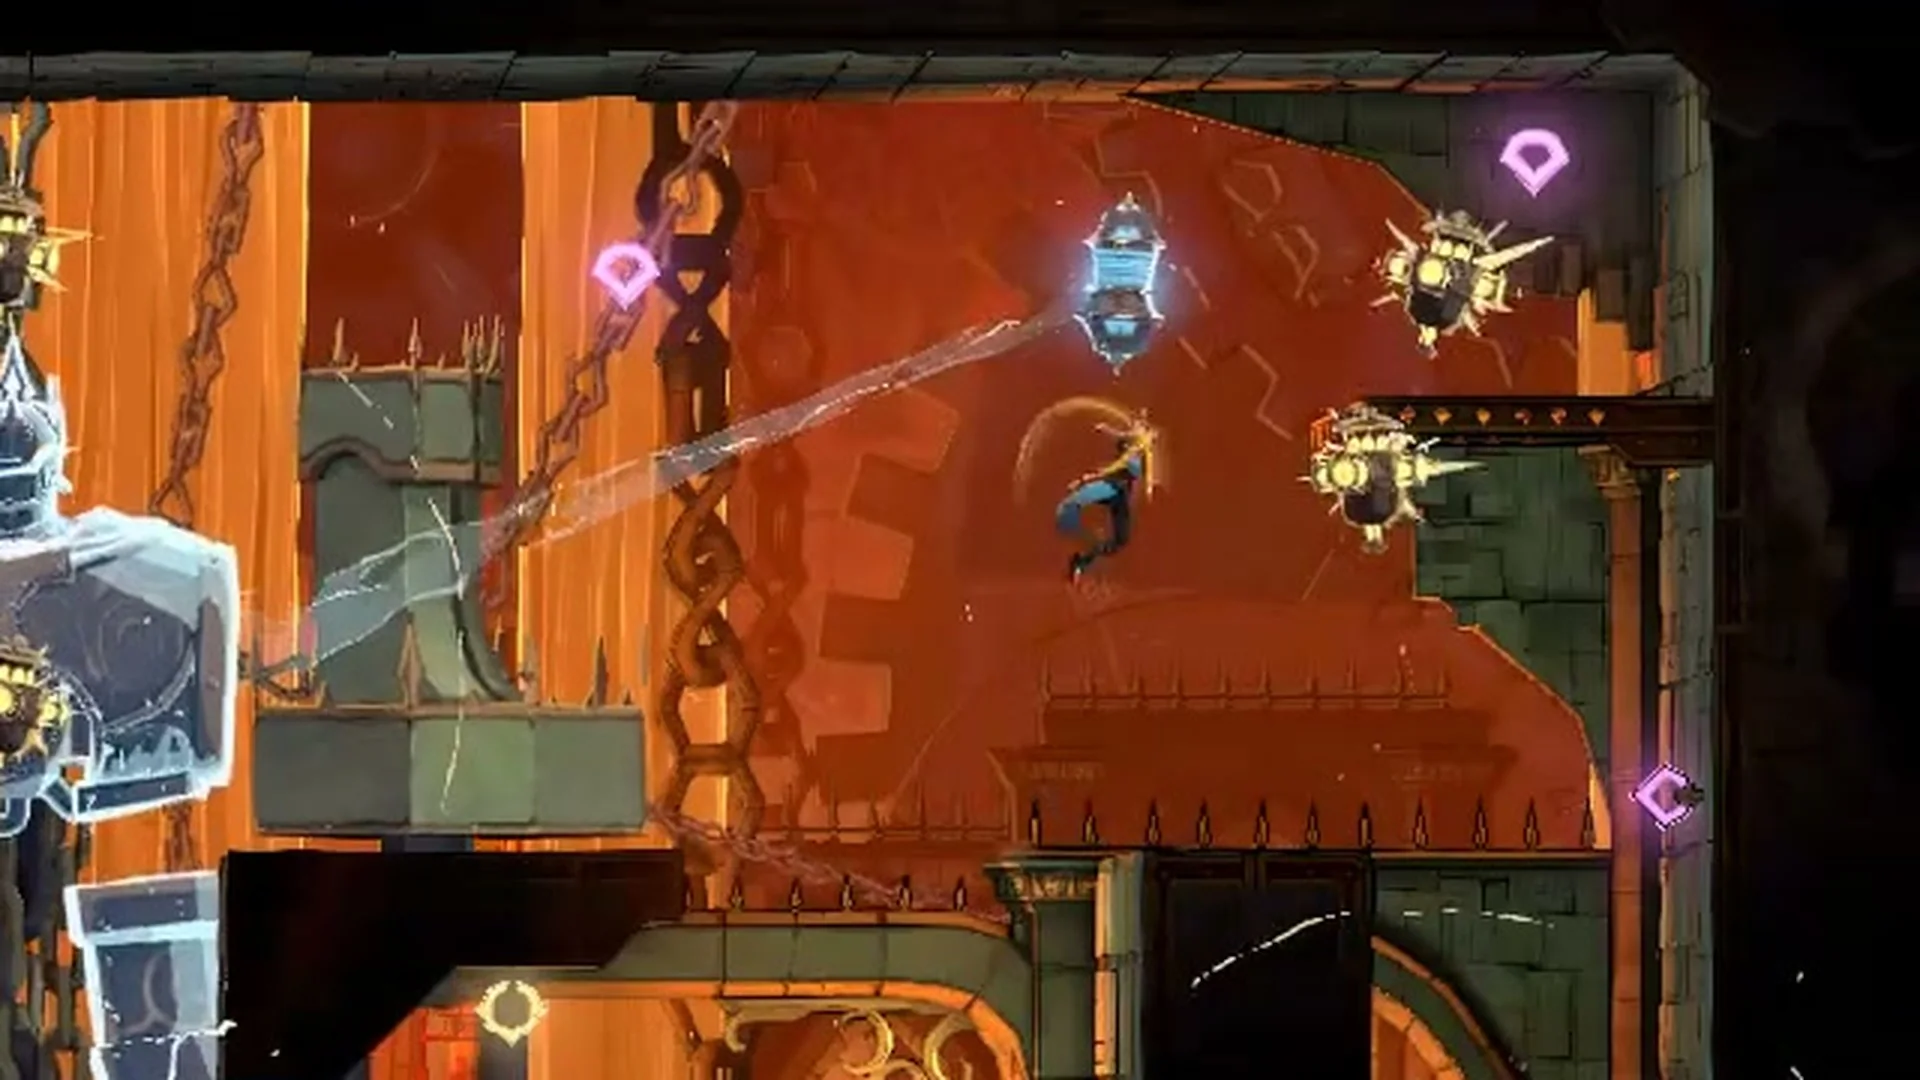
The last drone floats near the top of the hall on the right side and slowly drifts left and right. You can’t reach it with the whip from the floor. To get up there, use the round ring hanging under the right central platform.
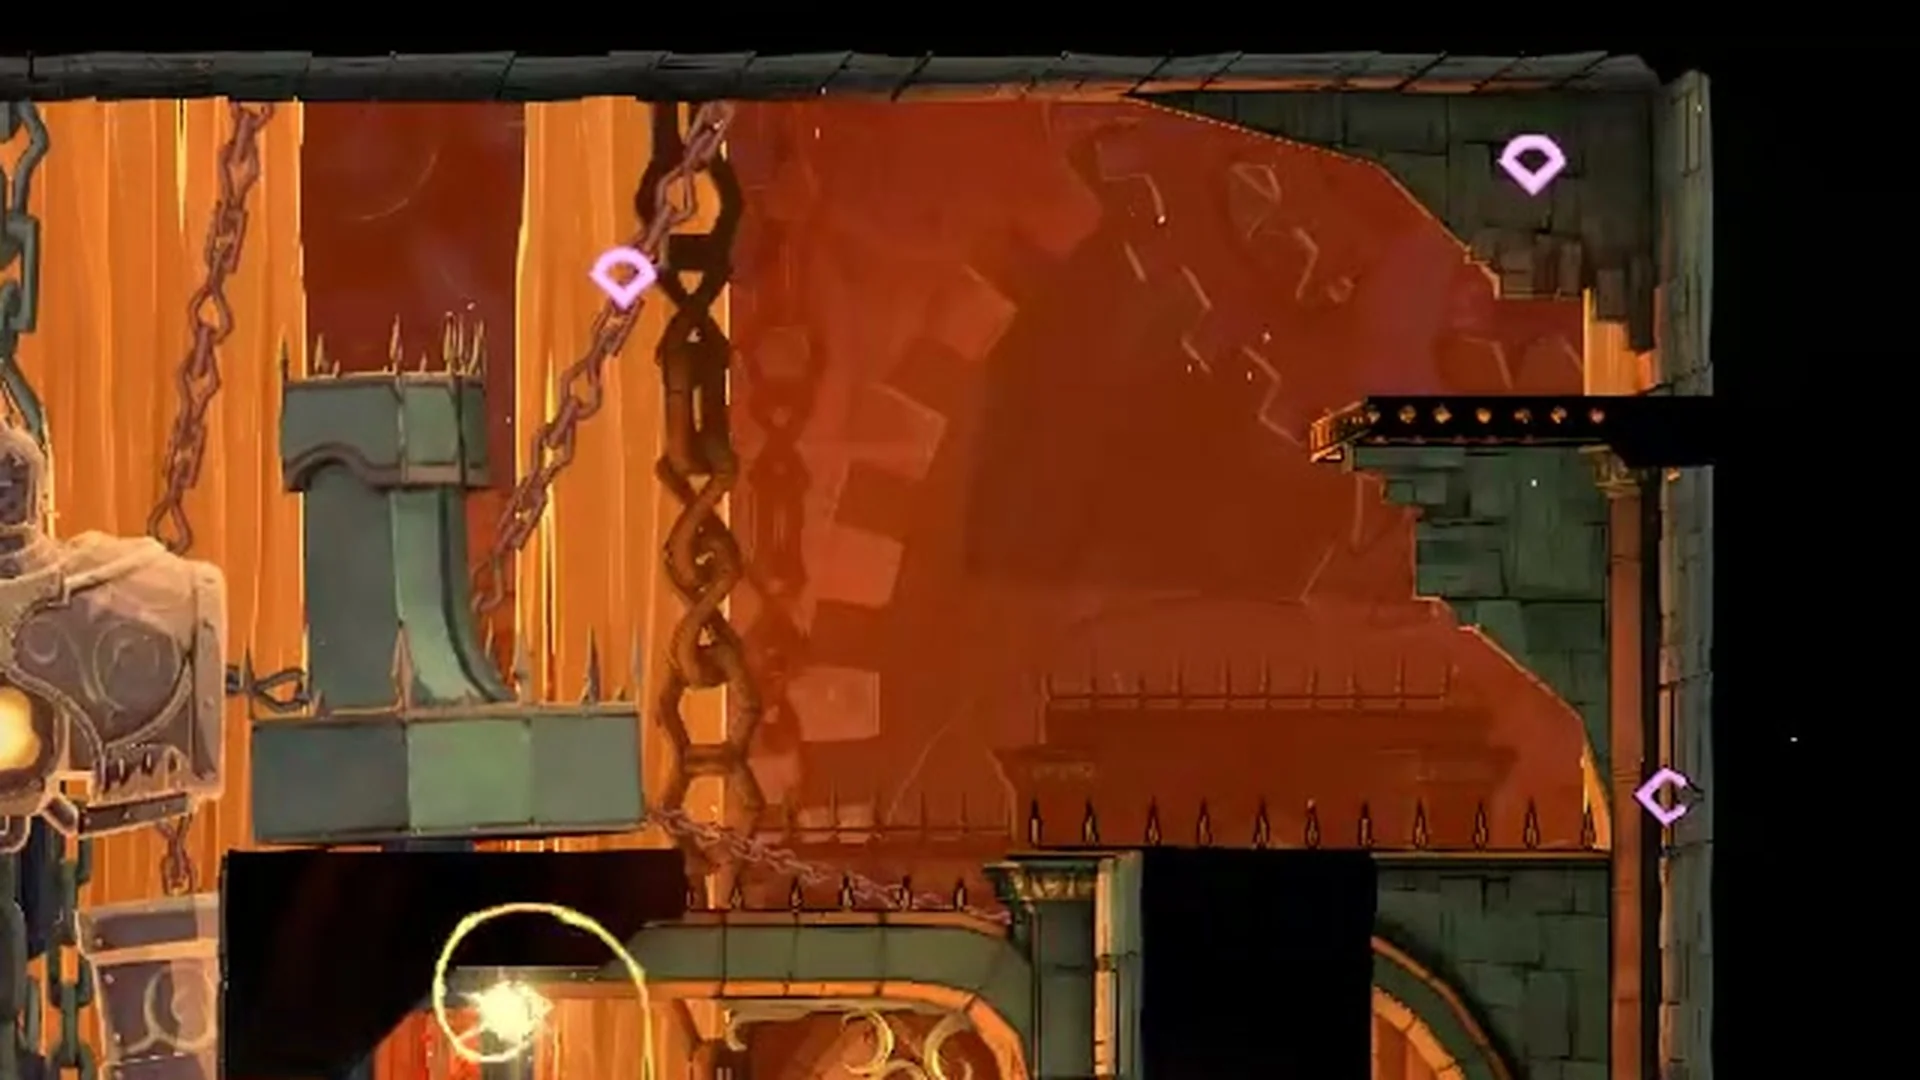
Take position on the ground on the ring’s left side, beneath the right central platform.
Leap while pressing Up and right, with the whip button held, to catch the ring.
The Arcane Whip hooked on the ring under the right central platform in Castlevania: Belmont's Curse
Whip the ring under the right central platform.
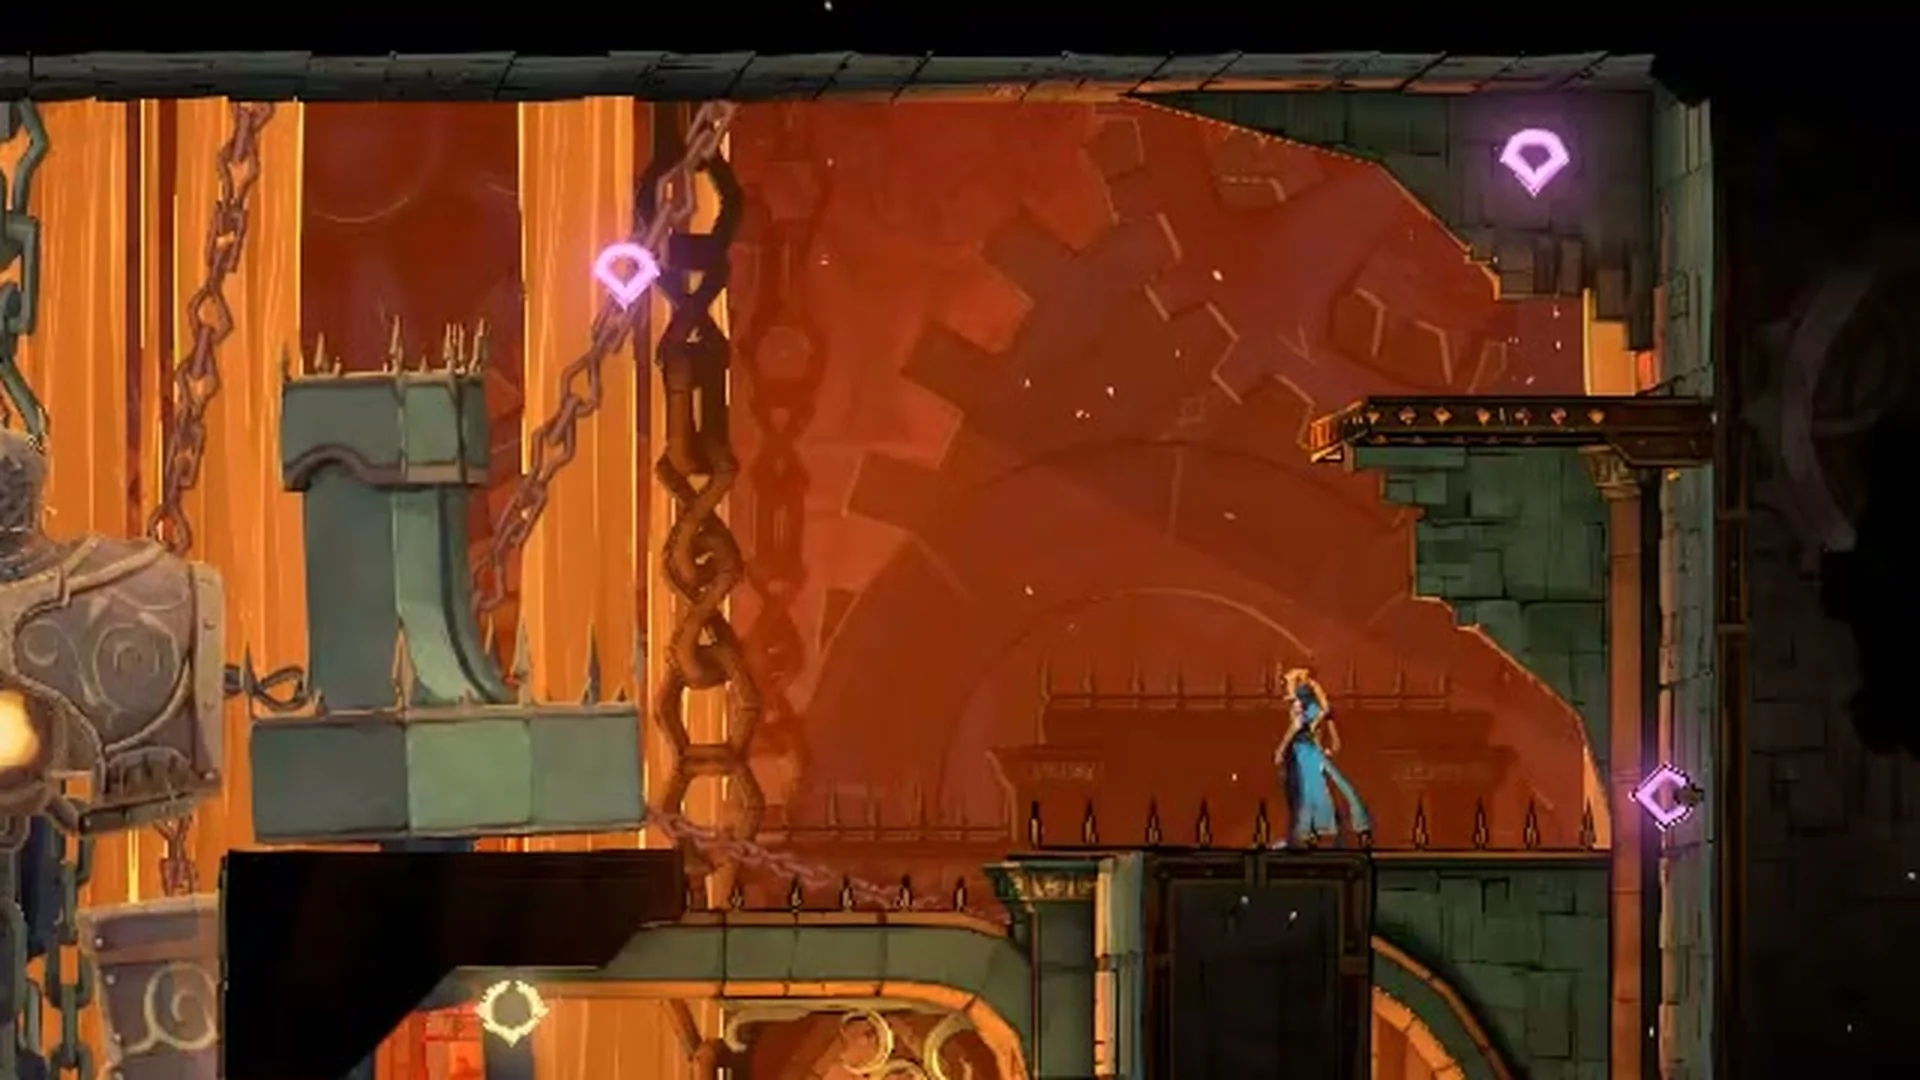
Let the swing carry you right and upward. You land on top of the right pillar.
Rose standing on top of the right pillar in the lower Talos arena in Castlevania: Belmont's Curse
The swing lands you on top of the right pillar.
Stay atop the pillar until the drone passes above you. Leap with Up held and the whip button pressed to catch it, then strike.
Rose latched up at the high drone on the right side of the arena in Castlevania: Belmont's Curse
Latching the high drone as it drifts overhead.
After a knockdown, swing back up using the ring. It may take one or two swings.

The shield shatters once the fourth drone breaks.
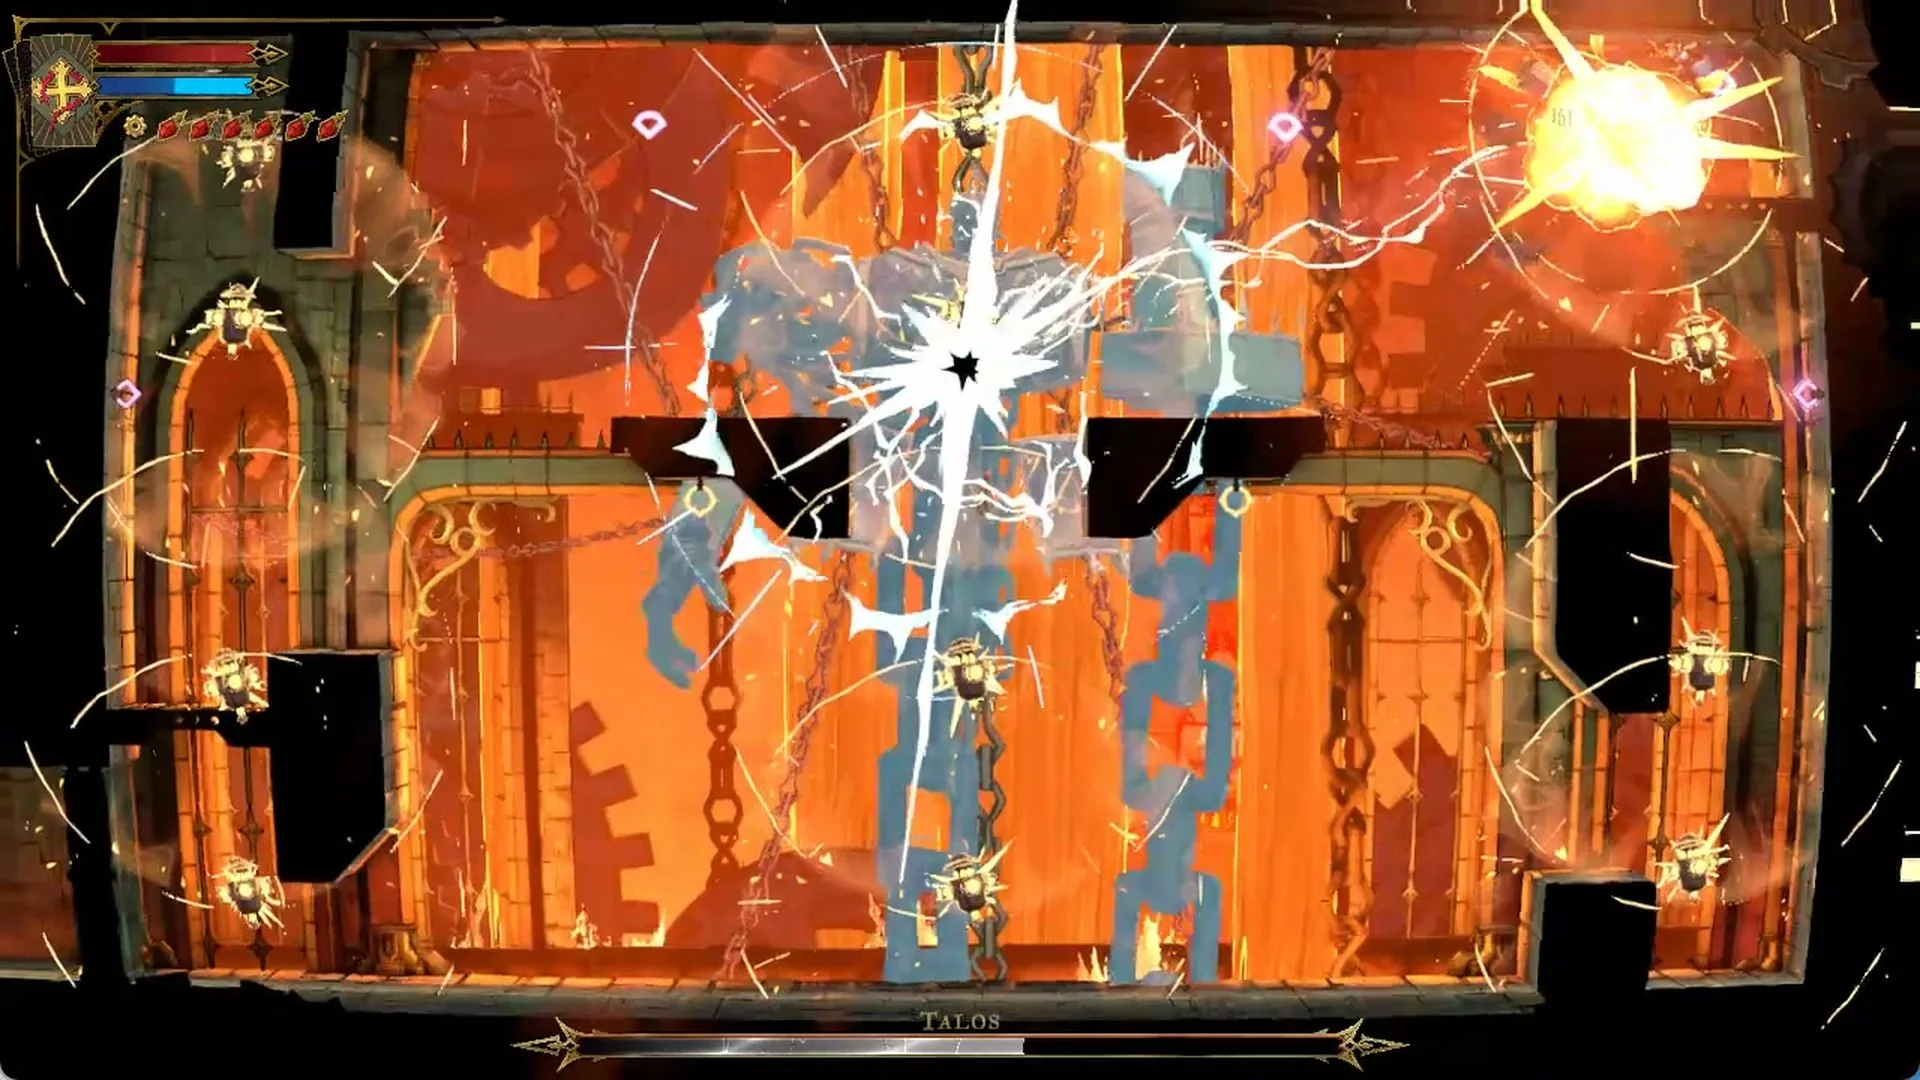
Talos's blue shield shattering after the fourth drone breaks in Castlevania: Belmont's Curse
The shield shatters when the fourth drone breaks.

Hitting the core in phase 2

The luminous core hovers between the pair of middle platforms, level with their surfaces. Ground-level jumps fall short, so strike it from the edge of either platform.
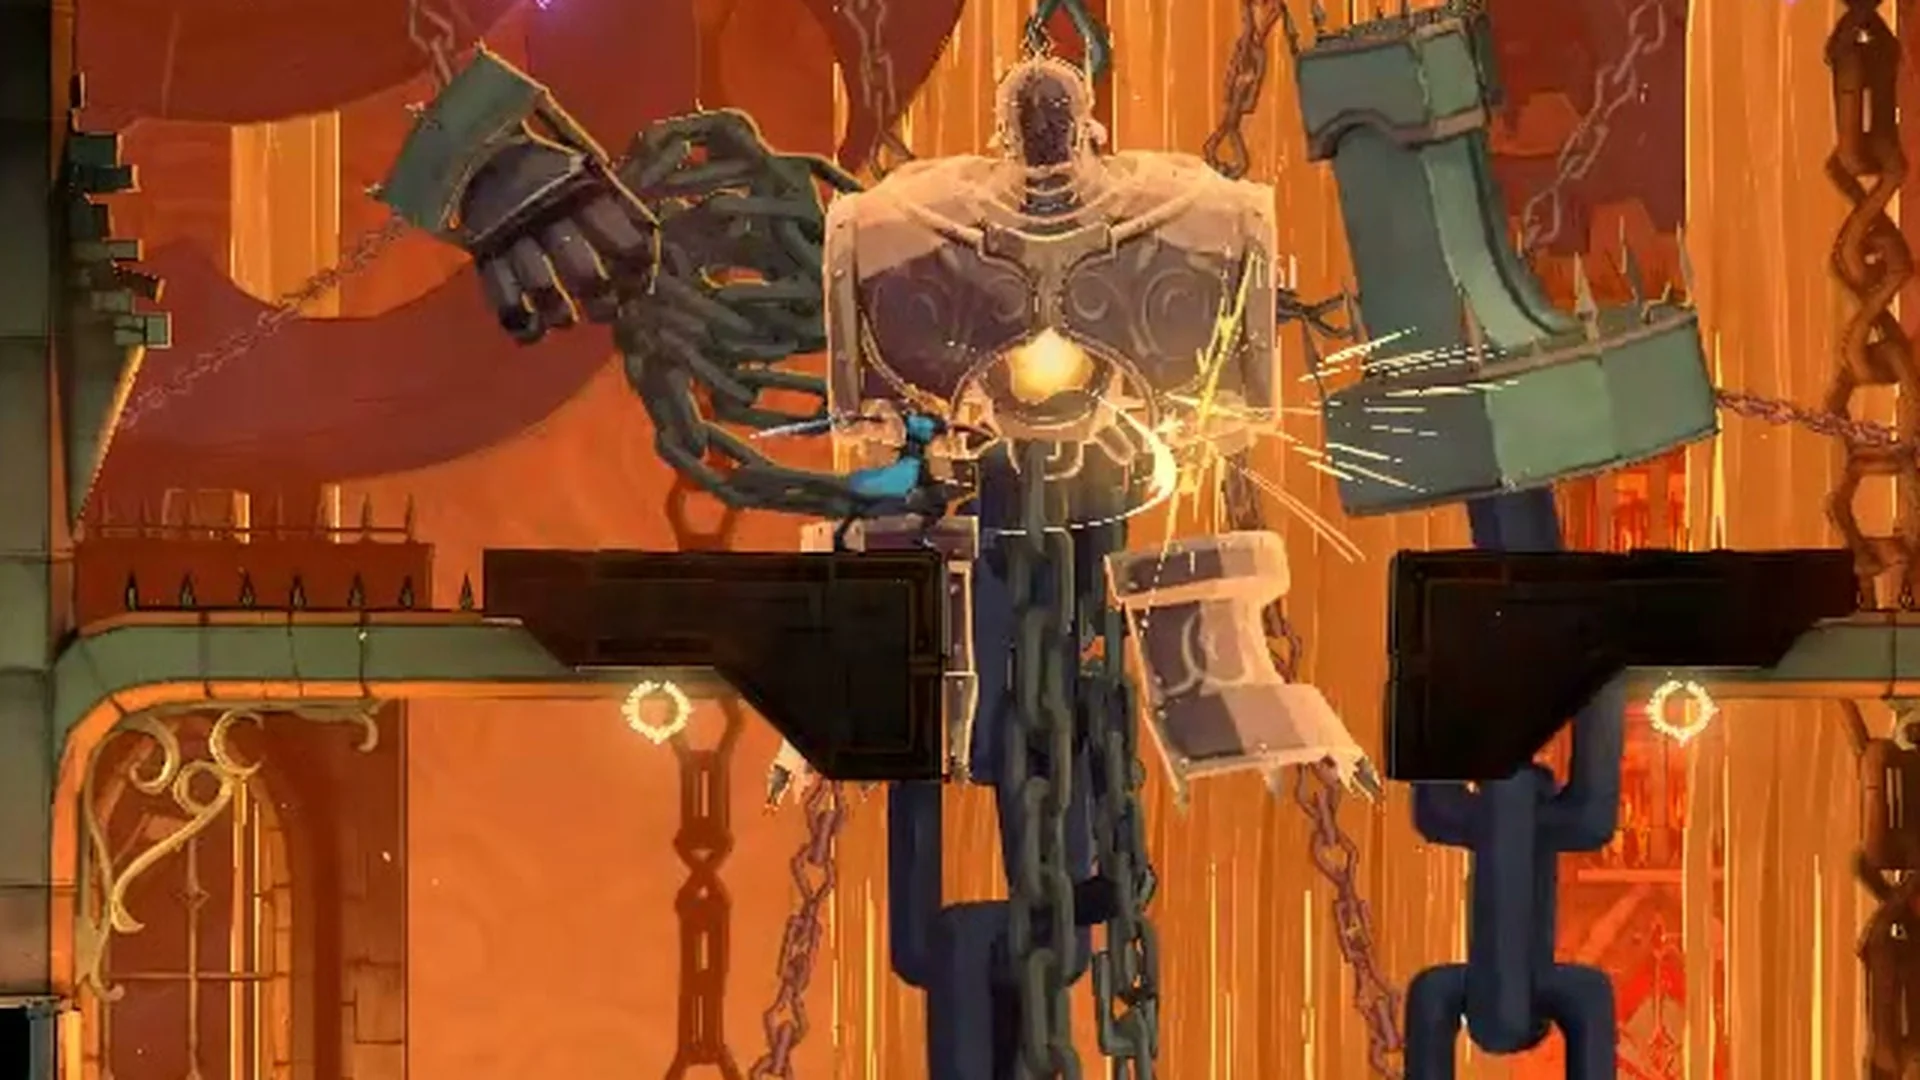
Take a spot on the ground just right of the ring beneath the right central platform. Leap with Up held and keep the whip button pressed to catch the ring.
Steer left as you swing to land on the right-hand edge of the left central platform.
Turn right and attack the core. Keep hitting it as long as the shield is down.
Rose striking the open core from the edge of the left central platform in Castlevania: Belmont's Curse
Striking the core from the edge of the left central platform.

You can also use the edge of the right central platform. From the top of the right pillar, do a running jump to the left onto it. Walking off the pillar drops you into the gap. Turn left and strike.

When his room-wide attacks start, drop back down to the floor.


When the shield comes back

The damage window doesn’t last. New drones spawn after a while and the blue shield comes back. Destroy them the same way as before to open another window.
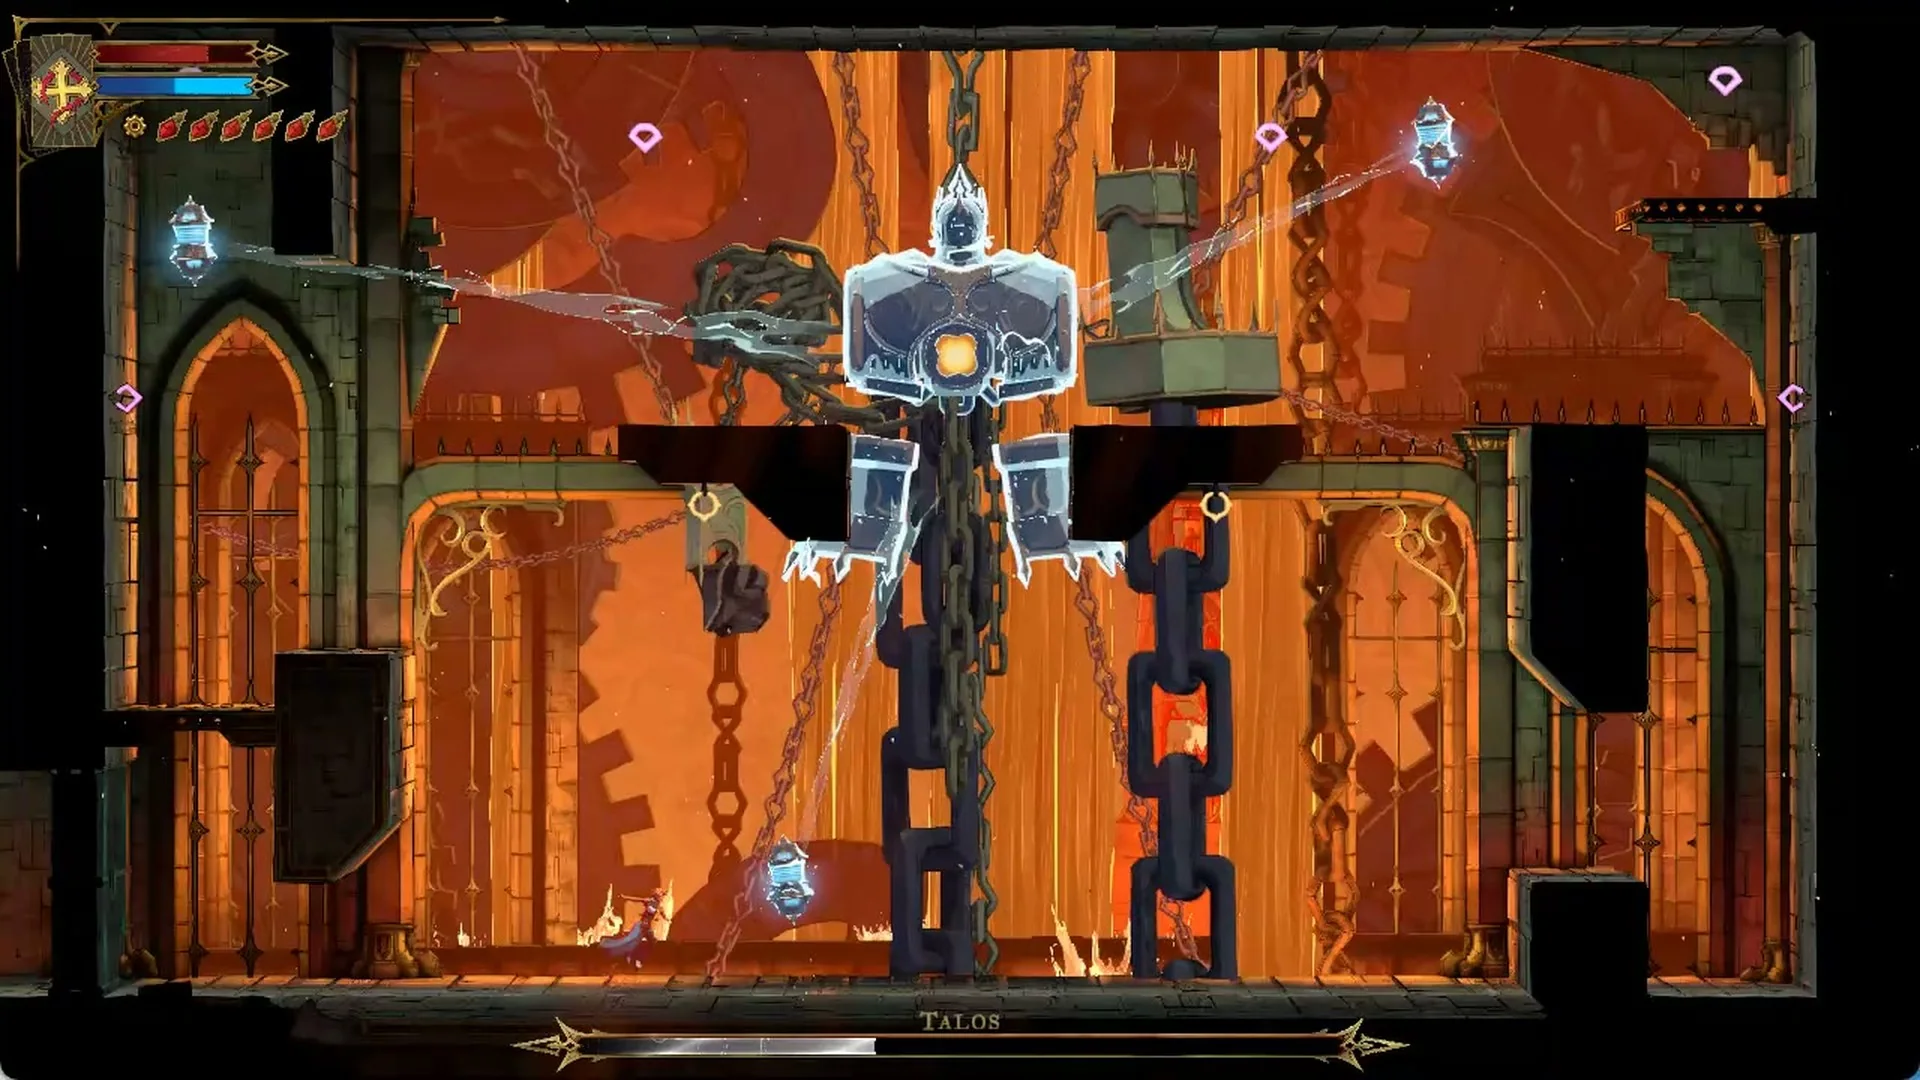
New drones and the blue shield back around Talos in the lower arena in Castlevania: Belmont's Curse
New drones bring the shield back.

Keep breaking drones and hitting the core until his bar is empty. The end of the fight, the escape run and the rewards are in our main Talos guide, and where to go after Talos picks up once he is down.