Gaming How-To

Castlevania: Belmont’s Curse — Where to Go After Talos and How to Get to Carmilla

The route runs from the Clock Tower over the Forgotten Bridge to the Library's Observation Tower, where a globe puzzle opens the way to Carmilla.

The route runs from the Clock Tower over the Forgotten Bridge to the Library’s Observation Tower, where a globe puzzle opens the way to Carmilla.

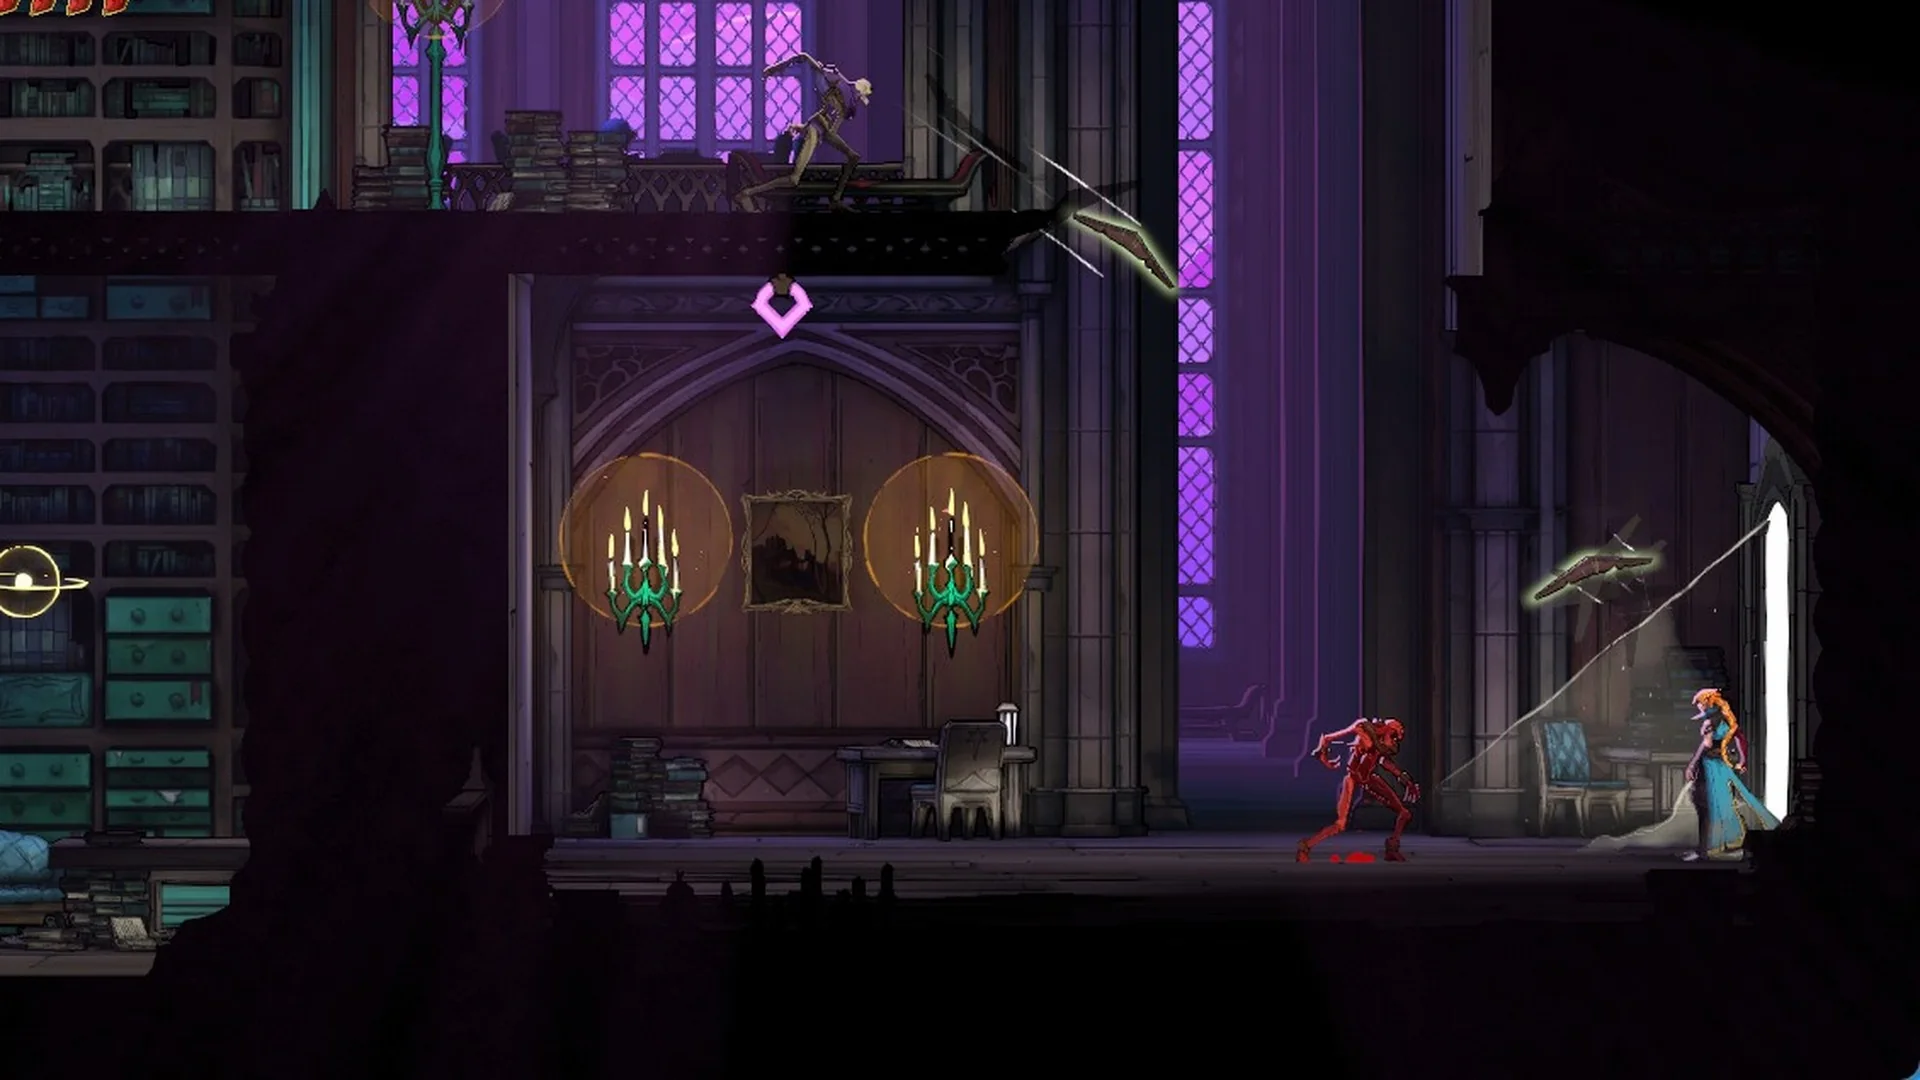
The Library in Castlevania: Belmont's Curse

After Talos falls in the Clock Tower in Castlevania: Belmont’s Curse, the objective still reads “Find Dracula and defeat him”. The next boss is Carmilla, and she is waiting in the Library. Before you go, break the floor next to the Talos arena and pick up a new weapon.

Quick answer: Cross the Forgotten Bridge from the Clock Tower into the Library. Get through the Planetarium, then solve the two globes in the Observation Tower by bouncing on their planets in order to reach Carmilla.


Talos rewards and the Smash floor in the Clock Tower

Beating Talos gives you two things in a row. You get a tarot card first, and then a new movement ability that opens a hidden room right next to the arena.

RewardTypeWhere
The BuilderTarot card (spell Fist of Talos)Talos fight
SmashAbilityRight after the fight
Fists of TalosWeapon (Masterpiece, ATK 75)Builder’s Bureau chest

The Smash tutorial reads “Break the DESTRUCTIBLE BLOCKS by pressing Down + Cross when Rose is in the air.” Jump, then use Smash on the cracked golden floor beside the arena. You drop into the Builder’s Bureau. A desk there holds a sketch from Talos, and the chest on the right holds Fists of Talos. The fight itself is in our Talos boss guide (the gauntlet down to stage 2 and Talos phase 2 have their own guides), and what else Smash breaks is in how to break yellow blocks with Smash.


How to get from the Clock Tower to the Library

The pointer toward Carmilla comes from Brauner’s letter in Brauner’s Atelier. It reads “CARMILLA IN THE LIBRARY” and also adds “NEW CLUE ABOUT THE OCCULTIST”. The link between the two areas is the Forgotten Bridge, which connects the Clock Tower and the Library.

Make your way to the Clock Tower end of the Forgotten Bridge. From the top of the Clock Tower, one option is to ride the Builder’s Secret Elevator down to the Clock Tower’s Ferryman’s Wharf.
Cross the Forgotten Bridge from the Clock Tower side. The next area banner reads “LIBRARY”, which tells you that you are on the right path.
Head through the Library Foyer and the Rhetoric Shelves. Keep going until you reach the Planetarium.

The boat at the Ferryman’s Wharf also lists Paris Streets, Holy Innocents’ Cemetery, Catacombs of Paris and Main Hall, if you need to go somewhere else first. Every stop is in our fast travel guide.


Planetarium Star Chart and the Observation Tower globes

The Planetarium opens with a “PLANETARIUM” banner and a giant blood moon in the background. The puzzle in this part of the Library uses two pieces. You need a clue from a study, and then a machine at the top of the tower.
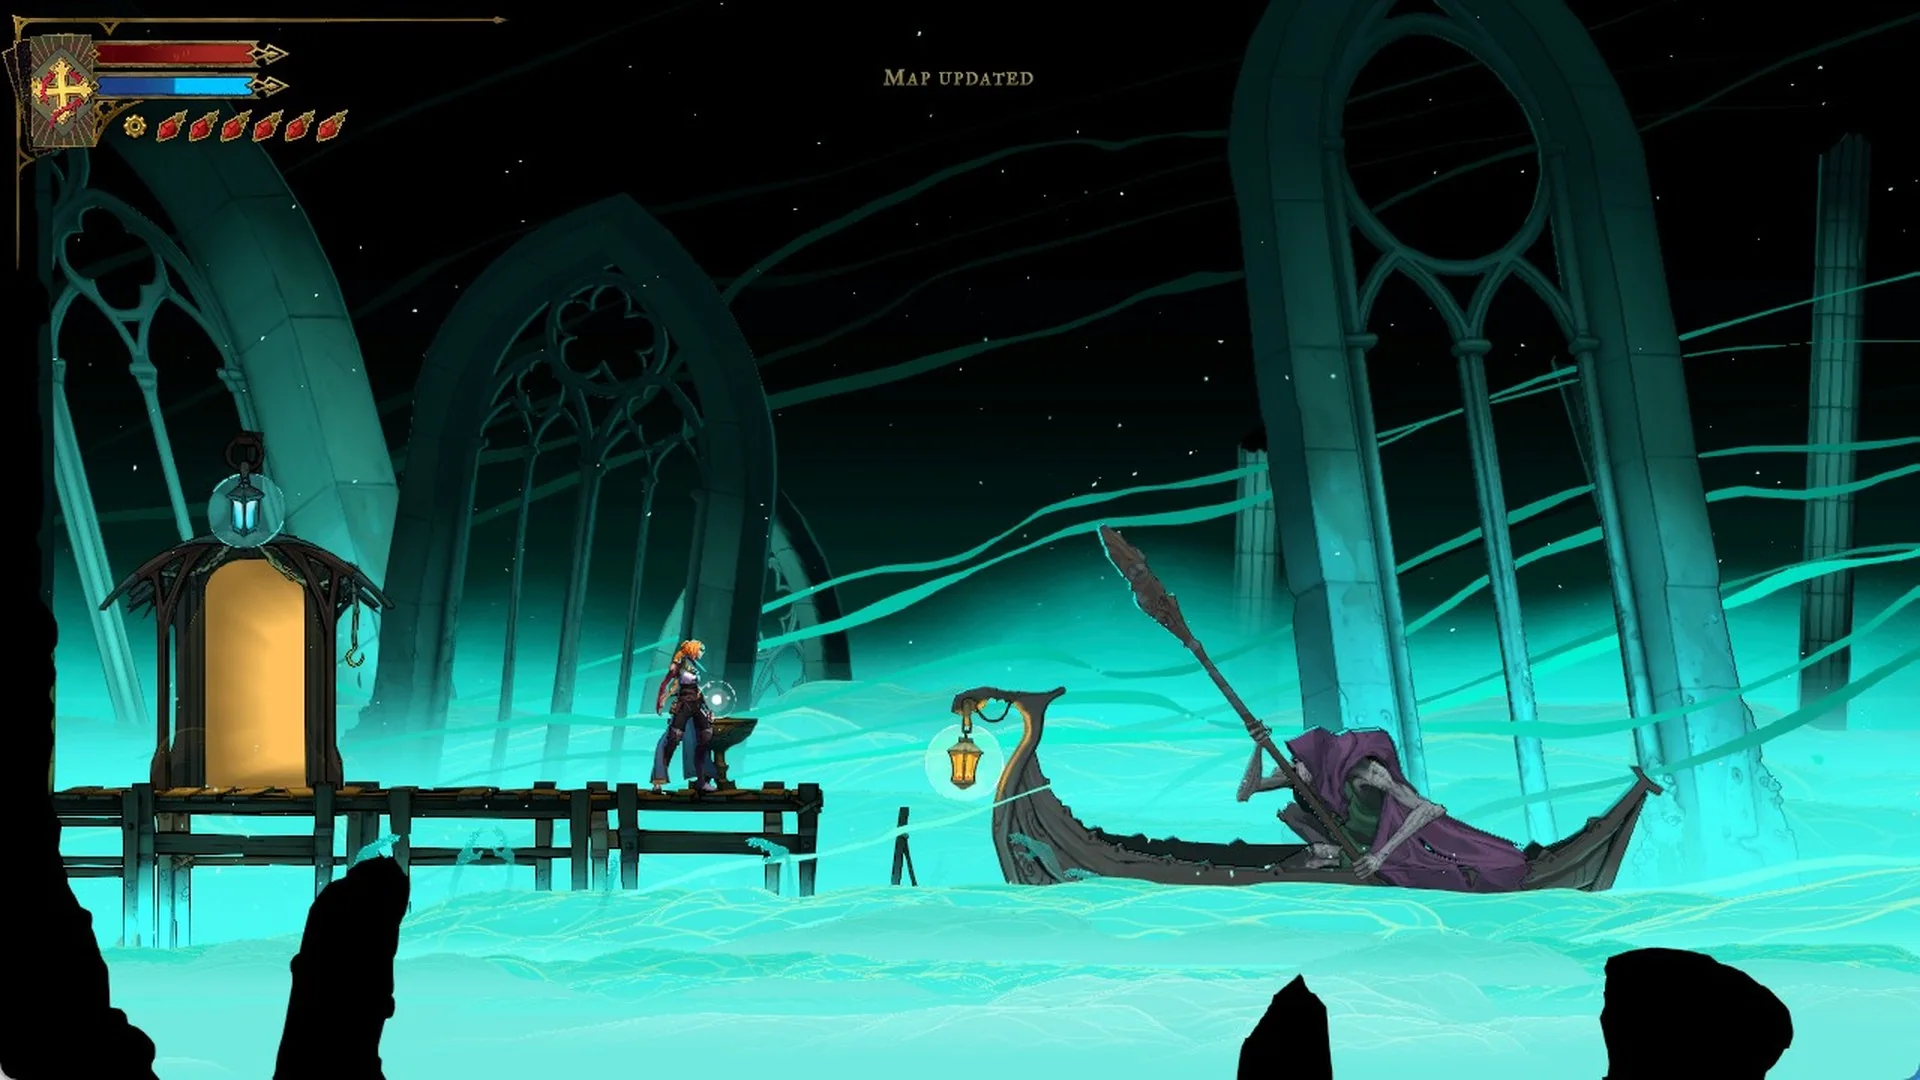
Light the lantern basin on the Library’s Ferryman pier. The pier is hidden behind a breakable wall on the Planetarium’s lower floor: drop through the ledge on the right (Down + Jump), attack the wall on your left until it breaks, and go through the door behind it (Interact E). Interact with the basin on the pier: “Map updated” appears and the Ferryman rows in, ready to take you to the other areas you have unlocked.
The Ferryman rowing up to Rose at the Library wharf pier after Map updated
Light the basin on the pier and the Ferryman rows in.
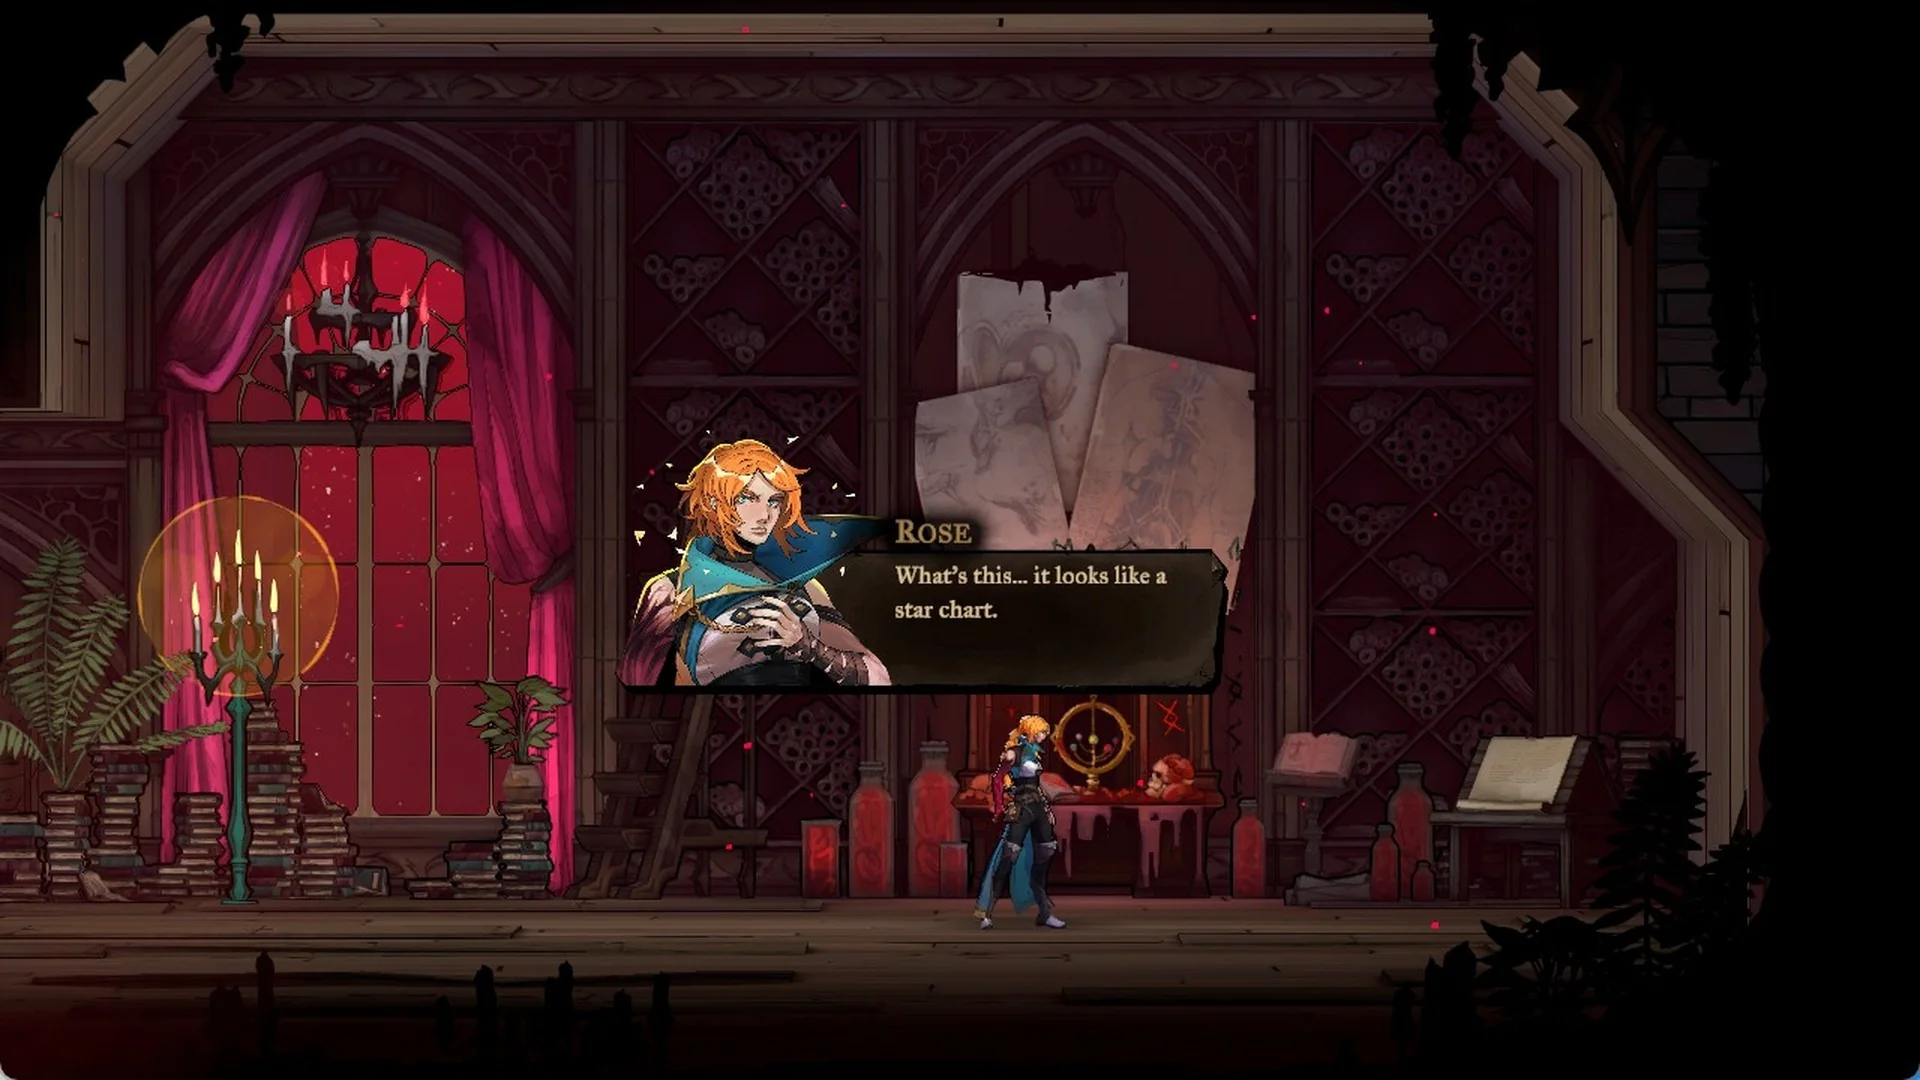
Go right through the Lecture Room into the Astronomer’s Office. The Star Chart rests on the desk against the back wall of the study on the right. Interact (E) with it; Rose says it looks like a star chart, and reading it records “NEW CLUE ABOUT THE OCCULTIST”.
Rose at the desk in the Astronomer's Office study saying it looks like a star chart
The Star Chart desk in the study on the right.

The chart shows six stars on rings around a human figure. Four of them are joined by red lines, at about the 9, 7, 5 and 2 o’clock positions; the two stars at the top are not joined.
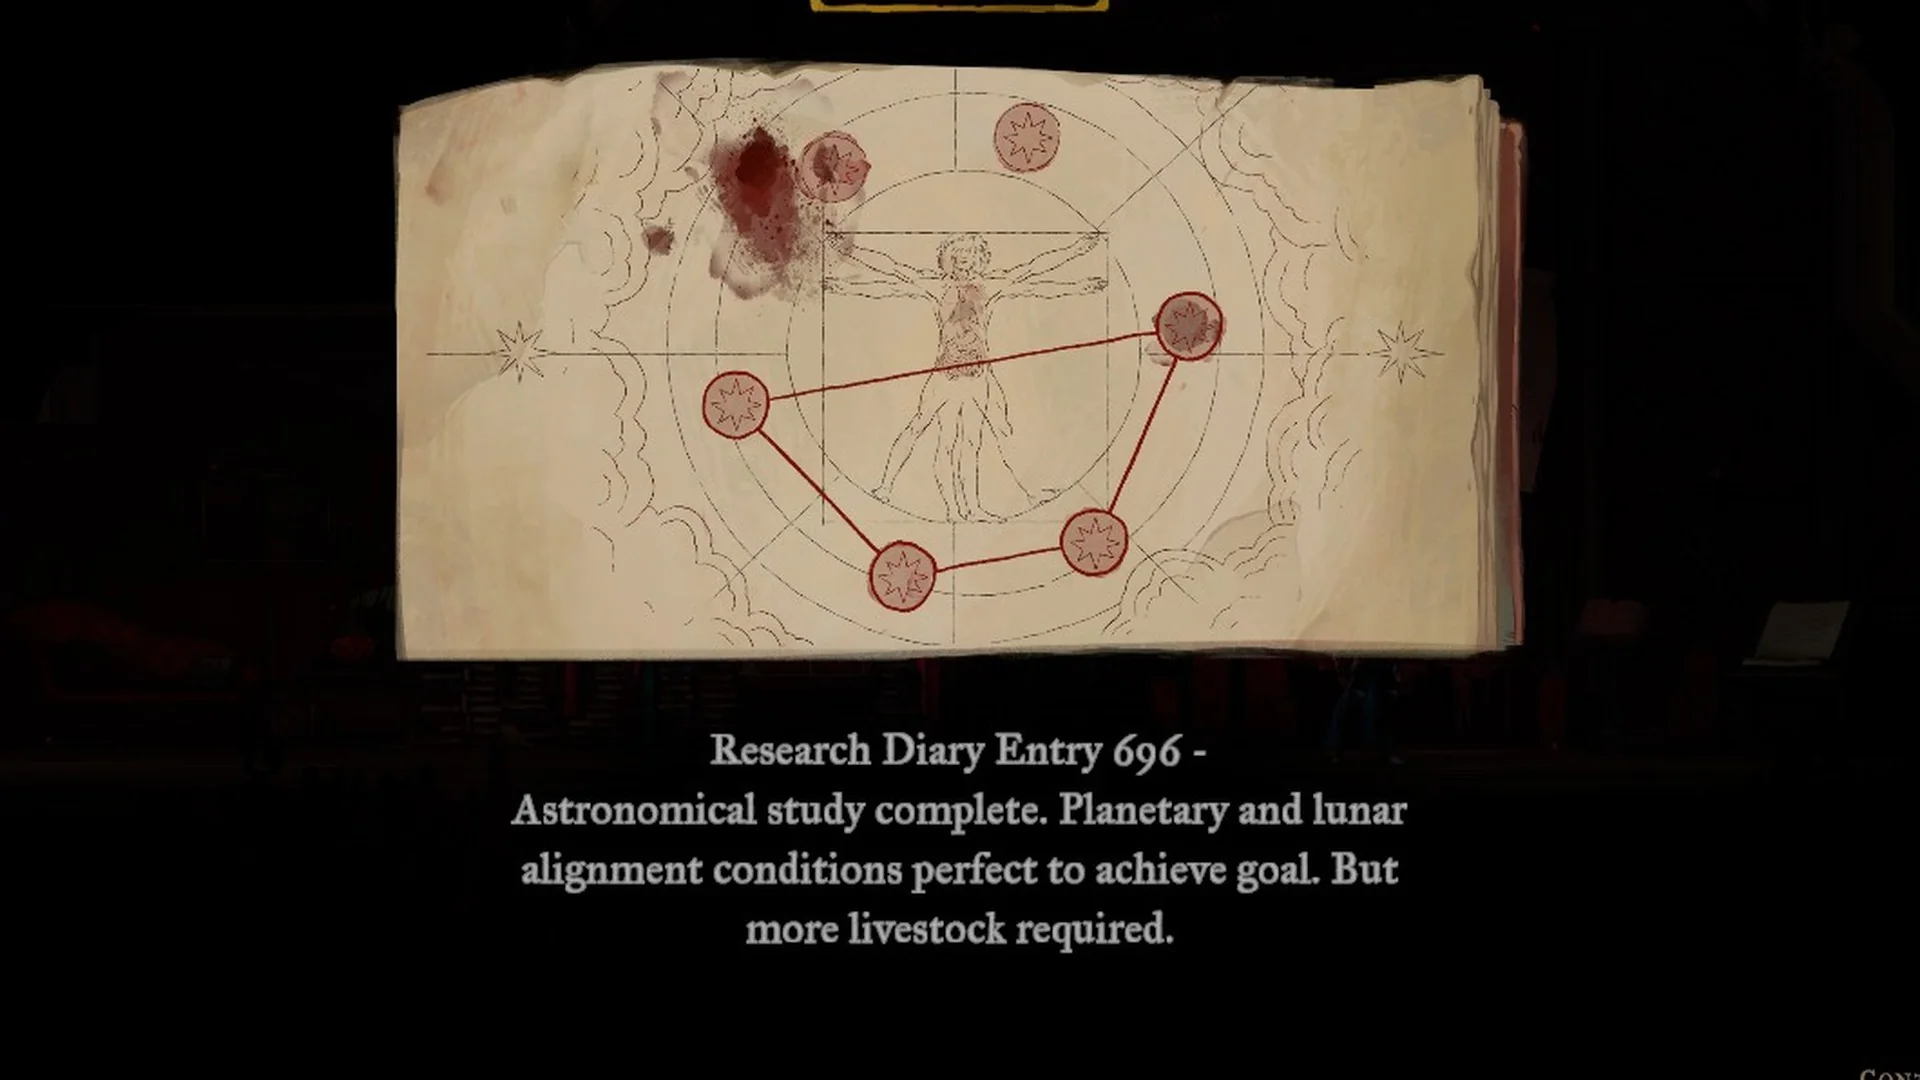
The Star Chart page with six star nodes, four of them joined by red lines
The Star Chart: four of the six stars are joined.
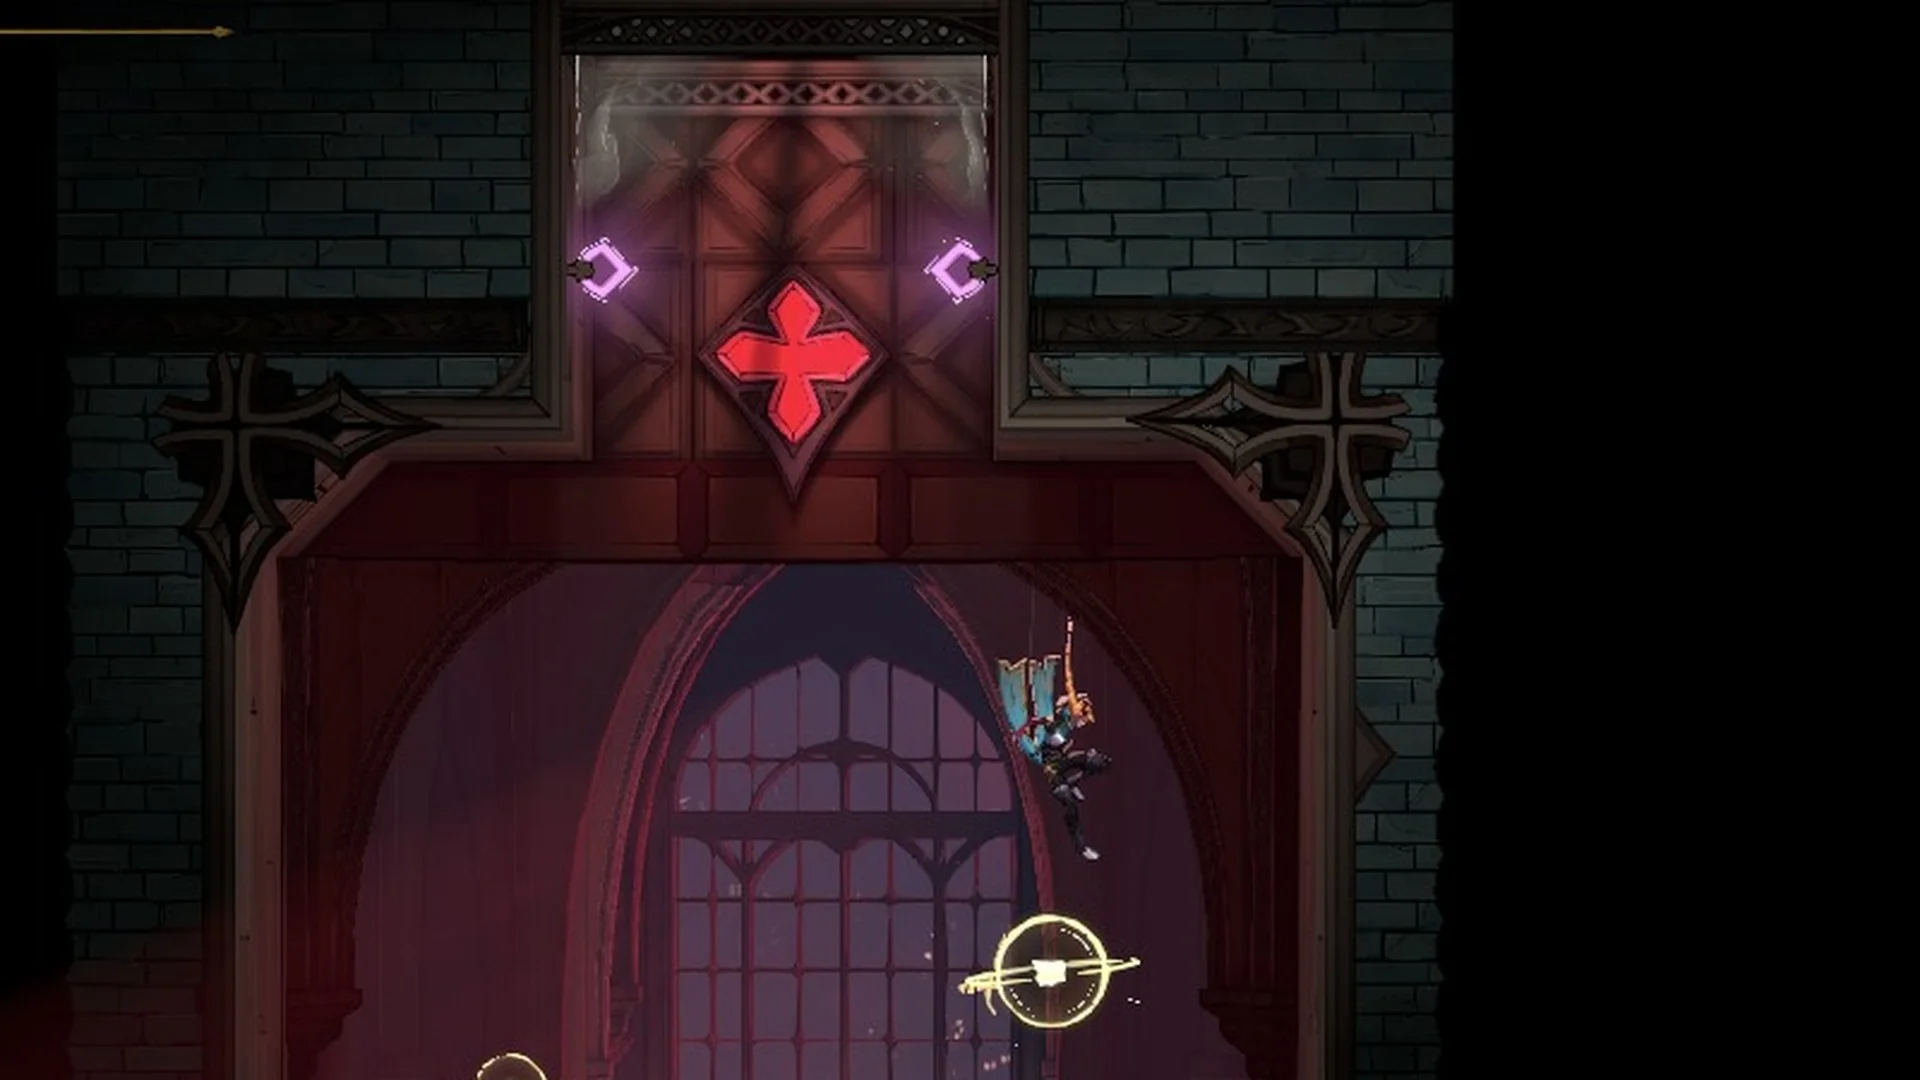
Get into the Observation Tower. From the highest grapple ring at the top of the Planetarium, grapple up and to the left into the ceiling hatch marked with pink brackets; it pulls you up into the Observation Tower. The “OBSERVATION TOWER” banner appears when you reach it.
Rose grappling up toward the pink-marked hatch at the top of the Planetarium
Grapple up-left into the pink-marked hatch.

A hooded statue there provides the clue “Magical Brush” when you Interact (E) with it, and a desk treatise covers a lunar eclipse.
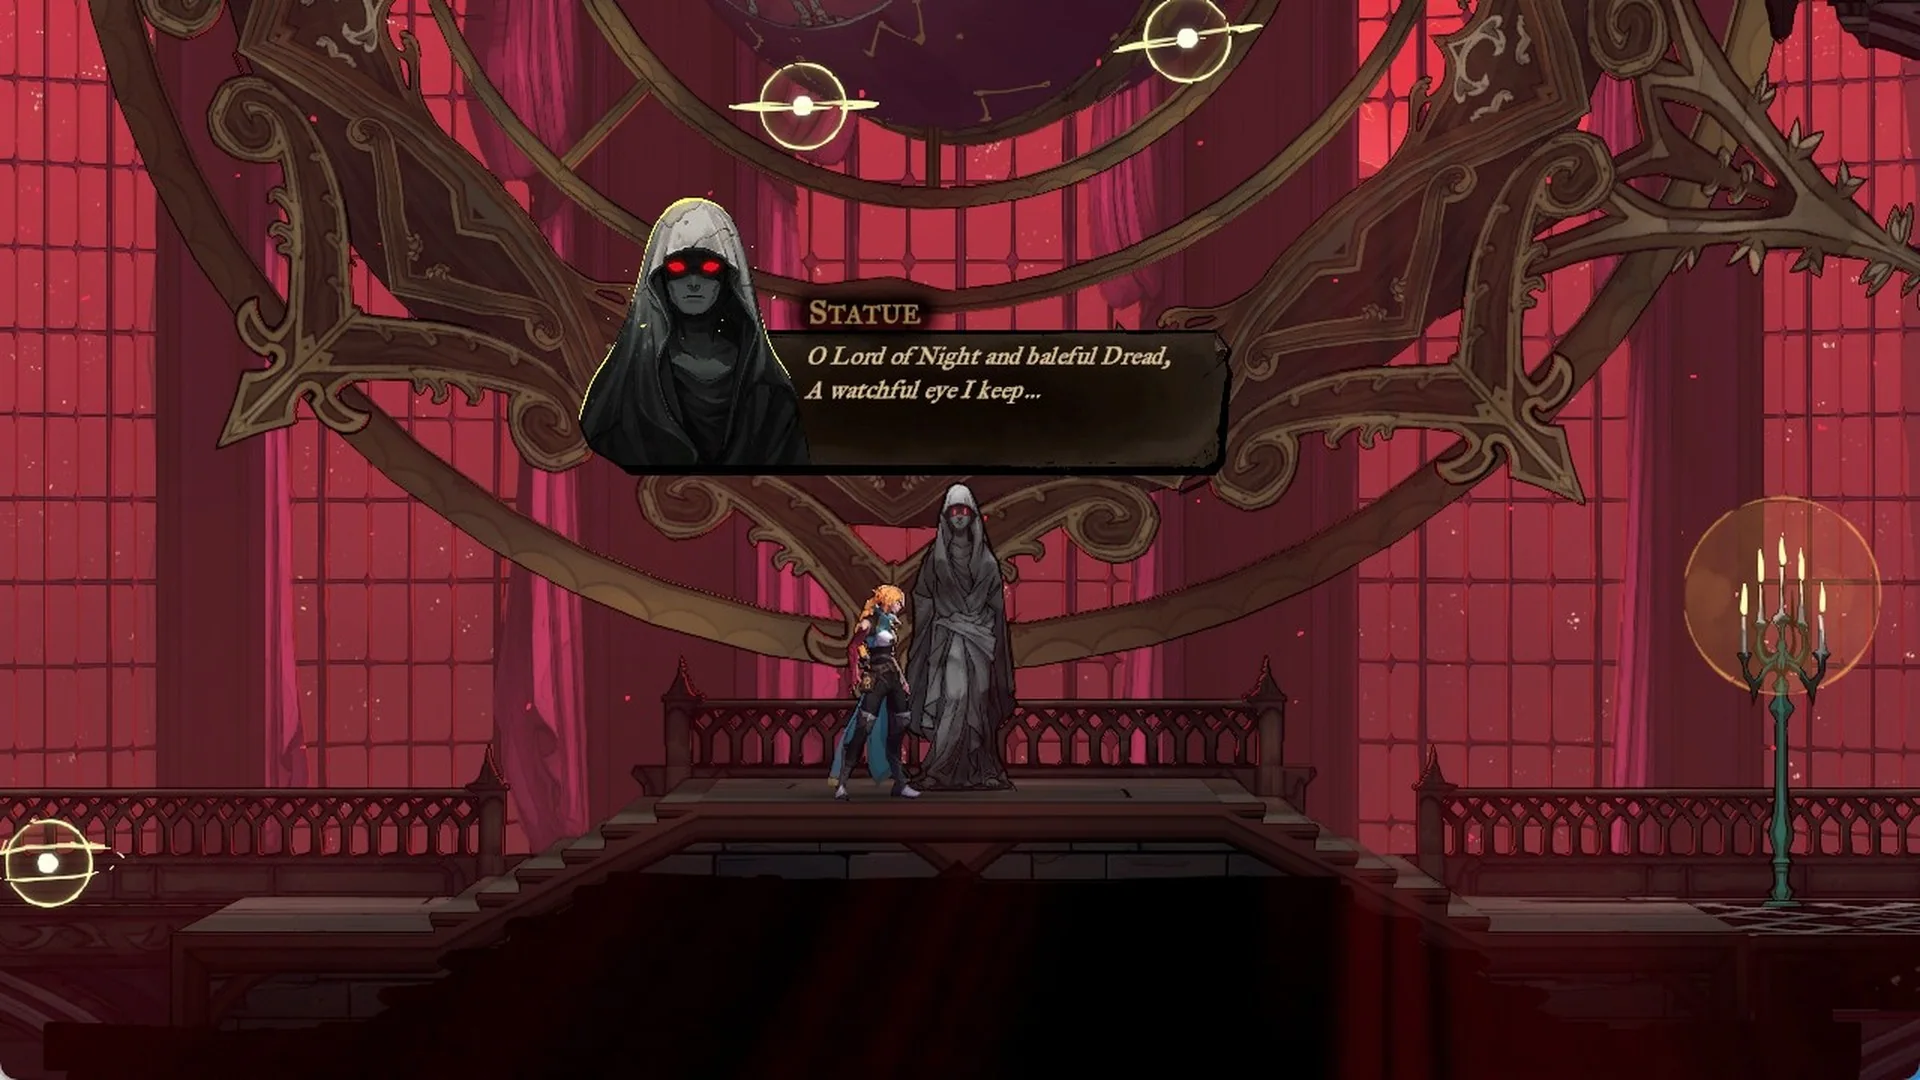
The hooded statue in the Observation Tower reciting its rhyme
The hooded statue in the Observation Tower.
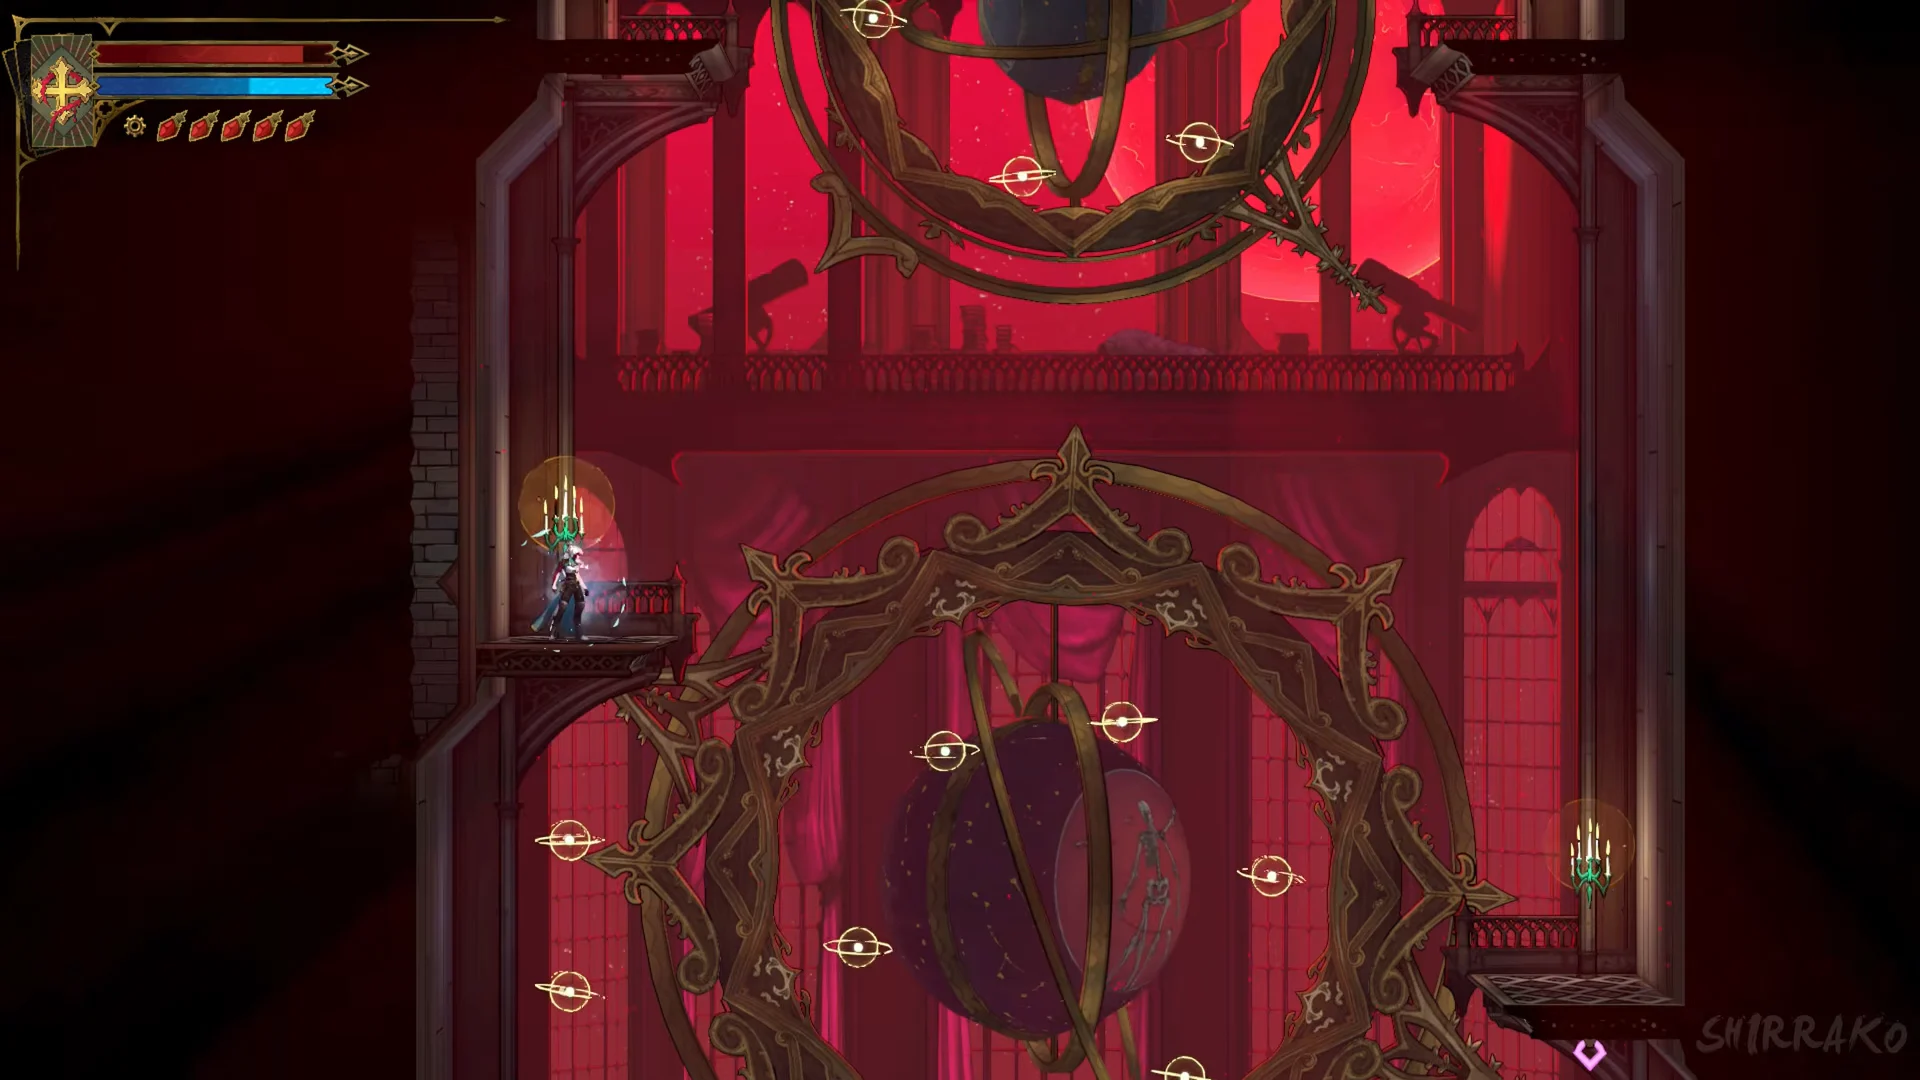
Above the hooded statue in the Observation Tower are two globes, one above the other. You solve each by bouncing on its glowing planets, landing on them from above in one chain without touching the floor; touching the floor resets the planets you have lit. Lower globe (the skeleton): left, top right, middle right, bottom right. Upper globe (the man): far left, top left, bottom right, far right. When the order is right, dashed lines join the four planets and a new bounce point appears to carry you higher. The Planetarium globe puzzle guide has the globes in table form.
Observation Tower globes383:18Observation Tower globes
The globes above the statue in the Observation Tower. Bounce on their planets in order. Shown at 383:18 in Shirrako’s video. Image: KONAMI
Ride the new bounce points up to the door at the top right of the tower. It leads into a dining hall with an armchair; sit in it with INTERACT [R1] (PC: E) before you go on to the boss. The armchair restores Rose, but sitting in it does not save your game; the save that counts is still your last Mirror of Life (see where Resume starts you).

Optional detour: the Thrilling Eye

Before Carmilla, you can also pick up the Thrilling Eye. It counts as one of the three eyes needed to open the Circle of Greed door. It rests on an occult wheel altar in the Hospital, reached from the Street of the Tomb Masons in Paris Streets. The door and Mammon are in how to open the Circle of Greed eye door and beat Mammon.
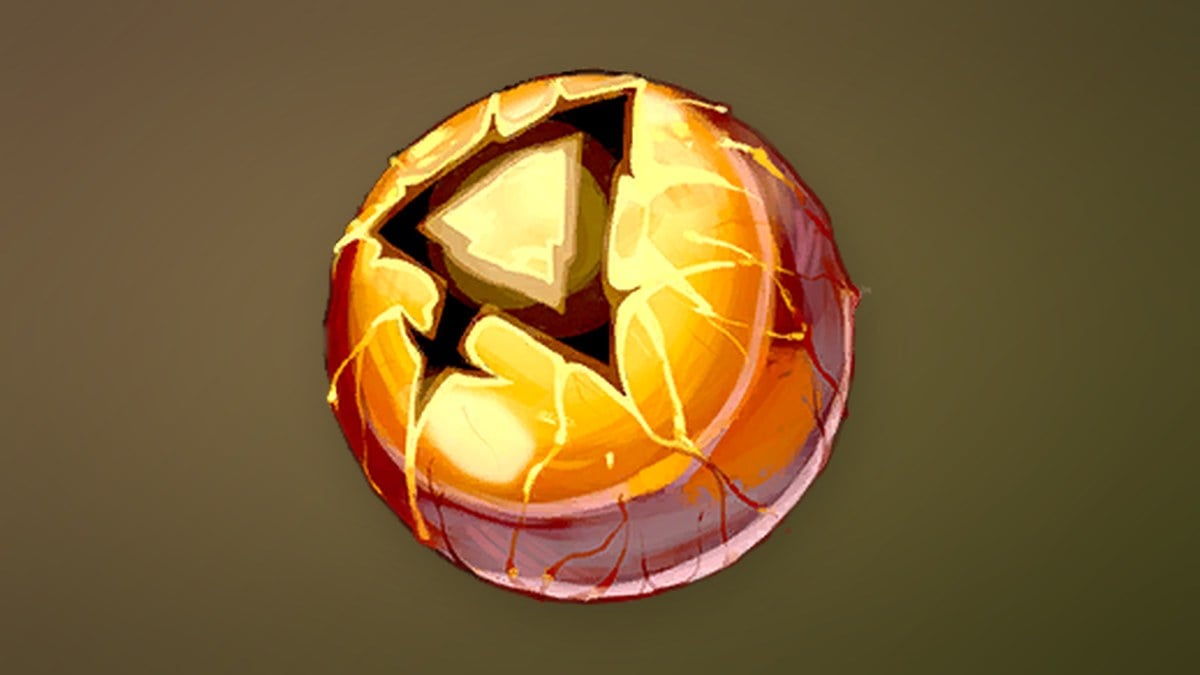
Thrilling Eye
Thrilling Eye

Carmilla boss fight and rewards

Go on through the door on the right of the armchair room to reach Carmilla. She fights in a hall flooded with blood under a giant red moon. When the fight starts, a single red health bar labelled “CARMILLA” appears.
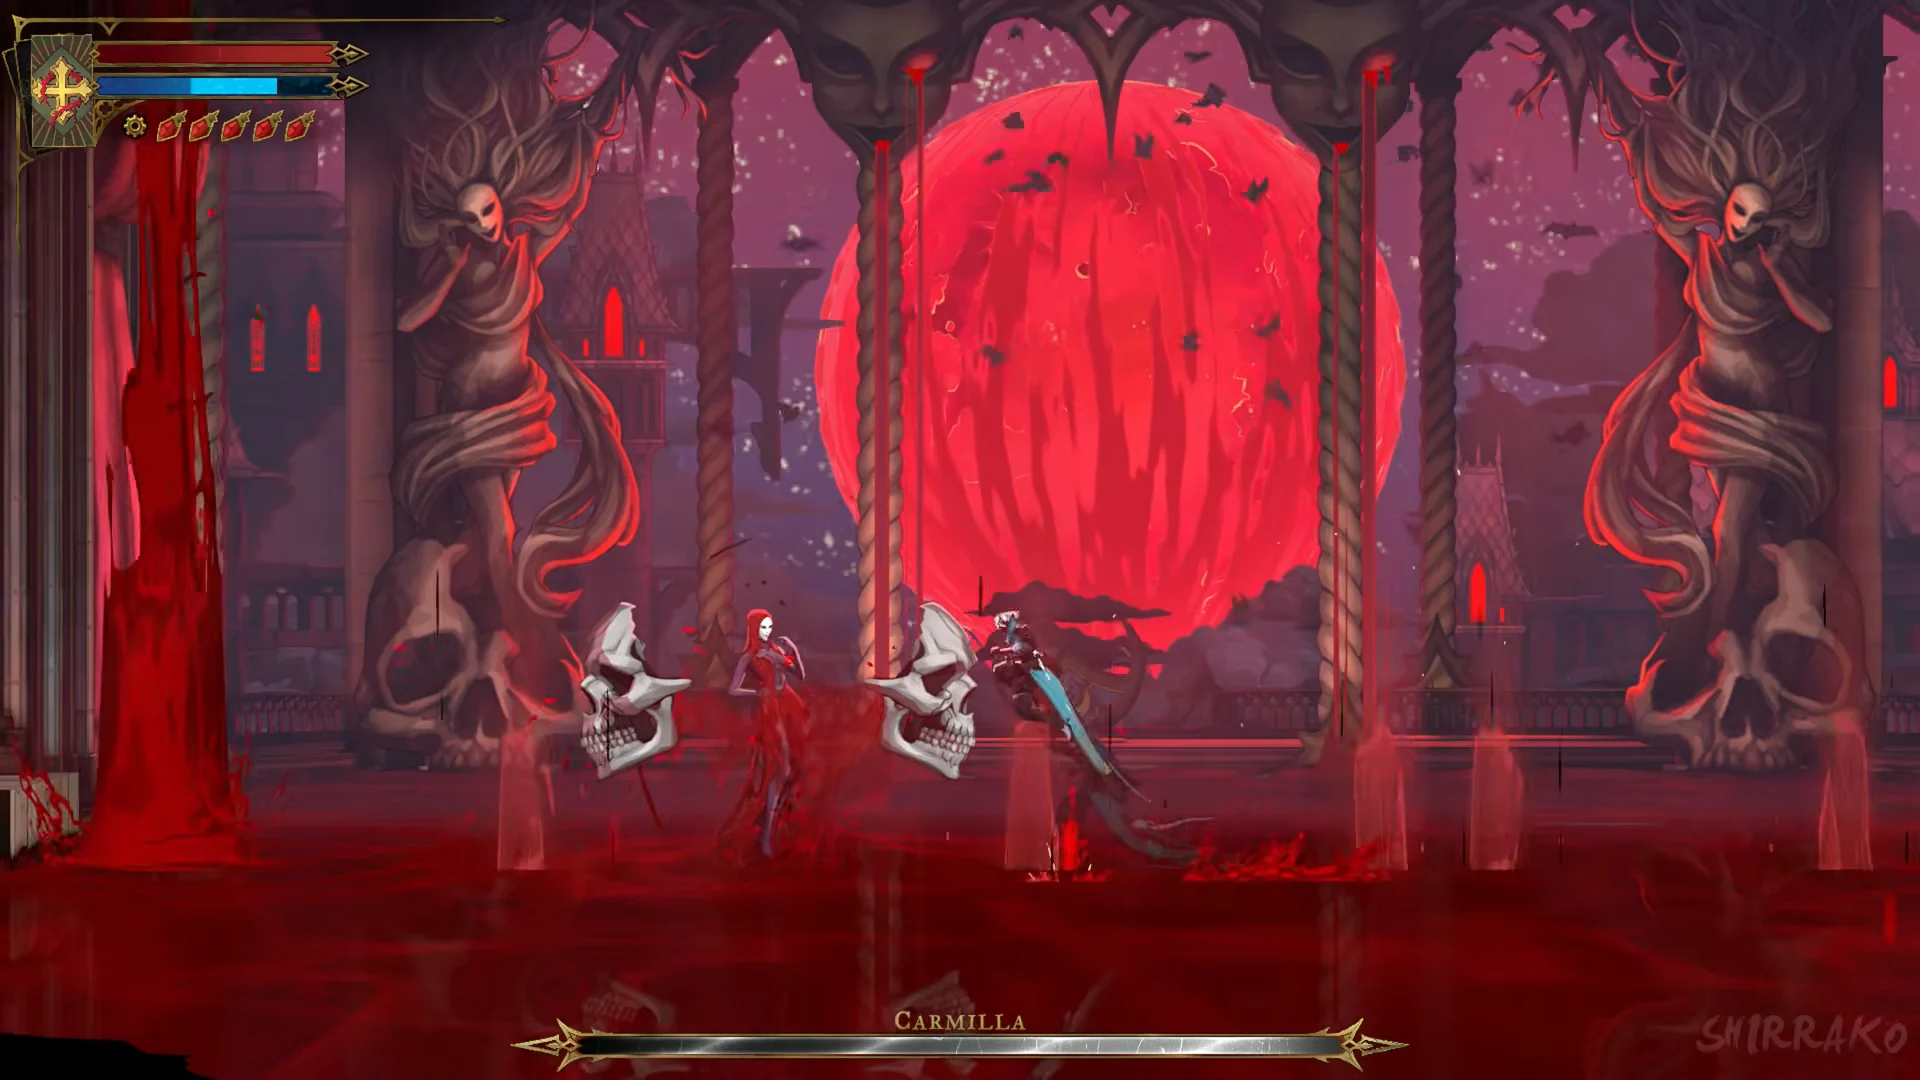
Carmilla health bar387:13Carmilla health bar
The Carmilla fight in the Library, with her single health bar shown on screen. Shown at 387:13 in Shirrako’s video. Image: KONAMI

Defeating her gives you the tarot card The Occultist, which comes with the spell Blood Spikes. It also unlocks the trophy “Blood for Blood”. After the fight, you get the Aerial Rush ability in a Library hallway. The fight is in our Carmilla boss guide, and the next leg in where to go after Carmilla.