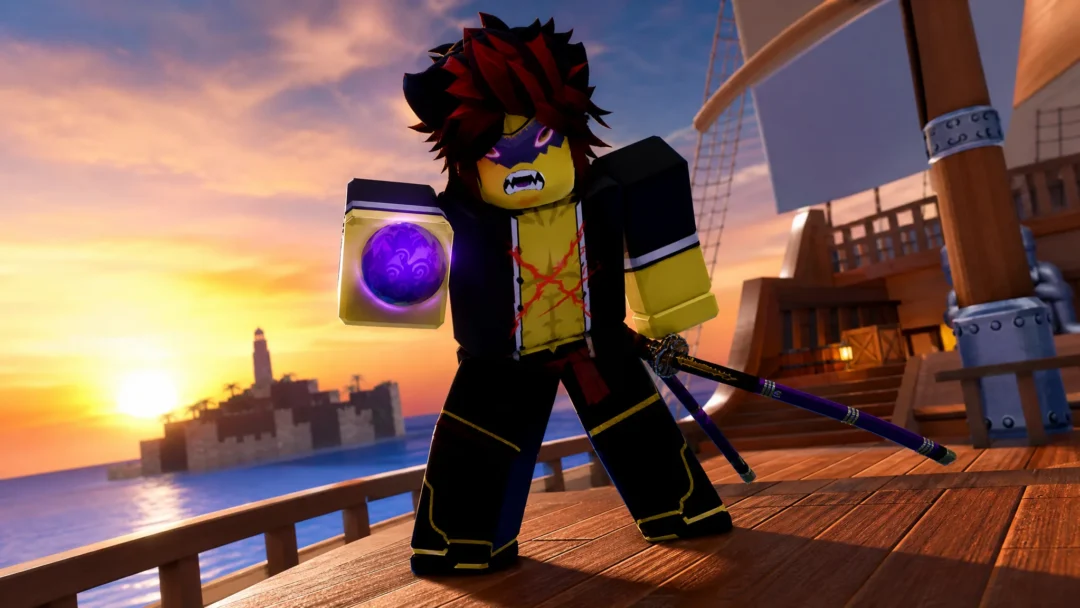
The Sorcerer is the default mage in TBH: Task Bar Hero and one of the four free characters you can field without spending a cent. She lives and dies on area damage, throwing out wide spells that hit whole groups at once. The trade-off is fragility. Her health is low, so a wrong placement gets her killed before she does anything useful.
Quick answer: Pour everything into spell (ability) power, slot her biggest AoE skills like Meteor Strike, stack Crit Chance, Cooldown Reduction, and Increased Area of Effect, then run her in the back of a Knight + Sorcerer + Priest team.
What the Sorcerer does
Every point of her damage comes from magic, and her strength is hitting many enemies with a single attack. That makes her the best free damage dealer in the game and the closest free stand-in for the paid Hunter. In a direct comparison she sits a step behind the Hunter, but a focused build still puts out strong numbers and clears dense stages fast.
Her weakness is just as clear. She has poor survivability and cannot take direct hits, so she only works when someone else holds the front line. Build into her offense and let a tank absorb the danger.
Best Sorcerer skills
Fill her skill slots with the widest, hardest-hitting AoE abilities you can unlock. Skill points can be refunded at no cost, so you can experiment freely and reset into stronger options as your level climbs.
| Skill | What it does |
|---|---|
| Meteor Strike | Drops a meteor dealing 550% damage to every enemy caught in a large radius. Her best ability, though it costs a lot of Skill Points to unlock. |
| Flame Hydra | Summons a Hydra that deals 255% damage and hits multiple enemies in a decent range with the same projectile. |
| Blizzard | Freezes enemies for strong crowd control, keeping dangerous packs off your backline. |
| Fireball / Ice Orb | Reliable early elemental coverage that spreads damage across groups while the tank holds aggro. |
Beyond raw damage, lean on her slow and freeze effects. They are part of what keeps a free team alive, since they stop enemy clusters from reaching the Sorcerer or the healer.
Stat and passive priority
Spell power is the core stat and everything scales off it. Crit Chance has no hard cap in this engine and can even push past 100%, so it amplifies her AoE spikes the more you invest. Add only a little HP, just enough so a stray hit does not delete her.
| Priority | Why it matters |
|---|---|
| Spell / ability power | The source of all her damage. Scale it relentlessly. |
| Cooldown Reduction | She depends on abilities, so casting them more often raises total output. |
| Increased Area of Effect | A larger radius traps more enemies, raising the real DPS of every AoE spell. |
| Crit Chance | No cap, so it keeps scaling and sharpens her damage spikes. |
| Fire damage | Stacks with her fire-based skills for extra punch. |
| HP | A small amount only, so she survives accidental hits. |
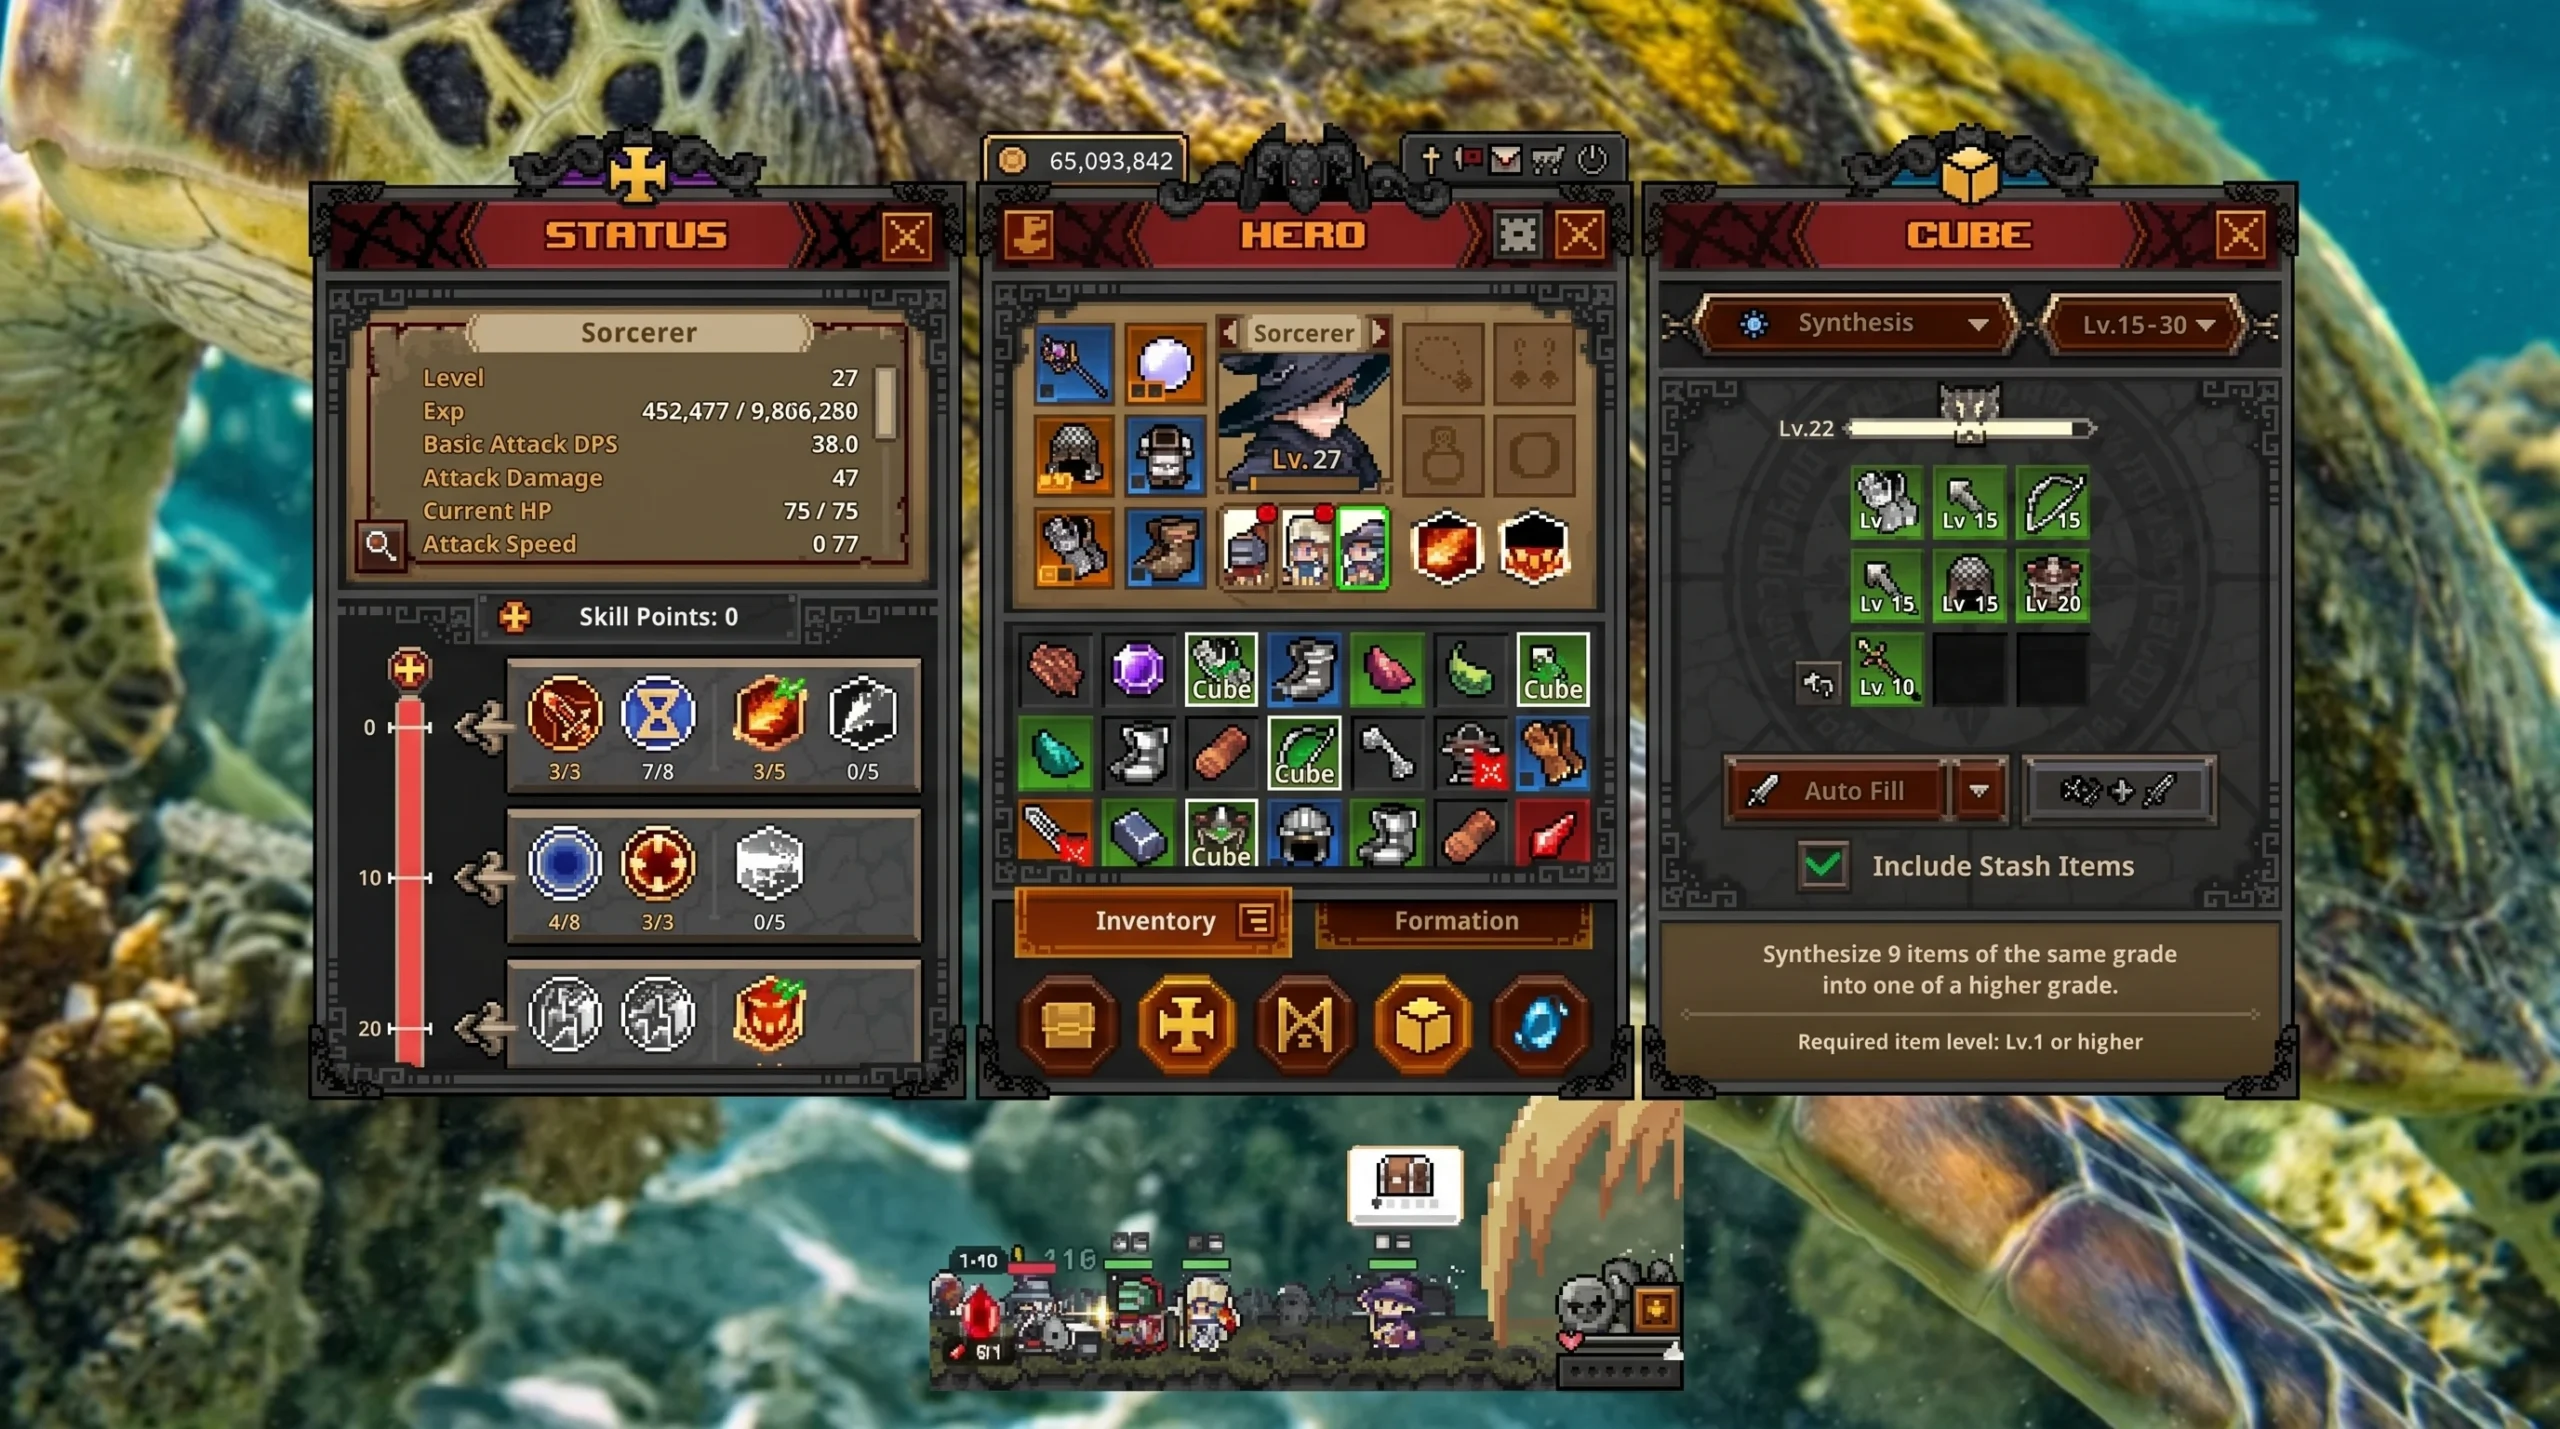
Gear and Hero-dric Cube setup
Gear her around a Staff and Orb, then socket spell-power and crit materials into her equipment. Do not spend sockets on defense. That is the tank’s job, and her value is pure AoE output, not durability.
The Hero-dric Cube unlocks at level 4 and opens on Synthesis by default. Use Synthesis to combine nine same-rarity items and push toward higher rarity, and socket stat materials into Blue and above gear that matches her role. For weapon decorations, target fire damage along with bonuses that raise her base damage and critical chance.
Note: if you list spare gear on the Steam Market later, strip any socketed decorations or engravings first using the Cube’s Removal feature, since items must be in their base state to sell.
Best Sorcerer team
The Sorcerer is the damage core of the strongest fully free team, Knight + Sorcerer + Priest. The Knight tanks at the front and soaks the hits, the Priest heals the Sorcerer and clears damage counters, and the Sorcerer sits in the back deleting packs. This trio covers the Hunter’s AoE role without any purchase.
You can reorder your lineup at any time through the Formation tab using the arrow buttons beside each portrait. Swapping positions does not trigger the deploy cooldown, so keep her in the rear slot at all times.
Get those three things right and the Sorcerer turns into a reliable wave-clearing engine. Maximize spell power, lock in Meteor Strike and your widest AoE skills, support them with Cooldown Reduction, Area of Effect, and Crit, and let the Knight and Priest keep her standing while she does the heavy lifting.