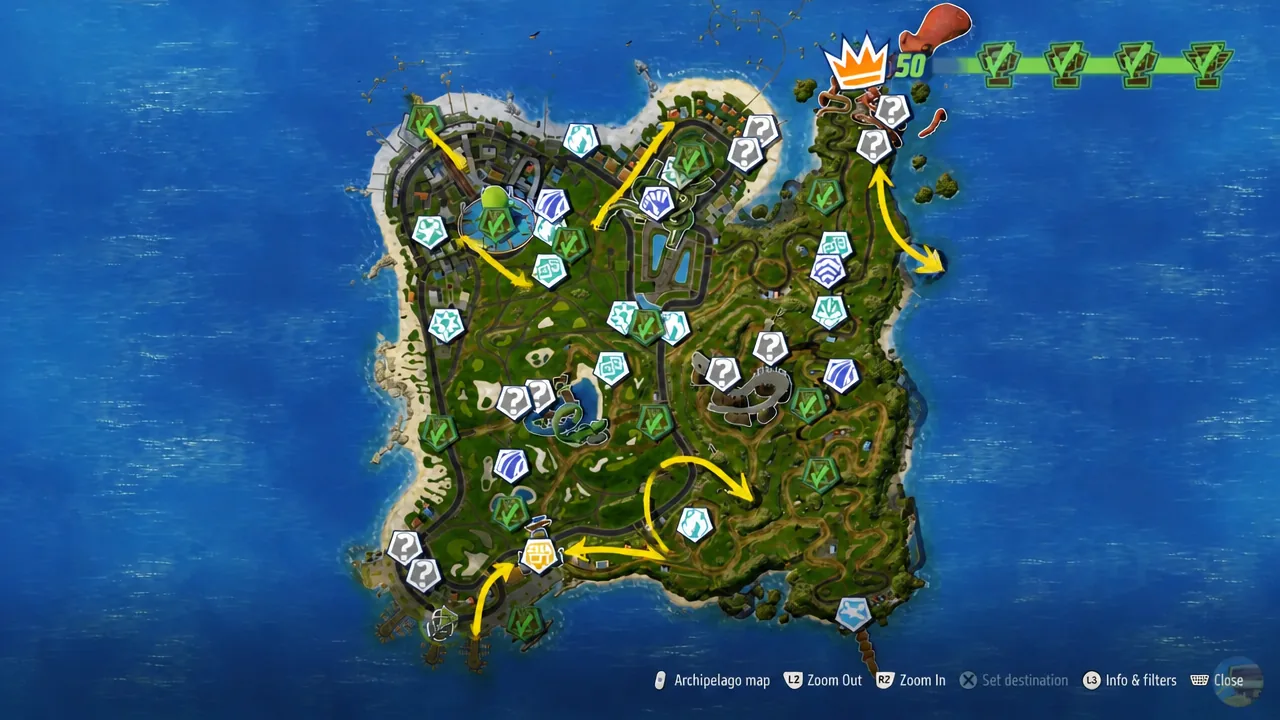
Tentacle Bay is the coastal island in Hot Wheels Infinite Rush, a mix of beaches, green parks, rocky ground, and an archaeological park. It hides five separate things that count toward completion, and each one is picked up in a different way. Knowing which is which saves a lot of pointless circling.
Quick answer: Drive straight through blue gears, drive or jump through the floating orange Hot Wheels logos, open Photo Mode and photograph wall stickers when the “STICKER NEARBY!” prompt appears, clear all events inside each of the island’s three portals, and score Gold on every Stuntman, Speed, Drift, and Boost stunt.
What counts toward 100% in Tentacle Bay
The island tracks each collectible type separately, and the counters appear on screen the moment you pick something up. Stickers and logos both cap at 10 on this island. Gears are the most numerous and are spread along roads, beaches, and open grass.
| Collectible | How it is collected | Island counter |
|---|---|---|
| Gears | Drive directly through the floating blue gear icons | Numbered in clusters along routes |
| Stickers | Stop near the wall art, enter Photo Mode, take the photo | Tentacle Bay Sticker: x/10 |
| Hot Wheels logos | Drive or jump through the floating orange track logo | Tentacle Bay Hot Wheels™ logos: x/10 |
| Event portals | Complete every event listed inside the portal | Completed events shown per portal |
| Stunts | Beat the Gold threshold for the stunt type | Medal awarded per stunt, plus Rush Coins |
Gear cluster locations and a clean pickup route
Gears sit in tight groups, so it is faster to treat them as clusters than as individual pickups. Sweep the shoreline first, then move inland and finish in the built-up area. A Drifter or Versatile car makes the tighter lines easier to hold at speed.
| Gears | Where they sit |
|---|---|
| 1–5 | Coastal path |
| 6–10 | Parking lot |
| 11–16 | Grassy strip beside the beach |
| 17–20 | Sandy beach |
| 21–30 | Grassy hill |
| 31–34 | Dirt path |
| 35–40 | Along a paved road |
| 41–45 | Same run as the first Hot Wheels logo |
| 46–55 | Town square |
The beach clusters are the easiest to miss because the sand and grass blend together at speed. Slow down as you leave the coastal path and follow the shoreline instead of cutting inland.
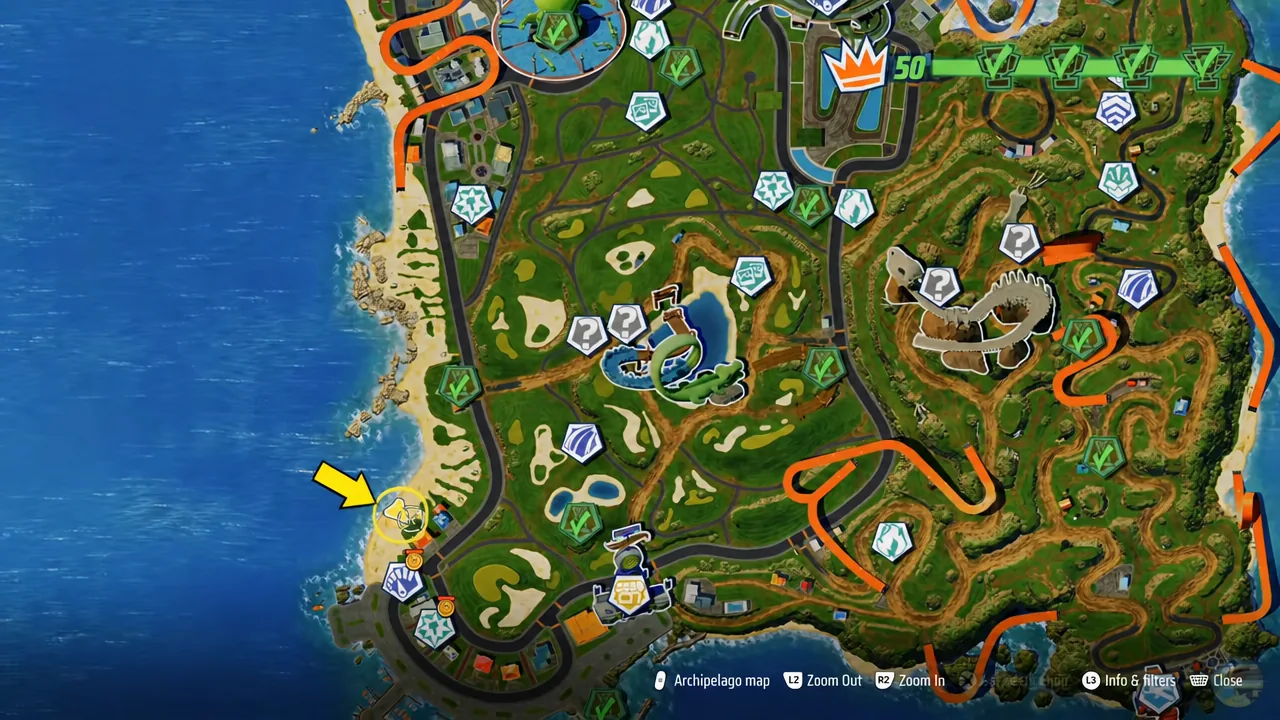
The hill cluster of ten gears is the largest single group on the island, and the climb is wide enough to line them all up in one pass. Approach from the low side so you keep momentum through the whole row.
Stickers and Hot Wheels logos
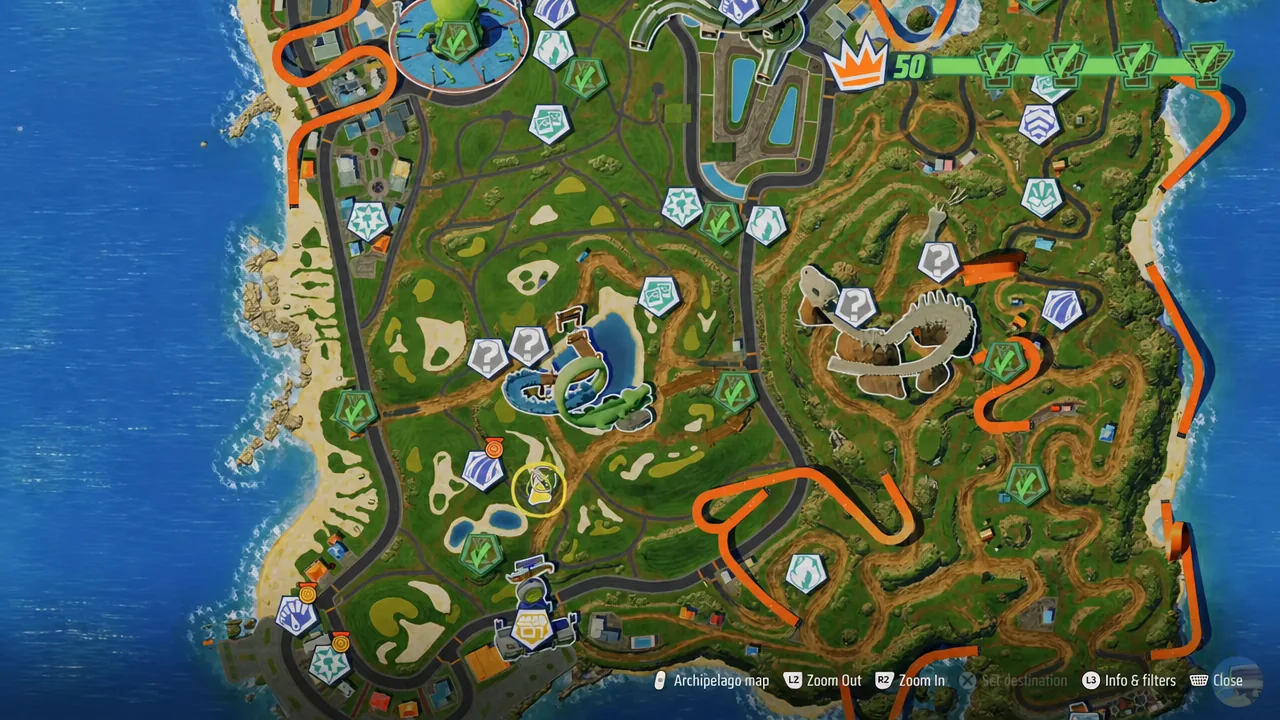
Stickers are the only collectible you cannot grab by driving. They are painted onto building walls, and the game flashes “STICKER NEARBY!” when you are close enough. The first one is on a blue and yellow building; the second is on a plain white wall.
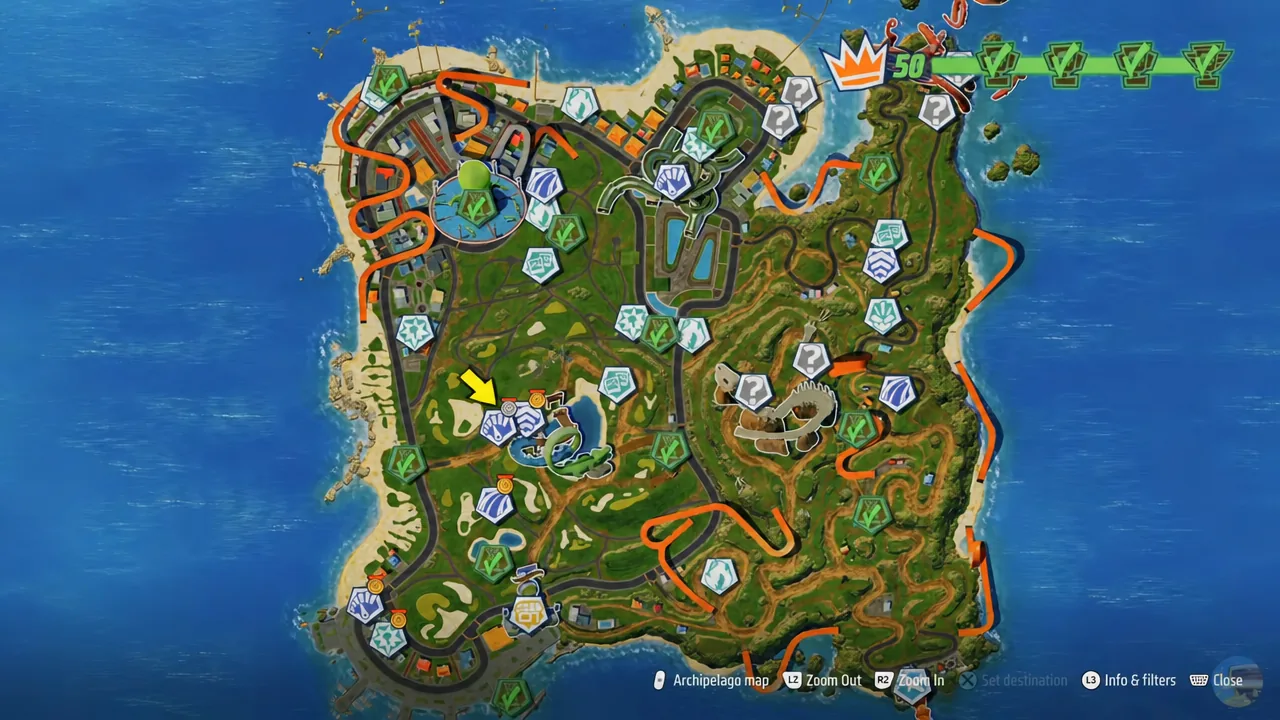
Hot Wheels logos work the opposite way. They float in the air as orange track logos, and you claim one simply by passing through it, either on the ground or mid-jump. The first logo sits on the same stretch as gears 41 through 45, so you can take both in a single run.
Tentacle Bay event portals and their event lists
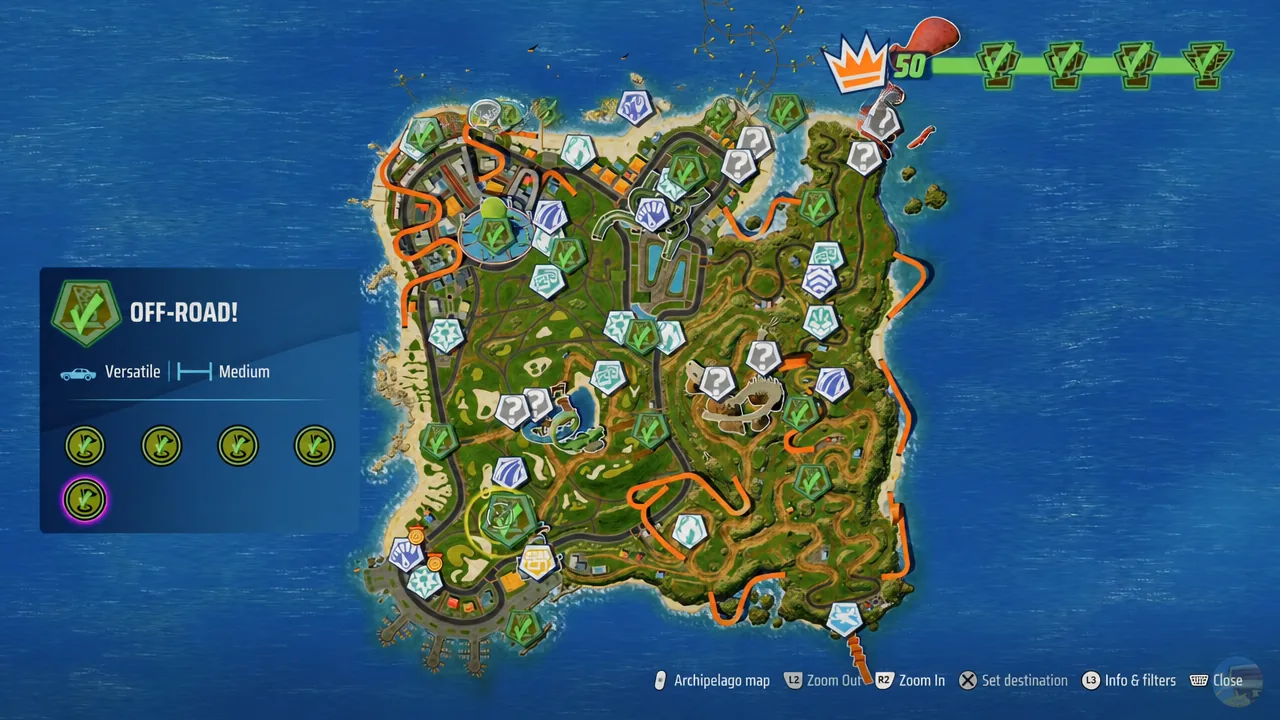
Three event portals sit on the island, each holding its own stack of races. A portal only reads as finished when its completed events counter matches its total, so a portal at 8/9 still blocks your island percentage.
| Portal | Events | Modes seen inside |
|---|---|---|
| Setting Sail | 10 | Time Attack, Quick Race, Elimination, Drift Master, Smashing Wheels |
| Magnetic Speed | 9 | Head-to-Head |
| Off-Road! | 5 | Waypoint |
Off-Road! is the shortest of the three at five events, which makes it a sensible first stop if you want a quick jump in island progress.
Stunt challenges and the Gold scores to beat
Four kinds of free-roam stunt appear around Tentacle Bay, and each measures something different. Stuntman challenges score you on how much scenery you destroy. Speed stunts read your top speed, drift stunts award drift points, and boost stunts are timed runs where a lower time is better.
| Stunt | Gold-clearing score |
|---|---|
| Stuntman #1 | 201 |
| Speed Stunt #1 | 239.7 km/h |
| Drift Stunt #1 | 350 |
| Boost Stunt #1 | 00:26.157 |
| Speed Stunt #2 | 230.6 km/h |
Car class matters more here than in the portal races. Speeders build boost as they hit high speeds, which suits the speed stunts, while Drifters hold slides more easily for the drift targets. You can swap between the cars assigned to your Rush Squad on the fly by holding the D-pad, so there is no need to drive back to a menu before an attempt.
Note: a Gold rating pays out Rush Coins on top of the medal, so re-running a stunt you only silvered is worth the couple of minutes.
How to confirm a collectible actually registered
Every pickup gives immediate on-screen feedback, so you never have to guess. Gears vanish as you pass through them and do not respawn. Stickers and logos push their island counter up by one the instant they are claimed, and stunts show the medal and score at the end of the attempt.
If something does not register, the cause is almost always one of three things. A sticker will not count if you drove past without taking the photo, since proximity alone does nothing. A logo will not count if you passed under or over the ring rather than through it. And a gear needs the car to touch the icon directly, so a near miss at high speed leaves it in place.
Tentacle Bay is compact enough that a full clean-up is realistic in one sitting once you have the gear clusters mapped in your head. Work the coast, then the hill, then the town square, and pick off the stunts and portals as you pass them. Completing collections is also how you unlock more cars, so the detours pay for themselves.