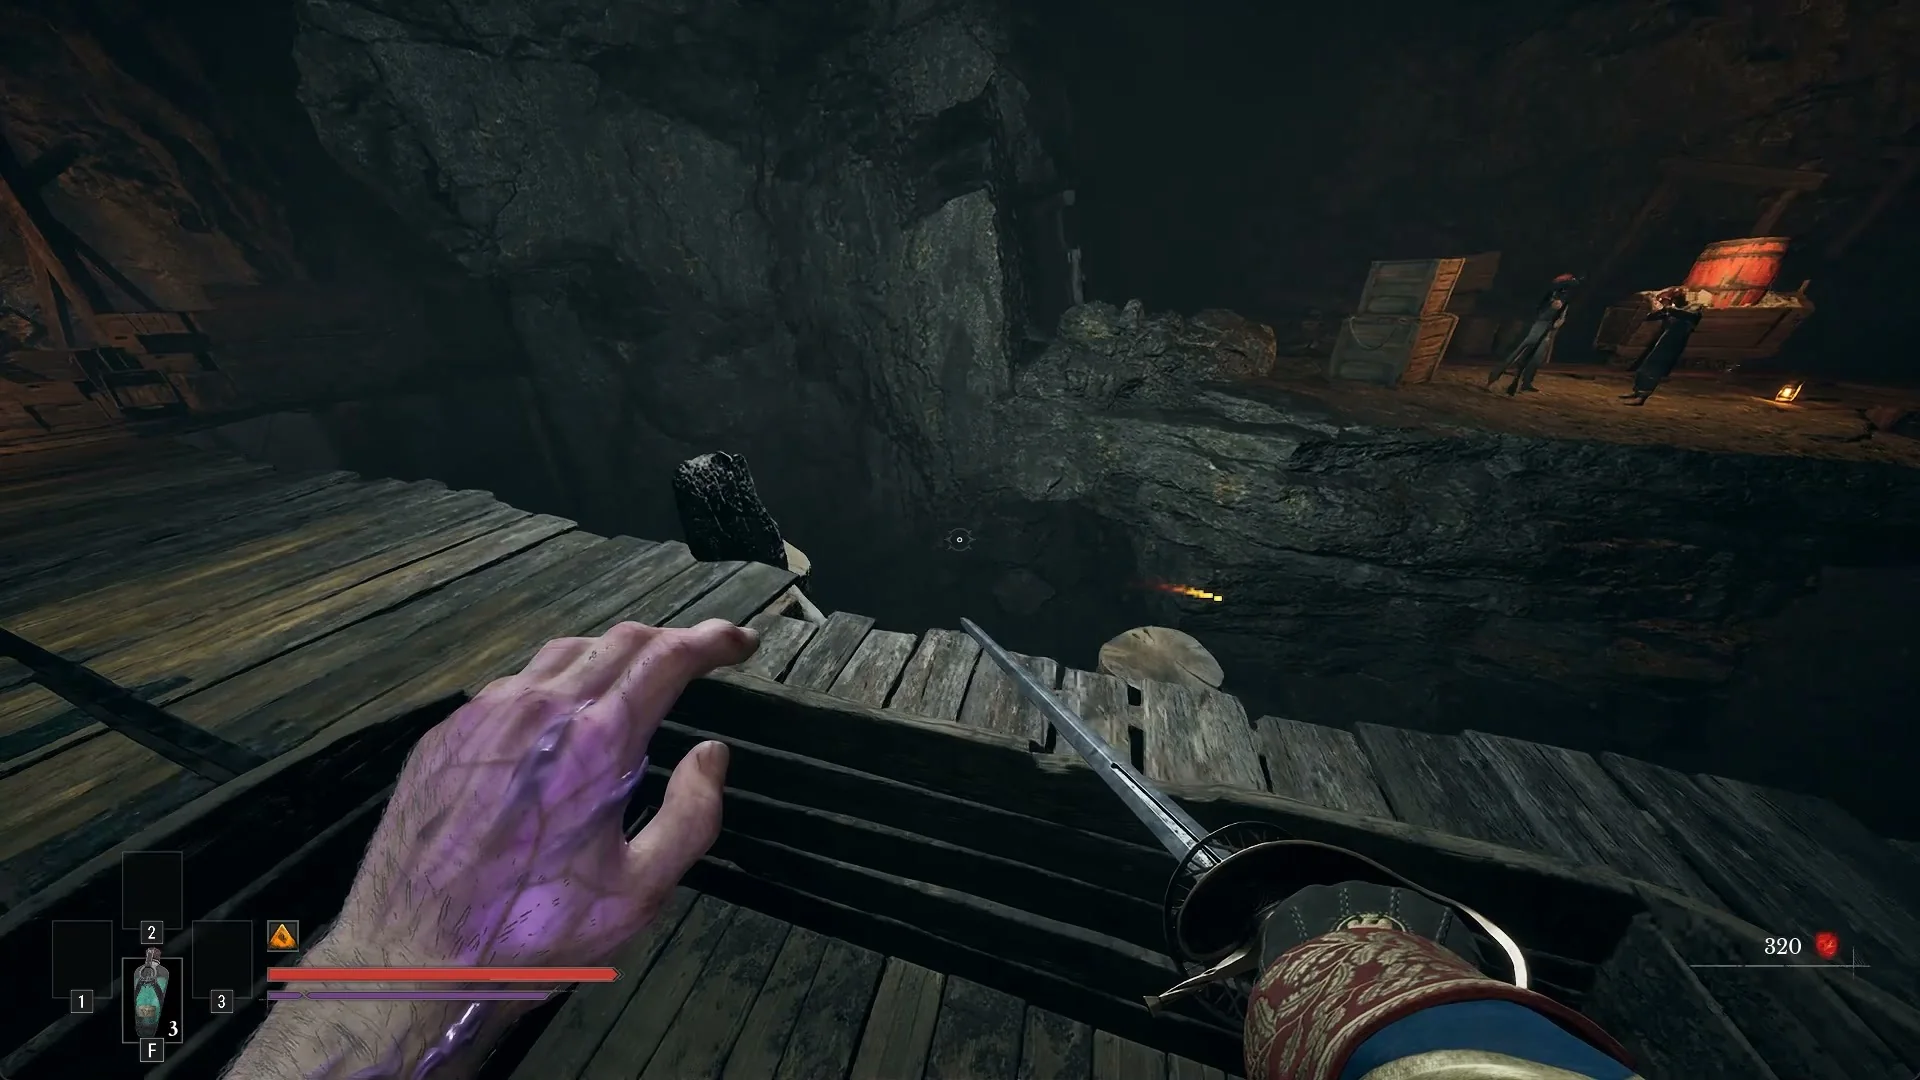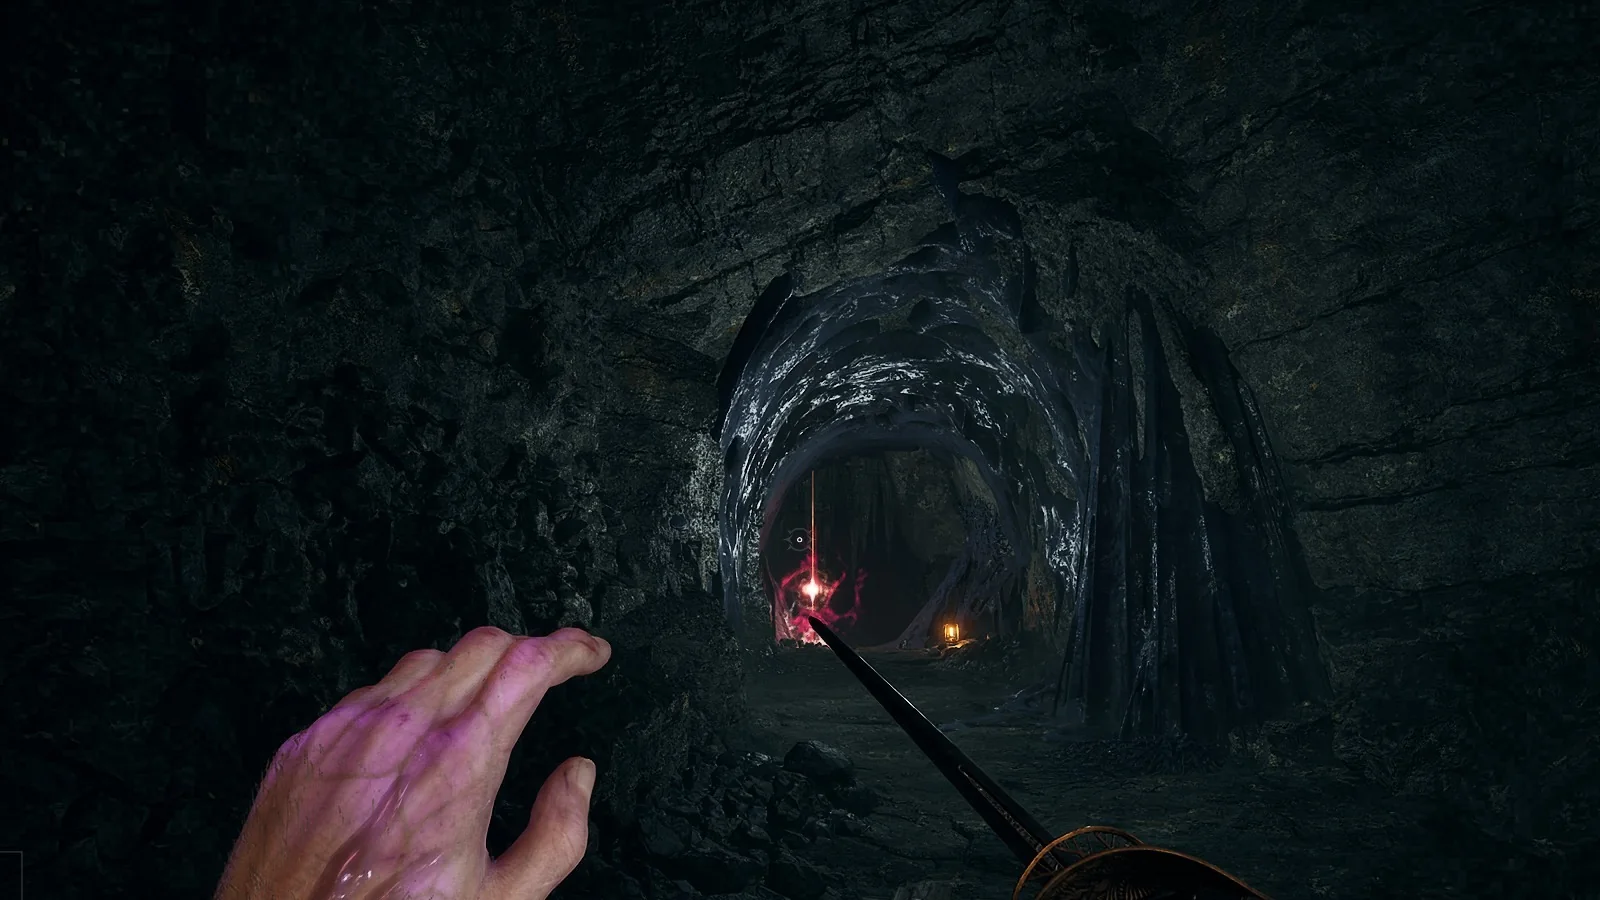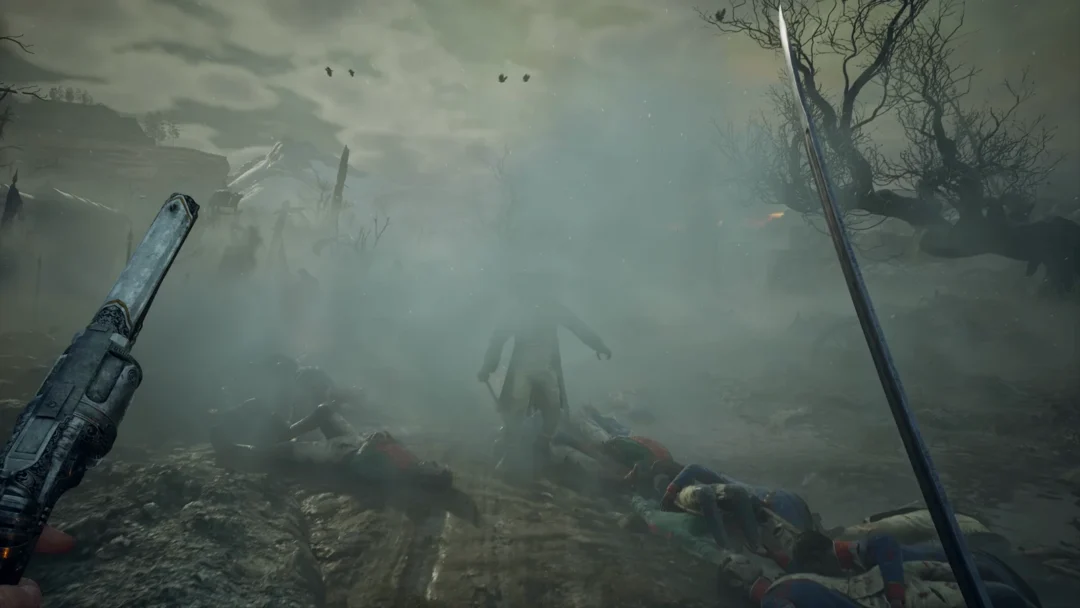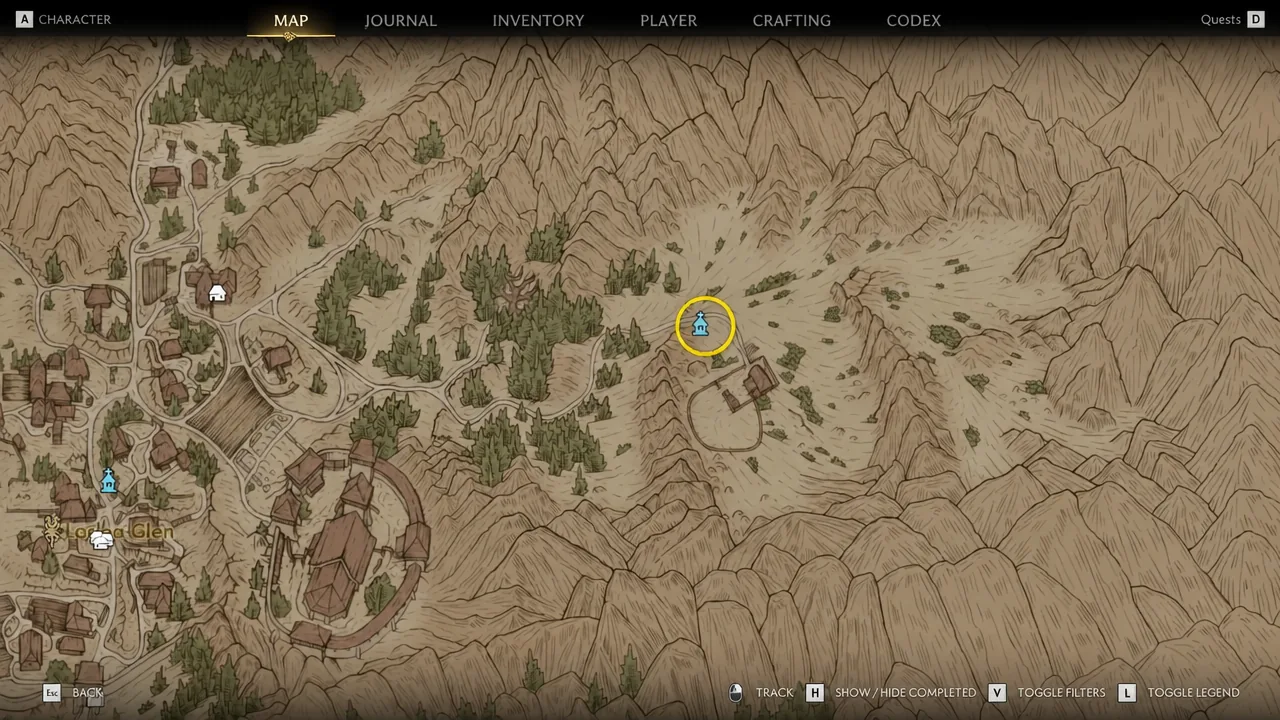
Bandit camps are the fastest source of skill manuals in The Blood of Dawnwalker, and there are exactly 15 of them scattered across Vale Sangora. Each one is a small pocket of hostile enemies guarding at least one lootable chest, and six of them also hide a treasure map that starts its own short side quest.
Quick answer: Climb all 11 Towers to reveal the 15 bandit camps as white “crossed swords” icons on the world map, then clear each camp and hold L2/LT to enter focus mode and highlight the chest hidden in the tents or huts.
Reveal all 15 bandit camp locations by climbing the towers
You do not need to stumble into these camps by accident. Every bandit camp is tied to the map reveal system, and climbing all 11 Towers puts every single marker on your world map at once. Until then, large stretches of the map stay blank and camps in those regions simply will not appear.
Once revealed, camps use a white crossed-swords icon. It is distinct from the soldier camp and monster lair markers, so you can filter your route by icon alone and plan a clean sweep rather than doubling back.
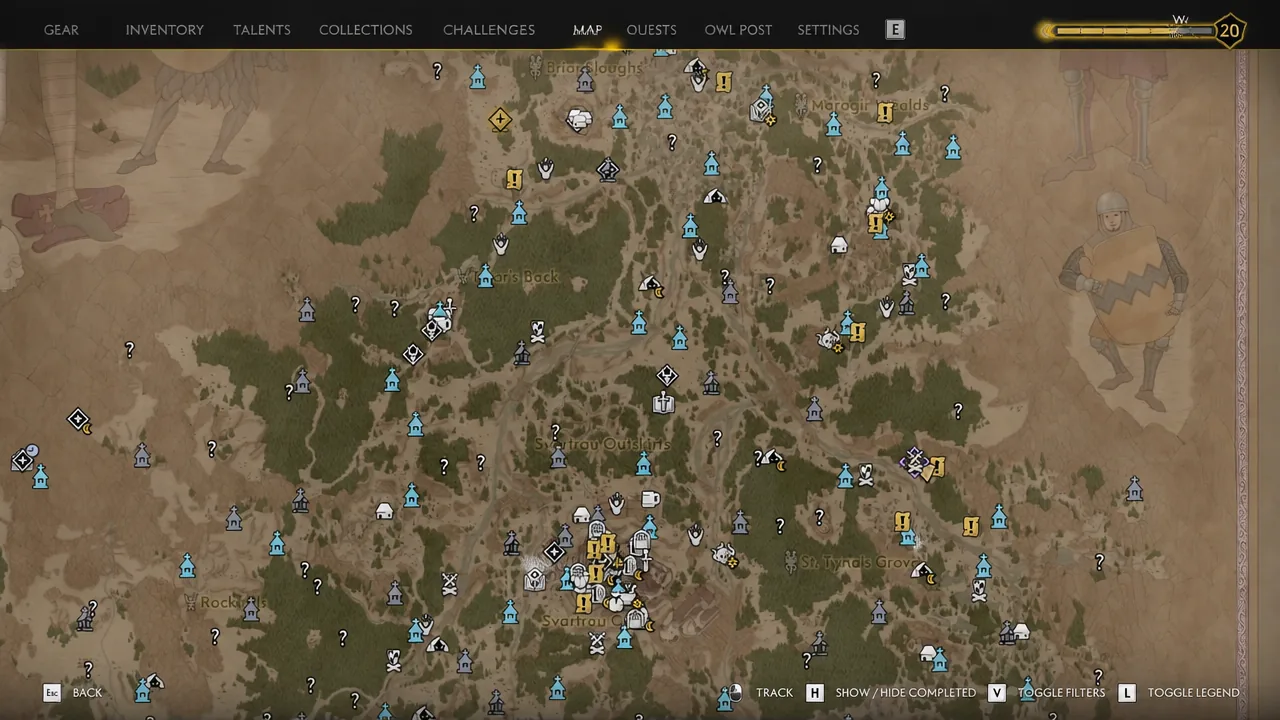
Travel time between camps is the real cost here, not the fights. If you have invested in Vampirism, the Shapeshift skill cuts the walk down considerably. Witchcraft players get the same benefit from Mercurial Fervor. Either one turns a full 15-camp run from a slog into something you can chain together in a few sittings.
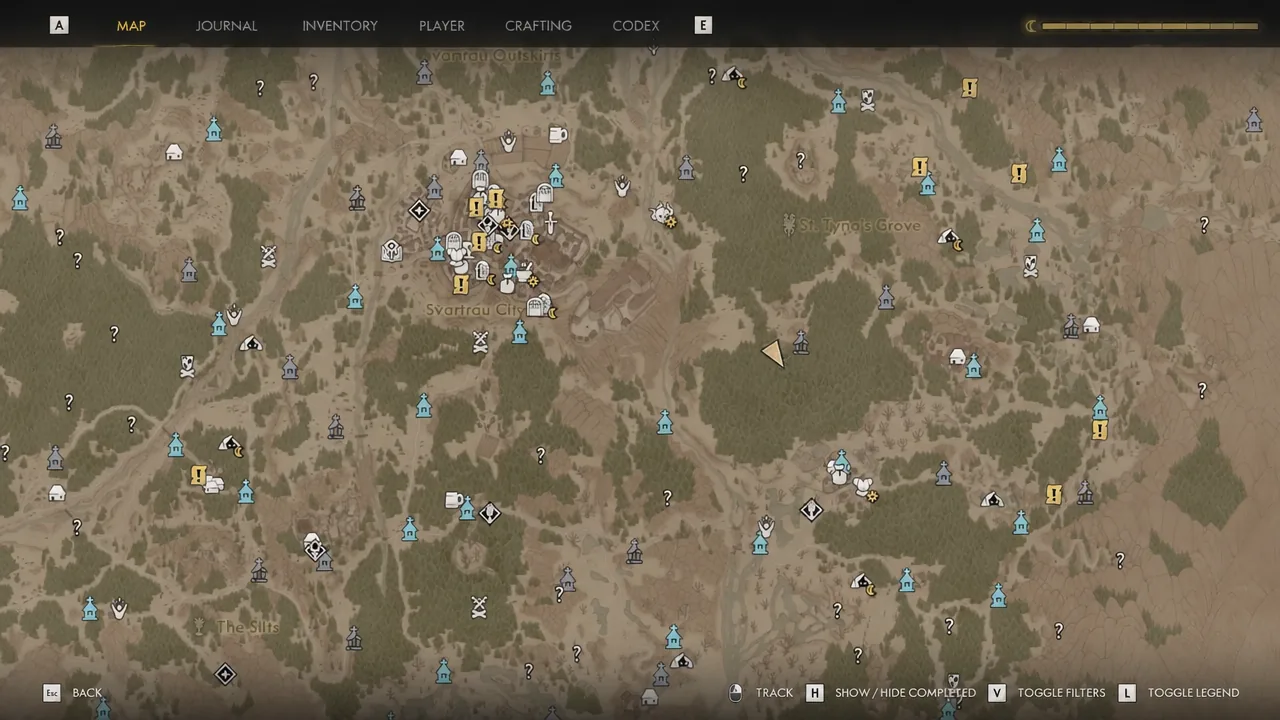
What each bandit camp drops
The pattern is consistent across all 15 sites. Kill everyone in the camp, then sweep it for loot. Chests are frequently tucked inside a tent or a hut rather than sitting in the open, which is why focus mode matters — holding L2/LT outlines the interactable container so you are not manually checking every corner of the camp.
Chest contents lean heavily toward skill manuals, with weapons, armour and Denarius filling out the rest. Camp leaders are worth a separate look. At the Outlaw’s Gorge camp, for example, the Renegade Bruiser carries the Broad Swing manual on his body, and that drop is entirely separate from the chest inside the hut.
Note: clearing a camp burns a Time Segment. With a limited day counter running across the whole game, batching camps that sit close together on the map is more efficient than treating each one as its own trip.
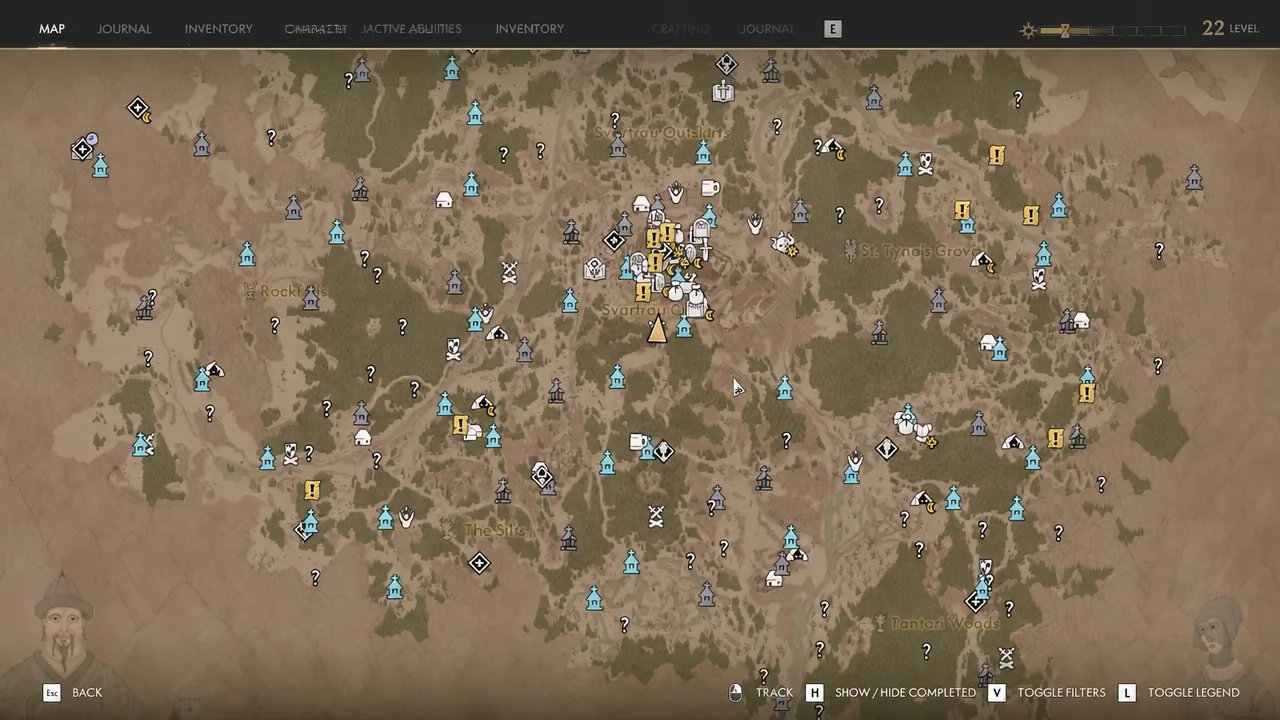
Which bandit camps contain treasure maps
Six of the 15 camps hold a treasure map. Picking one up starts a Bandit’s Treasure Map side quest and marks a red X on your world map pointing to a buried stash somewhere else in the region. The other nine camps are chest-only.
| Camp | Treasure map | Where the X leads |
|---|---|---|
| 1 | Laslea Glen | A bear’s cave east of Outlaw’s Gorge |
| 2 | — | Chest only |
| 3 | Briar Sloughs | Beside a large tree in swampland |
| 4 | — | Chest only |
| 5 | — | Chest only (Racovita’s Bandit Camp) |
| 6 | — | Chest only |
| 7 | Riverbank | A rocky stretch of riverbank |
| 8 | — | Chest only |
| 9 | — | Chest only |
| 10 | Pond Islet | A small island in the middle of a pond |
| 11 | — | Chest only (inside a tent) |
| 12 | Split Rock | Next to a split boulder in a snowy area |
| 13 | — | Chest only |
| 14 | — | Chest only |
| 15 | Tantari Woods | Near a wooden bridge in swampy forest |
The maps themselves are drawings, not waypoints, so you have to match the sketch to the terrain. The landmarks above are what you are looking for on the ground — a split boulder, a bridge, an islet — and each dig site needs a shovel, which is always lying nearby.
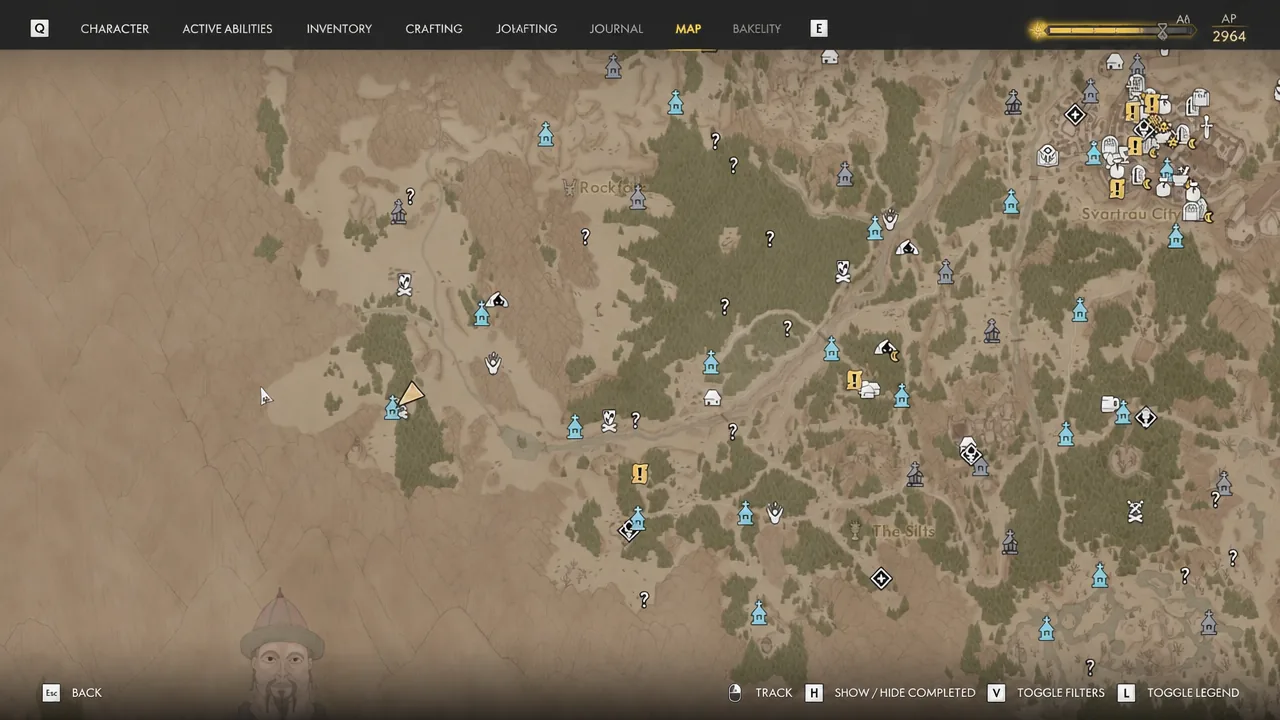
Bandit’s Treasure Map: Laslea Glen walkthrough (Camp 1)
The first camp is the one most players hit during the prologue, and it is the only treasure map that is flagged as missable. It is available during the day, and you can also come back to it after the prologue.
The buried chest pays out 100 XP, 100 Denarius, the Recipe for Minor Fortitude Paste, a gold trinket to sell, and the Polished Long Cleaver — a Level 5 sword at 90 DPS that unlocks a rechargeable Weapon Art for Coen. It comfortably outclasses the starting weapon, which is why this detour is worth the two segments so early.
Tip: if you want to protect your prologue schedule, the dig is easy to slot into the Smoke and Ashes quest window instead of spending prologue time on it.
How to confirm a camp is fully cleared
A camp counts as finished once the enemies are dead and the chest has been opened. Focus mode is the check: sweep the tents and huts with L2/LT held, and if nothing highlights, there is nothing left to take. For treasure map camps, the quest entry in your journal updates the moment the map enters your inventory, and updates again after the dig.
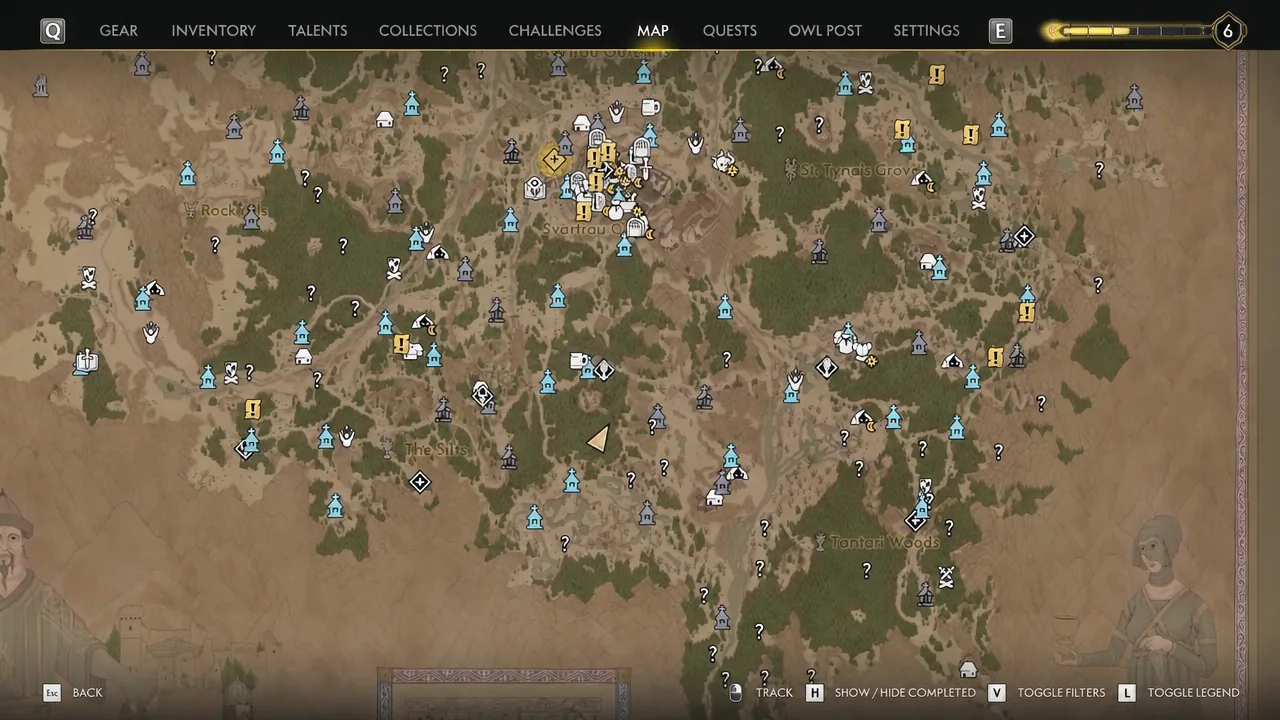
If markers are missing, the cause is almost always unclimbed towers rather than a bug. If the dig prompt does not appear, you either have not killed the guardian enemy yet or you have not picked up the shovel sitting beside the dig site. And if a camp seems empty of loot, the chest is usually inside a structure rather than out in the open, which is exactly the case at camp 11.
Work through the towers first, run the camps in geographic clusters, and the six treasure maps will fall out of that route naturally rather than costing you extra days.