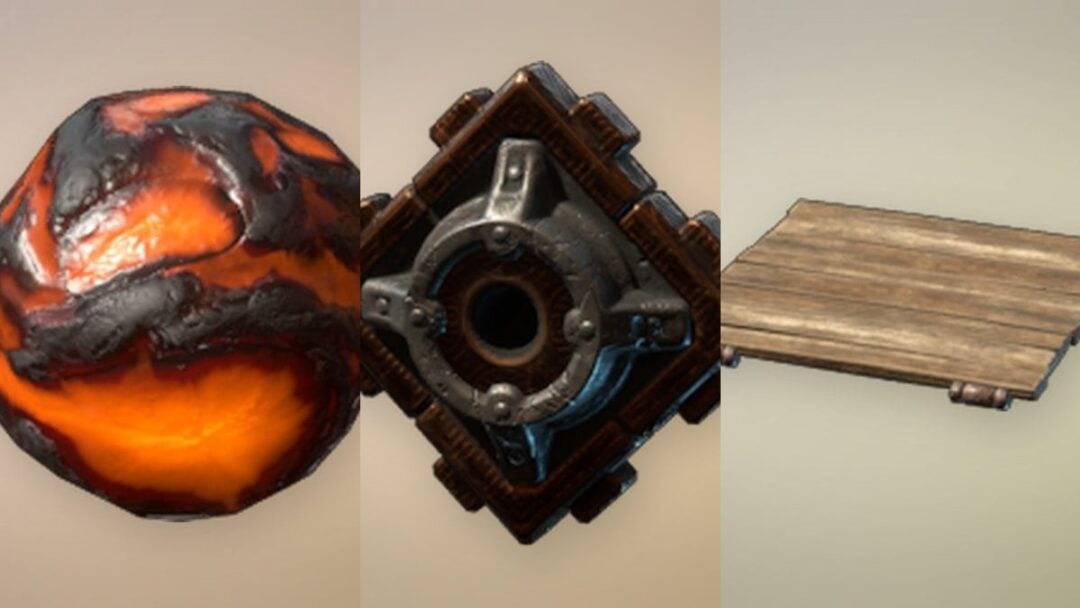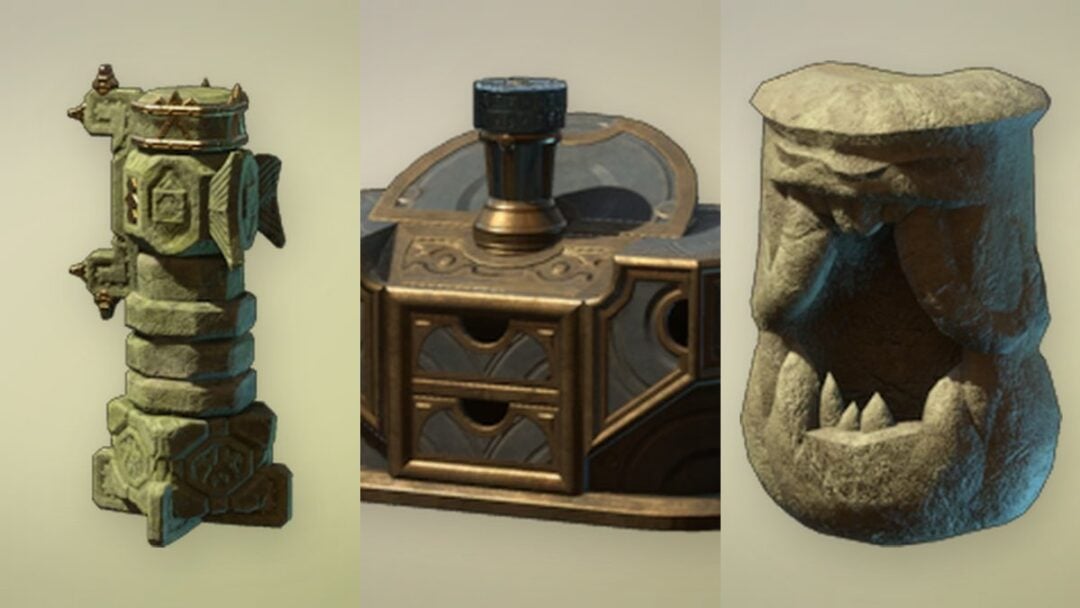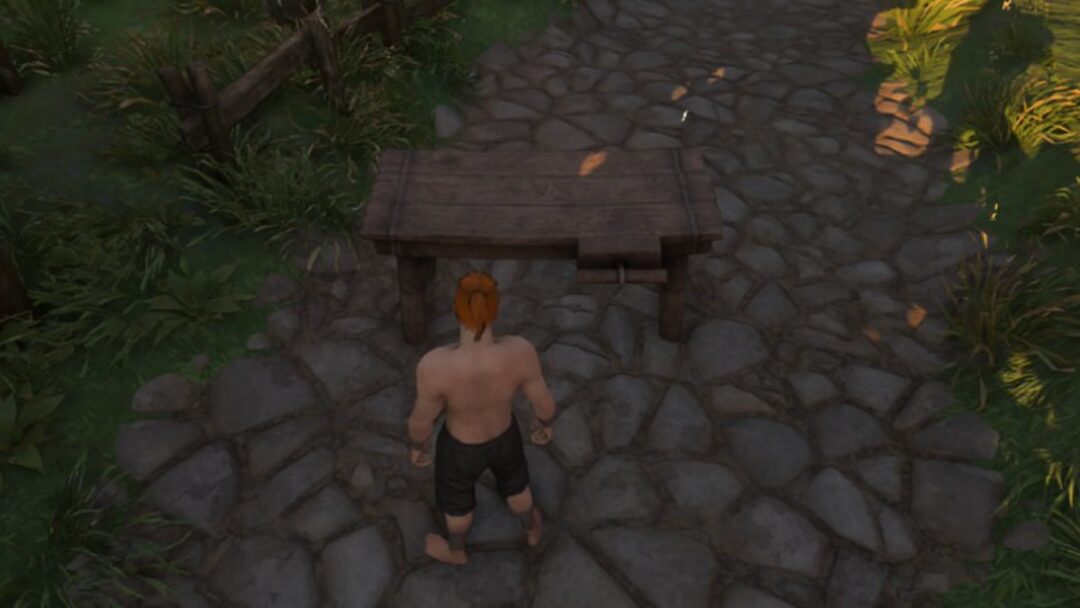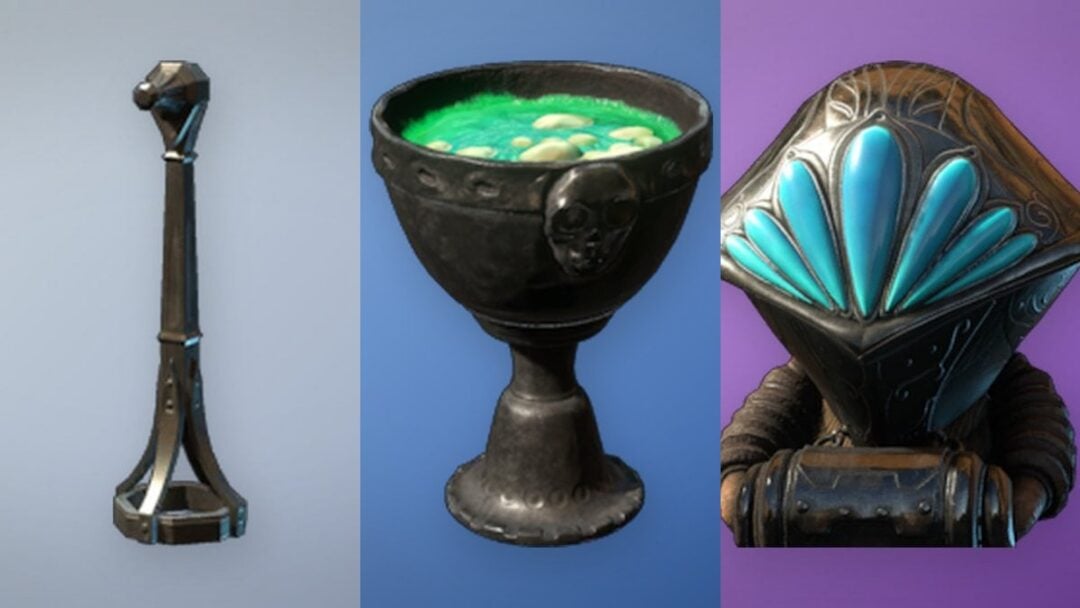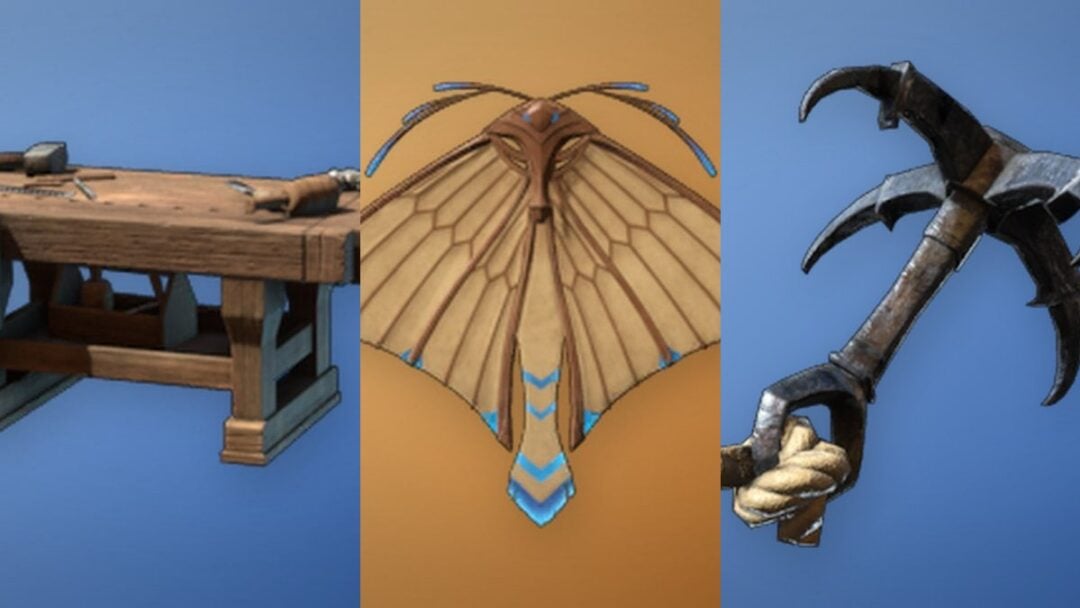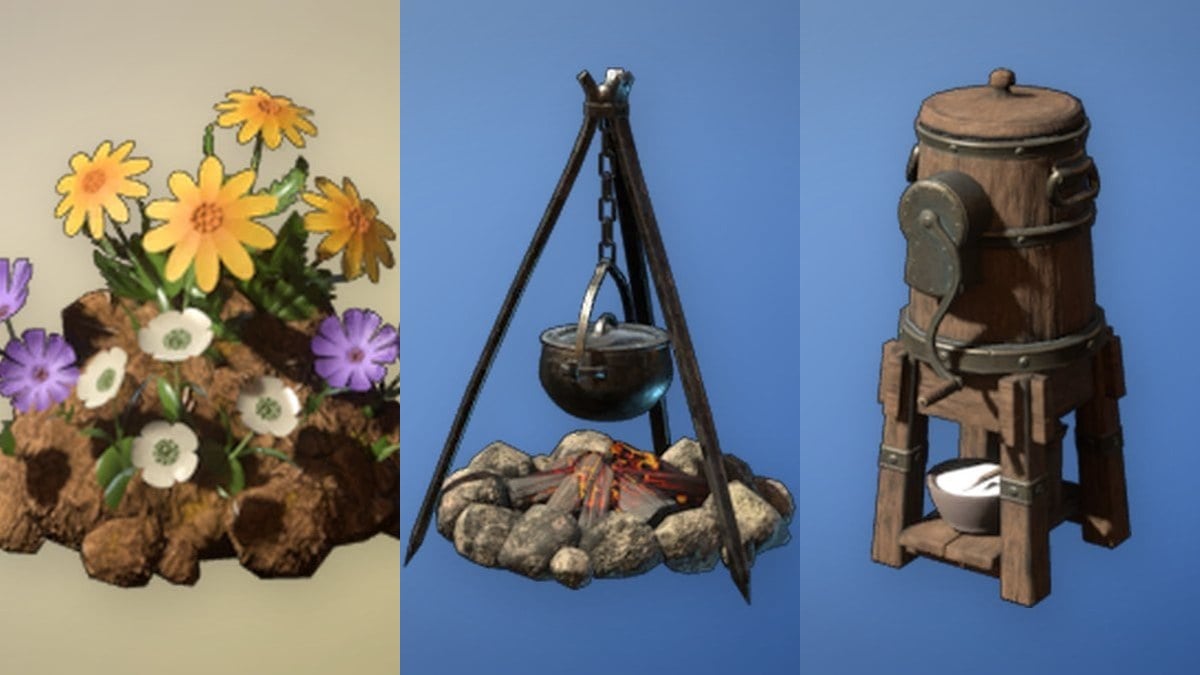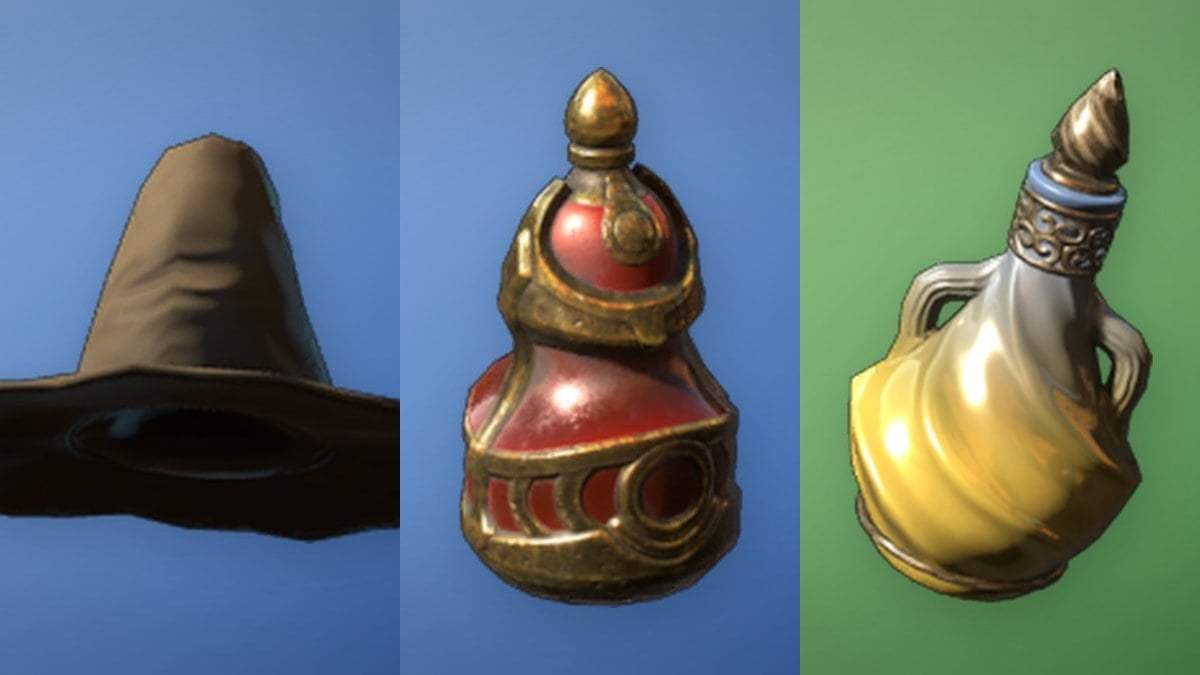
In Enshrouded, Balthazar serves as the Alchemist. After you rescue him, you can bring him to your base; his workshop handles potions, wands, wards, base stations, and mage armor. These recipes are all from the PC version’s 1.0 launch.

Quick answer: Balthazar crafts 247 recipes in 1.0. Almost all of them need a sheltered bed, and many also need a Mortar, Alchemy Station or Laboratory placed at your base.
His assistant, Lady Leclair, works from the same workshop. Other recipe lists: processing station recipes, Blacksmith recipes, and the Hunter, Farmer, Carpenter and Bard, Collector and Fisher recipe lists. The Workbench and hand-crafting recipes have their own list. The Decoration Workbench recipes and the Coloring Station palettes and Sparkworks Workbench recipes have their own lists.
| Category | Recipes |
|---|---|
| Armor pieces (16 sets) | 80 |
| Spells and arrows | 75 |
| Potions, flasks and bombs | 35 |
| Weapon rows | 27 |
| Stations and placeables | 15 |
| Materials | 8 |
| Wards | 7 |
| Total (upgrade recipes not counted) | 247 |
How Alchemist recipes work in Enshrouded 1.0
The Alchemist needs a bed in a sheltered location. This Sheltered Bed condition applies to 246 of his 247 recipes, just as it does to the Blacksmith’s cards.
Many recipes also list a station that has to be placed at your base. The recipe shows it as a requirement, and the counts break down like this:
- Laboratory: 69 recipes
- Mortar: 27 recipes
- Alchemy Station: 13 recipes
- Forge: 4 recipes
- Blast Furnace: 3 recipes
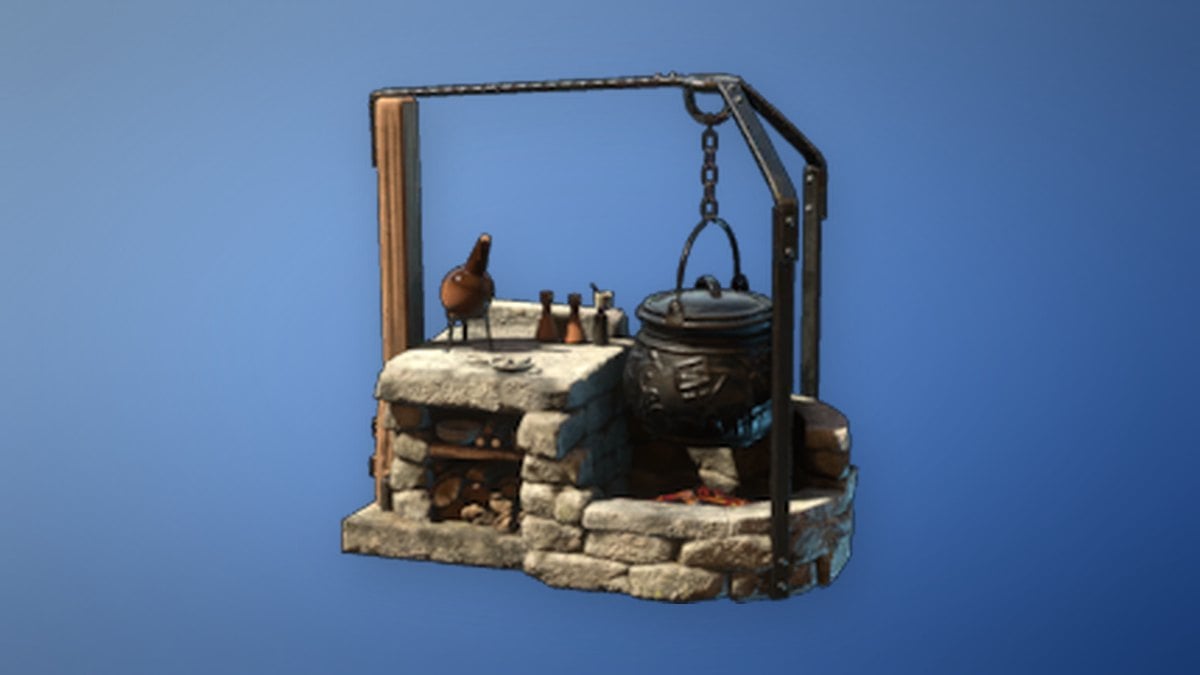
Balthazar builds three of those stations himself, the Mortar, the Alchemy Station and the Laboratory. Their costs are in the stations table further down.
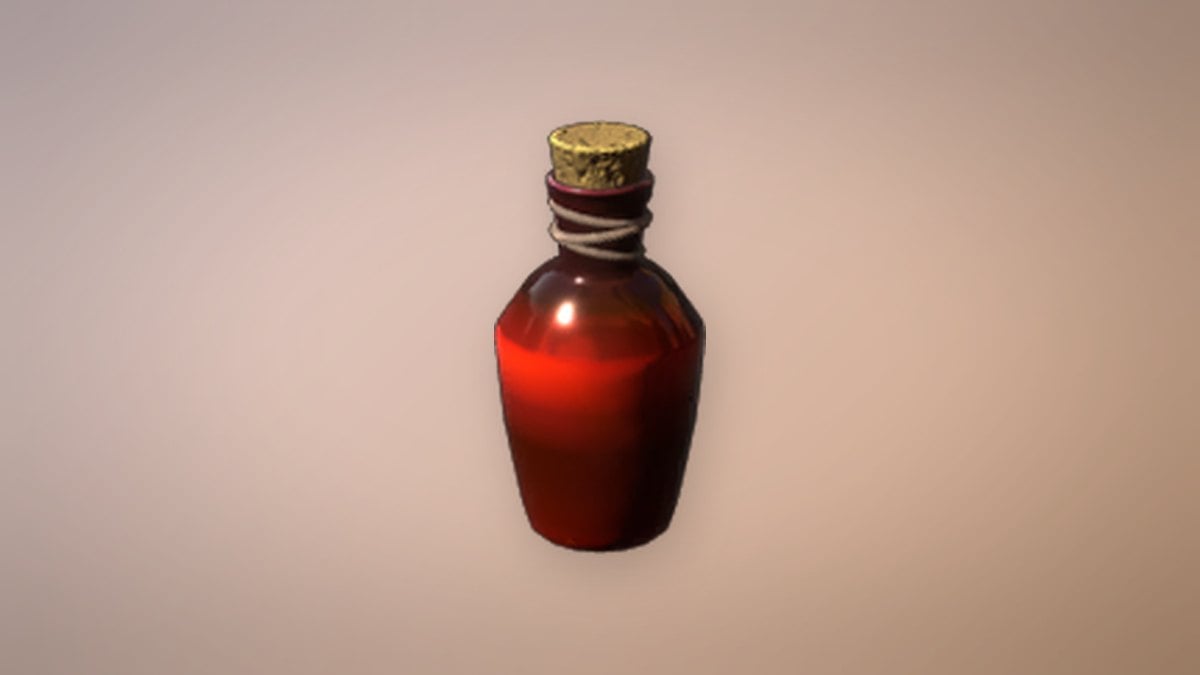
Alchemist potions, flasks and bombs (35)
A row with a “+” at the end indicates an upgraded potion. Its ingredients include the base potion listed in the row and may include other components. Step-by-step guides: health potions and mana potions.
| You get | It takes |
|---|---|
| Ancient Health Potion x1 | 1 Honey, 1 Thyme, 1 Chamomile, 1 Diamond Dust (requirement: Laboratory) |
| Ancient Health Potion + x1 | 1 Ancient Health Potion, 1 Moonstone Dust (requirement: Laboratory) |
| Ancient Mana Potion x1 | 4 Thyme, 5 Active Mycelium, 1 Diamond Dust (requirement: Laboratory) |
| Ancient Mana Potion + x1 | 1 Moonstone Dust, 1 Ancient Mana Potion (requirement: Laboratory) |
| Antidote x3 | 1 Poison Sack, 3 Milk, 5 Spider Gland (requirement: Mortar) |
| Black Powder Ball (level 21) | 1 Plant Fiber, 1 Iron Bars, 2 Black Powder, 1 Lump of Clay (requirement: Laboratory) |
| Diver’s Endurance Flask x1 | 10 Algae, 10 Algae Buds, 10 Mother-Of-Pearl, 1 Pearl |
| Drak Soulward Flask x1 | 10 Drak Scales, 10 Drak Teeth, 10 Drak Claws, 10 Drak Blood |
| Explosive Crawler (level 35) | 10 Critter Carapace, 1 Bones |
| Explosive Powder Ball Net (level 15) | 3 Linen, 3 Explosive Powder Ball |
| Fell Confusion Pheromones x1 | 10 Critter Glands, 1 Shroud Sack |
| Flask of the Fell x1 | 10 Active Mycelium, 1 Strawberry, 10 Shroud Mushroom (requirement: Mortar) |
| Greater Antidote x3 | 1 Poison Sack, 3 Shroud Vapor, 1 Wolfsbane, 1 Coal Powder (requirement: Laboratory) |
| Greater Health Potion x1 | 1 Honey, 1 Purple Berries, 1 Chamomile, 1 Water (requirement: Mortar) |
| Greater Health Potion + x1 | 1 Greater Health Potion, 1 Gloomberry (requirement: Mortar) |
| Greater Mana Potion x1 | 4 Azure Russula, 1 Alchemical Base (requirement: Alchemy Station) |
| Greater Mana Potion + x1 | 1 Calla Luna, 1 Greater Mana Potion (requirement: Alchemy Station) |
| Greater Shroud Survival Flask x1 | 1 Alchemical Base, 15 Mint Mushroom Meat, 1 Critter Glands (requirement: Alchemy Station) |
| Health Potion x1 | 1 Penny Bun, 1 Purple Berries, 1 Water |
| Health Potion + x1 | 1 Health Potion, 1 Midnight Lily |
| Incendiary Ball (level 35) | 1 Flammable Goo, 1 Glass, 1 Flintstone |
| Mana Potion x1 | 2 Azure Russula (requirement: Mortar) |
| Mana Potion + x1 | 1 Moth, 1 Mana Potion (requirement: Mortar) |
| Revitalizing Health Potion x1 | 1 Honey, 1 Aloe, 1 Chamomile, 1 Alchemical Base (requirement: Laboratory) |
| Revitalizing Health Potion + x1 | 1 Revitalizing Health Potion, 1 Shadowbloom (requirement: Laboratory) |
| Shroud Survival Flask x1 | 1 Fresh Shroud Spore, 20 Active Mycelium, 1 Wood Acid |
| Superior Health Potion x1 | 1 Honey, 1 Gentian, 1 Chamomile, 1 Shroud Vapor (requirement: Laboratory) |
| Superior Health Potion + x1 | 1 Superior Health Potion, 1 Glimmer Gentian (requirement: Laboratory) |
| Superior Mana Potion x1 | 4 Gentian, 1 Shroud Vapor, 1 Moss (requirement: Laboratory) |
| Superior Mana Potion + x1 | 1 Stapelia Starflower, 1 Superior Mana Potion (requirement: Laboratory) |
| Ultimate Health Potion x1 | 1 Honey, 1 Ginger, 1 Chamomile, 1 Shroud Sludge, 1 Aquamarine Dust (requirement: Laboratory) |
| Ultimate Health Potion + x1 | 1 Ultimate Health Potion, 1 Passionflower, 1 Electric Nerve (requirement: Laboratory) |
| Ultimate Mana Potion x1 | 4 Ginger, 1 Shroud Sludge, 1 Green Vitriol Dust (requirement: Laboratory) |
| Ultimate Mana Potion + x1 | 1 Gleam Root, 1 Ultimate Mana Potion (requirement: Laboratory) |
| Wisp of Light x1 | 3 Bug Dust, 2 Glow Dust, 1 Resin |
Alchemist wards (7)
All seven wards need a smithing station at your base. Four use the Forge and three use the Blast Furnace.
| You get | It takes |
|---|---|
| Ethereal Ward x1 | 2 Iron Bars, 1 Lapislazuli, 3 Fell Heart (requirement: Forge) |
| Ghostly Ward x1 | 4 Amber, 2 Copper Bars, 1 Giant Critter Scales (requirement: Forge) |
| Incredible Ward x1 | 2 Celestium Bars, 1 Diamond, 1 Sparkling Dust, 2 Bursting Fell Heart (requirement: Blast Furnace) |
| Invisible Barrier Ward x1 | 2 Silver Bars, 1 Amethyst, 2 Shroud Vapor, 1 Enshrouded Cyclops Eye (requirement: Blast Furnace) |
| Prismatic Ward x1 | 2 Gold Bars, 1 Aquamarine, 1 Pearl, 2 Bursting Fell Heart (requirement: Blast Furnace) |
| Spectral Ward x1 | 4 Metal Sheets, 6 Bonemeal, 1 Aerated Banshee Gel (requirement: Forge) |
| Transcendental Ward x1 | 2 Bronze Bars, 6 Fossilized Bone Dust, 1 Shroud Gelatin (requirement: Forge) |
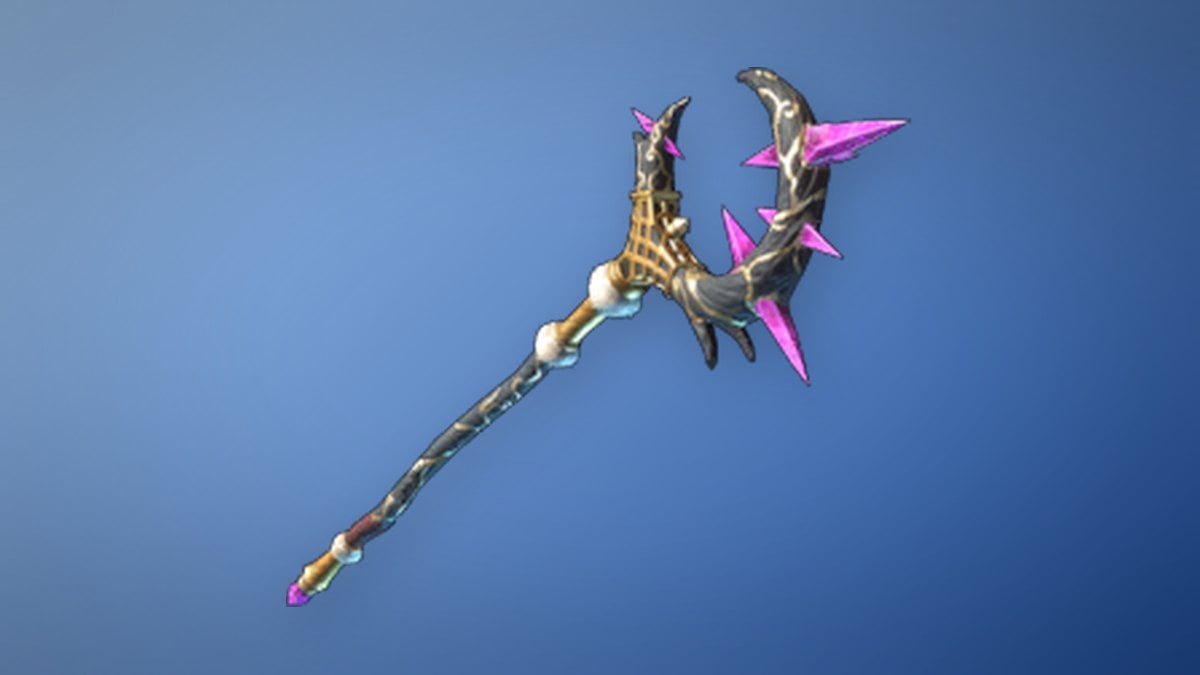
Alchemist weapons: wands, staffs and canes (27)
Several weapons come in more than one item level, so each tier gets its own row. Where the game lists a level, it’s shown in brackets. Darya’s Staff and the Shroud Weaver have no level, so their rows are numbered “recipe 1 of N” running from the lowest-tier materials to the highest.
| You get | It takes |
|---|---|
| Cryptic Wand (level 11) | 4 Bones, 2 Glow Dust, 2 Brittle Shroud Petals, 2 Amber |
| Cryptic Wand (level 16) | 6 Bones, 2 Fossilized Bone Dust, 2 Shroud Gelatin, 2 Amber |
| Cryptic Wand (level 21) | 3 Glass, 4 Sulfur, 4 Lapislazuli, 4 Amber |
| Cryptic Wand (level 26) | 4 Glass, 3 Silver Dust, 5 Amethyst, 2 Flammable Goo |
| Cryptic Wand (level 36) | 5 Glass, 4 Iron Dust, 6 Aquamarine, 3 Green Vitriol Dust |
| Cryptic Wand (level 46) | 5 Glass, 4 Iron Dust, 6 Moonstone, 1 Fish Scales |
| Darya’s Remorse (level 46) | 10 Bones, 4 Diamond Dust, 4 Glass, 2 Celestium Bars |
| Darya’s Staff (recipe 1 of 3) | 3 Silver Bars, 1 Bronze Bars, 4 Amethyst, 2 Glimmer Gentian |
| Darya’s Staff (recipe 2 of 3) | 3 Gold Bars, 1 Silver Bars, 8 Amethyst, 2 Glimmer Gentian |
| Darya’s Staff (recipe 3 of 3) | 3 Celestium Bars, 1 Moonstone Dust, 8 Amethyst, 2 Passionflower |
| Darya’s Wand (level 26) | 3 Silver Dust, 2 Bronze Bars, 4 Amethyst |
| Darya’s Wand (level 36) | 2 Gold Bars, 4 Aquamarine Dust, 3 Iron Dust |
| Darya’s Wand (level 46) | 2 Celestium Bars, 4 Moonstone, 3 Gold Dust |
| Electric Initialiser (level 46) | 10 Bones, 4 Diamond Dust, 4 Glass, 2 Celestium Bars |
| Proto Matter-Bender (level 46) | 10 Bones, 4 Diamond Dust, 4 Glass, 2 Celestium Bars |
| Reaper’s Wand (level 6) | 4 Bones, 2 Bonemeal, 1 Aerated Banshee Gel |
| Reaper’s Wand (level 11) | 5 Bones, 2 Glow Dust, 1 Brittle Shroud Petals |
| Reaper’s Wand (level 16) | 6 Bones, 3 Glow Dust, 1 Shroud Gelatin |
| Reaper’s Wand (level 21) | 7 Bones, 4 Glow Dust, 2 Glass |
| Reaper’s Wand (level 26) | 8 Bones, 3 Silver Dust, 3 Glass |
| Reaper’s Wand (level 36) | 10 Bones, 4 Iron Dust, 4 Glass, 2 Gold Bars |
| Reaper’s Wand (level 46) | 10 Bones, 4 Diamond Dust, 4 Glass, 2 Celestium Bars |
| Shroud Weaver (recipe 1 of 4) | 2 Iron Bars, 2 Glass, 2 Tin Bars, 2 Shroud Adhesive |
| Shroud Weaver (recipe 2 of 4) | 2 Steel Bars, 2 Glass, 2 Silver Bars, 2 Shroud Adhesive |
| Shroud Weaver (recipe 3 of 4) | 2 Gold Bars, 2 Glass, 2 Silver Bars, 2 Shroud Adhesive |
| Shroud Weaver (recipe 4 of 4) | 2 Celestium Bars, 2 Glass, 2 Moonstone Dust, 2 Shroud Adhesive |
| Spiritual Cane x1 | 3 Shroud Wood, 4 Bonemeal, 2 Resin |
Darya’s Remorse, the Electric Initialiser, the Proto Matter-Bender and the level 46 Reaper’s Wand share an identical recipe of 10 Bones, 4 Diamond Dust, 4 Glass and 2 Celestium Bars.
Alchemist materials (8)
| You get | It takes |
|---|---|
| Bug Dust x1 | 1 Critter Parts (requirement: Mortar) |
| Glow Dust x1 | 1 Fire Fly (requirement: Mortar) |
| Goo x1 | 1 Springlands Dirt, 2 Shroud Mushroom, 1 Bug Dust (requirement: Mortar) |
| Shroud Core x1 | 10 Shroud Spores, 10 Shroud Liquid |
| Shroud Nexus x1 | 8 Shroud Particles, 4 Shroud Adhesive, 10 Mint Mushroom Meat |
| Shroud Radiance x1 | 10 Shroud Relic, 5 Green Vitriol Dust, 10 Pink Mushroom Meat |
| Shroud Sludge x1 | 5 Shroud Slime, 5 Shroud Gelatin, 5 Pink Mushroom Meat (requirement: Mortar) |
| White Glowing Substance x20 | 7 Springlands Dirt, 10 Mycelium, 20 Bonemeal, 1 Wood Acid |
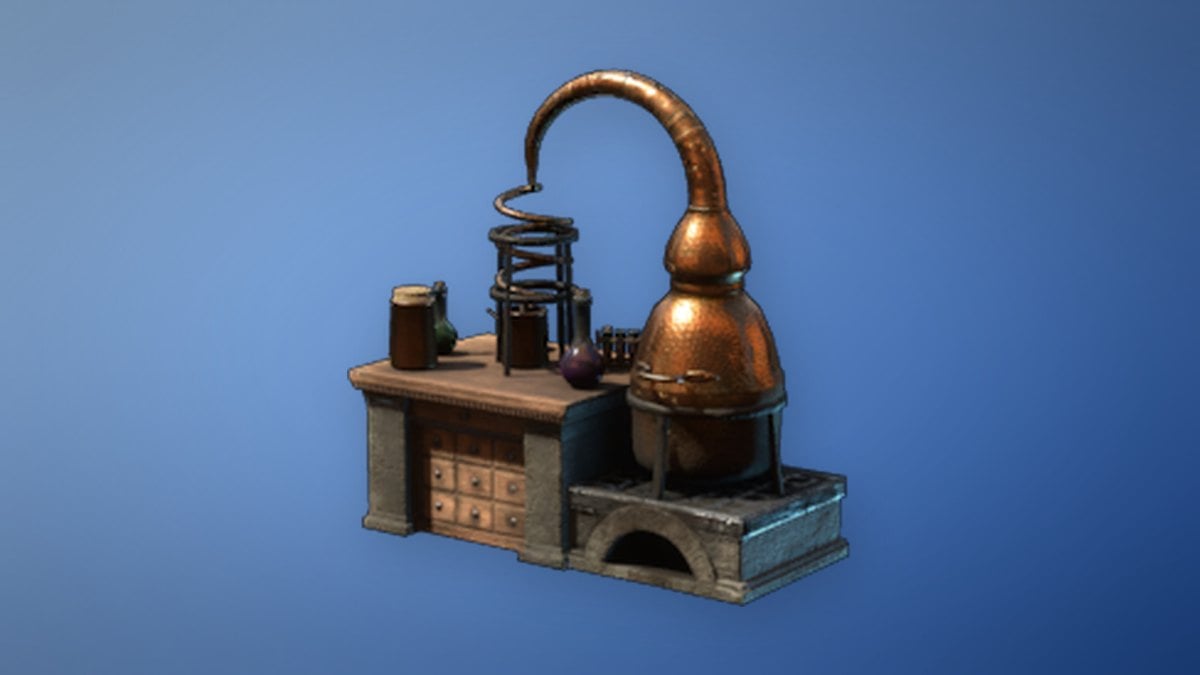
Alchemist stations, furniture and placeables (15)
The stations build on each other. The Mortar needs no station. The Alchemy Station takes a Cauldron among its ingredients. The Athanor and Scientific Instruments both need the Alchemy Station, and the Laboratory takes one of each. The Mill follows the same pattern, using an Improved Millstone that needs the Alchemy Station. Station guides: Alchemy Station and Laboratory.
| You get | It takes |
|---|---|
| Alchemist Showcase x1 | 4 Conifer Logs |
| Alchemy Station x1 | 20 Fired Bricks, 6 Wood Planks, 10 Nails, 3 Wood Logs, 5 Copper Bars, 1 Cauldron |
| Athanor x1 | 10 Glass, 10 Bronze Bars, 5 Lump of Clay (requirement: Alchemy Station) |
| Coloring Station x1 | 8 Wood Planks, 10 Fired Bricks, 2 Metal Sheets, 2 Linen |
| Explosive Barrel x1 | 2 Plant Fiber, 4 Black Powder, 2 Wood Planks, 1 Nails (requirement: Laboratory) |
| Grinding Stones x1 | 10 Flintstone, 15 Stone |
| Improved Millstone x1 | 30 Shell Limestone, 15 Flintstone (requirement: Alchemy Station) |
| Laboratory x1 | 1 Scientific Instruments, 1 Athanor, 40 Fired Bricks, 10 Copper Bars, 3 Glass |
| Large Water Wheel x1 | 10 Wood Planks, 20 Tropical Wood, 6 Iron Bars |
| Mill x1 | 30 Wood Planks, 20 Shell Limestone, 10 Lump of Clay, 10 Iron Bars, 1 Improved Millstone |
| Mortar x1 | 10 Lump of Clay, 3 Sulfur, 2 Nitrate, 5 Charcoal, 5 Sand (any sand) |
| Orrery Display Pillar x1 | 5 Basalt, 10 Archaic Shards |
| Scientific Instruments x1 | 10 Glass, 10 Bronze Bars, 5 Iron Bars, 20 Charcoal (requirement: Alchemy Station) |
| Small Water Wheel x1 | 4 Wood Planks, 7 Tropical Wood, 2 Iron Bars |
| Small Windmill Sails x1 | 8 Wood Planks, 16 Tropical Wood, 2 Iron Bars, 8 Fabric |
Alchemist spells and arrows (75)
Balthazar’s spell list runs to 75 entries. Most families come in a regular line and an Eternal line, each with numbered tiers. More on Eternal spells and the new mage spells.
- Acid Bite, Eternal Acid Bite I, Eternal Acid Bite II
- Arc Lightning, Eternal Arc Lightning I, Eternal Arc Lightning II
- Ball Lightning I, Ball Lightning II, Eternal Ball Lightning I
- Blizzard I, Blizzard II, Eternal Blizzard I, Eternal Blizzard II
- Chain Heal I, Chain Heal II, Eternal Chain Heal I, Eternal Chain Heal II
- Chain Lightning I, Chain Lightning II, Eternal Chain Lightning I, Eternal Chain Lightning II, Eternal Chain Lightning III
- Entangle I, Entangle II, Entangle III, Eternal Entangle
- Fire Totem I, Eternal Fire Totem I, Eternal Fire Totem II
- Fireball I, Fireball II, Fireball III, Fireball IV, Eternal Fireball I, Eternal Fireball II, Eternal Fireball III
- Heal Beam, Eternal Heal Beam I, Eternal Heal Beam II
- Heal Cascade I, Heal Cascade II, Eternal Heal Cascade I, Eternal Heal Cascade II
- Ice Bolt I, Ice Bolt II, Ice Bolt III, Ice Bolt IV, Eternal Ice Bolt I, Eternal Ice Bolt II, Eternal Ice Bolt III, Eternal Ice Bolt IV
- Ice Totem I, Ice Totem II, Eternal Ice Totem I, Eternal Ice Totem II
- Light Burst, Eternal Light Burst I, Eternal Light Burst II
- Pillar Of Flames I, Pillar Of Flames II, Pillar Of Flames III, Eternal Pillar Of Flames I
- Protective Barrier, Eternal Protective Barrier
- Shock Totem I, Shock Totem II, Eternal Shock Totem
- Shock Wisp I, Shock Wisp II, Eternal Shock Wisp I, Eternal Shock Wisp II
- Shroud Beam, Eternal Shroud Beam
- Shroud Meteor, Eternal Shroud Meteor
Alchemist armor sets (80 pieces)
Balthazar tailors 16 armor sets of five pieces each, for 80 pieces in total:
- Alchemist Apprentice (5)
- Archmage (5)
- Flame Arcanist (5)
- Hailcaster (5)
- Healer (5)
- Herbalist (5)
- Lifelock (5)
- Mage (5)
- Magician (5)
- Omen (5)
- Pearlfrost Mentor (5)
- Sage (5)
- Thaumaturge (5)
- Tidecaller (5)
- Warlock (5)
- Waveborne Ritualist (5)