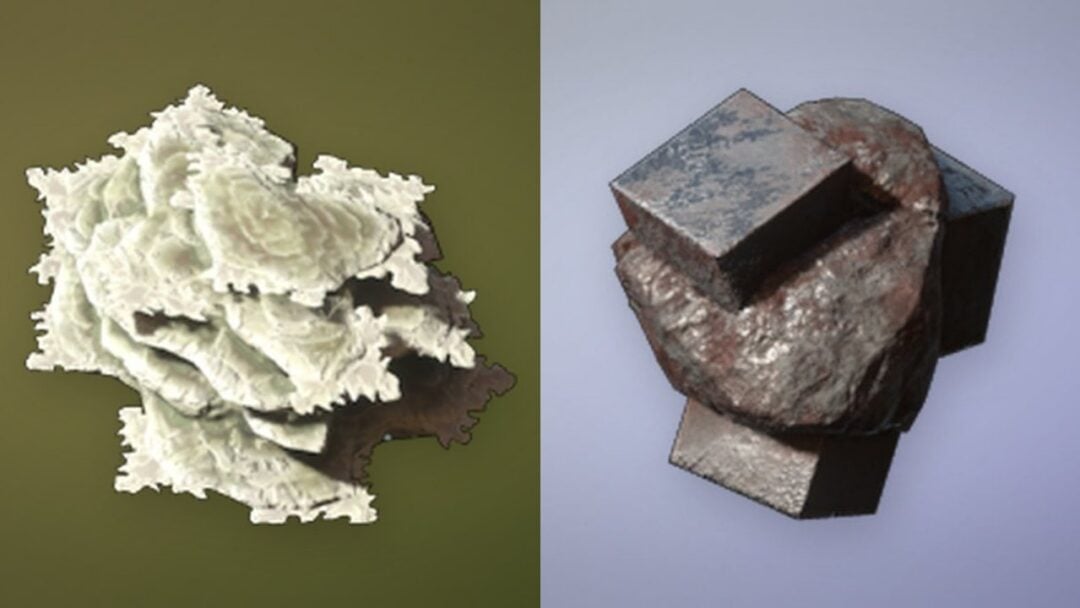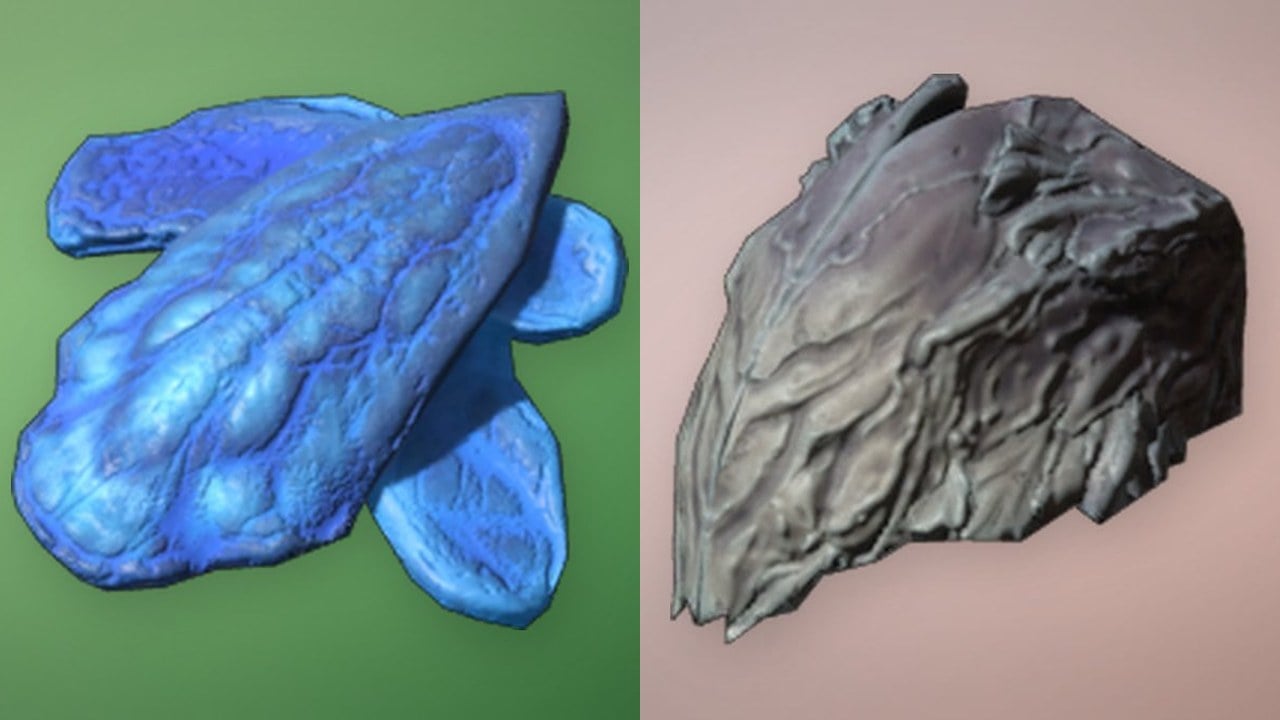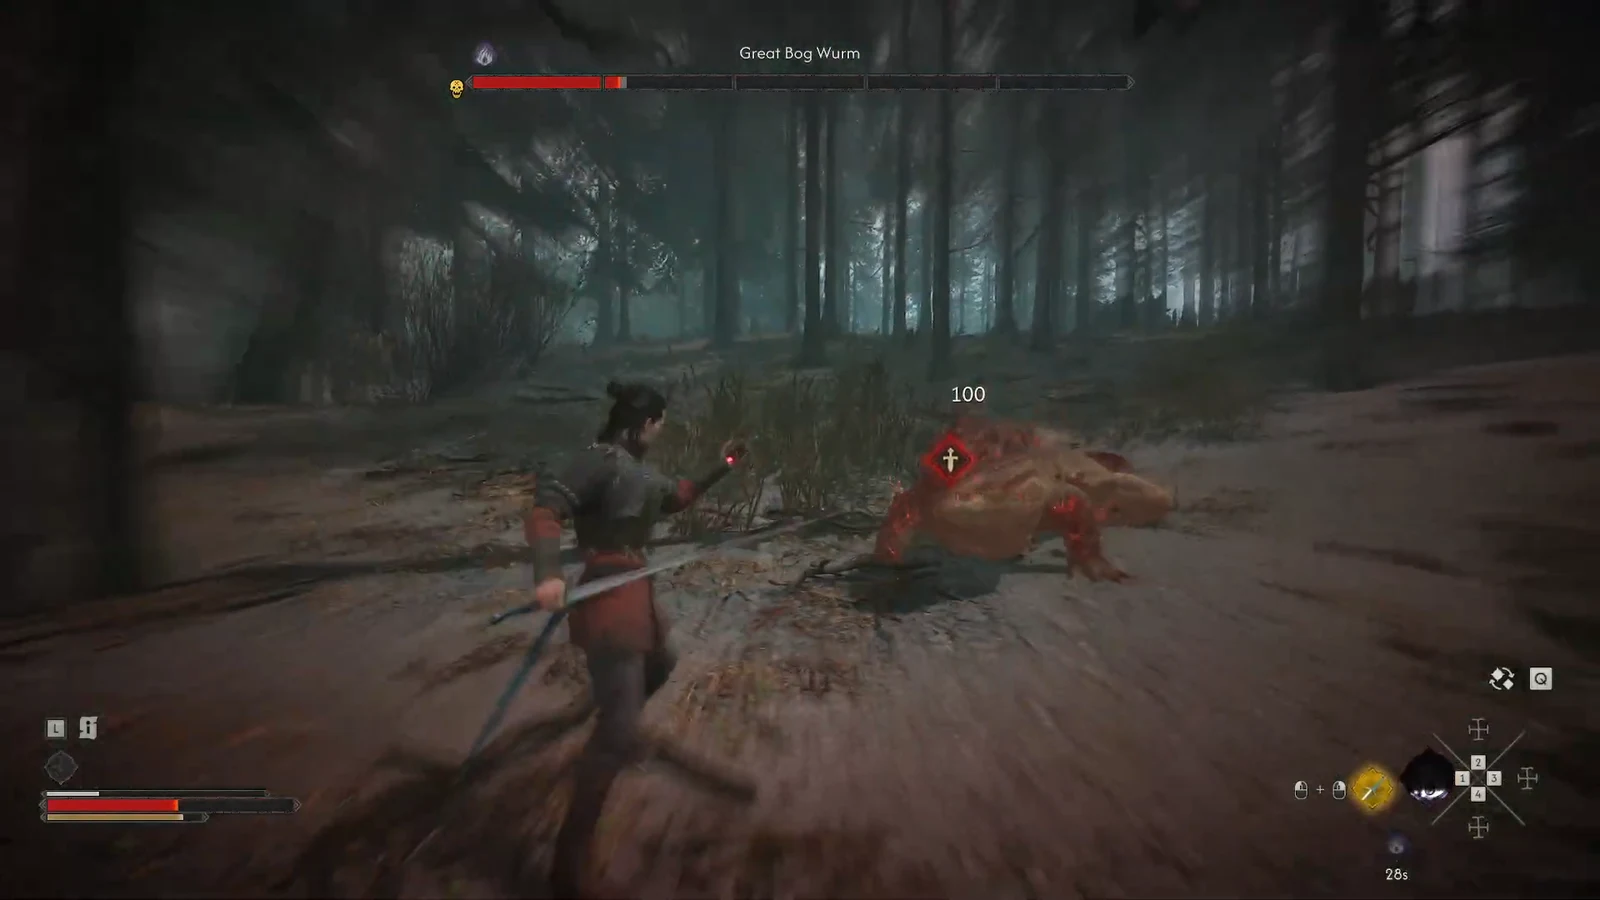
The Great Bog Wurm is an optional beast that lurks in the Maragir Wealds, tucked into a swamp marked on the map as Tatzelwurm’s Lair. It is not tied to a main quest, so nothing forces you into the water — but the fight is short, the arena is small, and the payout includes a Legendary crafting ingredient you cannot pick up anywhere nearby.
Quick answer: Travel to Tatzelwurm’s Lair south of Mert’s Mill and the Muddy Trail, eat strawberries before dropping into the swamp for passive regeneration, then win with perfect parries instead of raw attacks — the Wurm blocks almost everything else.
Tatzelwurm’s Lair location in the Maragir Wealds
Open the map and look for the lair icon south of Mert’s Mill. The Muddy Trail runs above the site, and the marker sits below both, in the flooded stretch of forest. Hovering the icon gives you the name Tatzelwurm’s Lair and a one-line warning that a deadly beast lives there, which is the confirmation you are looking at the right pin and not a generic monster nest.
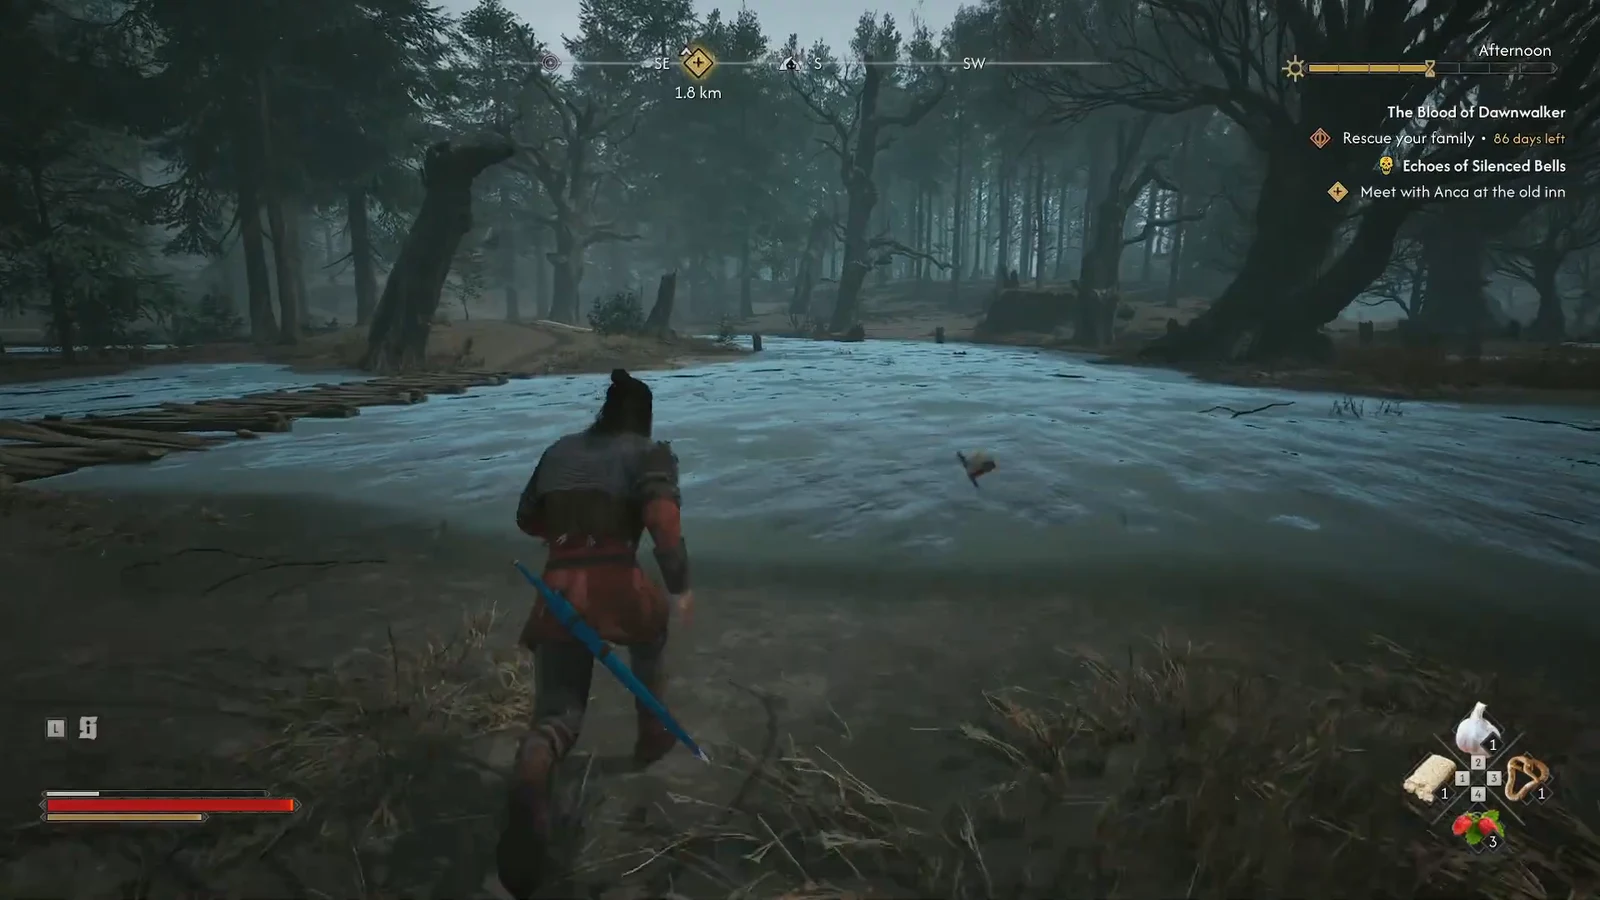
There is no gate, no key, and no quest trigger. Walk in and the Wurm surfaces on its own. The approach is on foot through shin-deep water, so give yourself a moment before the shoreline rather than sprinting straight in.
Prep before the fight: strawberries and passive healing
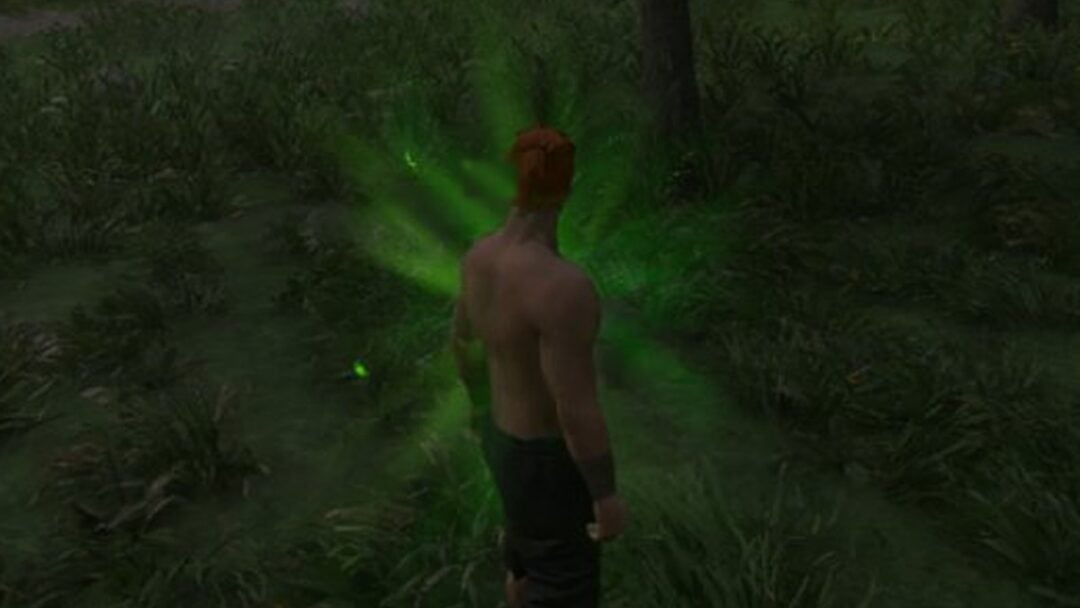
Eat strawberries before the Wurm surfaces. They apply healing over time, which matters here because the arena gives you very little breathing room to stop and patch yourself up mid-fight. Consuming them on the walk in means the regeneration is already ticking when the first body slam lands.
Tip: top up before you cross into the water, not after the health bar appears. Once the beast is active it rarely leaves a gap long enough to open the inventory safely.
Great Bog Wurm attacks and how to answer them
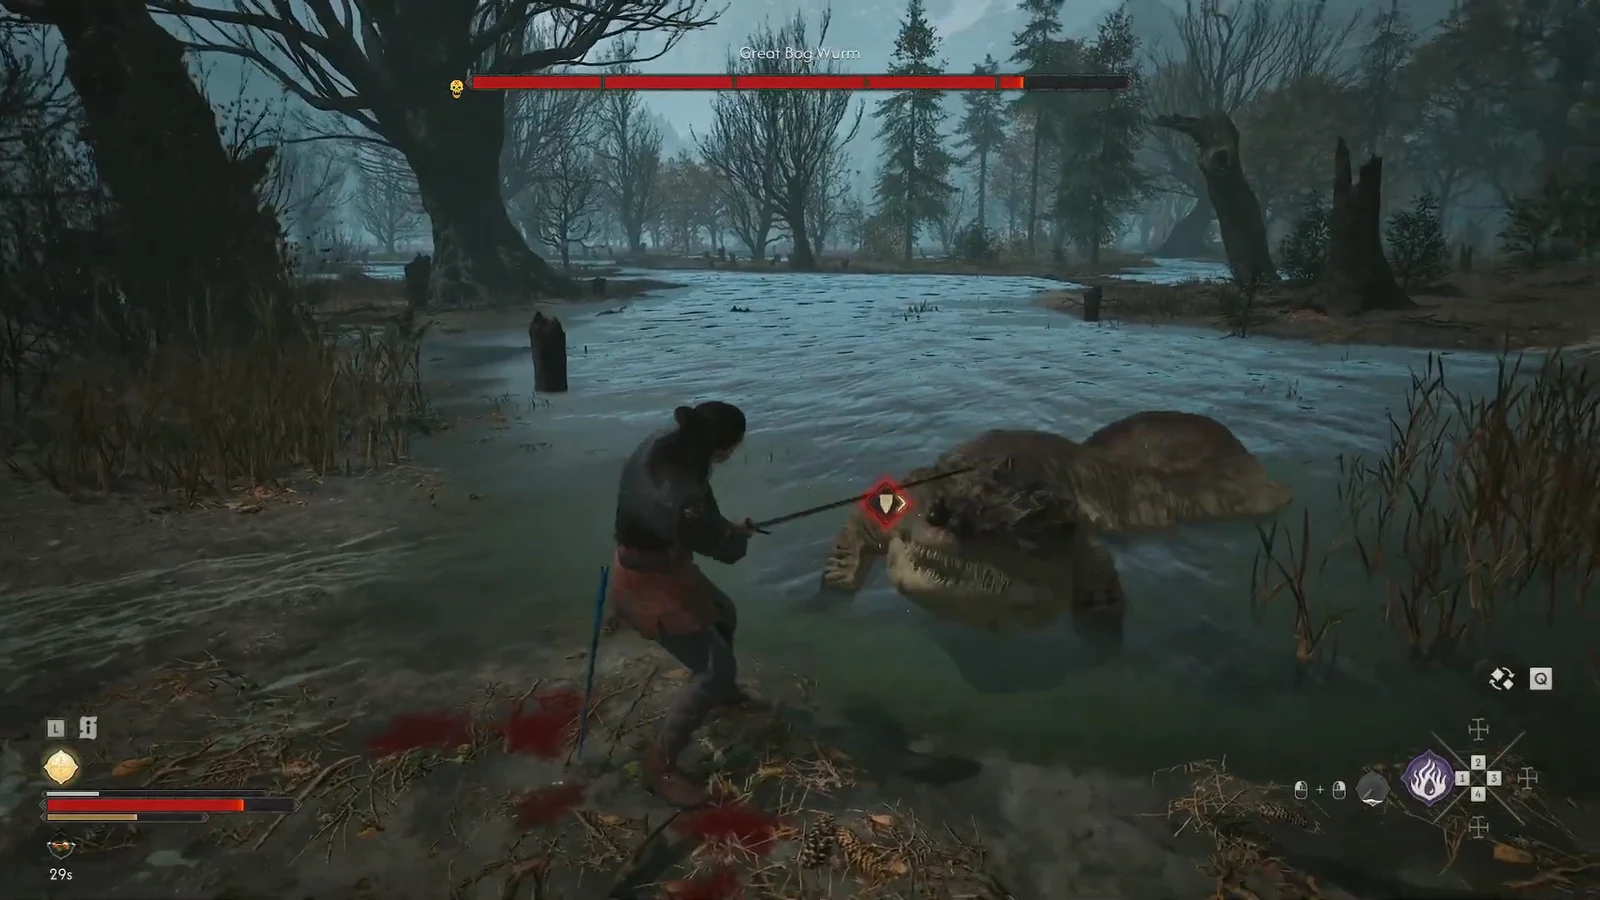
The Wurm is built around two problems. It blocks the overwhelming majority of standard sword swings, and it mixes in fast unblockable moves flagged by red markers. Trading hits is the losing plan; reading the indicator on each wind-up is the whole fight.
| Behaviour | Correct response |
|---|---|
| Blocks most normal attacks | Stop spamming light swings — bait a swing and perfect parry instead |
| Body slam (unblockable) | Dodge or step clear of the impact zone; do not attempt to block |
| Fast attacks with red markers | Move out of range rather than holding guard |
| Burrows and hops in and out of the ground | Hold position, do not chase — wait for it to resurface |
Attack indicators follow the same rules as every other boss in Vale Sangora. A shield icon means the incoming hit can be blocked or parried. A skull icon means it cannot, and your only clean out is distance.
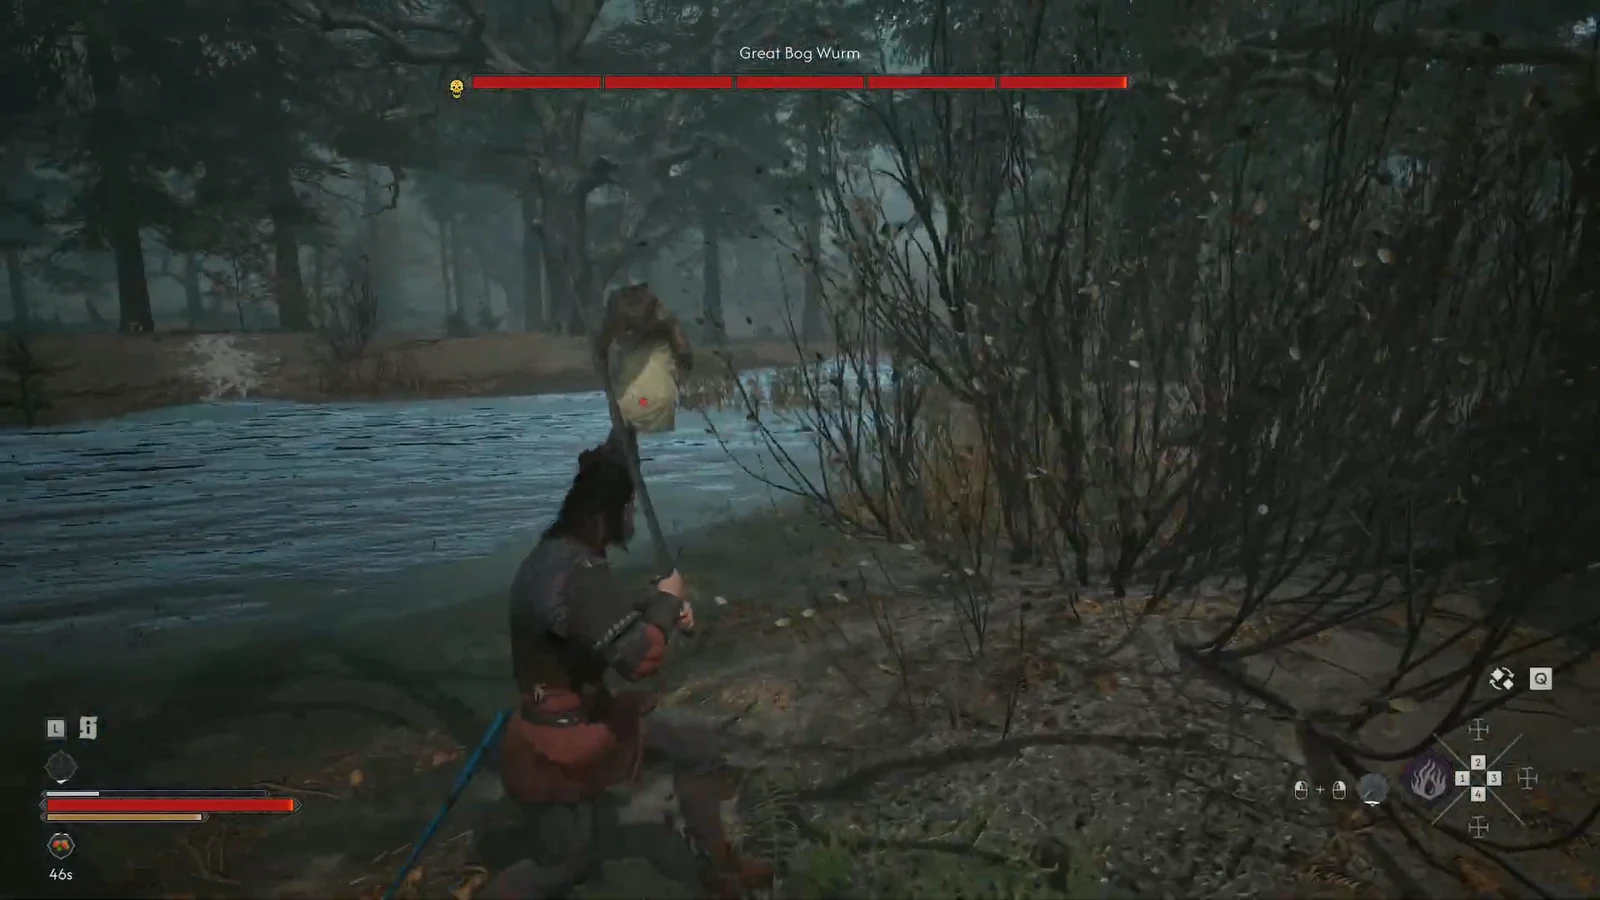
How to defeat the Great Bog Wurm
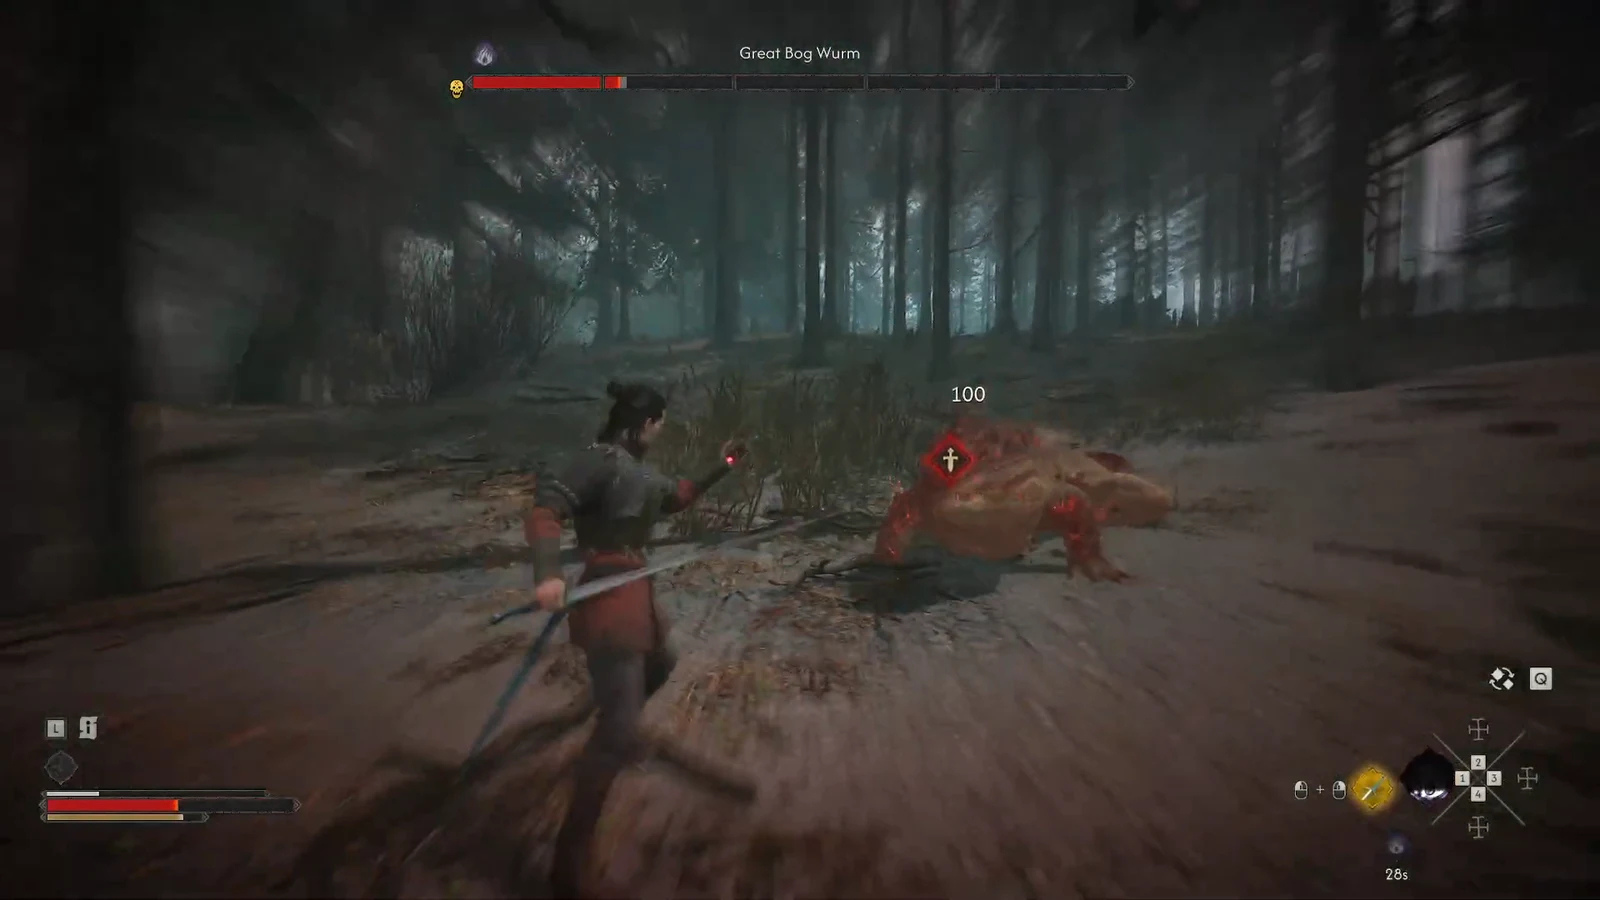
Great Bog Wurm rewards and loot
The kill is worth 11 XP and adds a new glossary entry for the Tatzelwurm, which is your confirmation that the encounter registered rather than the creature simply retreating underground. Walk to the corpse and take the loot prompt to collect the rest.
| Reward | Notes |
|---|---|
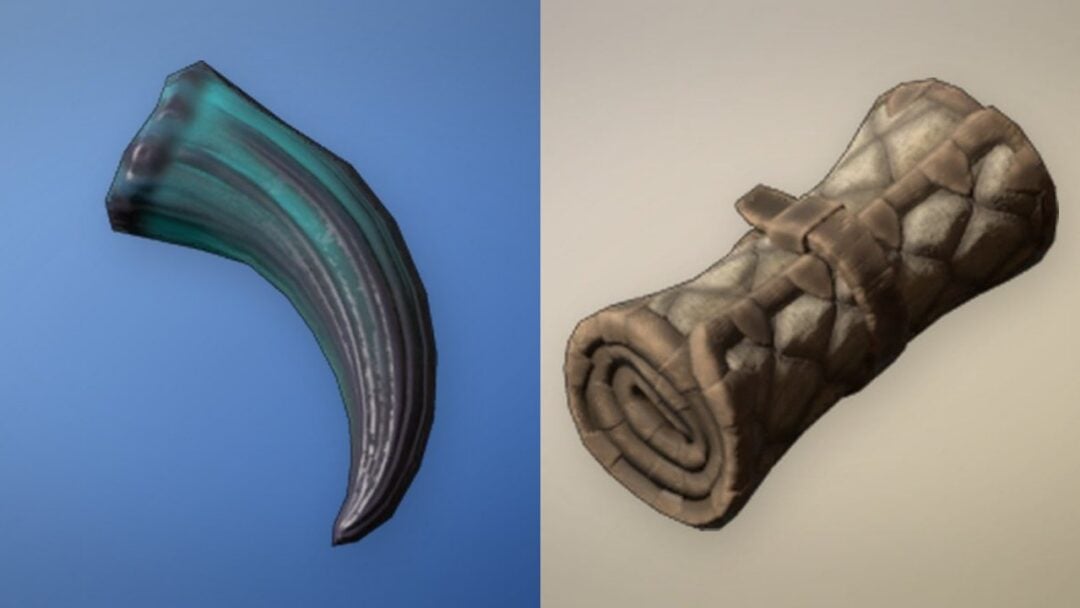
| Tatzelwurm Gland | Legendary ingredient, described in-game as a venomous gland taken from a dead lizard and still deadly |
| Solid Battleword | Weapon drop from the corpse |
| Animal Bones | Standard crafting material |
| 11 XP | Awarded on the kill, alongside the Tatzelwurm glossary entry |
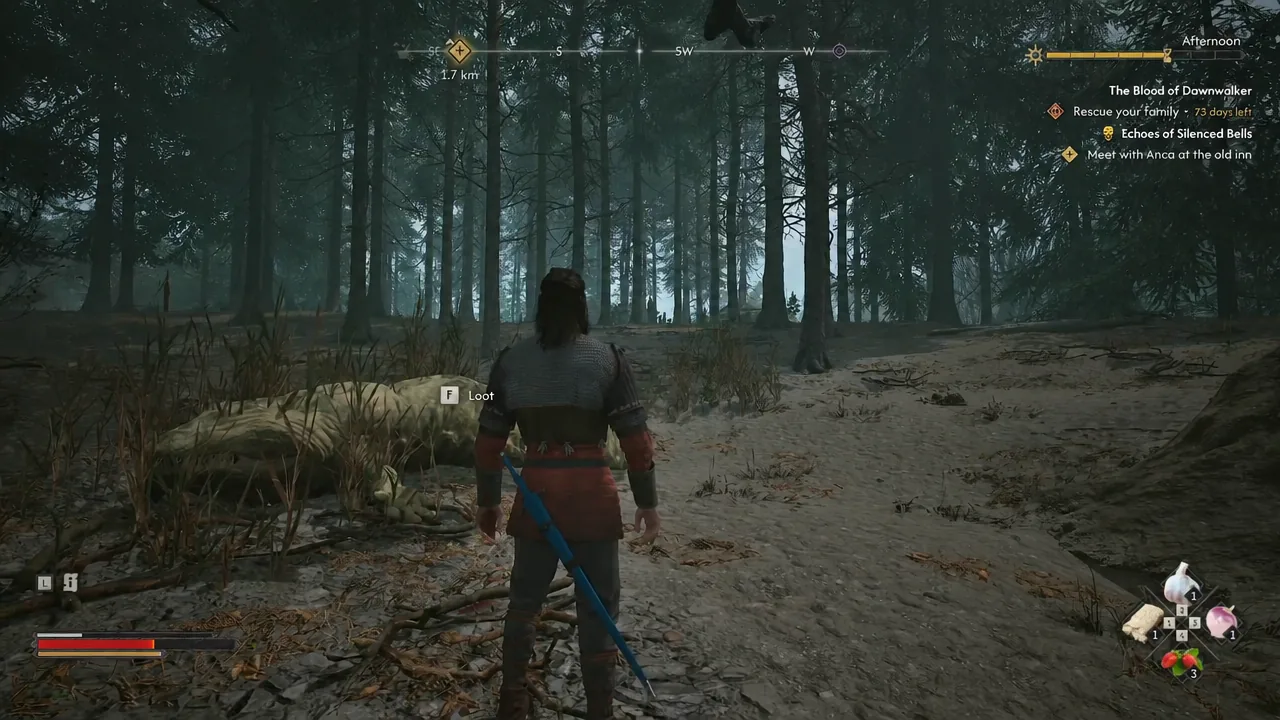
The Wurm shares the Maragir Wealds with The Bloodletter, so if you are sweeping the region for optional bosses, that is the other name on the list. Neither is required to advance the campaign, but the Gland is the kind of Legendary ingredient worth grabbing before you push deeper into the Court Activities.