

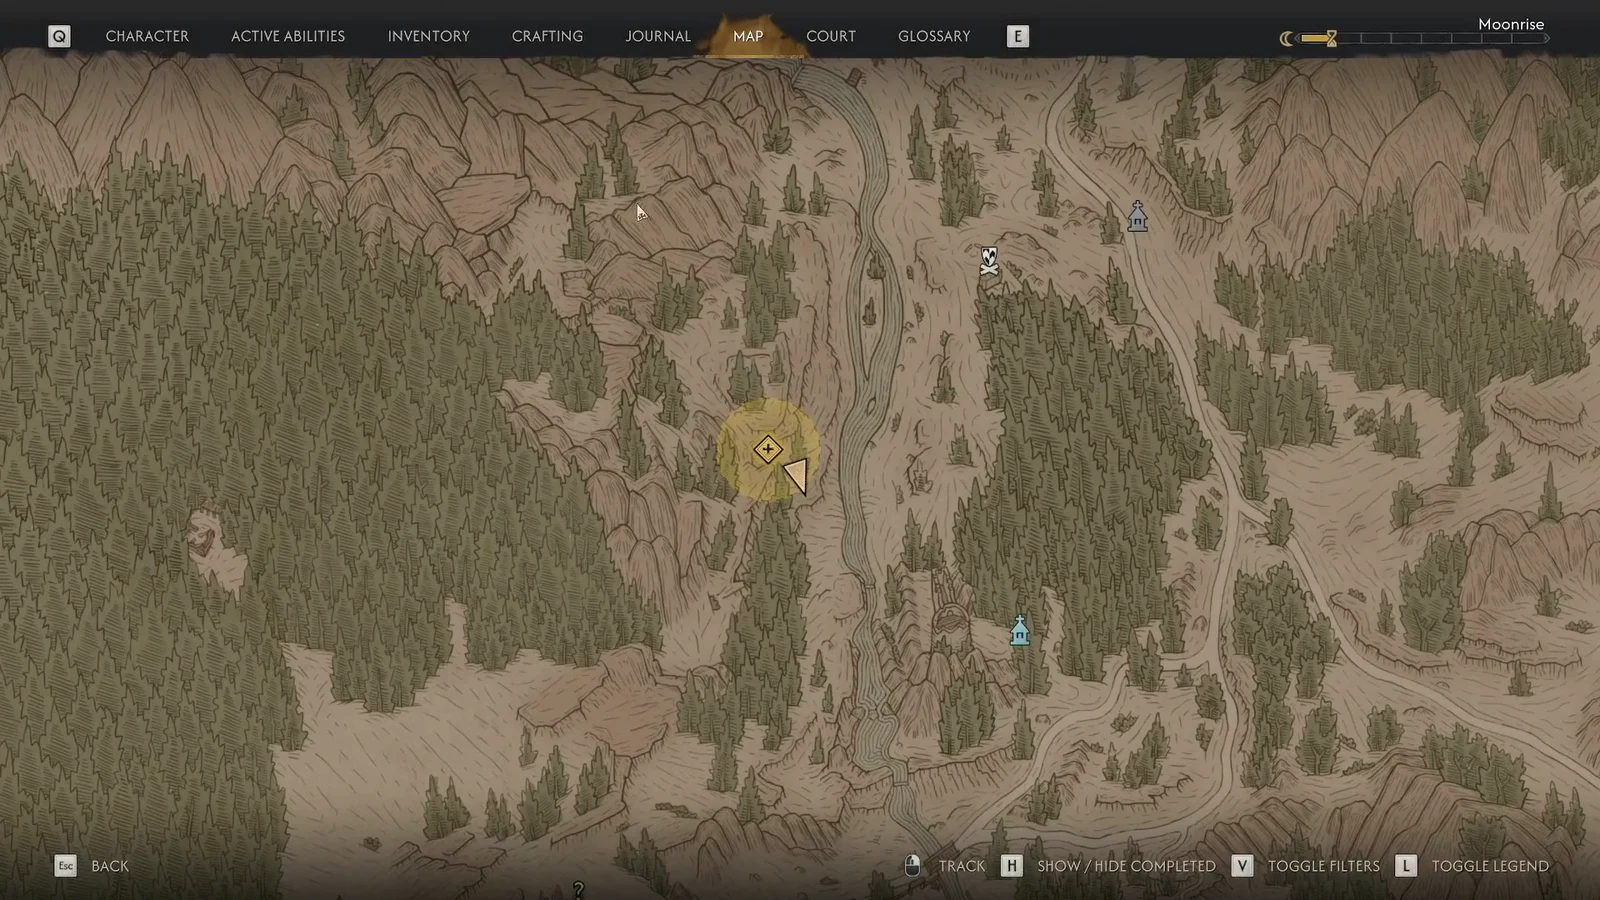
The first time you hear windchimes in The Blood of Dawnwalker, there is no map marker to chase and no waypoint line to follow. The quest “A Pilgrimage for Power: Bear Trouble” just tells you to follow the sound, and the trail itself is the navigation. It’s a mountain path marked by hanging chimes and stone cairns, and it ends at a Ravenous Bear guarding a uriashi sacred stone.
Quick answer: Cross the river near the Briar Sloughs scouting tower, hold the Focus button to highlight the chimes, cairns and chalk marks, and climb the marked route without leaving it. The objective flips to “Defeat the bear” the moment you reach the clearing at the top.
Where the windchime trail starts in Briar Sloughs
Bear Trouble unlocks after the prologue quest “Smoke and Ashes,” and it usually shows up right after you climb the Briar Sloughs tower. There is no NPC to talk to. The chimes themselves are the quest giver, so the mission only appears once you get close enough to hear them ringing across the valley.
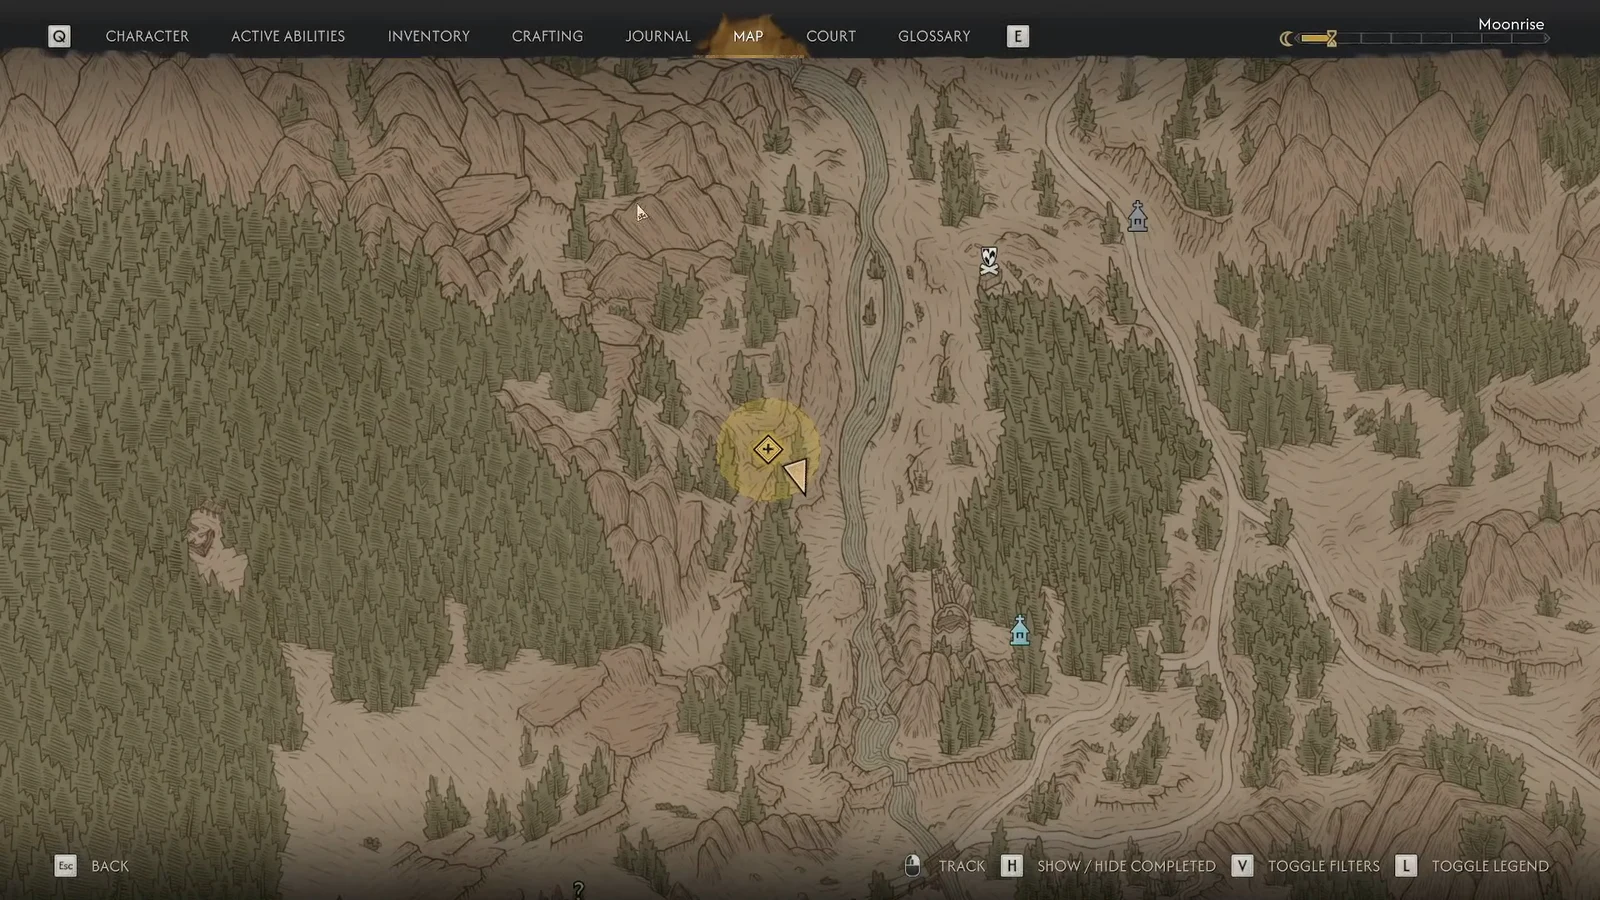
The trailhead sits across the river from the Briar Sloughs scouting tower, in the stretch of mountains between Briar Sloughs and Laslea Glen. Time of day does not matter for the climb, and neither does your form. You can walk the whole route as a human in daylight or as a vampire at night.
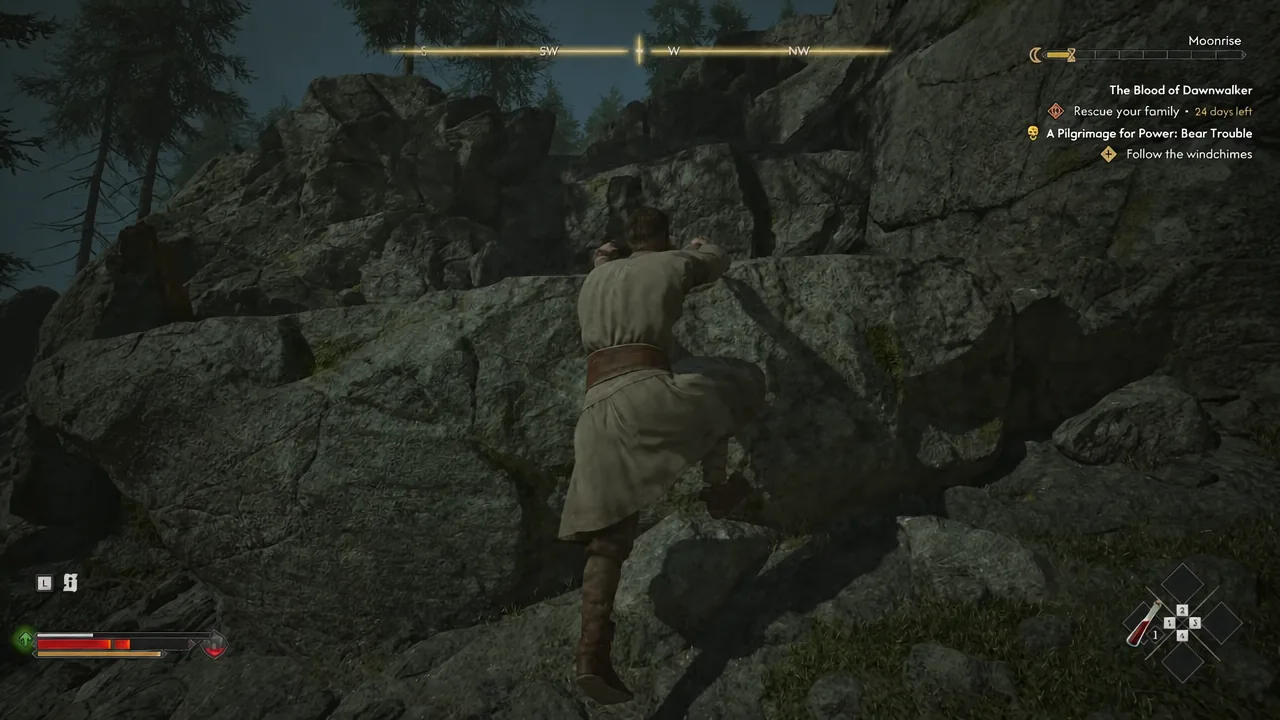
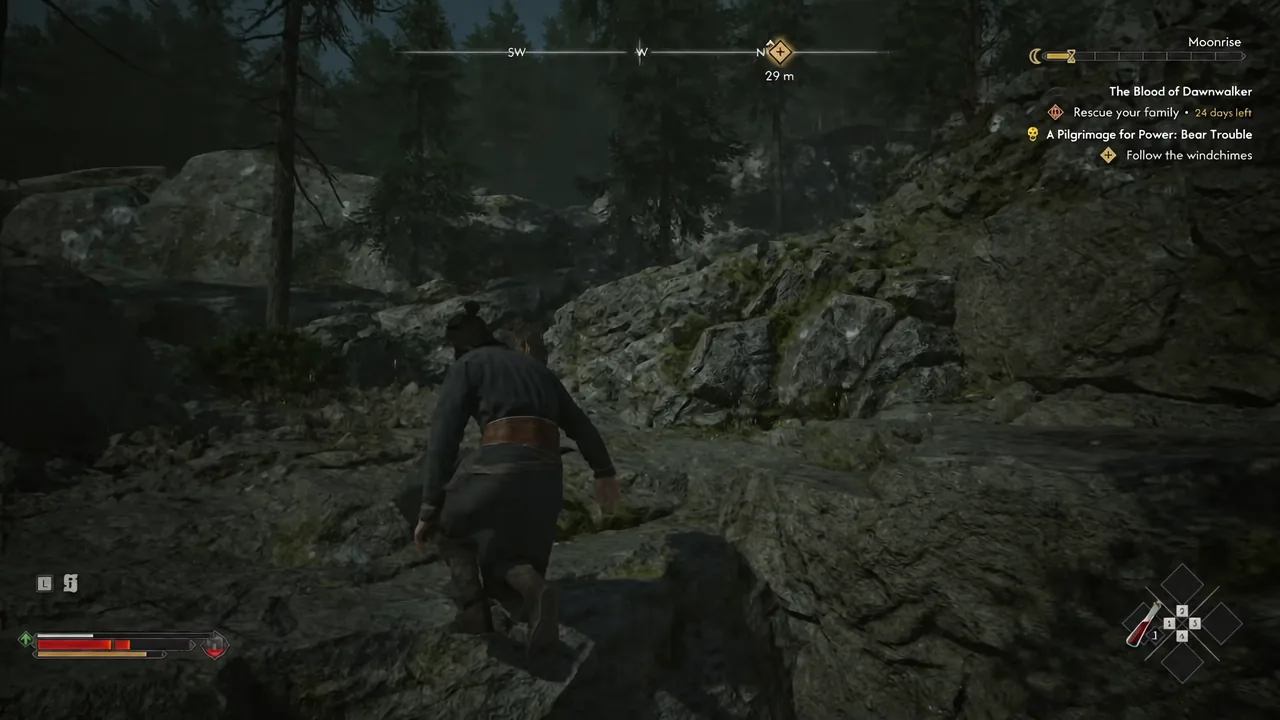
Follow the windchimes: the climb from the river to the plateau
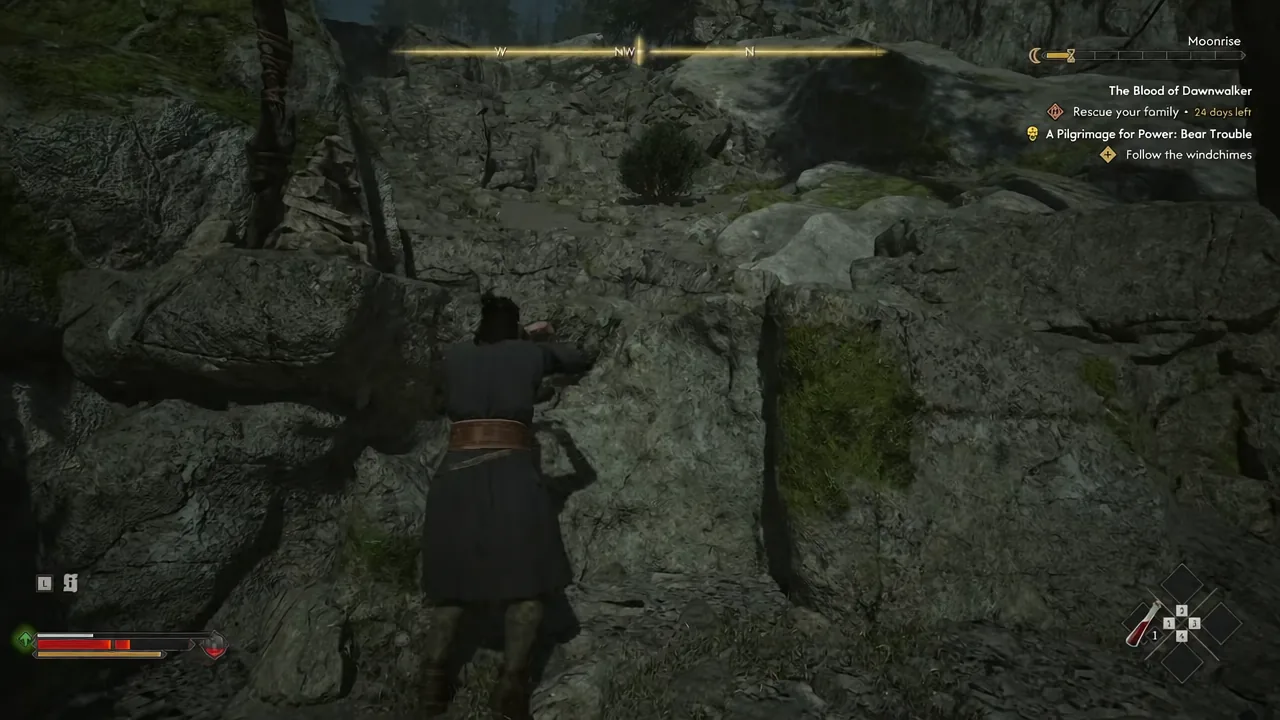
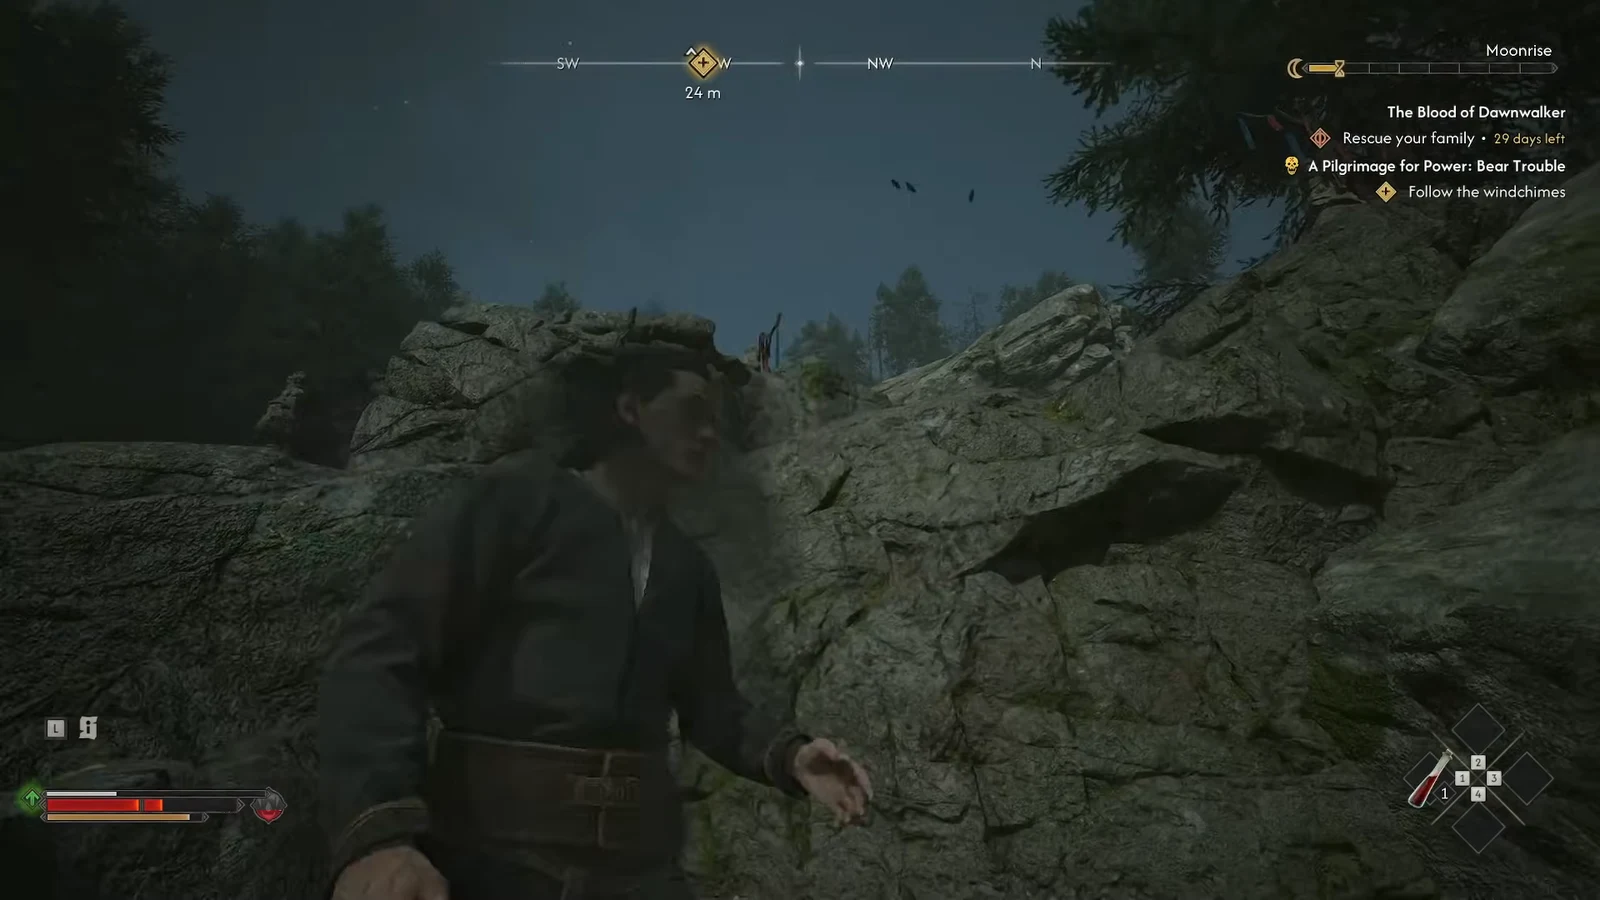
How to know the objective is complete
You’ll get a “QUEST UPDATE” banner and the tracker swaps “Follow the windchimes” for “Defeat the bear” as you enter the clearing. A Ravenous Bear is resting there, and it fights exactly like the one at Outlaw’s Gorge.
It has two unblockable attacks. The first is a charge that knocks you flat, the second is a rear-up followed by a ground slam in front of it. Dodge sideways for both, and a perfectly timed dodge opens a window for a counterattack.
The uriashi glyph and the Ravenous Flock reward
With the bear dead, the quest asks you to explore the top of the hill. On the west side of the clearing there’s a uriashi corpse. Examine the wound on his forearm to reveal a carved symbol, then check the bloody knife near the stones, and Coen works out that the dead giant was attempting witchcraft.
Return to the centre of the stone circle and inspect the glyph. Coen copies it down, and reading the resulting scroll in your inventory unlocks the next rank of Ravenous Flock. This is a Witchcraft ability that stuns a target with an Area Attack, with further Area Attacks triggering when you hit the stunned enemy.
| Detail | Value |
|---|---|
| XP reward | 250 XP |
| Item reward | Ravenous Flock Manual |
| Time cost | 2 time segments, spent on inspecting the glyph |
| Fully ranked ability | 470 area damage, four hits, 20 seconds |
Note: the two time segments are only charged when you interact with the glyph, not for the climb or the fight. Collecting all four manuals across the pilgrimage is what takes Ravenous Flock to maximum rank, assuming you’re willing to spend the skill points and further segments.
Every windchime trail in A Pilgrimage for Power
The same “Follow the windchimes” objective repeats at all four sacred stones, and none of them put a route on your map. The order doesn’t matter, and each glyph hands over another Ravenous Flock Manual.
| Part | Where the chimes start | What guards the stone |
|---|---|---|
| Bear Trouble | Across the river from the Briar Sloughs tower | Ravenous Bear |
| Dark-Thing | North of the Westridge Outpost shrine, east of Svartrau | Essence of Grief |
| The Ritual | South of Tantari Woods, near the southern edge of the map | Witch of the Barren Peaks |
| Fanatics | Near St. Tyna’s Grove, by a bandit camp | Wolves on the path, no miniboss |
If the chimes stop leading anywhere
Almost every stall on this climb comes down to leaving the marked route. If you can’t find the next chime, walk back to the last cairn you passed and sweep again in Focus Mode rather than free-climbing upward, since the surrounding rock has plenty of ledges that lead nowhere.
- The quest won’t appear at all until “Smoke and Ashes” is finished.
- Between the chimes, the trail is marked by cairns with yellow fabric and white chalk marks, not by chimes alone.
- At the abandoned camp, the footprints are the next marker. Miss them and the path looks like a dead end.
- The final ledge is much simpler at night with Shadowstep, so switch forms if you’re stuck under it.
Once the glyph is copied, Bear Trouble closes out and the pilgrimage points you toward the next set of chimes elsewhere in Vale Sangora. The trail-reading habit you build here, Focus Mode on, chime to cairn to chalk mark, is the same one every other sacred stone asks for.





