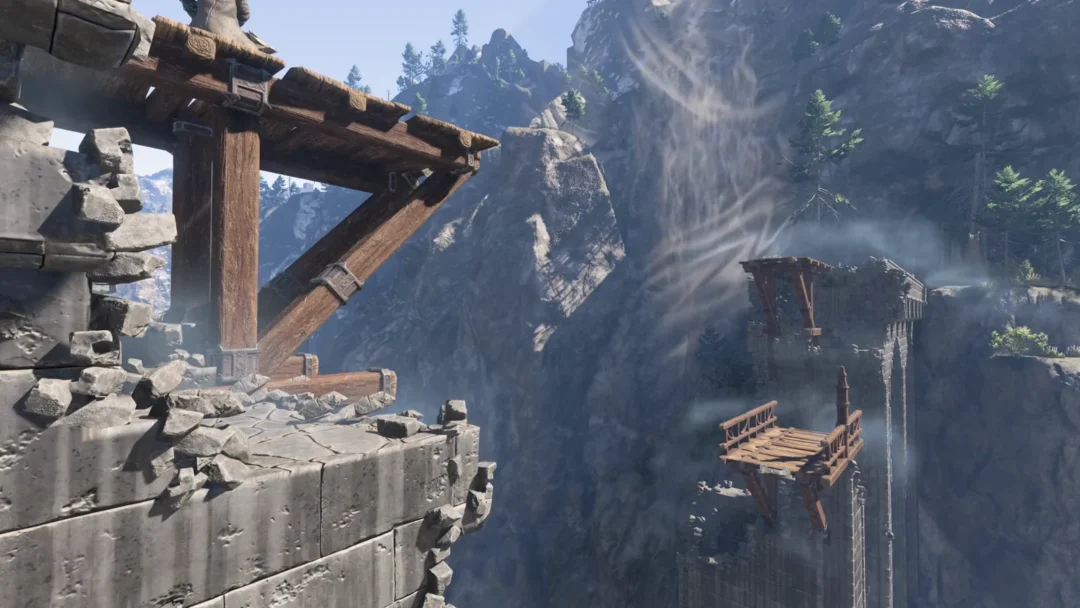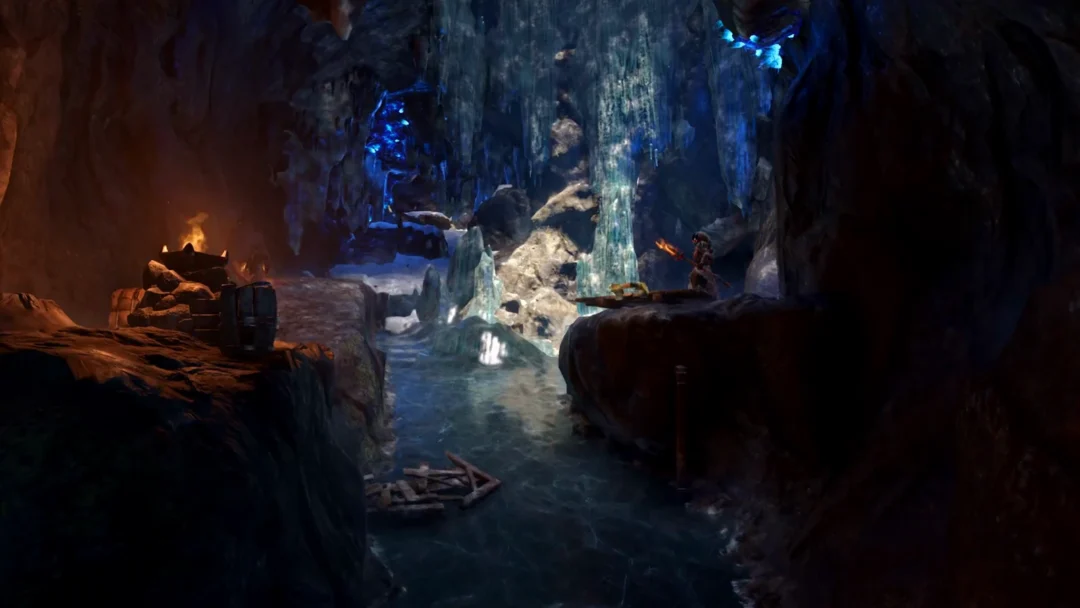
Durandal is a Legendary Longsword sitting in a wrecked cart at the bottom of a gorge in Briar Slough, and nothing stops you from walking down there in your first few hours with Coen. The catch is not finding it. The catch is surviving the trip and then waiting until your character is high enough level to actually swing it.
Quick answer: Travel to the Coward’s Path Shrine in Briar Slough, follow the path to the broken bridge, and inspect the wreckage to start The Cursed Chasm. Climb down the rocky ledges into the gorge, reach the smashed cart at the far end of the chasm floor, and loot it. Durandal drops at any character level, but it needs level 11 to equip.
Durandal stats and equip requirement
Durandal is an item level 15 weapon with a level 11 equip requirement, which is the whole reason it is worth an early detour. The stamina reductions matter more than the raw damage in the opening hours, since they let you attack and dodge far more often before running dry.
| Property | Value |
|---|---|
| Type | Legendary Longsword |
| Item level | 15 |
| Required level | 11 |
| DPS | 234 |
| Damage | 143–205 |
| Attack speed | Medium |
| Weapon Art cooldown | 15 seconds |
| Damage vs. supernatural enemies | +11.2% |
| Attack stamina cost | -21% |
| Dodge stamina cost | -21% |
| Swordmastery ability cooldown | +7% |
| Weight / value | 1.50 / 465 |
Note: the sword goes straight into your inventory regardless of your level. If you are below 11, it simply sits there greyed out until you catch up, so there is no reason to delay the pickup other than the danger of the gorge itself.
Route from the starting area to the broken bridge
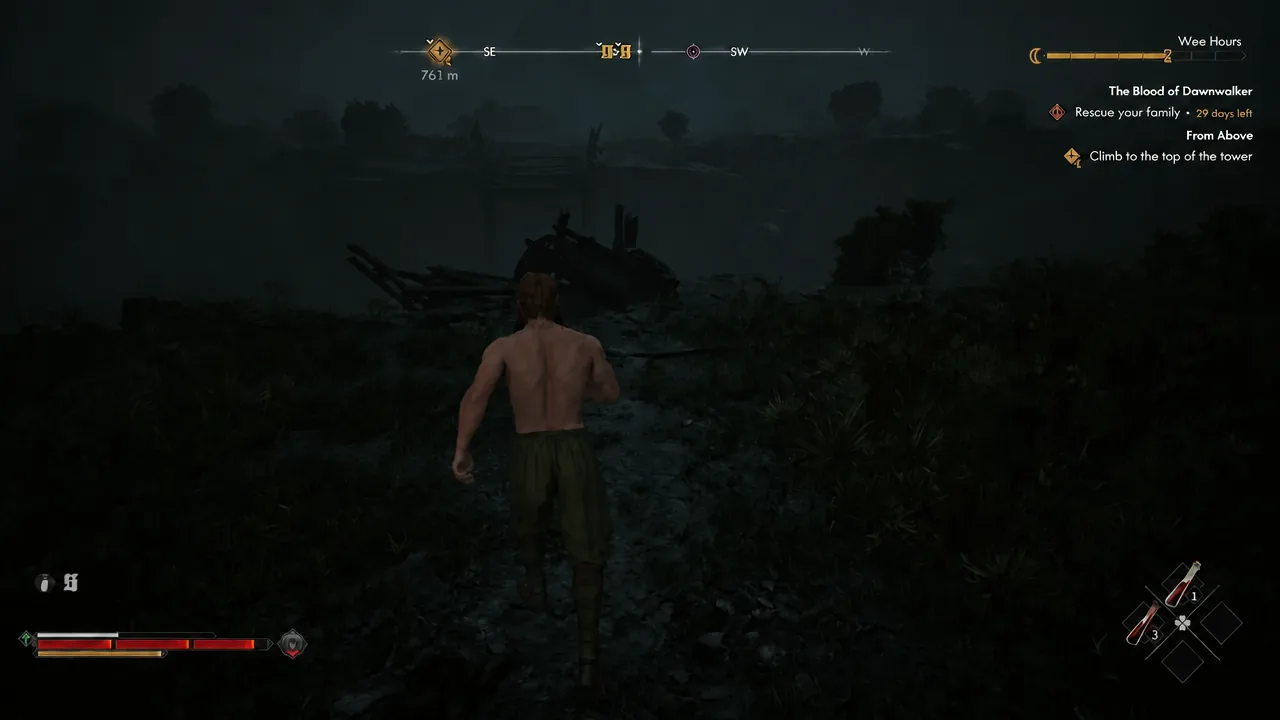
The run begins the moment you leave the starting gates after the prologue. Everything you need is in the northwestern part of the Briar Slough fiefdom, and the whole trip can be done on foot without unlocking anything special first.
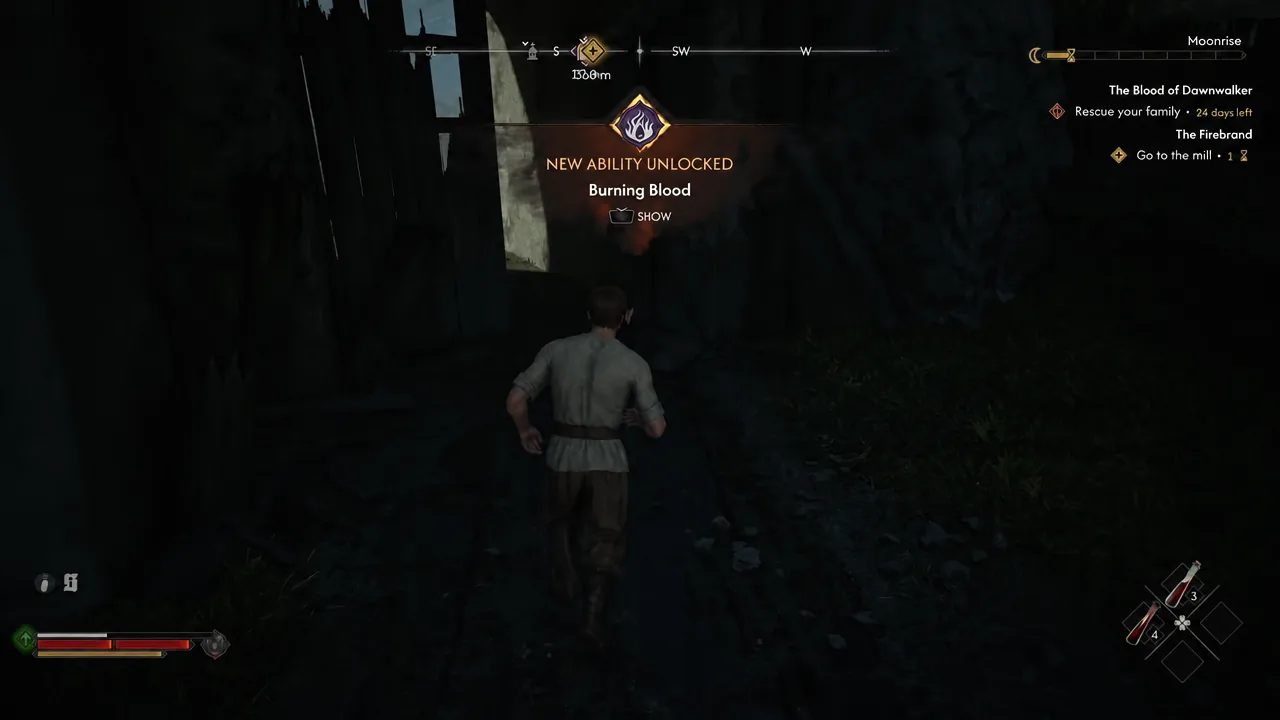
Getting down to the chasm floor
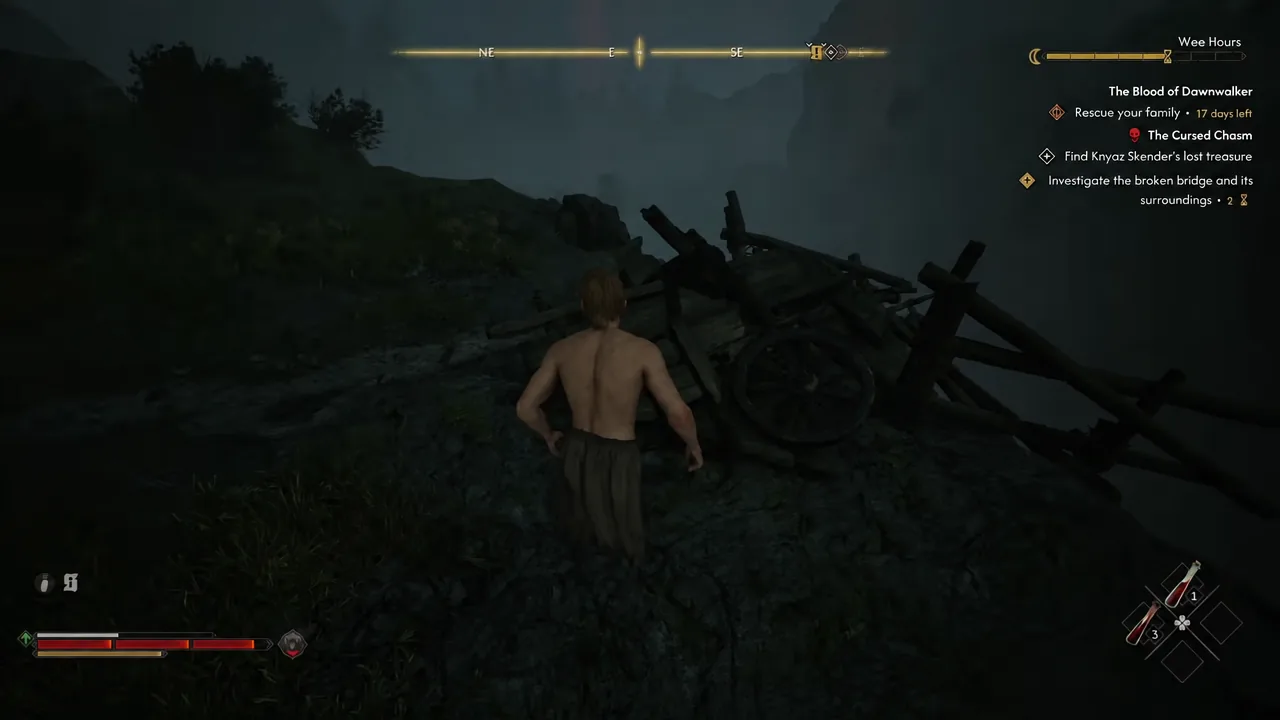
There is no ladder or scripted entrance here. Stand where the cart fell, look over the edge, and use focus mode to spot the broken debris far below. That debris is your destination, and the reddish rock of the chasm floor makes it easy to keep your bearings on the way down.
The cliff face beside the bridge is a series of narrow ledges that zigzag down the wall. You can hop between them with shadow steps and short drops without needing any long jumps. If you have Vrakhir form available, Clawride down the rock is faster and removes the risk of missing a ledge entirely.
Getting past the wolves and Echoes
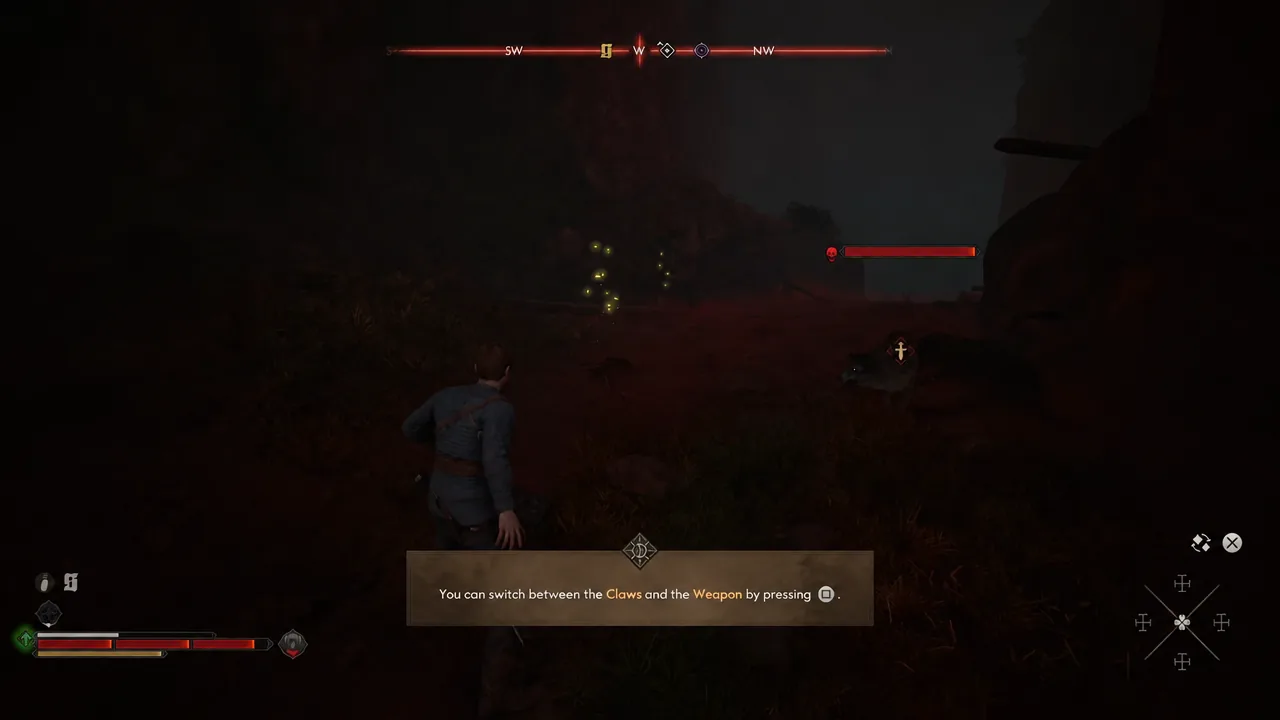
A wolf pack circles the treasure at the bottom, and once they engage, supernatural Echoes join in. Both are around level 15. Arrive at level 8 and they carry red skulls, which means a single hit can end the run. Come back around level 11 and the same enemies turn yellow, which is a manageable fight.
Method 1: Clear the chasm floor
Method 2: Sneak the sword out
Everything in the wreck, including the Silver Cache map
Durandal is the headline, but the cart is a full loot pile. The Treasure Map is the one to pay attention to, since silver is not an especially common material and the cache is a solid stack of it.
| Item | What it does |
|---|---|
| Durandal | Level 15 Legendary Longsword, equippable at level 11 |
| Treasure Map: Silver Cache | Starts the Finders Keepers quest, leading to a buried silver stash |
| Recipe for Minor Balm of Fortitude | Crafting recipe |
| Armour pieces | Low-level gear stored with the treasure |
The Silver Cache map points to a small cemetery tucked into the forest, not to anywhere in the chasm. Follow it to the marked spot, dig, and you get a Silver Cache Letter along with several silver items. A wolf pack and a Pack Leader guard the area, so treat it as a separate trip rather than an extension of this one.
How to confirm you got it
Looting the cart pops Durandal in your item feed as a Legendary Longsword and closes out The Cursed Chasm, awarding experience and a skill point. Open your inventory and check the weapon card. If it reads item level 15 with a required level of 11, you have the right sword.
If the quest never appears in your log, you have not inspected the wreckage at the bridge yet. Reaching the debris in the gorge without triggering the investigation first will not give you the objective, and the two time segments only get spent at the moment you start it.
Once Durandal is equipped, the reduced stamina costs on attacks and dodges change how aggressive you can be in daytime Swordmastery combat, and the bonus against supernatural enemies lines up neatly with the Echoes you will keep running into across Vale Sangora. It is the sword you will likely carry until the Forge it Anew questline hands you something better.