

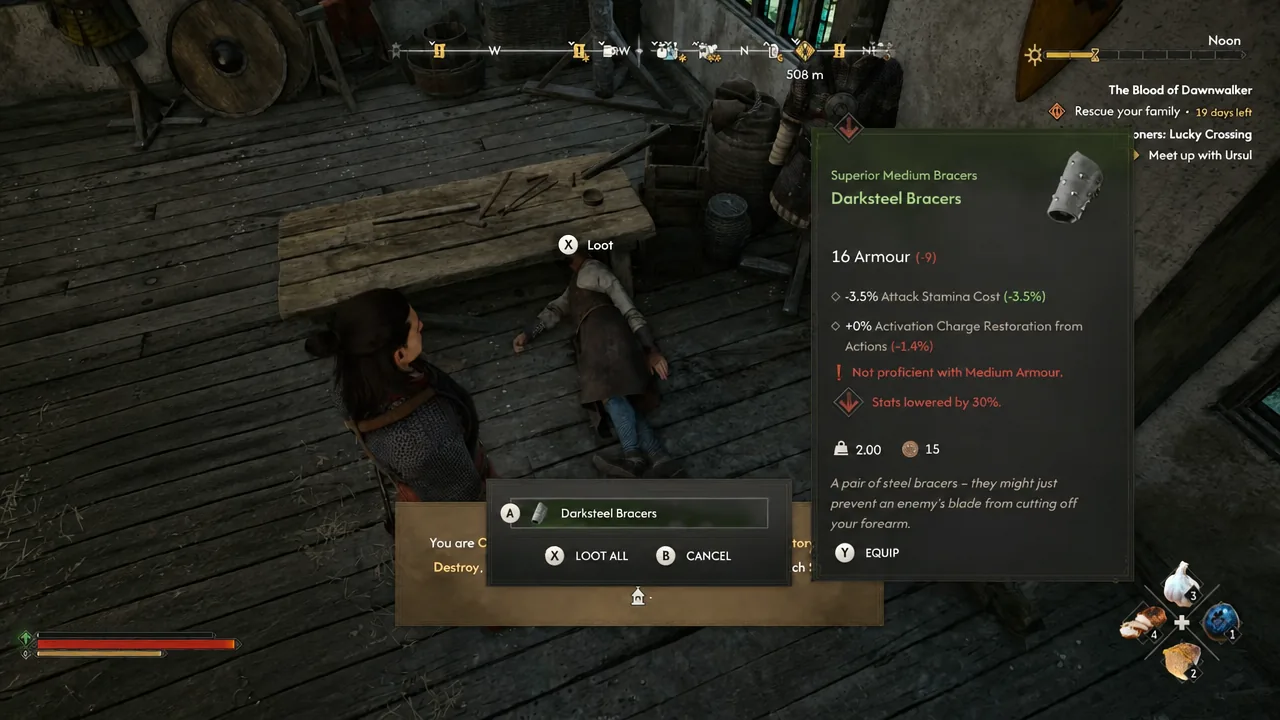
There is a repeatable looting exploit in The Blood of Dawnwalker that turns a single dead merchant into an unlimited supply of sellable armour. It centres on the Armourer in Svartrau City, whose corpse keeps handing out the same pair of Darksteel Bracers no matter how many times you take them. Confirmed working on PC version 1.0.2.
Quick answer: Kill the Armourer inside his shop in Svartrau City during the day, then loot his body over and over. Each loot yields Darksteel Bracers worth a base 15 gold coins, and the item never leaves his inventory. Everything must happen in one continuous session, because saving and reloading removes the corpse.
Why the Armourer’s corpse produces infinite Darksteel Bracers
The Armourer carries Darksteel Bracers as part of his merchant stock. When he dies, that stock transfers into his lootable body, but the bracers are not consumed when you take them. Close the loot window, open it again, and the same pair is sitting there ready to be pulled a second time. Nothing about the item is special beyond its weight and sale price, which is what makes it a clean farm target.
| Detail | Value |
|---|---|
| Item | Darksteel Bracers |
| Base value | 15 Gold Coins |
| Weight | 2.00 |
| Armour | 16 |
| Armour class | Medium (stats reduced by 30% without proficiency) |
Weight is the only real limiting factor. At 2.00 per pair, you will hit encumbrance quickly, which is why the shrine next to the shop matters more than it first appears.
Set up before you kill the Armourer
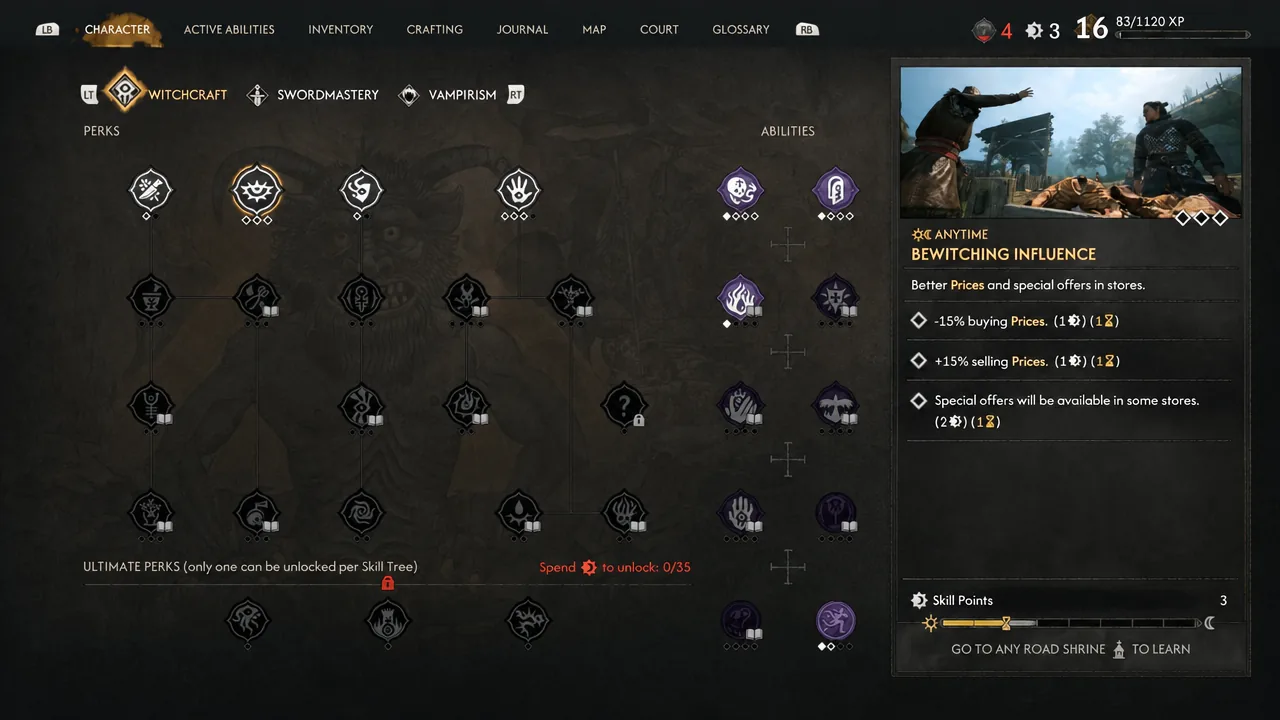
Two preparations pay off, and neither can be fixed afterwards. First, the Armourer does not respawn once he is dead, so buy anything you want from his shop before the fight. Second, the Bewitching Influence perk in the Witchcraft tree raises selling prices by 15% and lowers buying prices by 15%, which stacks on top of every bracer you offload later.
Go during the day. The shop needs to be open so you can enter, trade, and shut the door behind you before anything turns hostile.
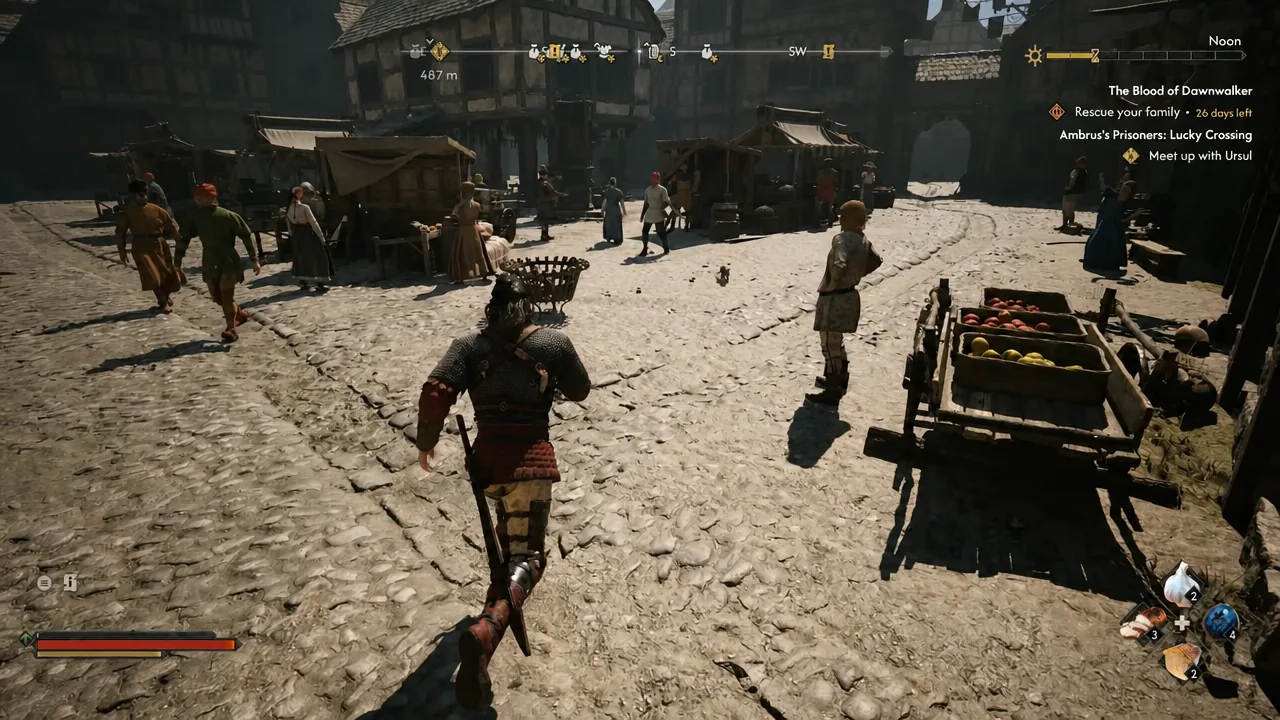
Running the loot loop in Svartrau City
What breaks the loop
The corpse is not permanent. Two actions remove it, and once it is gone there is no way to bring the Armourer back in that playthrough.
| Action | Result |
|---|---|
| Saving and reloading | Body despawns; farming ends |
| Travelling far from the shop | Body despawns; farming ends |
| Walking to the nearby shrine | Safe; body stays loaded |
Treat one visit as one farming session. Stock up as much as you intend to sell before you leave the area or reload, because the corpse will not be waiting when you come back.
Selling the bracers for gold coins
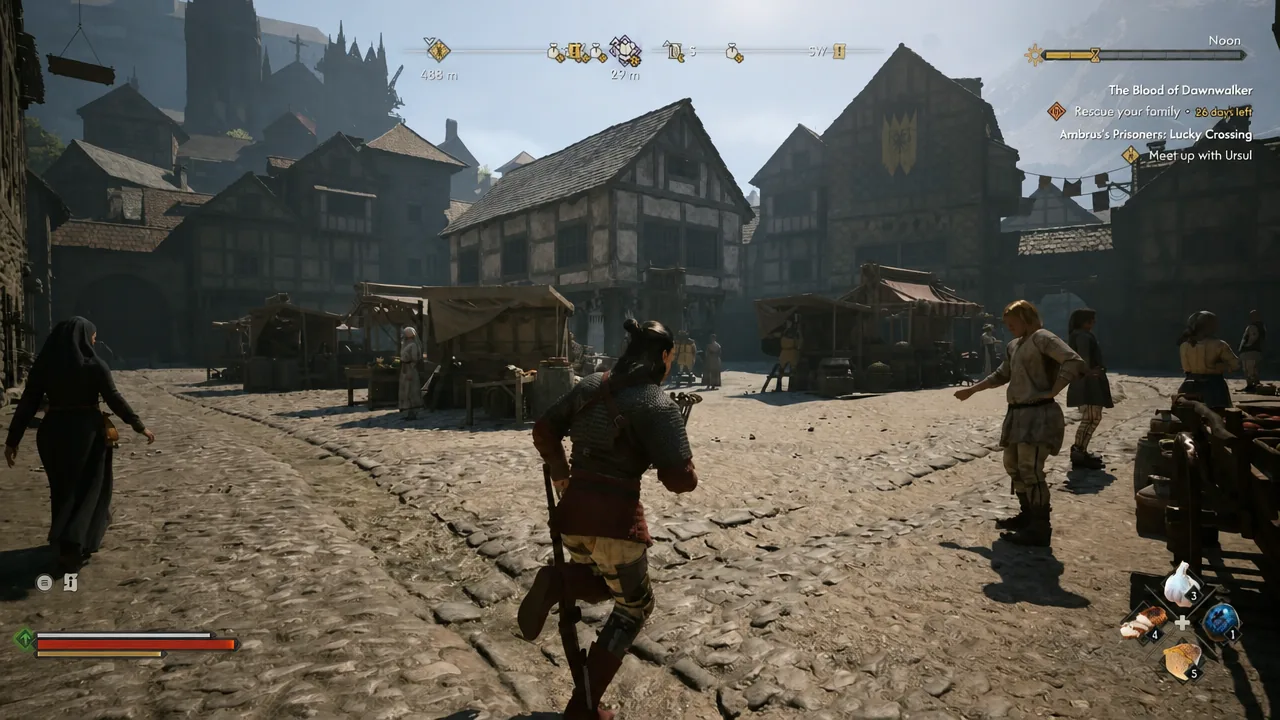
Almost any vendor will take the bracers. A Food Vendor and Henrik at the bookshop both buy them at the standard rate, and merchants in Altenmarkt, Middem, and around the Market Tower give you more places to unload stock once a single trader runs dry.
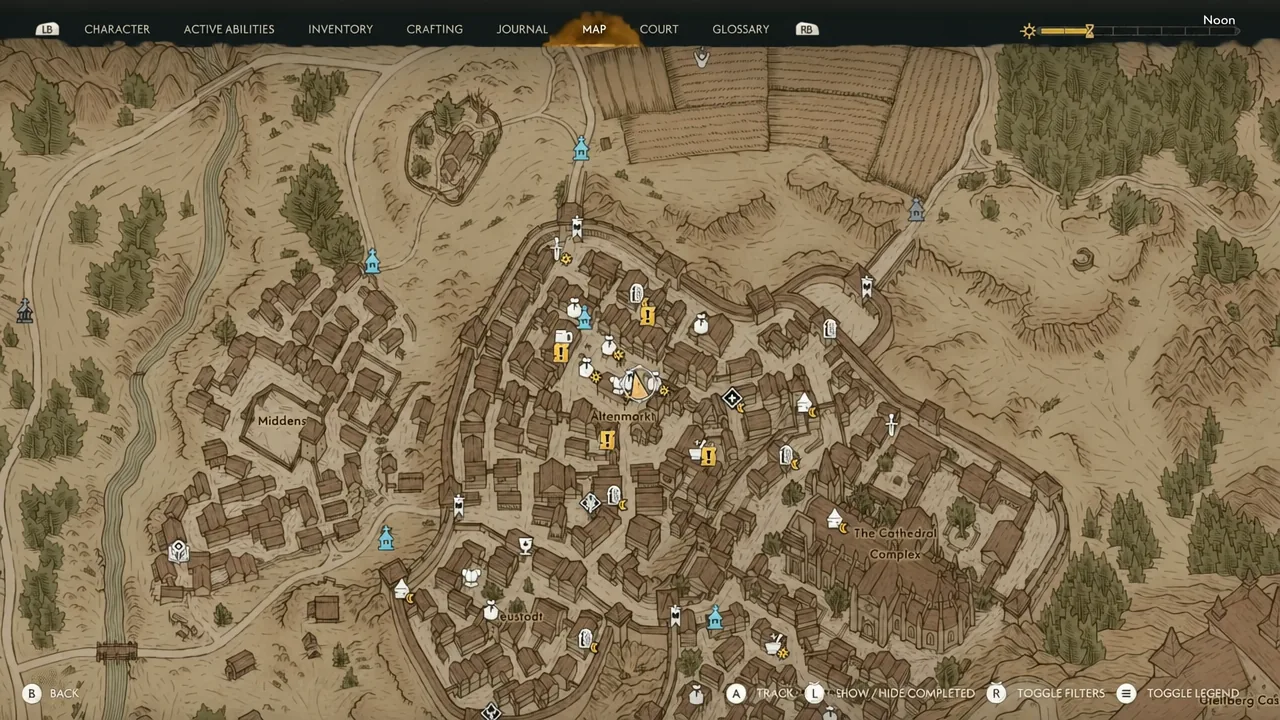
Pull bracers out of the shrine stash in batches rather than carrying everything at once, since 2.00 weight per pair adds up fast. With Bewitching Influence unlocked, each pair goes for more than its 15 gold coin base value.
How to tell it is working
The confirmation is simple. After you take the Darksteel Bracers and reopen the corpse, the same entry is still listed in the loot window, and your inventory count climbs with each pass. If the bracers disappear from the body after one pull, the corpse has reset or you are looting a different NPC.
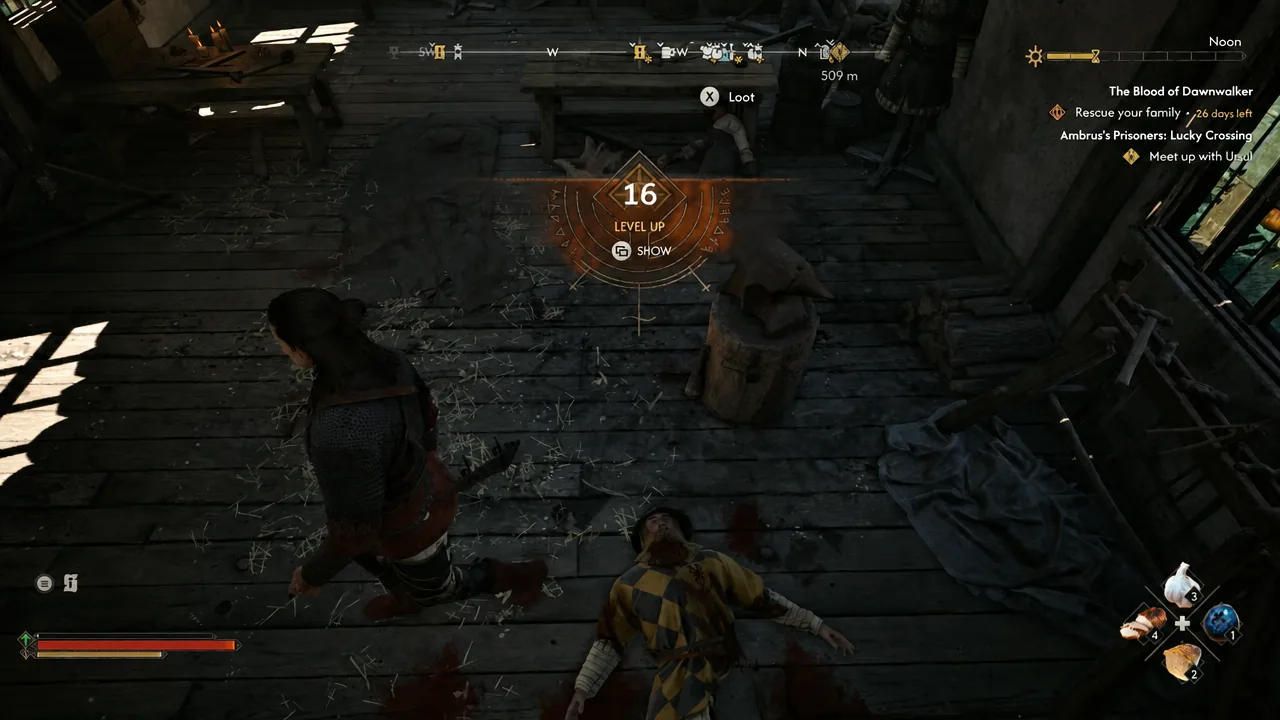
The only common failure is the merchant escaping. If you swing at the guard first, the Armourer can break away from the fight and leave the shop, so lead with him and shut the door before anything begins.
Worth weighing before you commit: the Armourer is a permanent loss, and the exploit is tied to a specific build of the game, so a future patch could close it. If you would rather not gut a merchant, selling looted junk, trade goods, and lower-tier gear still funds a run perfectly well without touching the 30-day clock.





