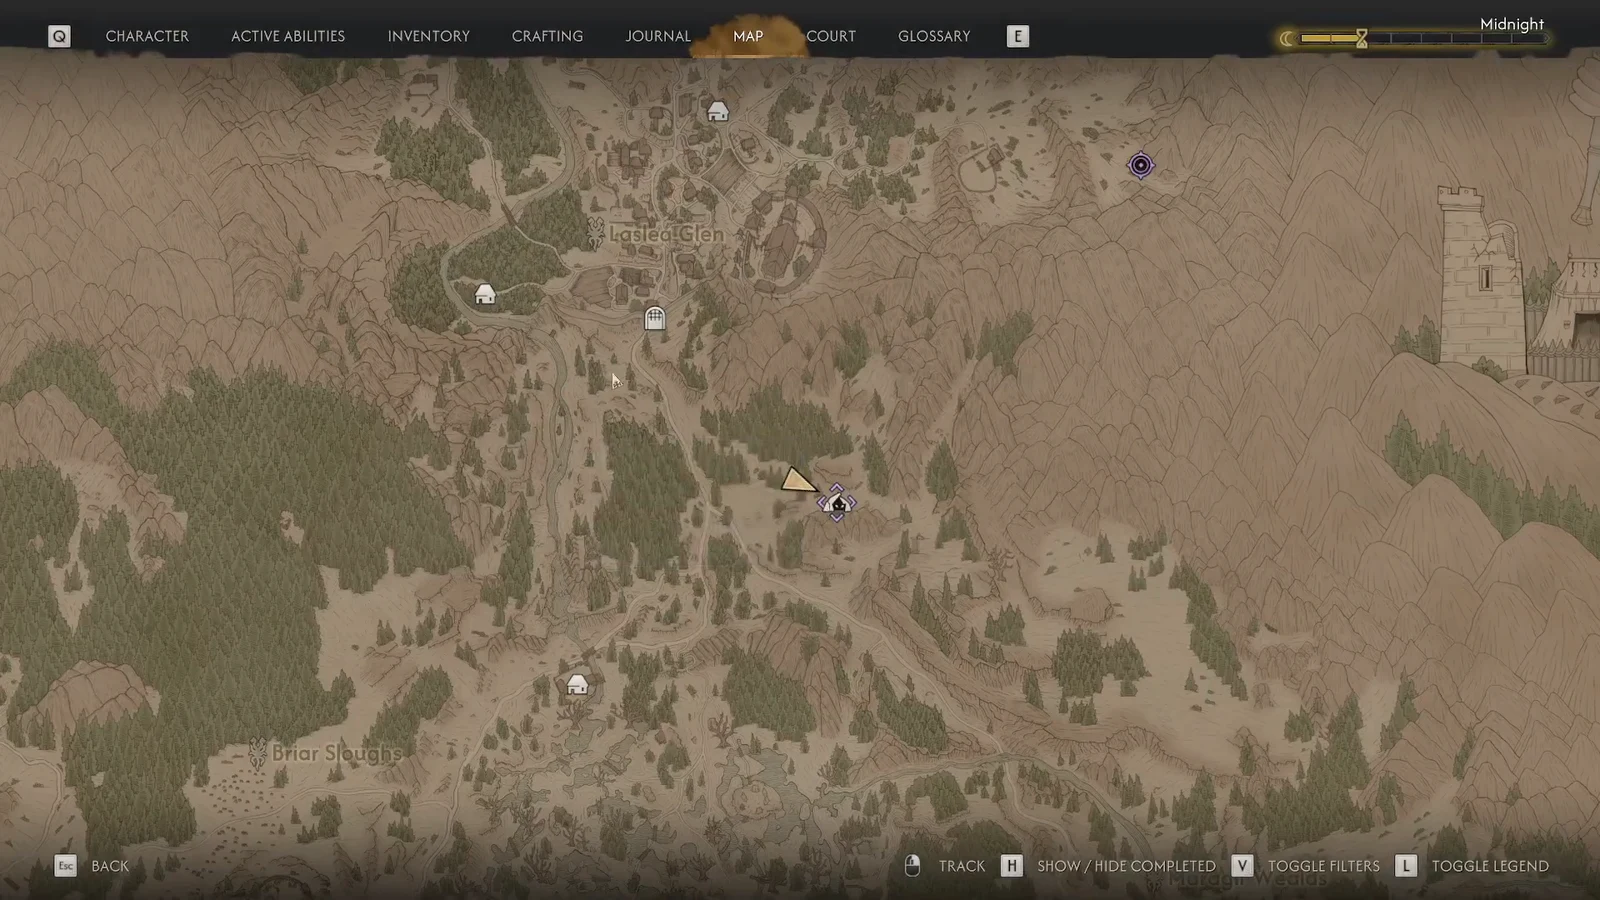
The Kobold’s Den sits in the forest below Laslea Gate, close enough to Laslea Glen that you can reach it early in your run through Vale Sangora. It is a small, self-contained camp: a handful of Kobolds, a few lootable bodies, and one yellow chest holding gear and a skill manual.
Quick answer: Travel south from Laslea Gate, between it and Laslea Glen, and follow the forest path down to the cave mouth. Kill the Kobolds inside, then open the yellow chest for the Pendant of Vrakhric Swiftness, a Minor Balm of Fortitude, Slivovitz, and the Frugal Witchcraft Manual.
Where the Kobold’s Den is on the map
Open the map and put your marker south of the Laslea Gate shrine. The den lies in the wooded stretch between Laslea Gate and Laslea Glen, on the fringe of the Briar Sloughs region. It is not a named fast travel point, so you are looking for the cave entrance itself rather than an icon that appears from a distance.
The approach is a dark forest trail. If you are running the early story beat that asks you to meet with Anca at the old inn, the den makes a reasonable detour on the way, since it sits off the same stretch of road rather than deep in unexplored territory.
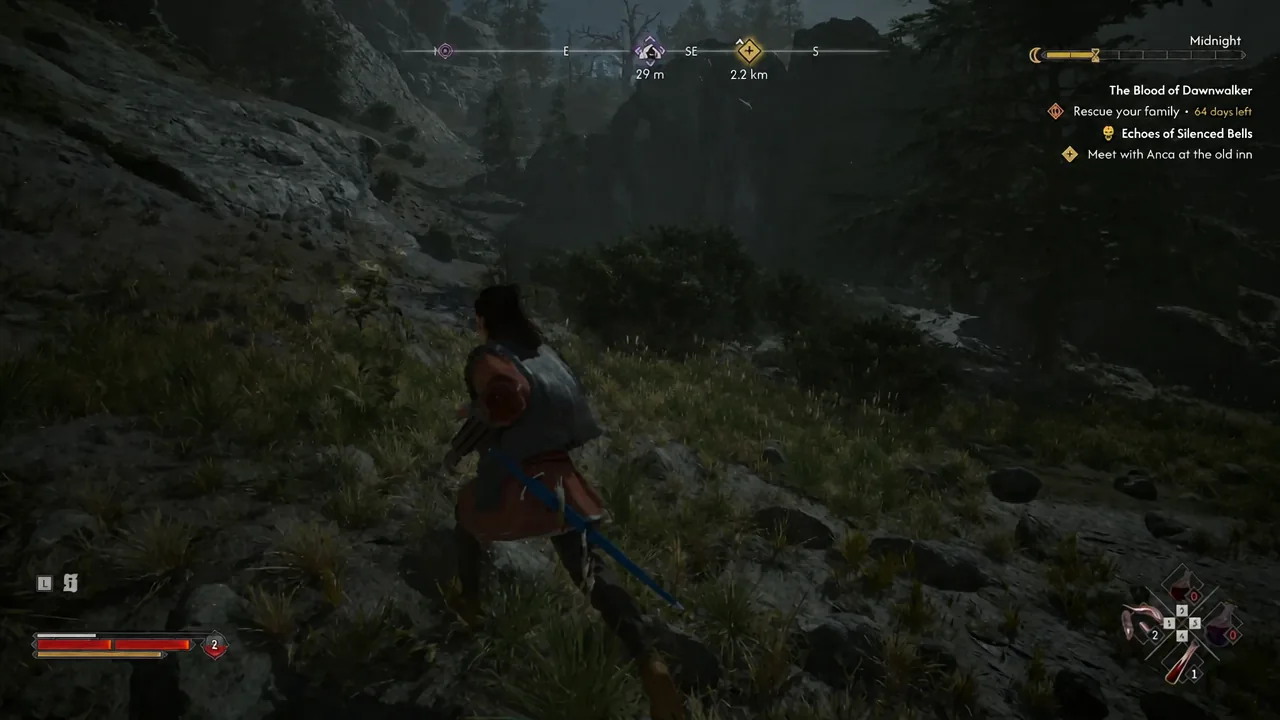
Note: distances in the compass bar update as you move, so use the on-screen readout rather than eyeballing the terrain. The forest here is dense and easy to overshoot at night.
Clearing the Kobolds
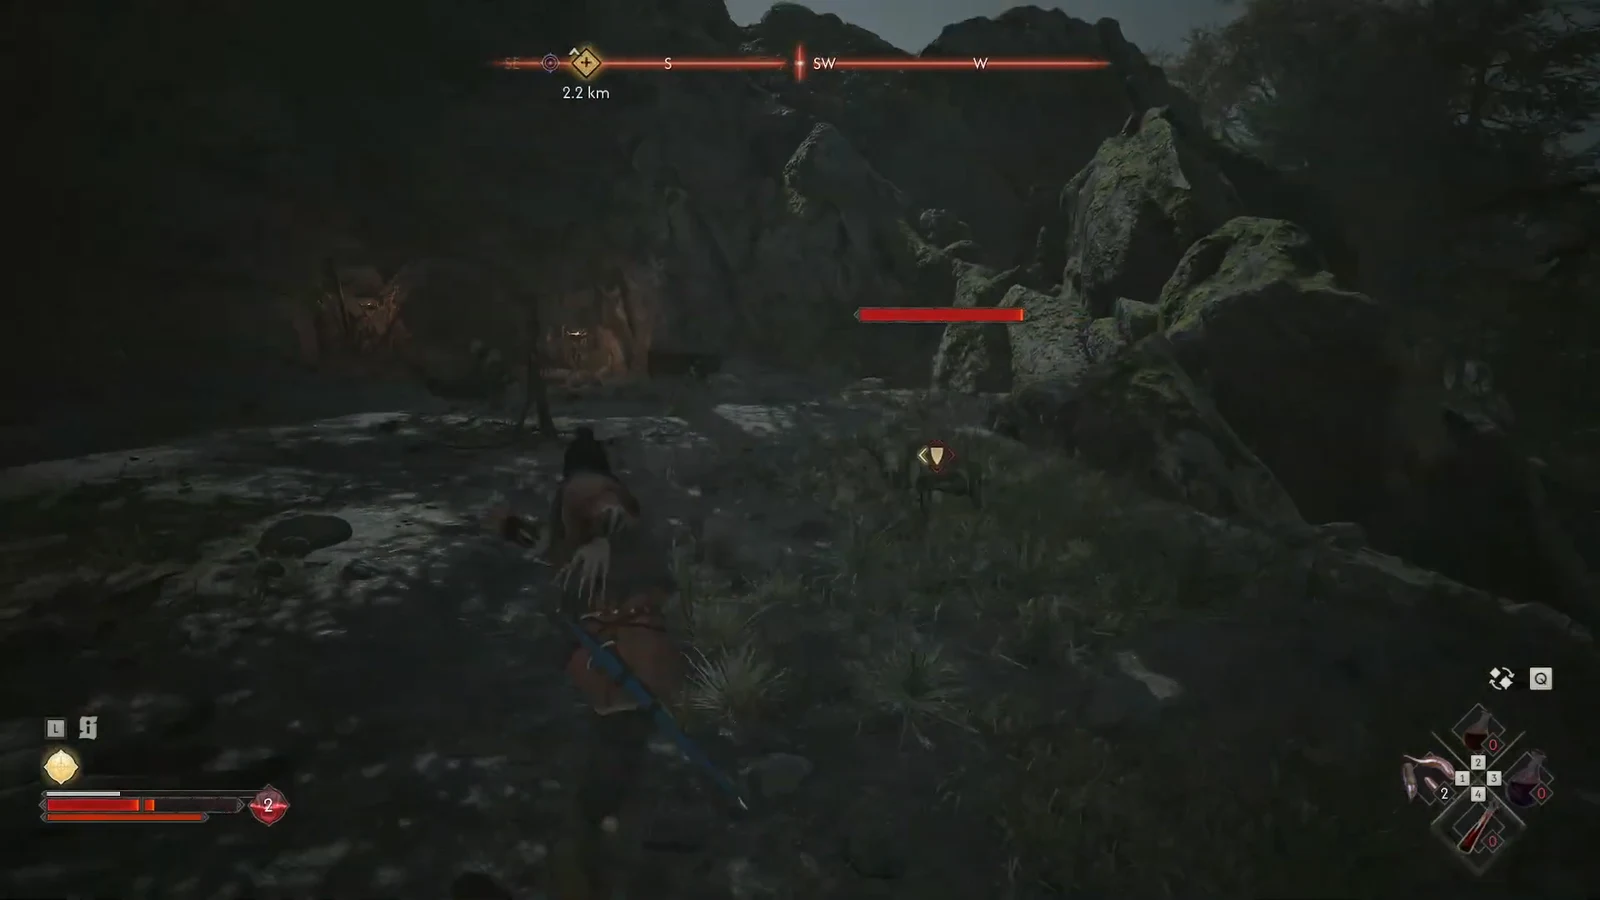
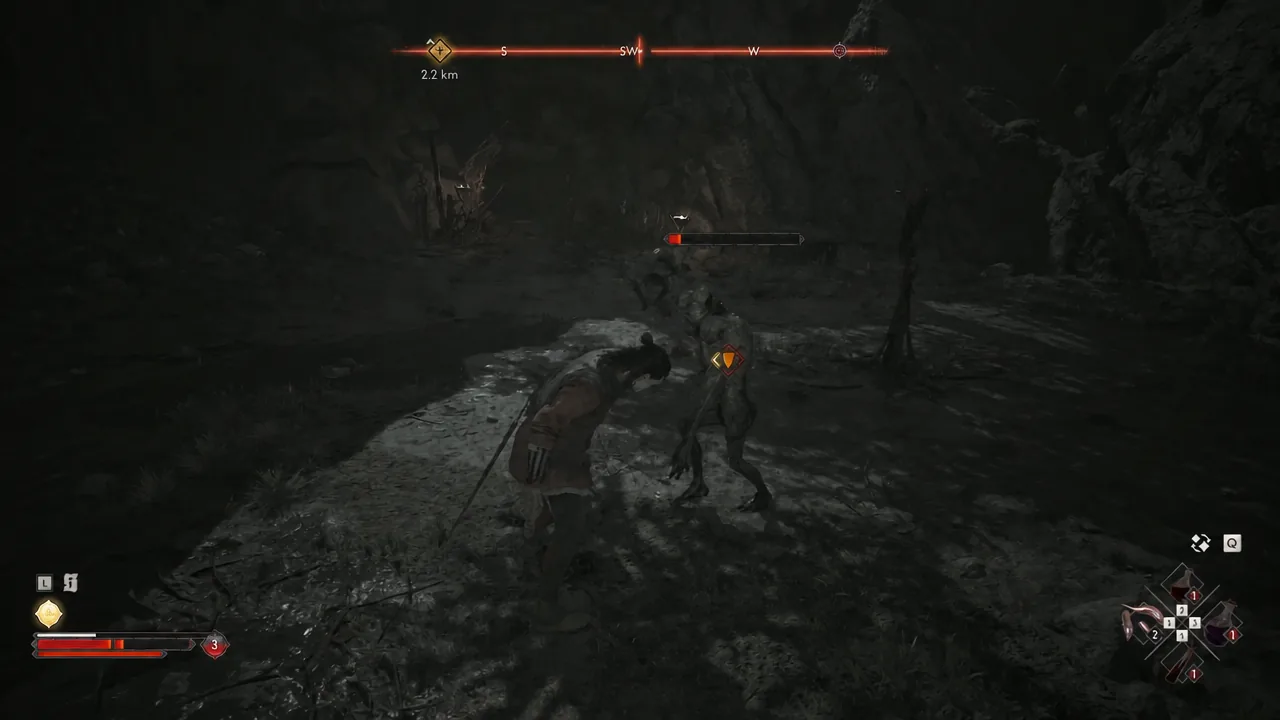
Several Kobolds occupy the den. They are among the weaker enemies in the game and go down to ordinary melee swings, so there is no gear check or level gate here. You can also swap to claws and use vampiric bites to top yourself up mid-fight if you take a few hits.
What the yellow chest contains
The chest is the reason to make the trip. It holds four items, including a permanent Witchcraft upgrade you cannot get from the enemies themselves.
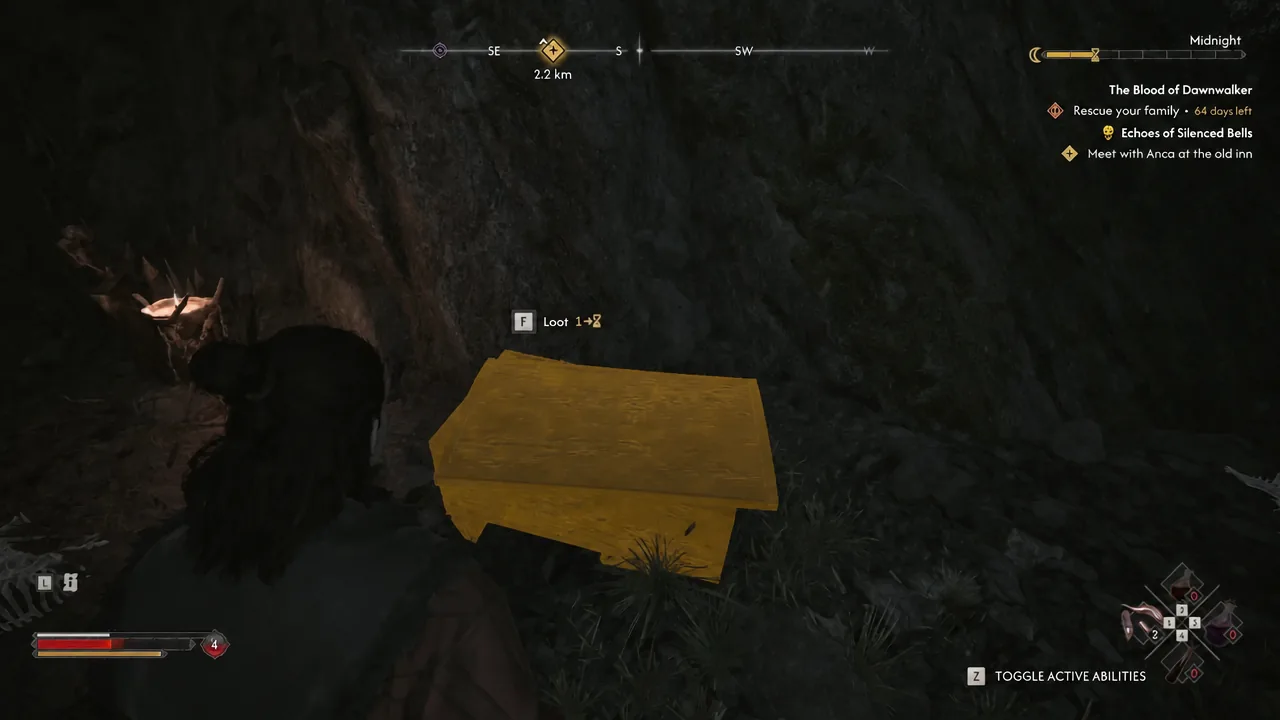
| Item | What it is |
|---|---|
| Pendant of Vrakhric Swiftness | Equippable pendant |
| Minor Balm of Fortitude | Consumable |
| Slivovitz | Alcohol consumable |
| Frugal Witchcraft Manual | Skill manual for the Frugal Witchcraft perk |
Skill manuals are how you raise the level of Witchcraft and Swordmastery perks. Vampirism abilities work differently, since those scale with your Corruption Level from drinking blood rather than from reading anything. Manuals also drop at random from defeated enemies and turn up at other open-world camps and lairs, so there is no hard cap on how many you can collect.
Everything else worth looting in the den
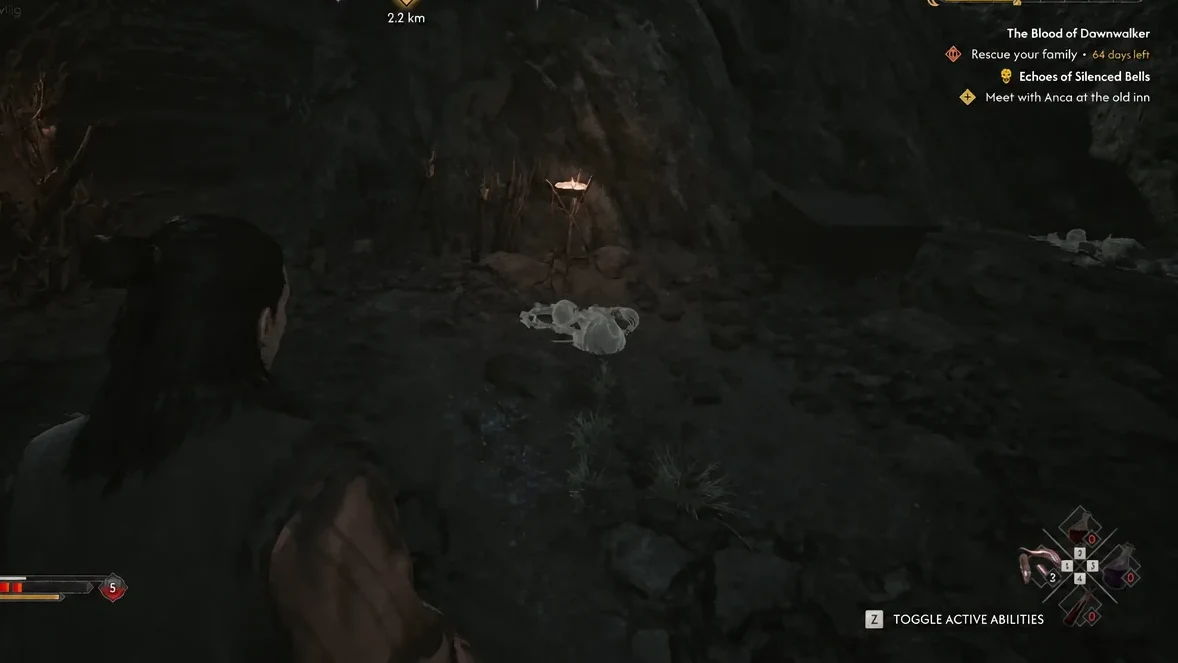
The Kobold bodies themselves carry common crafting materials and food, plus one lore item. Search all of them before leaving, then sweep the animal and human corpses scattered around the cave for extra crafting components.
| Source | Typical drops |
|---|---|
| Kobold bodies | Bounty Hunter’s Contract, Denarius, Mouldy Bread, Rotten Apple, Spoiled Milk Jug |
| Cave floor and surroundings | Cave Fungus, St. John’s Wort |
| Animal corpses | Wolf Fangs |
The Bounty Hunter’s Contract is a readable note rather than a quest trigger. Pick it up for the reading, but do not expect it to add an objective to your journal.
How to confirm you cleared it
You have finished the den when three things are true. No red health bars remain, the yellow chest shows as empty after looting, and the surrounding corpses no longer give a Loot prompt when you stand next to them. There is no completion pop-up for this location, so the chest is your marker.
If the manual does not appear in your character menu, check that you actually read it rather than only picking it up. Manuals sit in your inventory until used, and the perk level only rises once you apply the manual to the matching Witchcraft entry.
Kobolds show up in several places across Vale Sangora, and other dens hold their own manuals, so clearing this one near Laslea Gate is worth treating as the first of a set rather than a one-off detour. The fight is short, the loot is fixed, and the whole stop costs you only a few minutes off the main road.