The Mysterious Instruction in The Blood of Dawnwalker is a cipher note that never becomes a tracked quest. Nothing appears in your journal, no marker lands on the map, and most players read it once and move on. It is a real treasure hunt, though, built around eight saint papers stashed in Manumit caches around Svartrau City. Pull one word out of each paper and you get a location.
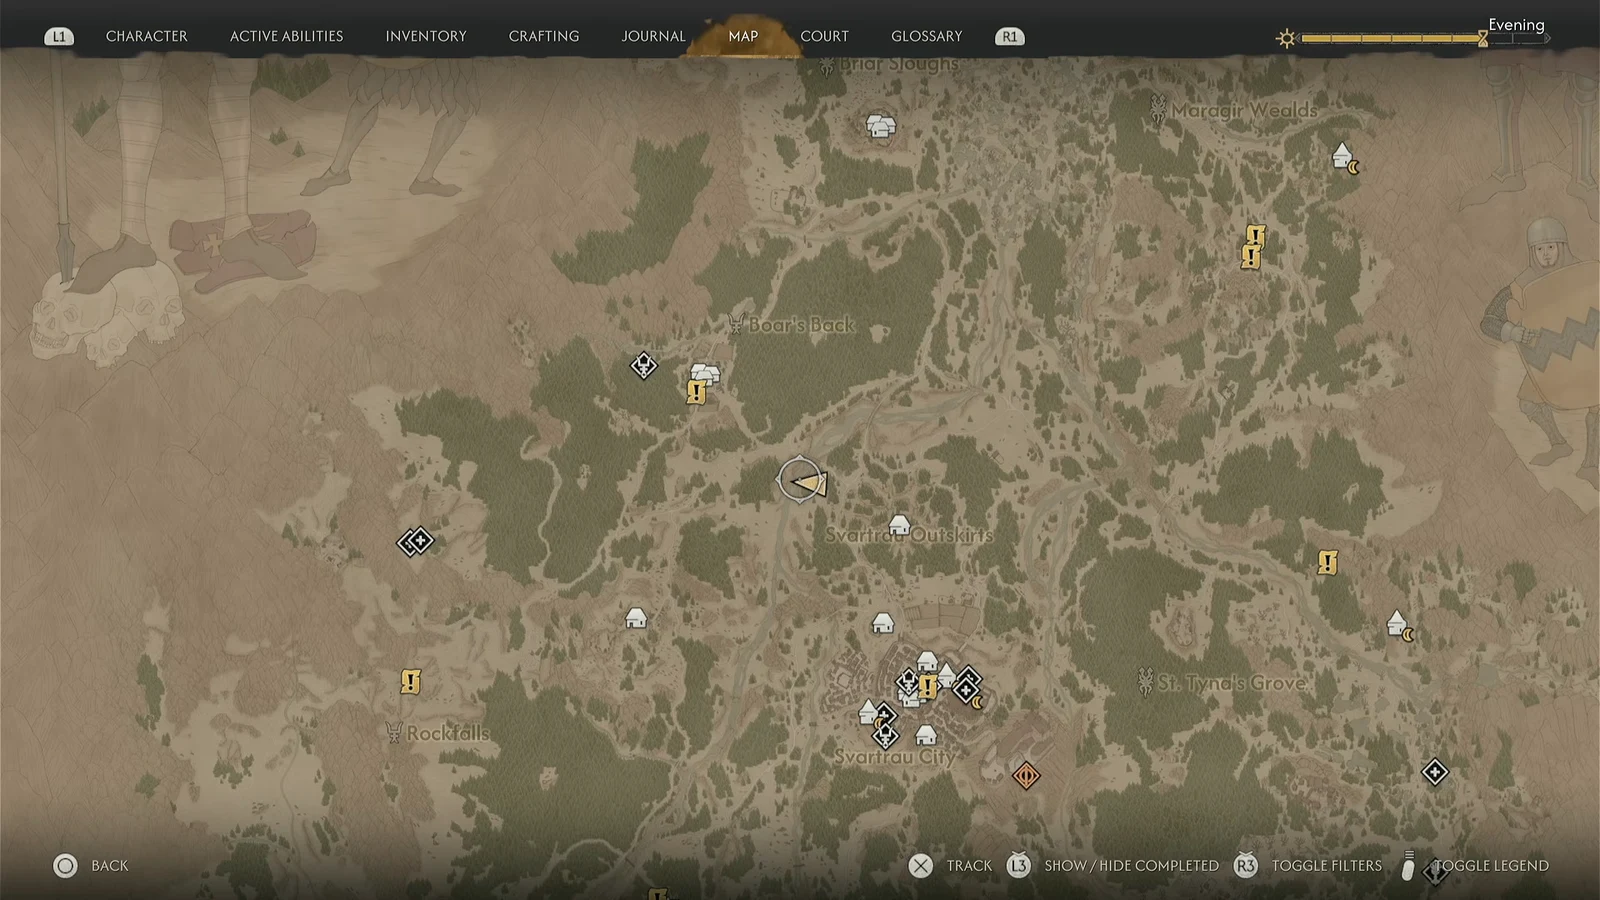
Quick answer: The decoded phrase is “North of Svartrau Into Waterfall by Great Bridge.” Fast travel to Sandy Gorge Shrine, head northwest until you hit the river, then turn west and enter the cave behind the waterfall near the Great Bridge.
Waterfall stash location and loot
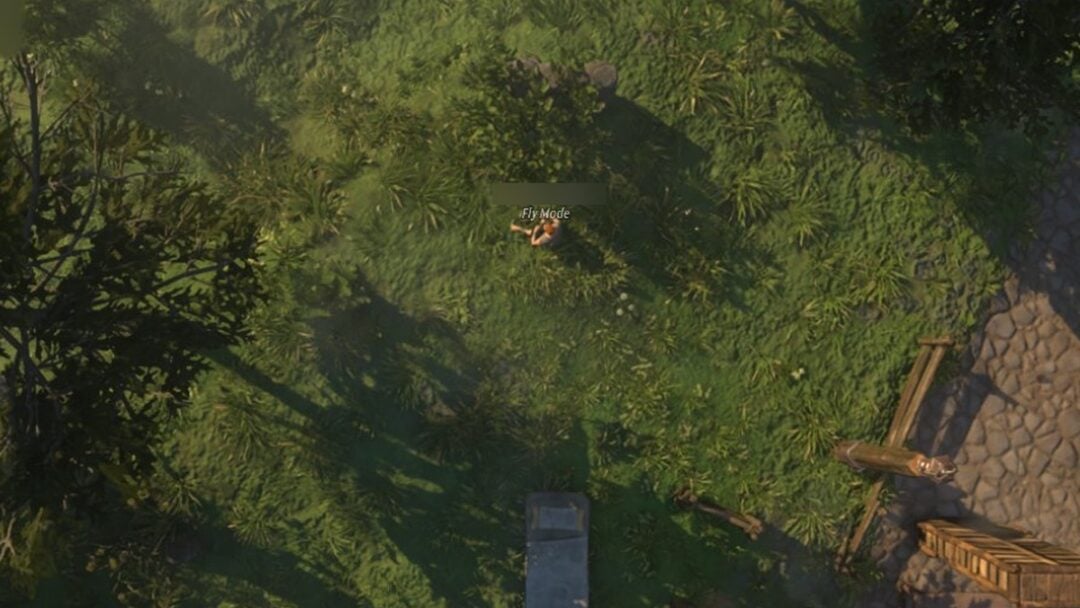
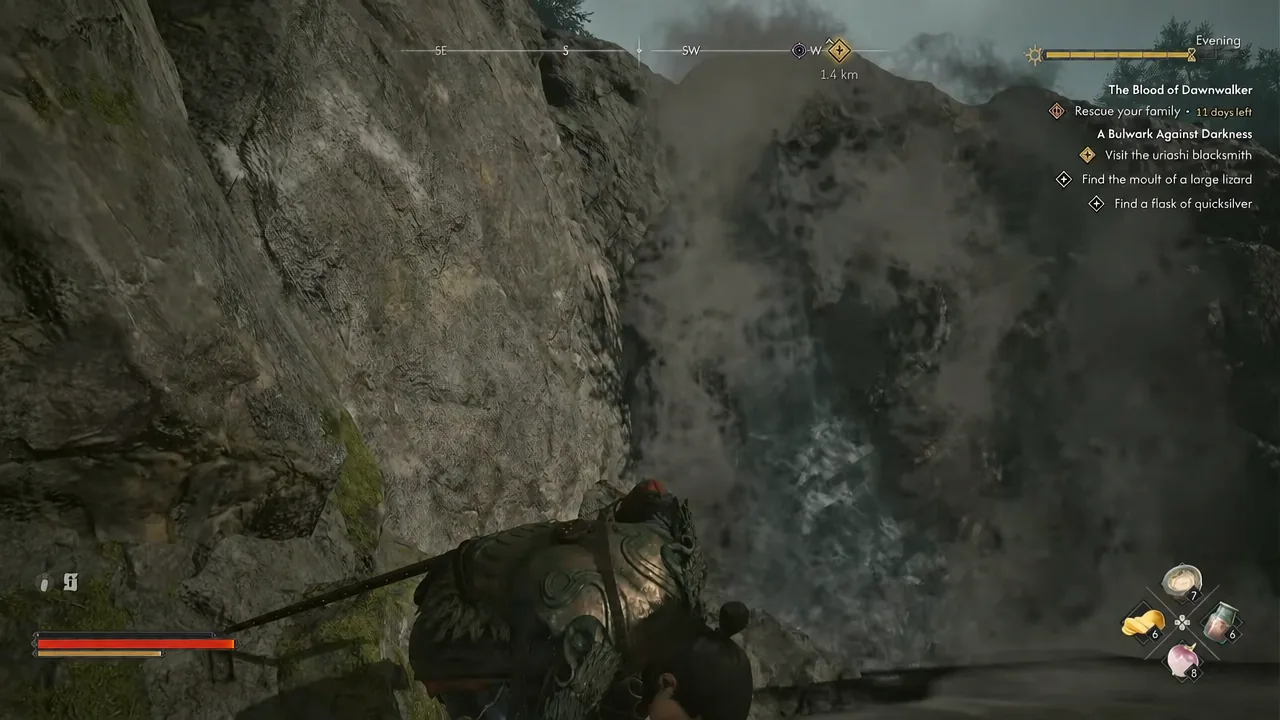
The cave the note points to sits northwest of Sandy Gorge Shrine, in the river basin under the Great Bridge. There is no icon for it, so the bridge is your landmark. Drop a custom marker on the river directly below the bridge if you want a visual anchor, then climb down the cliffs and walk through the falling water to get inside.
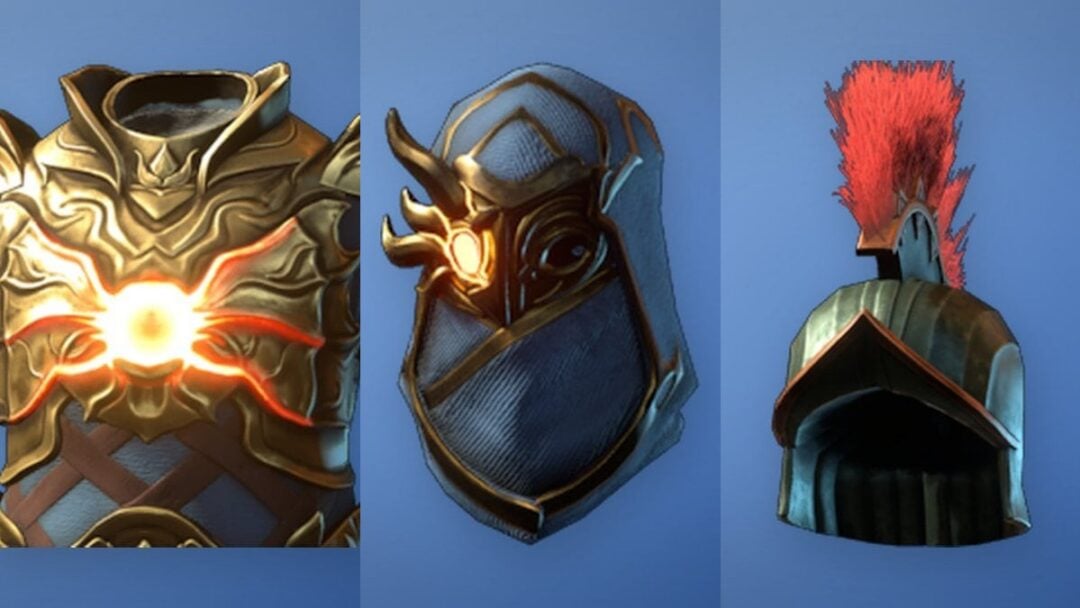
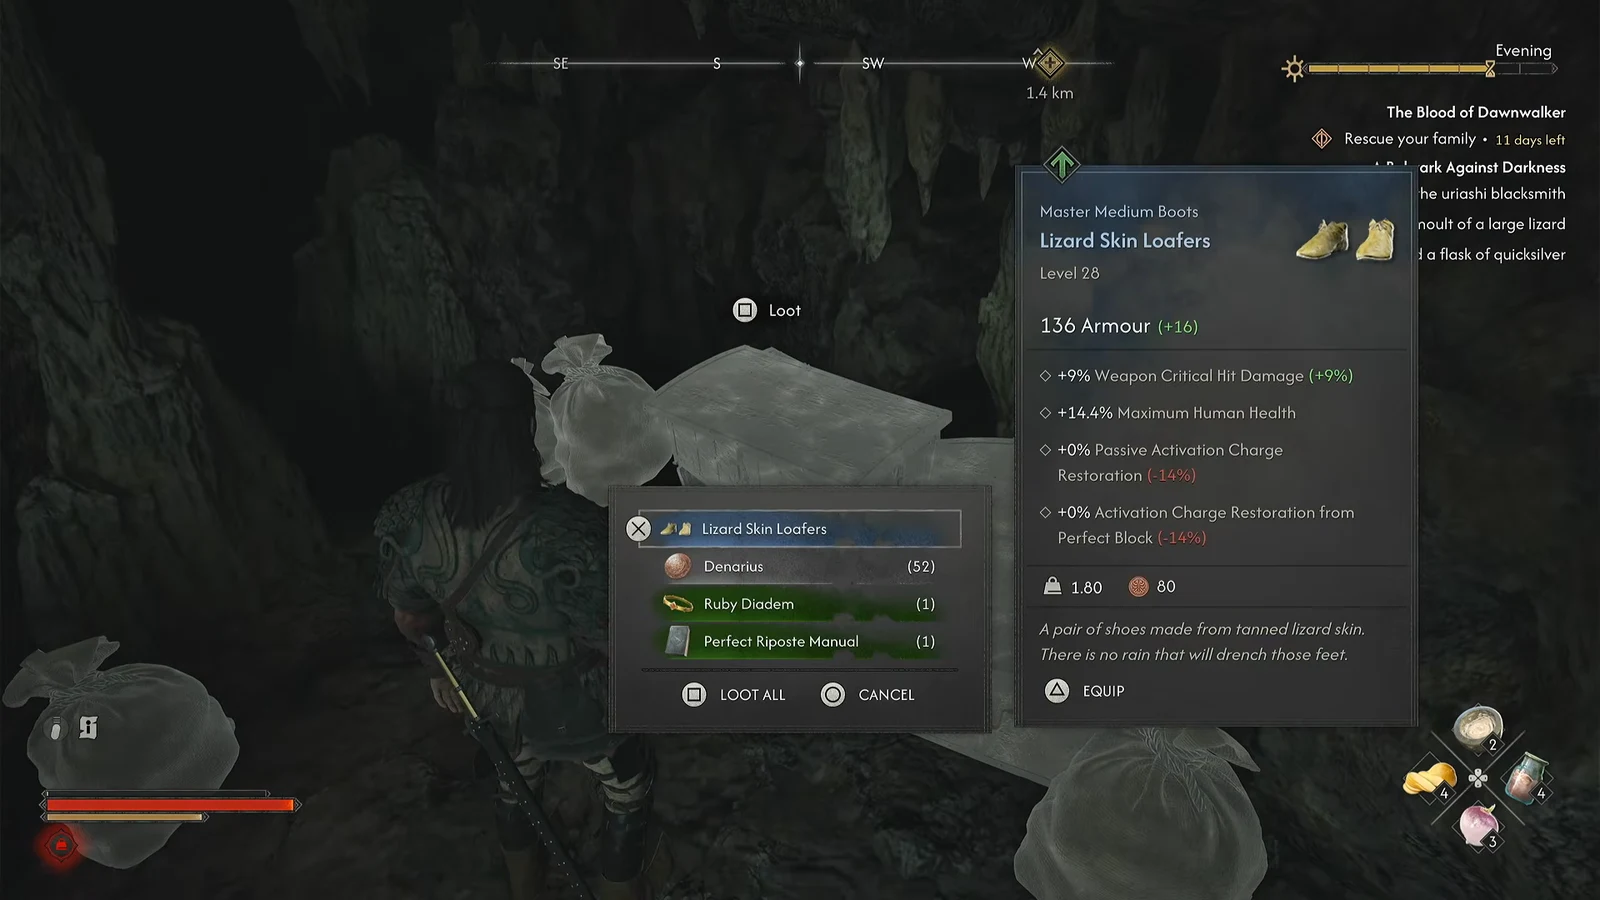
Inside, work through every chest, crate and sack rather than grabbing the obvious containers. The haul includes Black Knight Greaves, a Woodland Knightly Longsword, Lizard Skin Loafers, the Second Skin II and Perfect Riposte manuals, and a pile of silver chalices, platters and crosses you can sell in Svartrau for Denarii.
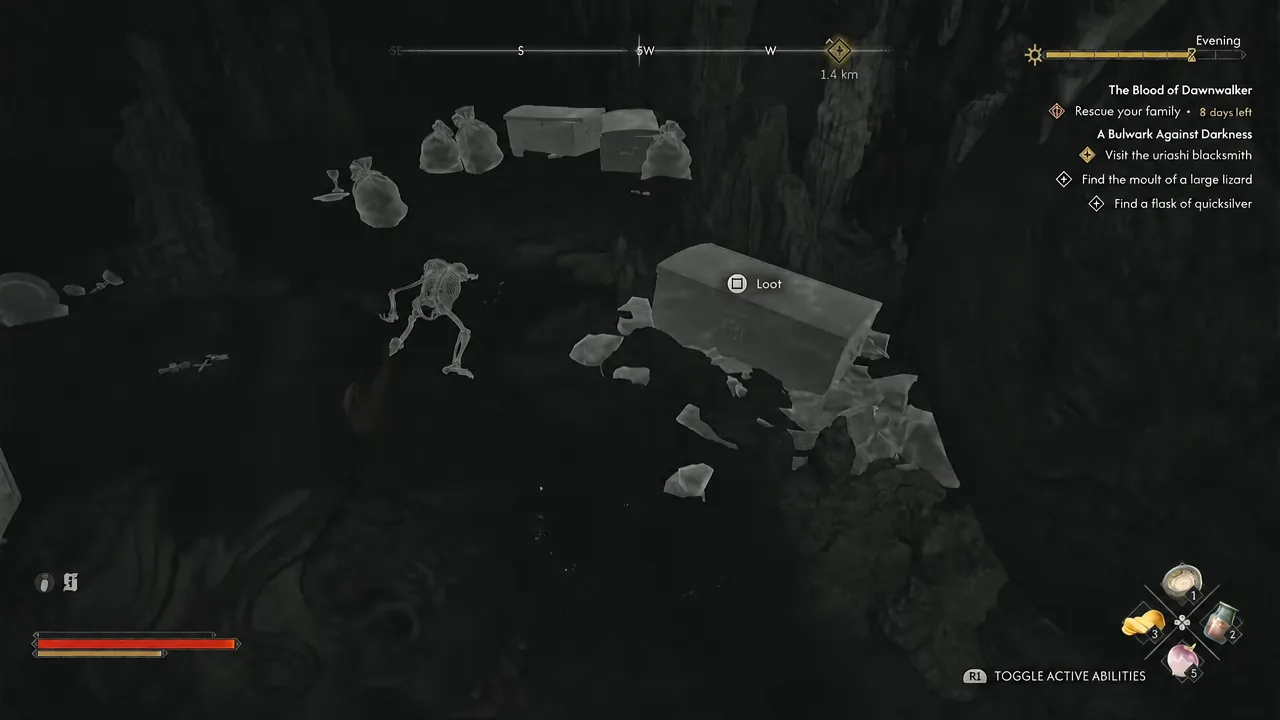
A skeleton in the cave holds the Arbiter’s Medallion, a legendary amulet. Its stats all feed stamina economy, so Coen can swing and block more often, and it stays relevant well past the point you find it.
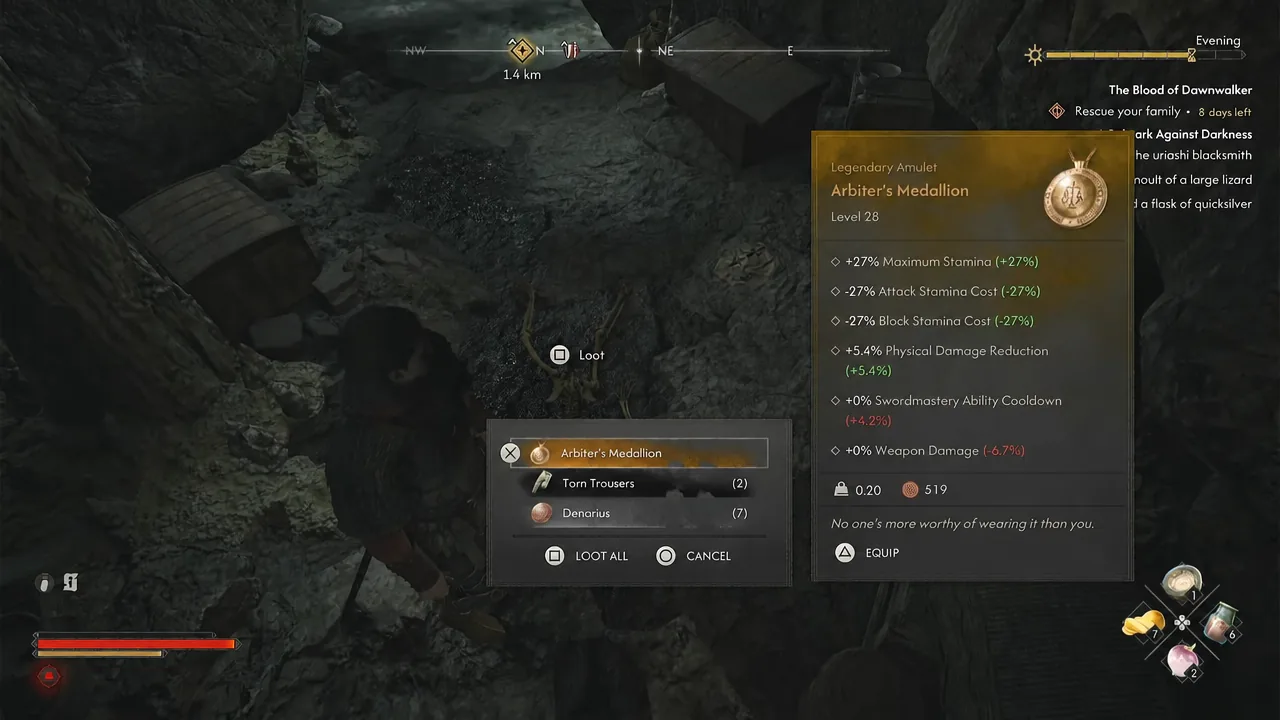
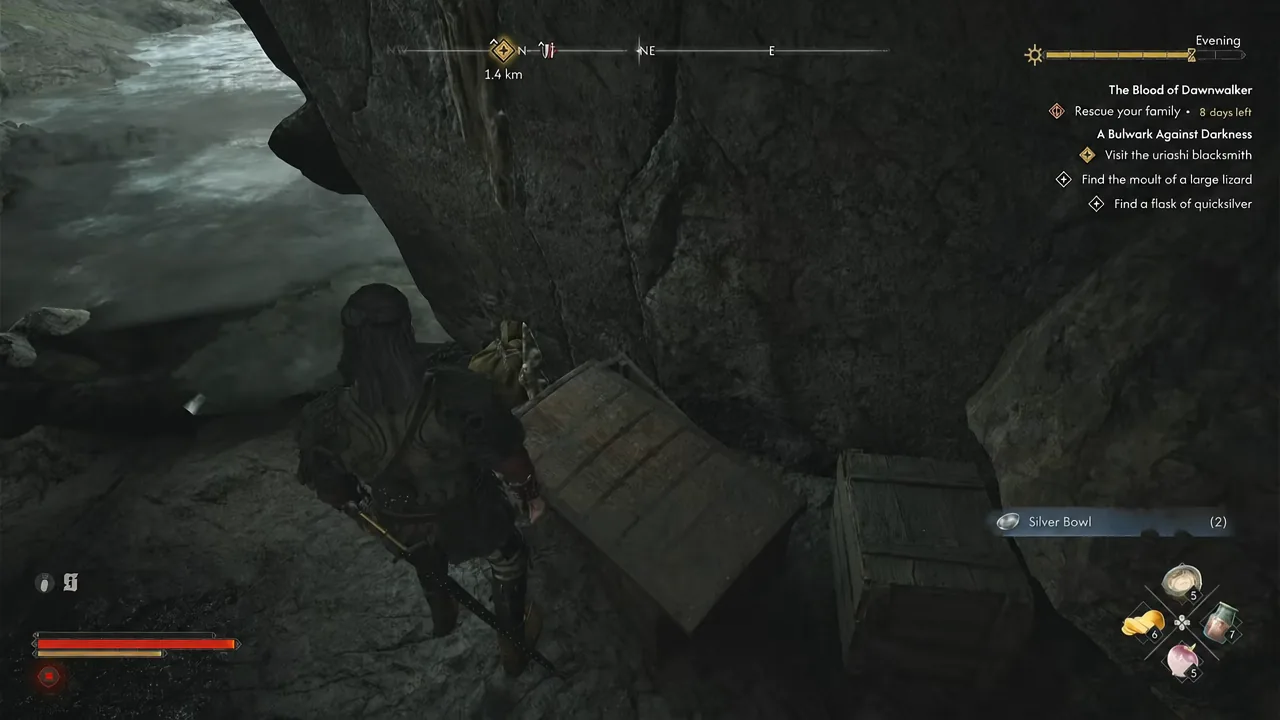
Note: the cave exists whether or not you have decoded anything. If you swim past it during normal exploration, loot it anyway.
How the word-count cipher works
The Mysterious Instruction tells you to pull a single word out of each saint paper, counting either forward from the start or backward from the end. Read in the order below, those eight words form the location phrase.
| Paper | Word to count | Result |
|---|---|---|
| From Life of St. Cuthbert | 13th word | North |
| From Life of St. Tyna | 9th word | Of |
| From Life of St. Mihai | 2nd from the end | Svartrau |
| From Life of St. Tobias | 12th word | Into |
| From Life of St. Teotim | 22nd from the end | Waterfall |
| From Life of St. Anthony | 31st word | By |
| From Life of St. Gregory | 7th word | Great |
| From Life of St. Benezet | 15th word | Bridge |
You do not have to count anything by hand to reach the cave. The counting only matters if you want to see the puzzle resolve in-game.
Unlocking the Manumit caches in Svartrau City
Before any of the papers matter, you need a green book called Searching for Manumit Caches. It is a random drop from soldiers, and guards patrolling Svartrau City are the most dependable source. Kill and loot guards until it turns up, then read it to learn that the Manumit have hidden caches across the city.
All eight papers sit inside Svartrau City and can be collected in any order. Focus Mode is close to mandatory here, since most caches are tucked under rocks, inside wall tiles, or buried in carts.
| Paper | Where to find it |
|---|---|
| From Life of St. Benezet | Southwest of Silberstein, in a crate surrounded by potted plants |
| From Life of St. Cuthbert | By the Cathedral Complex entrance, under a rock beside the stairs where a rebel symbol is painted on the wall |
| From Life of St. Tobias | Altenmarkt, south toward the Medic shop, hidden inside a wall tile |
| From Life of St. Mihai | Just north of Altenmarkt near the blacksmith, in a small wall alcove |
| From Life of St. Gregory | Southwest of the North West Gate, under a rock at the top of a short staircase |
| From Life of St. Teotim | Further southwest from the St. Gregory cache, near a group of thugs |
| From Life of St. Tyna | West of Neustadt, at the dead end of an alley |
| From Life of St. Anthony | North of Svartrau West Shrine, inside a hay cart |
There is one extra cache worth mentioning near the St. Tobias paper. Under a rock on the stairs close to Svartrau North East Shrine, you can pick up equipment, coin and a potion. It is not one of the eight required papers.
Where the Mysterious Instruction note itself spawns
The cipher note is separate from the eight papers, and where it turns up varies between playthroughs. It can drop from one of the Manumit caches you loot in the city. It can also appear on the northern side of Svartrau, at the spot marked with the Curious House icon, or east of Neustadt.
For the Neustadt version, start at Silberstein Shrine and head west until a ledge appears to the southwest. Jump across, drop to ground level, and search the stash sitting below.
Initial Instructions: the tree at St. Rudel’s Cemetery
Initial Instructions shows up randomly in one of the eight caches, and it opens a second reward route that uses the exact same papers. Handing them over does not lock you out of the waterfall, so run both.
Confirming it worked, and why it might not
There is no quest completion popup for either half, so the confirmation is item-based. For the cemetery route, Final Instructions landing in your inventory is the signal that the papers went in correctly, and the refilled tree the following day is the payoff. For the cipher route, reaching the cave behind the waterfall is the confirmation.
Two things stop progress. Without Searching for Manumit Caches in your inventory, the cache hunt never starts, so any loose paper you stumble across just sits there as flavour text. And the tree in St. Rudel’s Cemetery only accepts a complete set, so a missing saint paper means another sweep through Svartrau with Focus Mode on.