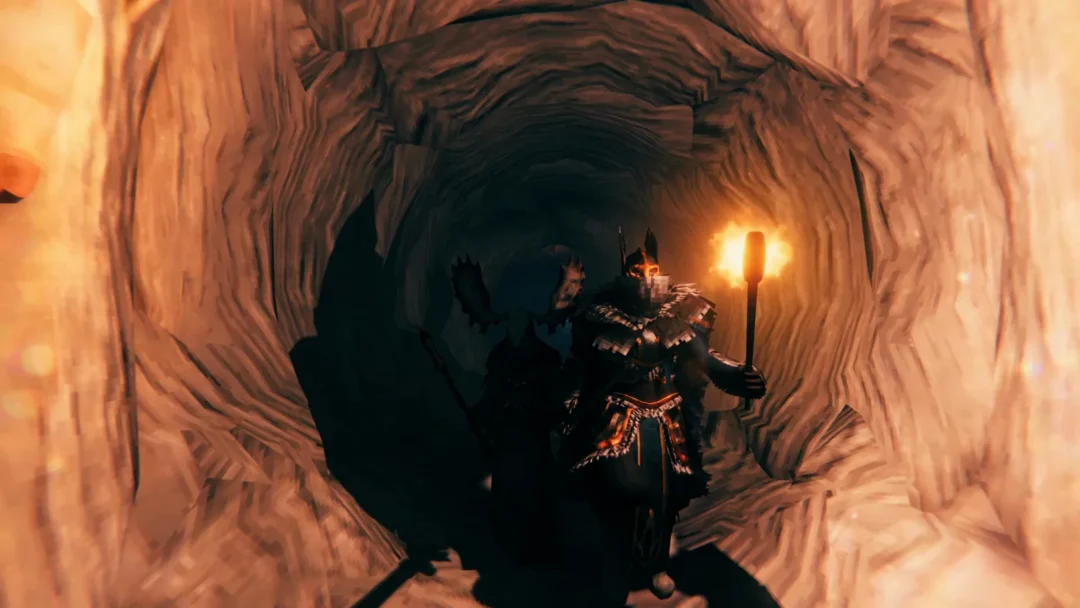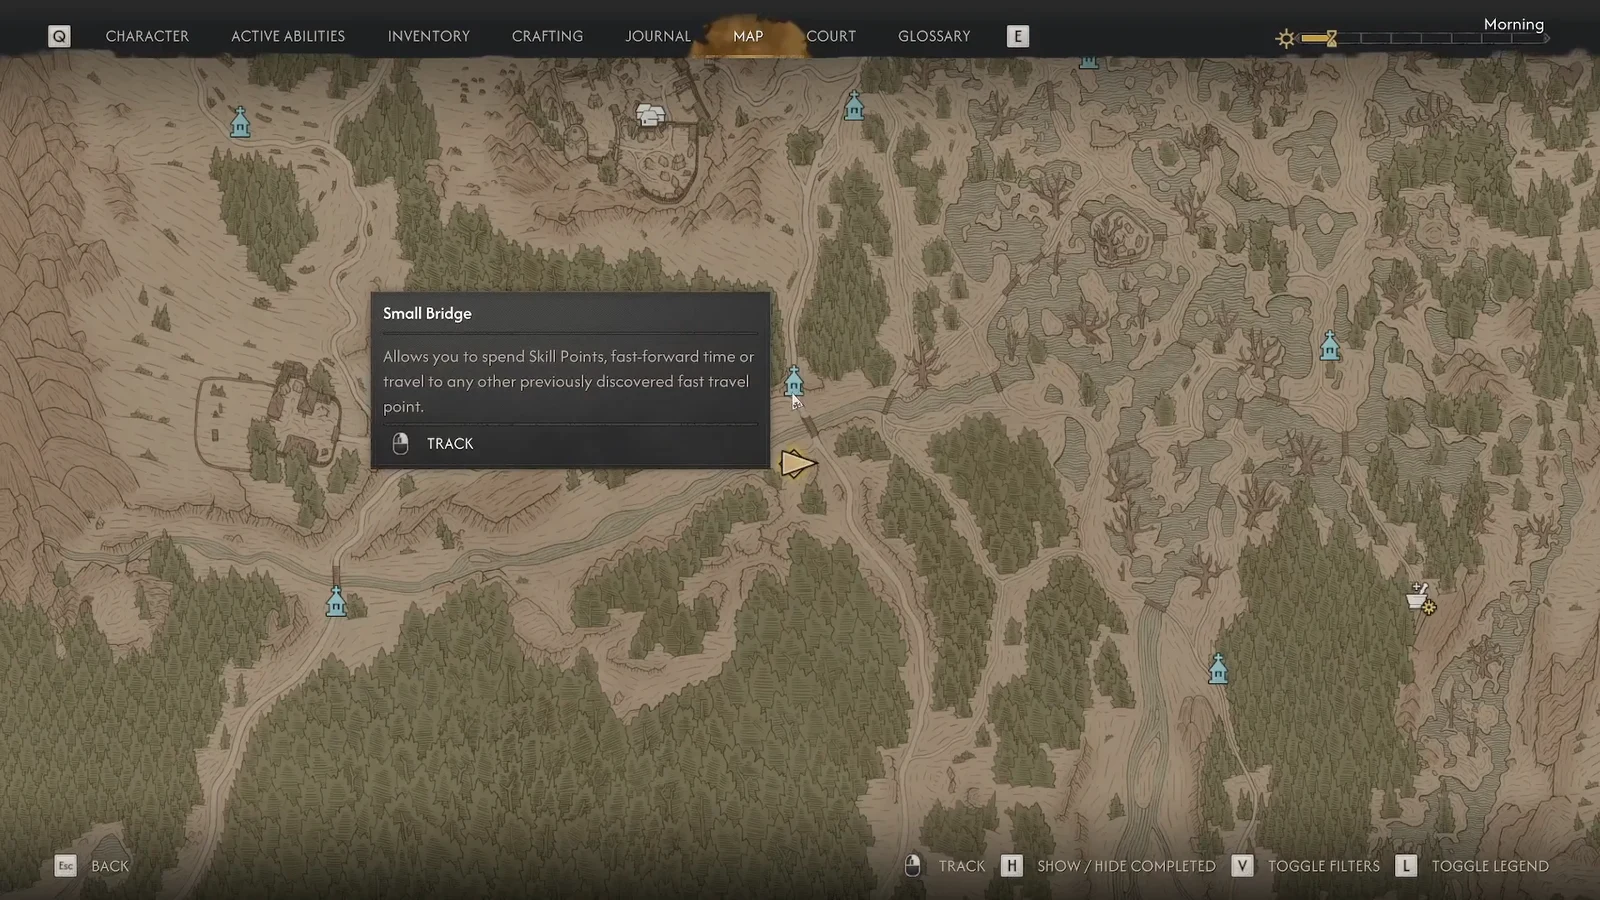
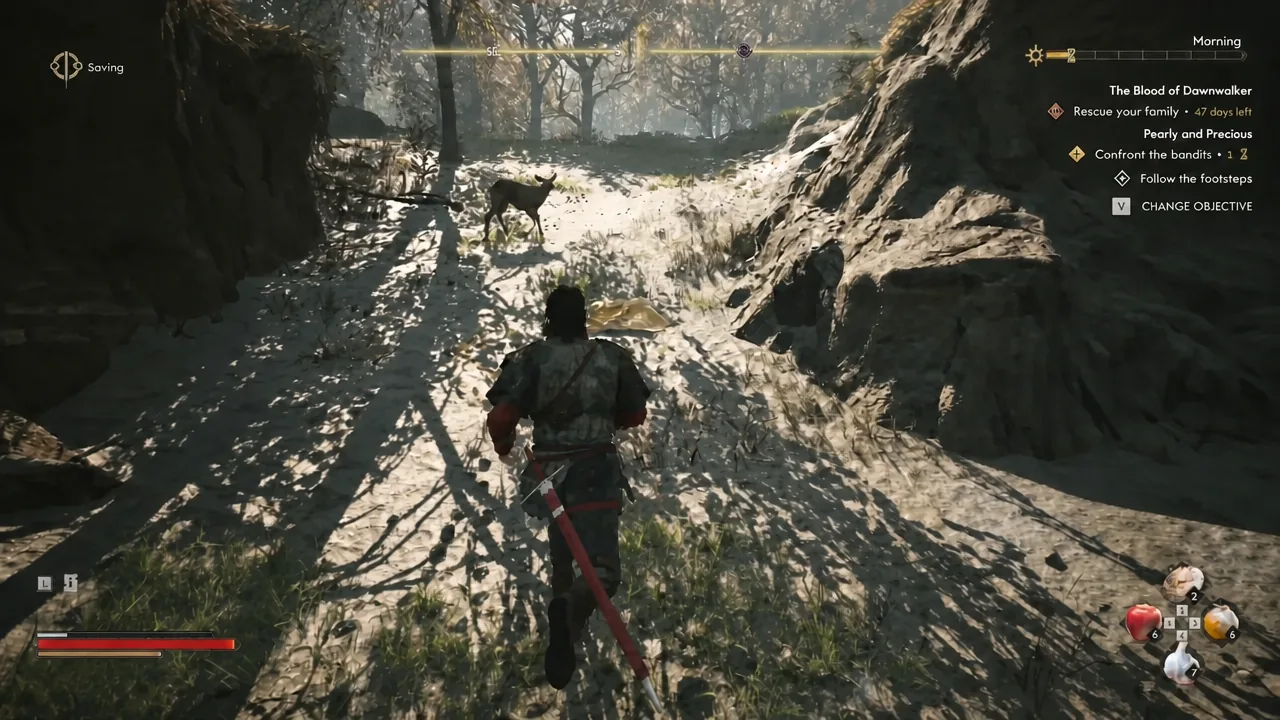
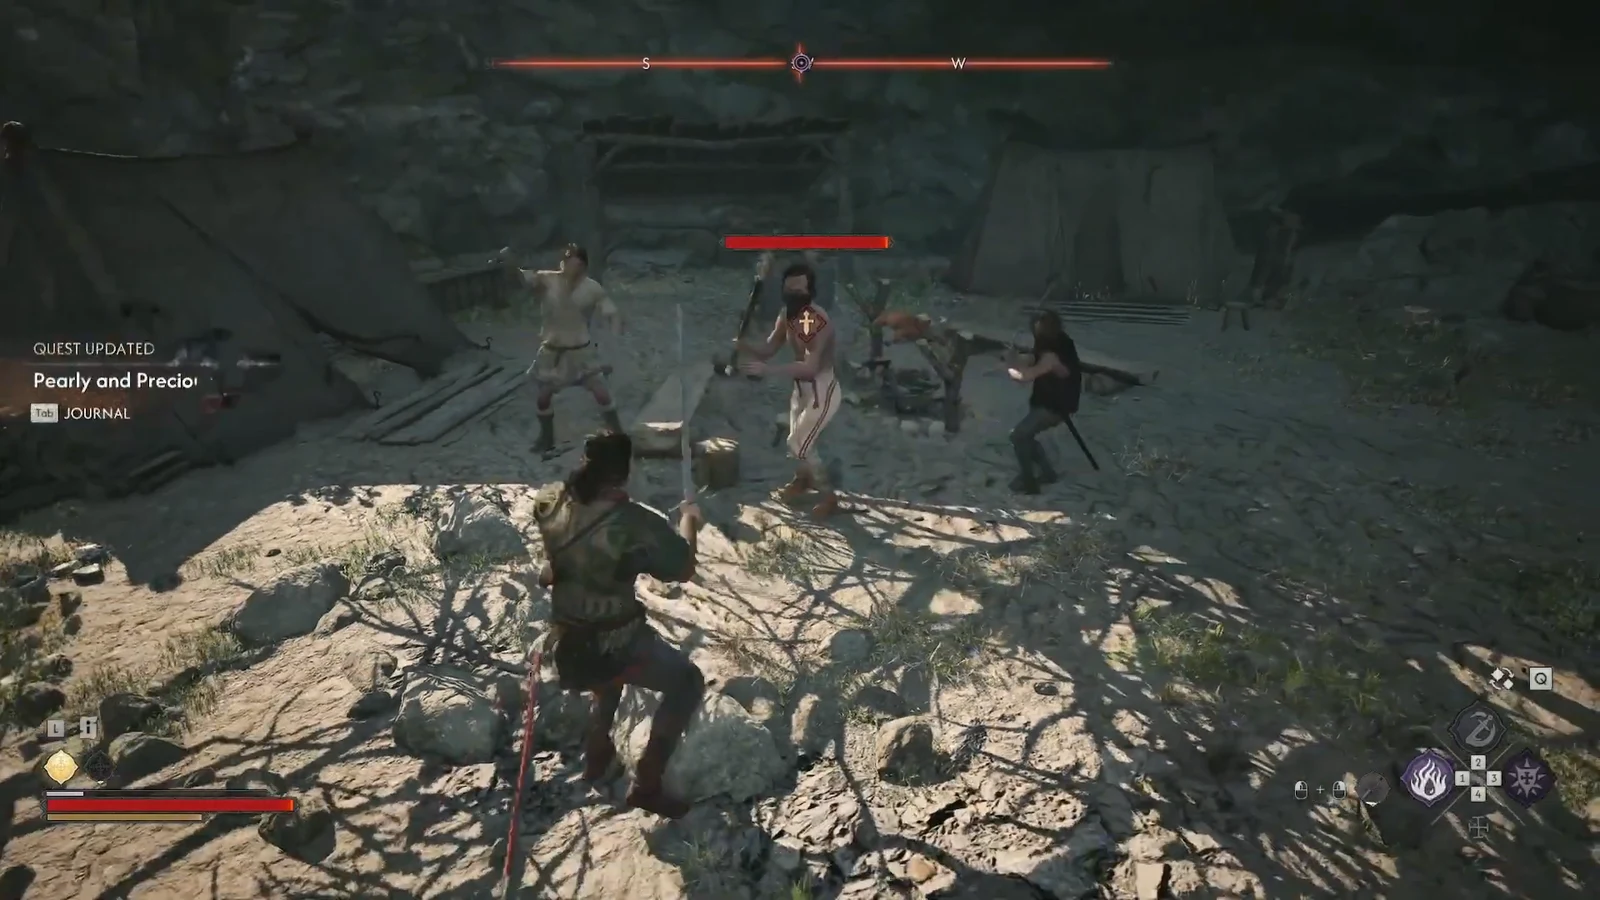
Pearly and Precious is a short Sanzhani side quest in The Blood of Dawnwalker that costs one time segment and ends with a vendor worth going out of your way for. It starts at a wrecked camp in the woods south of Small Bridge Shrine, in the Briar Sloughs area southeast of the Military Camp, and it resolves in three moves: follow a blood trail, kill a bandit crew, walk back.
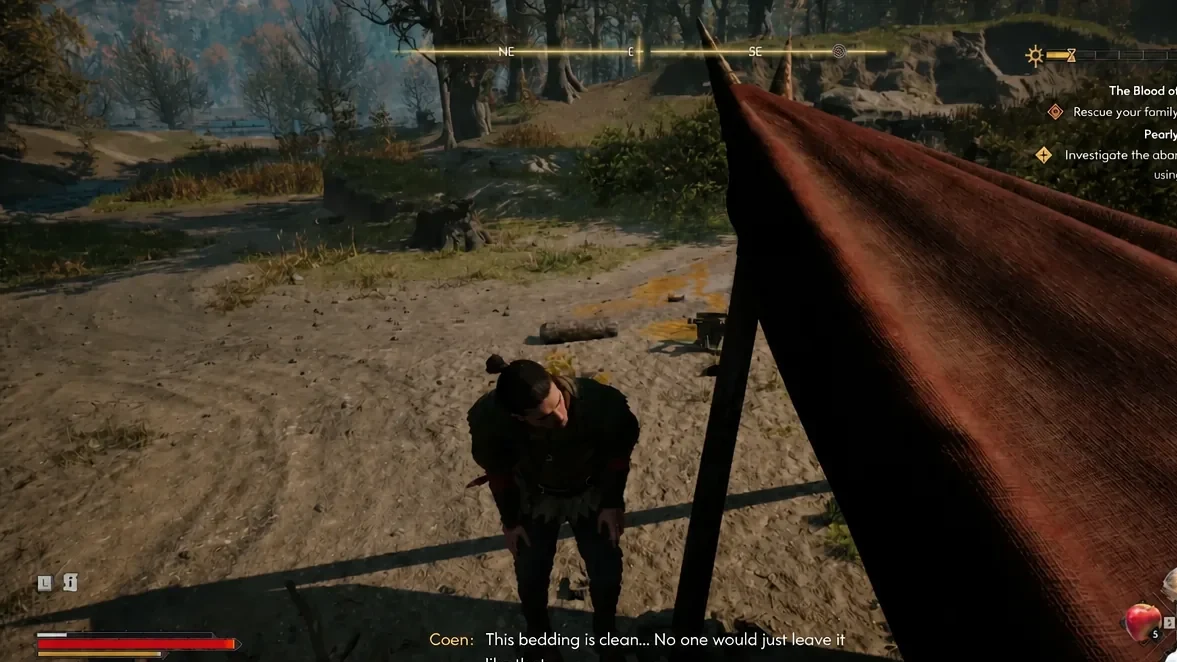
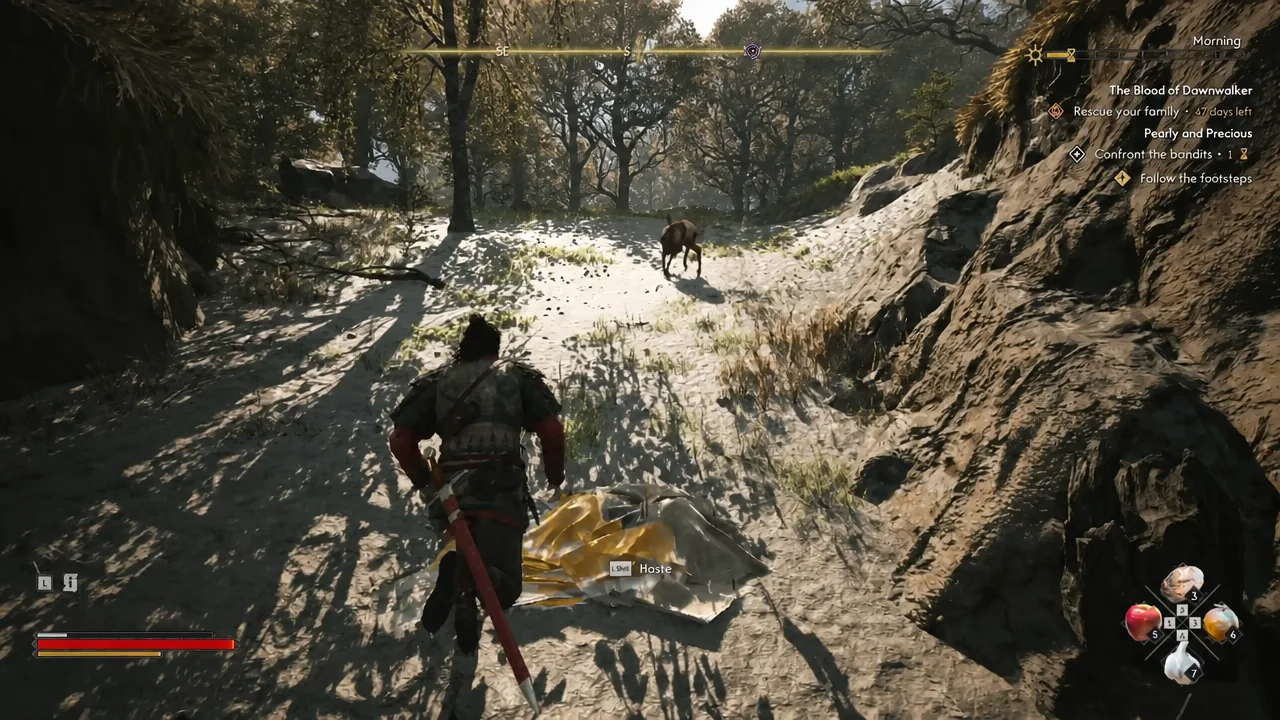
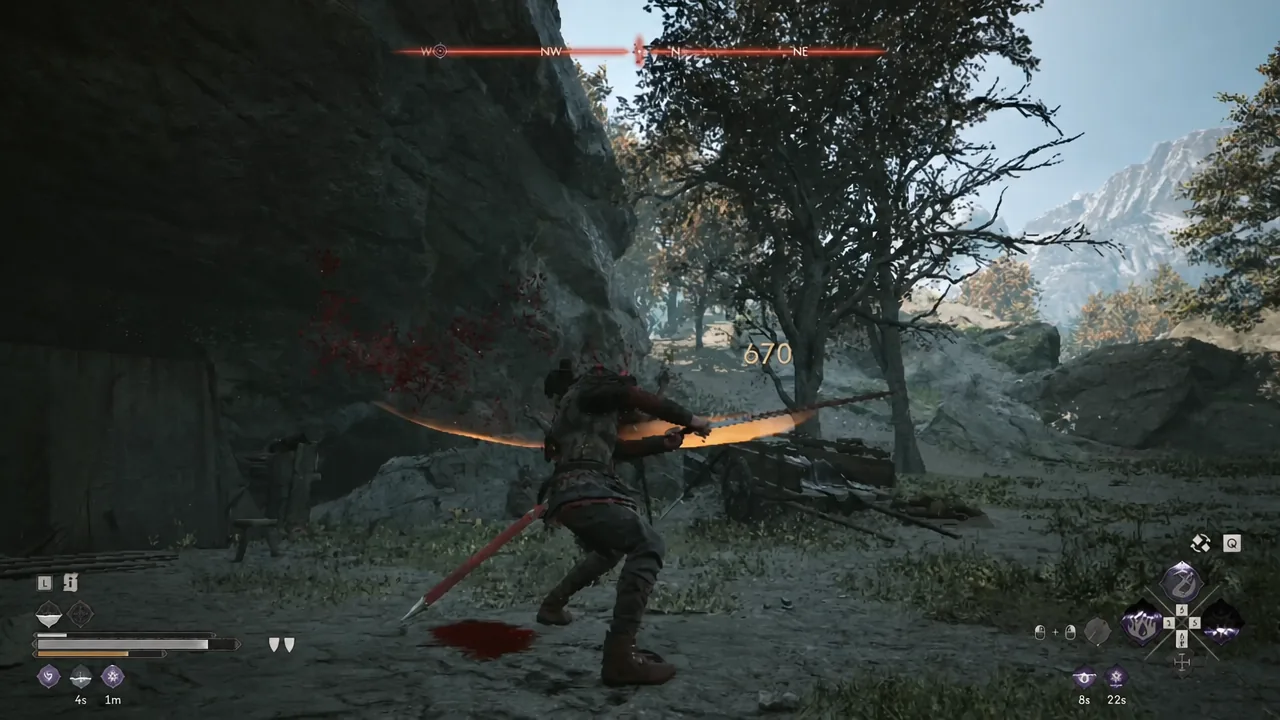
Quick answer: Use Focus Mode at the abandoned camp south of Small Bridge Shrine, follow the drag marks to the Sanzhana in the mushroom ring, then follow the footprints southwest to the bandit camp, kill everyone, loot the shiny tooth, and return to the Sanzhana to unlock her as a trader.
Pearly and Precious requirements and rewards
The quest will not appear until you have finished Good Home, the first Sanzhani quest, which introduces the Sanzhani Tsarina. If the camp is inert and there is no marker, return to the Tsarina’s burrow and send your next letter to Lunka first. The order in which the four outlying Sanzhana quests surface depends on those letters, so Pearly and Precious may show up earlier or later than other quests in the chain.
| Detail | Value |
|---|---|
| Type | Side quest (Sanzhani line) |
| Start | Abandoned camp directly south of Small Bridge Shrine, Briar Sloughs |
| Quest giver | Sanzhana |
| Prerequisite | Good Home |
| Time cost | 1 time segment |
| Fail state | None |
| Reward | 100 XP, 1 Skill Point, Sanzhana vendor access |
There is no timer on this one and no way to fail it, so you can leave the camp untouched until you want it. Time in the game is spent like currency rather than ticking away on its own, and this quest only bills you one segment.
Walkthrough: From the abandoned camp to the bandit fight
Confirming the quest completed and the trader unlocked
Two things tell you it worked. The journal marks Pearly and Precious as complete and pays out 100 XP plus a Skill Point, and the Sanzhana asks you to bring her more teeth, which opens the trade screen on the spot. Open that screen once before you leave to be sure the vendor is live.
If the bandits are dead but trading is unavailable, the report step is almost certainly still open in your journal. Walk back and finish the dialogue. You do not need to farm teeth beforehand — selling to her is optional, and the vendor unlocks from the conversation alone.
Note: shiny teeth also drop from humans and the undead elsewhere in Vale Sangora, so you have a steady way to convert loot into Denarii once she is trading.
What the Sanzhana sells and where she moves
This is the real payoff. Her stock includes Silk Threads, a required component for the Arbiter armour set obtained through A Bulwark Against Darkness, one of the strongest legendary armours in the game. She also carries a legendary amulet and a high-tier potion recipe.
| Item | Price (Denarii) |
|---|---|
| Silk Threads | 6,500 |
| Fear of the Wilds (legendary amulet) | 4,806 |
| Recipe for Potent Powder of Sharp Mind | 3,771 |
If you cannot afford Silk Threads on the spot, she does not vanish. She relocates to Yawning Burrow with the other Sanzhani, where you can buy and sell from her later. Check there first if she is gone from the cave on a return visit.
Reporting back to the Tsarina for the extra day
Finishing Pearly and Precious is only half the value. Return to the Sanzhani Tsarina afterwards and she will let you send another letter to Lunka, who passes back details on infiltrating Greifberg Castle. Each helped Sanzhana also moves into the Tsarina’s burrow.
Help all of them — Come Hither, Burrow Sorrows, Tiny Dancer, and this one — and the Tsarina pushes Brencis’ coronation back by a full day, alongside The Tsarina’s Favourite Human trophy. Given the 30-day limit on the main story, that extra day is the single most valuable thing this questline hands out, which makes a one-segment detour to a bandit camp an easy trade.