

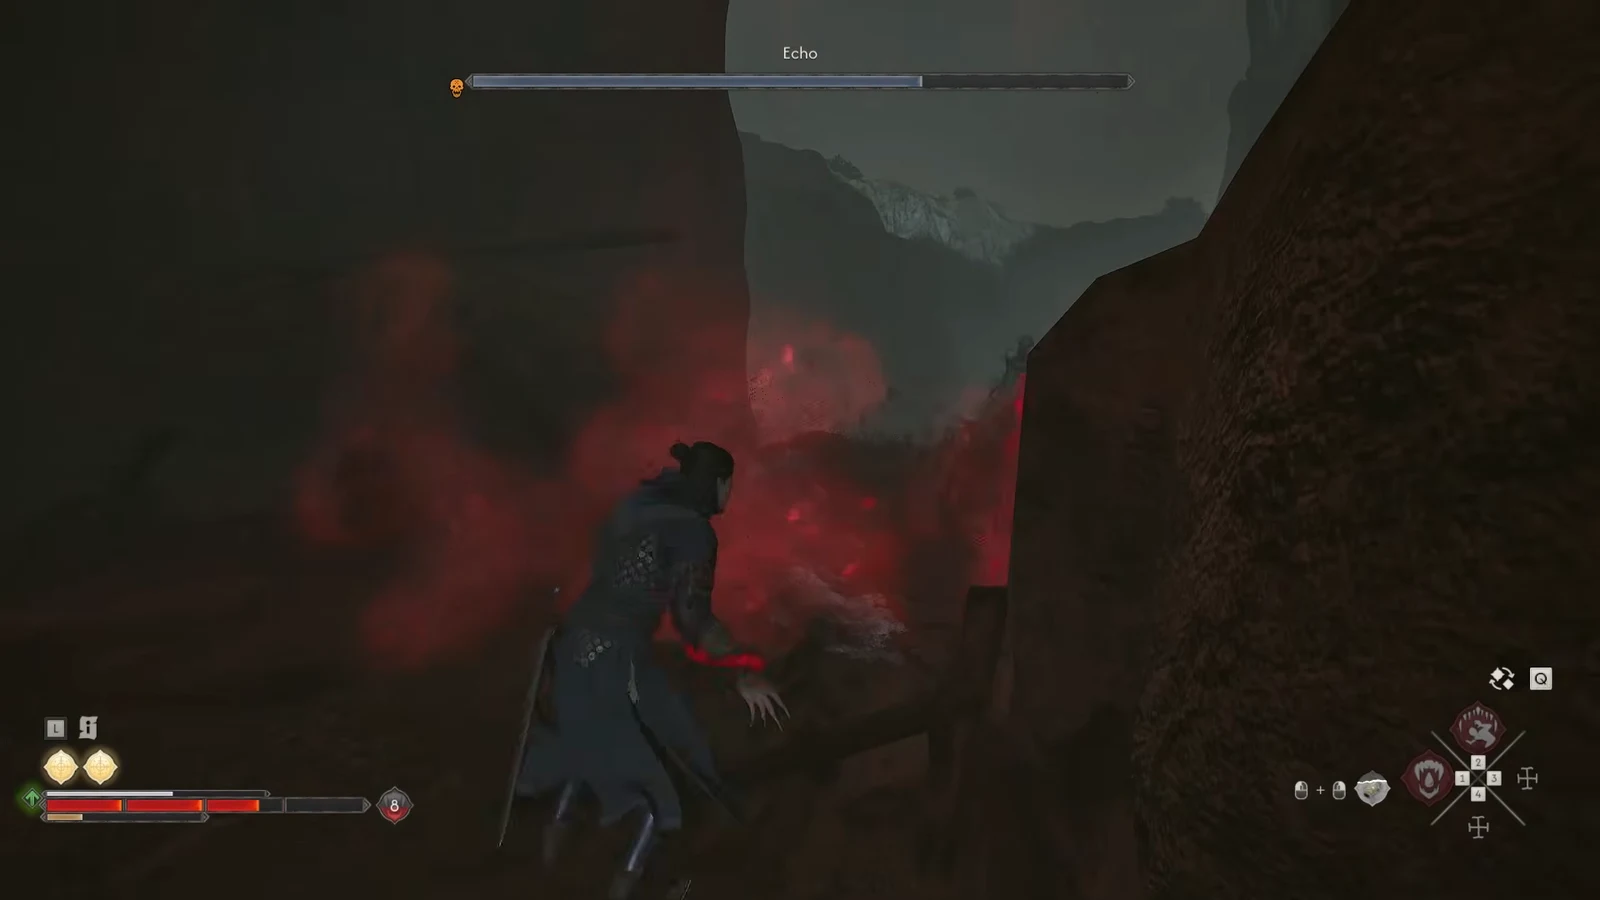
The Cursed Chasm is one of the few side quests in The Blood of Dawnwalker that hands you a weapon worth rearranging your route for. It sits in the ravine below Greifberg Castle, in the far northwest corner of the map, and it ends with Coen pulling the legendary longsword Durandal out of a smashed treasure wagon. There is no quest giver, no dialogue, and no failure state — just a broken bridge, a pack of wolves, and a few very angry spirits.
Quick answer: Drop into the chasm below the broken bridge at the base of Greifberg Castle, kill the wolves and the Echo, then use Focus Mode on the wreckage and loot the broken wagon remains to take Durandal and complete the quest.
The Cursed Chasm location and start conditions
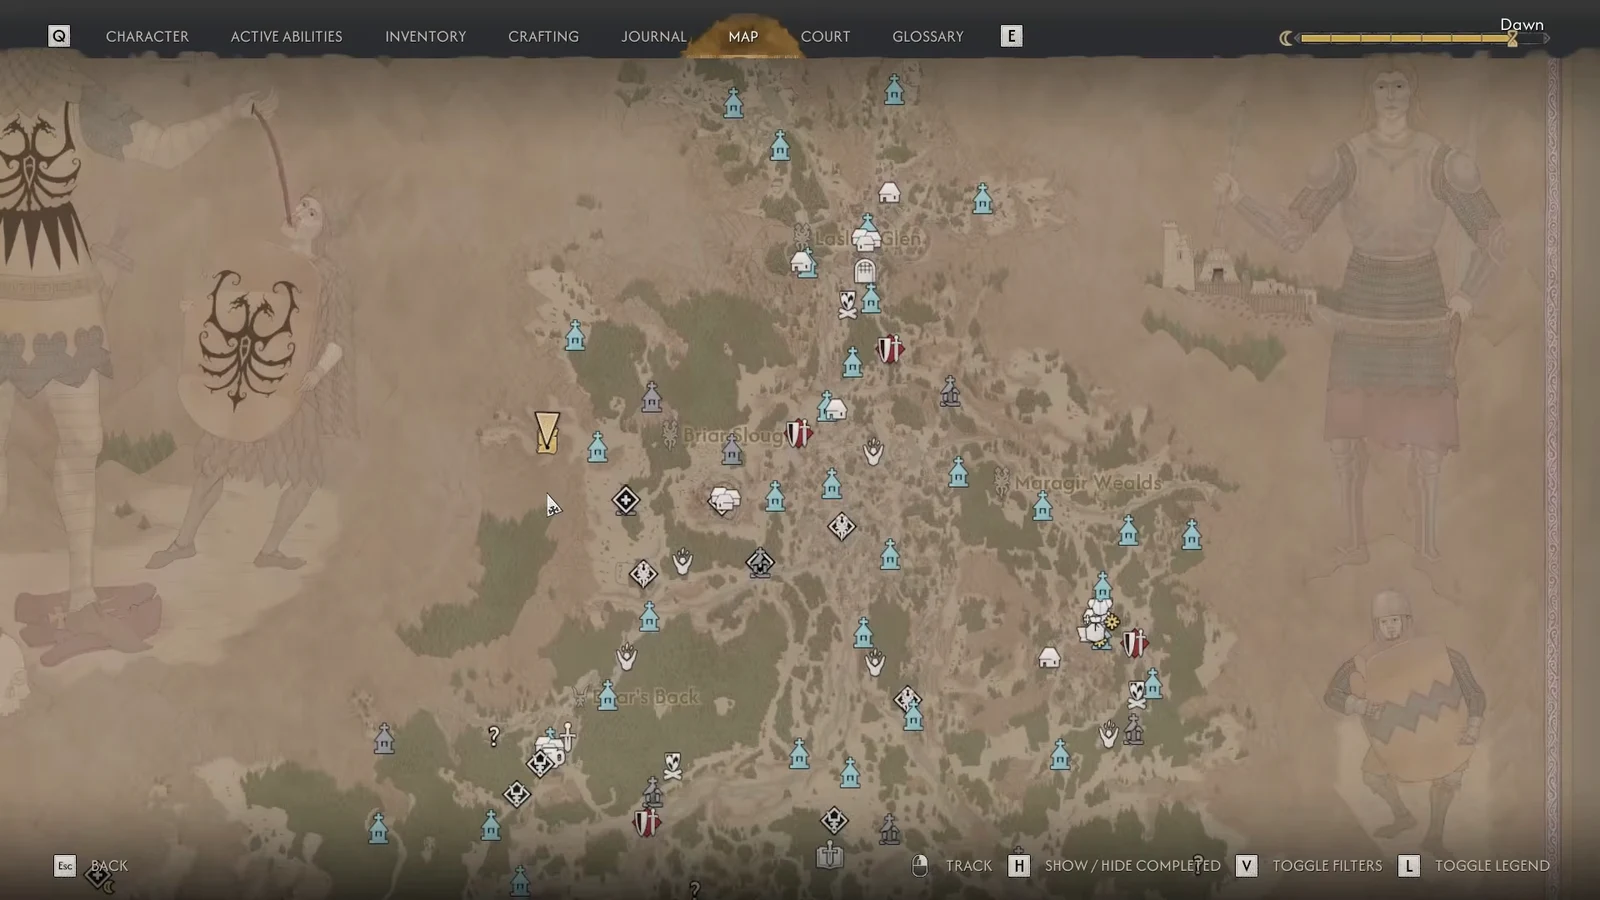
Head to the Briar Sloughs and follow the map to its northwestern edge, where the land splits open at the foot of Greifberg Castle. The quest marker only appears once you get close, and the quest itself begins the moment you approach the collapsed section of the bridge or set foot near the wreckage on the chasm floor. You need to have cleared the prologue first; before that, the area will not hand you the quest.
Inspecting the cart at the top of the bridge produces a set of orders from Dimitar describing a treasure transport that was carrying the former Knyaz’s blade. That is the entire premise: Knyaz Skender’s lost treasure went over the edge here, and nobody ever went down to collect it. Your journal will list two objectives — investigate the broken bridge and its surroundings, then find the lost treasure.
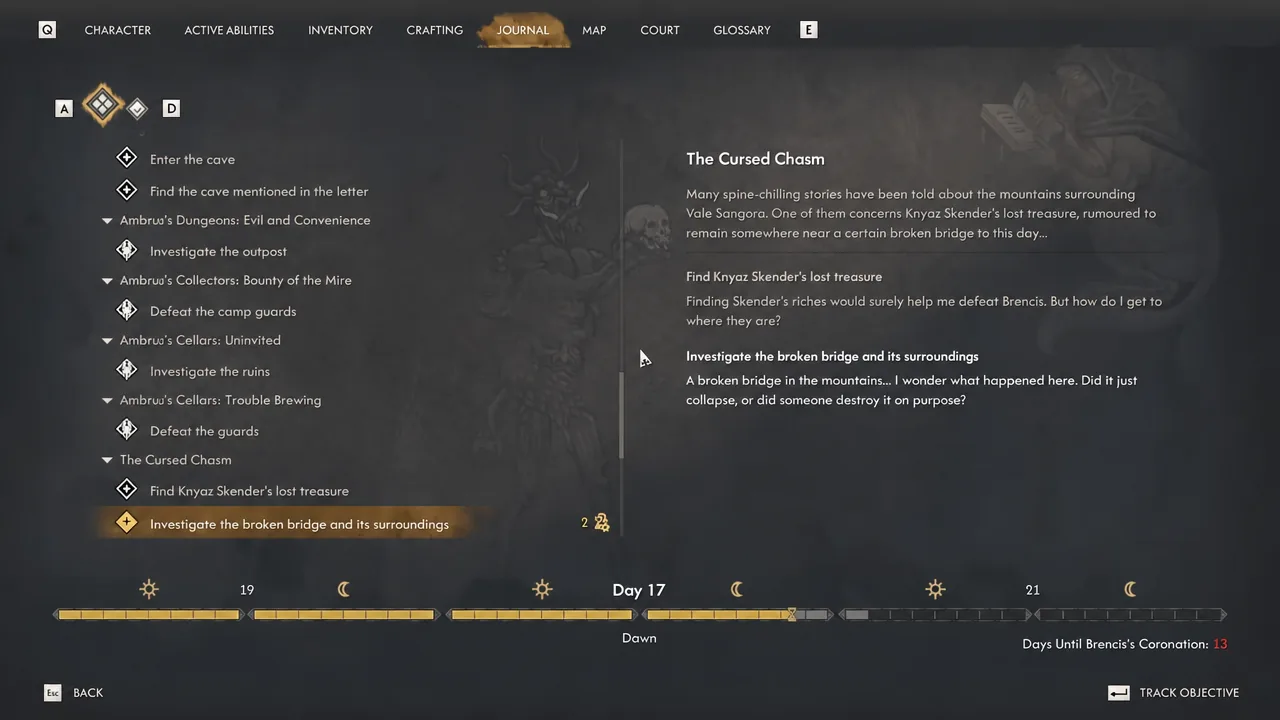
The quest is not missable, and it can be run in daylight or at night. Only one part of it costs you anything on the clock, and that is covered further down.
How to get down to the chasm floor
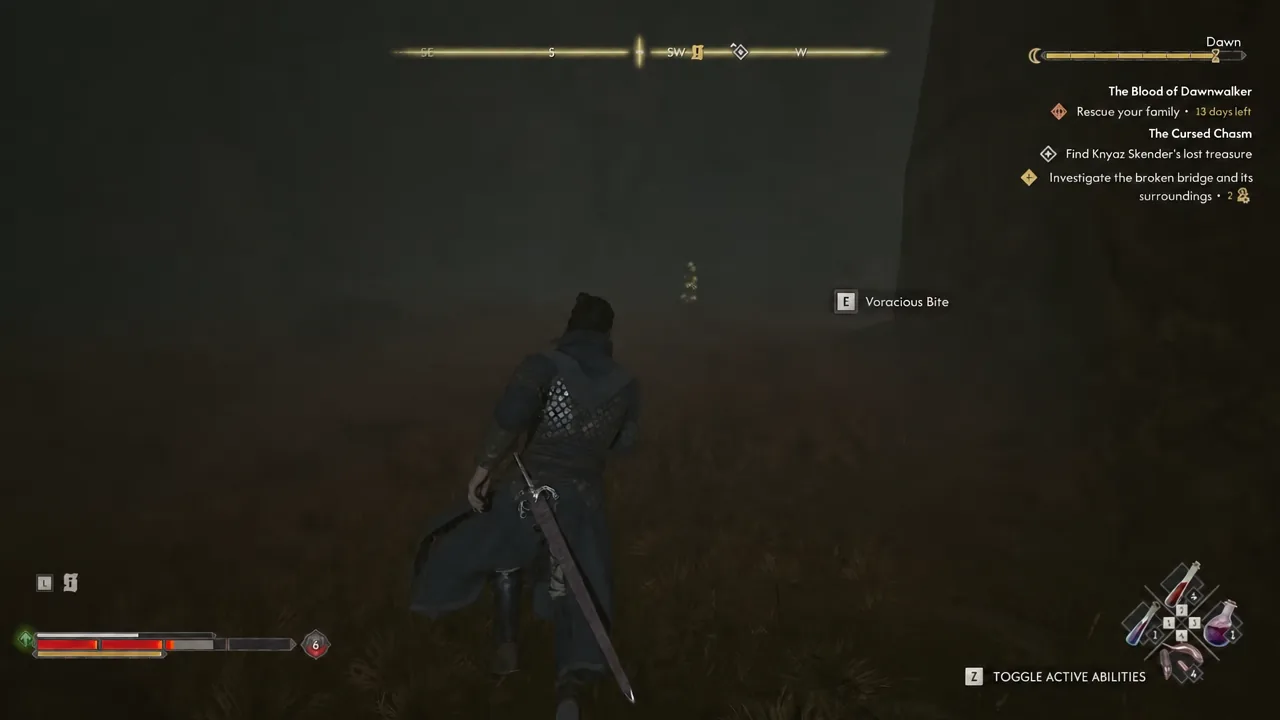
If you would rather skip the walk entirely, jumping straight off the broken edge of the bridge also drops you into the fog below and starts the fight immediately.
Defeating the wolves and the Echo
A pack of wolves is circling the wreckage and will come for you as soon as you get near. Shortly after that fight starts, spirits join in — two standard Vidmo plus a blood-red variant called Echo. Everything here can be killed with a sword, witchcraft, or vampire abilities, so use whatever your build leans on.
Two attack patterns matter. The Vidmo have an unblockable frenzy that has to be dodged rather than parried, and the Echo can drain your blood from range to heal itself when it gets low. If you see blood streaming off Coen, stop whatever you are doing and hit the Echo to break the drain — otherwise you will be re-fighting a health bar you already chewed through.
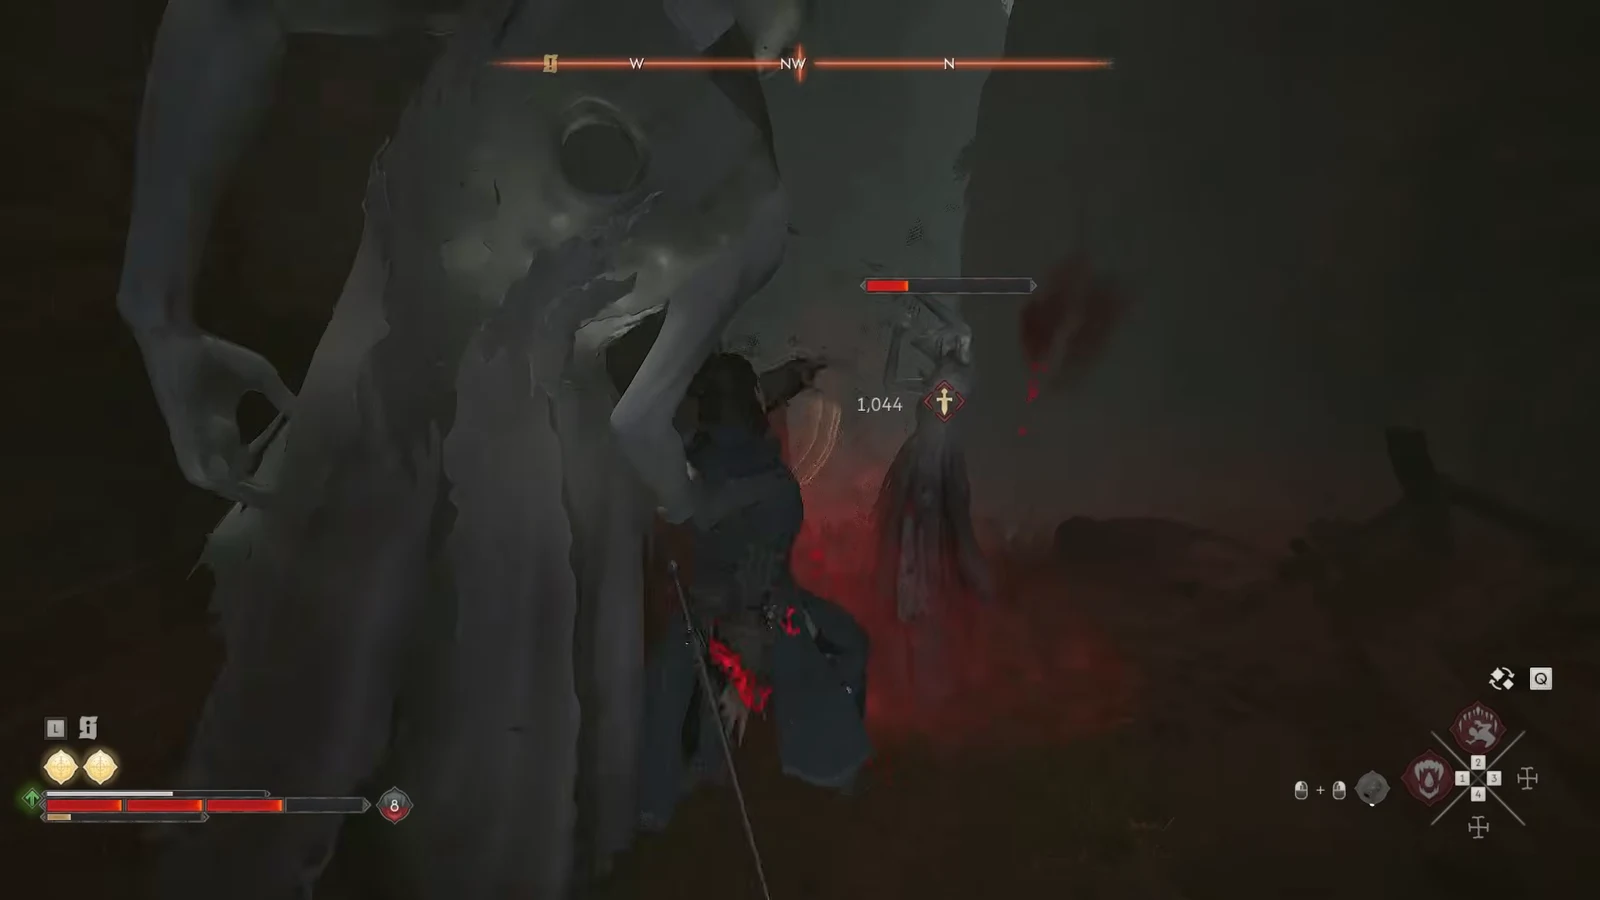
Tip: the wolves and the spirits are hostile to each other. Position yourself so their attacks land on the wrong targets and you can thin the group out while they trade damage.
Where to find Durandal in the wreckage
With the area clear, switch on Focus Mode and sweep the debris. Several things light up, but only one of them ends the quest. Start with the skeleton lying under the gold patch and read the Final Report it carries, then look for the broken wagon remains among the rubble. Inspecting the wagon gives you Durandal and closes out the quest.
Note: taking the sword is what spends time here. Looting it advances the clock by two time segments, so pick your moment if you are budgeting days against the main story.
Before you climb back out, strip the rest of the site. The barrel with the gold glow nearby holds Treasure Map: Silver Cache, which opens the Finders Keepers side quest, and the surrounding wreckage carries crafting and gear pickups.
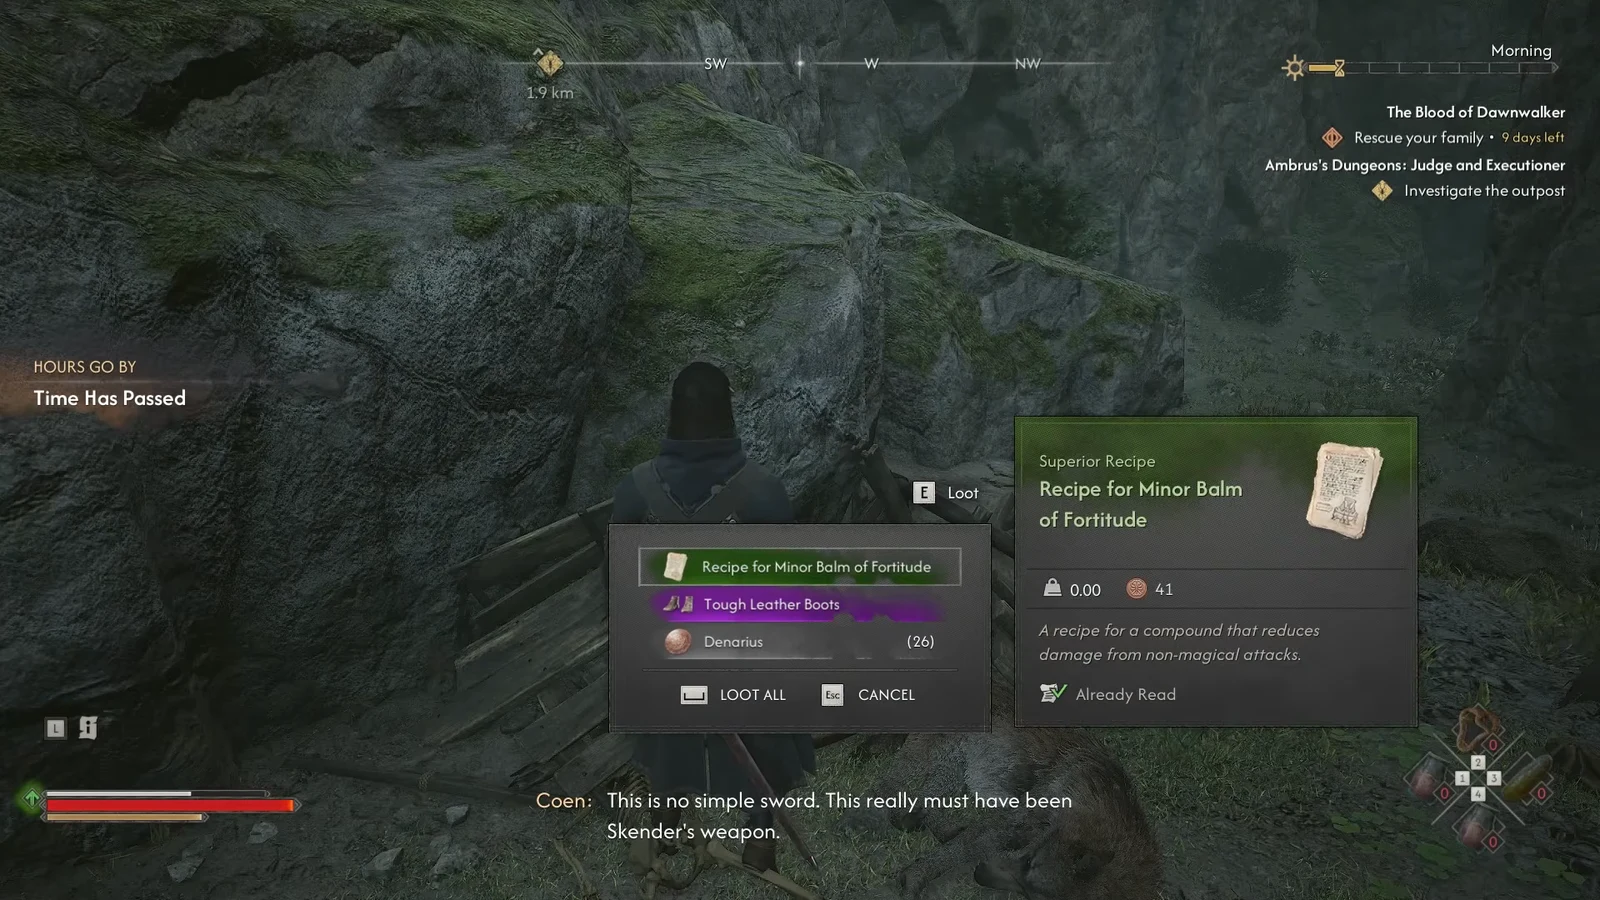
Further along the ravine you will also find Ancient Circle: North-West Pass, which is worth clearing while you are already at the bottom.
The Cursed Chasm rewards and Durandal stats
| Reward | Detail |
|---|---|
| Durandal | Legendary longsword with its own Weapon Art |
| Experience | 100 XP |
| Skill points | 1 |
| Treasure Map: Silver Cache | Unlocks the Finders Keepers side quest |
| Other pickups | Recipe for Minor Balm of Fortitude, Courier’s Cured Shoes, Denarius, Rotten Book |
| Time cost | 2 time segments, spent when you loot Durandal |
Durandal shows up in the inventory as a Legendary Longsword. Displayed at level 44, it lists 563 DPS with a damage range of 343–410, which puts it comfortably ahead of most swords you will have picked up in the Briar Sloughs by that point.
How to confirm the quest is finished
Completion is unmistakable. Looting the broken wagon triggers the sword pickup, the journal entry for the quest closes, the clock jumps forward by two segments, and the XP and skill point are awarded at the same moment. Durandal will then be sitting in your inventory as a legendary weapon.
If nothing is triggering when you arrive, there are only two likely causes. Either you have not completed the prologue yet, in which case the marker will not appear at all, or you are looting the wrong pile — the treasure map barrel, the skeleton, and the general debris all give items without ending the quest. Only the broken wagon remains do that.





