Gaming Guide

The Blood of Dawnwalker: Weaves of Rebellion Full Walkthrough

Reach the locked tailor's workshop in Svartrau City and clear every Focus Mode clue that closes out the quest.

Reach the locked tailor’s workshop in Svartrau City and clear every Focus Mode clue that closes out the quest.

Weaves of Rebellion is one of the four Curious House side quests in The Blood of Dawnwalker, all of which take place inside sealed rooms in Svartrau City. There is no quest giver and no NPC to talk to. The whole thing is a locked tailor’s workshop, a handful of objects, and a short investigation that ends the moment you have read enough of them.

Quick answer: Track the Curious House marker in Svartrau City, climb the outside of the building at night to the upper balcony, go in through the balcony door, then use Focus Mode to inspect the loom, the letter marked “TO MASTER TAILOR,” and the bag holding “INSTRUCTIONS TO TAILOR.” The quest completes and awards XP as soon as the last clue is read.


Weaves of Rebellion quest details

The Curious House group covers Enshrined Obsession, Faith and Punishment, Working Her Magic, and Weaves of Rebellion. Each one drops you into a shut-off attic or workshop somewhere in Svartrau City, and each is cheap in time terms, which matters when you are working against the 30 in-game day limit to save Coen’s family.

DetailValue
Quest typeSide quest (Curious House)
LocationSvartrau City
Quest giverNone — starts on entry
RequirementNone
Fail stateNone
RewardXP on completion

Note: the door is locked from the outside, so there is no ground-floor entrance to look for. The balcony is the only way in.


How to reach the tailor’s workshop in Svartrau City
Open the world map and zoom into Svartrau City until the Curious House marker appears. Set it as your tracked objective so the waypoint stays on screen while you navigate the streets below.
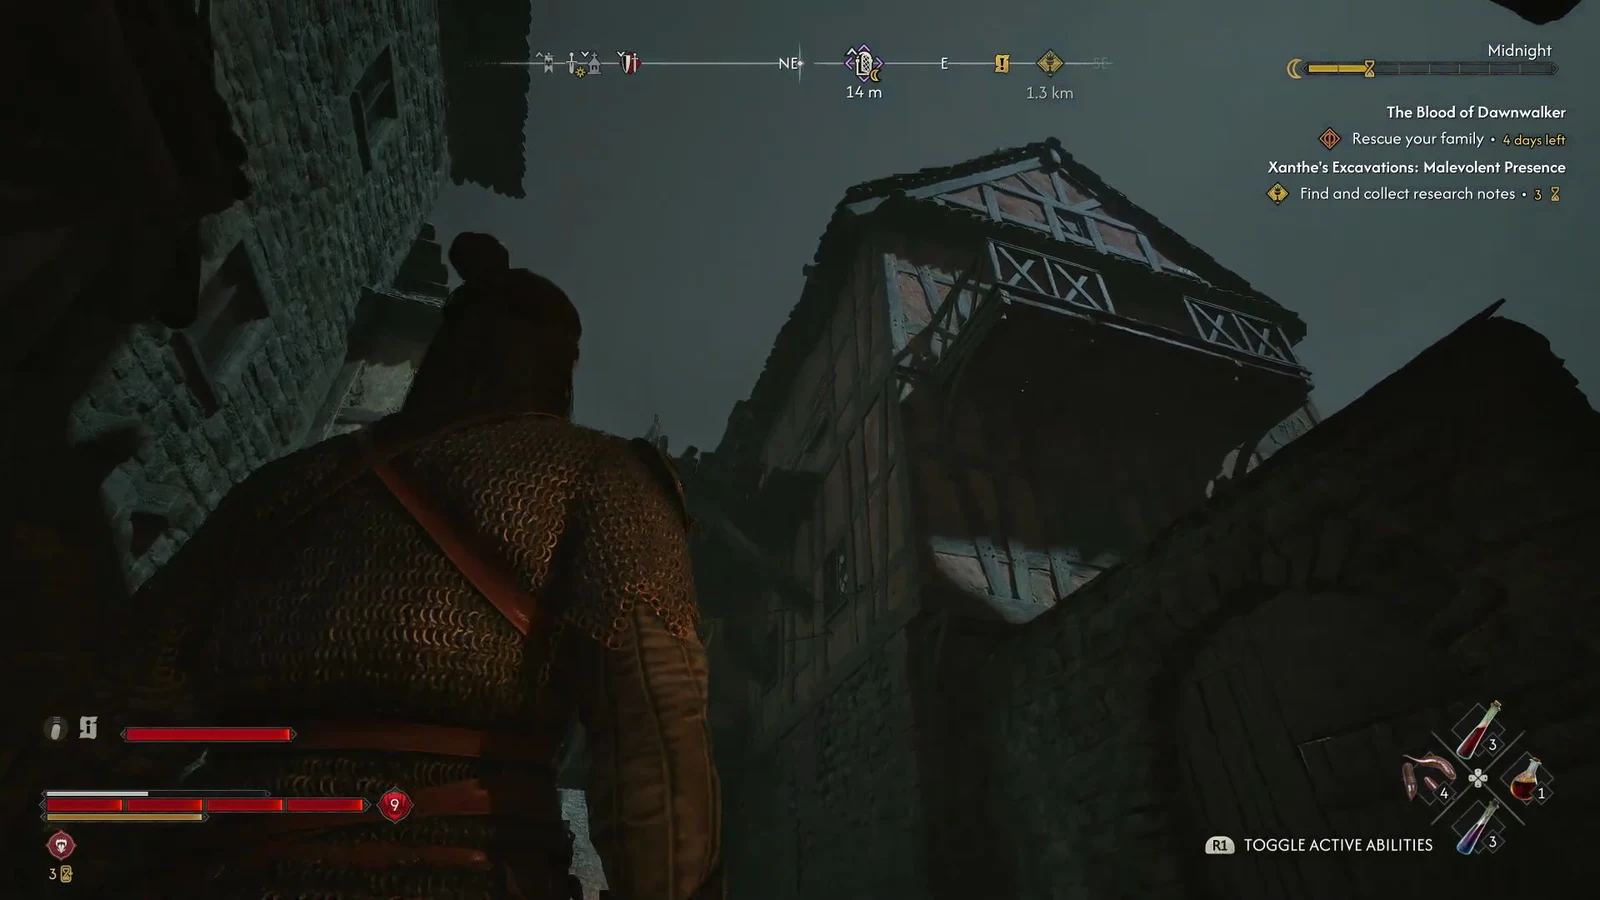
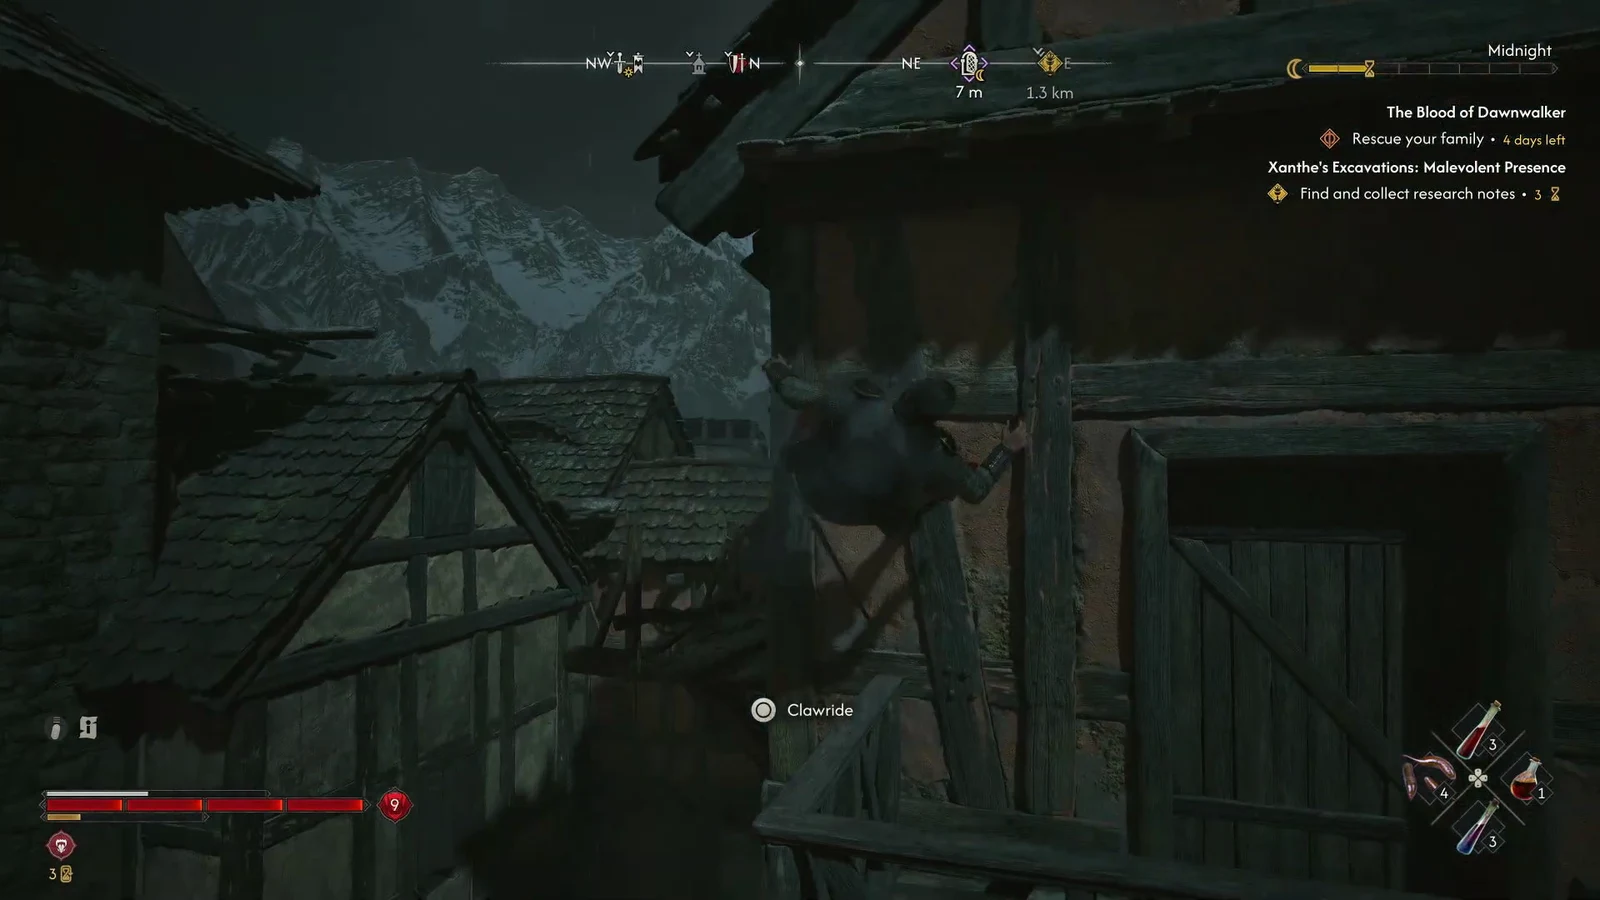
Do this part at night. Coen’s vampiric movement makes scaling buildings far easier after dark, and Shadowstep is what gets you up the exterior wall in one go. Stand at the base of the building and look for the Clawride prompt on the timber.
Clawride prompt appearing as Coen reaches for the wooden wall of the building at night
The Clawride prompt on the timber wall is your way up to the balcony. Image: Rebel Wolves
Climb to the upper balcony and walk through the balcony door. Entering the room is what triggers Weaves of Rebellion — you will see the quest title appear as soon as you are inside.
Coen inside a dark interior in Svartrau City with the quest tracker visible on the right
Stepping through the balcony door puts you inside the sealed room and starts the quest. Image: Rebel Wolves

Investigate the tailor’s workshop using Focus Mode

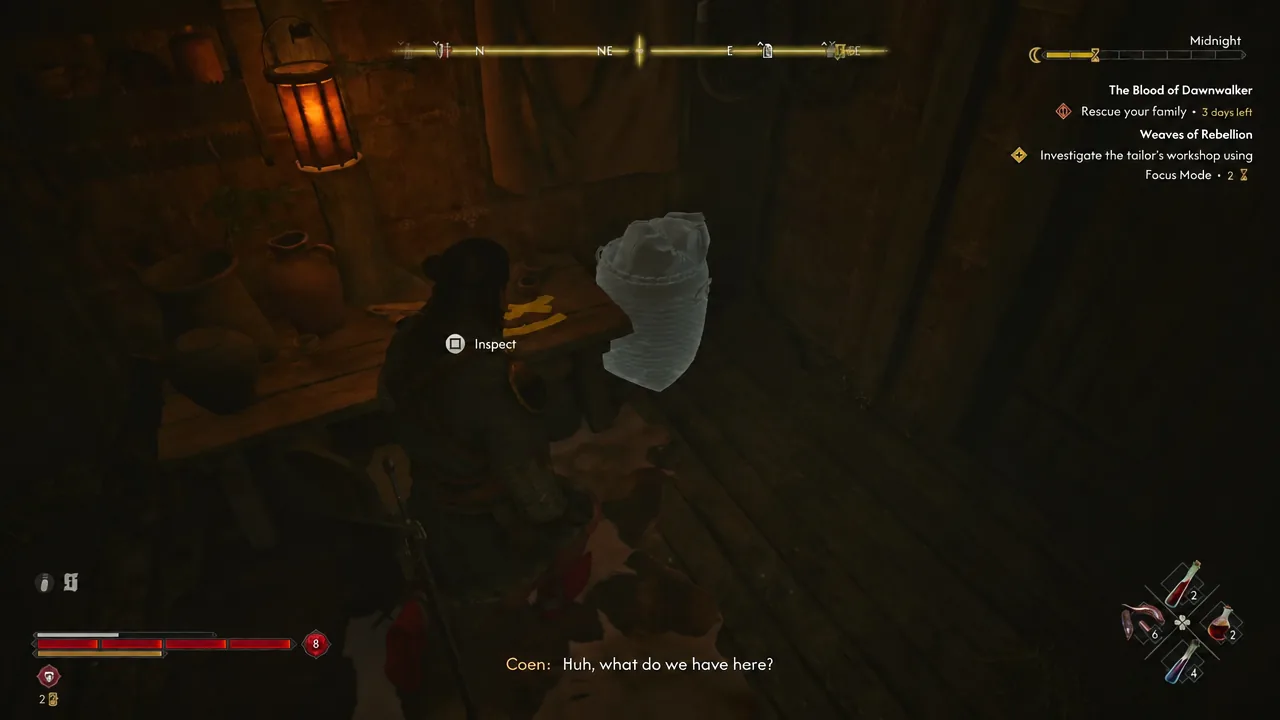
The room is dark and cluttered, and the objects that matter are not obvious by eye. Focus Mode outlines every interactive item in yellow, which is the only reliable way to find all of them without circling the workshop.
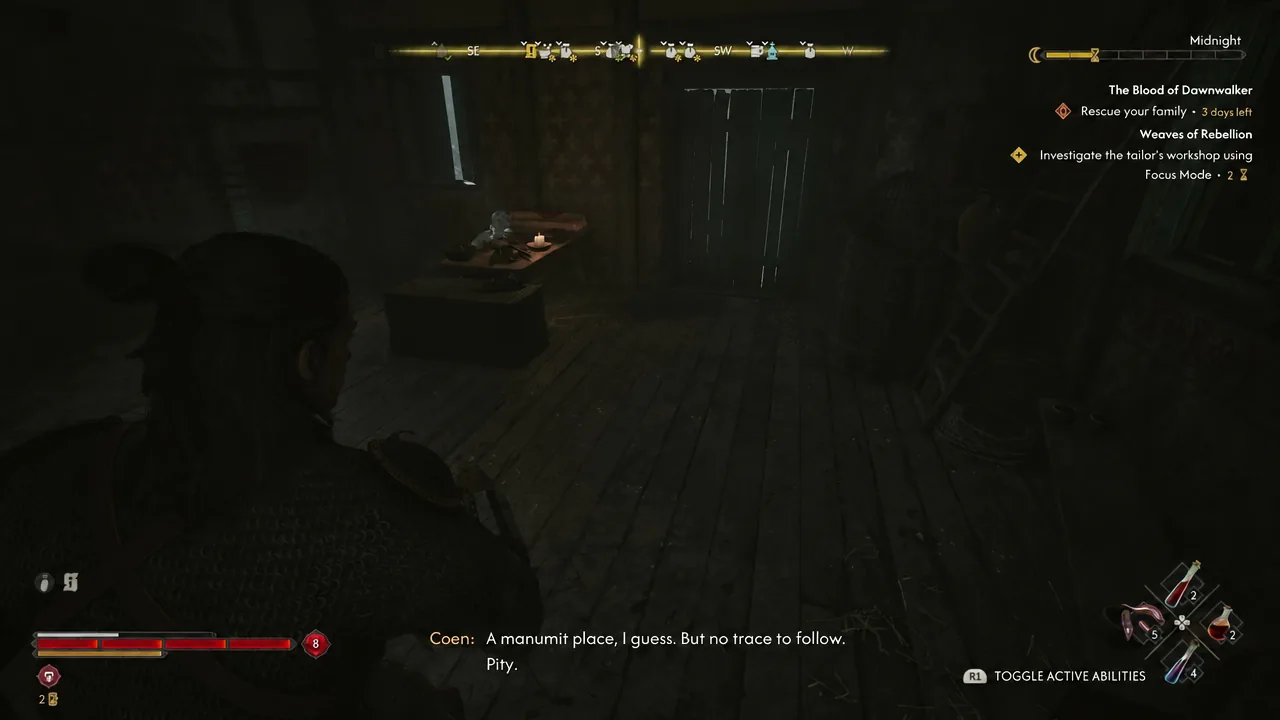
Activate Focus Mode the moment you are through the door. Sweep the room slowly so the highlights register on the far walls as well as the floor around the workbench.
Quest tracker reading Investigate the tailor's workshop using Focus Mode while Coen searches the dark room
The objective tells you plainly to sweep the workshop in Focus Mode. Image: Rebel Wolves
Inspect the loom first. It is the largest highlighted object in the room and it sets up what the rest of the clues confirm about who was working here.
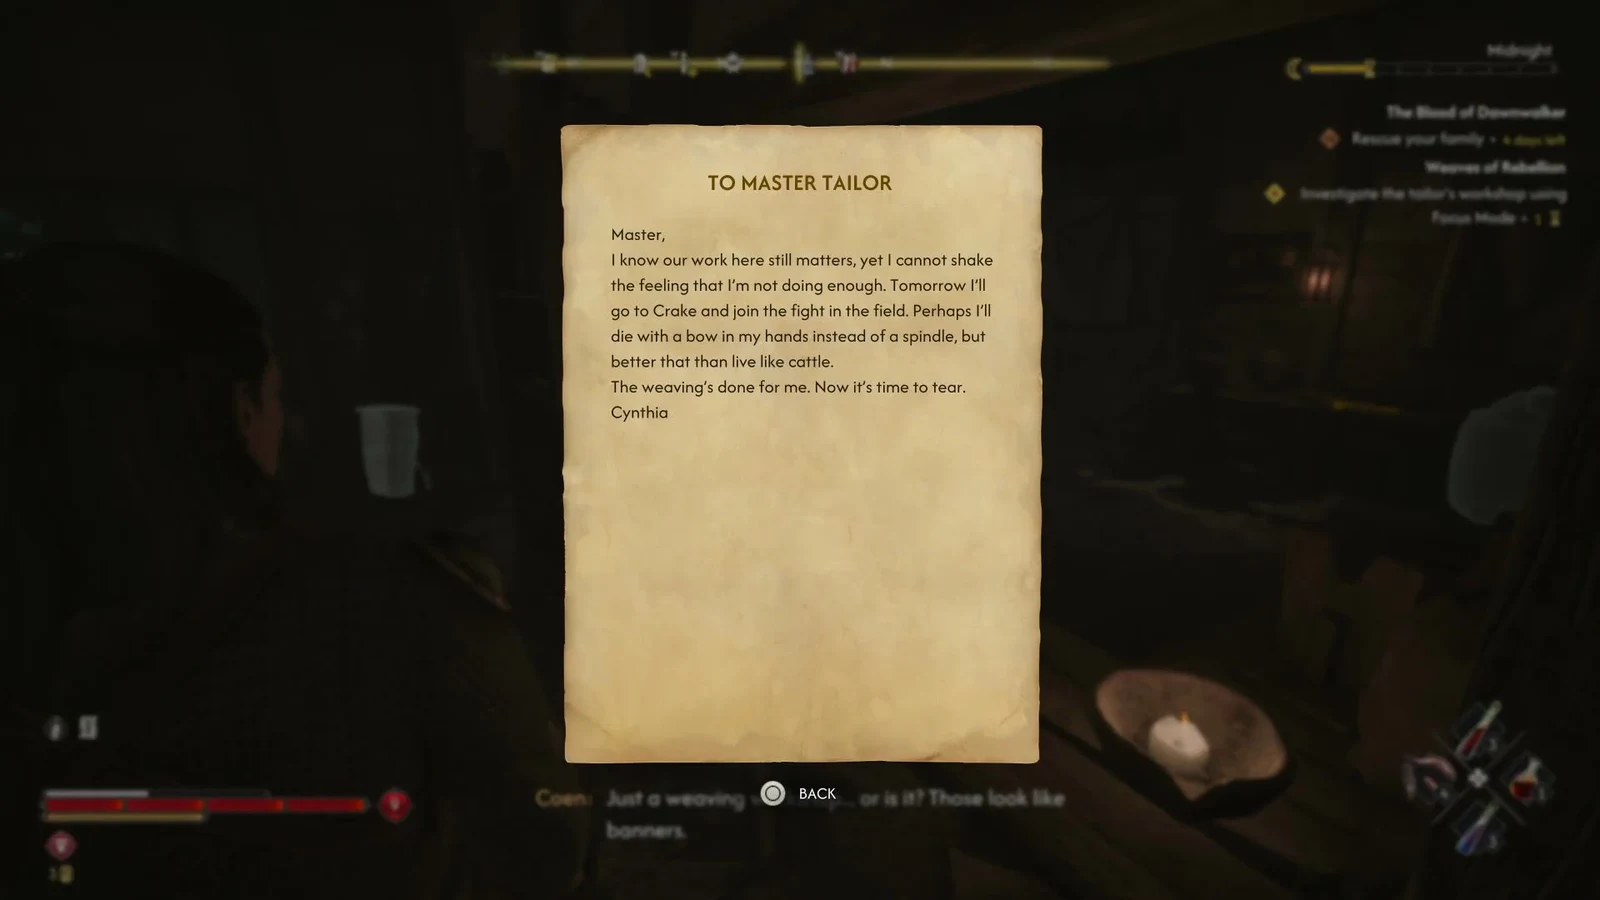
Read the letter headed “TO MASTER TAILOR.” This is the first written piece of evidence and it opens as a readable document rather than a simple inspect prompt.
The open letter titled TO MASTER TAILOR displayed on screen as Coen reads it
The “TO MASTER TAILOR” letter, one of the two documents the quest counts. Image: Rebel Wolves
Loot the chest in the room while you are here. It is not required to finish the quest, but it is highlighted in Focus Mode alongside the story objects and is easy to walk past.
Inspect the remaining highlighted containers, including the urn. Anything still glowing yellow after the loom and the letter is worth a prompt, since the last clue is tucked into one of them.
An urn outlined in Focus Mode with the Inspect prompt shown on screen
Highlighted containers like this urn still carry an Inspect prompt. Image: Rebel Wolves
Find the bag containing “INSTRUCTIONS TO TAILOR” and read it. That document is the piece that ties the workshop to rebel activity, and a second bag sitting nearby can be looted for extra items.

How to confirm Weaves of Rebellion is complete

Completion is automatic. Once the last required clue is read, the quest name flashes on screen marked as completed and the XP award appears with it. There is no follow-up objective, nobody to report back to, and nothing left in the room that gates progress.

If the tracker is still asking you to investigate the workshop, one of the highlighted objects has not been inspected. The two usual culprits are the “INSTRUCTIONS TO TAILOR” bag, which reads as ordinary scenery when Focus Mode is off, and the loom itself, which players tend to loot around rather than interact with. Turn Focus Mode back on and check the corners of the room for any remaining yellow outline.


Because the whole quest sits inside one room and costs almost nothing in time segments, it pairs well with the other Curious House entries and with Ambrus’s Cellars: Trouble Brewing, which is also inside Svartrau City. Clearing several of them on the same night trip keeps your travel overhead low while the 30-day clock ticks toward Brencis.