The Judgment is one of the most mechanically demanding killers in Dead by Daylight, and the perks you bring decide whether its long-range Divine Light turns into free downs or wasted casts. The character arrives on August 25th, 2026 as part of a community-voted chapter alongside the survivor Aurora, and its kit rewards map-wide vision and steady generator control rather than the hooking loops most killer perks are built around.
Quick answer: For the strongest all-round setup, run Call of Brine, Gearhead, Eruption, and Lethal Pursuer. You start the match seeing every survivor spawn, chase early, and apply layered regression to the generator you push people off of.
How the Divine Light and Exile shape your perks
The Judgment’s power sends a beam of light in a chosen direction. Holding the power button shows an arrow on the ground and a pillar of light that follows the arrow’s path. Pressing attack fires that pillar forward. The pillar is briefly non-lethal, so you cannot simply spawn it on top of a survivor, then it turns lethal and travels a long distance through objects, which allows sniping generators across a realm.
Hitting a survivor with the lethal pillar applies Heresy. A Heretic loses generator progress on a basic skill check and gains no bonus on a great skill check, the same behavior older players remember from the original Hex: Ruin. Down a Heretic and you can Exile them to a separate map, which counts as a hook state. Exiling also temporarily lets you curve the pillar after casting, so removing survivors from the trial actively strengthens your power. Because the killer sends people to Exile instead of hooking, most hook-triggered slowdown perks do nothing, which is why the builds below lean on kick regression, aura reading, and hexes.
The Judgment’s teachable perks and synergies
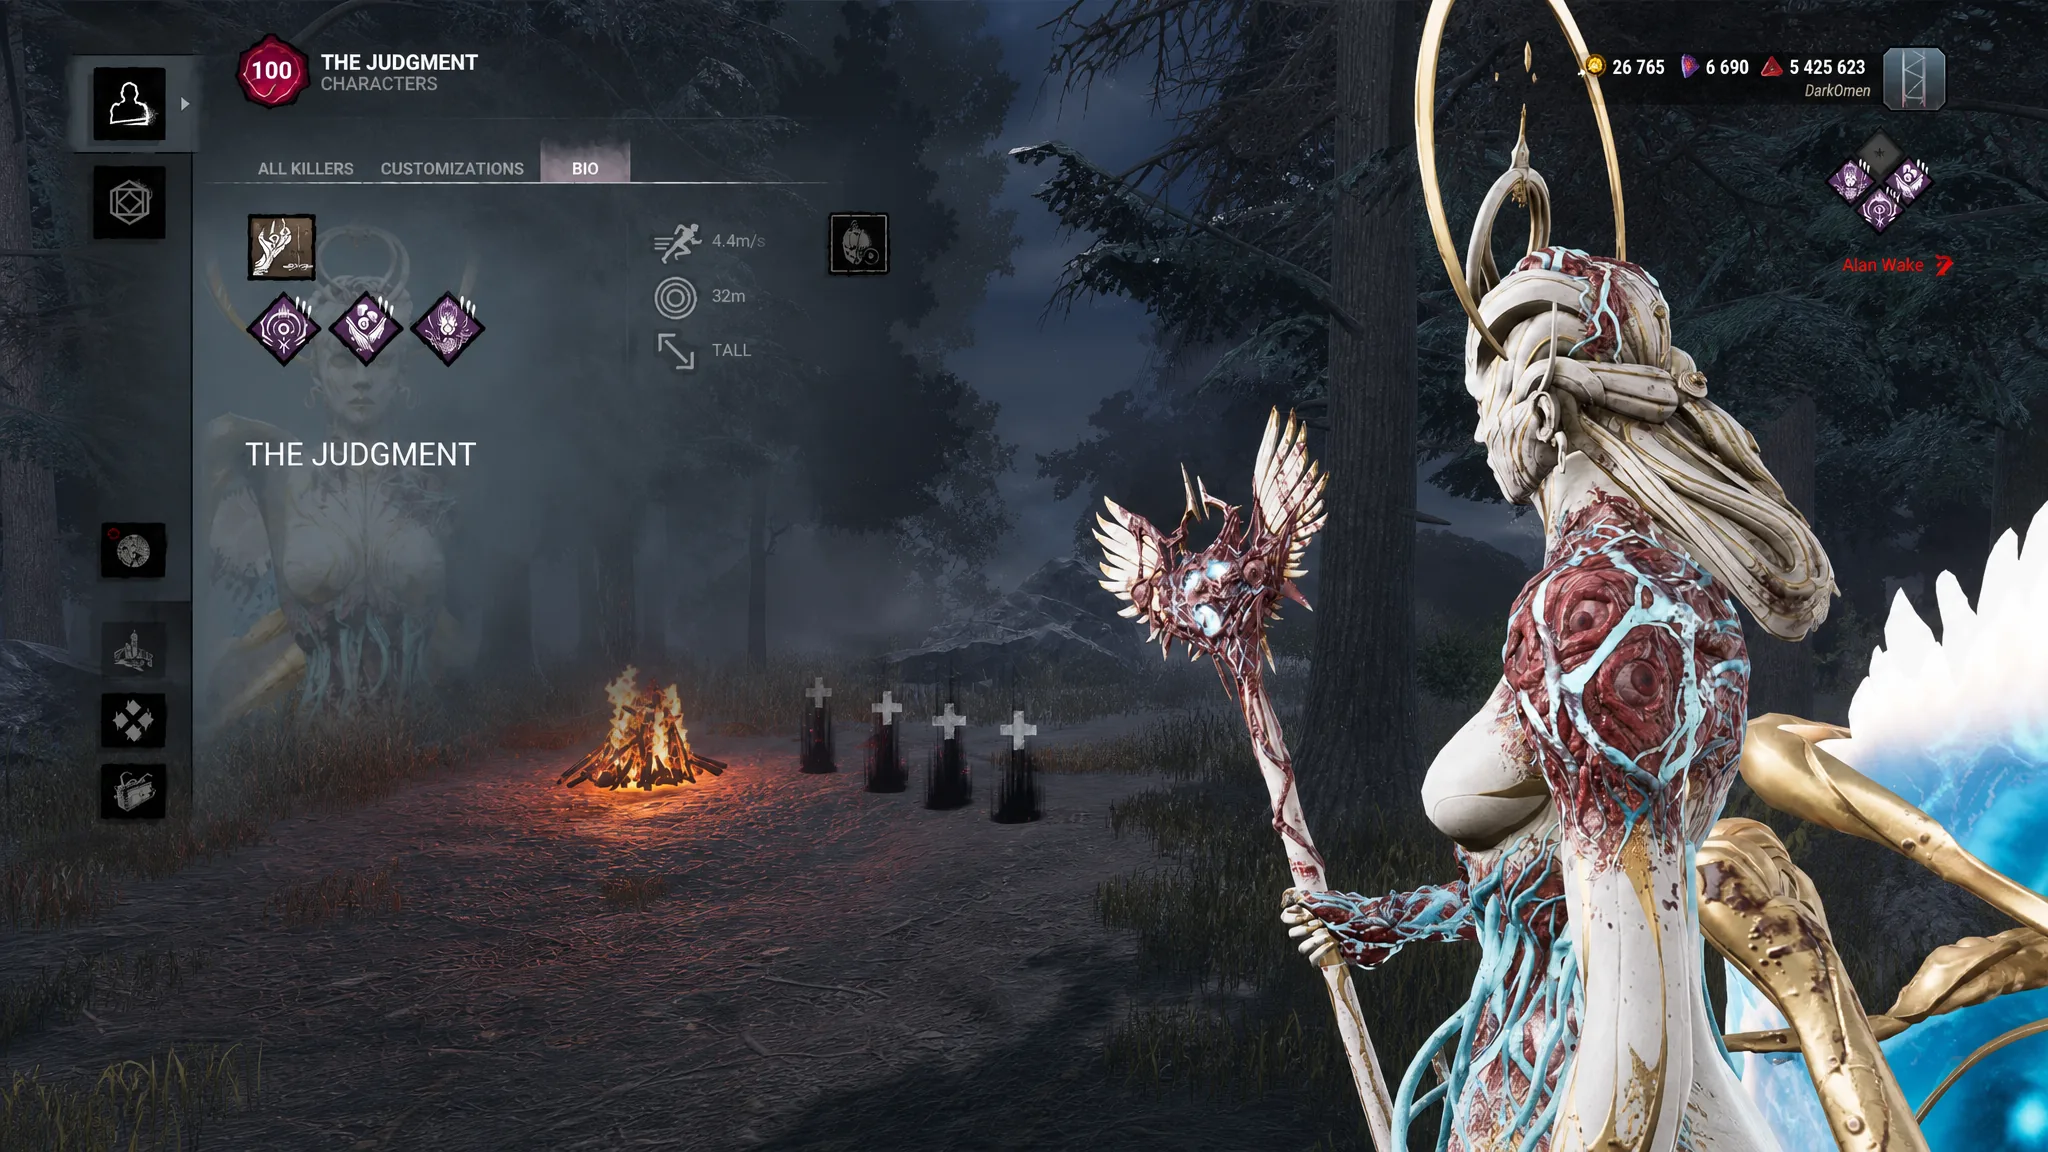
The killer unlocks three teachable perks: Celestial Witness, Hex: Under Your Thumb, and Lay Waste. Each pairs well with existing perks, and prestiging the character adds these to every other killer’s Bloodweb.
| Perk | What it does | Pairs well with |
|---|---|---|
| Celestial Witness | Every 30 seconds, reveals the Obsession’s aura for up to 3 seconds if they are at least 40 metres away. If they are closer, the farthest survivor becomes the Obsession instead. | Nemesis (Oni) to keep the aura visible when the effect swaps the Obsession; Lethal Pursuer to extend the reveal by 2 seconds. |
| Hex: Under Your Thumb | Spawns on a dull totem after the first hook state. Running survivors cannot gain more than 15% Haste, and you are alerted when one within 32 metres gains any Haste. | Hex: Thrill of the Hunt to slow cleansing; Rapid Brutality (Xenomorph) to close distance while their Haste is capped. |
| Lay Waste | Kicking a generator regresses it +2% faster for each charge it has, on a 45-second cooldown. Strongest on near-complete generators, beating Call of Brine only above 75% progress. | Dragon’s Grip (Blight) to punish survivors who rush to stop the regression; Eruption (Nemesis) for extra regression on the kicked generators. |
Note: pairing Lay Waste with Call of Brine looks tempting, but the two suffer from diminishing returns and the combination is not worth a perk slot.
Aura reading build for free snipes
Because the pillar can cross most maps, constant aura reading translates directly into free hits and downs. The goal is to avoid tunneling one chase and instead keep scanning for easy long-range shots.
| Perk | Reason |
|---|---|
| Lethal Pursuer (Nemesis) | Reveals every survivor at the start and extends all aura reading by 2 seconds. Your power is ready immediately, so you can punish spawns that expect a slower opener. |
| Gearhead (Deathslinger) | After you damage a survivor, other survivors are revealed when they hit a basic skill check on a generator. |
| A Nurse’s Calling (Nurse) | Shows healing survivors, which catches teammates trying to pick up someone you sniped from across the map. |
| I’m All Ears (Ghostface) | Reveals a survivor after a fast vault near you, covering close-range chase, one of the killer’s weaker situations. |
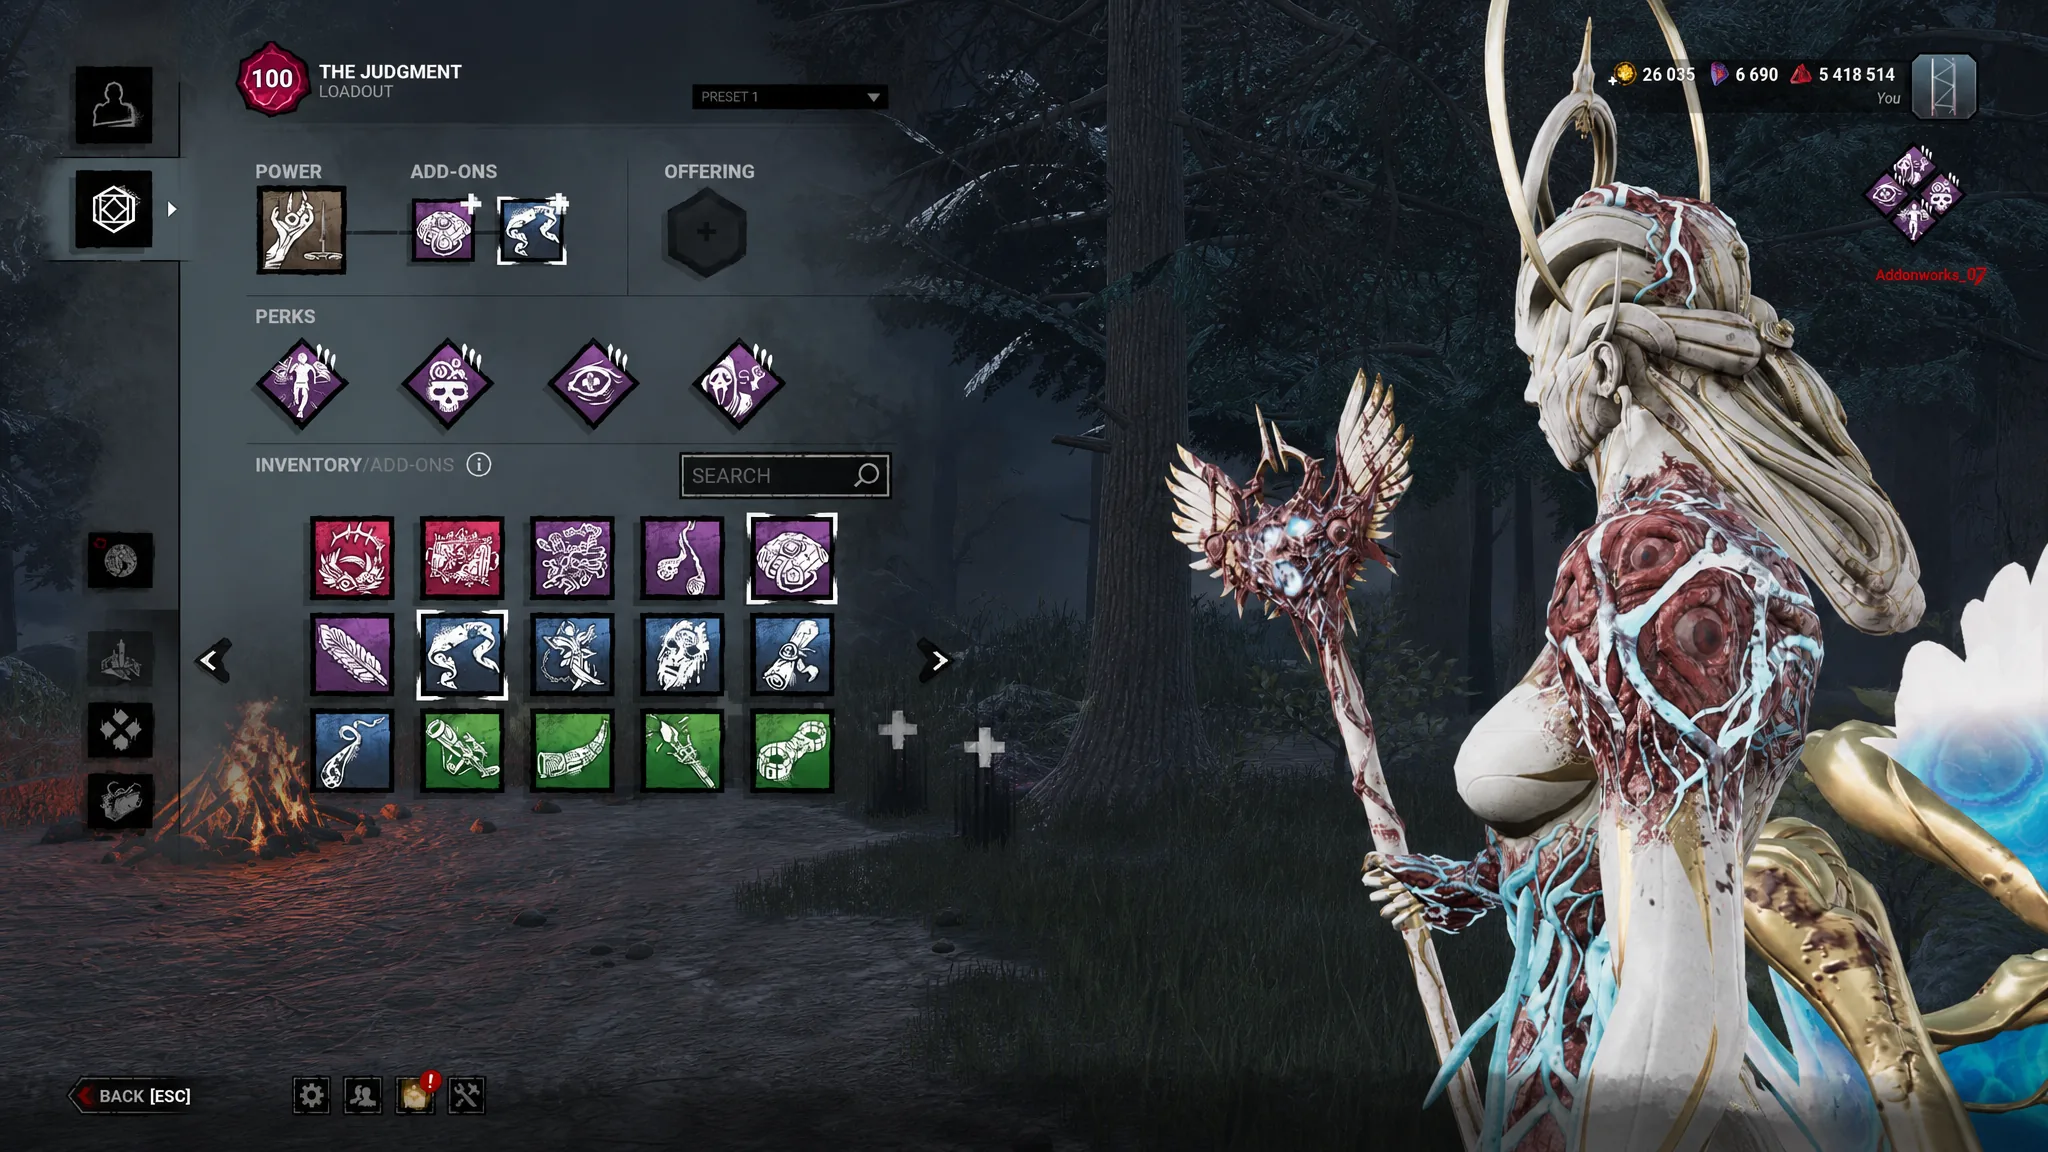
Run Improvised Detonators for some generator regression, with Blindfold of the Devoted as a solid flexible second add-on. If you dislike I’m All Ears because of its cooldown, swap it for Predator or Celestial Witness.
Generator pressure build
When survivors repair too quickly even under pressure, you want dedicated slowdown. Since the killer does not hook, the regression package has to avoid hook-triggered perks entirely.
| Perk | Reason |
|---|---|
| Call of Brine (Onryo) | Kicking a generator makes it regress 50% faster than normal. |
| Eruption (Nemesis) | Since you are already kicking, downing a survivor triggers free regression on the affected generators. |
| Oppression (Twins) | Applies a difficult skill check to survivors on other generators when you kick, revealing where the team is working. |
| Hex: Hive Mind (First) | Shows which generators are being repaired, giving you a firmer read on the match. |
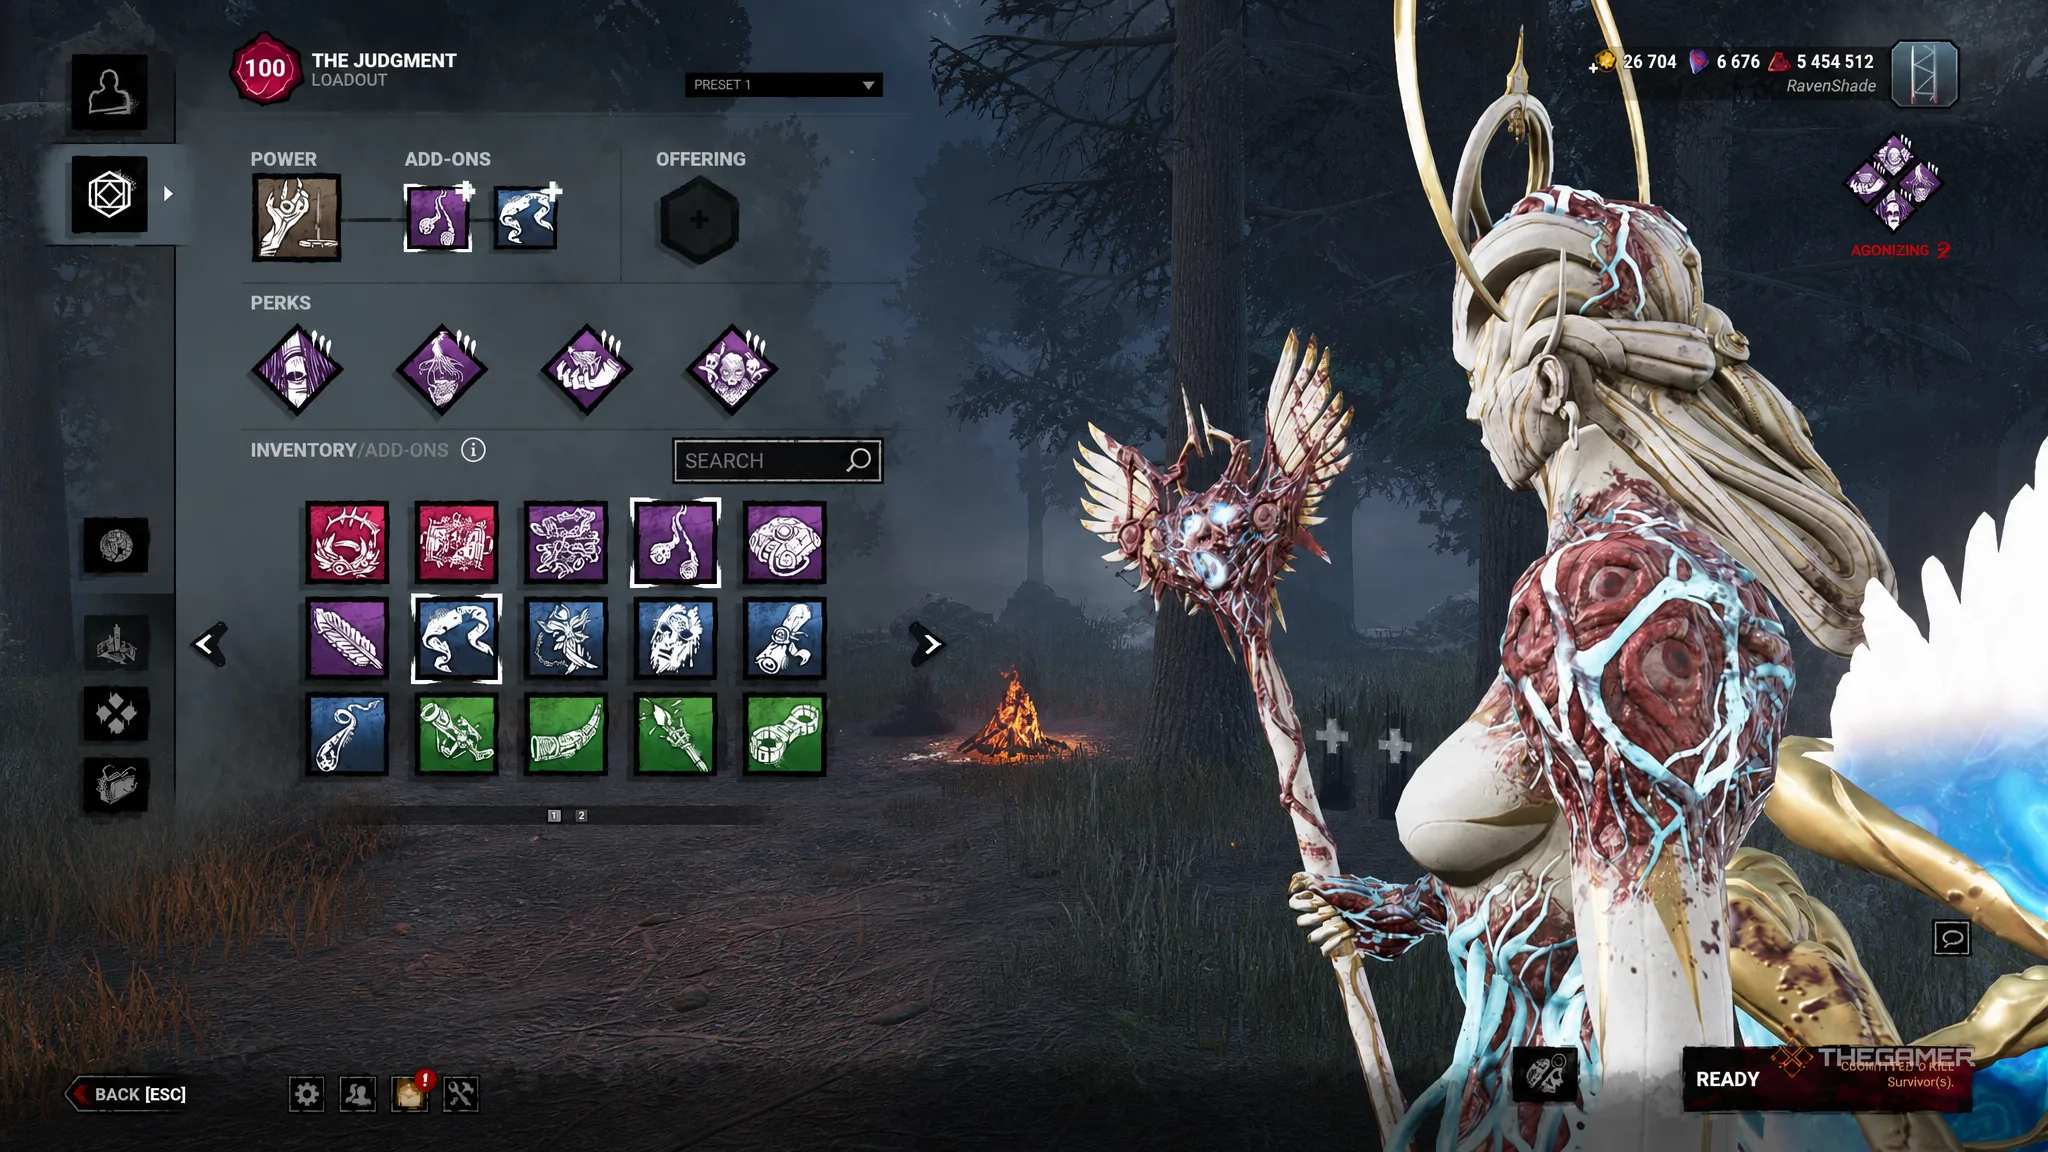
Blindfold of the Devoted and Eyes of Gerhardt are the best add-ons here, since the build otherwise lacks its own aura reading.
Hex build for totem control
Hex builds remain among the strongest options in Dead by Daylight even after the nerf to Thrill of the Hunt, and they gain extra value here because the pillar can snipe survivors off totems across the map.
| Perk | Reason |
|---|---|
| Hex: Ruin (Hag) | Automatically regresses generators whenever survivors step away from them. |
| Hex: Hive Mind (First) | After the first hook, reveals which generators are being worked on so you know where to snipe and start Ruin regression. |
| Hex: Undying (Blight) | Protects the build by making the first totem cleanse hit Undying, keeping your other hexes alive. |
| Hex: Thrill of the Hunt (General) | Slows how fast survivors cleanse totems, buying time for the rest of the build. |
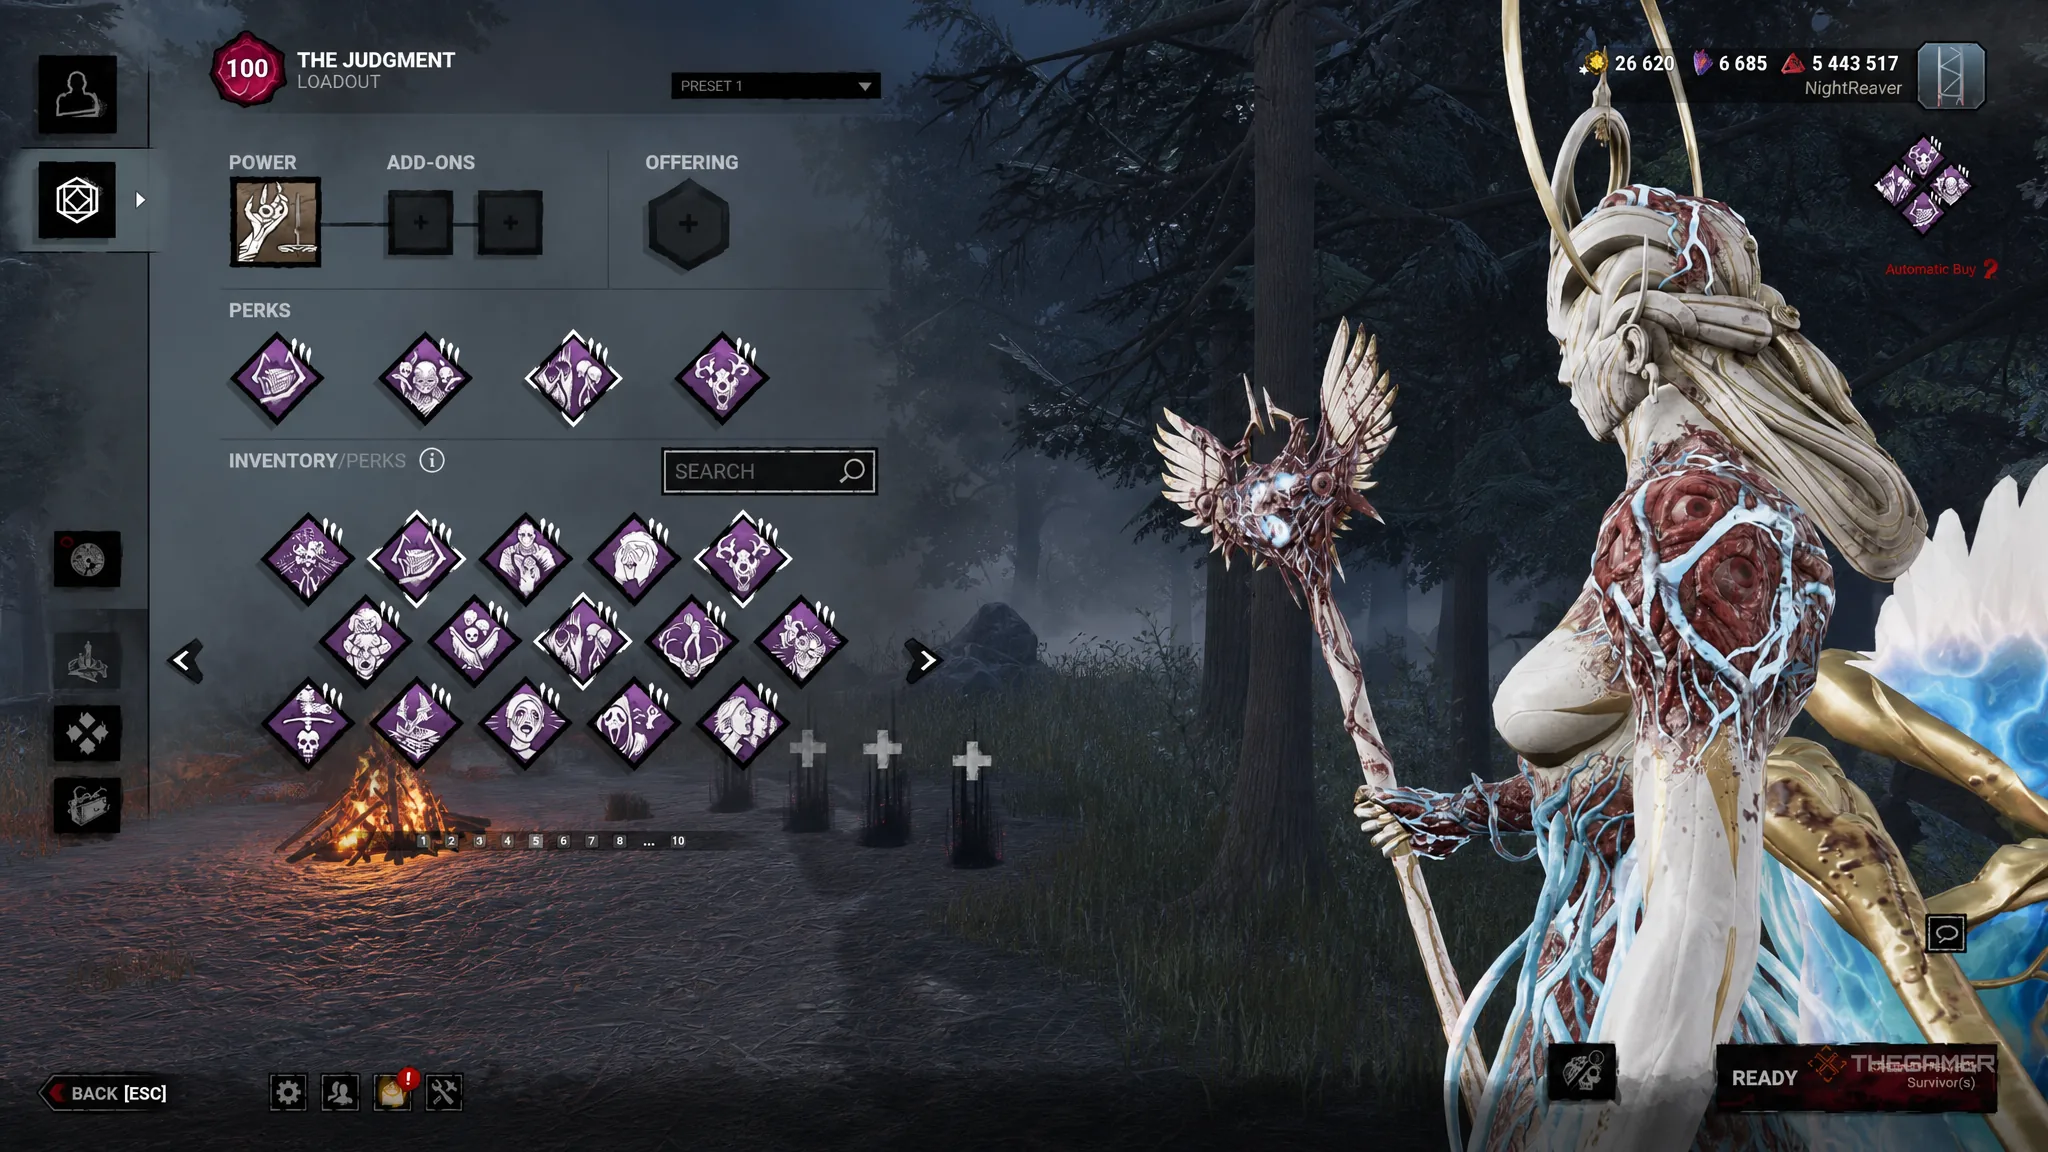
If you would rather not defend totems with the power itself, bring Hex: Pentimento in place of Thrill of the Hunt.
Best all-around build
For general play, you want a balance of information and regression rather than a single specialty. This four-perk setup covers both without leaning on hooks.
- Call of Brine
- Gearhead
- Eruption
- Lethal Pursuer
You open the match knowing where everyone spawned, start a chase early, and as you hit and down survivors you learn which generator needs regression and stack Call of Brine with Eruption on it. The result is steady map-wide information paired with constant pressure.
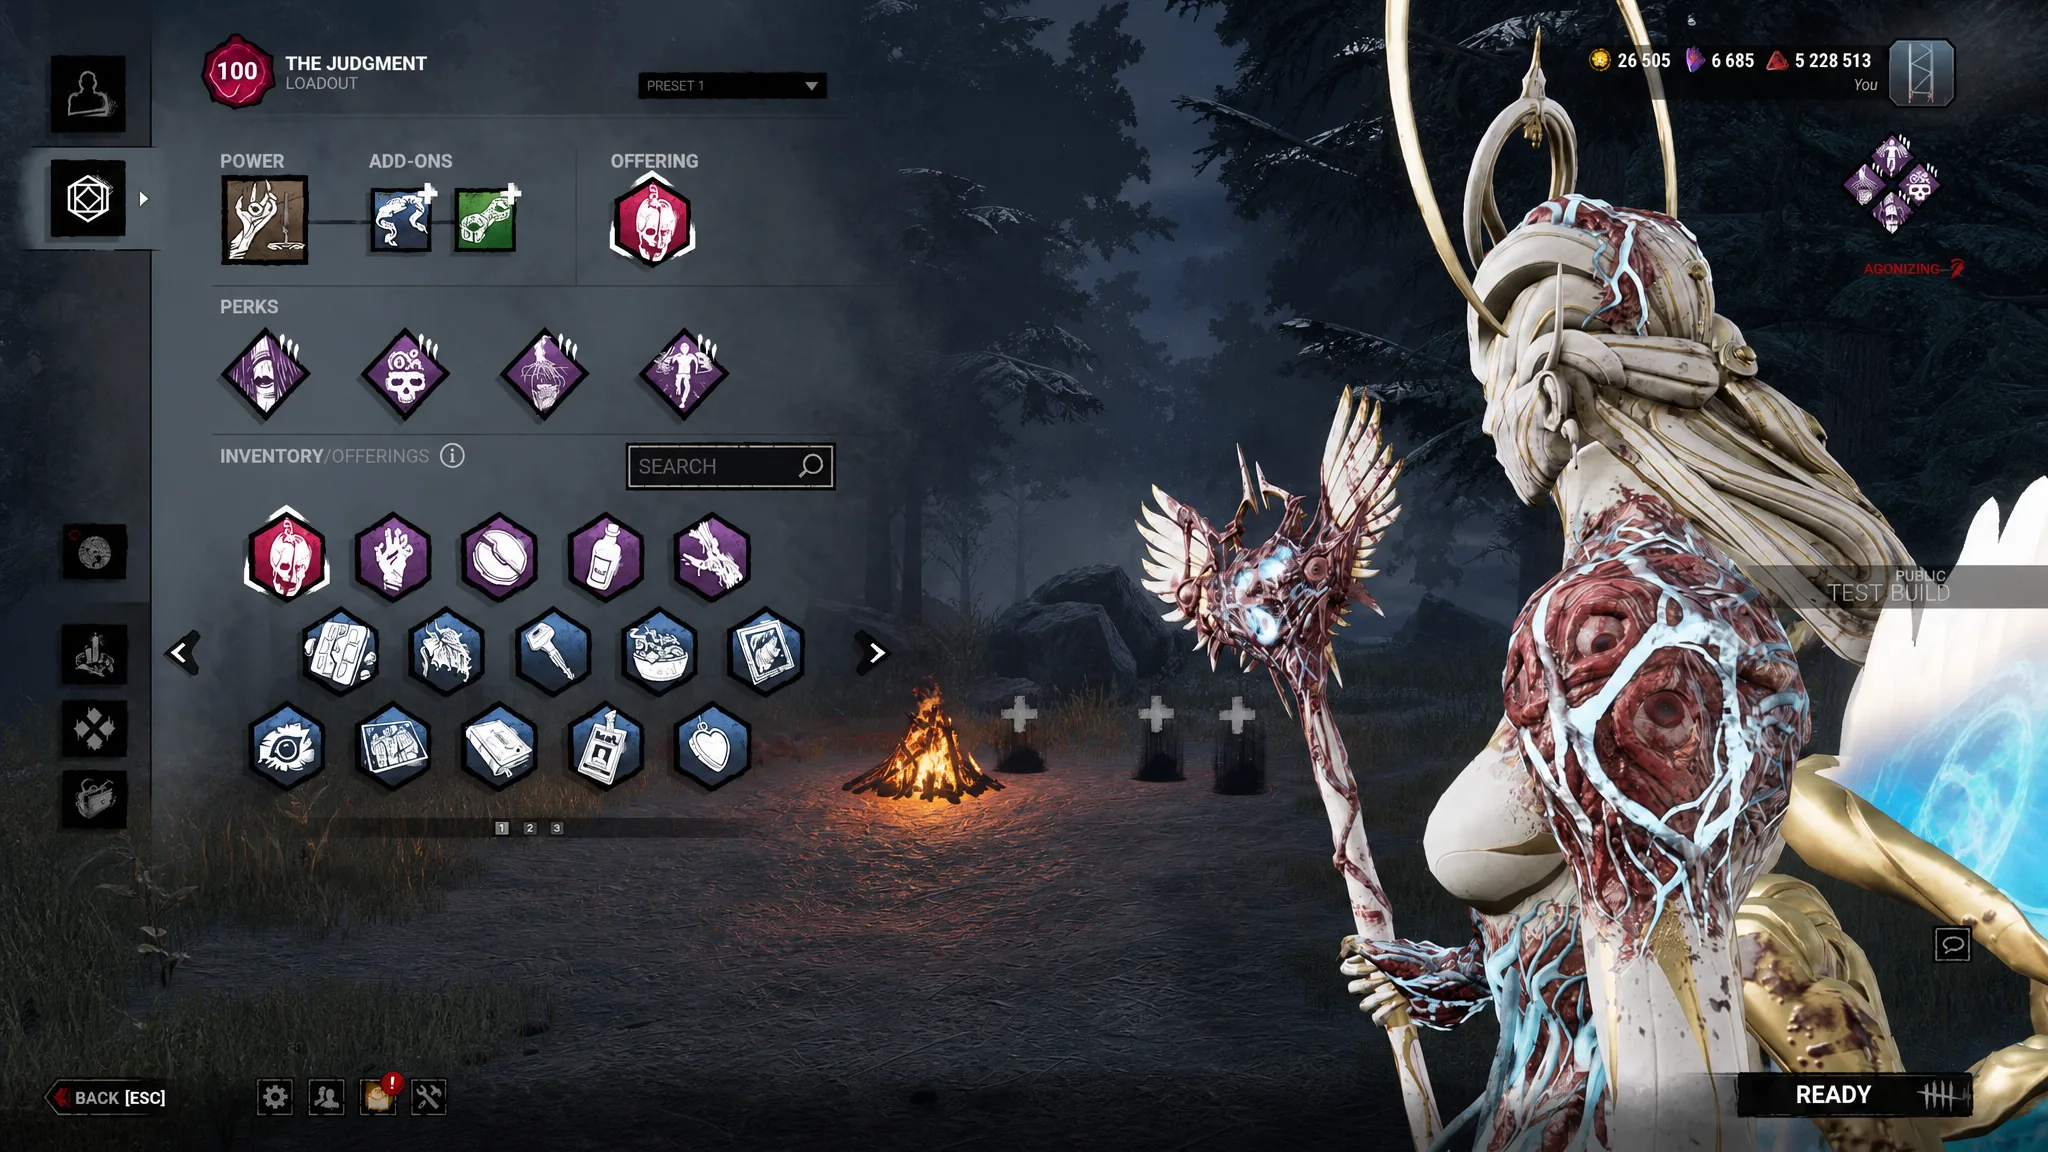
Blindfold and Magnetized Manacles are the best add-ons for this loadout, as long as you avoid tunneling a single survivor out of the trial. All four builds above reward the same core habit, which is treating Divine Light as a map-control tool first and a chase weapon second, so pick the loadout that matches how much you want to lean into vision, slowdown, or totems.