The Stranger in the Snowfield is a short Forsaken Dominion side quest in Dragon’s Dogma 2: Dark Arisen. It involves two people. Amos is a Vermund commission soldier who nearly froze to death in a whiteout. Aymond is a wandering peddler who handed him a heatstone during that storm and then disappeared into the snow. The quest reunites them. It also leaves Aymond running a well-stocked shop next to the commission for the rest of your time in Norgan.
Quick answer: Finish The Truant Soldier, then find Amos at the commission campground to begin. In Frozen Ravine Hollow, defeat the enemies around Aymond and speak with him; return to Amos afterward to receive 30,000 XP and 15,000 G.
The Stranger in the Snowfield quest details
The quest has six stages, a single location to find, and no dialogue choices that change the outcome. Its reward is fixed. Amos says he has a small token of thanks for you, but no item appears in the reward list.
| Detail | Value |
|---|---|
| Quest type | Forsaken Dominion side quest |
| Prerequisite | The Truant Soldier |
| Characters | Amos, Aymond |
| Stages | 6 |
| Experience | 30,000 |
| Gold | 15,000 G |
| Key location | Frozen Ravine Hollow, Norgan Snowfield |
When Amos offers the quest
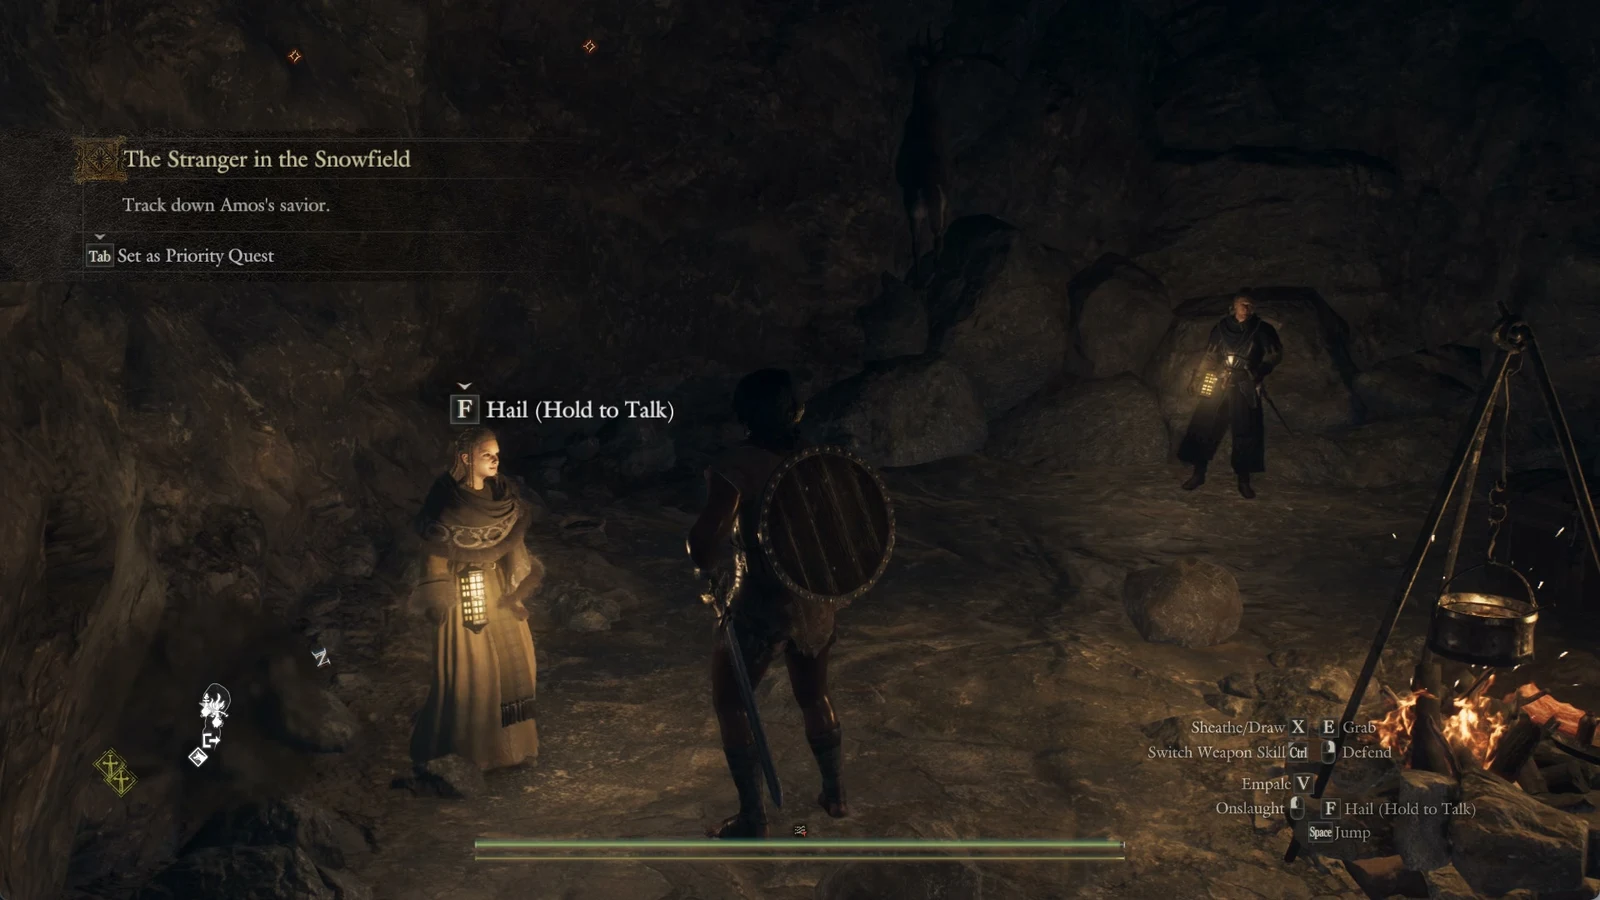
The quest stays locked until The Truant Soldier is finished. In that quest you pull Amos out of a blizzard. He doesn’t ask for the follow-up favor right away, because he needs a few in-game days to recover. Once that time has passed, he waits in the commission’s campground cave holding a lantern.
You don’t have to select anything to trigger the quest: there is no Hail prompt or dialogue choice. Approaching Amos is enough for him to speak. He thanks you once more, then recounts how another person came across him in the snow and supplied a heatstone. Amos suspects the stranger was stranded too, and could still be somewhere in the Norgan Snowfield.
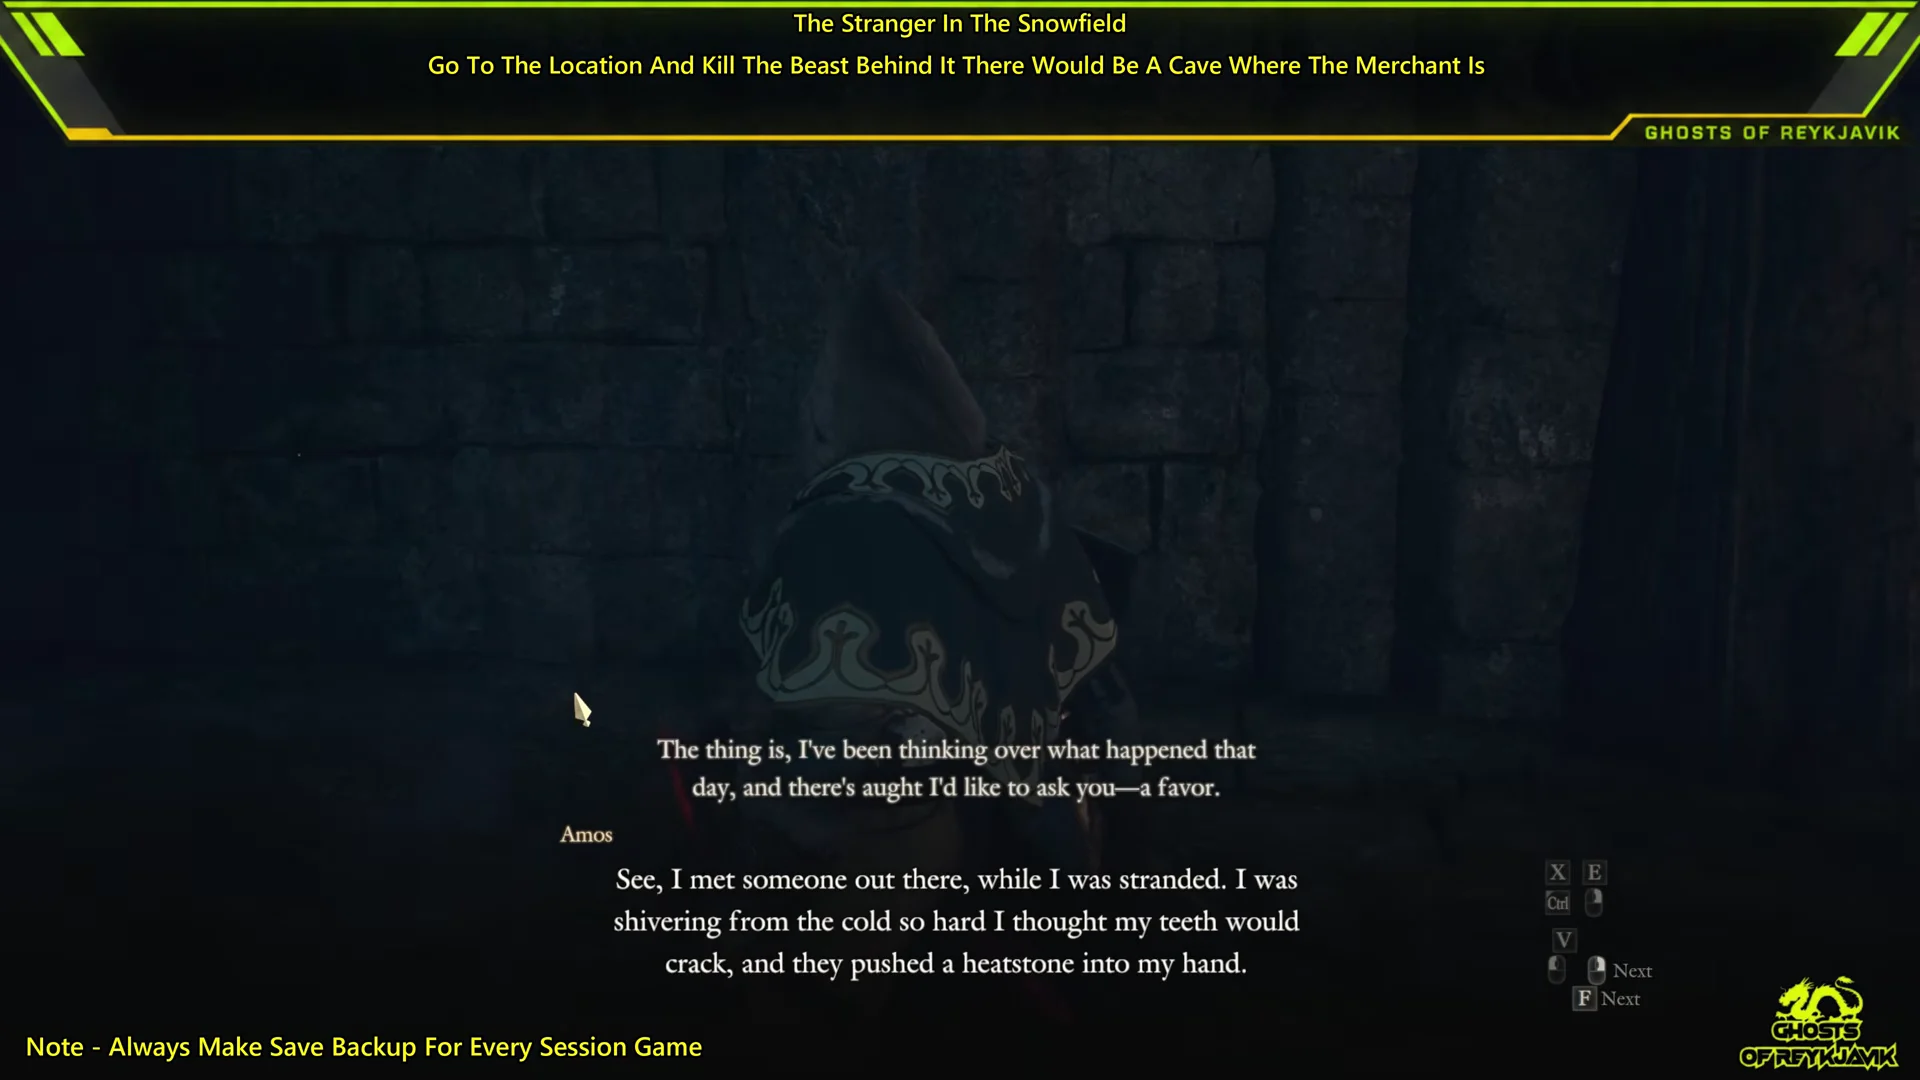
Amos’s location changes as the commission advances. You may receive the request in the cave at Northwall Campground; after the commission relocates, the conversation takes place at Castletown Campground instead. The final reunion moves along with the commission, so it occurs at whichever camp it is using then.
The first objective has two possible wordings. If you’ve never met Aymond, the journal reads “Track down Amos’s savior.” If you’ve already run into the merchant somewhere else in Norgan, such as the Norgandian Settlement, it reads “Track down the merchant.” The rest of the quest plays out the same way in both cases. Aymond doesn’t stay at the settlement during this quest. He moves to the hollow tied to it.
Aymond’s location: Frozen Ravine Hollow in the Norgan Snowfield
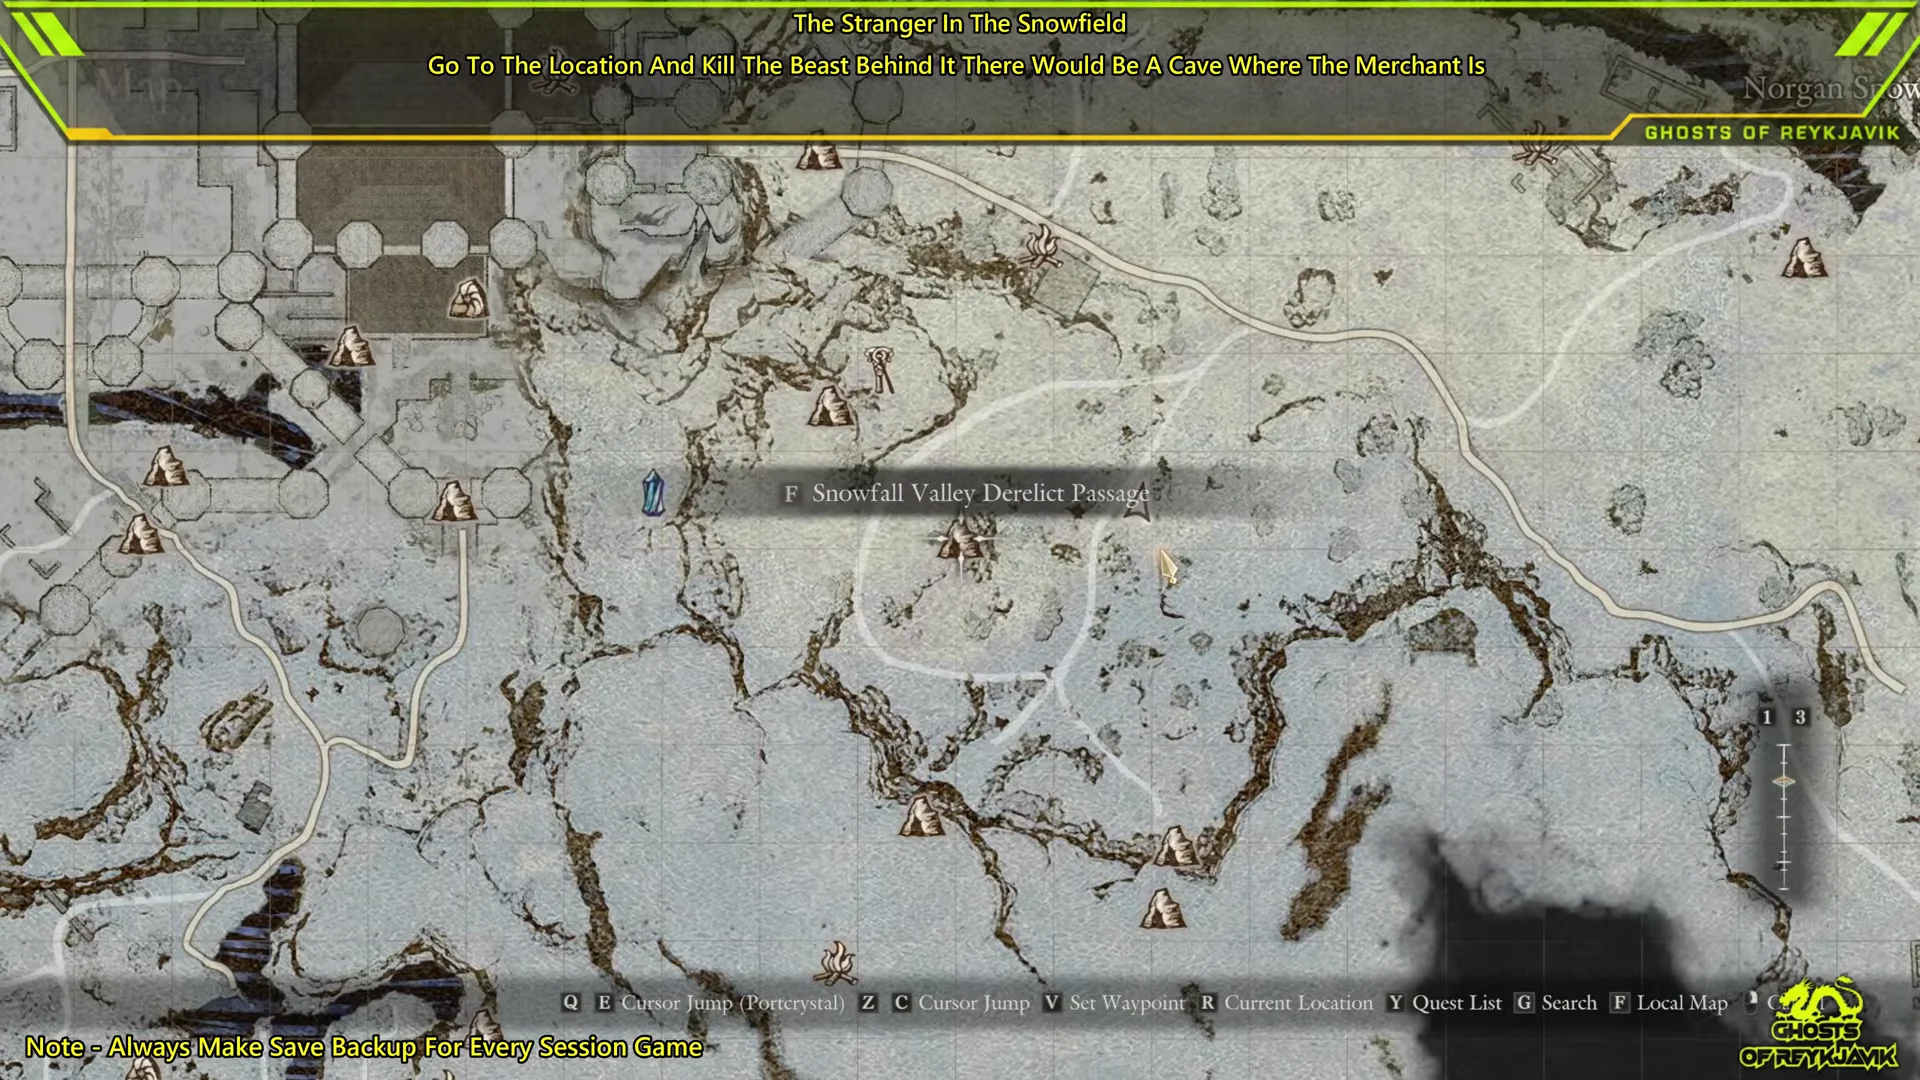
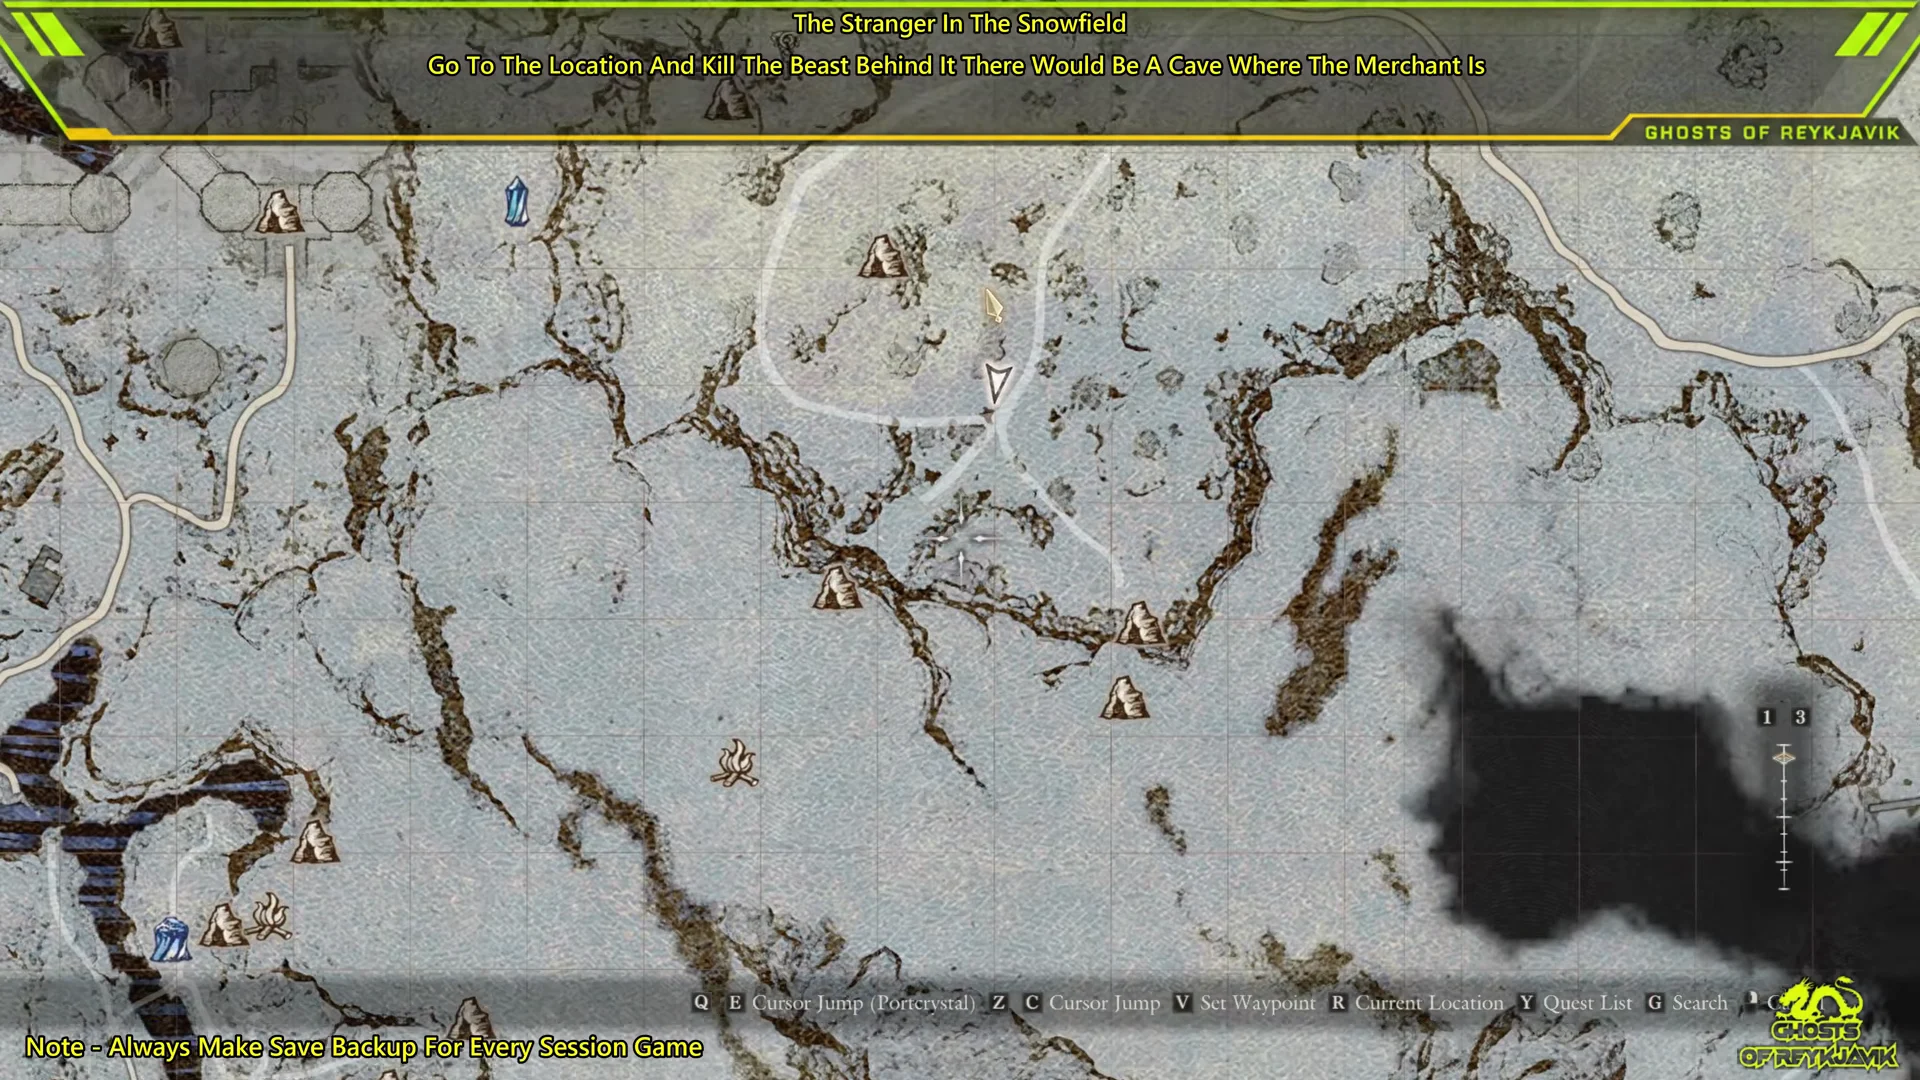
You don’t get an exact pin at first. The map shows a search circle in the Norgan Snowfield. Its center is about 400 meters east and 300 meters south of Northwall Campground, close to Snowfall Valley Derelict Passage.
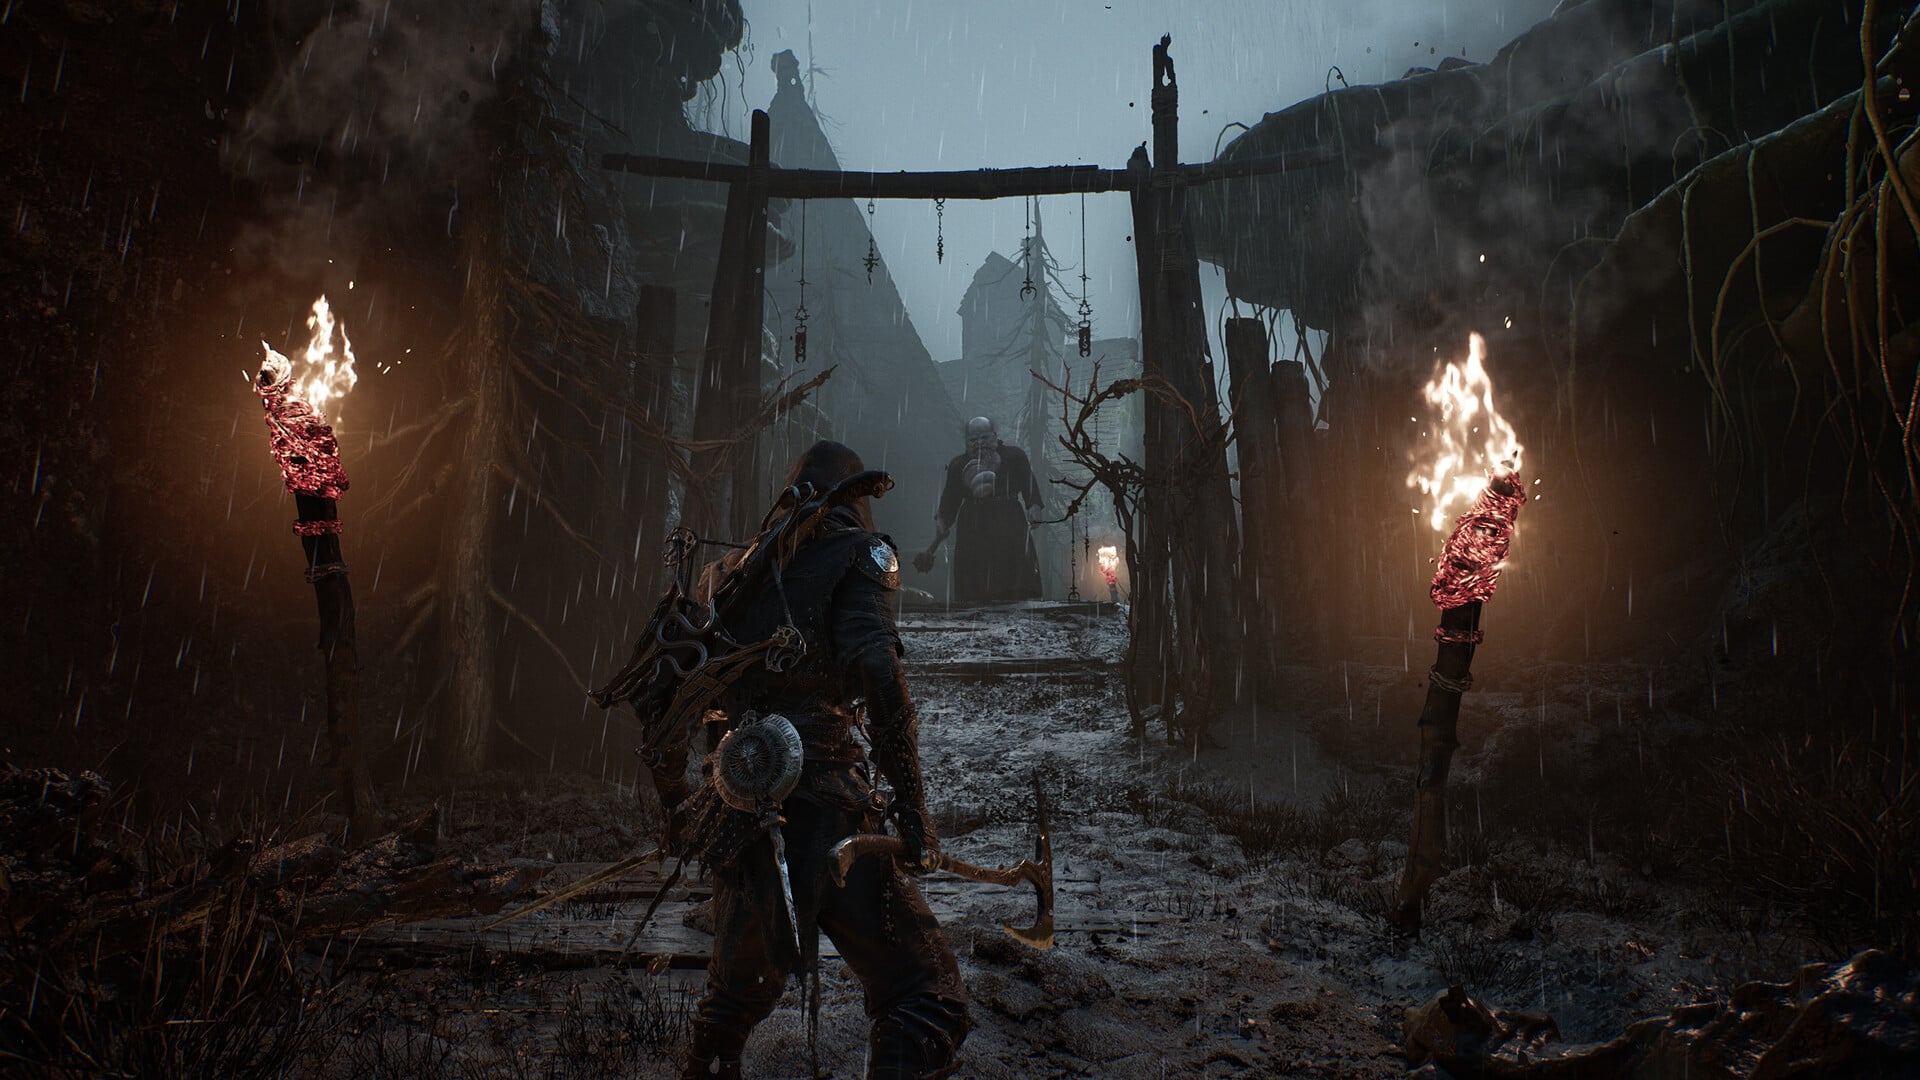
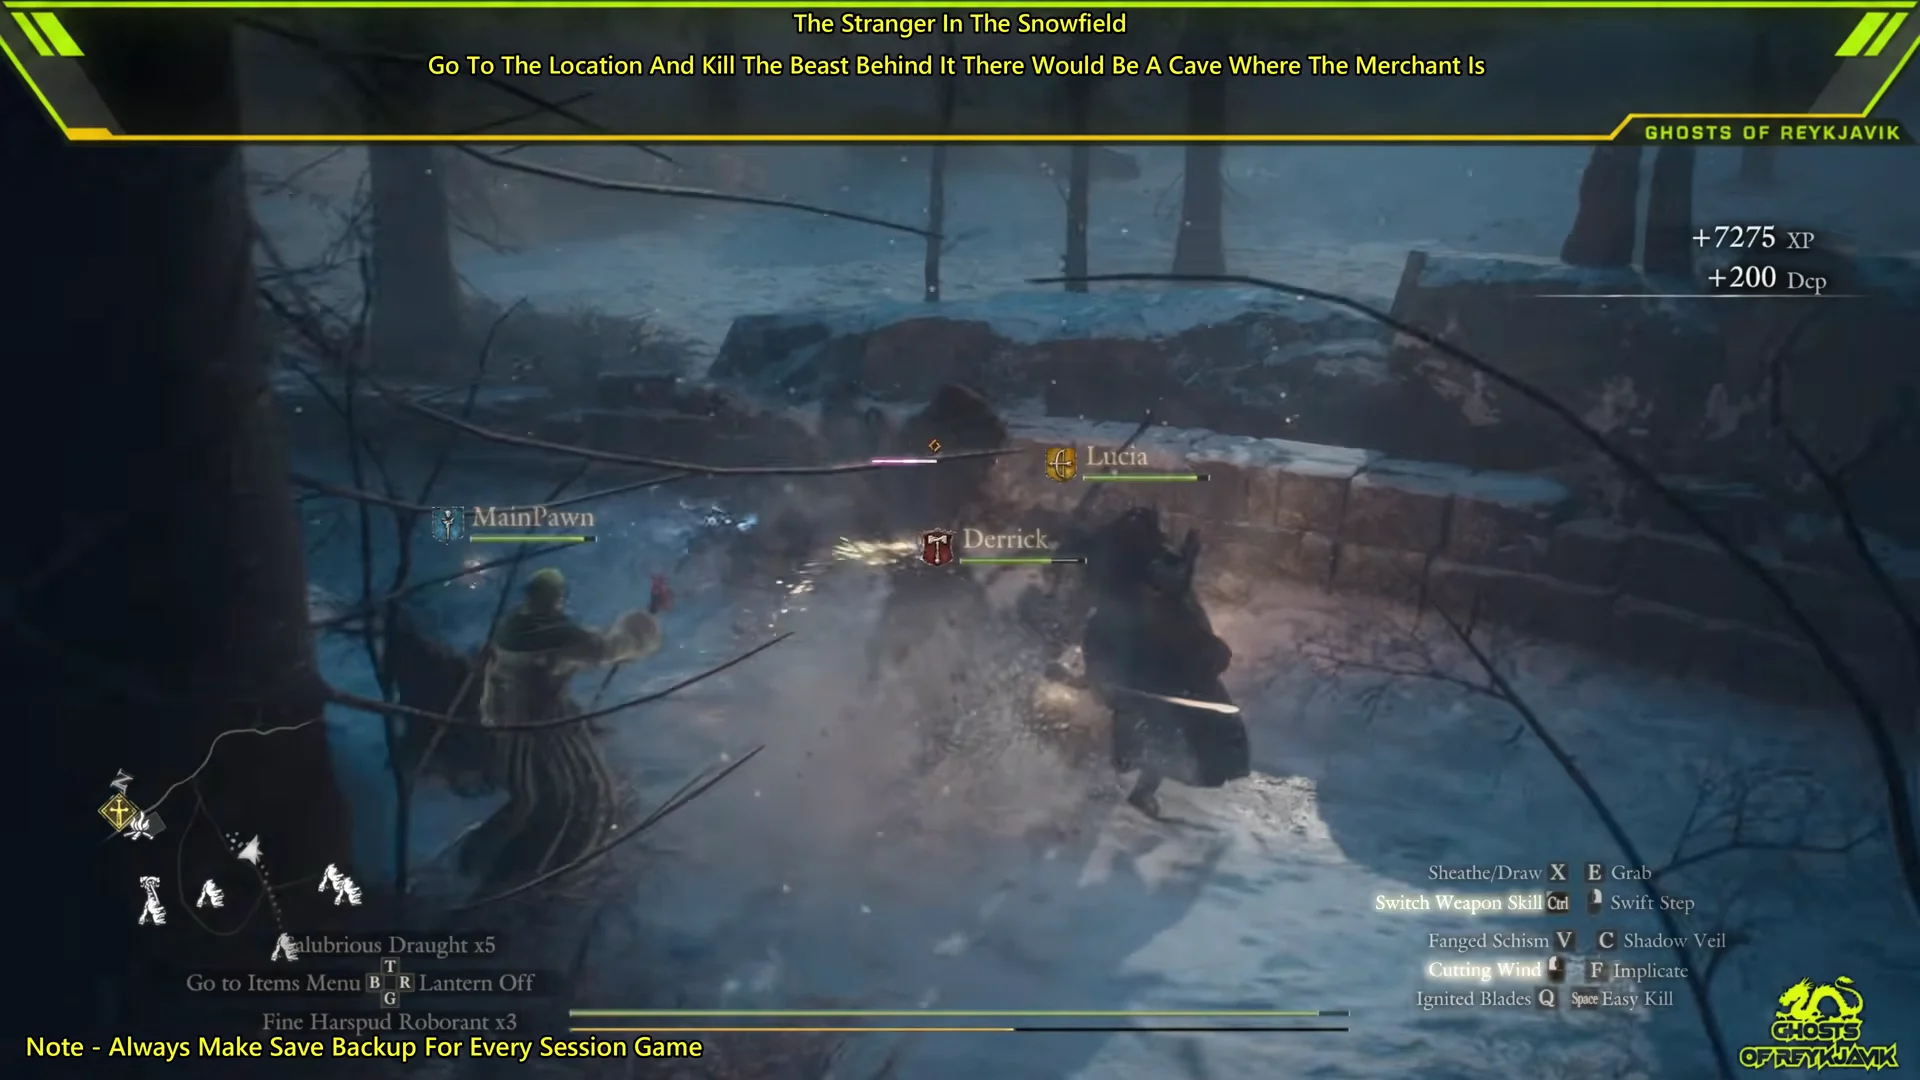
Getting there means fighting through open snowfield. The route from camp is hostile, and pawns spend a good part of the trip in combat before the hollow comes into view.
Frozen Ravine Hollow is a small cave with icicles over the entrance, on the north-west edge of the search circle. When you get close, a banner says you caught sight of a stranger (or the merchant, if you’ve met him before). The area name switches to Frozen Ravine Hollow, the objective changes to “Go after the stranger.” with a precise marker, and Aymond can be heard shouting, “Not again! I’ve had enough of your ilk!”
Enemies inside the hollow
Bugaboos are waiting around Aymond near the cave entrance, and Harpies and Phantoms may also show up in the hollow. You must kill every enemy before Aymond will speak. Physical fighters often struggle most against Phantoms, whose damage from slashing and blunt attacks is minimal.
| Phantom stat | Value |
|---|---|
| Health | 1,000 |
| Strength / Magick | 180 / 180 |
| Defense / Magick Defense | 46 / 46 |
| Slash and strike damage taken | x0.12 |
| Ice, fire, holy, lightning taken | x1.8 |
| Experience | 175 |
| Drops | Miasmite, Hunk of Rift Crystal |
Sleep, petrification, silence, burning, frostbite and the other common debilitations have no effect on Phantoms, which leaves elemental magick as the reliable answer. In hard mode their Health stays the same, but Strength and Magick rise to 220, Defense and Magick Defense rise to 80, and they carry a 0.77 damage-taken multiplier.
Passing on Amos’s message
Once the cave is clear, Aymond starts the conversation himself. He thought he was alone out there and asks whether you’re stranded too. He brightens when you mention a village, and he admits he came to Norgan on an errand of his own and got stuck. Then he connects the dots: “I found him in the midst of a whiteout, see, so I couldn’t point him the way. All I had to offer was a heatstone.”
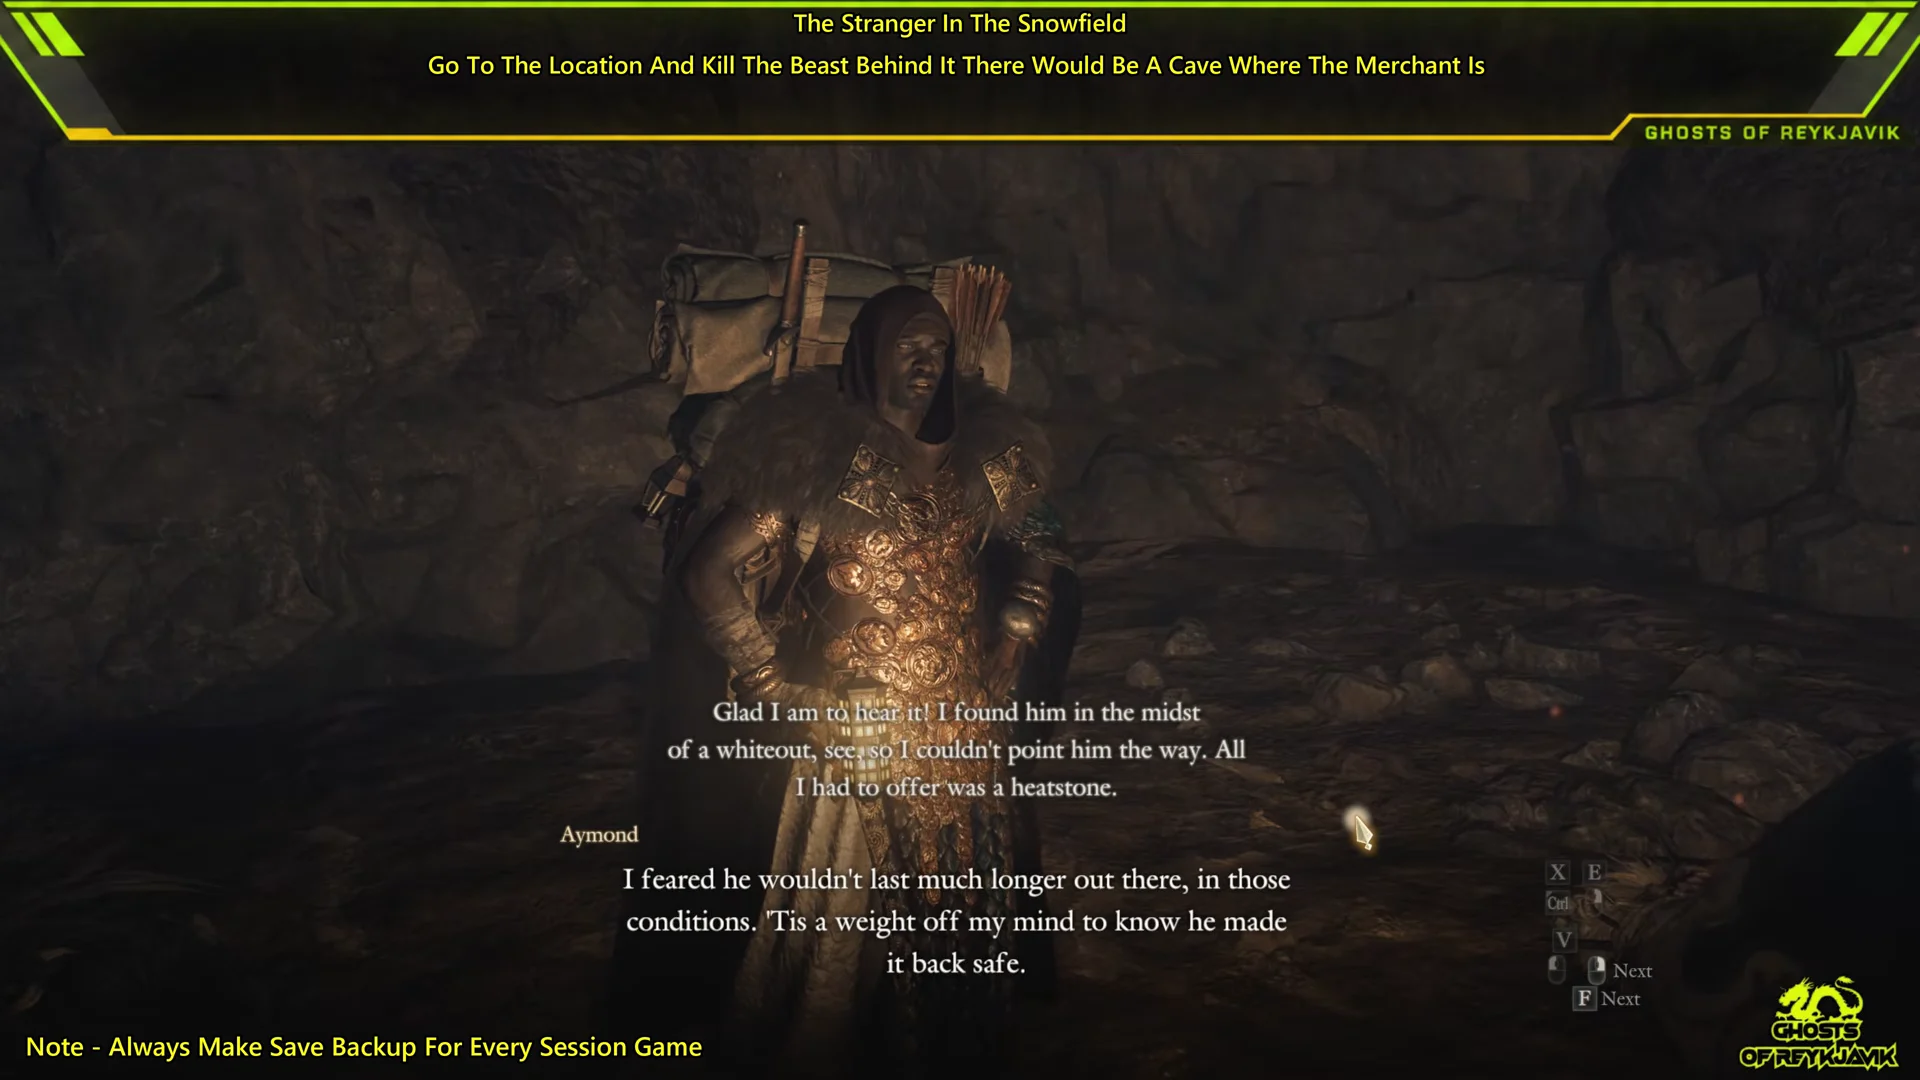
There is no shop at this point and nothing to choose. A banner tells you, “You passed on Amos’s message to the merchant.” The new objective is “Visit Amos at the campground.” You still need to return to the commission to finish the quest.
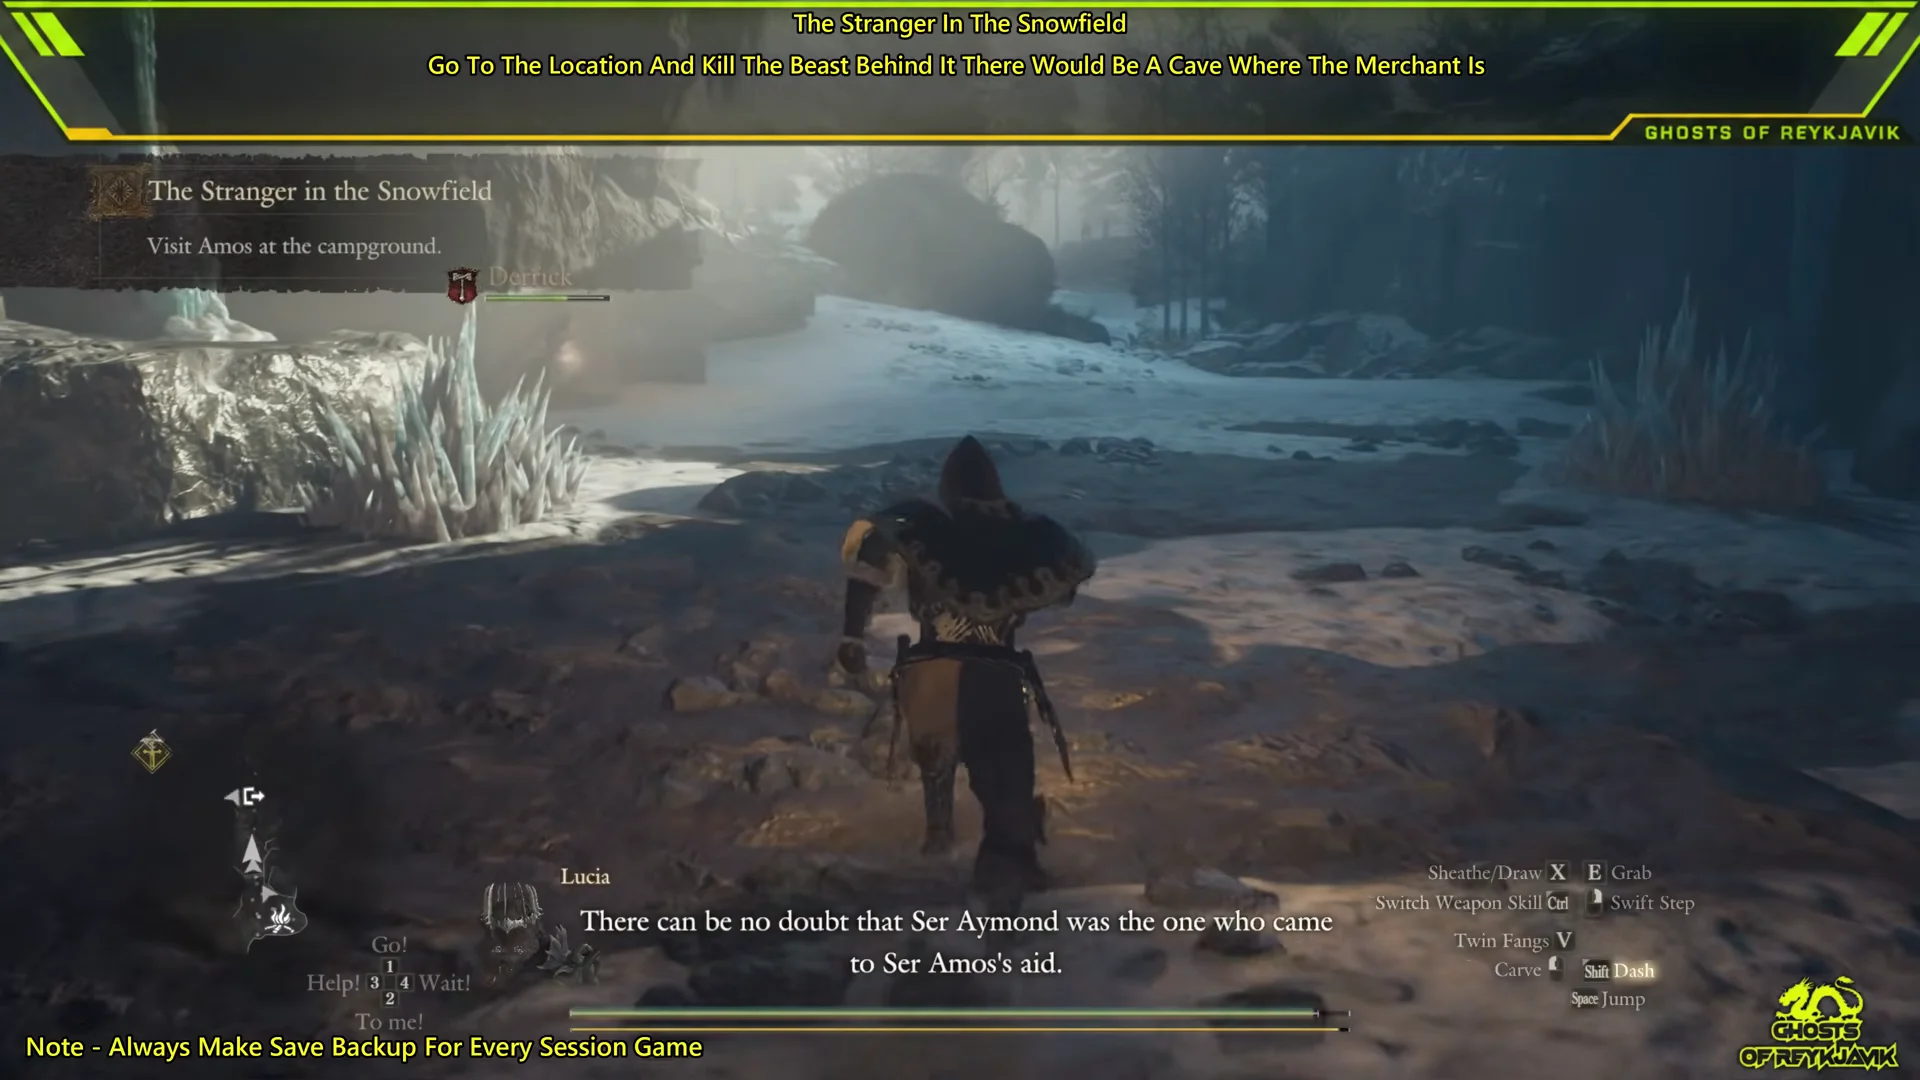
The six journal stages and what triggers each
Six stages sounds like a lot for a quest this short. Several of them are alternate versions of each other, and which ones you see depends on whether you already know Aymond and where the commission is camped.
| Journal stage | When it appears |
|---|---|
| Track down Amos’s savior | Start, Aymond not yet met |
| Track down the merchant | Start, Aymond already met |
| Go after the stranger | Spotting him, first meeting |
| Go after the merchant | Spotting him, already met |
| Visit Amos at the campground | After the message is delivered |
| Travel with the commission to Lorade Castletown | Commission must move before the reunion |
The last stage exists because the reunion is tied to the commission’s camp. If the commission is due to relocate to Lorade Castletown, that move comes before Amos and Aymond can meet.
The reunion and quest completion
The trip back can be made on foot or with an Eternal Ferrystone to the Norgan Portcrystal. Either way, Aymond gets to the campground first.
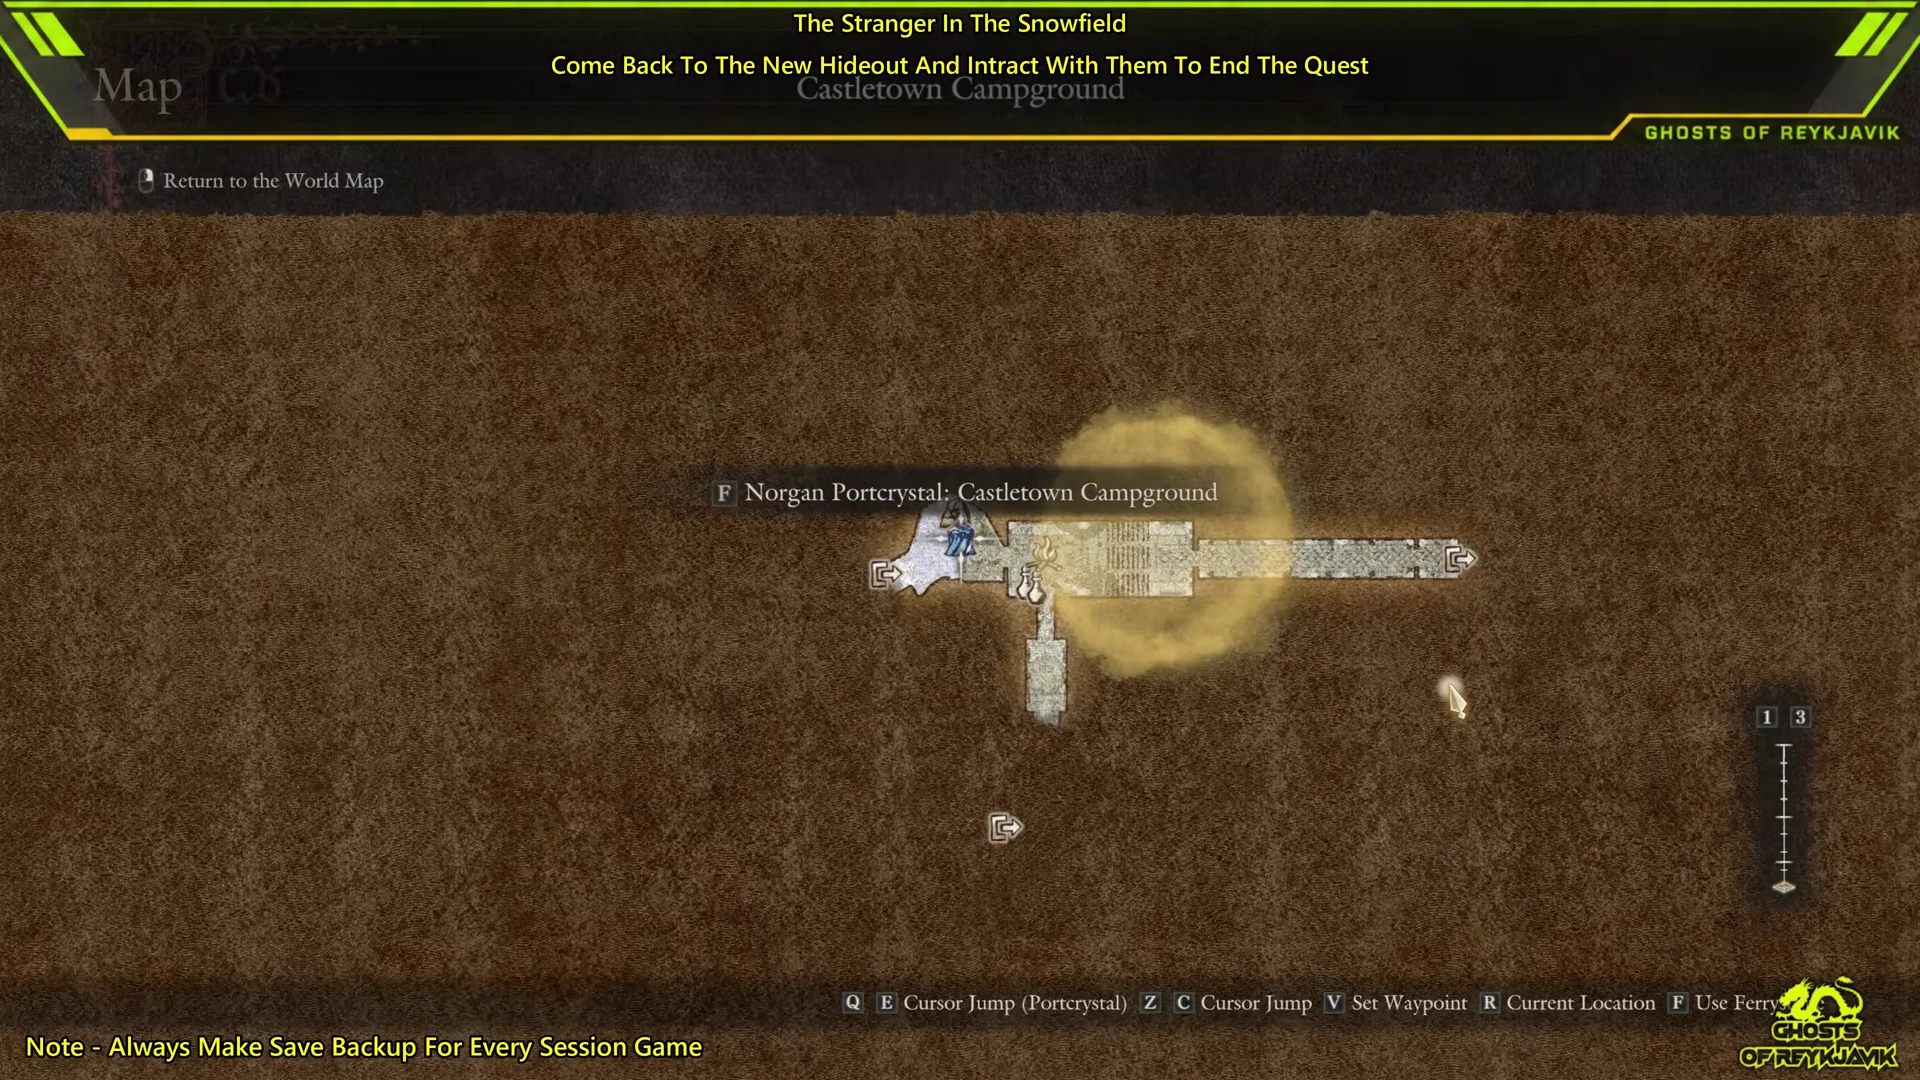
Walking into the cave and approaching Amos starts the final conversation automatically, with both men by the fire. Aymond greets you with “Look who ’tis! Our savior has arrived!” Amos thanks you for finding Ser Aymond, and the merchant adds that you’ve given him both his life and new customers.
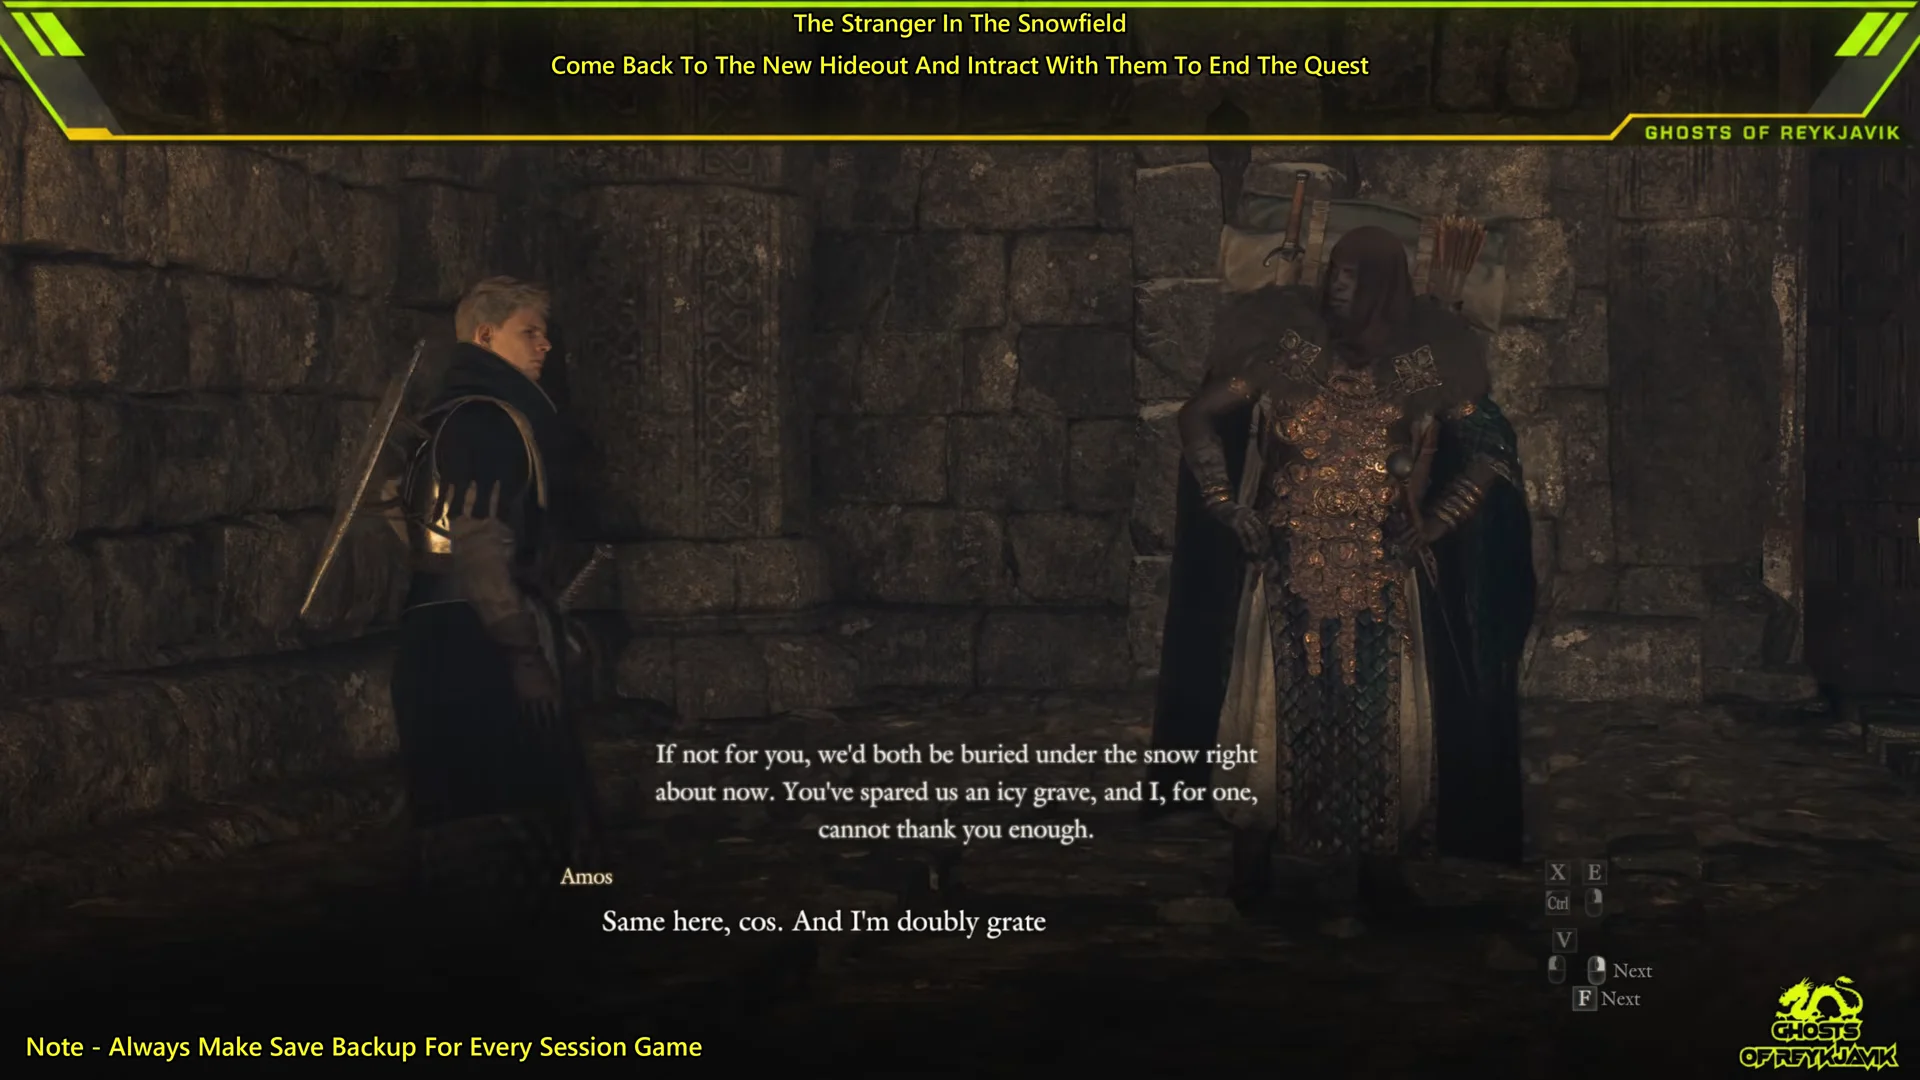
Three on-screen messages confirm the quest is done, in this order:
- “Amos and Aymond thanked you for your aid.”
- “+30000 XP” and “15000 G”, with +0 Dcp
- “Completed: The Stranger in the Snowfield”
Finishing the quest also raises your standing with both Amos and Aymond, which matters for Aymond’s prices.
Aymond’s shop stock after The Stranger in the Snowfield
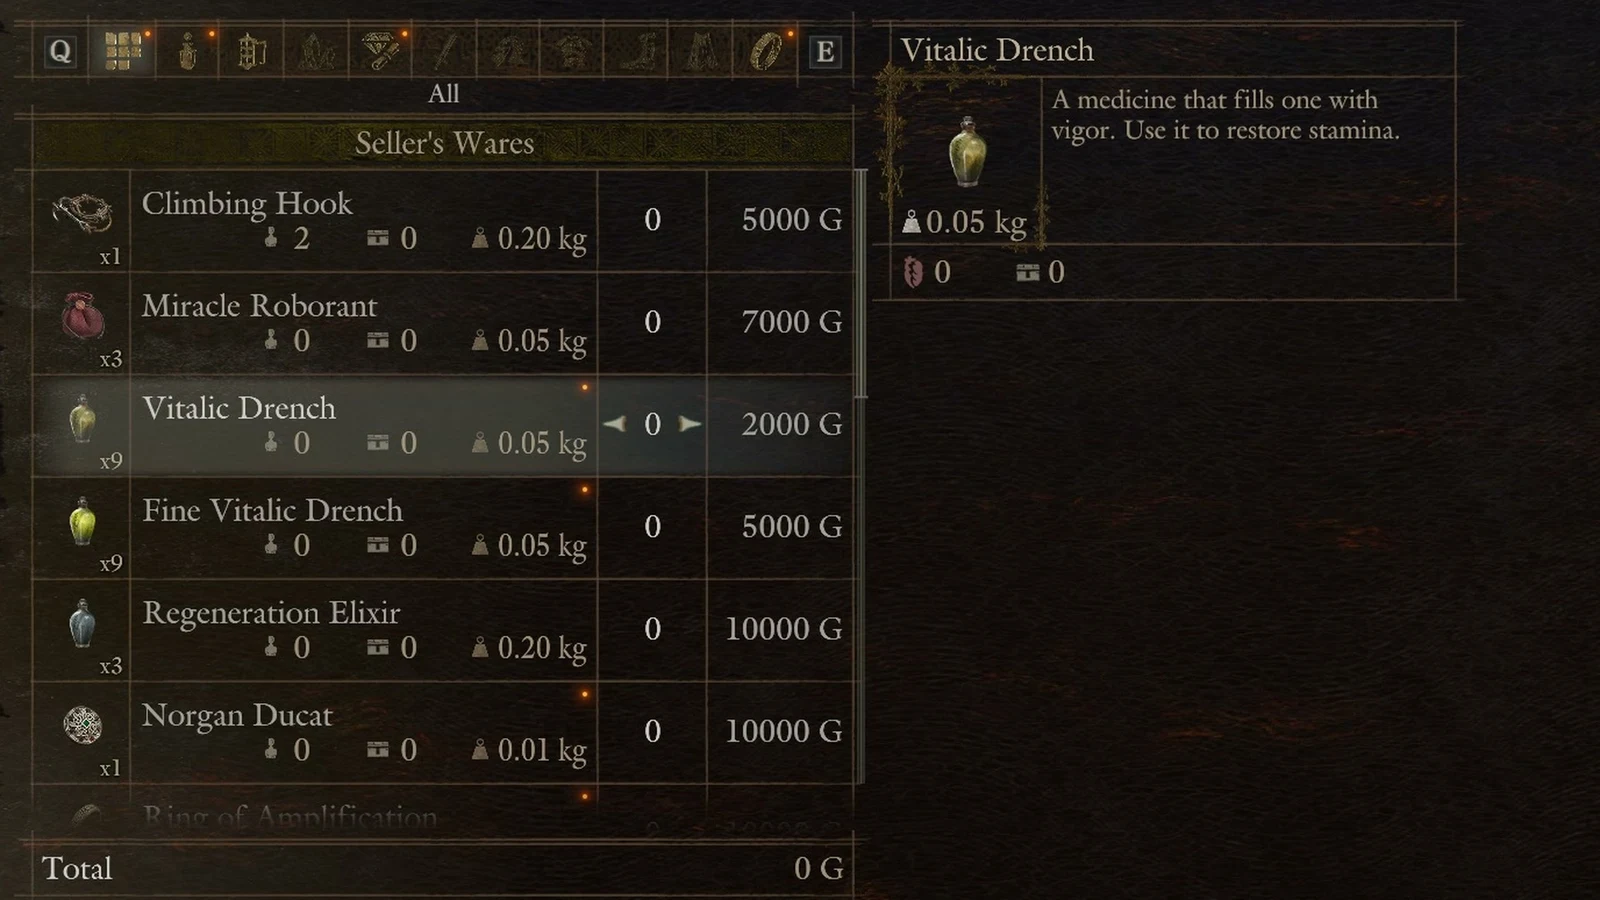
Once the reunion is over, Aymond sets up beside Amos and operates a shop. Hail him to see Buy, Sell, Talk, and Cancel. His stock contains 17 items, mostly curatives and rings, with an individual restock timer for each.
| Item | Price | Stock | Restock |
|---|---|---|---|
 Heatstone | 3,000 G | 10 | +4 daily |
 Climbing Hook | 5,000 G | 1 | +1 every 10 days |
 Miracle Roborant | 7,000 G | 3 | +3 daily |
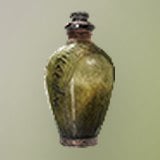 Vitalic Drench | 2,000 G | 9 | +9 daily |
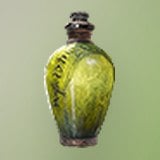 Fine Vitalic Drench | 5,000 G | 9 | +9 daily |
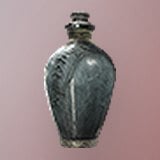 Regeneration Elixir | 10,000 G | 3 | +1 every 3 days |
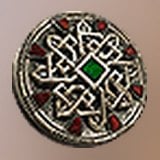 Norgan Ducat | 10,000 G | 1 | +1 every 10 days |
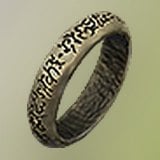 Ring of Amplification | 10,000 G | 4 | +1 daily |
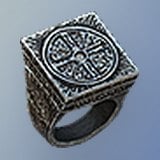 Ring of Loquacity | 15,000 G | 4 | +1 daily |
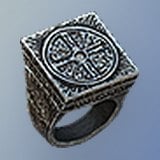 Ring of Quenching | 20,000 G | 4 | +1 daily |
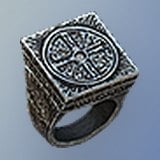 Ring of Thawing | 10,000 G | 4 | +1 daily |
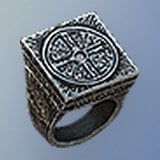 Ring of Insomnolence | 20,000 G | 4 | +1 daily |
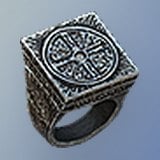 Ring of Purification | 20,000 G | 4 | +1 daily |
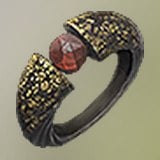 Ring of Vehemence | 10,000 G | 4 | +1 daily |
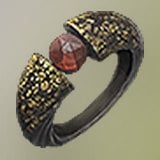 Ring of Recitation | 20,000 G | 4 | +1 daily |
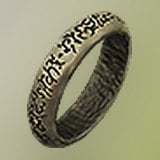 Ring of Quickening | 10,000 G | 4 | +1 daily |
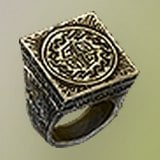 Ring of Clarity | 10,000 G | 4 | +1 daily |
Those are base prices. Aymond knocks off 5 percent once he likes you and 10 percent once he adores you. He also appears in Quilt Me Down with a Feather, Hal’s Treasure Hunt and Back to the Temple. Completing Quilt Me Down with a Feather, which requires The Castle in the Ice and rewards a Firebird Cloak, adds Level 4 Spoils to his stock.
Heatstone and Regeneration Elixir values
Two items in Aymond’s stock connect directly to the quest. The Heatstone is the gift that started the story. The Regeneration Elixir is the most expensive curative he sells. Both affect the whole party, and both can be gifted.
| Value | Heatstone | Regeneration Elixir |
|---|---|---|
| Buy price | 3,000 G | 10,000 G |
| Sell price | 150 G | 3,000 G |
| Forgery fee | 3,600 G | 12,000 G |
| Weight | 0.05 kg | 0.2 kg |
| Stack | 99 | 99 |
| Other sellers | Ilda (3,000 G) | Hal (10,000 G) |
Heatstone
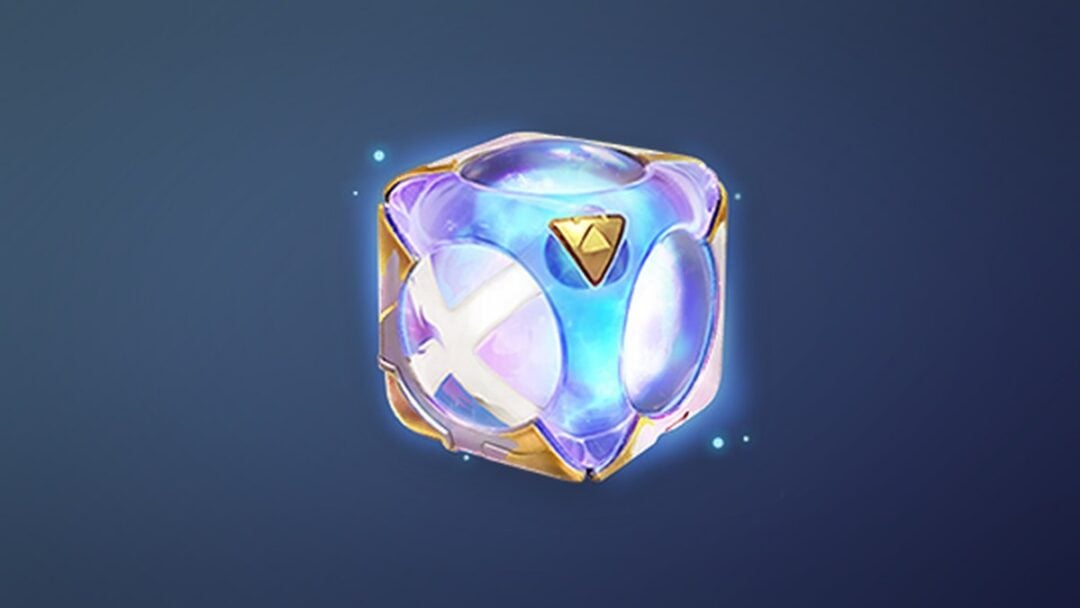
A Heatstone keeps the party from being chilled for a limited time. You can also craft it. Combining a Sunstone with either Warming Salve or Molten Ore makes three at once. Combining a Heatstone with Withered Branches makes an Explosive Arrow.
Regeneration Elixir
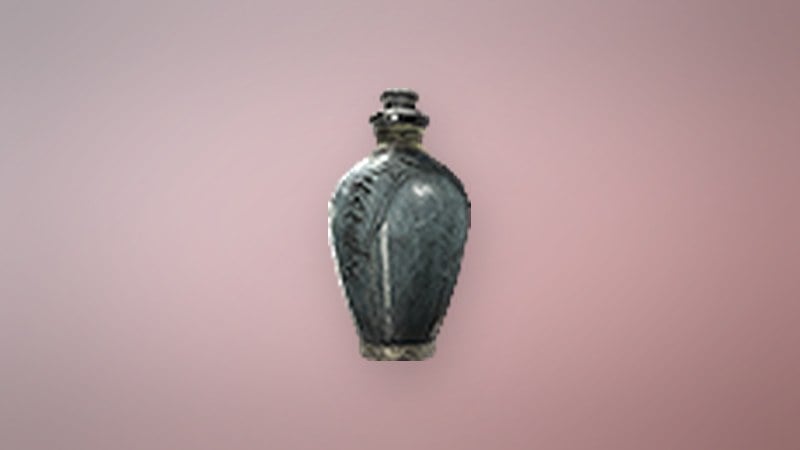
Using the Regeneration Elixir gives each party member some Health and restores 40 points to their loss gauge. Hal and Aymond sell it; it can also drop from Lesser Demons, come from appraising Normal or Rare Abandoned Supplies, or be earned as a reward for Flight in the Night and Bout of Passage.
Because Aymond stays with the commission and his limited stock refills on separate timers, his counter becomes a regular stop for Climbing Hooks, drenches and Heatstones as you work through the rest of Norgan. Amos’s story continues in other commission quests, including Sealed History, Soul Searching and Where There’s a Will, There’s a Way.