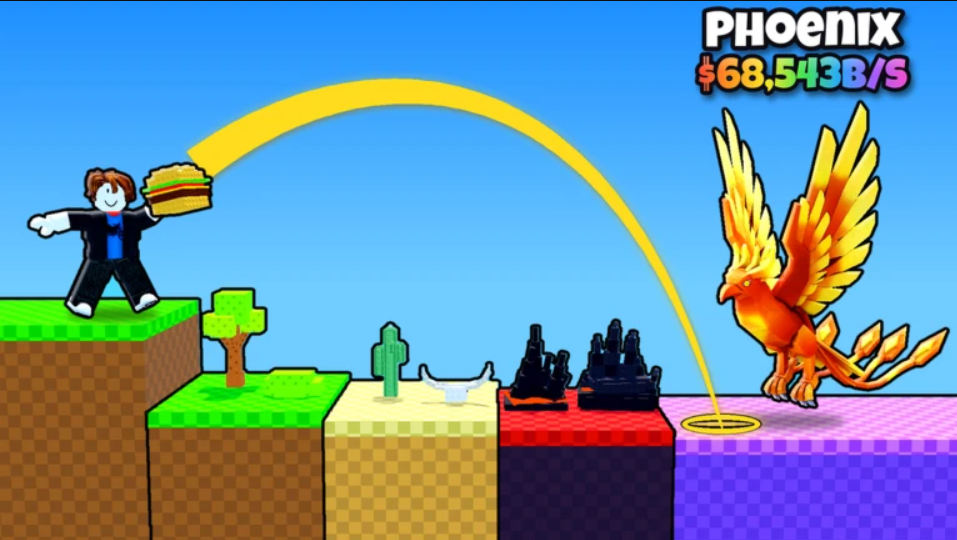
In Throw Food For Animals, every animal you own came for the food. Whatever you throw decides what walks over, and the Food Shop is where the free Carrot gets replaced with better bait. The early shop ladder has seven foods. Prices start at $30 and reach $1M by the seventh rung.
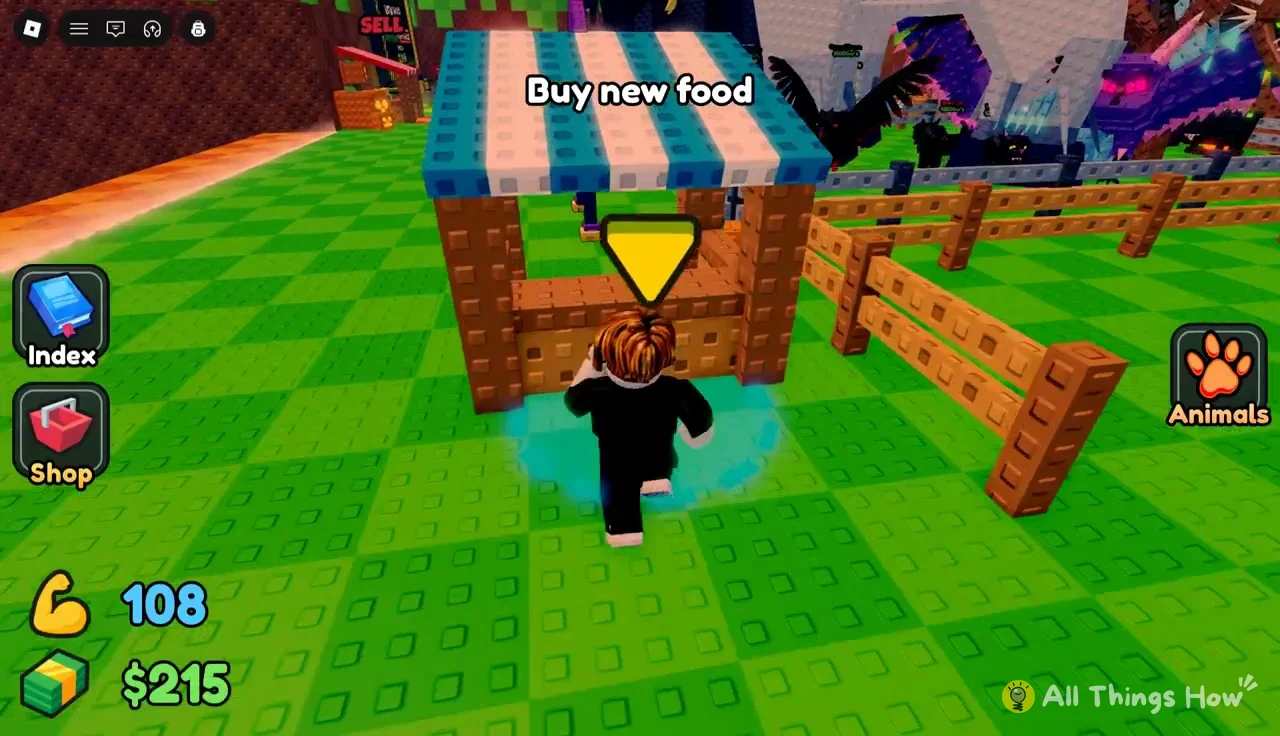
Quick answer: The Food Shop sells Carrot (free starter), Apple ($30), Banana ($150), Toast ($4K), Orange ($20K), Pear ($200K), and Cheese ($1M). You buy them in order at the “Buy new food” stall.
Throw Food For Animals food list by rarity, tier, and price
Each food card in the shop shows the same three labels: rarity, tier, and price. Here is the full early ladder in shop order.
| Food | Rarity | Tier | Price |
|---|---|---|---|
| Carrot | Common | 1 | Free (starter) |
| Apple | Common | 1 | $30 |
| Banana | Common | 1 | $150 |
| Toast | Uncommon | 2 | $4K |
| Orange | Uncommon | 2 | $20K |
| Pear | Uncommon | 3 | $200K |
| Cheese | Rare | 3 | $1M |
Rarity and tier don’t move in lockstep. Pear is still Uncommon but already sits in Tier 3, and Cheese, the first Rare food, shares that tier with it. The Carrot is equipped when you start and is the only food you don’t pay for.
The prices rise quickly. Banana costs five times as much as Apple, Toast costs over 26 times as much as Banana, and Pear costs ten times as much as Orange. Cheese at $1M is the first seven-figure food. The shop only shows a short window of foods at a time, so anything past Cheese stays off the list until you get there.
How to buy new food from the Food Shop
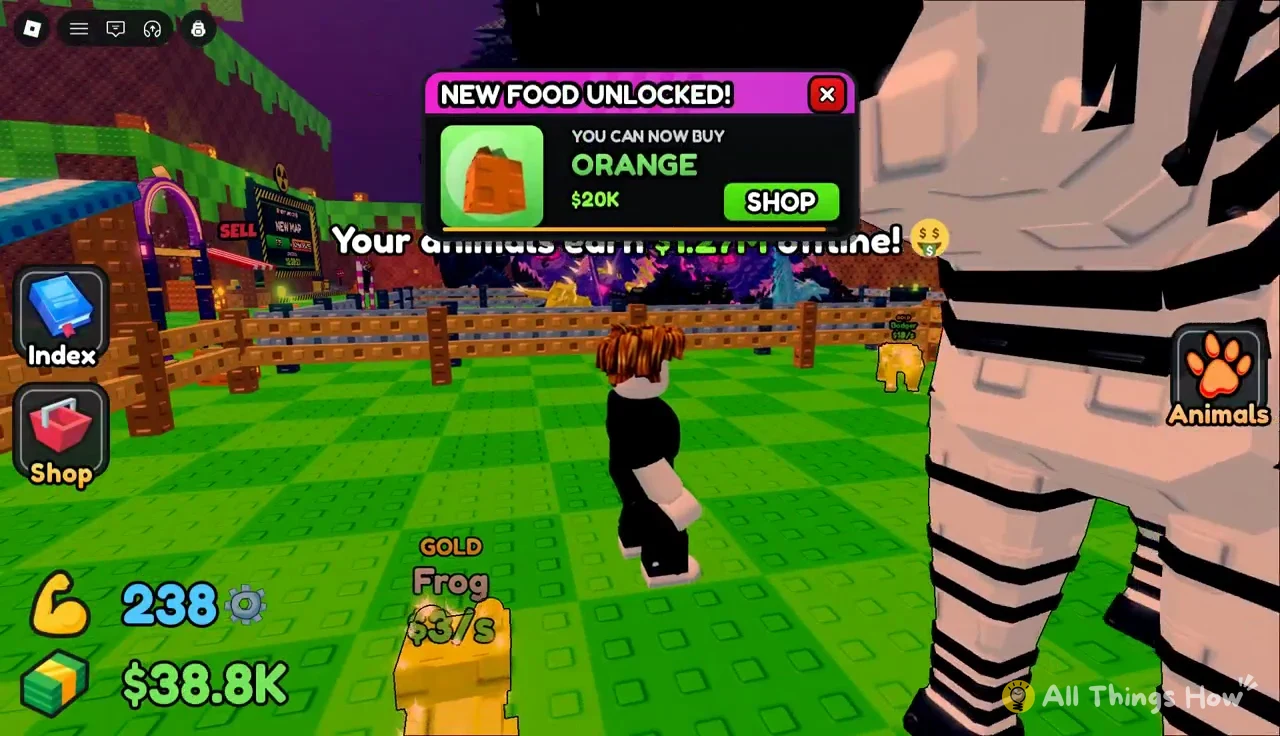
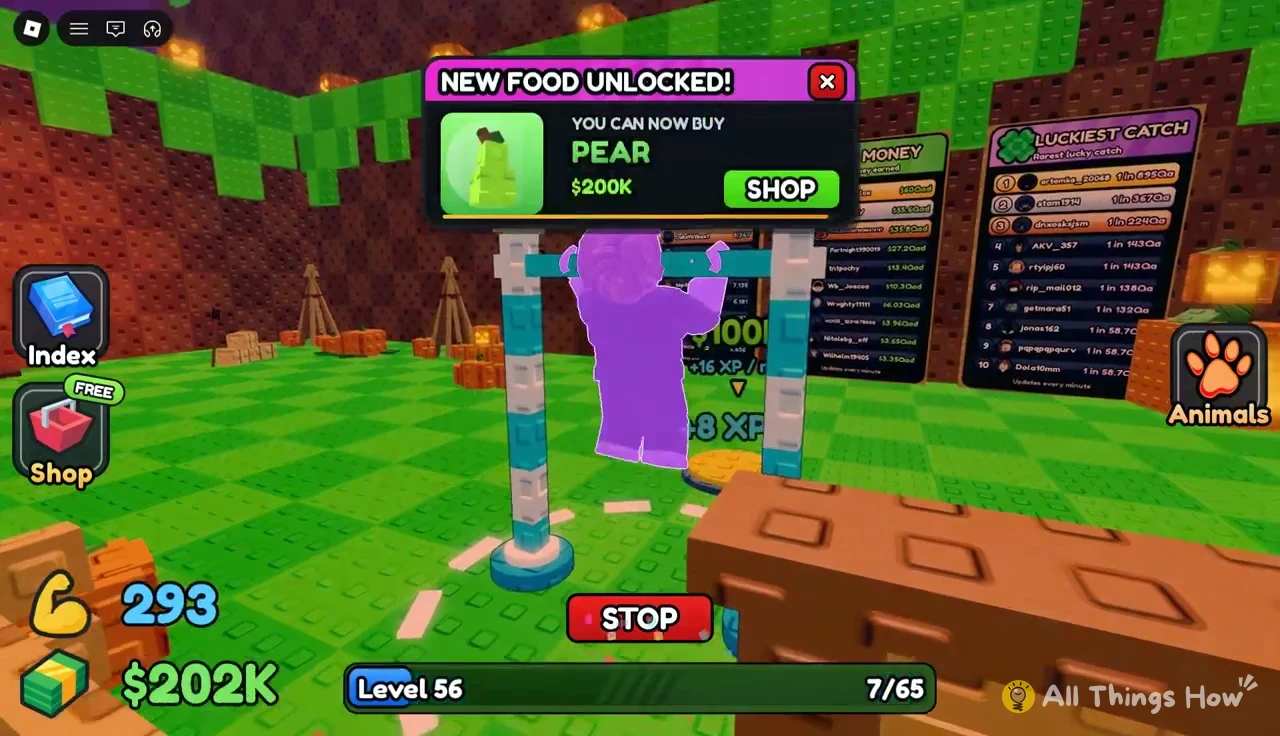
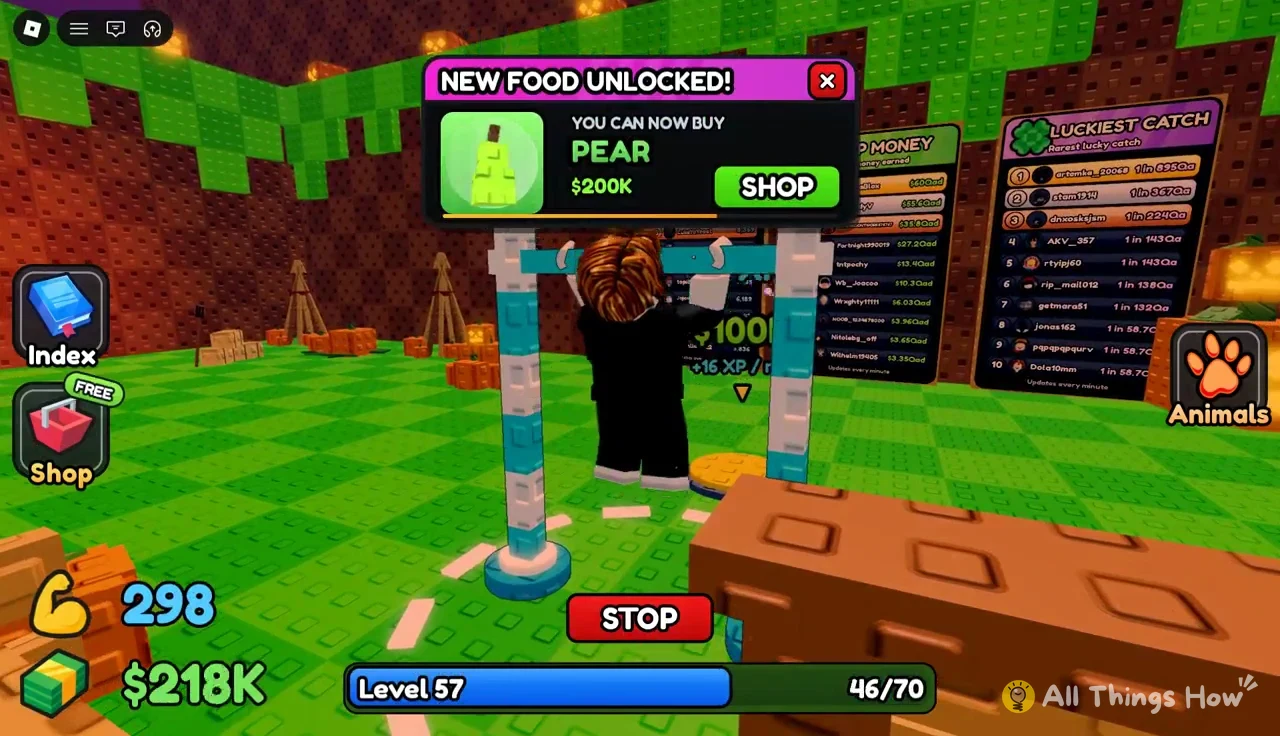
Each new food is announced with a “NEW FOOD UNLOCKED!” popup that reads “YOU CAN NOW BUY” followed by the food and its price. The popup has its own Shop button, so you can jump straight to the purchase screen.
These popups show up no matter what you’re doing, including in the middle of a pull-up set. Pear’s popup reads $200K, and the Cheese card at $1M appears in the shop window at the same time.
Throwing each food and the animals it attracts
Catches are random rolls, so the same food can bring in different animals. The table below shows real outcomes for each early food.
| Food | Zone (Luck) | Animal | Income |
|---|---|---|---|
| Apple | Forest (3.13X) | Gold Badger | $18/s |
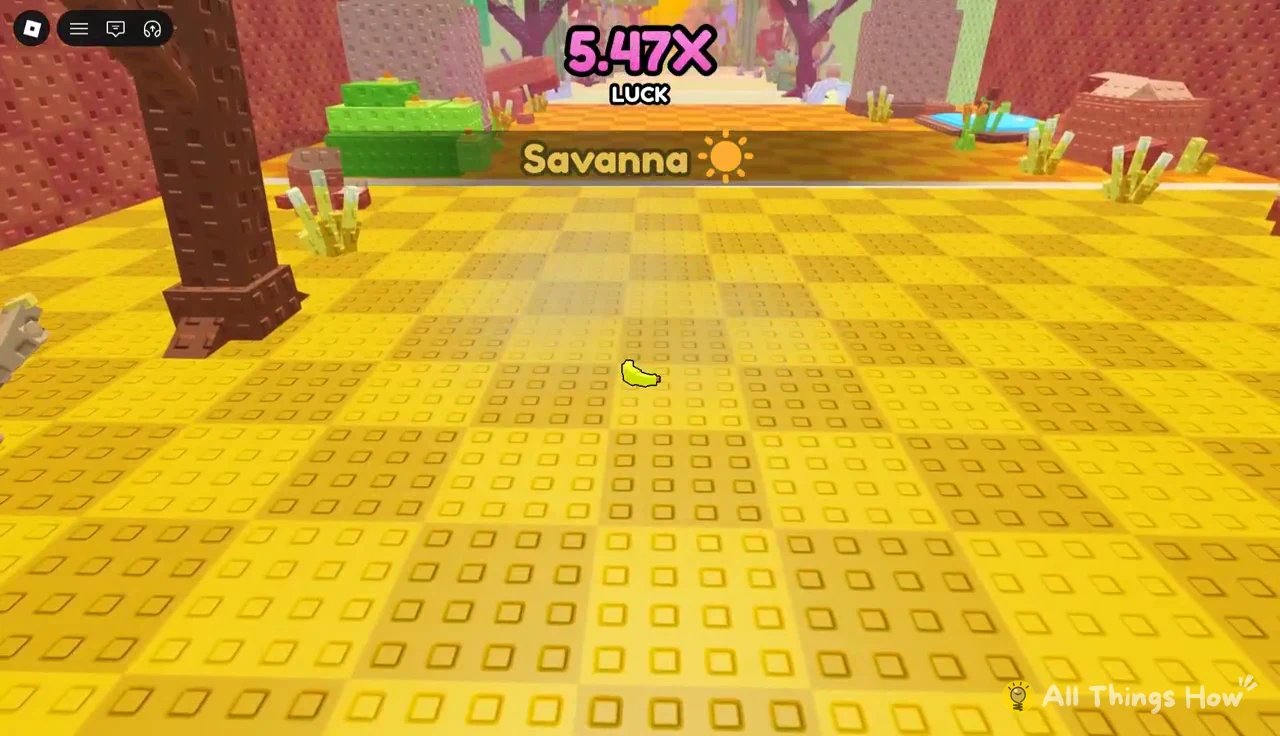
| Banana | Savanna (5.47X) | Large Hyena (1 in 1,296) | $861/s |
| Toast | Savanna (5.47X) | Big Zebra | $664/s |
| Orange | Savanna (5.48X) | Diamond Aardvark (1 in 961) | $1.44K/s |
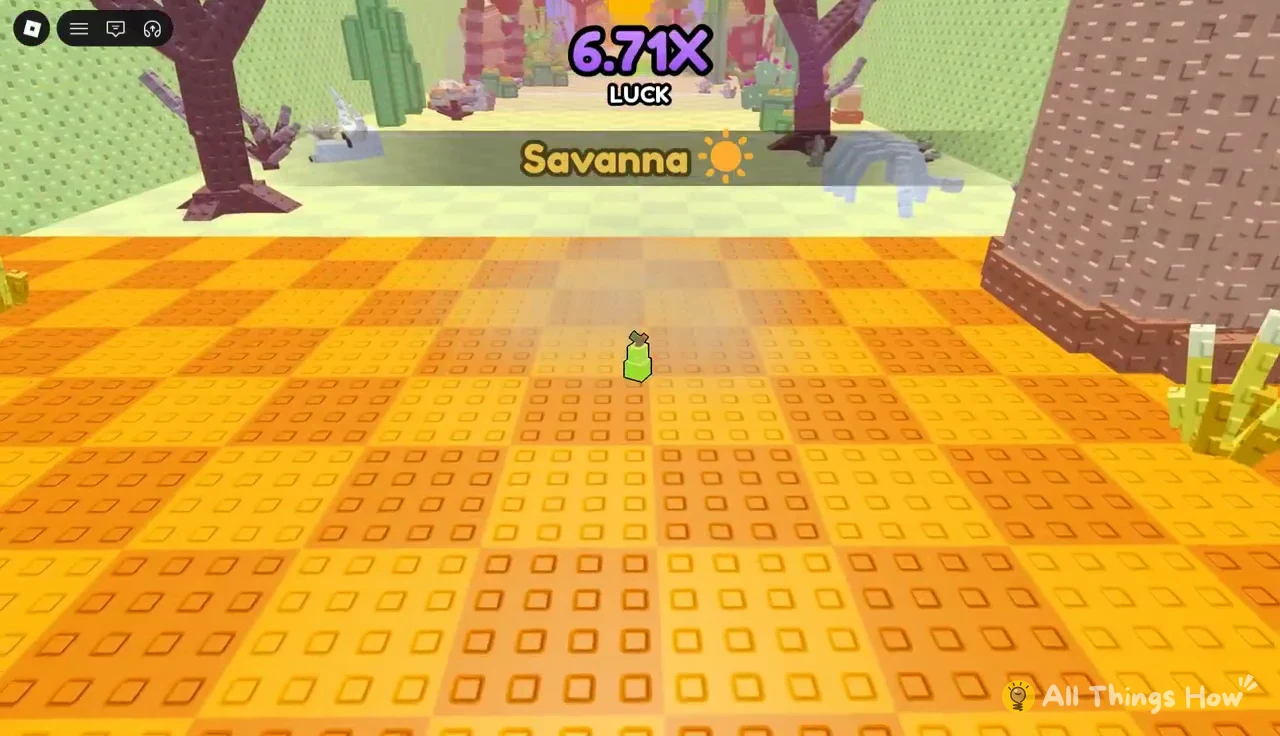
| Pear | Savanna (6.71X) | Lion | $1K/s |
The size and color tags make a big difference. A Large Hyena from a $150 Banana earns more than a Big Zebra from $4K Toast, because the Hyena came from a 1-in-1,296 roll. Once your throws pass the Forest, the Savanna’s yellow, checkered ground is where most early catches happen.
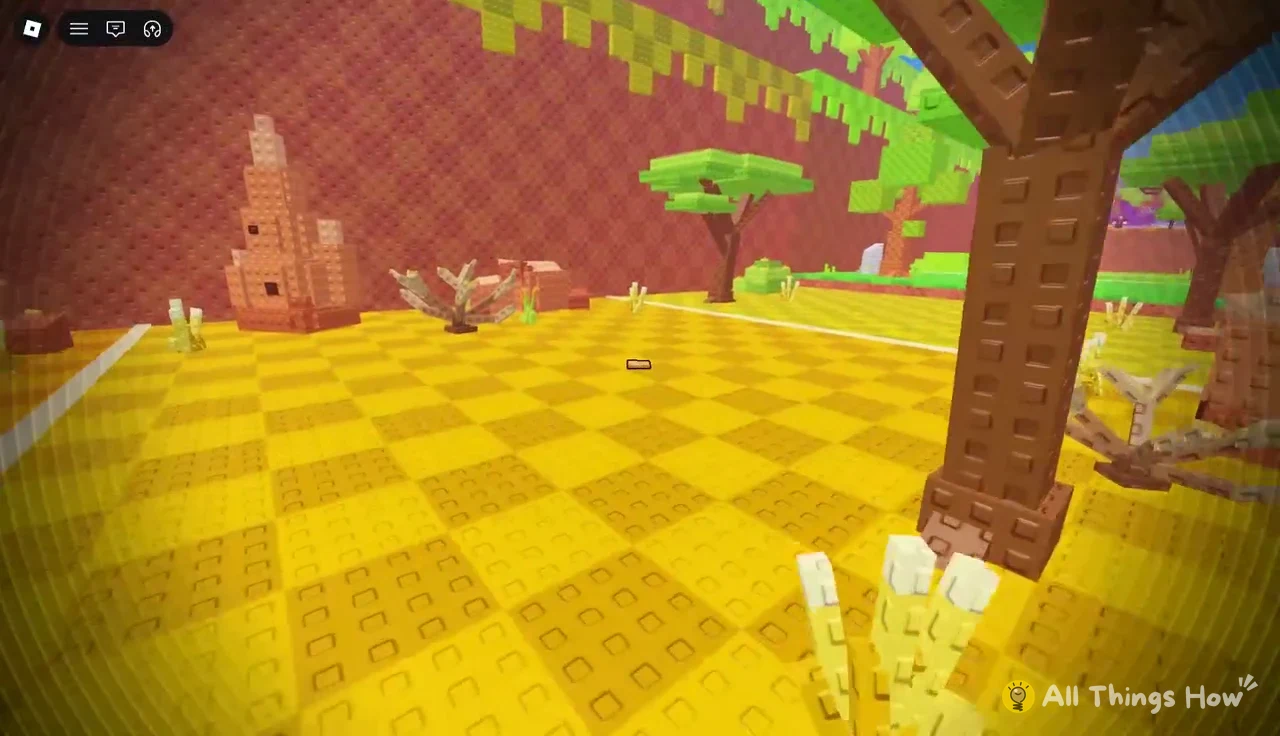
The Luck multiplier in a zone isn’t fixed. Pear throws into the Savanna show 6.71X, compared with 5.47X for earlier foods.
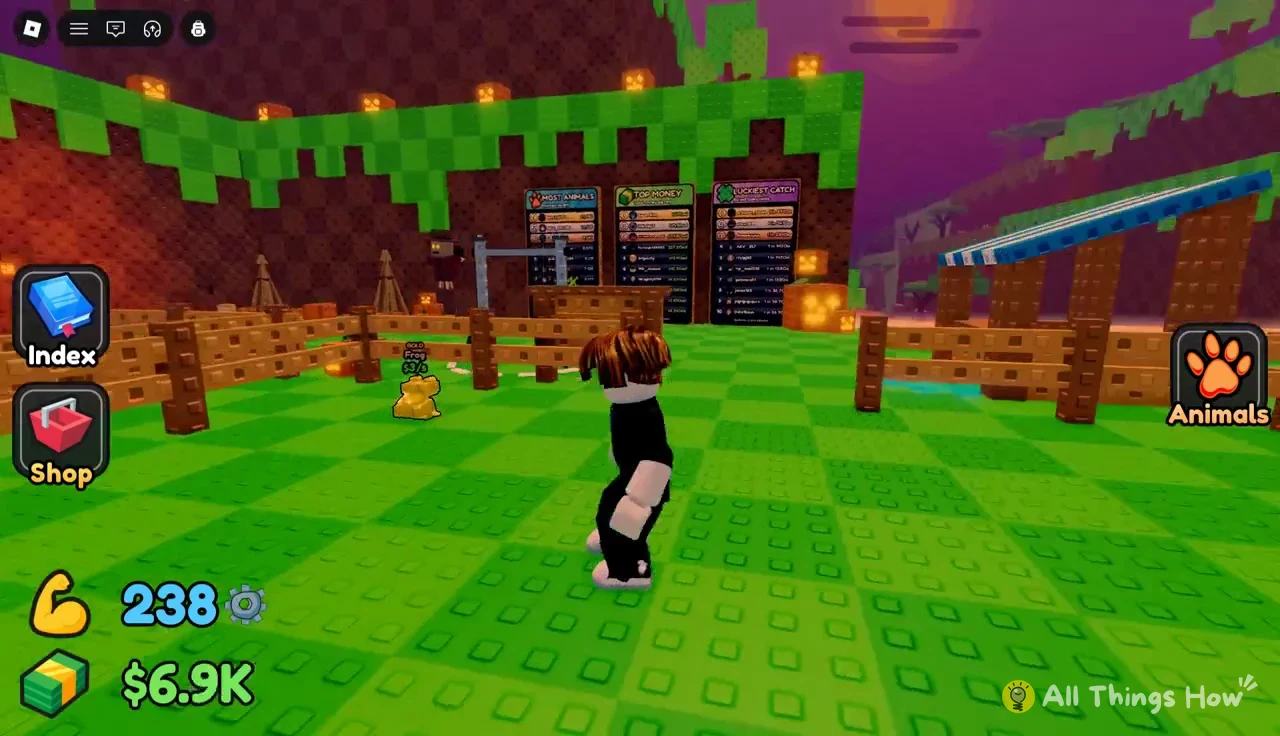
Collected animals live in your pen, and each one shows its earnings per second. A Gold Frog, for example, earns $3/s. The Animals button opens your list of everything you own.
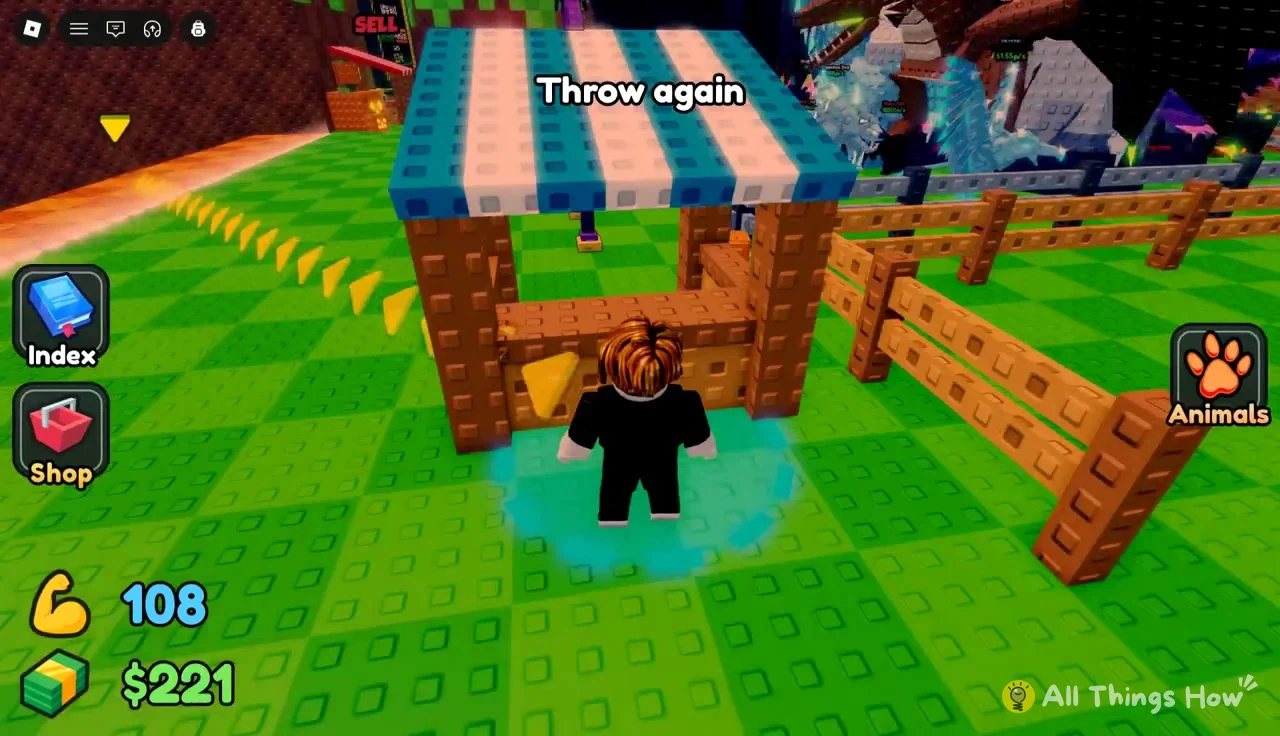
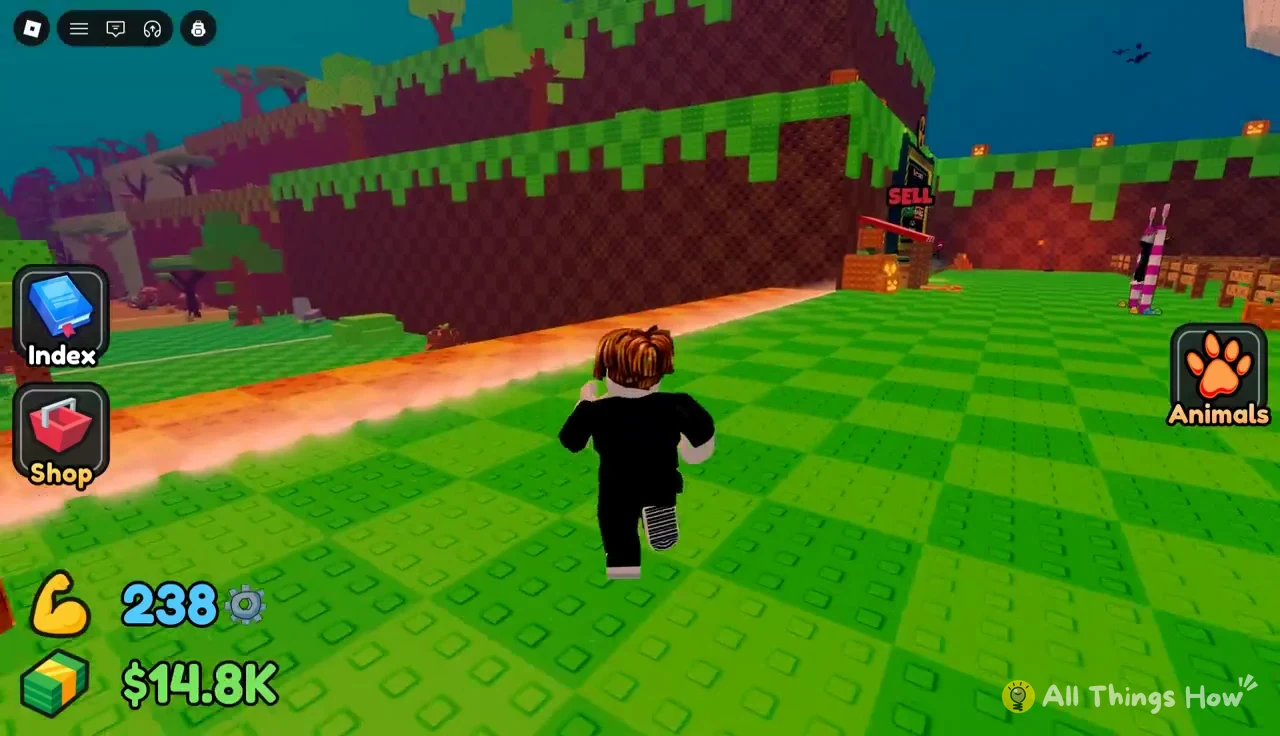
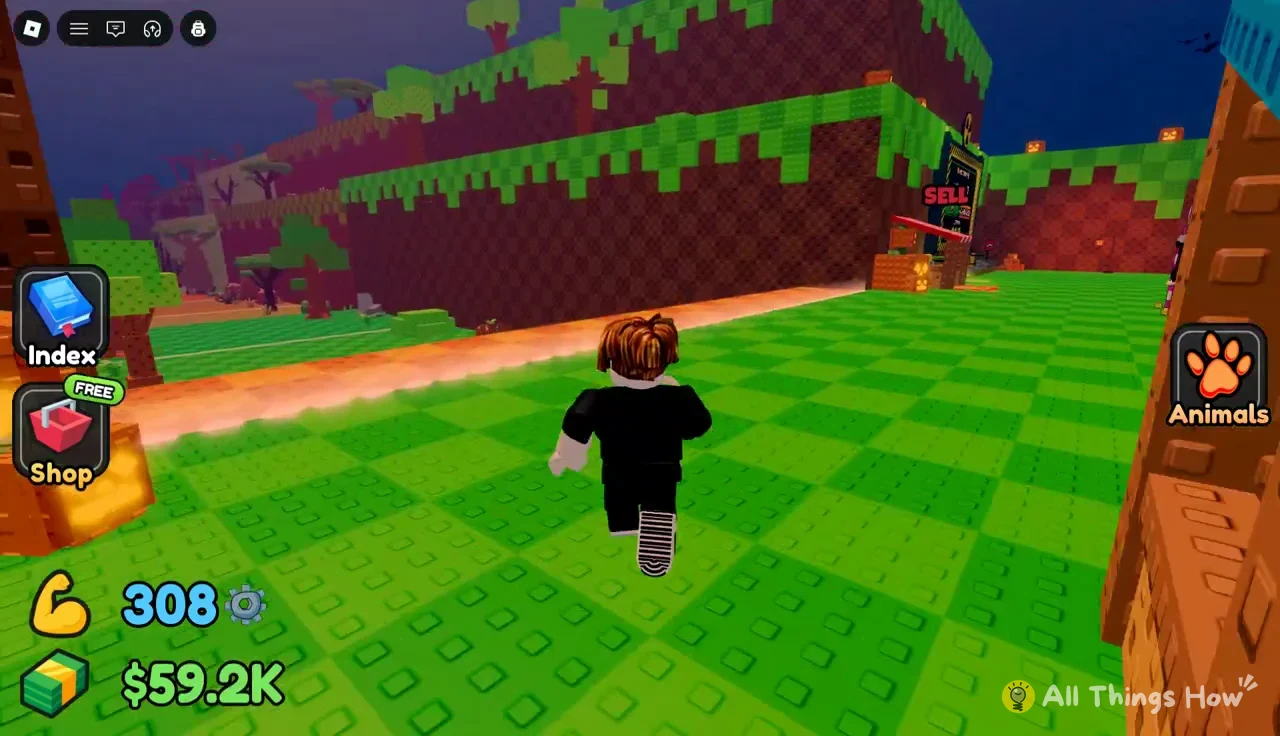
Your plot also has a SELL booth. The trip between the runway, the food stall, and the bars runs across this plot.
Throw Power and pull-up bars: how far your food flies
Food decides what comes to eat. Throw Power decides where the food lands. You raise it by doing pull-ups, and every level gained shows “LEVEL UP! Throw Power +5”. A red STOP button ends your set.
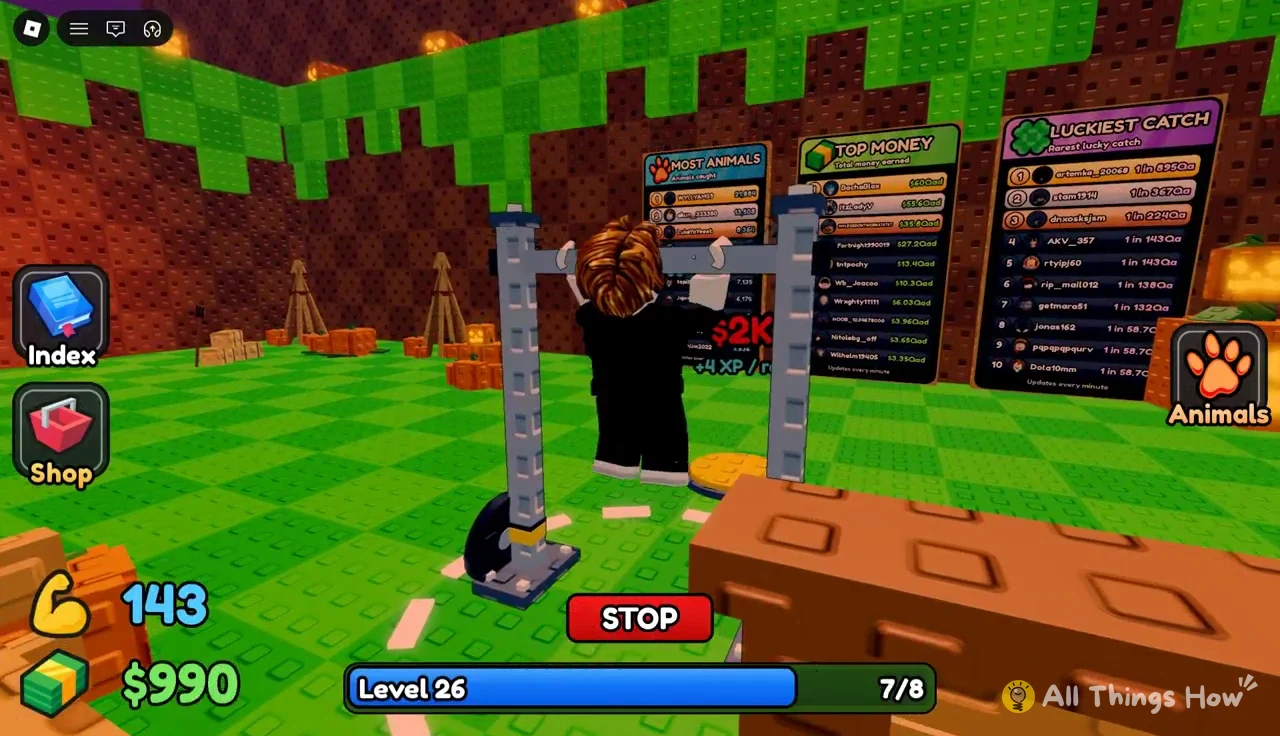
Better bars give more XP per rep, so you level faster. You start on a wooden bar. Each upgrade costs the same cash you spend on food.
| Bar | Price | XP per rep |
|---|---|---|
| Wooden bar | Default | — |
| Steel Bar | $50 | +2 |
| Gold Bar | $2K | +4 |
| Cyan Bar | $12K | +8 |
| Violet Bar | $100K | +16 |
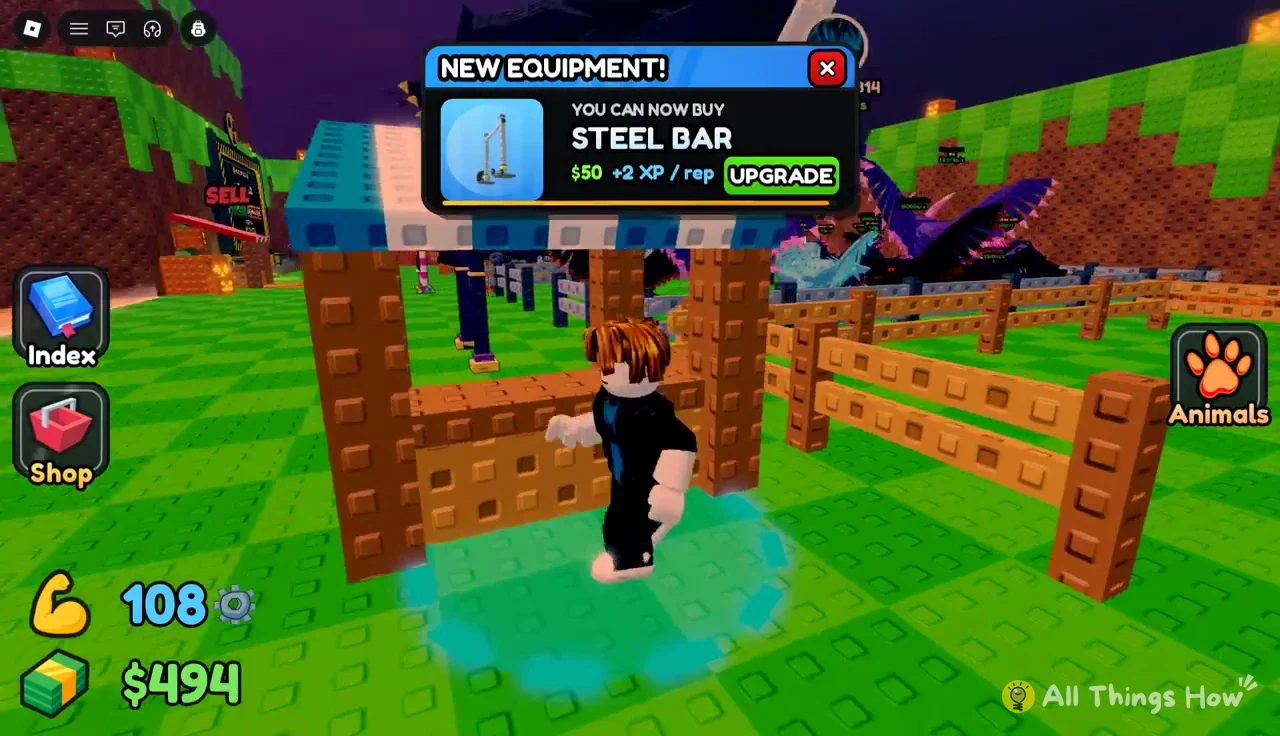
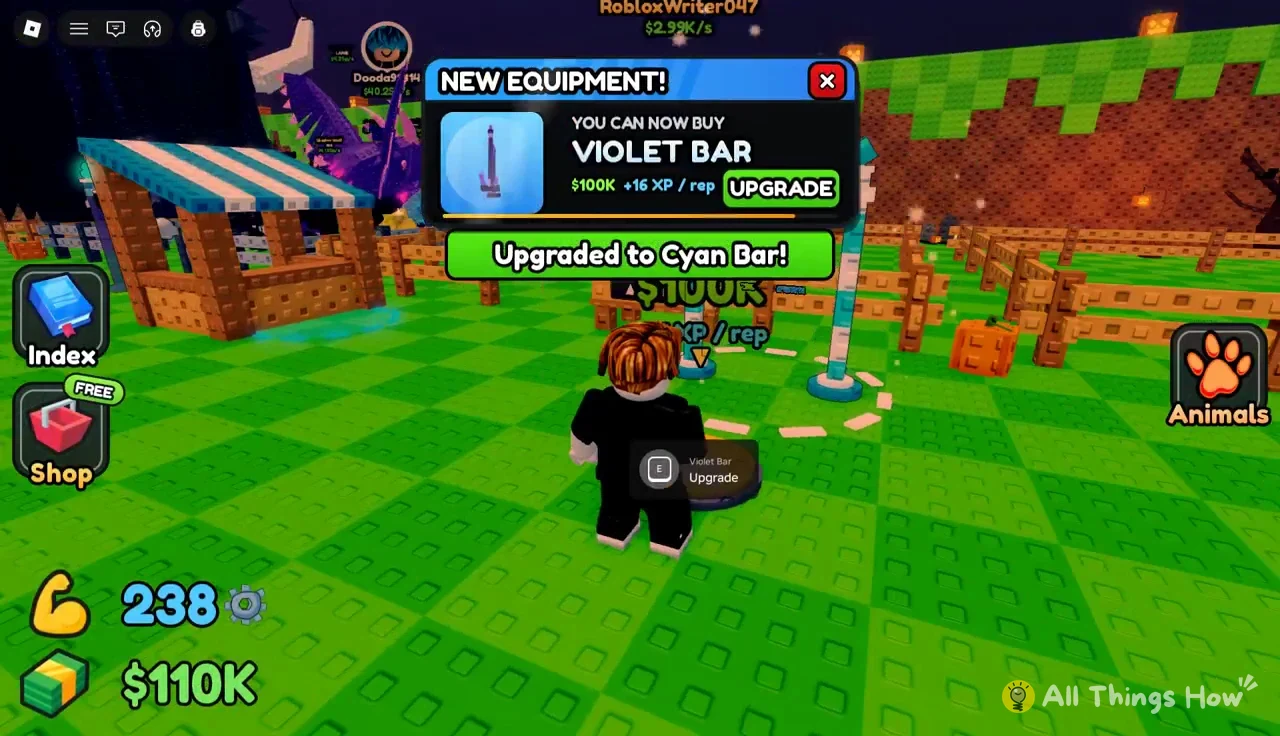
New bars arrive the same way new foods do, through a popup. This one is labeled “NEW EQUIPMENT!” and has an UPGRADE button. When the purchase goes through, you’ll see a banner such as “Upgraded to Steel Bar!”
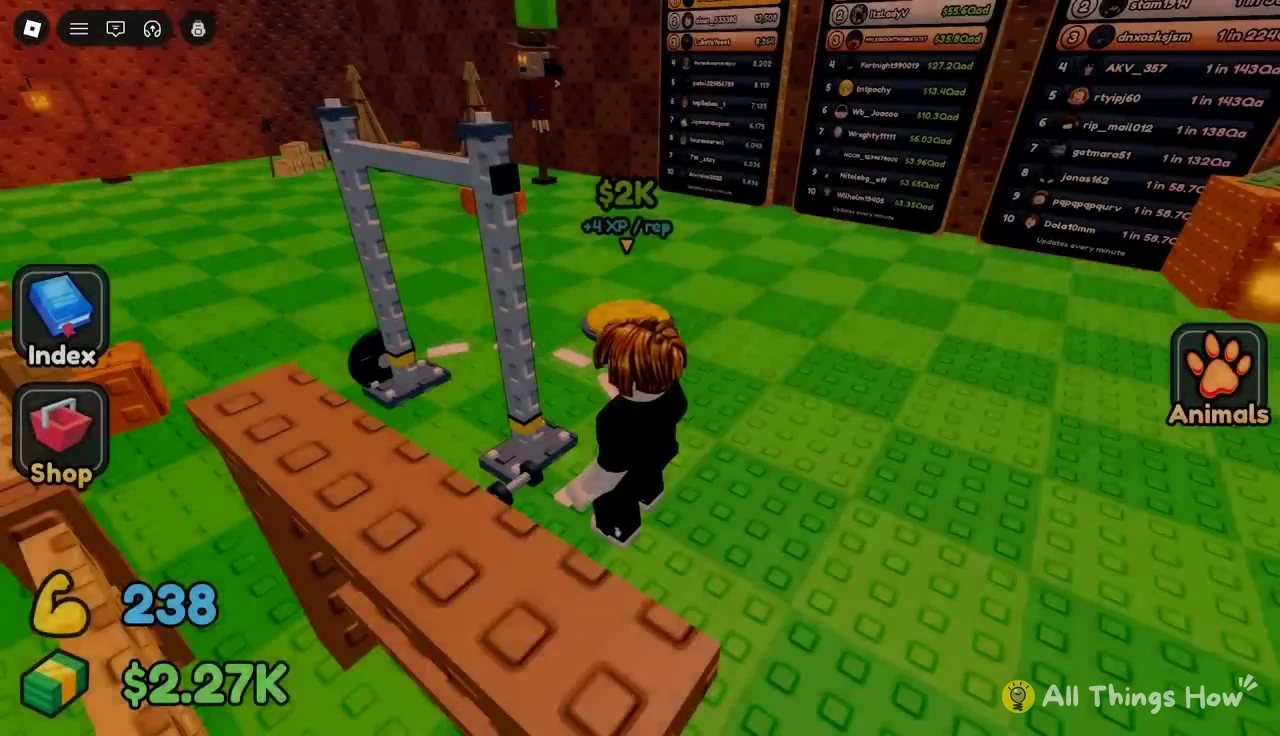
Each bar station has a marker overhead showing its price and XP rate. The Gold Bar’s marker, for example, reads $2K and +4XP/rep.
After you buy the Cyan Bar, the next offer is the Violet Bar at $100K. That’s half the price of Pear, so the next bar and the next food compete for the same cash at this stage.
You don’t need to leave the bar to buy food. When an unlock popup appears mid-set, its green SHOP button takes you straight to the purchase.
After a training set, head back across the plot to the runway. Your next throw uses your new Throw Power.
Tracking catches in the Animal Index and hub
Your food purchases eventually show up in the Animal Index. It lists 128 animals in total and tracks each zone separately. The Forest page, for example, counts out of 8. The Index, Shop, and Animals buttons are always on screen in the hub.
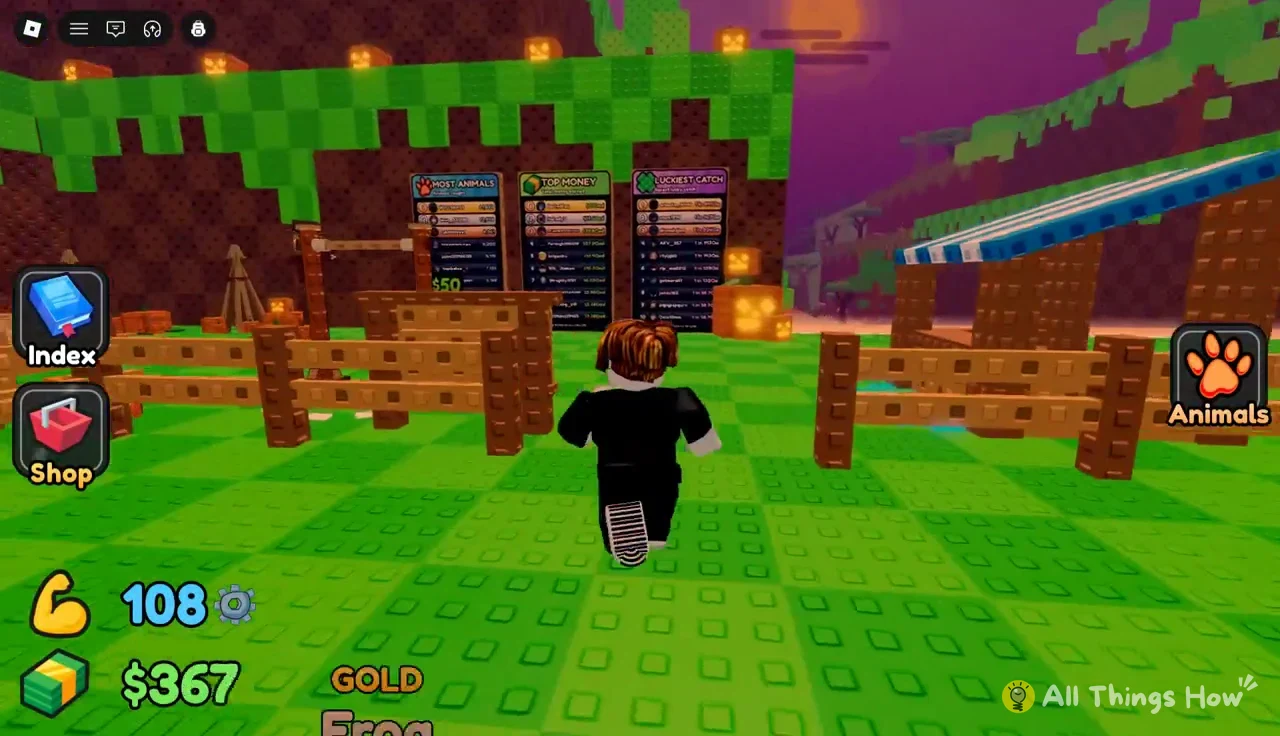
Leaderboards on the hub walls rank players in three categories: Most Animals, Top Money, and Luckiest Catch.
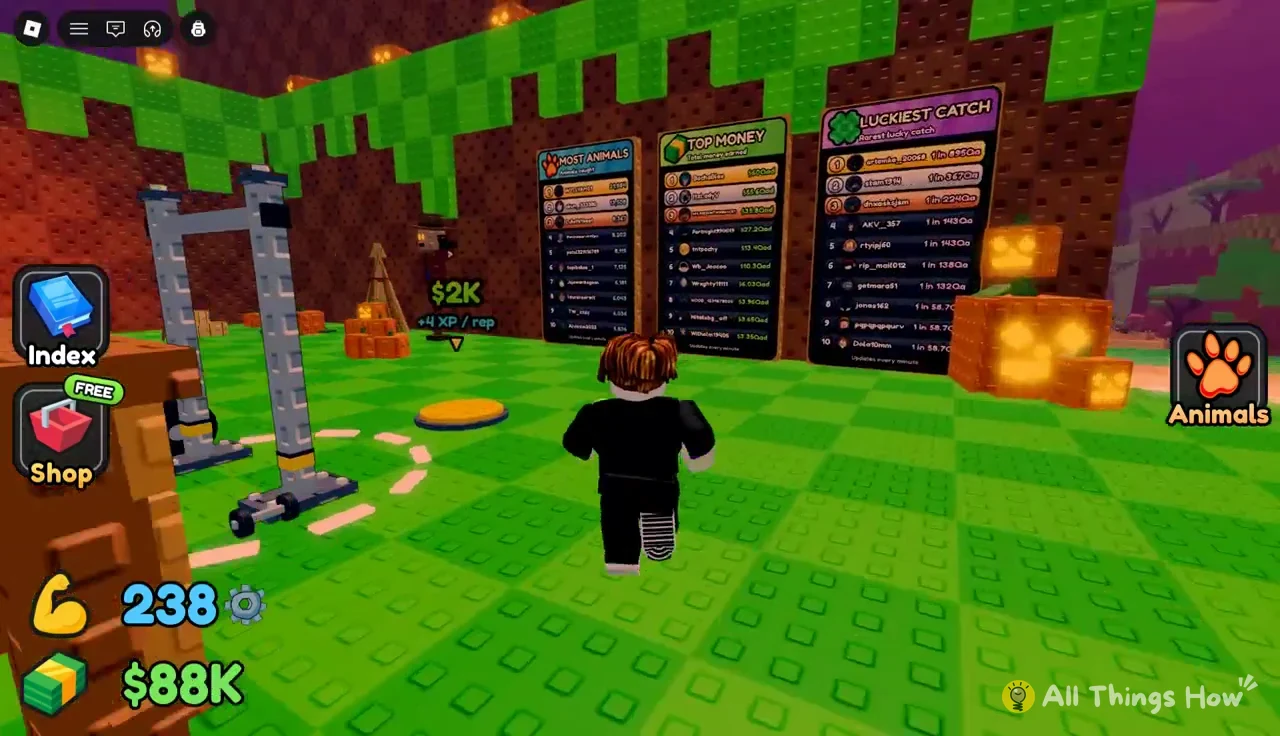
A 1-in-1,296 Large Hyena or a 1-in-961 Diamond Aardvark is the kind of lucky roll the Luckiest Catch board tracks.
Your animals also keep earning while you’re away. When you return, a popup reports how much they made, such as “Your animals earn $1.27M offline!” That can be enough for Cheese the moment you log back in, even if you exit through the Roblox menu with a food purchase still short.