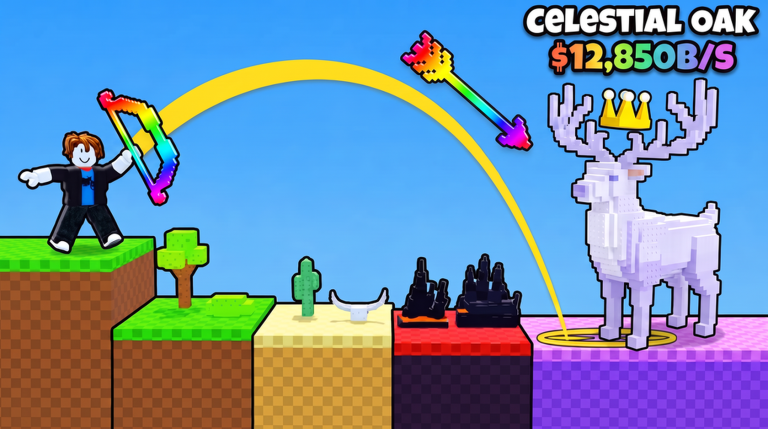
In Throw Food For Animals, any animal you catch can come back with a color mutation, a size tag, or both, and those labels change how much it earns every second. A plain Taiga Bear pays $49.4B/s. A Diamond Bear from the same area pays $143B/s. The labels show up in the catch banner along with the odds of rolling them, so you know right away whether you hit something rare.
Quick answer: Mutations are Gold, Diamond, Rainbow and Ruby, and sizes run from Big and Large up to Gigantic and Titanic. Shoot deeper for a higher Luck multiplier, then check the odds on the catch banner.
Mutation and size labels in Throw Food For Animals
Each catch rolls a species from the area you reached, then rolls for extra labels on top of it. The mutation goes in front of the species name and the size goes in front of that, so the game can stack them into names like Large Gold Fenrir or Gigantic Rainbow Starfire Phoenix. Here’s what turns up in catch banners and the server feed:
- Color mutations: Gold, Diamond, Rainbow and Ruby.
- Sizes: Big, Large, Gigantic and Titanic.
- Rarity tiers on the species: Rare, Epic, Legendary, Mythic and Divine, shown under the name.
- Combined rolls: a size and a mutation can land on the same animal, like Ruby Titanic Woodpecker.
The rarity tier comes from the species itself, and the mutation and size sit on top of it. That’s why a Gold Bear is still listed as Legendary and a Gold Fenrir is still Mythic, even though both earn more than their plain versions.
Every animal has its own income figure, and that number is the one to trust. Hold an animal or tap it in your collection and the tooltip shows its rarity and cash per second. A plain Rare Jackal, for example, shows $18.5K/s.


Catch banners, odds and income for mutated animals
When a roll lands on something uncommon, the game says so in big letters before it shows you the animal. A 1 in 30 roll gets a “LUCKY!” banner, a 1 in 192 roll gets “INSANE CATCH!”, and anything in the six-figure range gets “IMPOSSIBLE CATCH!!!”, which also gets announced to the whole server. A plain catch just shows the species, its tier and its income. These are real Taiga, Winter and egg results, with plain versions included so you can compare:
| Animal | Tier | Odds shown | Income |
|---|---|---|---|
| Bear | Legendary | None | $49.4B/s |
| Gold Bear | Legendary | None | $76.6B/s |
| Diamond Bear | Legendary | 1 in 30 | $143B/s |
| Kitsune | Mythic | None | $74.2B/s |
| Diamond Kitsune | Mythic | 1 in 30 | $215B/s |
| Fenrir | Mythic | None | $103B/s |
| Gold Fenrir | Mythic | None | $160B/s |
| Large Gold Fenrir | Mythic | 1 in 192 | $698B/s |
| Big Frost Lynx | Mythic | None | $316B/s |
| Gigantic Rainbow Starfire Phoenix | Divine | 1 in 123,080 | $958B/s |
Comparing rows on the same species gives you a feel for what each label is worth. Gold lifts a Bear from $49.4B/s to $76.6B/s, while Diamond nearly triples it. Adding a Large tag on top of Gold takes a Fenrir from $160B/s to $698B/s, which is more than the Big Frost Lynx and the Diamond Kitsune put together. Other players’ catches in the server feed show the top of the range, with Ruby Titanic Woodpecker and Ruby Titanic Chipmunk both landing at 1 in 146,524.
The banner also tells you whether a catch is worth keeping. “NEW!” means you haven’t owned that version before, and “NEW BEST!” means it now out-earns everything else you have. The Diamond Kitsune and the Large Gold Fenrir both triggered “NEW BEST!” when they landed.
The hub’s leaderboard row includes a Luckiest Catches board, so the rarest rolls on the server are ranked next to Top Money and Most Animals.

How the Luck multiplier grows down the lane
Your shot builds luck as it flies. A Luck multiplier at the top of the screen climbs as the shot passes from one area into the next, and the number it reaches when the shot stops is what your mutation and size rolls use. At the start of the lane in Forest it reads around 2.33x.

Through Desert the reading keeps rising, going from about 7.92x to 8.50x and then 9.67x as the shot heads for the Area 4 Jungle signs.


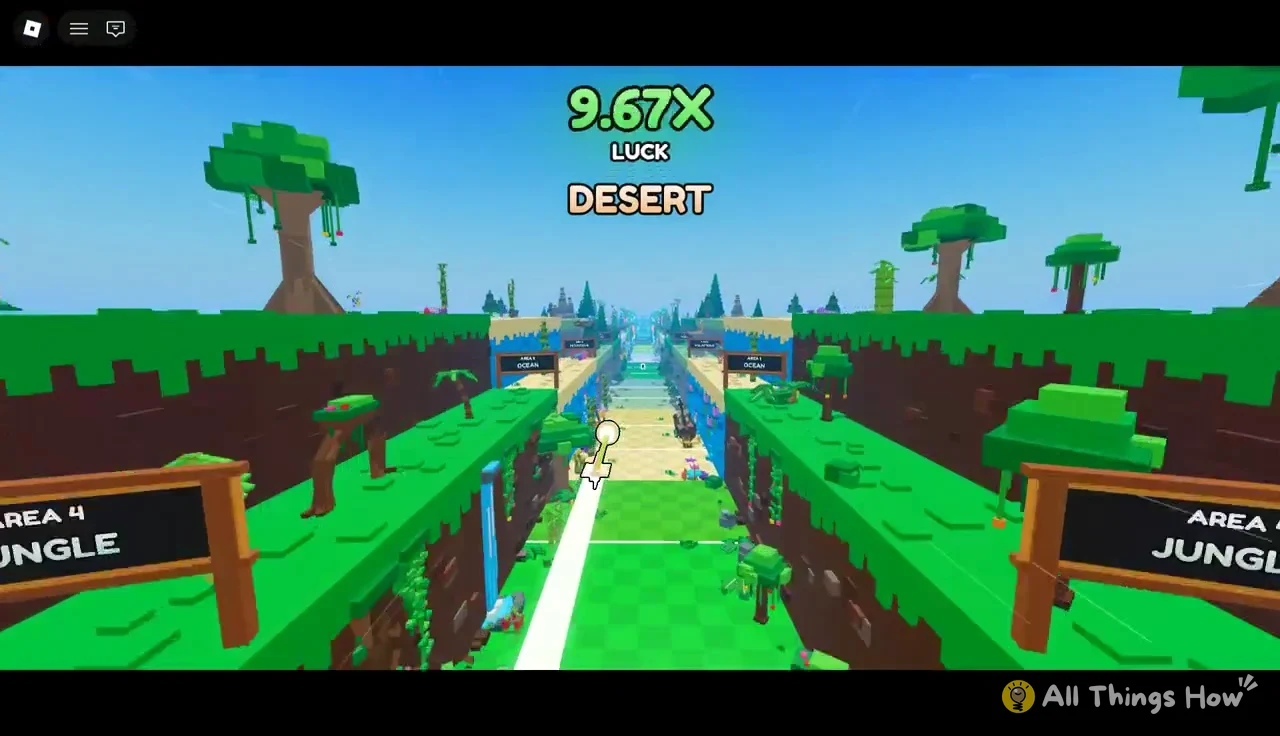
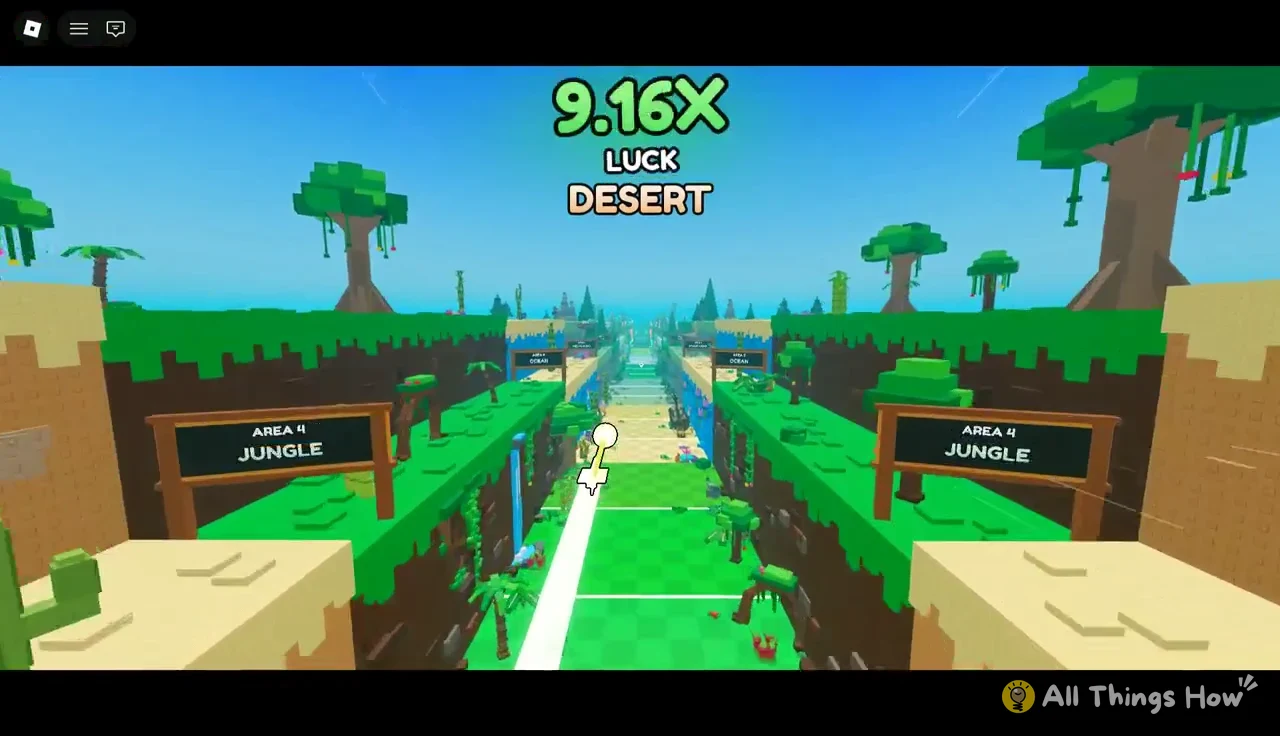
Jungle pushes it past 11x, Ocean takes it to about 14.29x before the Area 6 Mountains signs, and a shot that reaches Taiga carries around 19.74x. A shot that makes it to Area 8 Winter goes higher still, and that’s where the 1 in 192 Large Gold Fenrir came from.



Other players help a little too. When someone you know joins your server, a banner reads “A friend is here: +10% luck!”
How to farm Gold, Diamond and sized animals
Since luck comes from distance, chasing mutations really means getting your shots further down the lane, then keeping only the best rolls on your plot. These steps follow the order the game makes you do things in.














Mutated versions show up as “NEW!” the first time you catch them, so open the Animal Collection after a run of good catches. Claiming 22 rewards at once there paid +$4.53Qa, and even a single reward paid +$171T.
Secret OP Egg odds and the Rainbow Starfire Phoenix
The Secret OP Egg is the other way to get a Rainbow animal. You walk up to it, press E to see the odds, and hit HATCH when the free hatch is ready. It always gives you an animal, and instead of a fixed income each result pays a multiple of your best animal:

| Egg animal | Pays | Chance |
|---|---|---|
| Emerald Kirin | 1.5x your best | 40% |
| Lollipop Peacock | 1.8x your best | 30% |
| Cotton Candy Dragon | 2.7x your best | 20% |
| Starfire Phoenix | 3.6x your best | 8% |
| Starfire Phoenix (Rainbow) SECRET | 7.2x your best | 2% |
The egg rolls size and mutation too, so a Rainbow Phoenix can come out even bigger than usual. A Gigantic Rainbow Starfire Phoenix popped with the “IMPOSSIBLE CATCH!!! 1 IN 123,080” banner at $958B/s. Because its pay is tied to your best animal, the number went up as the plot improved, reaching $1.29T/s once it was placed and later $4.19T/s.


Bows and pen space for Taiga, Winter and beyond
Taiga and Winter are where Gold and Diamond catches start paying in the hundreds of billions per second. Each bow is tagged with the area it’s built for, and you need one of these to fight for those areas:
| Bow | Tier and Catch Power | Best for | Price |
|---|---|---|---|
| Ra Bow | Tier 7 Legendary, 14 | Taiga | $1.21T |
| Bamboo Bow | Tier 7 Legendary, 15 | Winter | $6.3T |
| Lantern Bow | Tier 8 Mythic, 16 | Winter | $52.8T |
| Shuriken Bow | Tier 8 Mythic, 17 | Prehistoric Woods | $1.39Qa |
| Temple Bow | Tier 9 Mythic, 18 | Prehistoric Woods | $46.4Qa |
More mutated animals only help if they’re placed, since that’s the only way they earn. The Timber Fence upgrade on your plot raises the cap from 12 to 14 animals for $185T, and the game confirms it with “Plot upgraded! It holds 14 animals now”. The next step, 14 to 16, costs $46.4Qi.



After a fence upgrade, hit PLACE BEST again. The plot message should go up to “Your best 14 animals are on your plot!”, and your newest Gold, Diamond or Large catch should be in a slot instead of sitting in your backpack.