
Encountering issues with your laptop’s touchpad can be incredibly frustrating, especially for Windows 11 users who have reported various problems like cursor freezing, lagging, or complete touchpad failure. These issues can severely impact your productivity and overall computing experience. Fortunately, in most cases, these problems stem from software-related causes that can be addressed with some troubleshooting.
This guide will walk you through several effective methods to resolve touchpad issues on your Windows 11 laptop. We’ll start with simpler solutions and progress to more advanced fixes.
Check the physical touchpad lock key
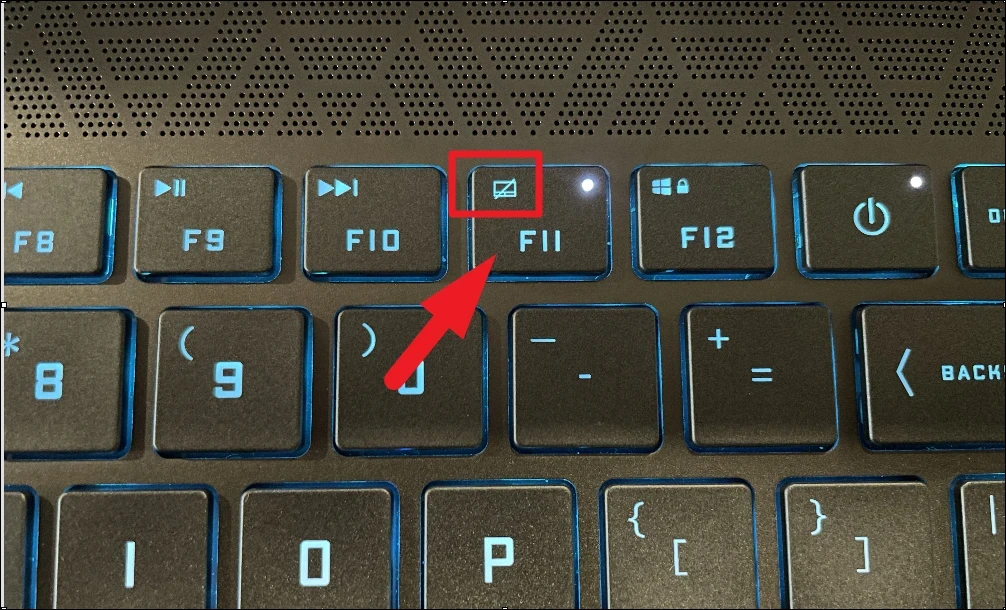
Modern laptops often include a dedicated key to disable the touchpad. Before diving into software solutions, ensure this key hasn’t been accidentally activated.
- Locate the touchpad lock key on your keyboard (usually on one of the function keys F1-F12)
- Look for a crossed-out touchpad icon on the key
- Press the key once to toggle the touchpad on/off
- If the function lock isn’t active, hold the Fn key while pressing the touchpad lock key
Enable touchpad in Windows Settings
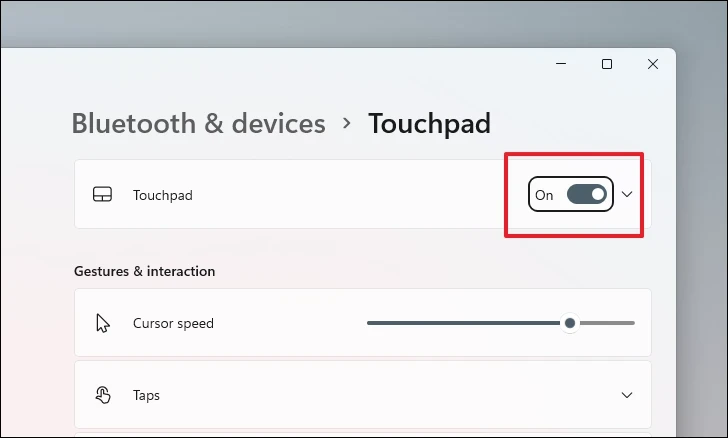
Windows allows users to disable the touchpad through software settings. Here’s how to make sure it’s enabled:
- Open the Start Menu and click on “Settings”
- Select “Bluetooth & devices” from the left sidebar
- Click on “Touchpad” in the right panel
- Ensure the toggle switch next to “Touchpad” is in the “On” position
Update or reinstall touchpad drivers
Outdated or corrupted drivers are a common cause of touchpad issues. Here’s how to address this:
- Open Device Manager (search for it in the Start menu)
- Expand “Mice and other pointing devices” or “Human Interface Devices”
- Right-click on your touchpad device and select “Update driver”
- Choose “Search automatically for drivers”
If updating doesn’t work, try reinstalling:
- Right-click the touchpad device and select “Uninstall device”
- Restart your computer to let Windows reinstall the driver
Run the Hardware and Devices troubleshooter
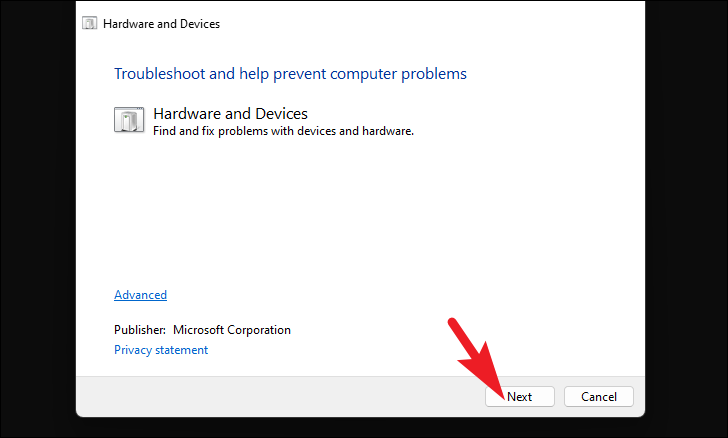
Windows has a built-in troubleshooter that can identify and fix common hardware issues:
- Open Command Prompt as administrator
- Type the following command and press Enter:
msdt.exe -id DeviceDiagnostic - Click “Next” in the troubleshooter window
- Follow the on-screen instructions to complete the process
Adjust mouse sensitivity and disable enhanced pointer precision
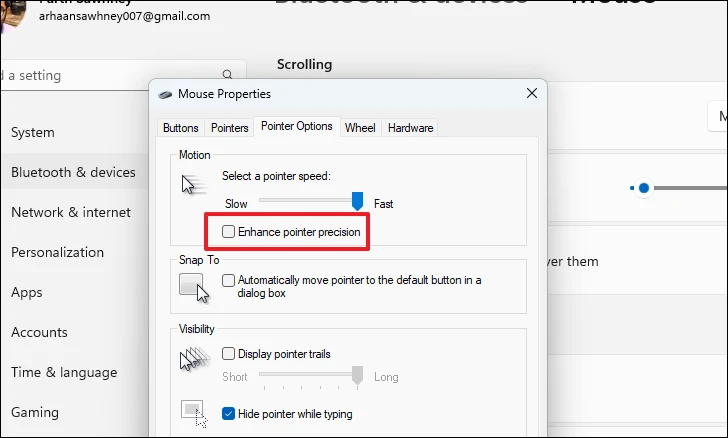
Touchpad responsiveness issues can sometimes be resolved by adjusting these settings:
- Go to Settings > Bluetooth & devices > Mouse
- Adjust the “Mouse pointer speed” slider
- Click on “Additional mouse settings”
- In the new window, uncheck “Enhance pointer precision”
- Click “Apply” and “OK”
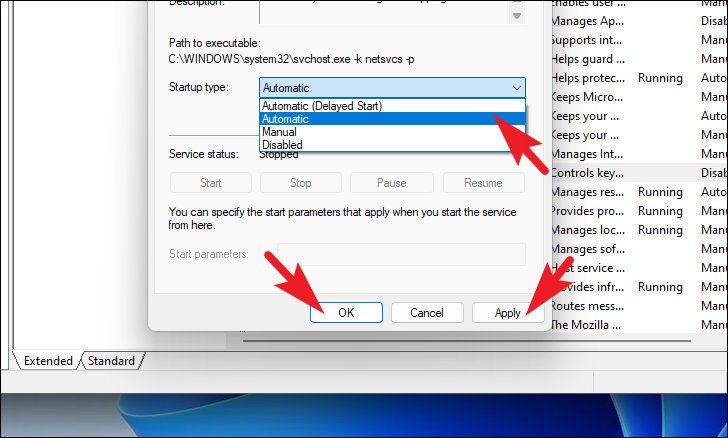
Enable Microsoft Keyboard Filter service
Some users have found success by ensuring certain Windows services are running:
- Open Services (search for it in the Start menu)
- Locate “Microsoft Keyboard Filter”
- Double-click it and set “Startup type” to “Automatic”
- Click “Apply” and “OK”
- Repeat for the “Tablet PC Input Service”
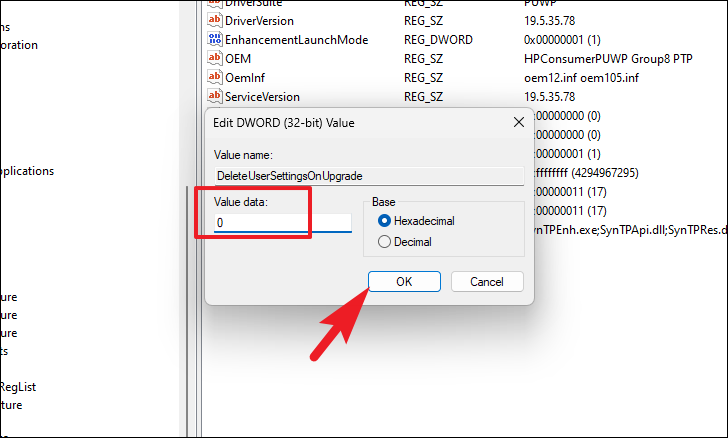
Modify Windows Registry
Caution: Editing the registry can be risky. Proceed with caution and back up your registry first.
- Open Registry Editor (search for “regedit” in the Start menu)
- Navigate to:
HKEY_LOCAL_MACHINE\SOFTWARE\Synaptics\SynTP\Install - Double-click “DeleteUserSettingsOnUpgrade”
- Set the value to 0
- Click “OK” and restart your computer
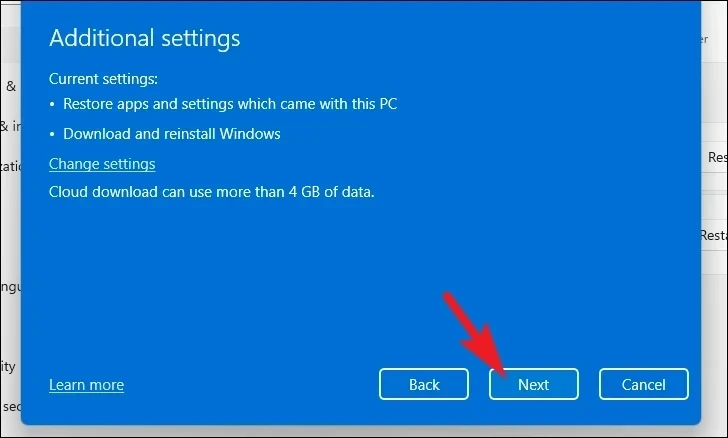
Reset your PC
If all else fails, resetting Windows might resolve persistent touchpad issues:
- Go to Settings > System > Recovery
- Click “Reset PC” under “Reset this PC”
- Choose “Keep my files” (unless you want to remove everything)
- Select “Cloud download” for a fresh Windows image
- Follow the on-screen instructions to complete the reset
By working through these methods, you should be able to resolve most touchpad issues on your Windows 11 laptop. Remember to restart your computer after trying each solution to ensure changes take effect.


