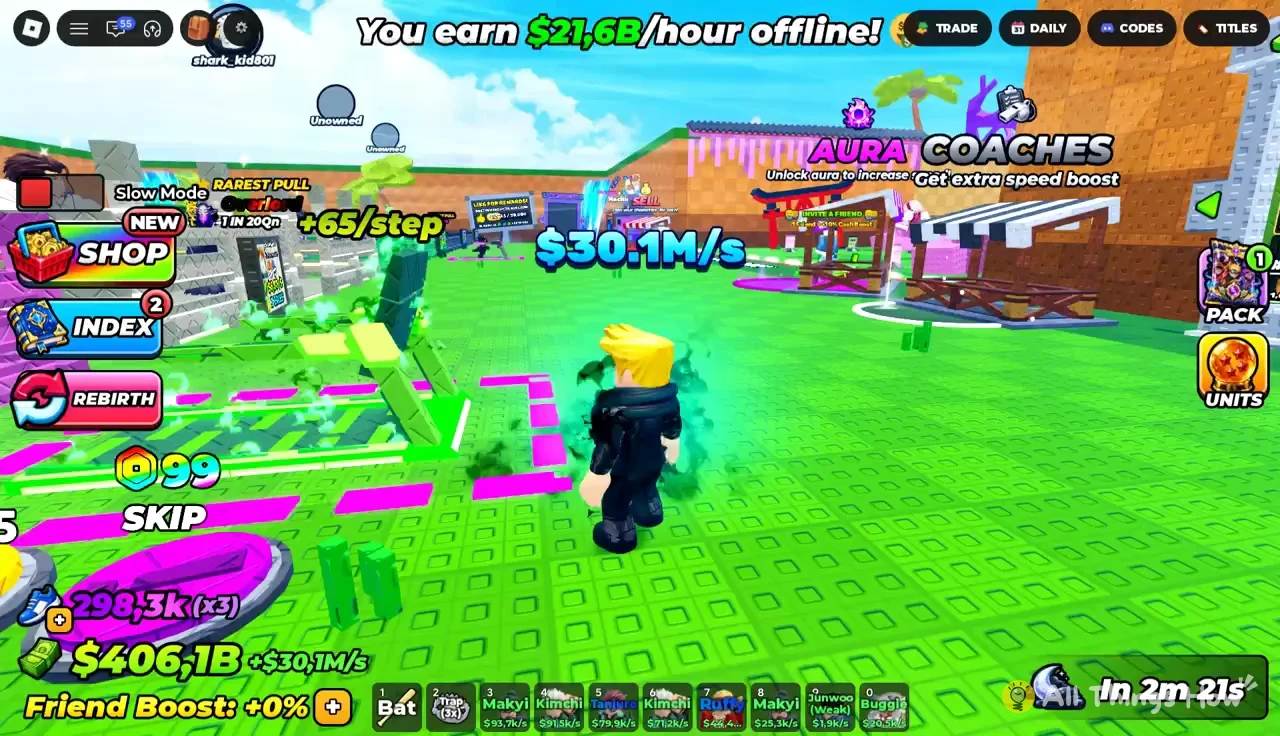
Break and Steal an Egg gives you two shops for getting stronger, and they solve different problems. Trails multiply your Speed, which decides how deep into the zone ladder you can comfortably run and how quickly you get a stolen pet home. Pickaxes set your Power, which decides how fast an egg’s HP drops to zero. Both shops sit in the Safe Zone next to your base, and both take either in-game cash or Robux.
Quick answer: Buy trails at the Trails Shop for Speed multipliers (x100 to x25K) and pickaxes at the Pickaxe Shop for Power (1M to 60M). Upgrade whichever matches your slowest step.
Trails Shop: every trail, multiplier and price
Both shops are in the hub area you spawn into, before the zone ladder starts. You can walk between them in a few seconds, and the Shop and Index buttons stay on screen the whole time you move around, so you can always open menus from anywhere.
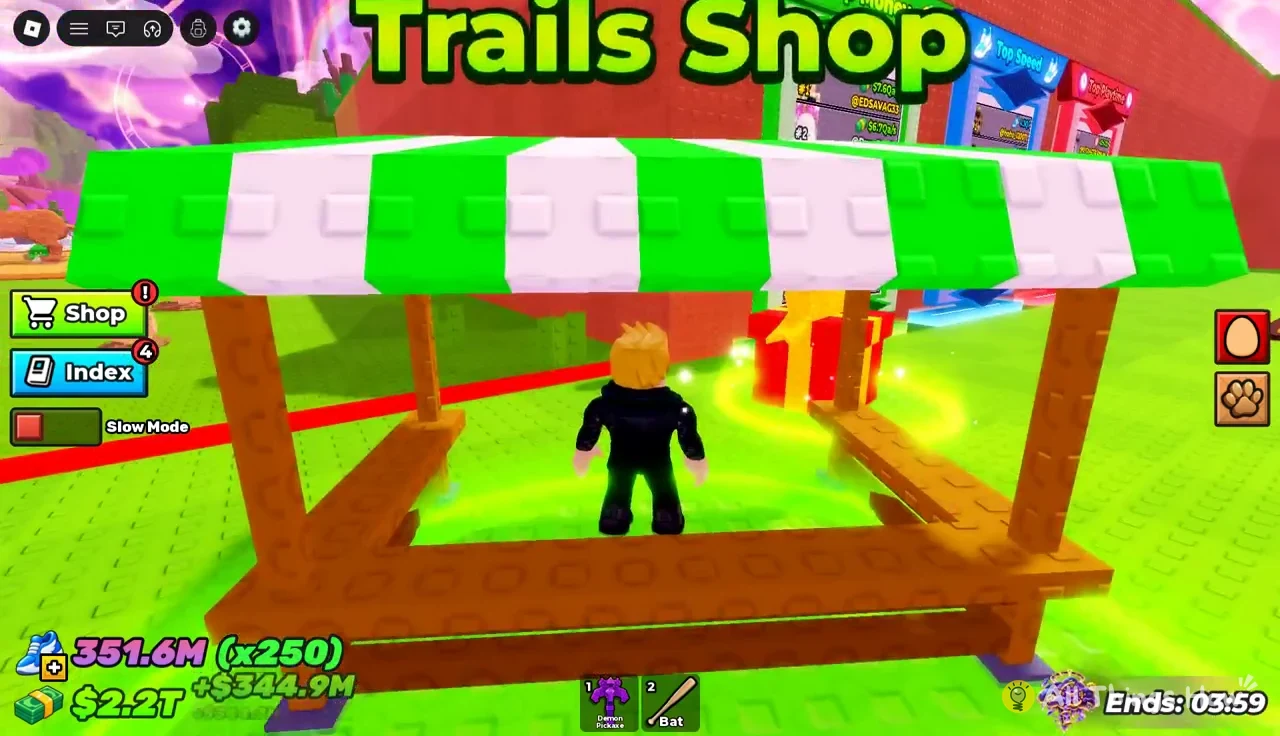
The Trails Shop sits behind a glowing counter under its own sign. Each trail lists a rarity, a Speed multiplier and two prices: one in cash and one in Robux.
| Trail | Rarity | Speed | Cost (cash / Robux) |
|---|---|---|---|
| Golden Trail | Legendary | x100 | $250M / 55 Robux |
| Rainbow Trail | Mythic | x250 | Shown as owned |
| Galactic Trail | Cosmic | x600 | $45B / 120 Robux |
| Secret Trail | Secret | x1.5K | $600B / 150 Robux |
| Laser Trail | Celestial | x4K | $8T / 210 Robux |
| Moonlight Trail | Celestial | x10K | $100T / 270 Robux |
| Spooky Trail | Inferno | x25K | $1.5Qa / 519 Robux |
The cash prices climb much faster than the multipliers do. Going from Laser to Moonlight costs more than twelve times as much cash for two and a half times the multiplier, and Spooky Trail asks for a quadrillion-scale $1.5Qa. Robux prices scale far more gently, which is why the top of the list is where paying players pull ahead. For a free route, each new trail is a cash target you work toward through pet income.
You don’t have to keep checking the shop. When your balance crosses a trail’s price, the game pops up a notice such as “You can now afford the Secret Trail!” That message is your cue to walk back to the counter.
How to buy and equip a trail
The multiplier stacks on top of the Speed you build on the treadmill at your base, so a bigger trail makes every point of trained Speed worth more. With Rainbow Trail’s x250 active, total Speed sits above 353M, which clears the Ocean Zone’s recommendation with room to spare.
Pickaxe Shop: Power tiers and prices
The Pickaxe Shop is a short walk from the trail counter and works the same way, with cash and Robux prices on each tier. The pickaxe you hold sets your Power, and Power is the damage each swing deals to an egg.
| Pickaxe | Rarity | Power | Cost (cash / Robux) |
|---|---|---|---|
| Crystal Pickaxe | Divine | 1M | $20B / 130 Robux |
| Demon Pickaxe | Divine | 4M | Shown as equipped |
| Hacker Pickaxe | Cosmic | 15M | $1.2T / 190 Robux |
| Ufo Pickaxe | Cosmic | 60M | $12T / 260 Robux |
Each step up roughly quadruples Power. Hacker Pickaxe hits close to four times harder than Demon, and Ufo hits four times harder than Hacker for ten times the cash. As with trails, a “You can now afford the Hacker Pickaxe!” style notice tells you when a tier is within reach.
Pickaxes pay you back in a second way. Breaking eggs also earns diamonds, which feed the Diamond Shop, and it builds a Luck multiplier that kicks in when the egg hatches. Faster breaks mean more of both per hour.
How pickaxe Power changes egg break time
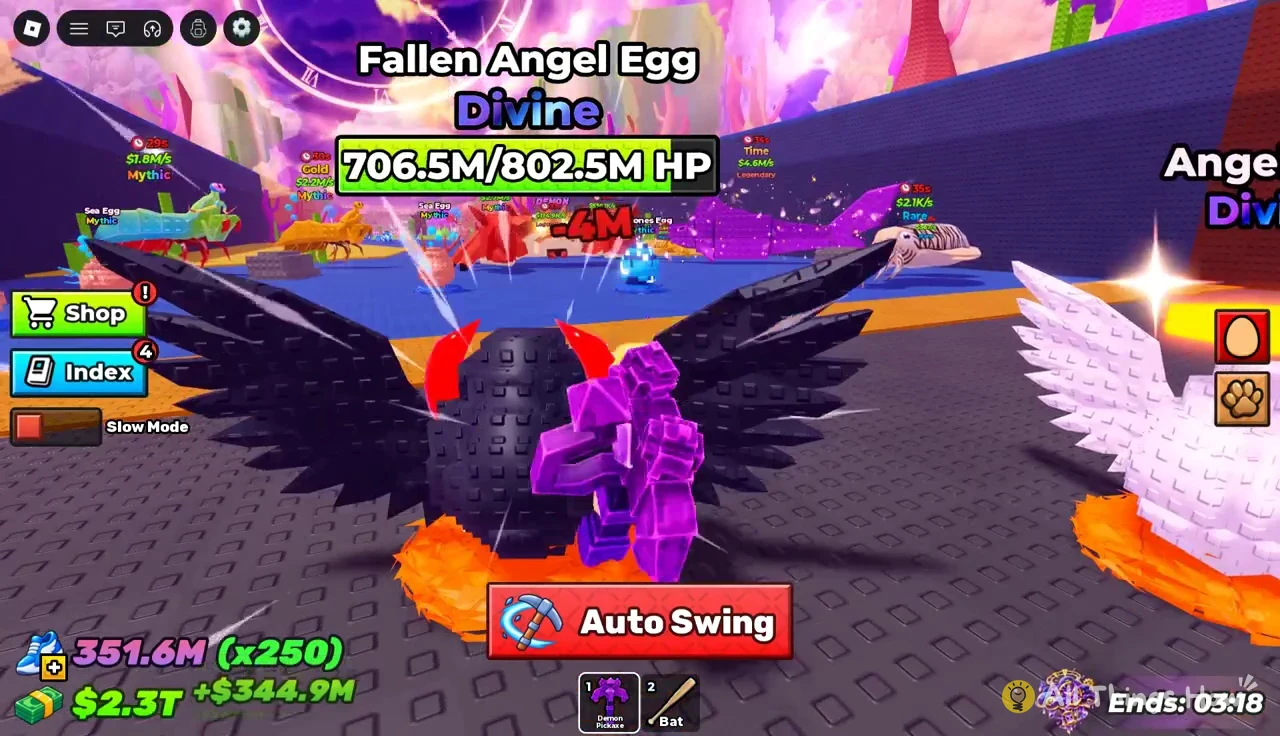
Every egg has an HP bar above it, and each swing subtracts your Power from that number. Divine eggs are the extreme case. The Fallen Angel Egg in the Volcano Zone starts at 802.5M HP, and a few seconds of swinging with the Demon Pickaxe only drags it to 706.5M.
Swing counts make the difference between tiers easy to see. The figures below divide each egg’s HP by Power and round up.
| Egg | HP | Demon (4M) | Ufo (60M) |
|---|---|---|---|
| Sea Stones Egg (Mythic) | 15.4M–20.3M | 4–6 swings | 1 swing |
| Sea Egg (Mythic) | 35.2M | 9 swings | 1 swing |
| Water Egg (Mythic) | 83M | 21 swings | 2 swings |
| Fallen Angel Egg (Divine) | 802.5M | 201 swings | 14 swings |
Hacker Pickaxe lands in between, needing two swings for the toughest Sea Stones Egg, six for a Water Egg and about 54 for the Fallen Angel Egg. Sea Stones Egg HP also varies from egg to egg, so two of them sitting side by side won’t always fall in the same number of hits.
You don’t have to click every swing. The red Auto Swing button keeps your pickaxe going while you stand at an egg, which matters on high-HP Divine eggs where a manual break would mean hundreds of clicks.
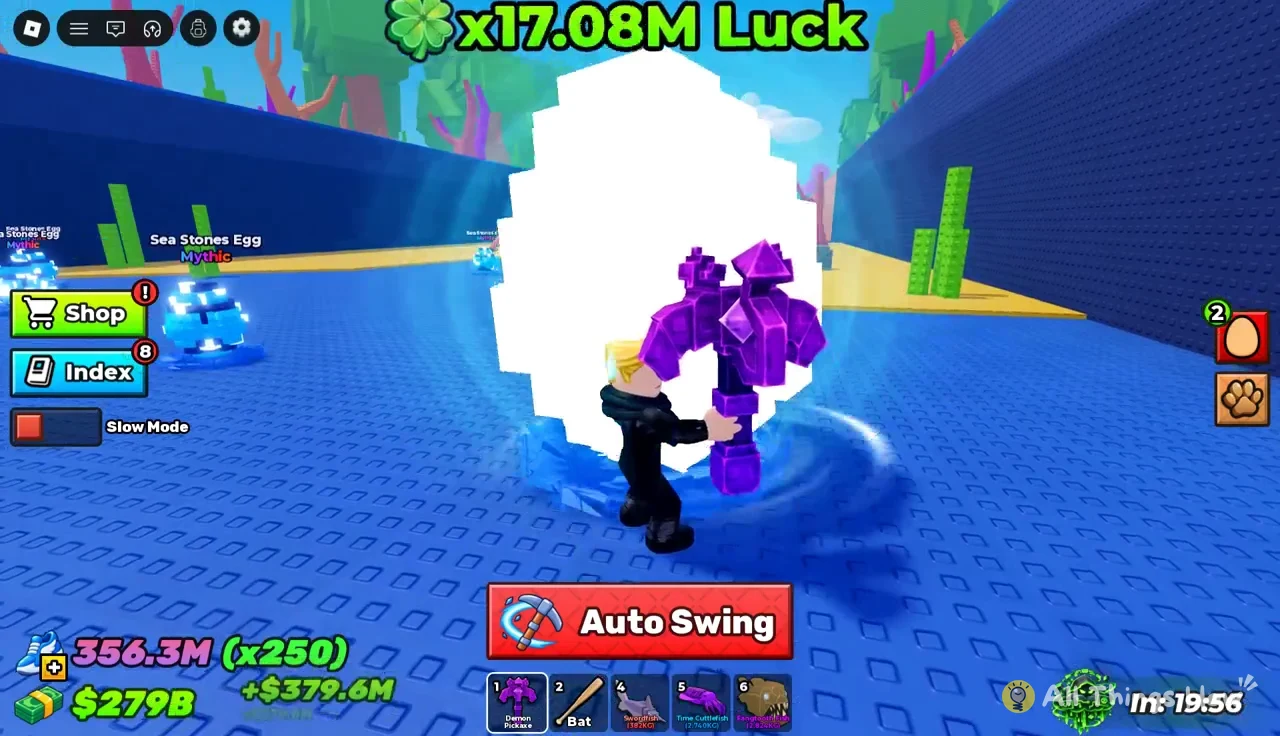
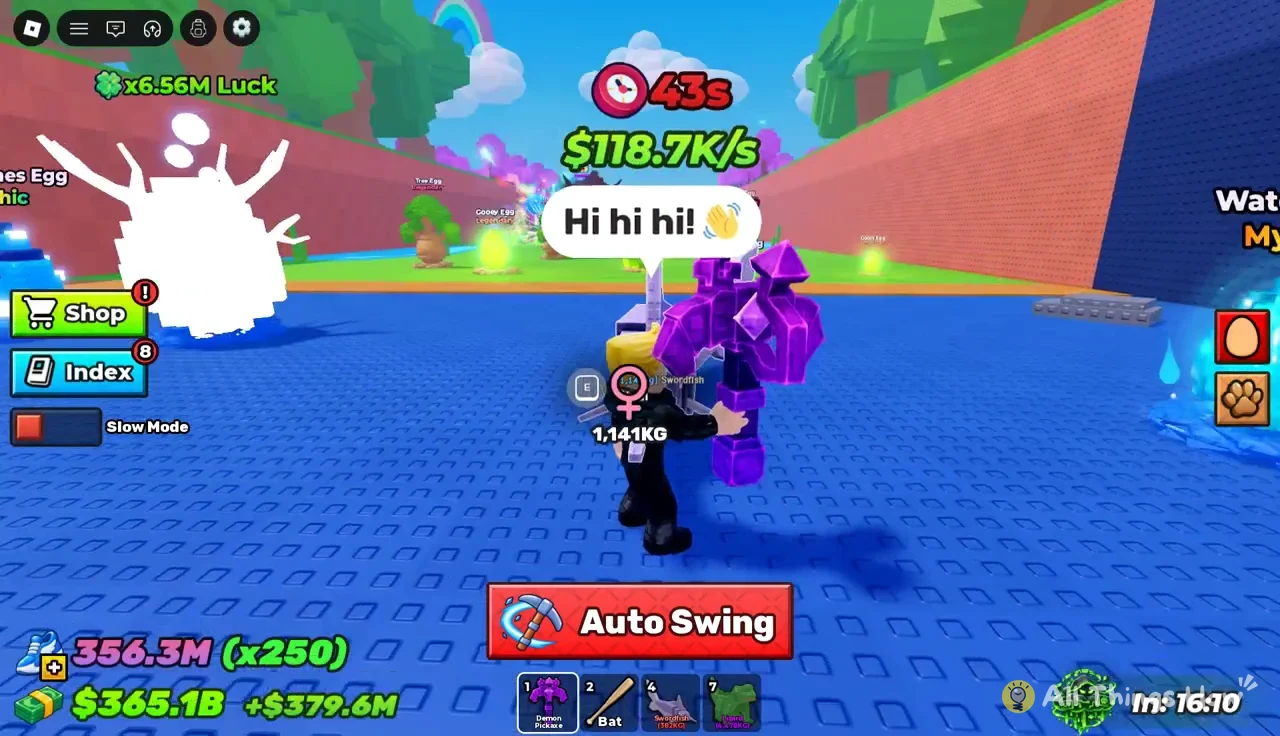
Once the HP hits zero, the egg cracks and the pet inside appears with its name, weight and rarity. A Sea Stones Egg broken this way can produce a 1,141KG Legendary Swordfish, ready to steal.
Zone Speed recommendations your trail needs to clear
Each zone posts a Recommended Speed sign at its entrance. These numbers are why trails matter: your trained Speed times your trail multiplier is what gets compared against them.
| Zone | Recommended Speed |
|---|---|
| Forest Zone | 5 |
| Desert Zone | 1K |
| Snowy Zone | 50K |
| Candy Zone | 750K |
| Swamp Zone | 12M |
| Ocean Zone | 150M |
| Volcano Zone | 1B |
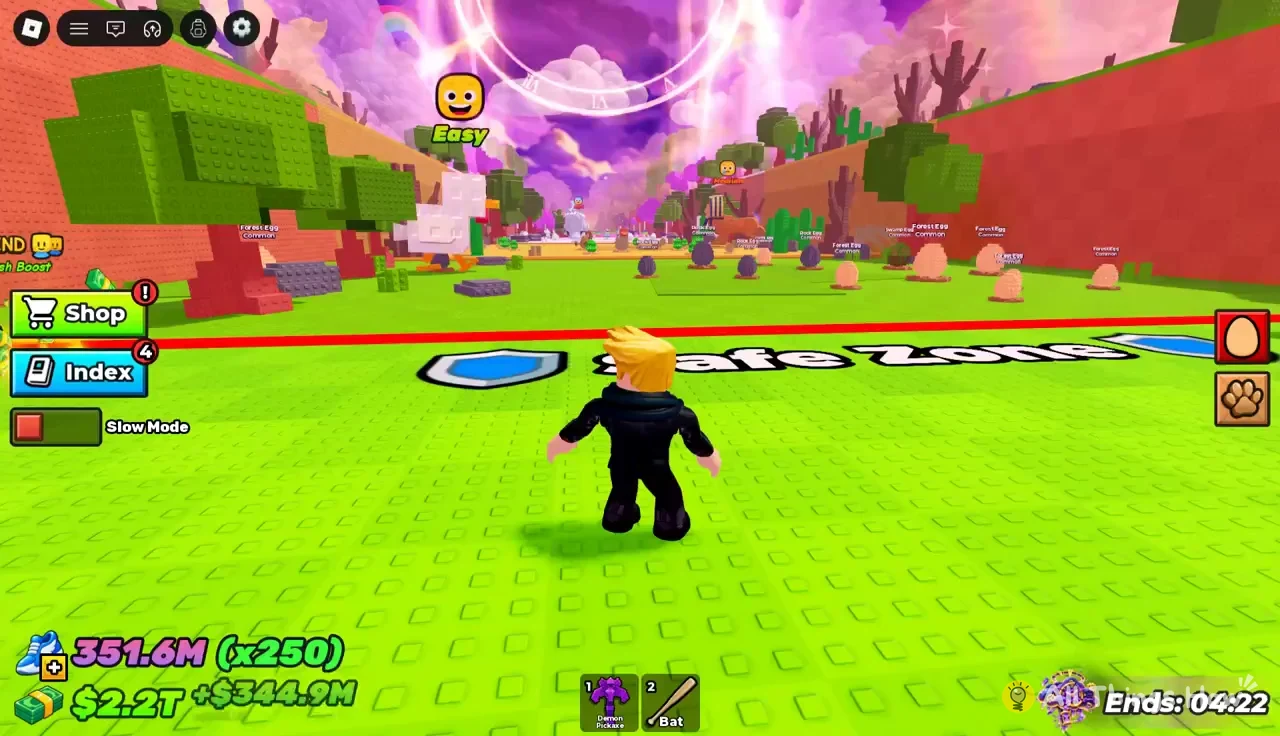
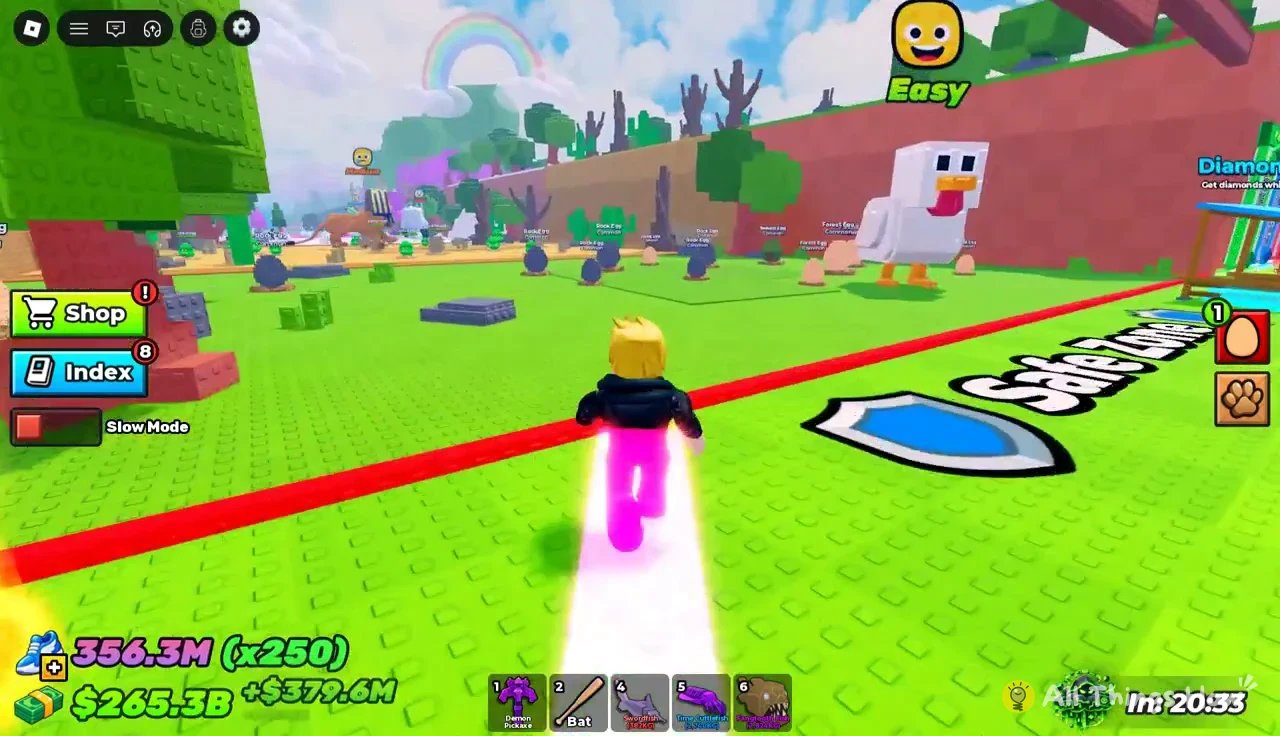
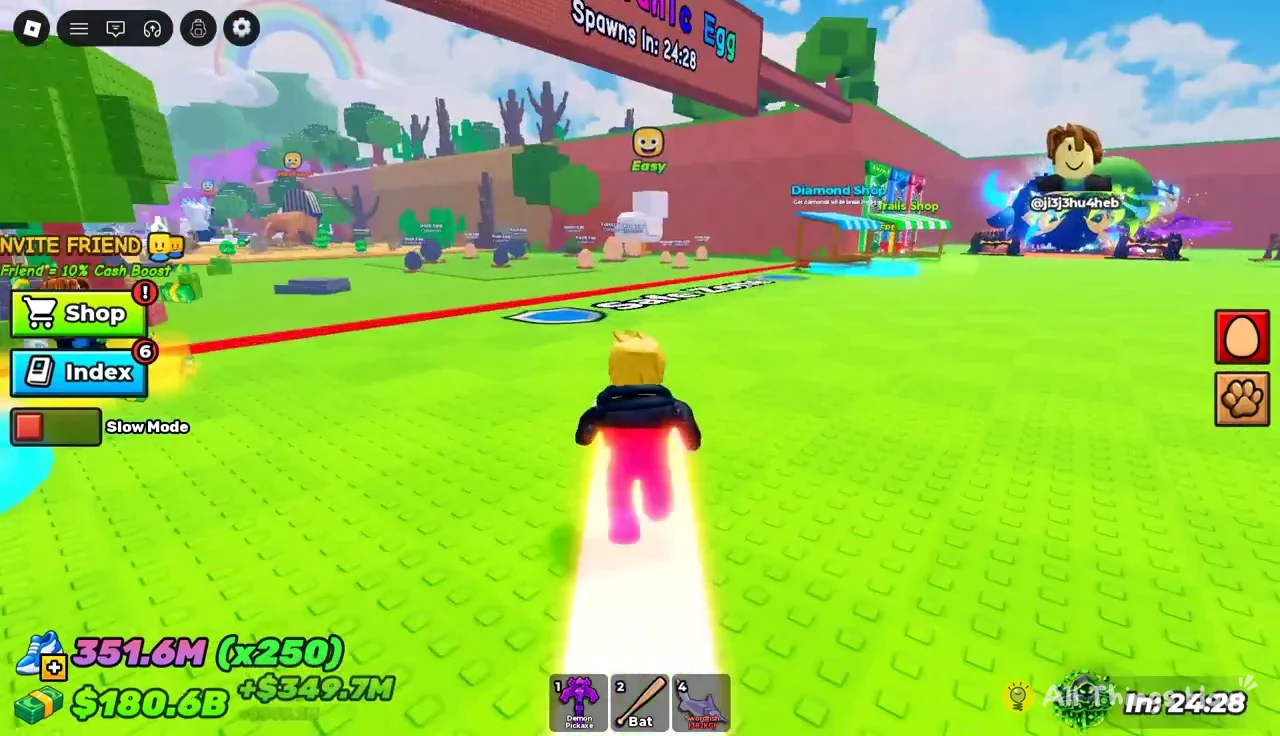
The zones run in a straight line out from the Starter Area, so reaching the Ocean Zone means sprinting through Forest, Desert, Snowy, Candy and Swamp first. The red boundary near the start marks the edge of the safe hub, and the Easy difficulty indicator shows you’re still in the opening stretch.
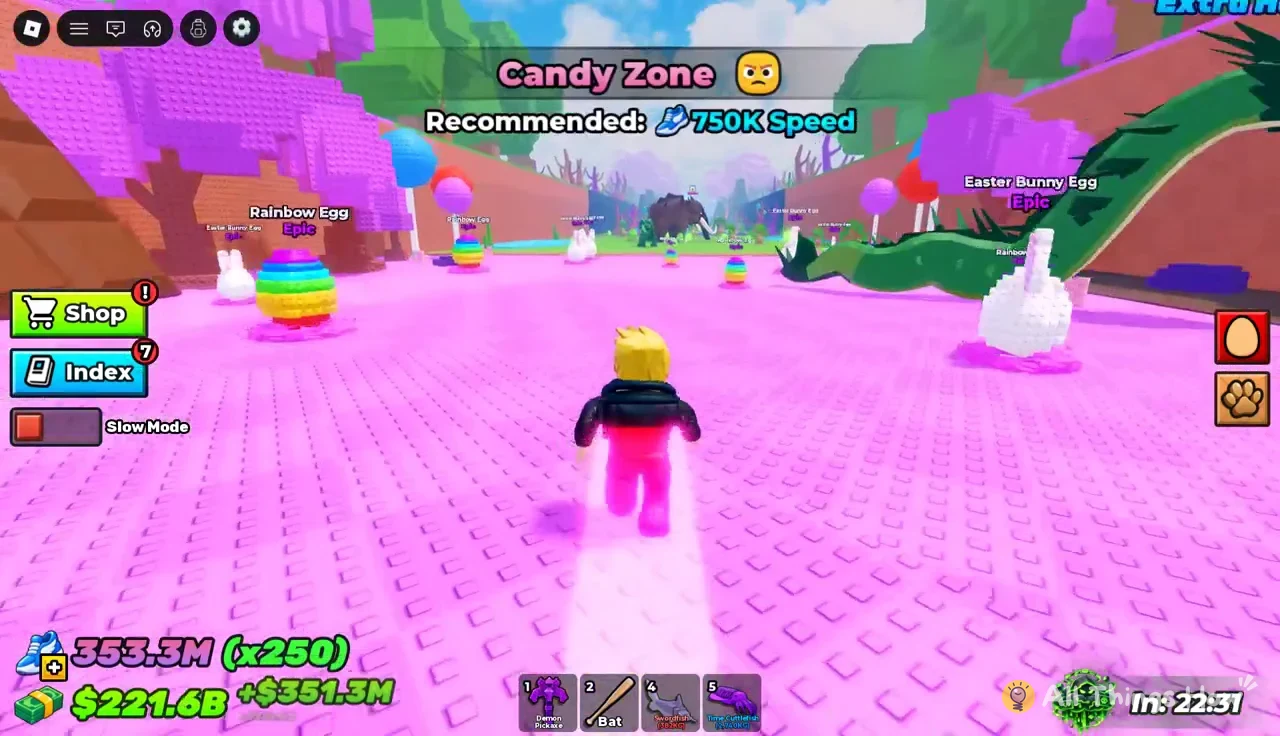
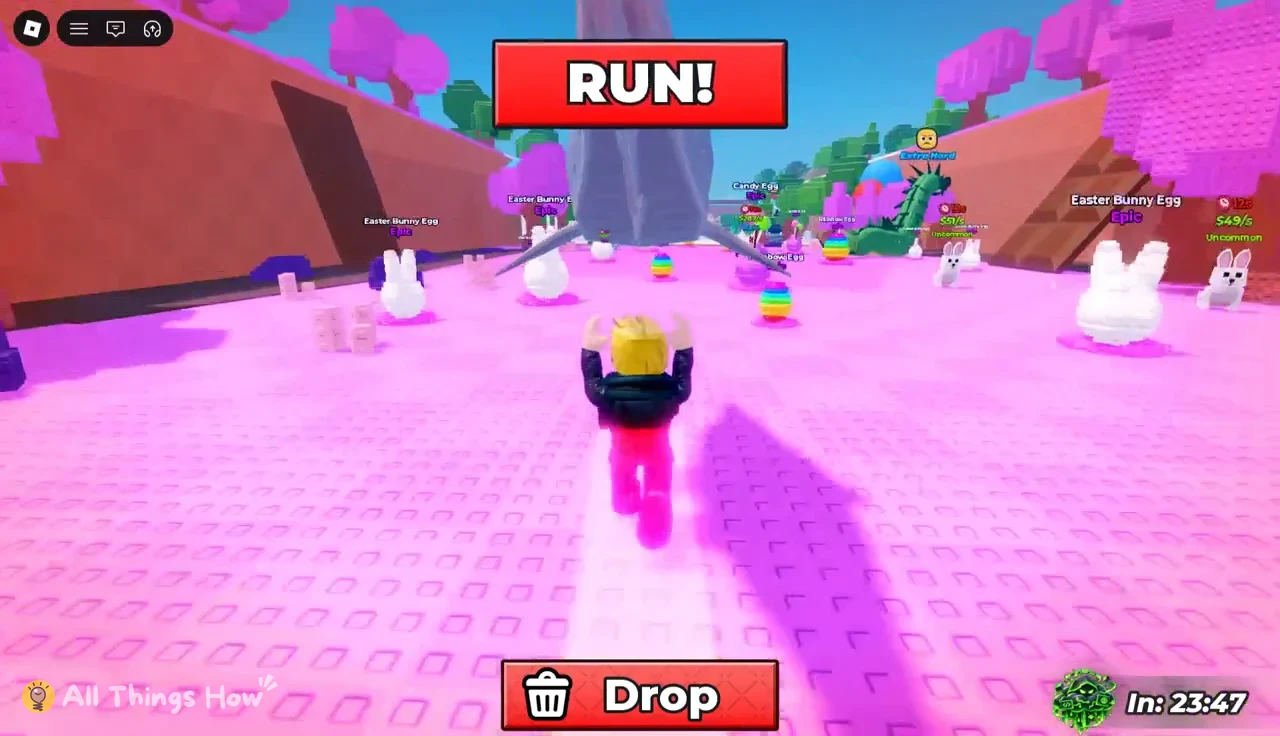
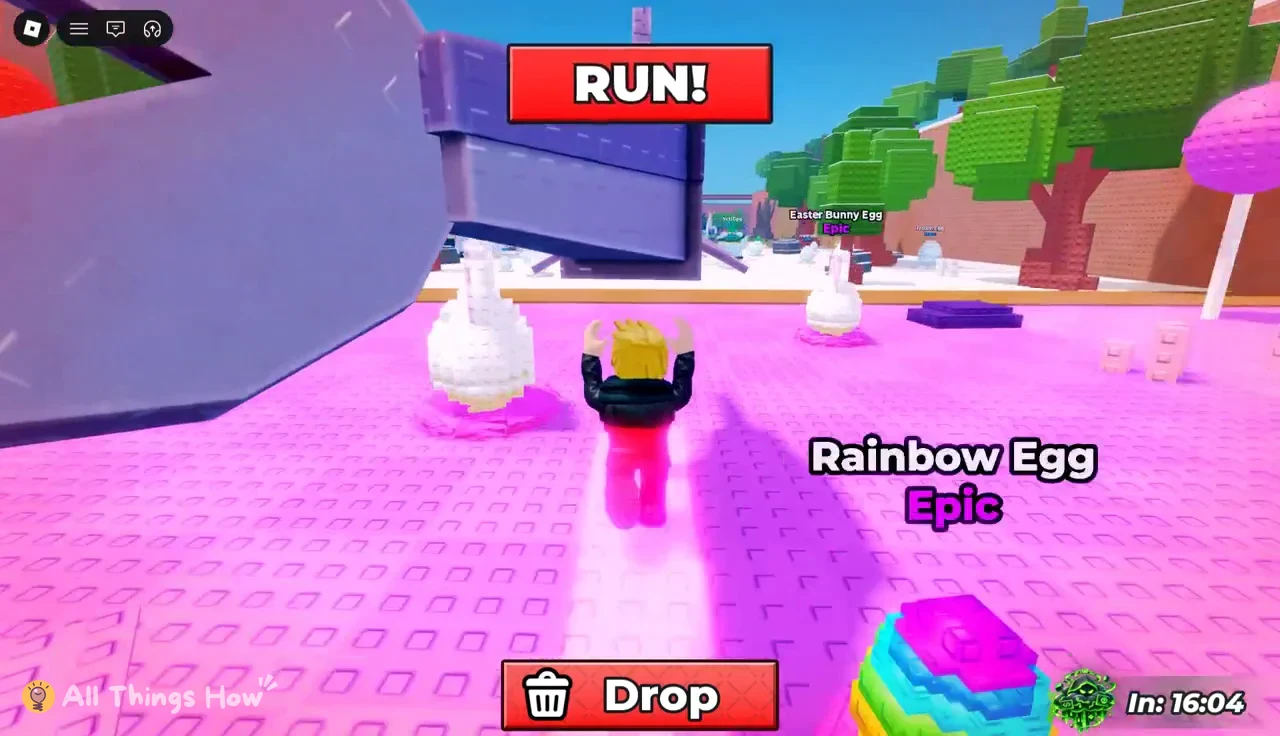
Mid-ladder zones are where weaker eggs live. The Candy Zone holds Epic eggs like the Rainbow Egg and Easter Bunny Egg behind its 750K sign. With a large trail equipped, you pass through it in a few seconds.
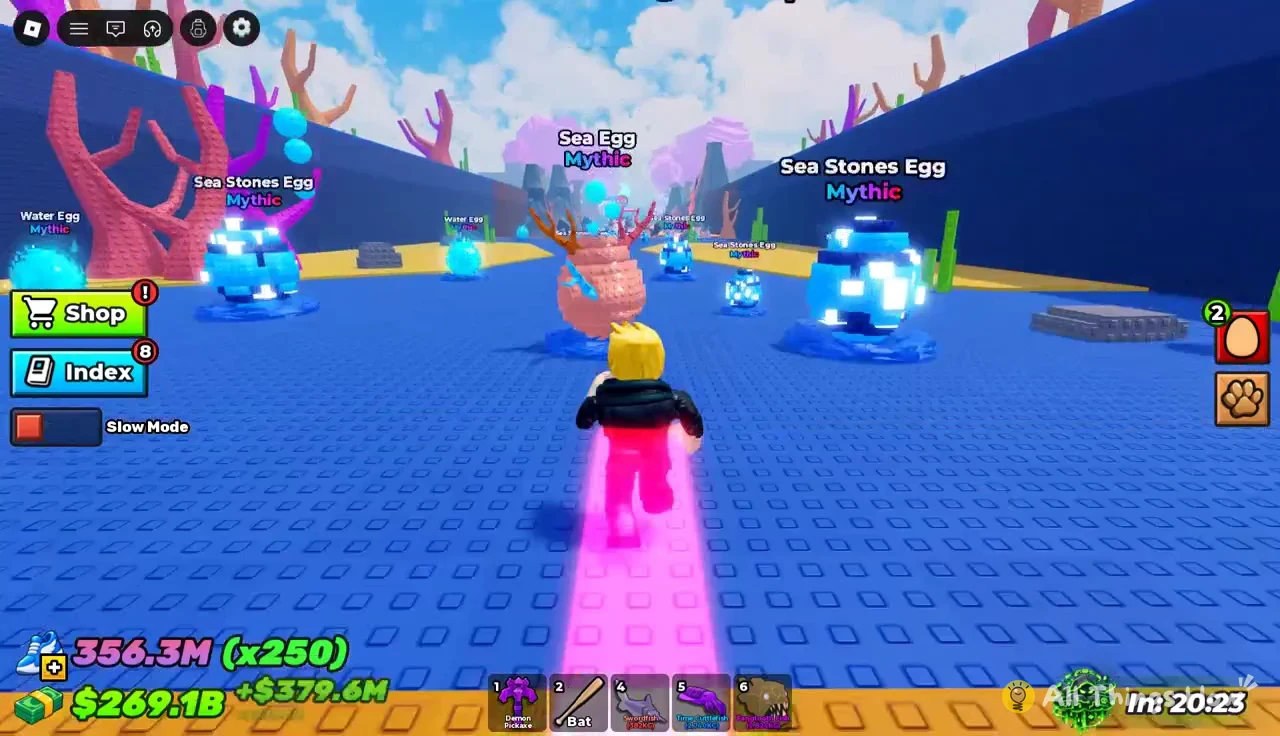
The Ocean Zone’s 150M recommendation guards Mythic eggs: Sea Stones Egg, Water Egg and Sea Egg. This is the zone where a Rainbow Trail and a Demon Pickaxe pair up well, since the Speed clears the sign and the Power breaks most eggs in under ten swings.
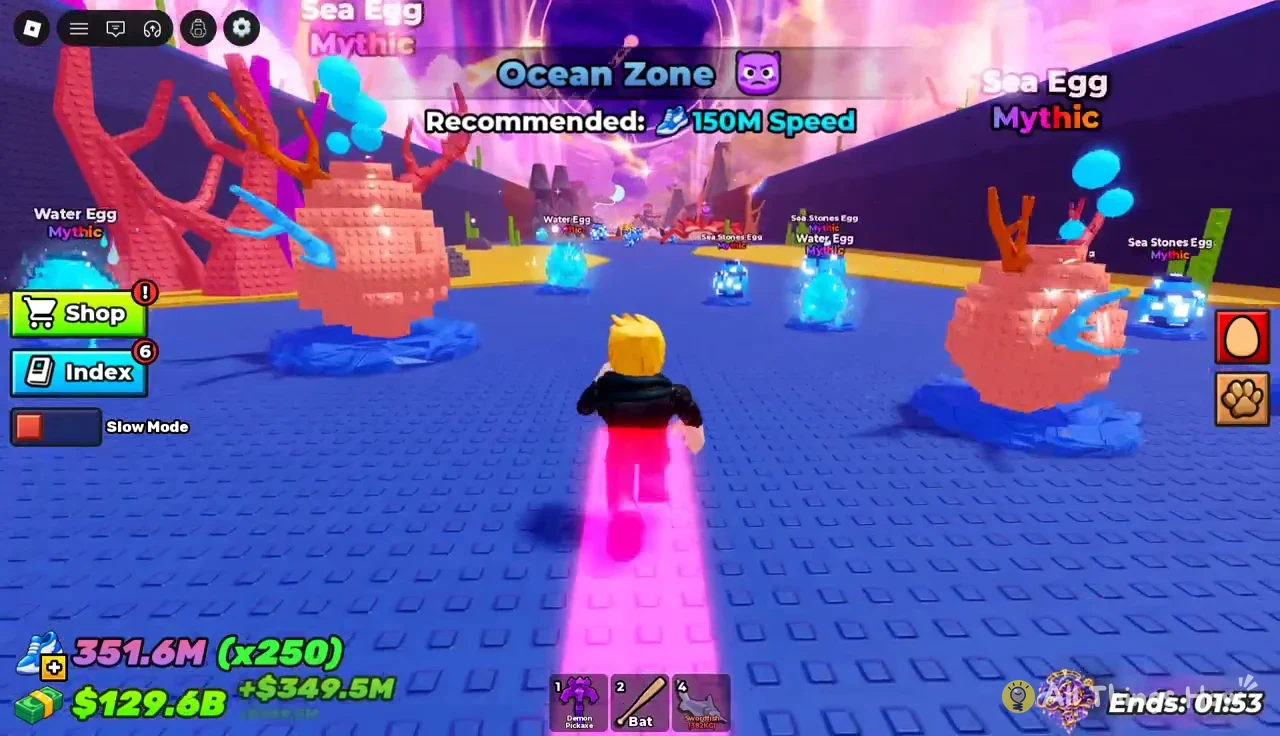
Sea Stones Eggs are the quickest Mythic targets because of their lower HP. They often sit in groups, so you can scan the area and pick whichever is closest.
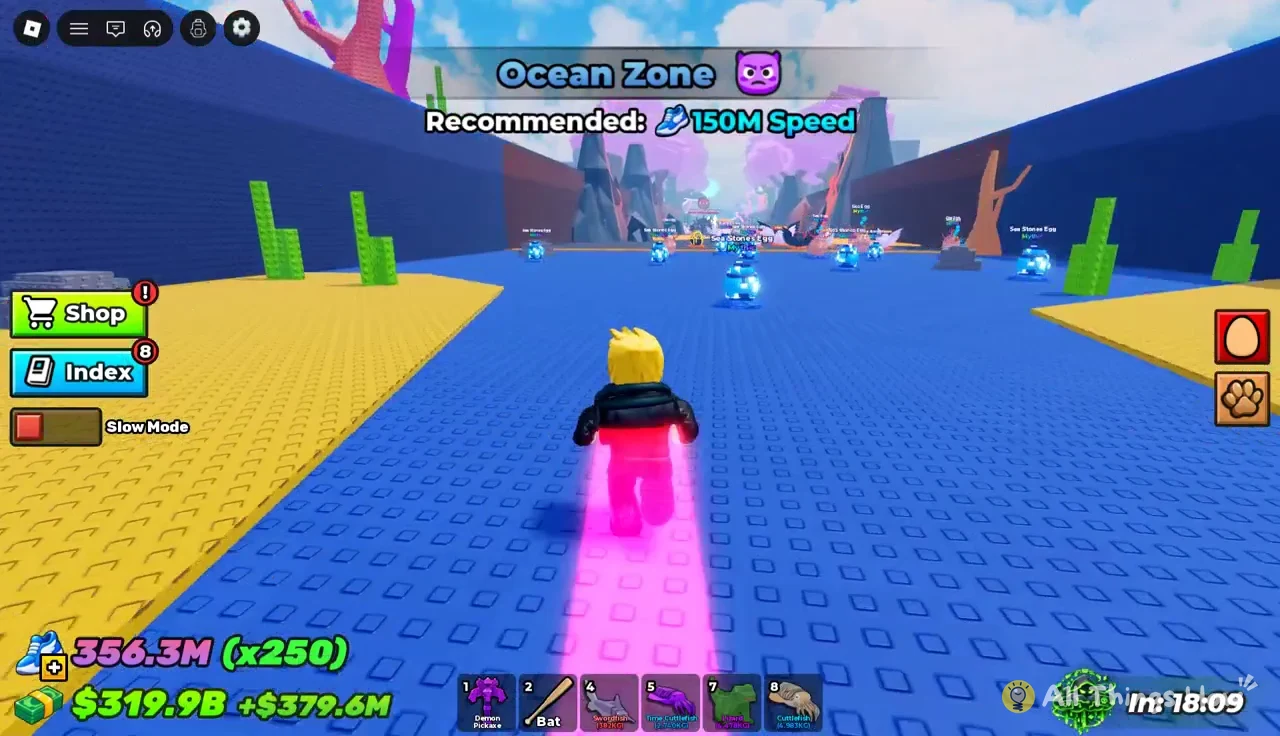
Each egg is labeled with its name and rarity, so you can confirm you’re heading for a Sea Stones Egg (Mythic) before committing to it.
Some egg areas are on a timer. A Shiny Egg spawn area shows an overhead countdown, so you can see how long remains before it changes rather than guessing.
For Sun, Nov 15 at 8:30 PM, the game displays a “NEW ZONE” event pop-up with a Notify Me option. No Speed recommendation has appeared, so its trail target remains unconfirmed.
Carrying a stolen pet home with your trail
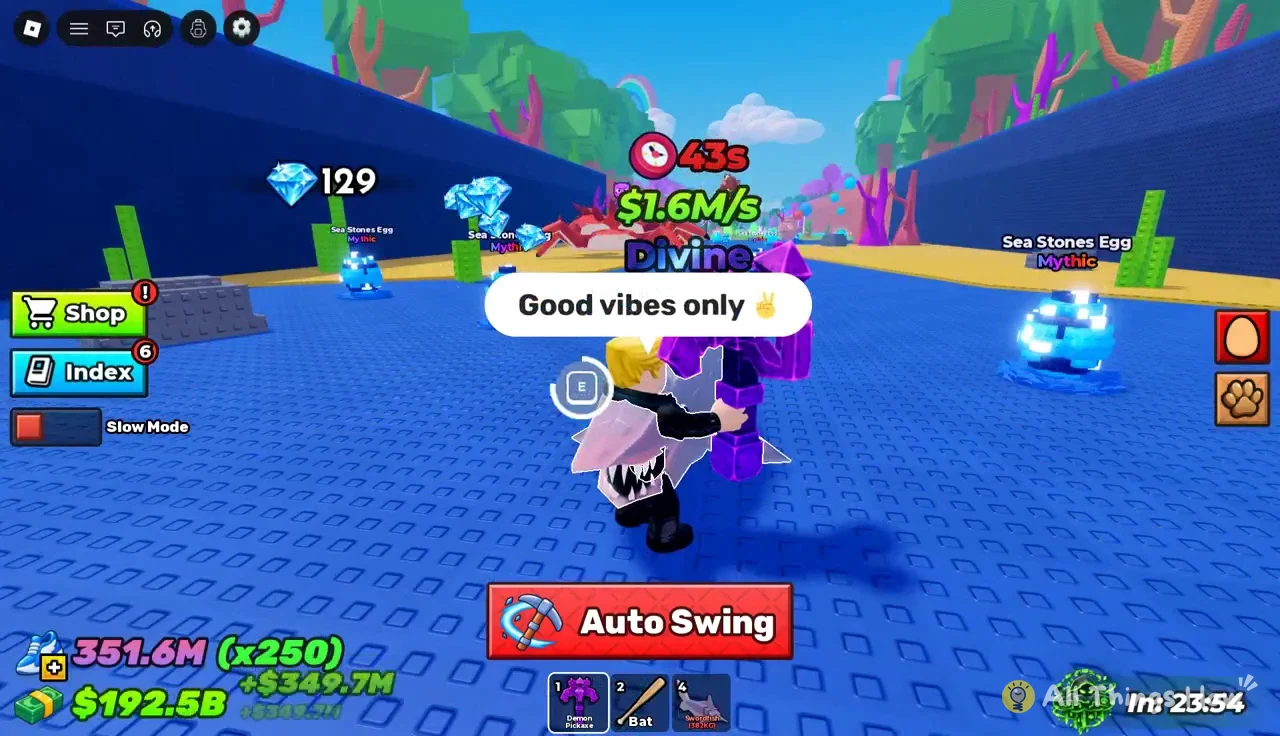
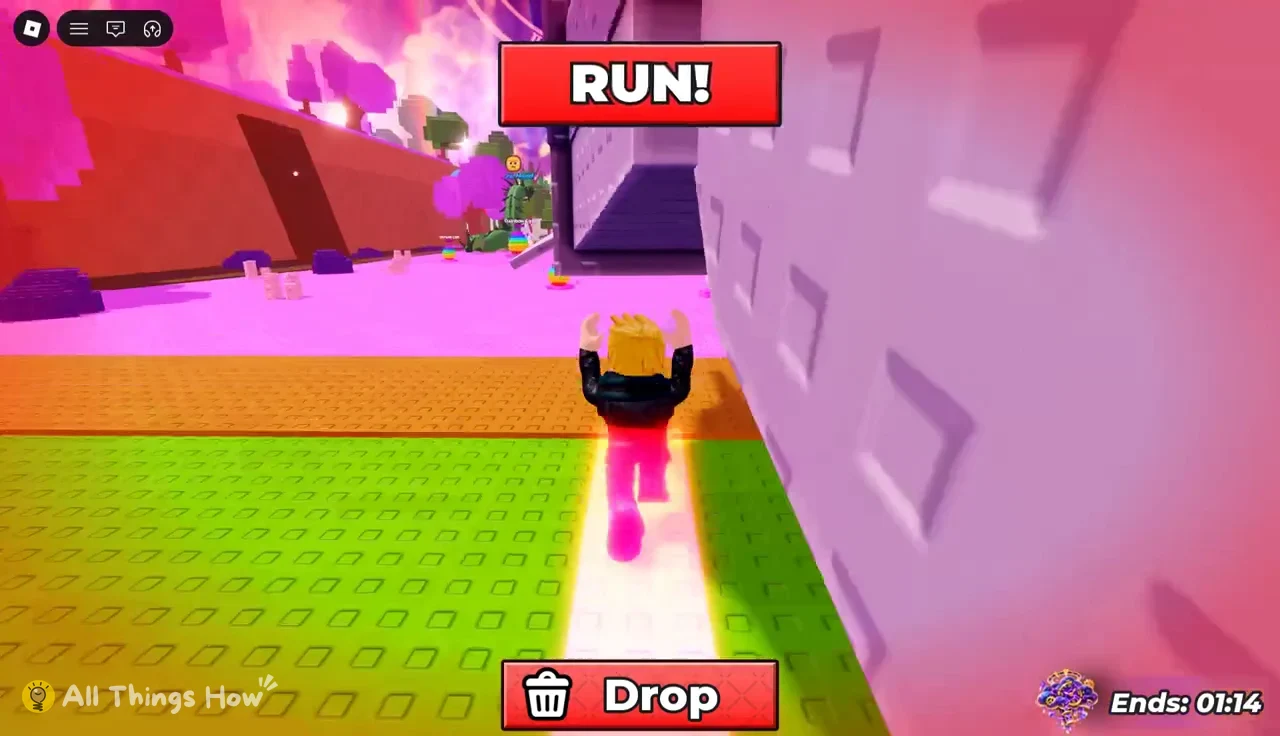
Your trail earns its keep twice per trip: once on the way out and again on the return, when you’re hauling a pet back through every zone you just crossed.
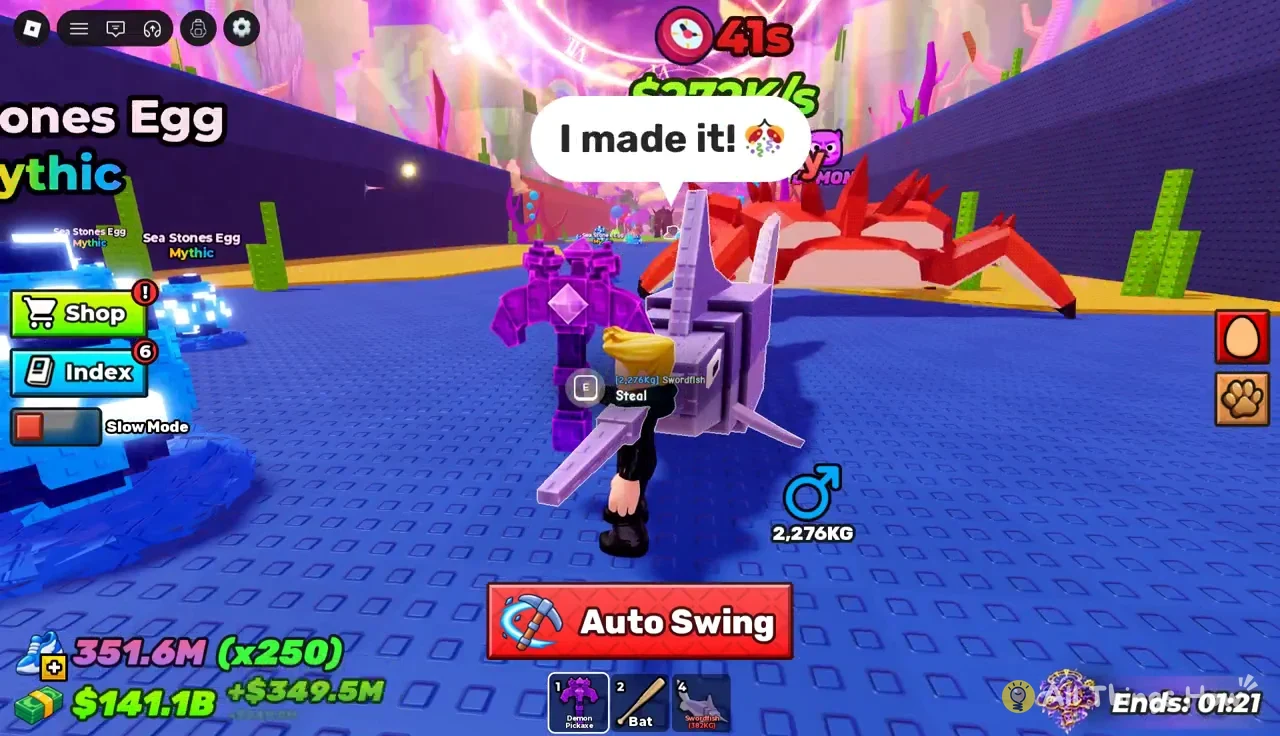
Be careful which prompt you’re pressing in a crowded server. The E key also triggers other interactions, including a hug when you’re standing next to another player, so line up with the pet before you press it.
Earning the cash for your next trail or pickaxe
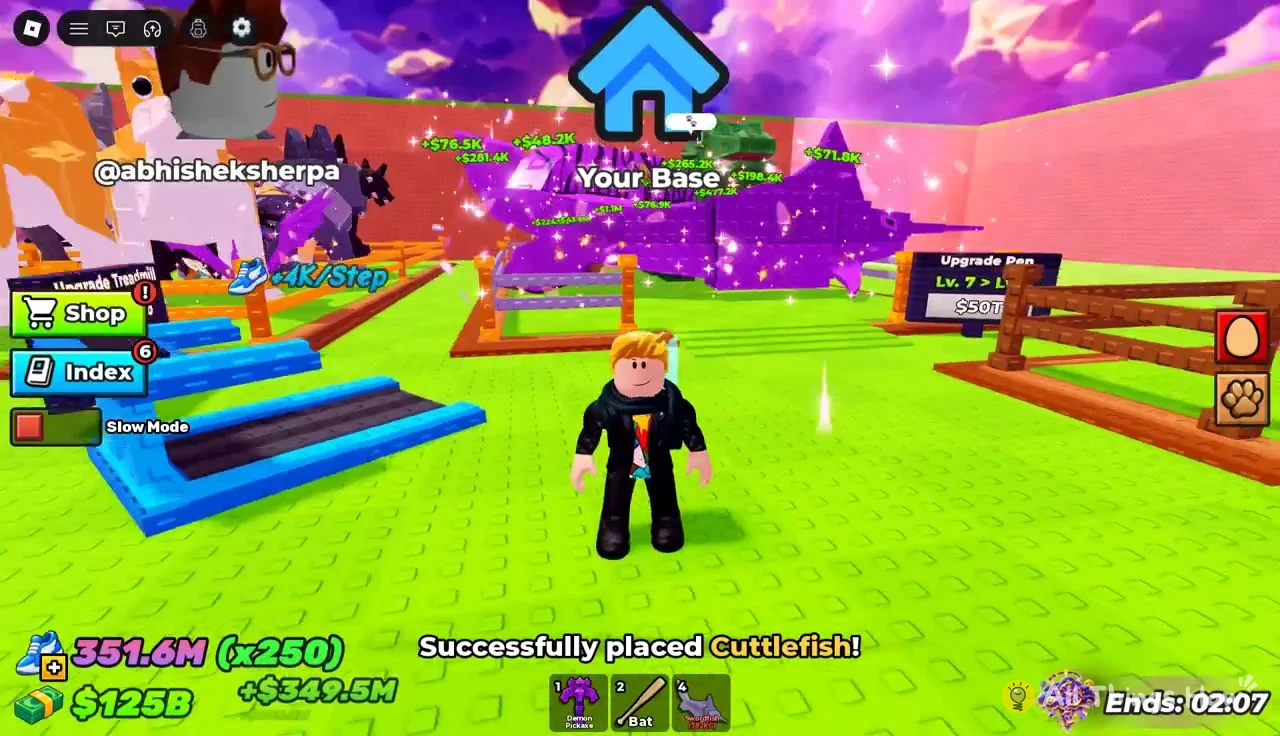
Trillion-dollar trails and pickaxes come out of your pets’ per-second income, so the base is where you grind toward them. Three systems there decide how fast that number grows.
Pen capacity and equipped pets
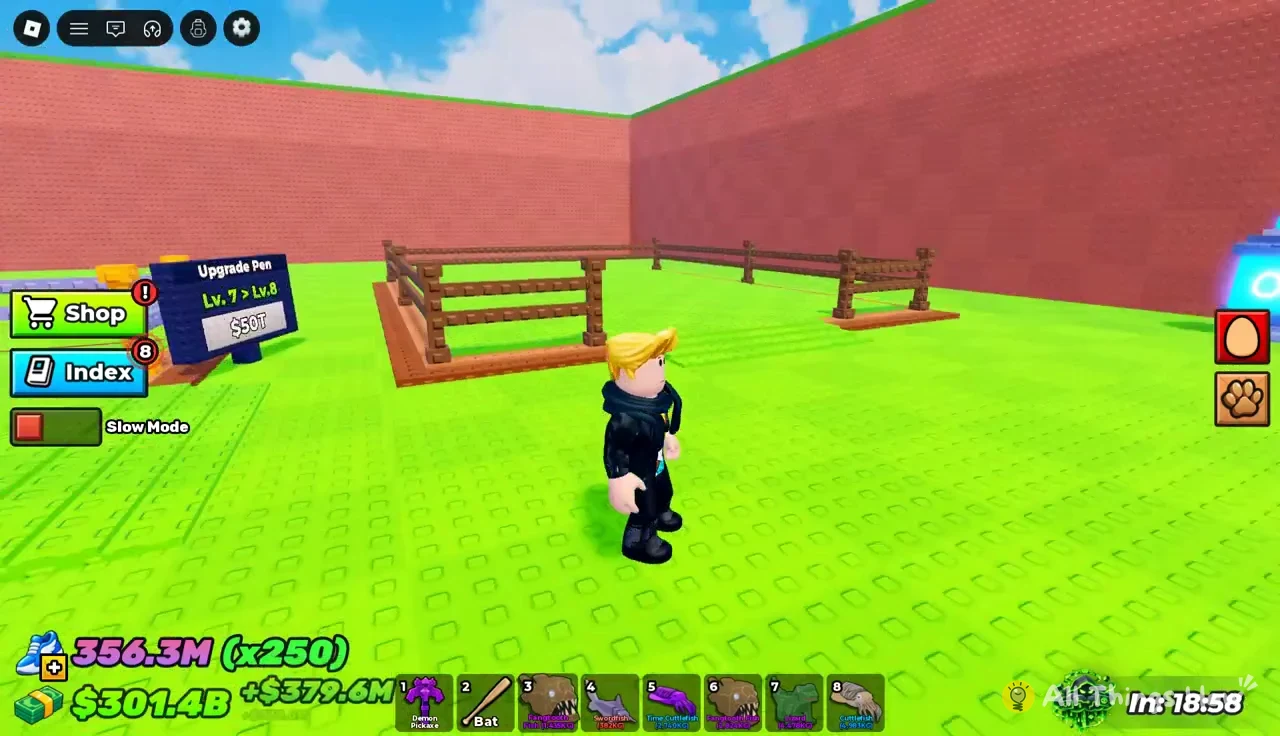
Your pen has a limited number of slots, and when it fills you’ll see “Base Full – Upgrade Your Plot.” The Upgrade Pen sign handles that. Level 6 to Level 7 costs $2.2T, and Level 7 to Level 8 costs $50T, which is more than the Ufo Pickaxe.
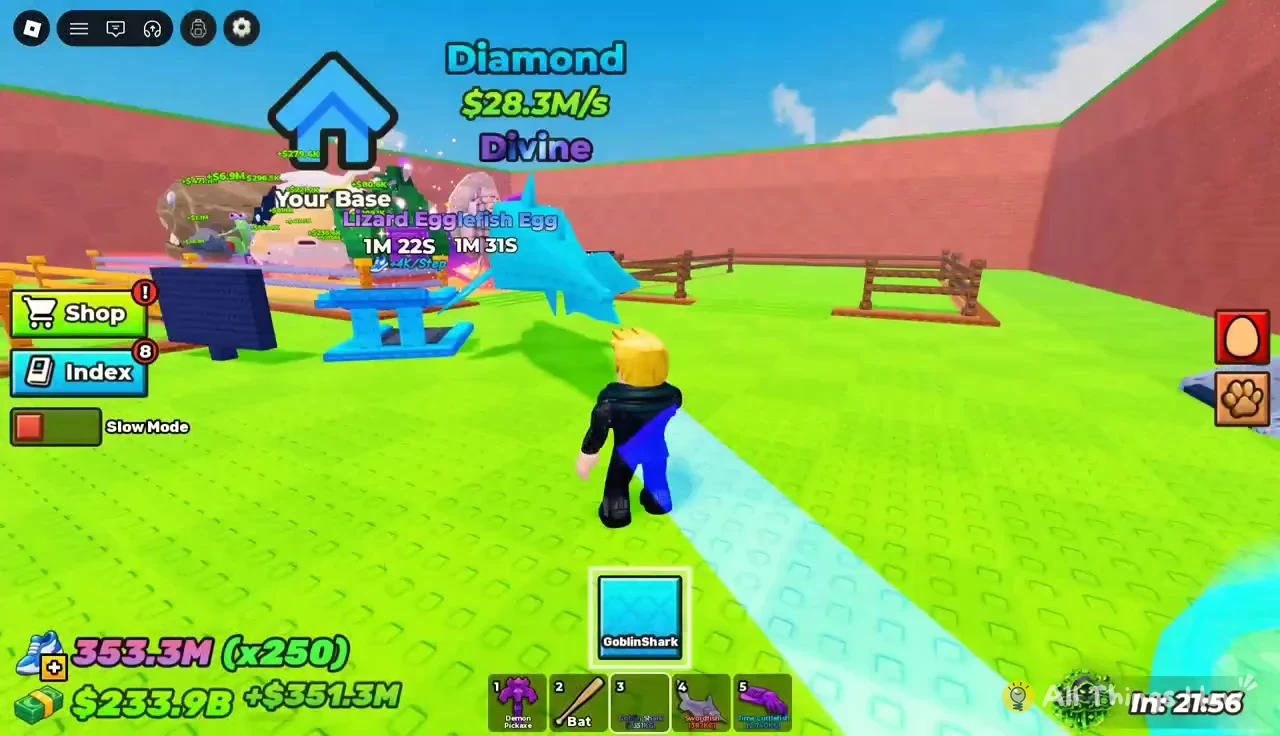
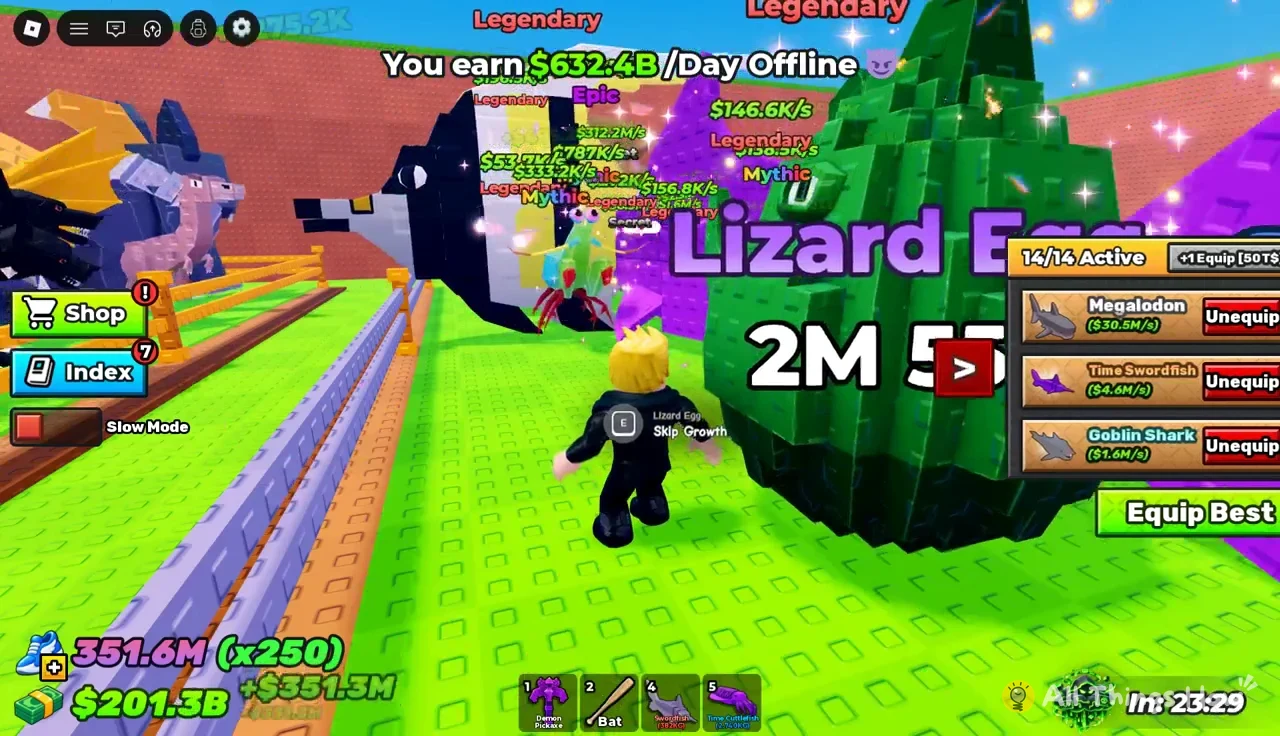
Which pets you equip matters as much as how many you own. The active panel caps at 14/14, and its Equip Best button fills those slots with your strongest pets. Pets differ wildly in output: a 1,351KG Divine Diamond Goblin Shark earns $28.3M/s, while a 1,113KG Rare Cuttlefish earns $5.7K/s. Swapping in high-tier pets pushes offline income from $620.8B/Day to $683.4B/Day.
Treadmill training for base Speed
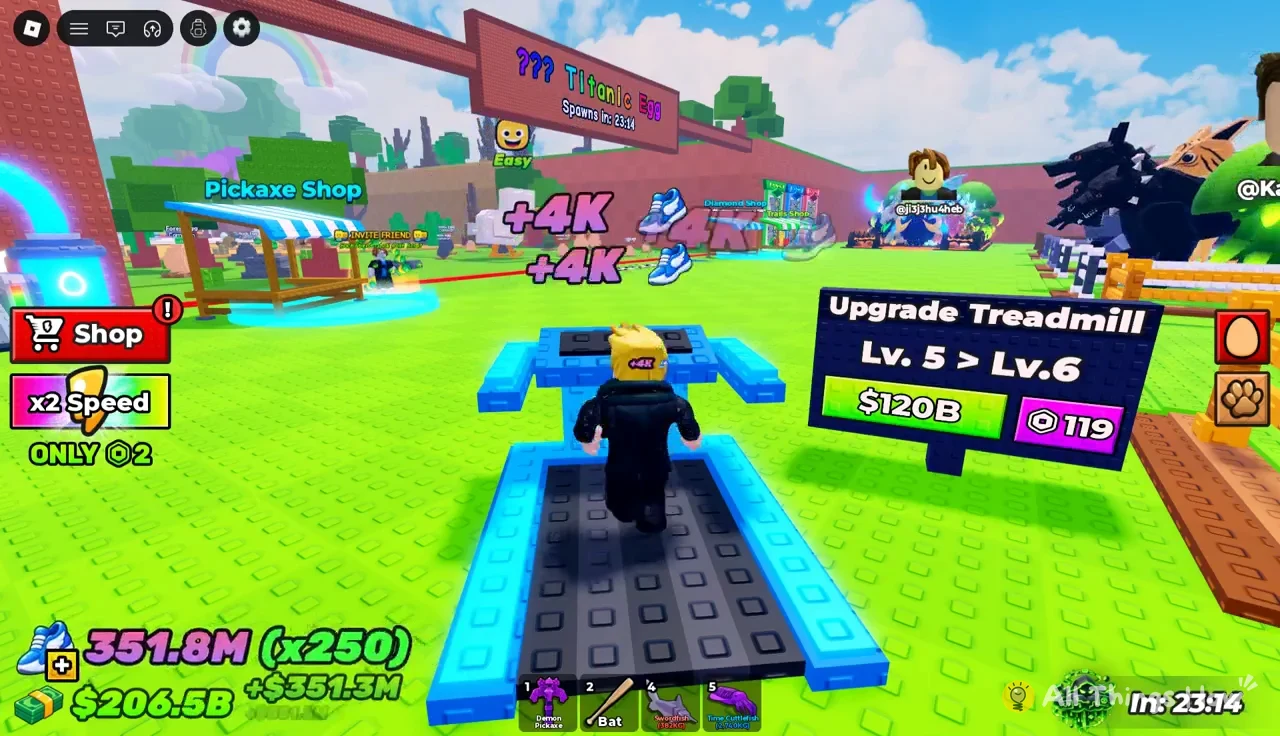
Your trail multiplies whatever Speed you’ve trained, and the treadmill at your base is where that training happens. Step onto the blue belt and every step adds Speed. At treadmill Level 5 that’s +4K per step.
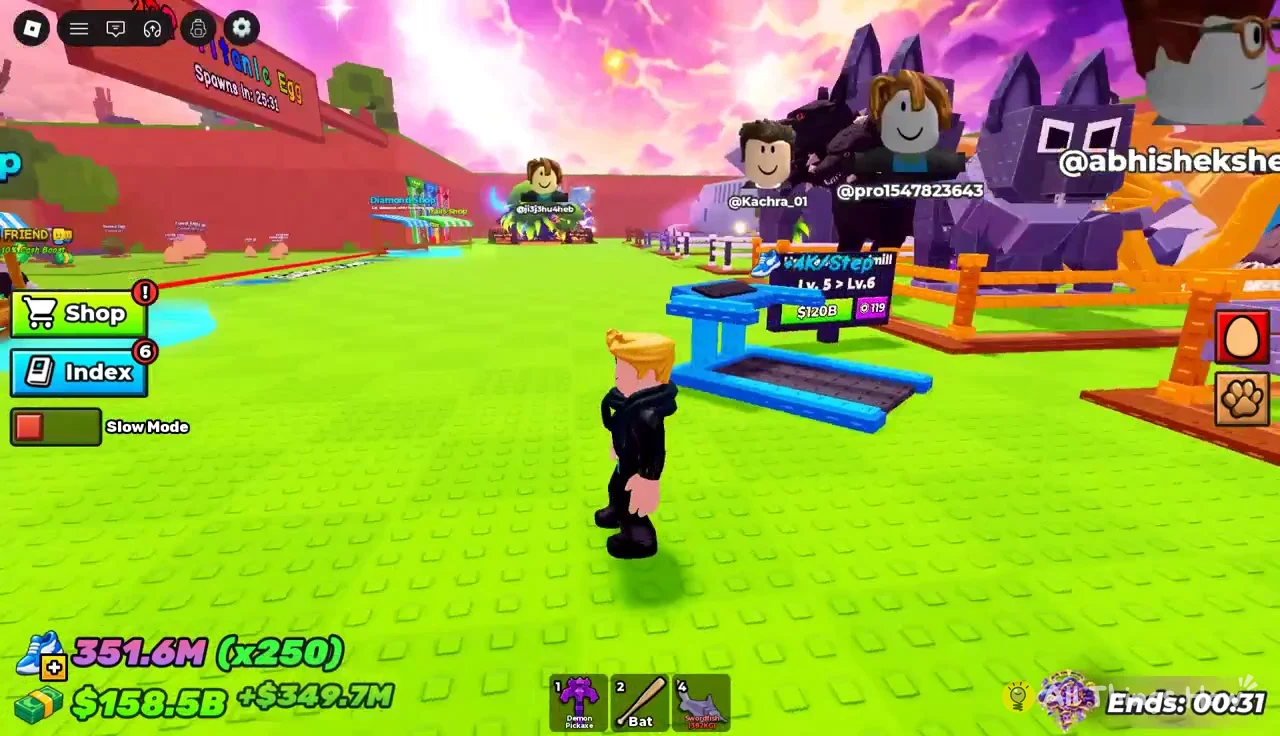
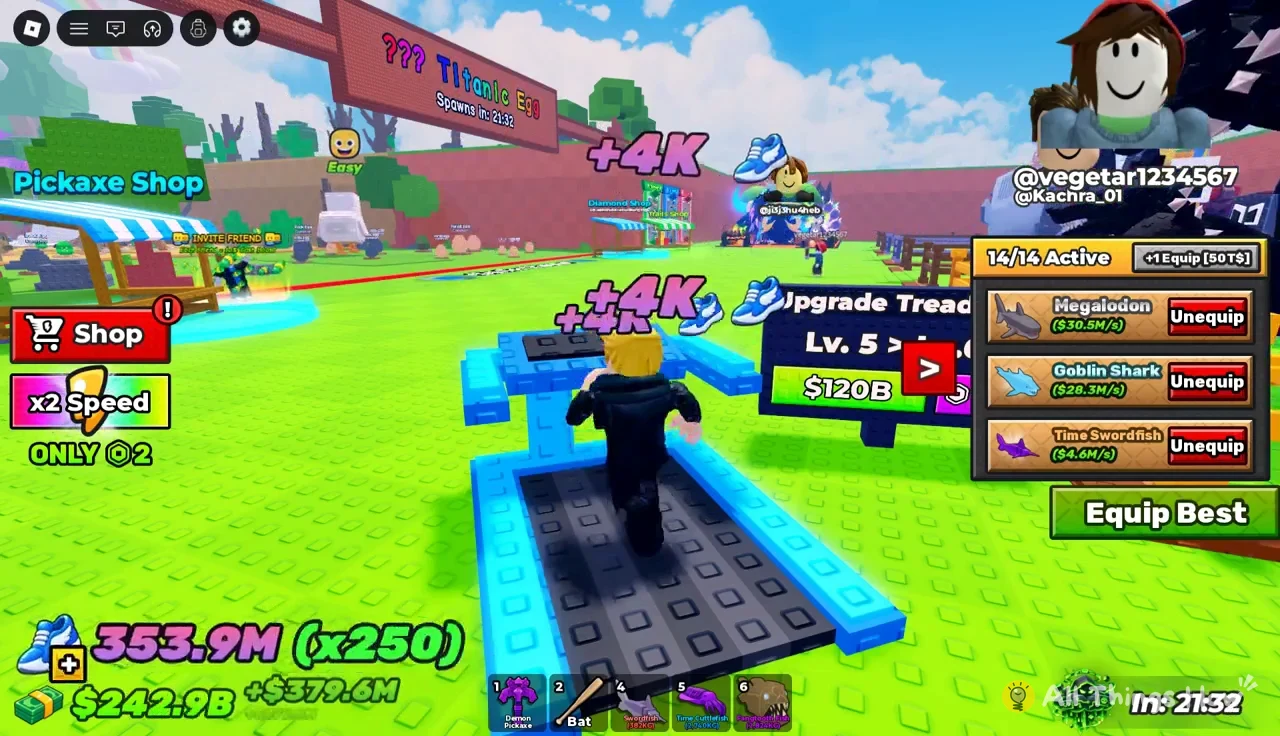
The blue Upgrade platform beside the belt raises how much each step is worth. Walk onto it to see the next level’s price.
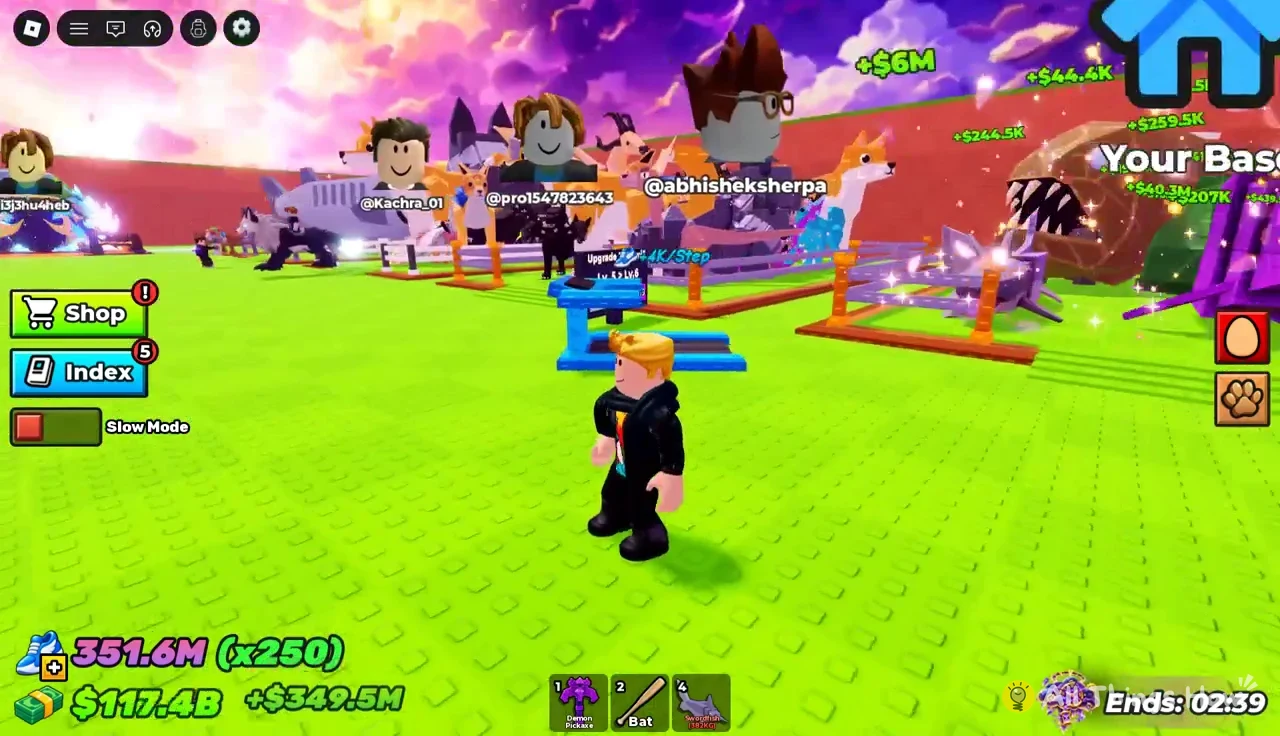
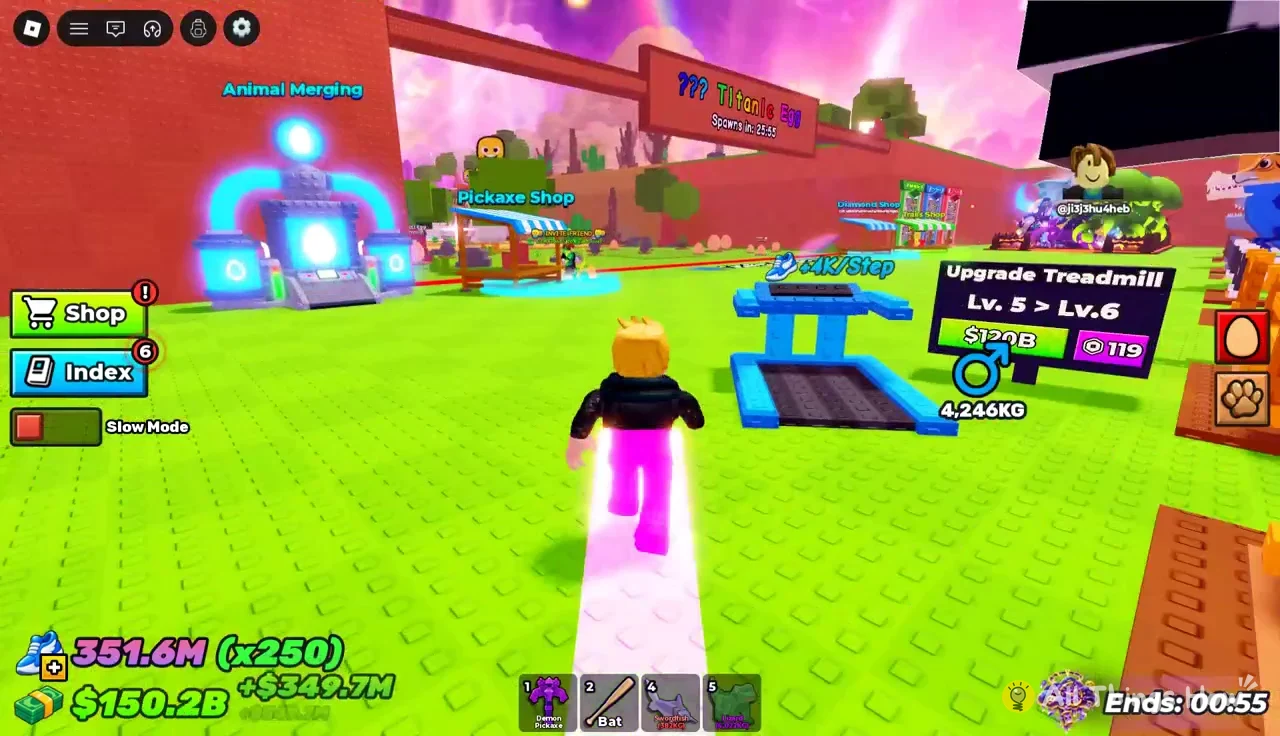
Advancing the Treadmill from Level 5 to Level 6 requires $120B or 119 Robux. Since it costs less than the Secret Trail, buying it makes sense while you save for a larger multiplier.
Animal Merging for heavier, higher-earning pets
Duplicate pets can be turned into one bigger pet at the Animal Merging machine in the hub. The rule is three of the same species, and more total KG produces a bigger egg. Three Lizards at 4,022KG, 244KG and 212KG, for example, merge into a 4,477KG Lizard Egg.
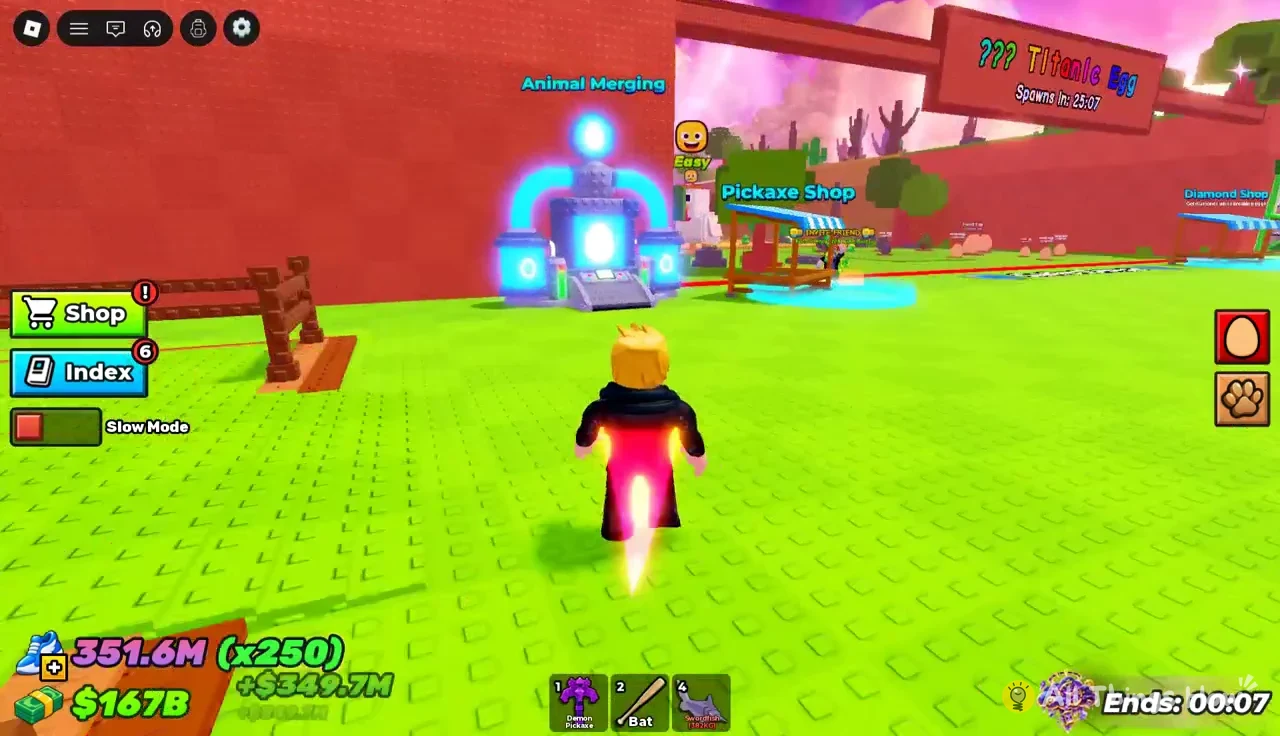
Press E at the machine to open the Merge Pets menu, then pick three matching pets from your inventory to fill the slots and hit the green Merge button.
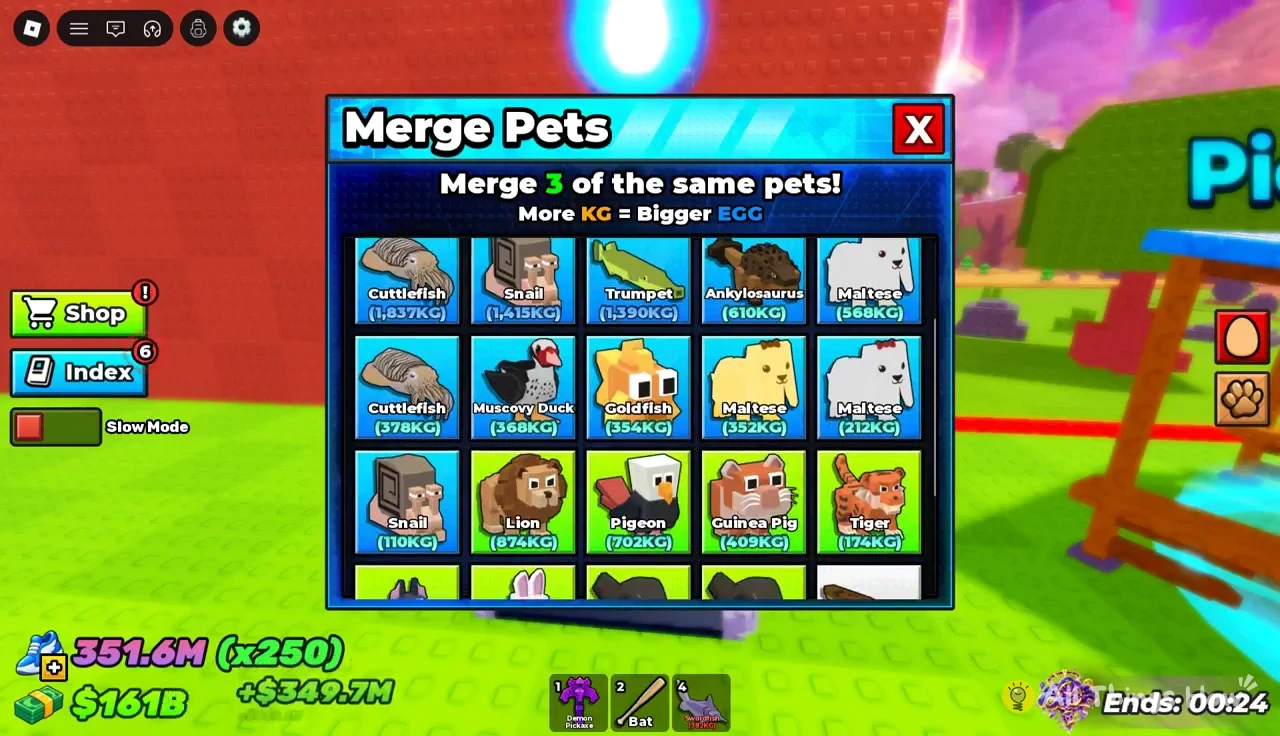
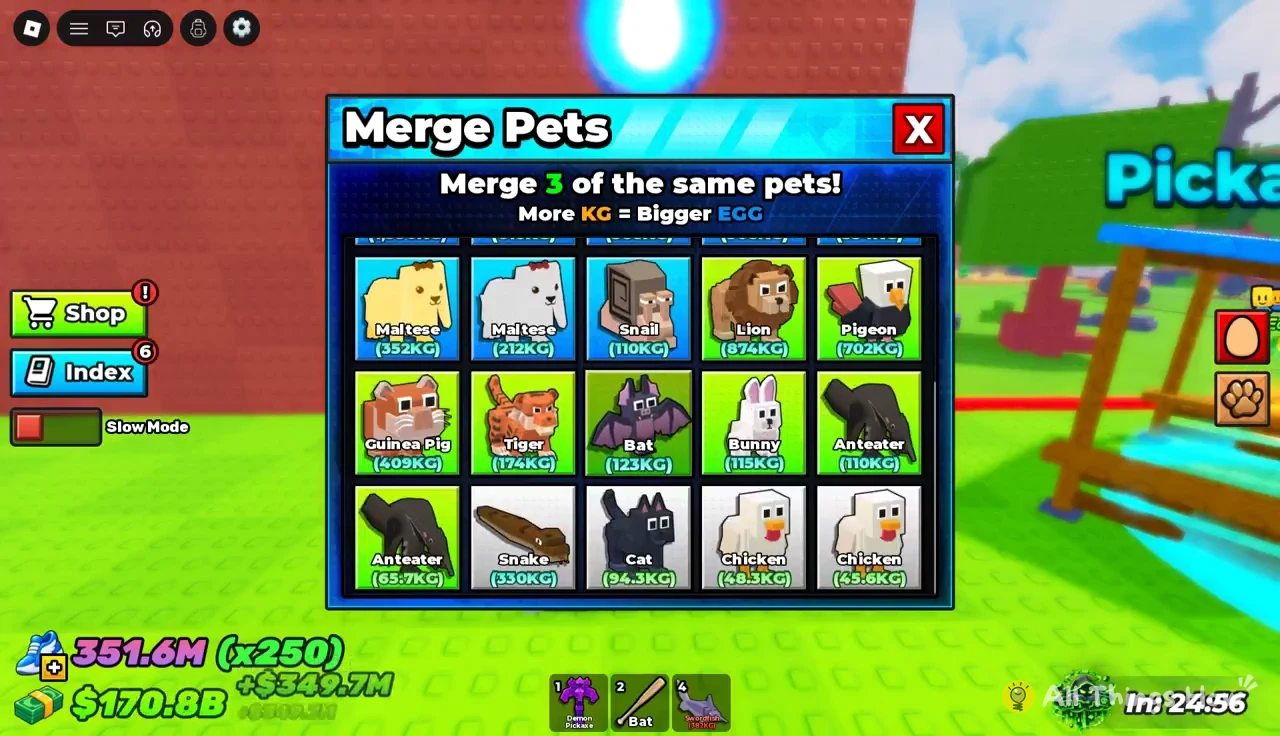
The same machine works for any species you have three of, including high-weight Cuttlefish that merge into an 8,836KG Cuttlefish Egg.
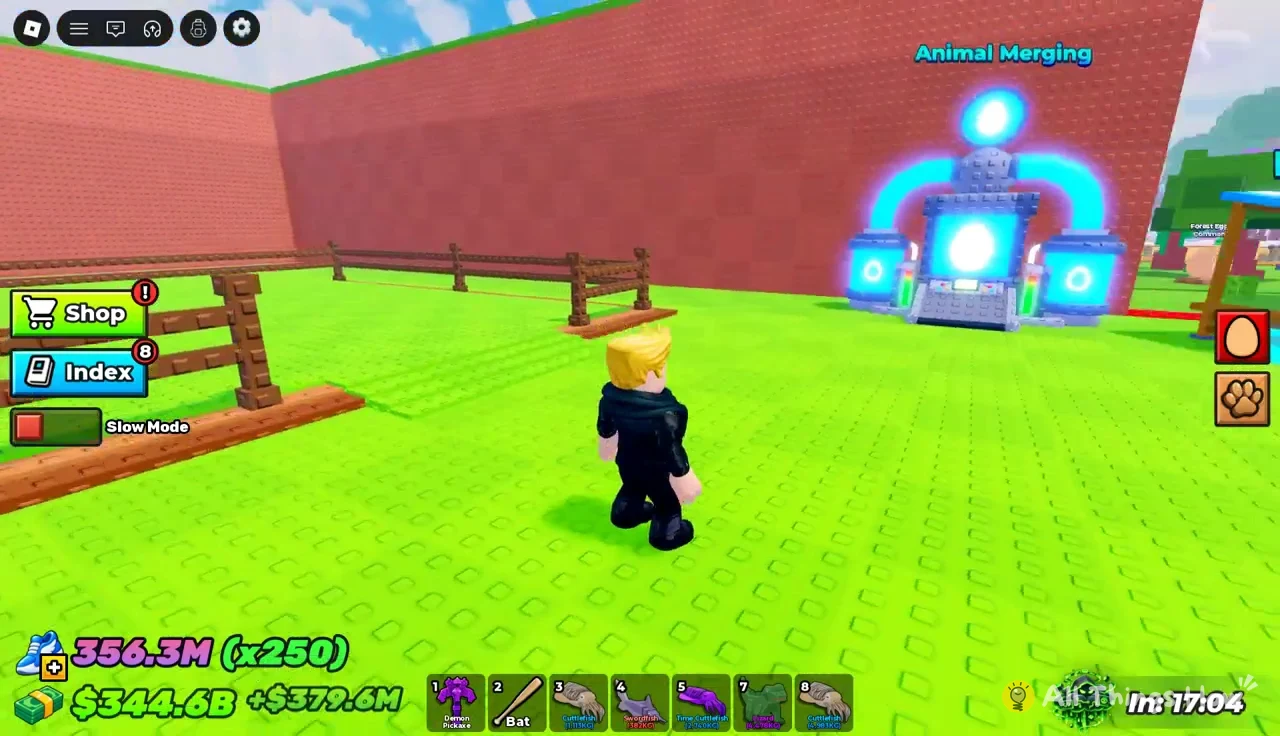
The merged egg lands in your hotbar. Place it in an open pen spot and it starts a growth timer of a few minutes. You can press E at the egg to Skip Growth with Robux, or wait until it reads Ready! and open it from the Growing Eggs menu to get the enlarged pet.
The pattern for deciding what to buy stays simple. If you’re standing at an egg for dozens of swings, the next purchase is a pickaxe. If the walk out and the RUN! trip back take longer than the break, it’s a trail or a treadmill level. And if your pen is full, neither will help until you upgrade the plot.