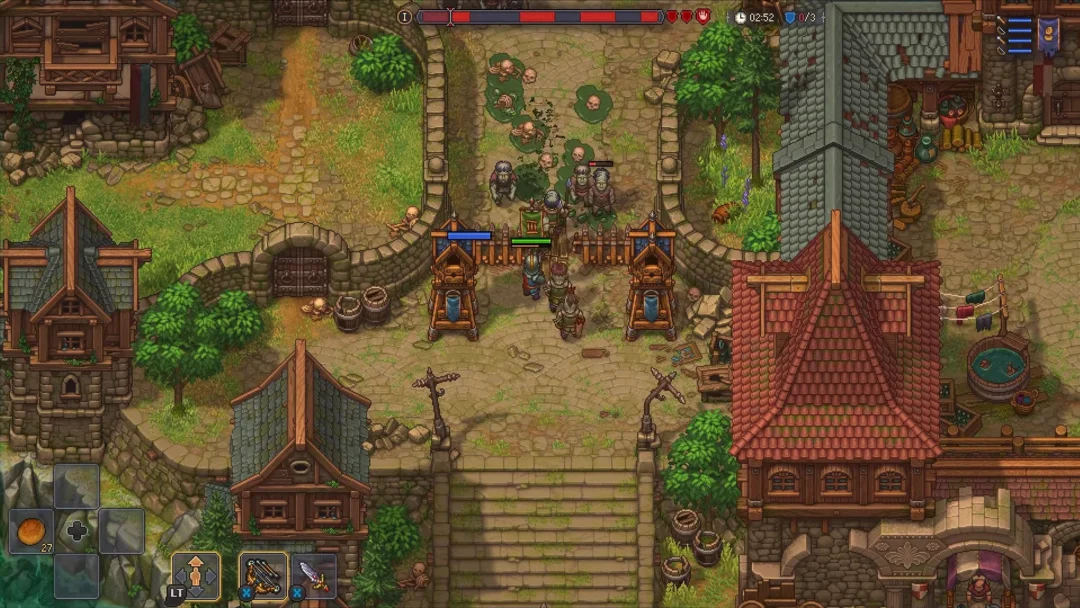
Weapon progression and boss kills in TRENCH: DECAY both move faster the moment you stop playing with a full squad. Enemy counts and boss health scale with how many players are in the raid, so a solo private lobby turns the same content into something far quicker to clear. Pair that with a few trial shortcuts and the right route nodes, and tiers that normally take a long grind fall quickly.
Quick answer: Create a solo private lobby from The War Table, farm weapon trials by hitting dormant bodies and wooden crates in The Cathedral, scrap spare gear with P, and fight bosses alone so their scaled health stays low.
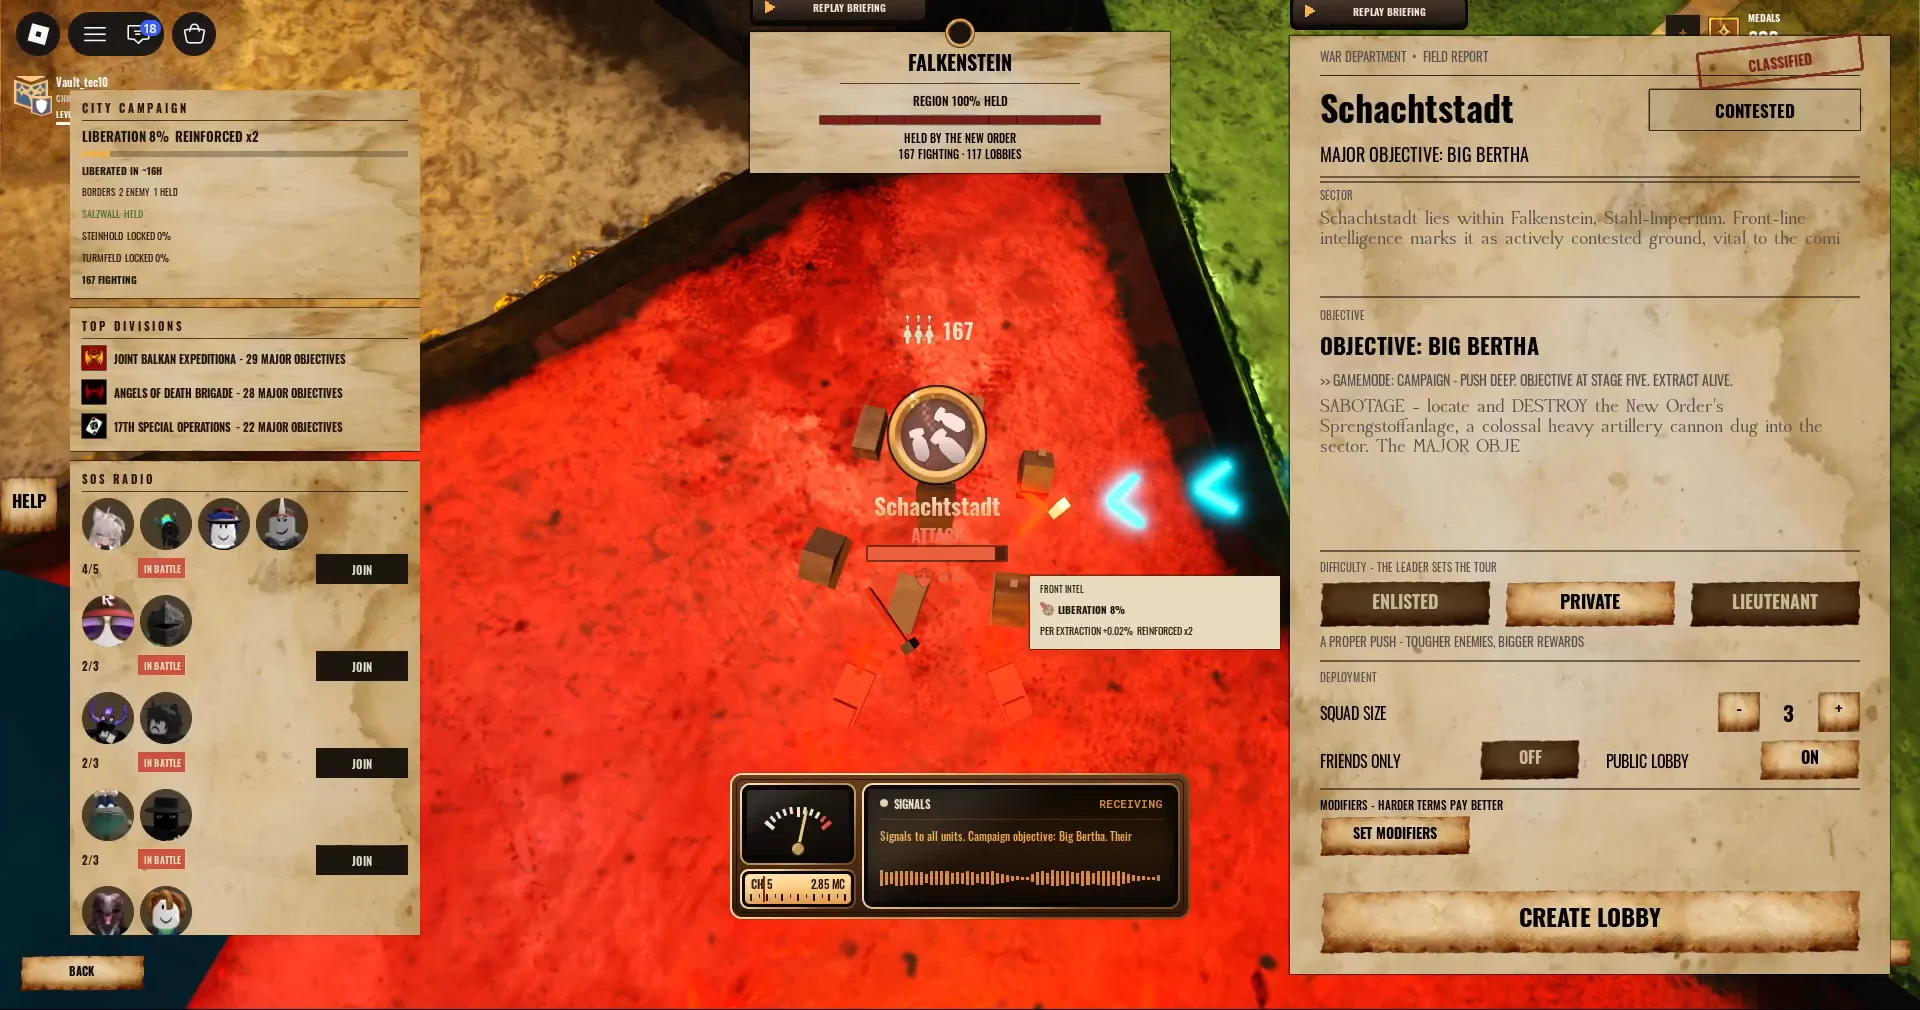
Set up a solo private lobby first
This is the key step for everything that follows. Encounters adjust both boss durability and enemy toughness to the player count, making a solo raid the best way to save time. The Hallowed, for example, is about ten times easier to defeat alone than with a full group.
How weapon grades and trials work
Each weapon moves through four grades. Higher grades raise damage and open trait slots for rerolling stats. You unlock them by completing combat trials tied to that specific weapon, such as landing a set number of kills or bayonet stabs.
| Grade | Damage | Trait slots |
|---|---|---|
| Standard | x1.00 | 0 |
| Requisitioned | x1.05 | 1 |
| Decorated | x1.10 | 2 |
| Anointed | x1.20 | 3 |
Track your active trials from the Field Pack tab during a raid. It lists both Weapon Trials and Weapon Tiers so you always know which objective still needs kills. The Bladed Hallow revolver, for example, unlocks for 200 Medals or 5000 Bonds and carries trait options like Pierce, Spotter, and Focus Fire once it reaches higher grades.
Farm trial kills from bodies and crates
Trial counters do not only register live enemies. Two map objects feed the same counter, which lets you rack up kills with almost no risk.
- Dormant bodies lying on the trench floor count as kills when you strike them with a weapon or bayonet.
- Wooden taped supply crates count as weapon kills when you melee or shoot them.
Walk the trenches between fights and hit every corpse and box you pass. These free hits add up quickly against trial requirements that would otherwise force you to chase live enemies.
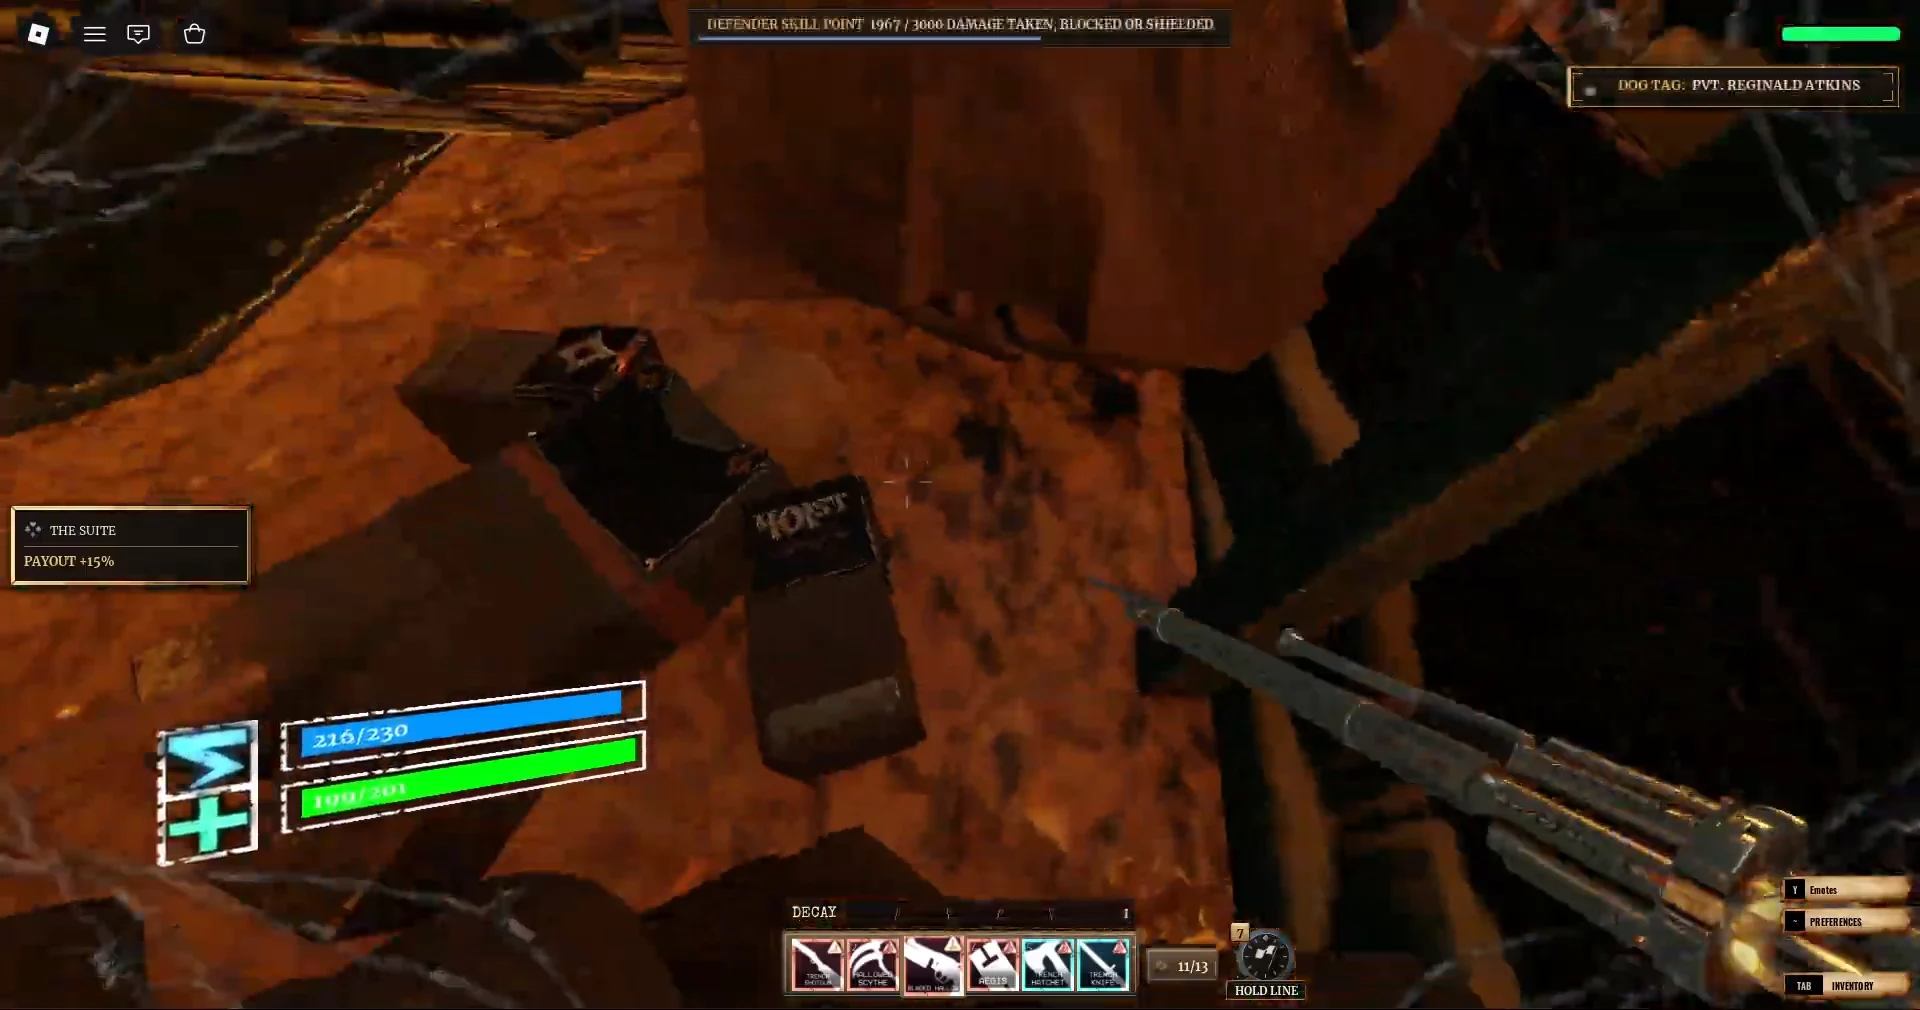
The Field Wireless Set switchboard is also worth a stop. Patching its lines between terminals earns capture points and dog tags, which convert into XP and Medals when you seal the bunker.
Pick The Cathedral node, skip The Mines
After a bunker seals, the Dead Man’s Road map opens its node network. Your route choice decides how fast kills come and how likely you are to die mid-run.
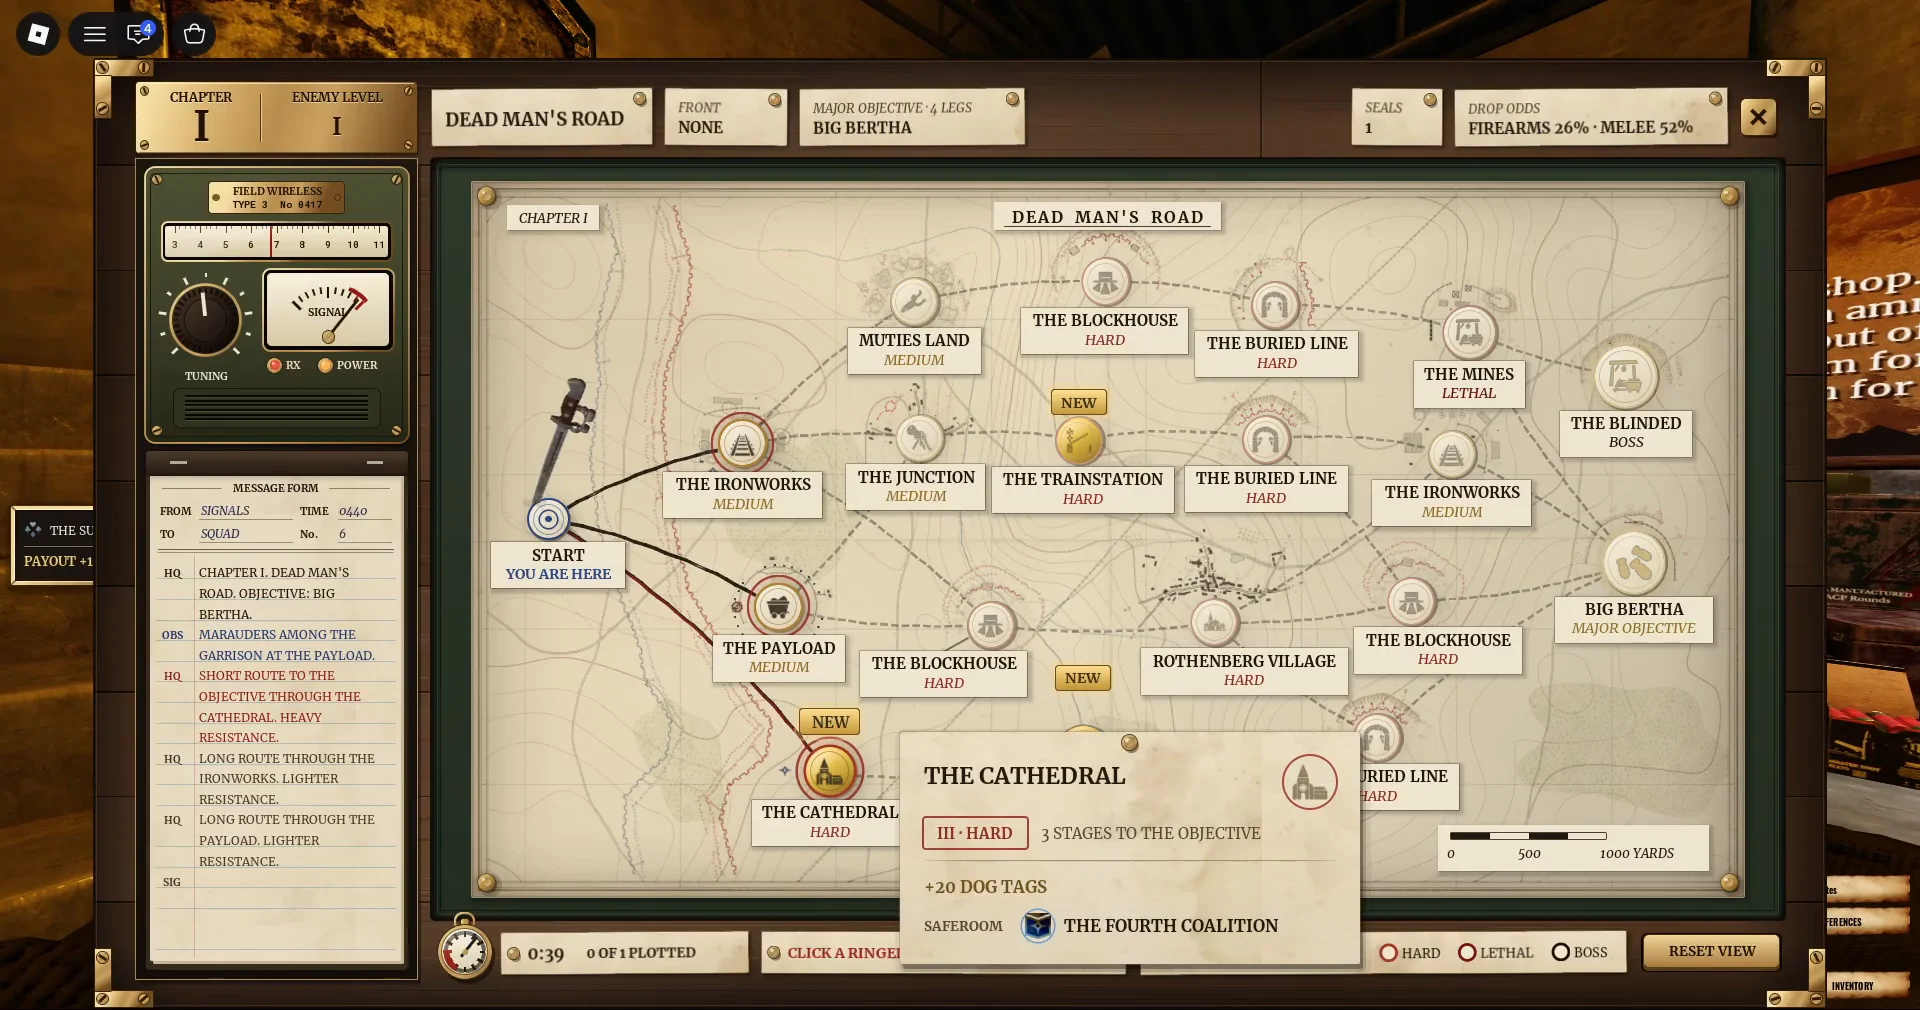
The Cathedral is the node to aim for. Its enemy spawn density is high, so trial kills and XP come in fast through the stone halls. The area tasks you with opening five valves to clear it, and the banner reading OBJECTIVE COMPLETE – THE GREAT DOOR IS OPEN confirms you finished.
Avoid The Mines entirely while leveling. The enemies there move at extreme speed and turn the node into a death trap that wipes a leveling run before you gain anything.
Scrap spare weapons with the P hotkey
Loose weapons pile up fast from walls, bodies, and containers. Clear the clutter and turn it into upgrade currency instead of leaving it.
Open the Field Pack, hover over any weapon you do not want, and press P to auto-scrap it into Gun Scrap. You can then spend that scrap, and visit vendors in bunker rooms, to reroll weapon trait stats on the gear you are keeping.
Farm bosses alone to keep their health low
The same scaling that makes solo lobbies fast for leveling makes them the best way to farm bosses. Because boss health rises with every extra player, a one-person run keeps the fight at its shortest. Clear the church halls, reach the Hallowed boss, and you will drop it far quicker than a squad hacking through its inflated health pool.
Four bosses are currently in the game: Emissary, Commissar Cerberus, Tank, and Jaeger. Each appears differently across modes, and fighting them rewards XP, which stacks well with the Medals and dog tags you collect on the way in.
Run this loop a few times and the payoff is clear on your own progress screens. Trials tick toward the next grade, the Bunker Sealed summary posts your XP and Medal gains, and your weapons climb from Standard up toward Anointed with the extra damage and trait slots that come with each grade.