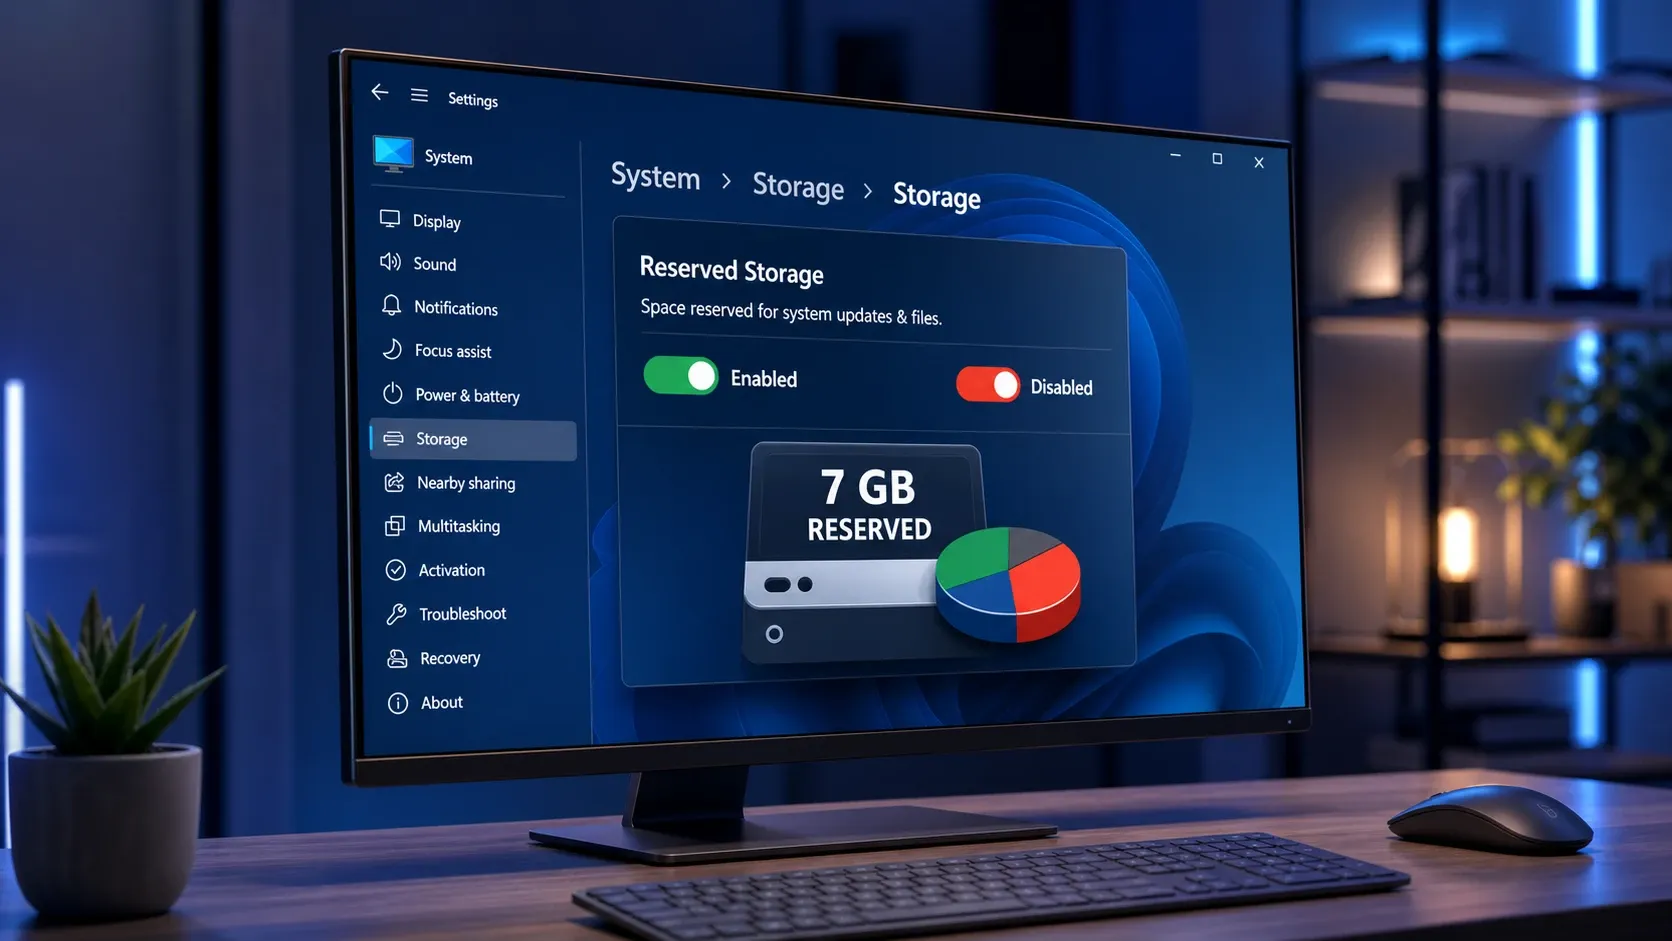
Reserved Storage sets aside a slice of your drive (usually around 7GB) so Windows always has room for updates, temporary files, system caches, and app data. It keeps disk usage predictable and stops feature updates from stalling on machines that are nearly full. Windows manages it automatically, but if you are squeezed for space you can switch it off, and you can switch it back on later.
What Reserved Storage does on Windows 11
When apps and system processes generate temporary files, those files land in the reserved space instead of eating into your free user space. Because the room is already set aside, the device runs more reliably and Storage Sense can clear out anything that is no longer needed. If the reserve ever fills up, Windows keeps working and temporarily borrows space outside the reserve.
Updates lean on this space first. Every update needs free room to download, extract, and install, so on a device with Reserved Storage the unneeded temporary OS files are wiped and the full reserve is used for the update. That lets most PCs update even when free space is tight. Microsoft details how this works on its storage settings support page.
The reserve starts around 7GB but its size shifts over time based on how you use the machine. Two things push it larger. Installing optional features makes Windows grow the reserve so those features survive updates, and adding extra display languages does the same. Removing optional features or languages you don’t use is the safest way to shrink the reserve without disabling it.
One important detail: Reserved Storage is only switched on automatically for PCs that ship with Windows pre-installed or for clean installs. If you upgraded from an older Windows version, it may never have been enabled. If you don’t see it listed, the device may have limited disk space or it isn’t a fresh install.
Check whether Reserved Storage is enabled
Before changing anything, confirm the current state. You need to be signed in as an administrator for every method below.
DISM /Online /Get-ReservedStorageState. In Windows PowerShell use Get-WindowsReservedStorageState.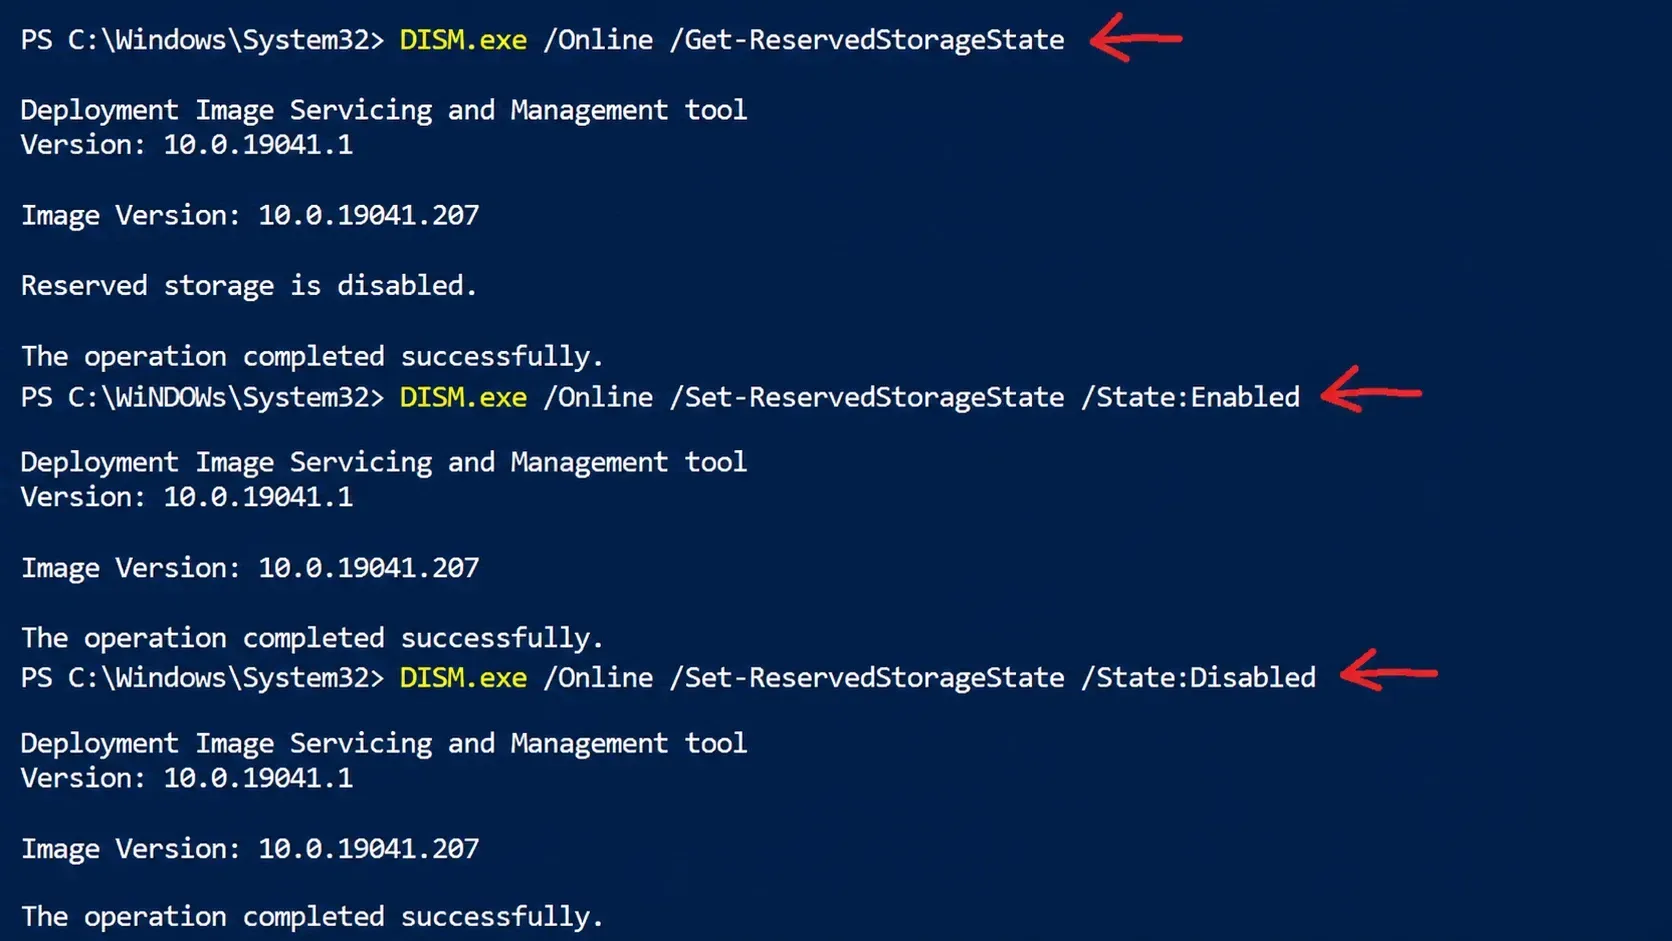
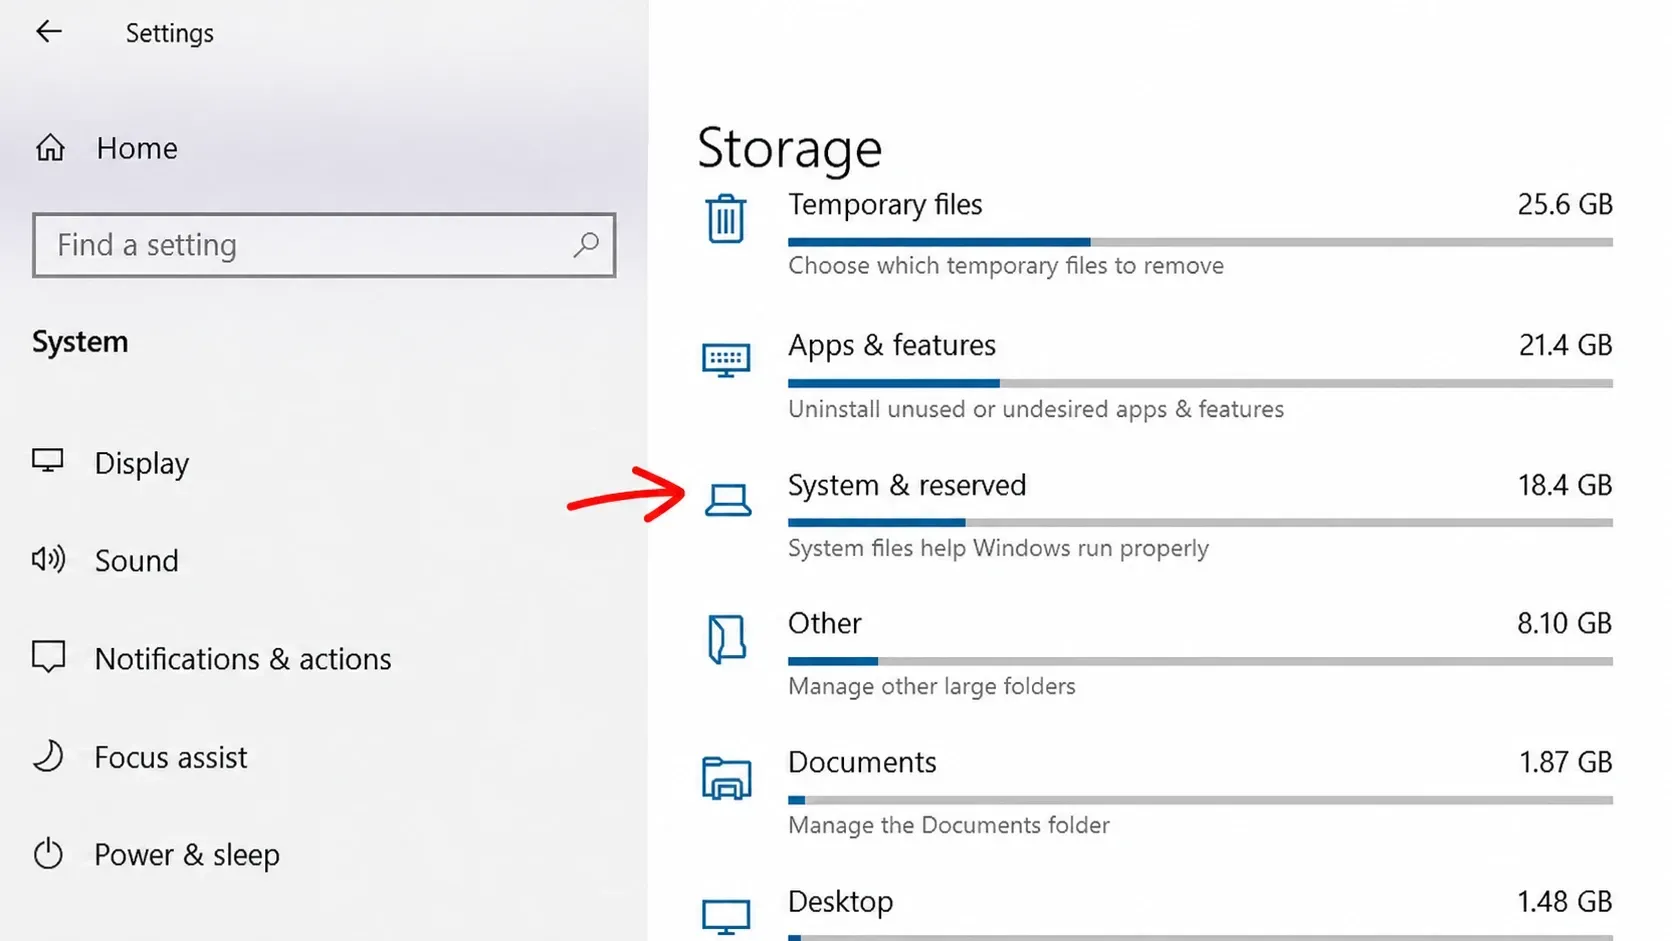
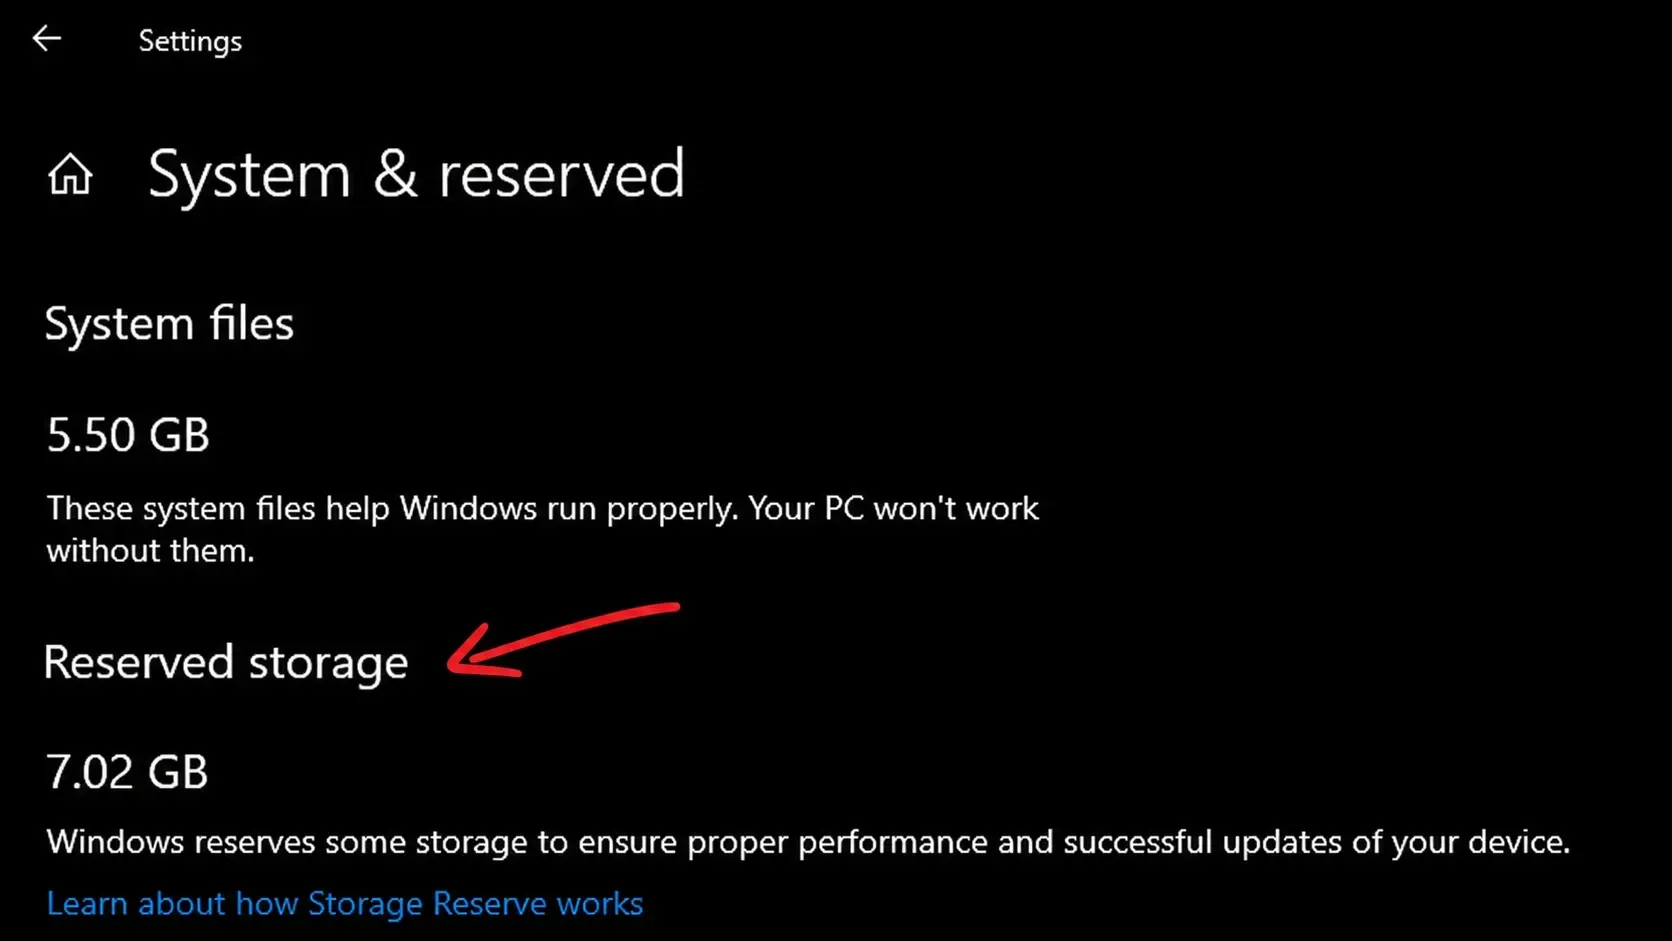
You can also confirm it visually. Open Settings > System > Storage, click Show more categories (or open Advanced storage settings), select your Windows drive, then open System & reserved. The Reserved storage figure shows how much space is set aside on that drive.
Enable or disable Reserved Storage with DISM
DISM (Deployment Image Servicing and Management) is the official command-line tool for this, and it is the fastest, scriptable route. It talks directly to the reserve manager to flip the state on a running system.

DISM /Online /Set-ReservedStorageState /State:Disabled. To turn it back on, run DISM /Online /Set-ReservedStorageState /State:Enabled.Use PowerShell to toggle Reserved Storage
PowerShell offers a dedicated cmdlet, which is handy for scripted or large-scale deployments.
Set-WindowsReservedStorageState -State Disabled to turn it off or Set-WindowsReservedStorageState -State Enabled to turn it on.Edit the Registry to control Reserved Storage
The same setting lives in the Registry under a single DWORD. This route works for automation and policy deployment, but a wrong edit can cause boot or stability problems, so export the key first using File > Export in Registry Editor.
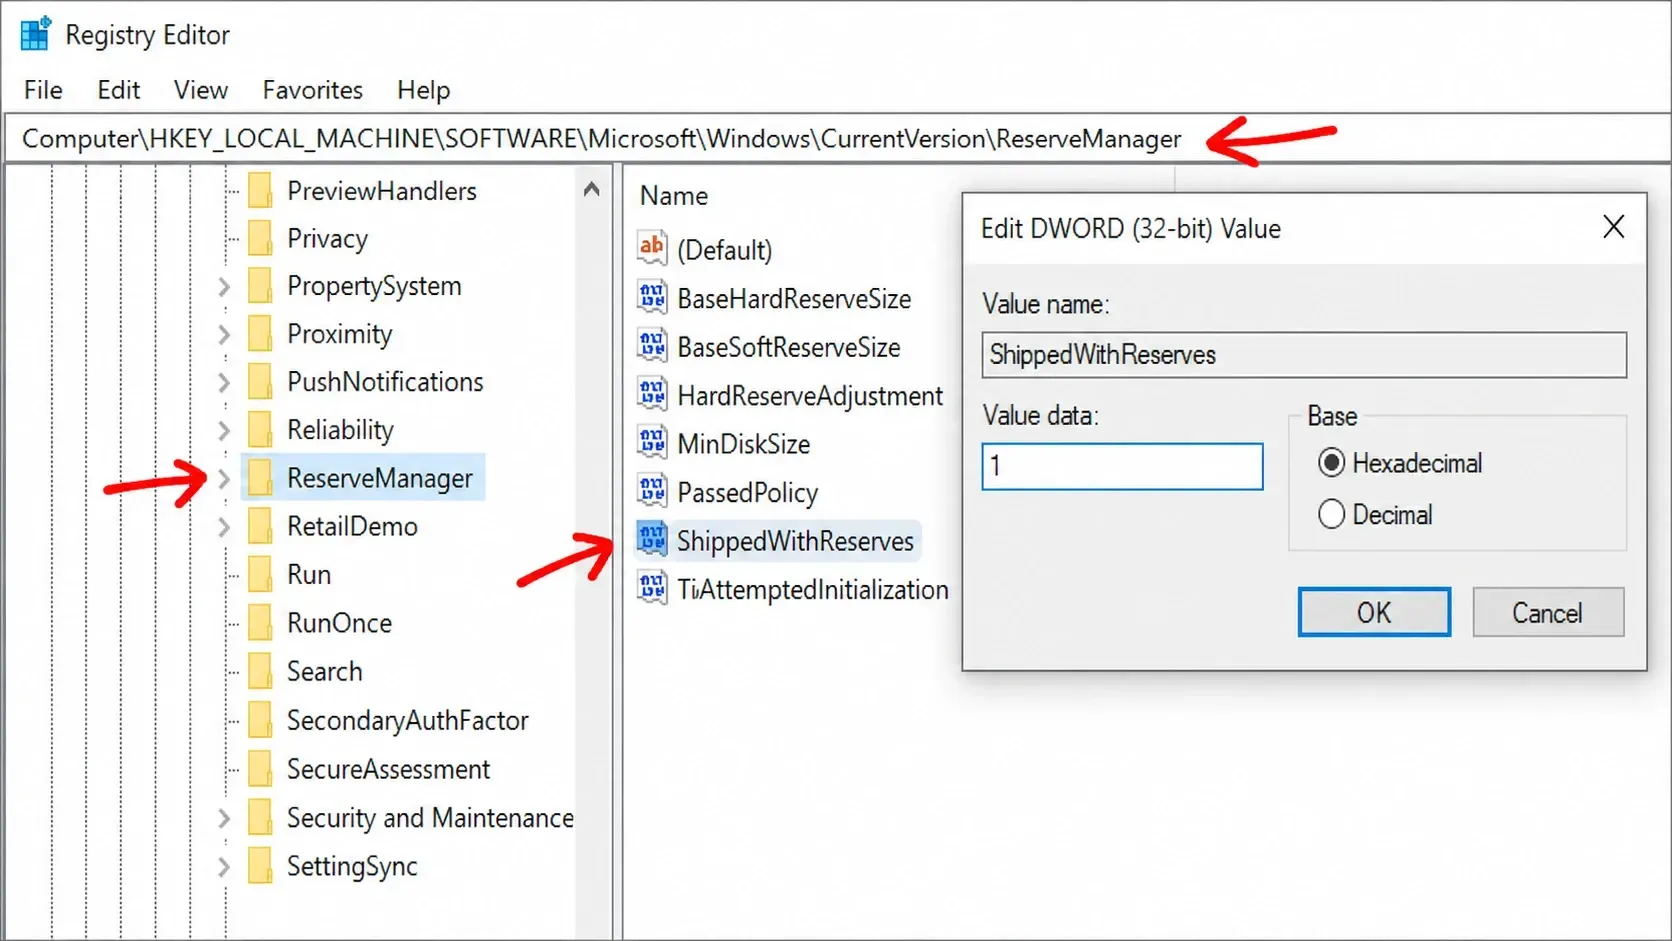
You can apply the same change with a .reg file for one-click deployment. Save a file with the lines below (file type set to All Files), then right-click and run it as administrator.
Windows Registry Editor Version 5.00
[HKEY_LOCAL_MACHINE\SOFTWARE\Microsoft\Windows\CurrentVersion\ReserveManager]
"ShippedWithReserves"=dword:00000000
Disable Reserved Storage
Windows Registry Editor Version 5.00
[HKEY_LOCAL_MACHINE\SOFTWARE\Microsoft\Windows\CurrentVersion\ReserveManager]
"ShippedWithReserves"=dword:00000001
Enable Reserved Storage
Confirm the change and fix common errors
To verify, re-run the status check. After disabling, open Settings > System > Storage > System & reserved and the Reserved storage entry will no longer appear once the refresh completes. After enabling, the reserve reapplies and shows up again in Settings after Windows installs its next new build through Windows Update.
If a command fails, the cause is usually one of a few specific things.
| Error or symptom | Why it happens | What to do |
|---|---|---|
| Error: 87, the Set-ReservedStorageState option is unknown | Running on a build older than Windows 10 v2004, or a damaged image | Run DISM with the cleanup-image option, then retry. The same applies to Get-ReservedStorageState. |
| “This operation is not supported when reserved storage is in use” | A servicing or update operation is active | Wait for any update or servicing task to finish, then run the command again. |
| Update fails with 0x80070070 after disabling | Disk space ran low without the reserve as a buffer | Re-enable with DISM /Online /Set-ReservedStorageState /State:Enabled. |
| Space not reclaimed after disabling | Cleanup not yet run | Run cleanmgr, pick Windows Update Cleanup, then reboot. |
The commands only work on online images, meaning a running Windows PC, not offline images. Reserved Storage cannot be removed from the OS entirely, but trimming optional features and unused languages reduces its footprint. For most people the feature is worth keeping on, since it protects update reliability. Disabling it makes sense mainly when you are genuinely tight on disk space or building lean images for thin clients and virtual desktops, where you can re-enable it on critical systems afterward.


