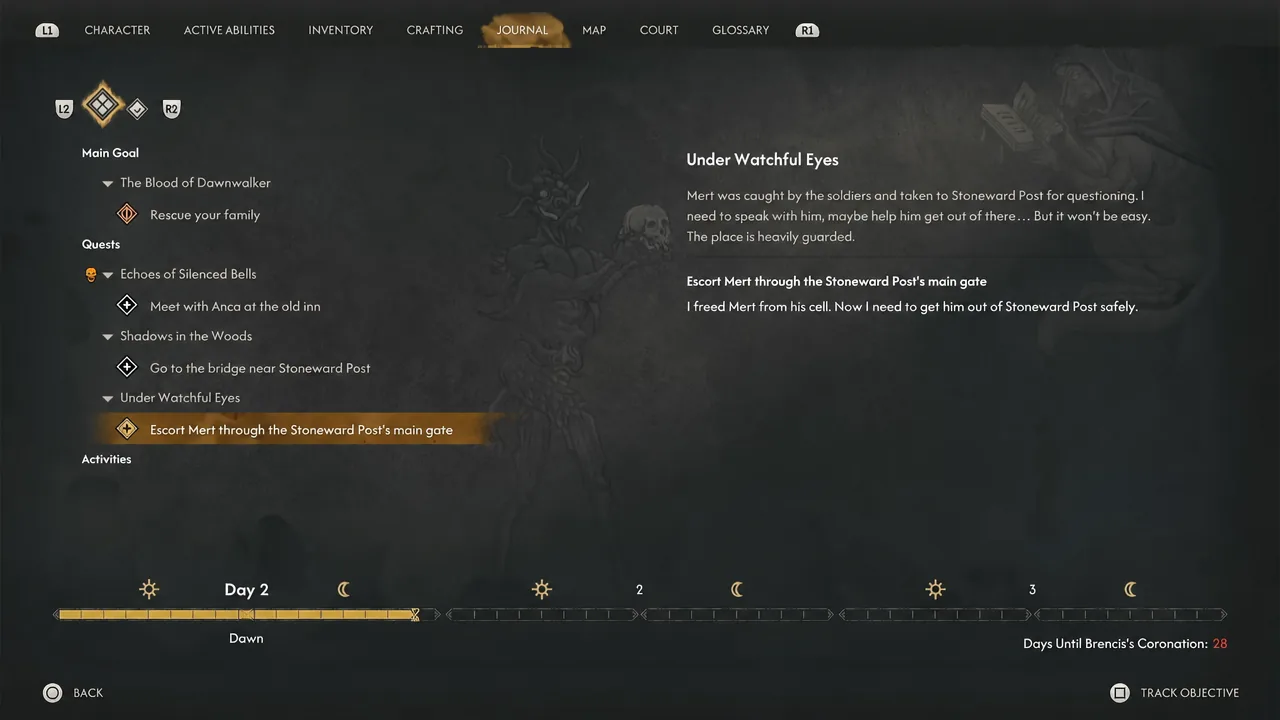
Under Watchful Eyes is the follow-up side quest to The Firebrand in The Blood of Dawnwalker, and it drops Coen inside a heavily guarded military camp with a prisoner to smuggle out. The objective text tells you to escort Mert through the Stoneward Post’s main gate, which sounds like a running fight through the entire garrison. It isn’t, as long as you take the right door.
Quick answer: Steal the Prison Keychain from behind Friedo the Overseer, unlock Mert’s cell, then leave through the locked side door in the lit alcove on the north face of the overseer’s tower. The escort objective completes even though you never touch the main gate.
Under Watchful Eyes requirements, cost, and rewards
The quest starts on its own the moment you finish The Firebrand by speaking to Mert down in the dungeon. That only happens if Mert is still alive at the end of The Firebrand, so a playthrough where he dies never sees this quest at all. There is no fail state once it begins.
| Detail | Value |
|---|---|
| Type | Side quest, tied to The Firebrand |
| Quest giver | Mert |
| Location | Stoneward Post |
| Start condition | Mert survives The Firebrand, then talk to him in the dungeon |
| Objectives | Get the key to Mert’s cell, free Mert, escort him through the main gate |
| Time cost | 3 time segments |
| Reward | 250 XP |
| Unlocks next | Shadows in the Woods |
Three time segments is a real price in a game where the clock only moves when you push the plot. Mert himself points out that the camp is thinner at night, so that is the window he expects you to use.
How to get the Prison Keychain from Friedo the Overseer
Everything in the quest hinges on one pickpocket. Friedo the Overseer carries the key that opens Mert’s cell, and the same key opens the two doors you need for the shortcut out.
Arm yourself before you unlock the cell
The guard posted in Mert’s room draws his sword the instant the cell door opens, so the fight is unavoidable. If you took one of the dialogue options in The Firebrand that made you surrender your weapons at the gate, you are about to start that fight empty-handed.
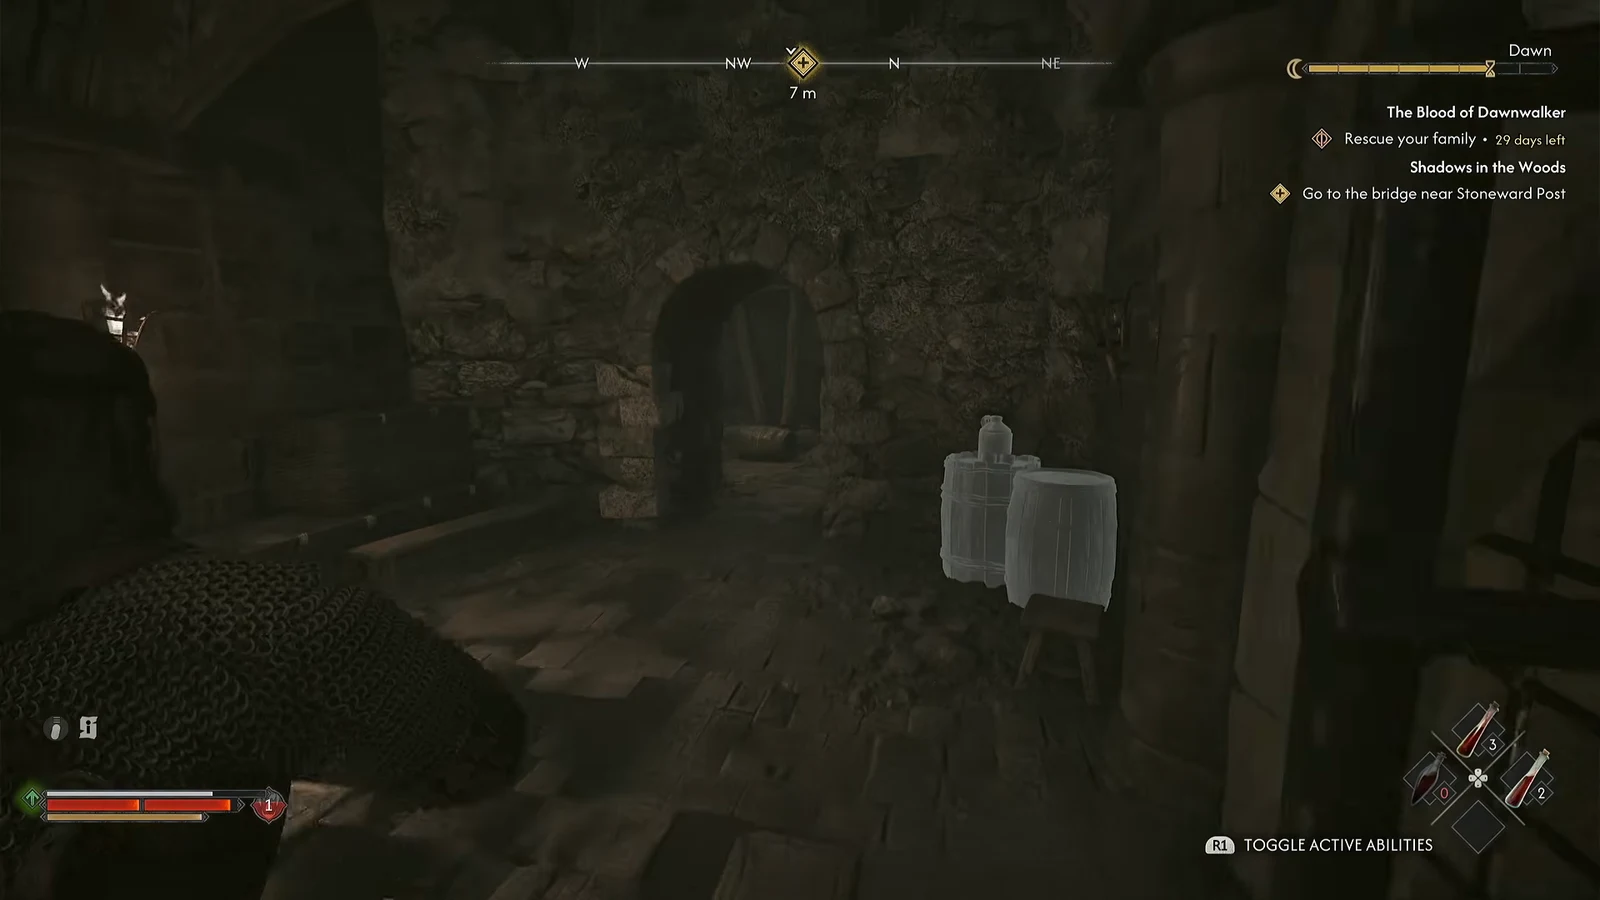
There is a Weathered Longsword in the back right corner of the room. Stealing it turns the guard hostile, but if you open your inventory and equip it right away, you get it in hand before combat properly kicks off. If you fought your way in with your own gear instead, that guard is already dead and you can skip straight to the cell.
The alternative: Leave first, come back armed
If you would rather not scramble for a rusty sword mid-fight, there is a cleaner version of the same plan. It costs a bit of walking but keeps you on even footing.
Free Mert and the prisoner in the opposite cell
Deal with the guard in the cell block, then use the Prison Keychain on Mert’s door. There is a woman held in the cell across from him who will ask for the same favor, and you can open hers too. She thanks you and heads off on her own, so it costs you nothing.
The side door that beats the main gate
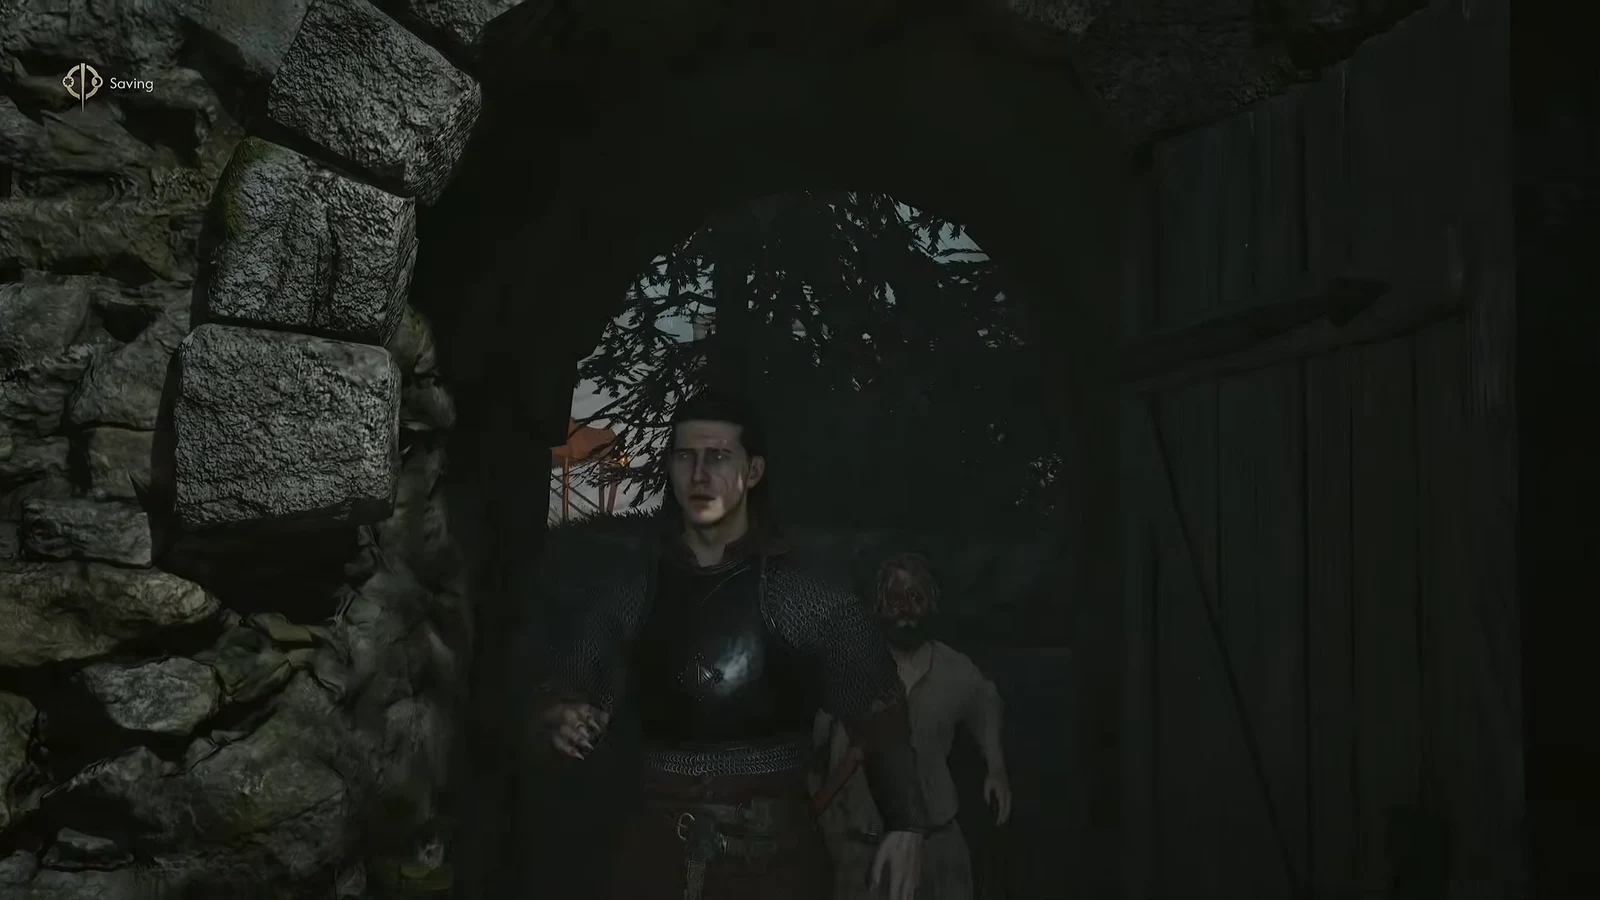
Once Mert is out, the quest marker points you at the main entrance. Ignore it. On the north side of the overseer’s tower there is a lit alcove holding a door locked with the same prison key. Go through it and you’ll find a second door, also on that key, that opens directly outside the walls.
That route skips almost every fight left in the camp and still registers as completing the escort. The main gate does work if you prefer it, and the Prison Keychain unlocks that too from the courtyard. Either way, the only thing the quest actually checks is whether Mert makes it outside alive.
Where to send Mert: The Svartrau almshouse
Outside the walls, a cutscene plays and Coen works through Mert’s options with him. Asking whether he has family to fall back on leads into the choice, and pointing him toward the almshouse in Svartrau is the one that sends him somewhere you can visit again. It sits by the cathedral in Svartrau city.
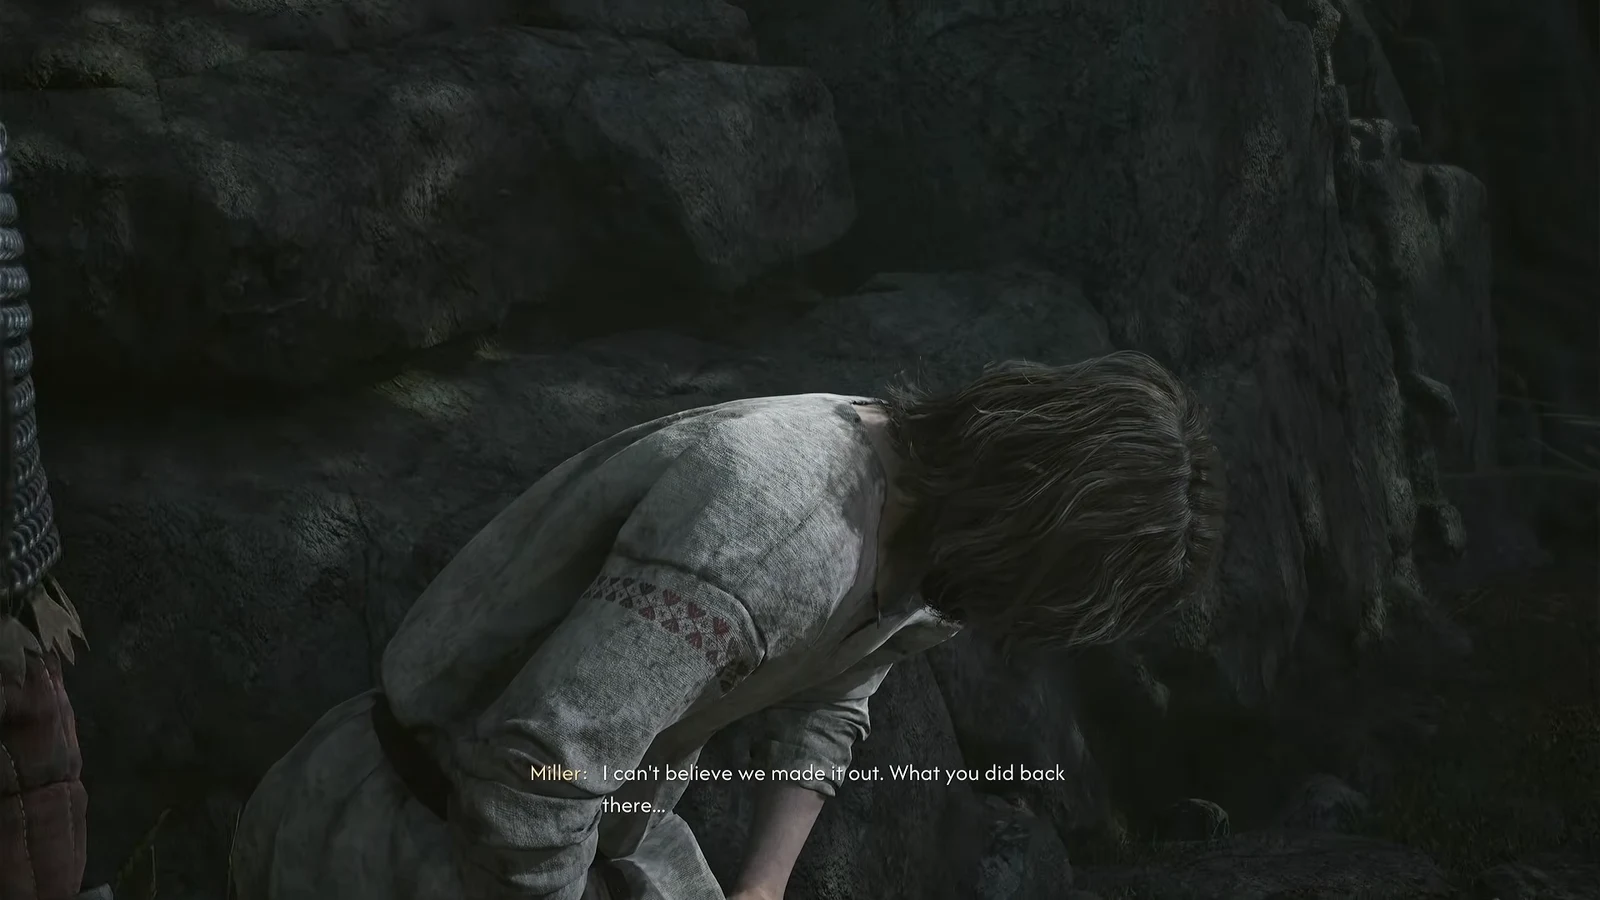
A [give in to the hunger] option also appears in this exchange. Taking it means feeding on the man you just rescued, which ends his story on the spot.
How to confirm the quest completed
The quest closes out right after that conversation, paying 250 XP. If that pushes you over a threshold you’ll get a LEVEL UP screen immediately, and Shadows in the Woods appears as your next thread. If none of that fires, Mert did not make it out of the walls alive.
What freeing Mert changes later
The knock-on effects are modest. Freeing Mert opens an extra dialogue option the first time you meet Crake, and he shows up again at the Svartrau almshouse if you want to see how he ended up. If Renna survived your choices in The Firebrand, you can catch the two of them reunited there.
One reason to do it the loud way instead: clearing the entire Stoneward Post is what earns infamy points and what Ambrus’s court quest needs. If that is on your list, skip the shortcut and take the camp apart properly.
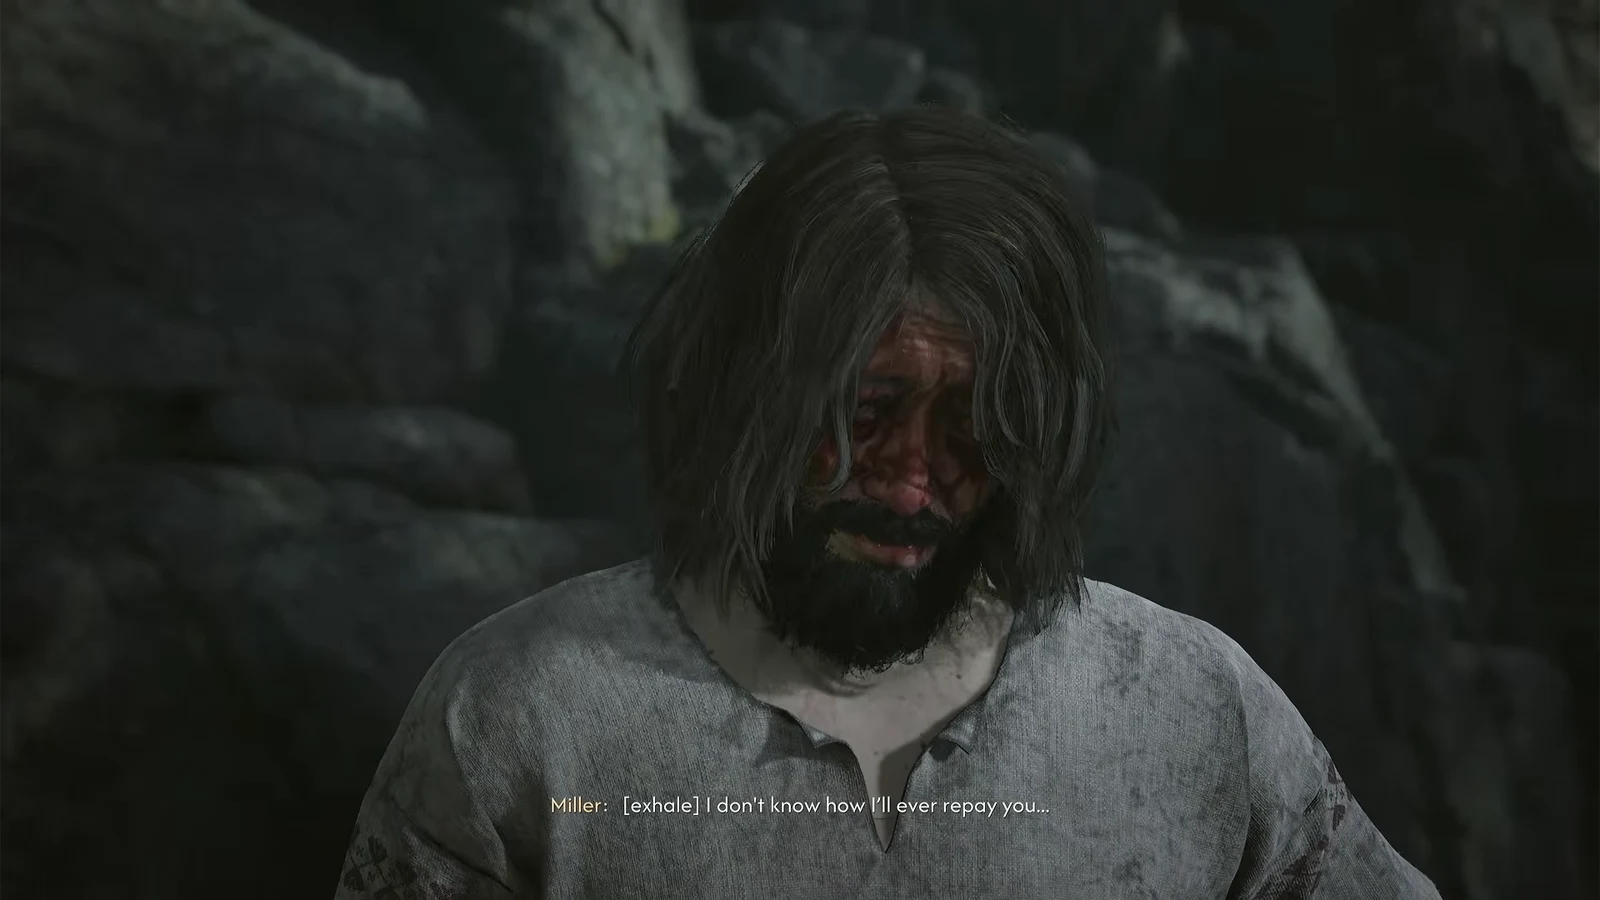
Weighed against three time segments, the payoff here is mostly a small dialogue unlock and a quiet callback in Svartrau. If you are running tight on segments before the ceremony, it is a fair quest to leave behind. If you have room, the side-door route makes it one of the cheapest rescues in the Stoneward Post.