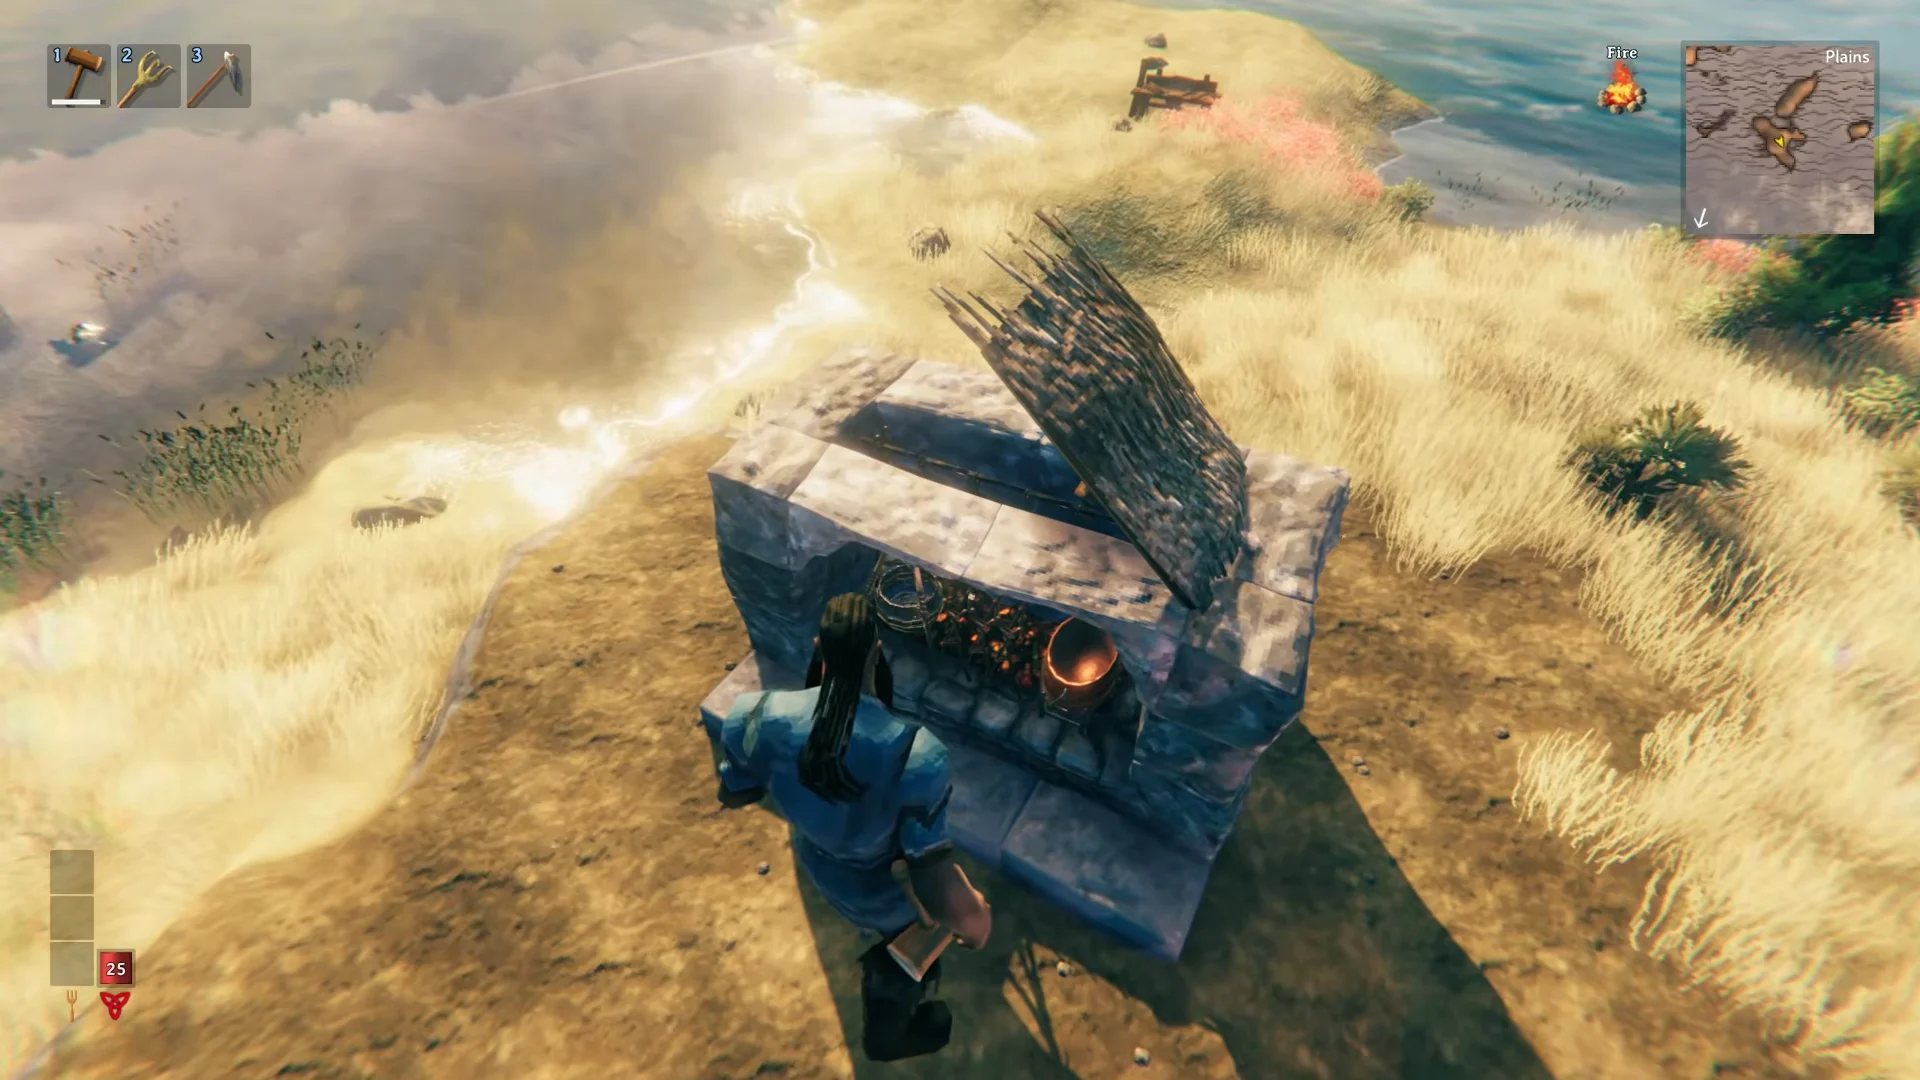
A campfire-safe wood and stone fence chimney that vents smoke, survives rain, and holds four cooking stations.
A campfire-safe wood and stone fence chimney that vents smoke, survives rain, and holds four cooking stations.
by AllThingsHow Staff
Image: Iron Gate AB
A fire indoors is what makes a Valheim house worth sleeping in, but an unvented fire will kill you faster than most Meadows enemies. Smoke pools under any roof, and once it reaches your head the Smoked debuff starts chewing through health. A chimney solves both halves of the problem at once, letting the smoke climb out while keeping rain off the flames.
Quick answer: Put a campfire straight on dirt, box it in with stone fences three tiers high, then cap the shaft with a roof piece that leaves at least a 1×1 meter gap for smoke to escape.
How fire, smoke, and rain work in Valheim 1.0
Three rules decide whether an indoor fire is survivable, and every chimney design exists to satisfy all three at the same time.
A campfire can only sit on bare ground, natural rock, or stone building pieces — never on a wood floor tile.
Smoke rises and spreads. Trapped under a sealed roof it inflicts 2 damage per tick until you step out of the cloud.
Rain falling directly onto a fire puts it out, so an open hole above the flames is not a chimney.
Smoke needs an unobstructed opening of at least 1×1 meter to leave the shaft. Narrower than that and the smoke backs up.
The working compromise is a vertical shaft with a solid cap and open sides near the top. Smoke exits sideways under the cap, rain hits the cap instead of the fire, and your Viking breathes.
What you need before you start building
Everything here comes from Meadows materials. You need a hammer, a workbench close enough that its build radius covers the spot, and a hoe to flatten the ground. Stone fences and the campfire need stone, so make a short trip to a shoreline or rock pile first.
Piece
Hammer menu
Used for
Wood Pole 2 m
Building
Corner posts and shaft height
Wood Beam 2 m
Building
Horizontal frame ties
Wood Floor 2×2
Building
Temporary footprint marker
Stone Fence
Building
Fireproof shaft walls
Wood Ladder
Building
Reaching upper tiers
Wood Roof Cross 45
Building
Roof framing at the top
Thatch Roof Ridge 45
Roofing
Rain cap over the shaft
Campfire
Misc
Heat, light, cooking base
Cooking Station
Crafting
Cooking meat over the fire
The campfire itself costs 5 stone and 2 wood. Cooking stations are cheap enough that fitting four of them is realistic on a first base.
Build the early game chimney around a campfire
Build the chimney before the house around it. The shaft is the fixed point that everything else snaps to, and cutting a hole through a finished roof afterwards is far more work.
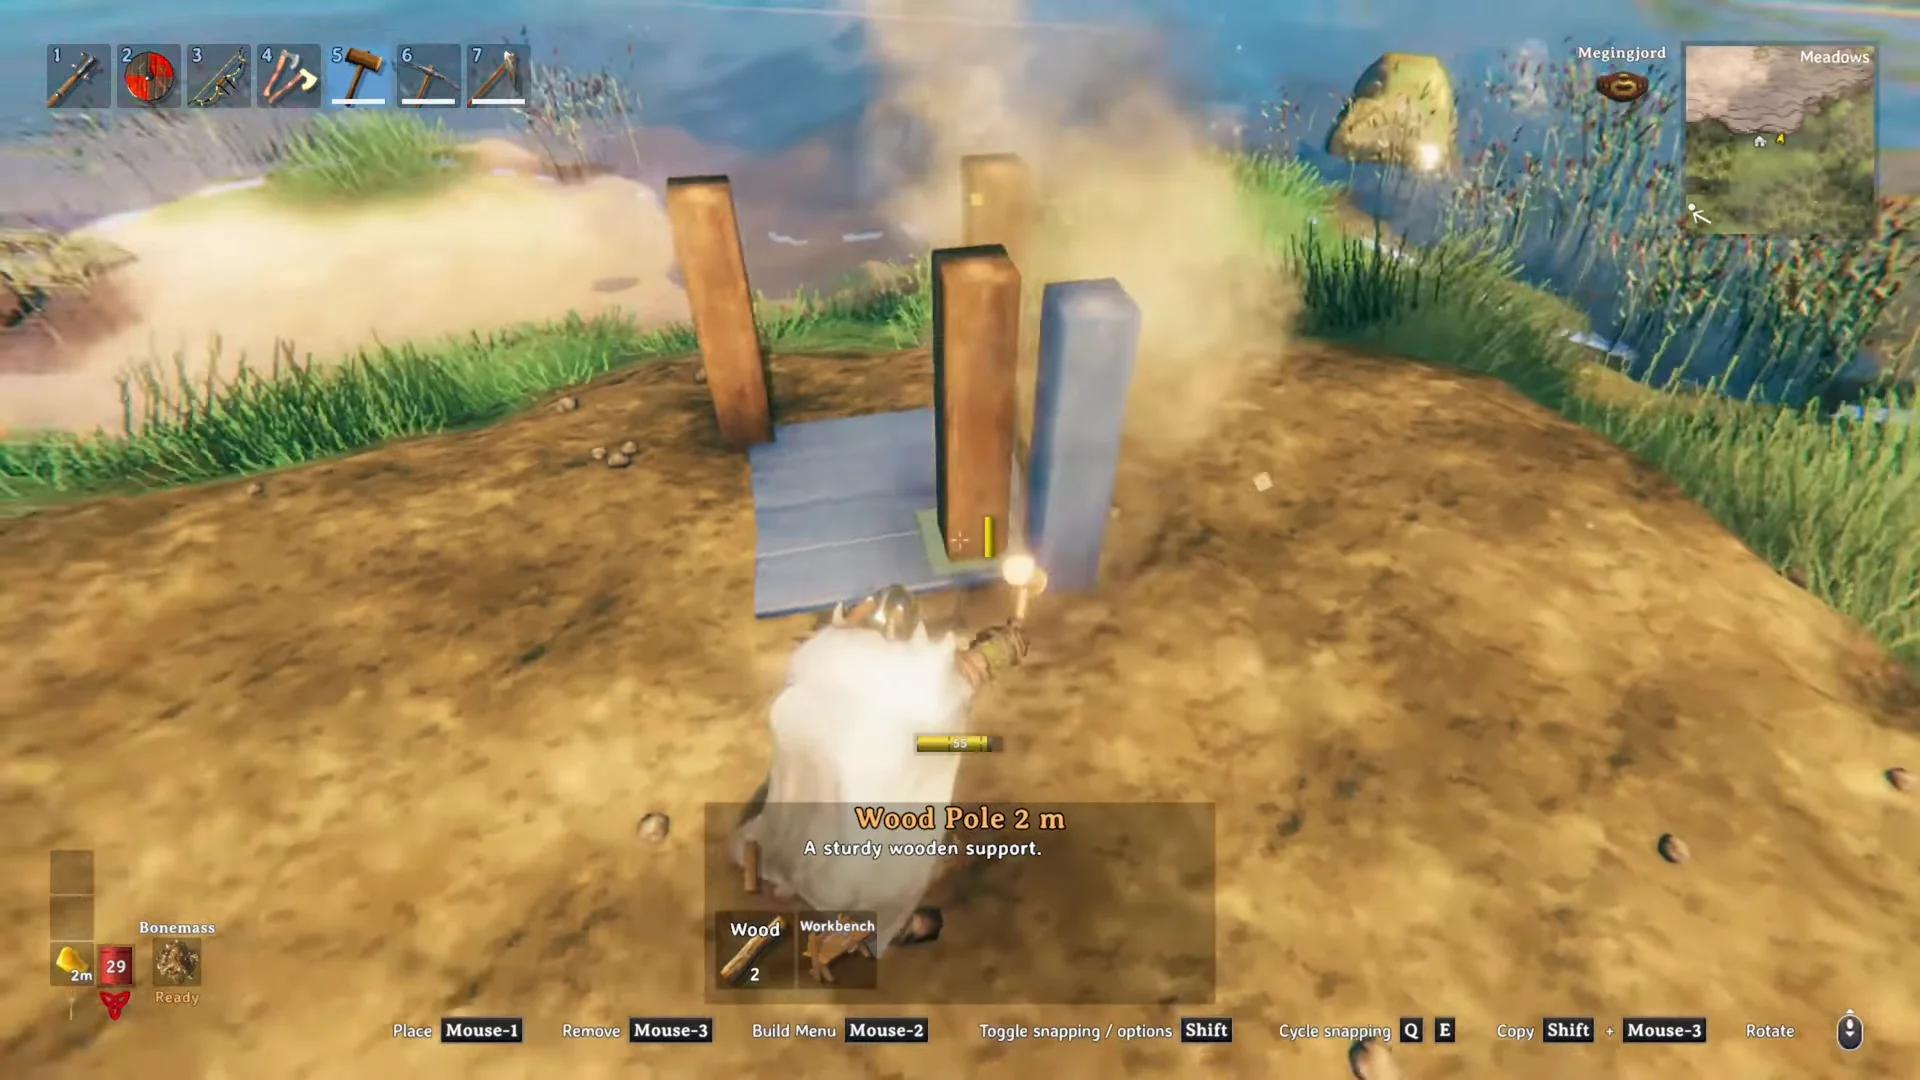
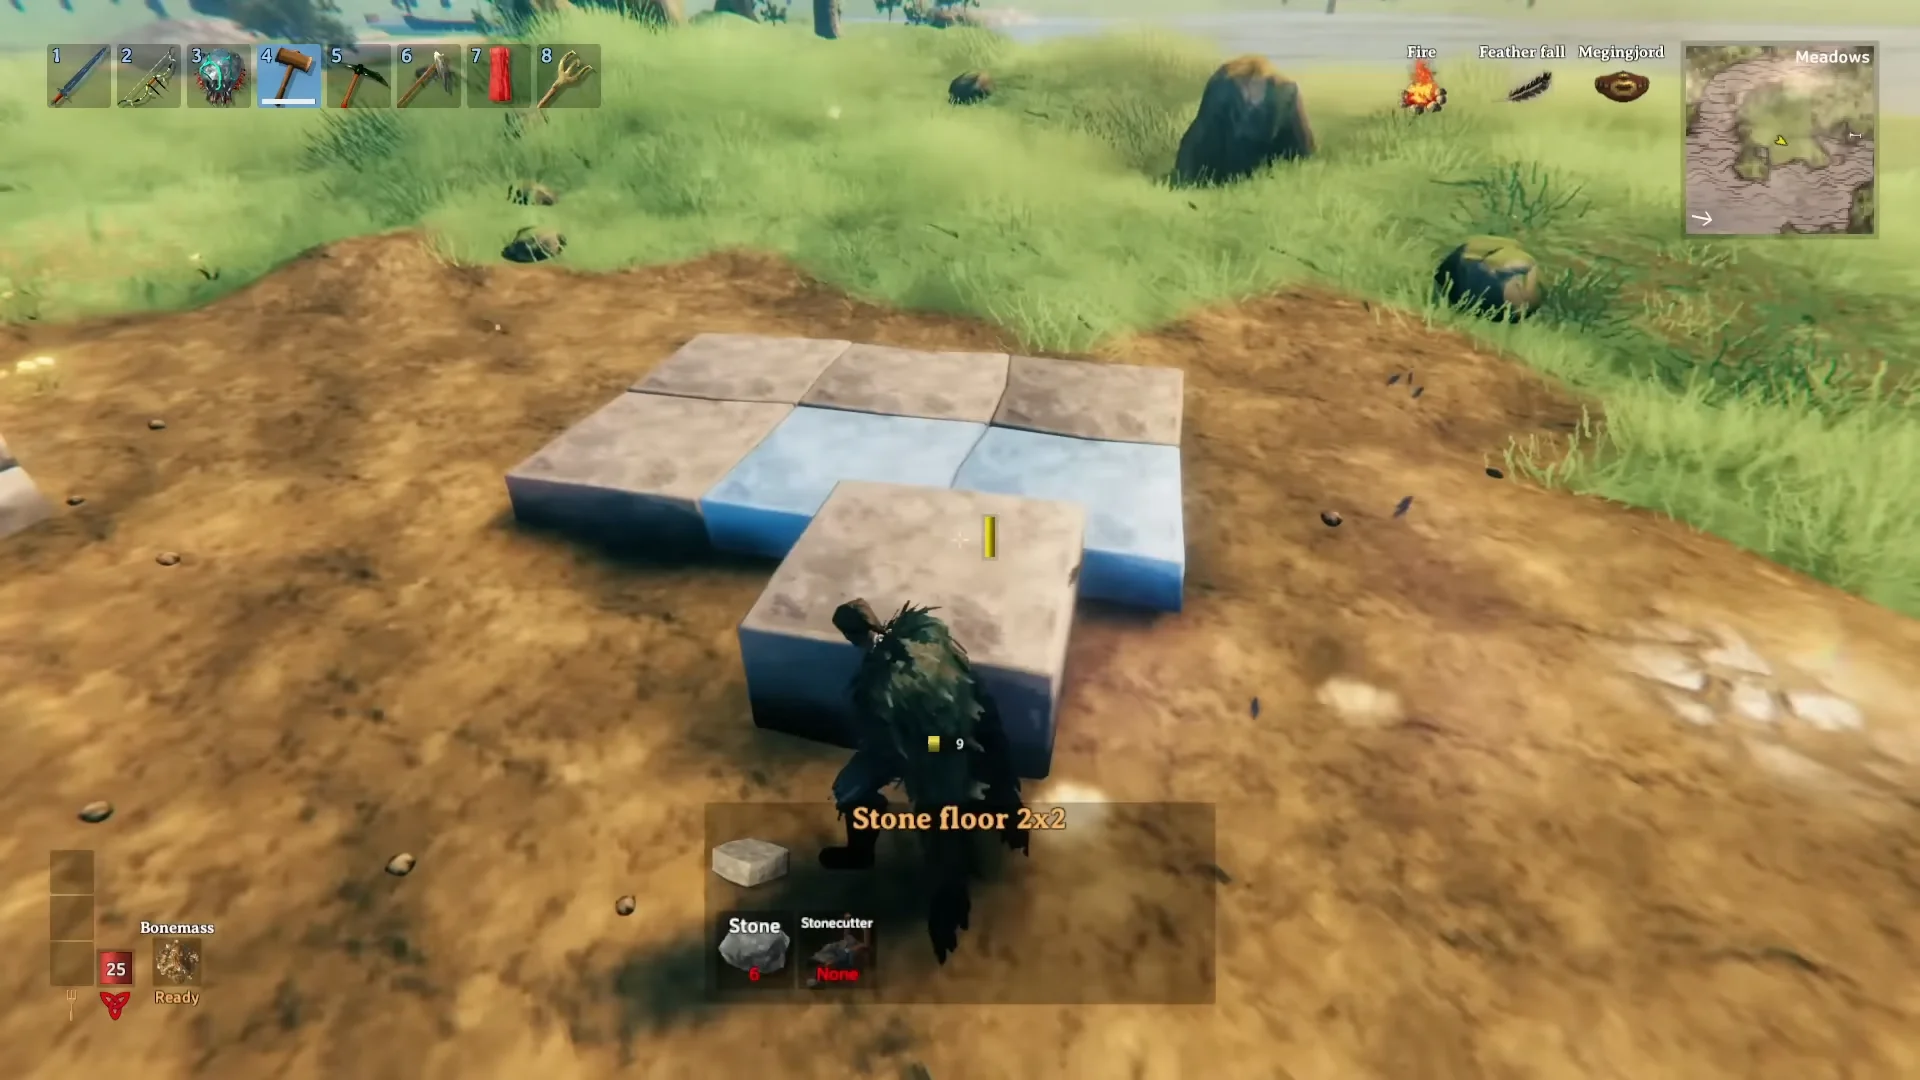
Flatten a patch of dirt with the hoe, then place a single Wood Floor 2×2 on it. That tile is only a guide for the footprint, and it comes back out later.
Pick Stone Fence from the Building tab and snap pieces around the base of the frame — rear, both sides, the centre span, and the front. Stone will not burn or rot, which is why the shaft uses it instead of wood walls.
Keep adding fences upward along the vertical posts, working around the perimeter one layer at a time. The fences stack against the poles and form the enclosed flue.
When you can no longer reach, place a Wood Ladder against the outside and climb. Continue placing fences on all four sides until the stone reaches the full three tiers.
Take Thatch Roof Ridge 45 from the Roofing tab and snap it between the two crosses, directly over the shaft. Rain now lands on the ridge while smoke slips out through the open sides underneath it.
Do not seal the gaps around the cap. If the vent drops below roughly 1×1 meter of clear space, smoke stops escaping and the shaft chokes.
Fit cooking stations over the campfire
A campfire supports more than one cooking station if the surrounding pieces leave room to place them. Four fits on this footprint.
Open the Crafting tab, choose Cooking Station, and set four of them across the fire. Each one should show the green placement preview before you commit.
Put the lower front Stone Fence back to close the base again. The fire stays enclosed and you can still reach every station to load and collect meat.
Confirm the chimney is working
Feed the fire a few wood and stand next to it for a full minute. If you never see the message about not being able to breathe in the smoke and your health bar stays flat, the vent is doing its job. Watch the top of the shaft as well — smoke should be visibly streaming out rather than curling back down.
Then wait for rain. The fire should keep burning through a downpour with no flicker, which tells you the cap is covering the flames properly. A bed placed near the fire under a roof will offer the Rested buff, confirming the heat source is registering indoors.
Wind matters in heavy weather. A bare chimney standing in the open can still be hit by crosswind-driven rain, so build the house walls around it rather than leaving the fire exposed on all sides.
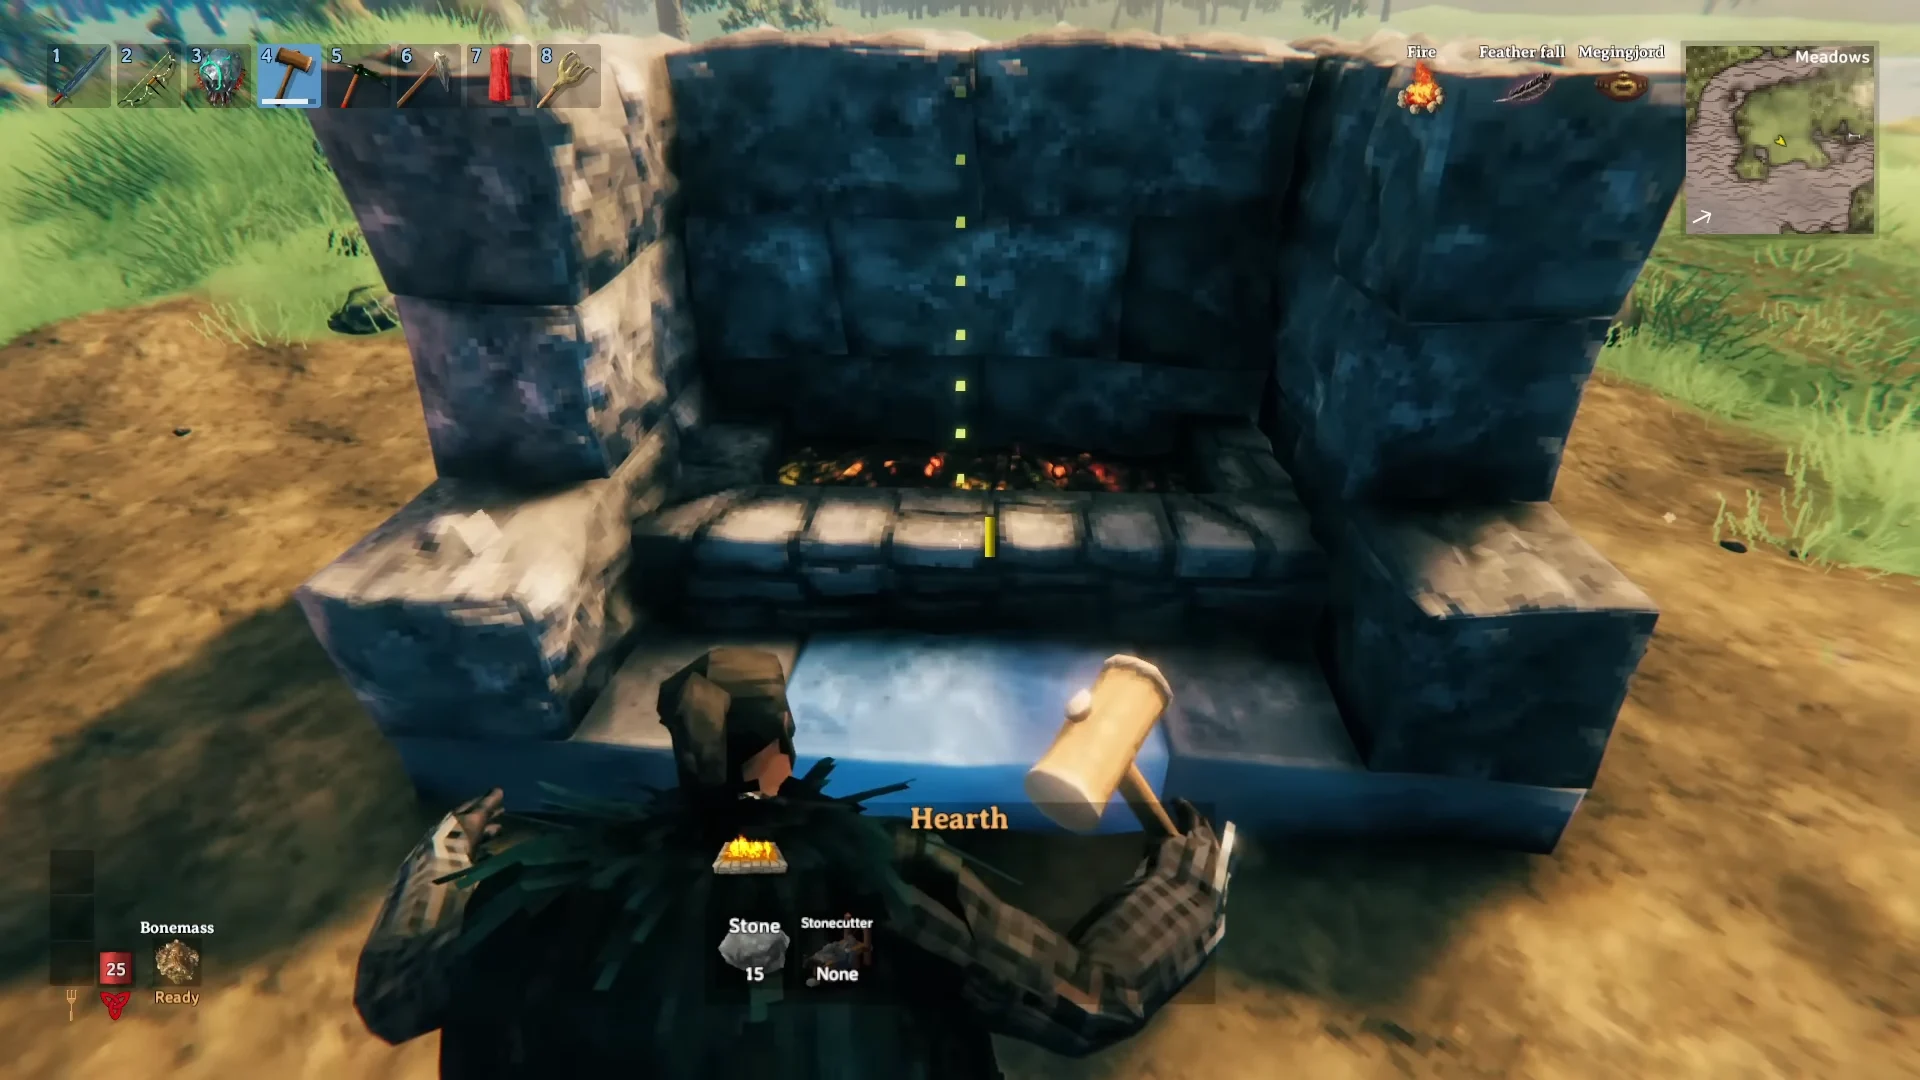
Upgrade to a stone Hearth chimney later
Once you have iron and a stonecutter, the Hearth becomes available for 15 stone. It can sit on flooring instead of bare dirt, has a larger heat radius than a campfire, and supports more cooking gear, which makes it the natural replacement for the fence shaft above.
Build the back and side walls three meters high with Stone Wall 2×1 and Stone Wall 1×1 pieces, staggering the seams like brickwork so the joints do not line up.
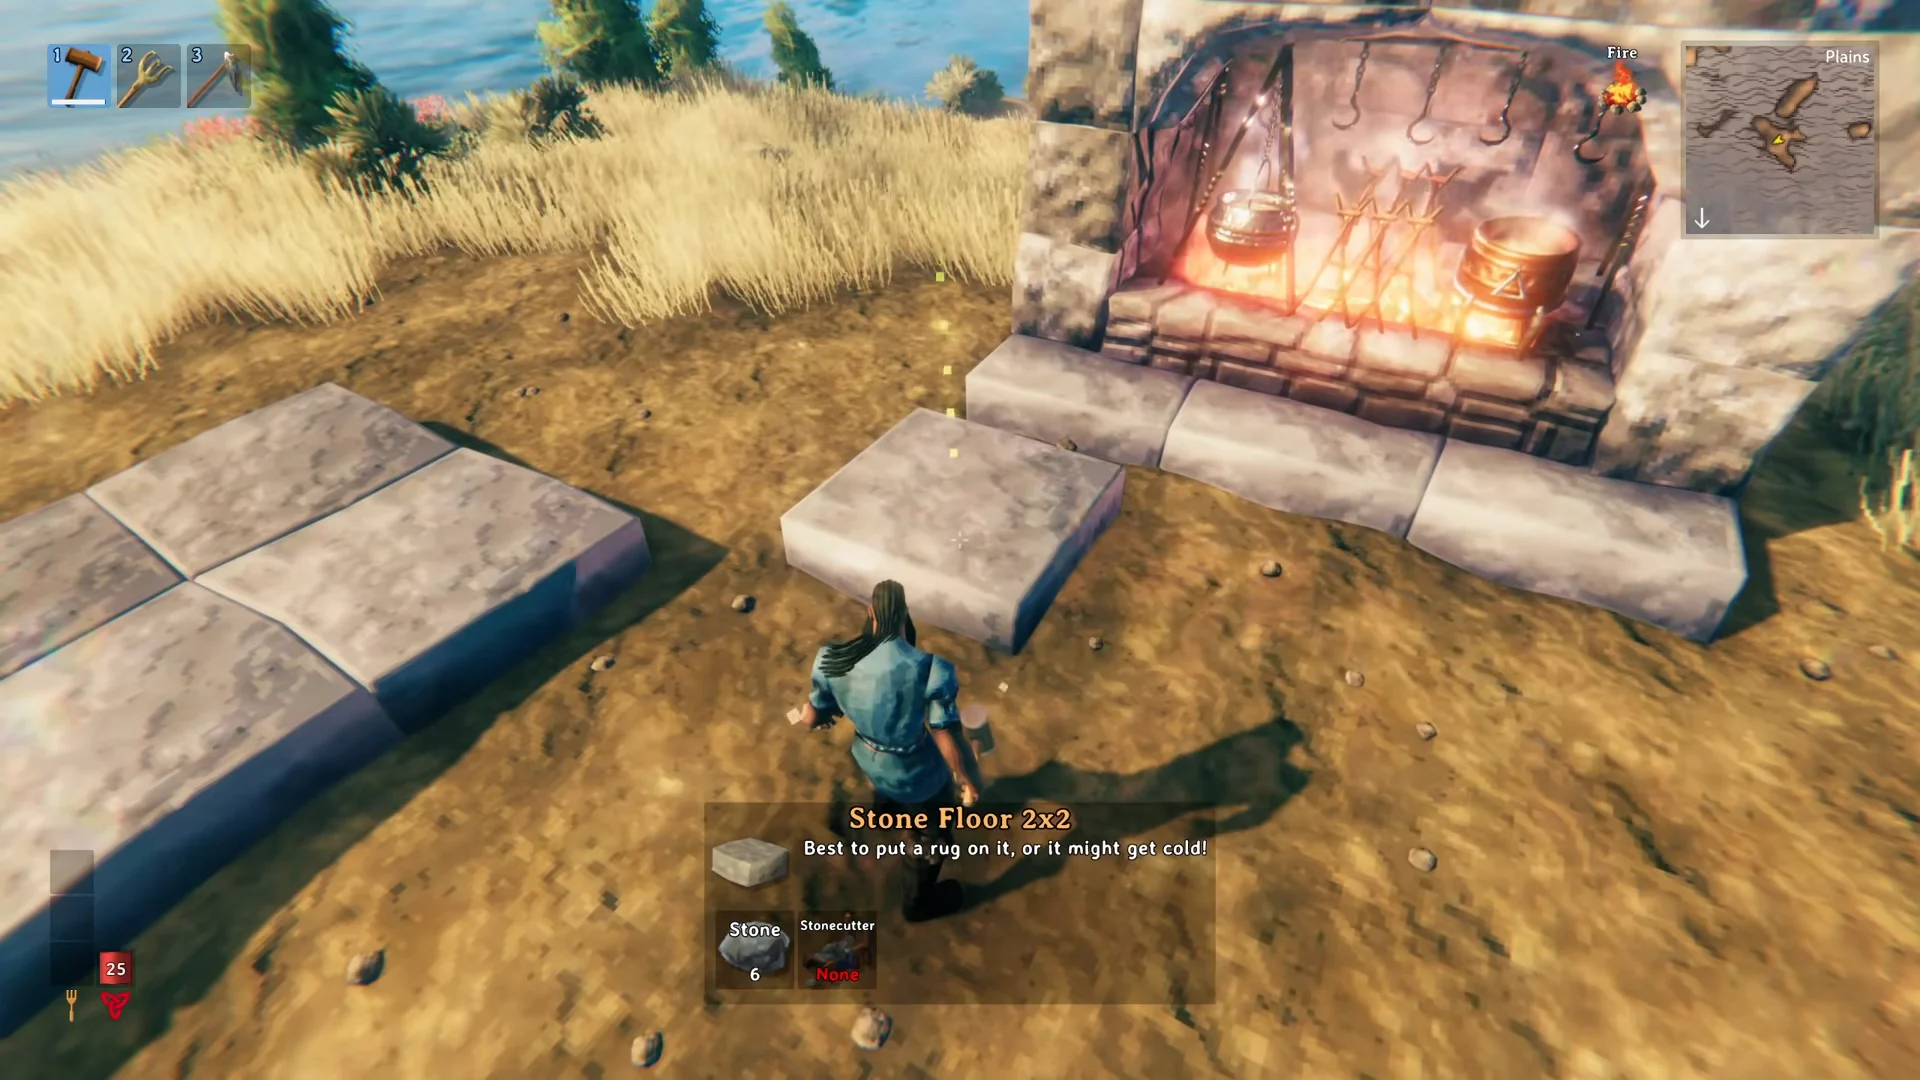
Snap the Hearth in against the rear wall, recessed about a meter back into the stone. Then add an Iron Cooking Station, a Cauldron, a Mead Ketill, and a pair of Cooking Stations over the fire bed.
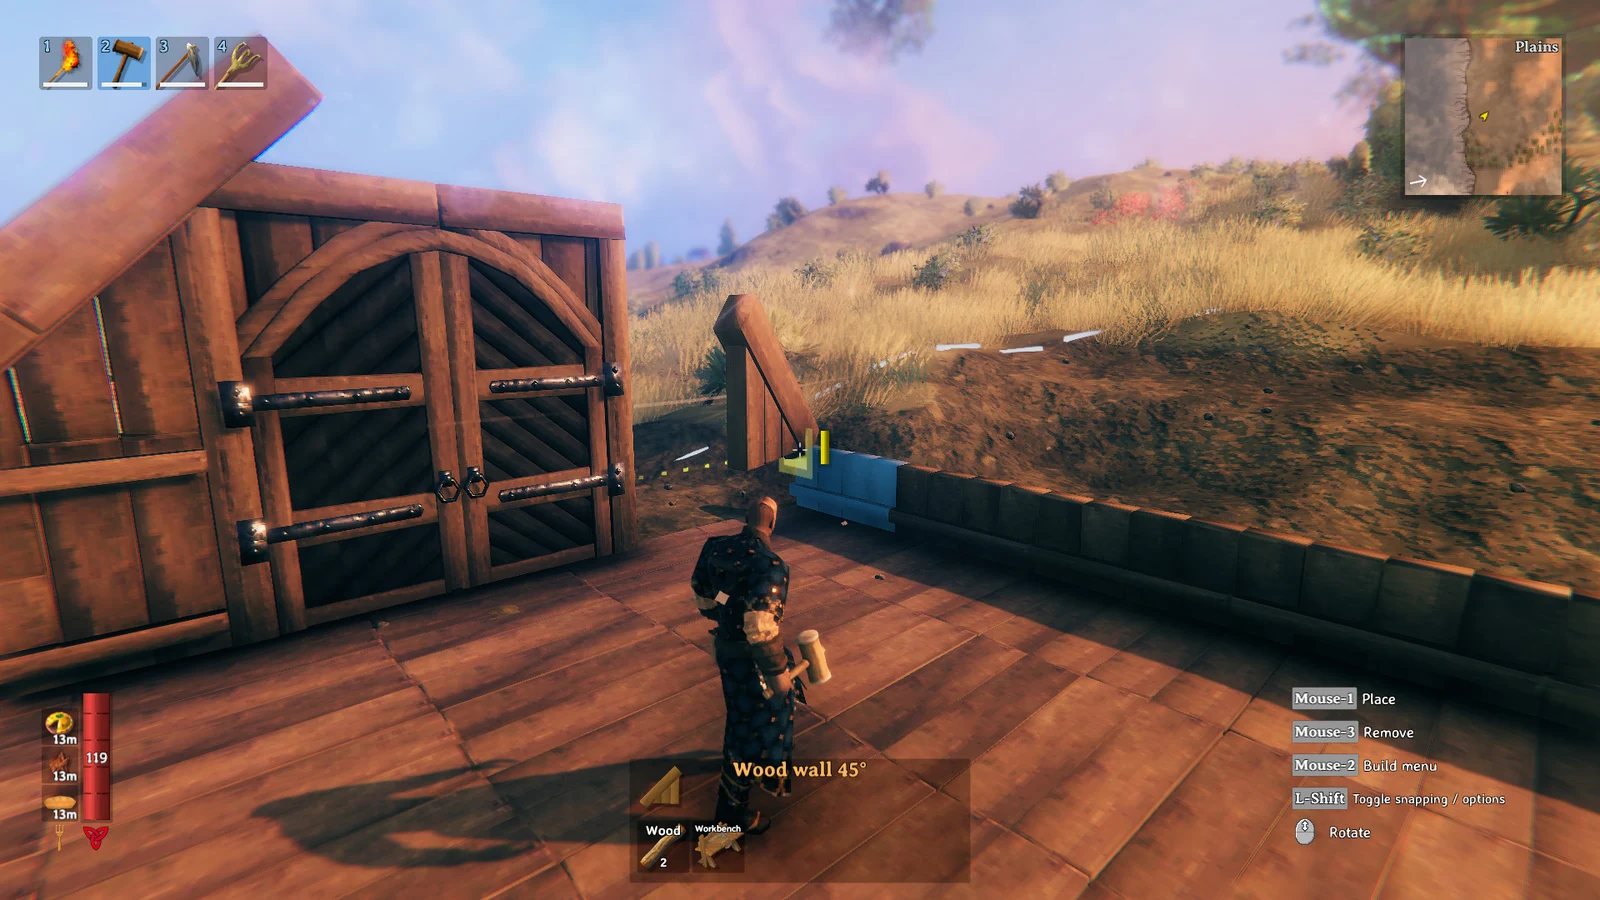
Frame the front opening with Stone Arch pieces, then angle a Thatch Roof 45 piece inside the shaft so it slopes down toward the back. That single tile is the rain deflector, and it is what lets the flue stay open without water reaching the fire. Snapping a Wood Door at the rear edge first gives the roof piece something to attach to, and the door comes straight back out afterwards.
Close the flue with Stone Wall 2×1 blocks above the arches, then step the sides inward using more walls and inverted Stone Stair pieces so the structure narrows into a central shaft.
Stack the shaft upward in alternating 2×1 and 1×1 walls, always keeping a 1×1 meter vent running up the middle. For tall builds, run Wood Iron Pole pieces up the interior corners from ground level to hold the integrity.
Finish the crown with Wood Pole 1 m and 2 m posts at the corners and Wood Wall 1×1 panels rotated one click outward, which flares the top and widens the exhaust. An all-stone alternative uses Grausten Small Pillar and Grausten Wall 1×2 from the Ashlands set.
Whichever version you end up with, the test is the same. Light it, stand beside it through a storm, and make sure the smoke leaves faster than it gathers. Once that holds, you can wrap walls, a roof, beds, and chests around the shaft and treat the chimney as the fixed heart of the base.