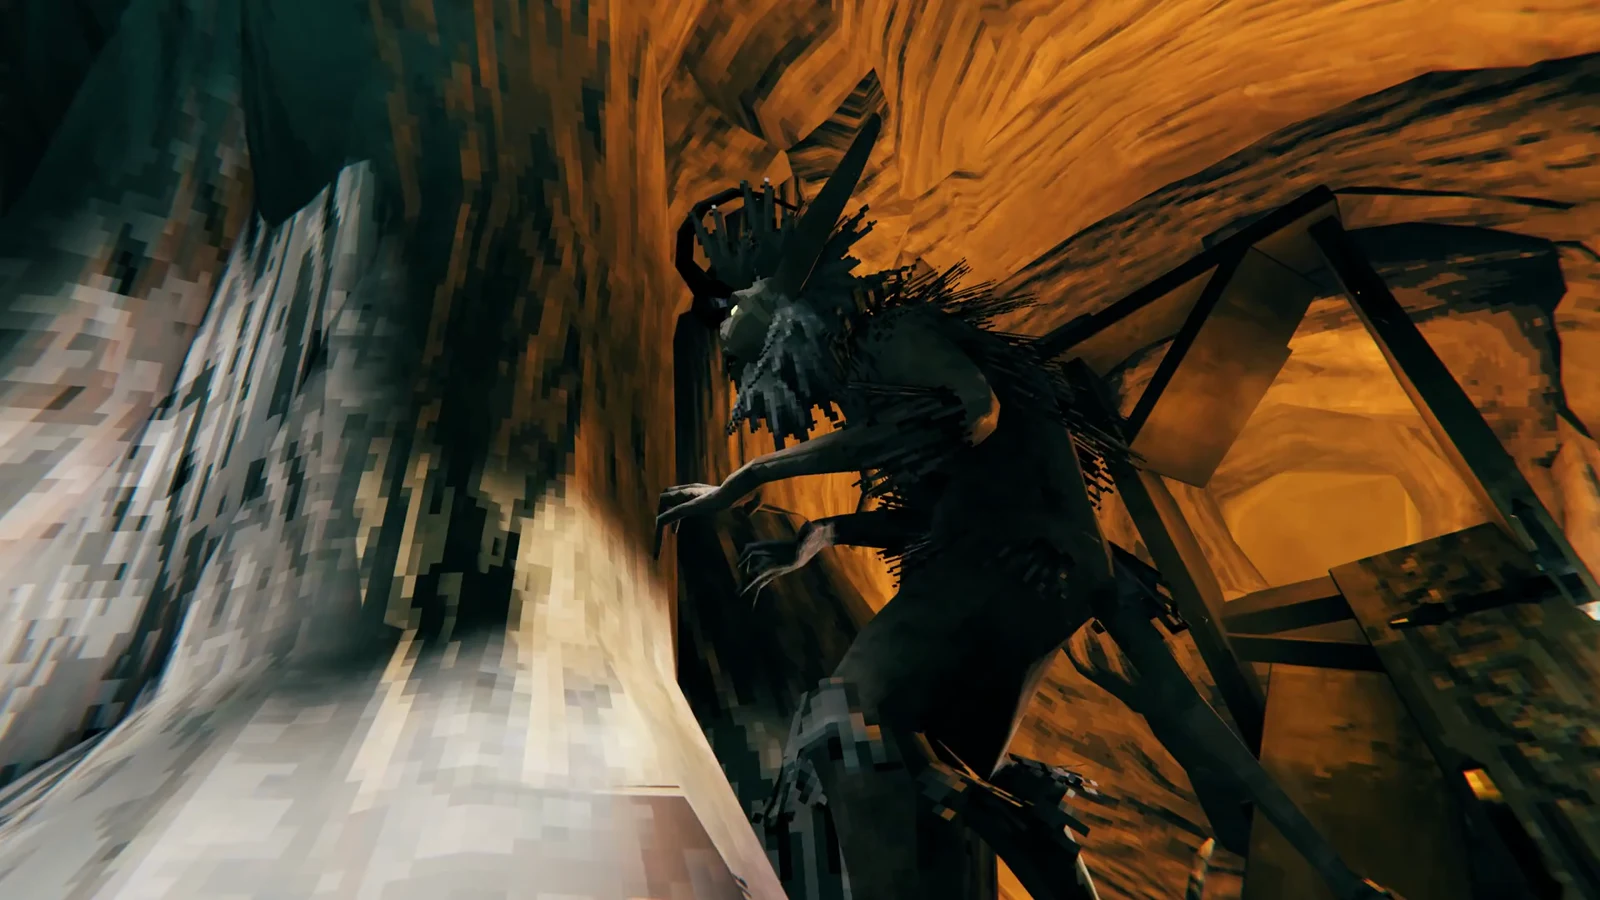
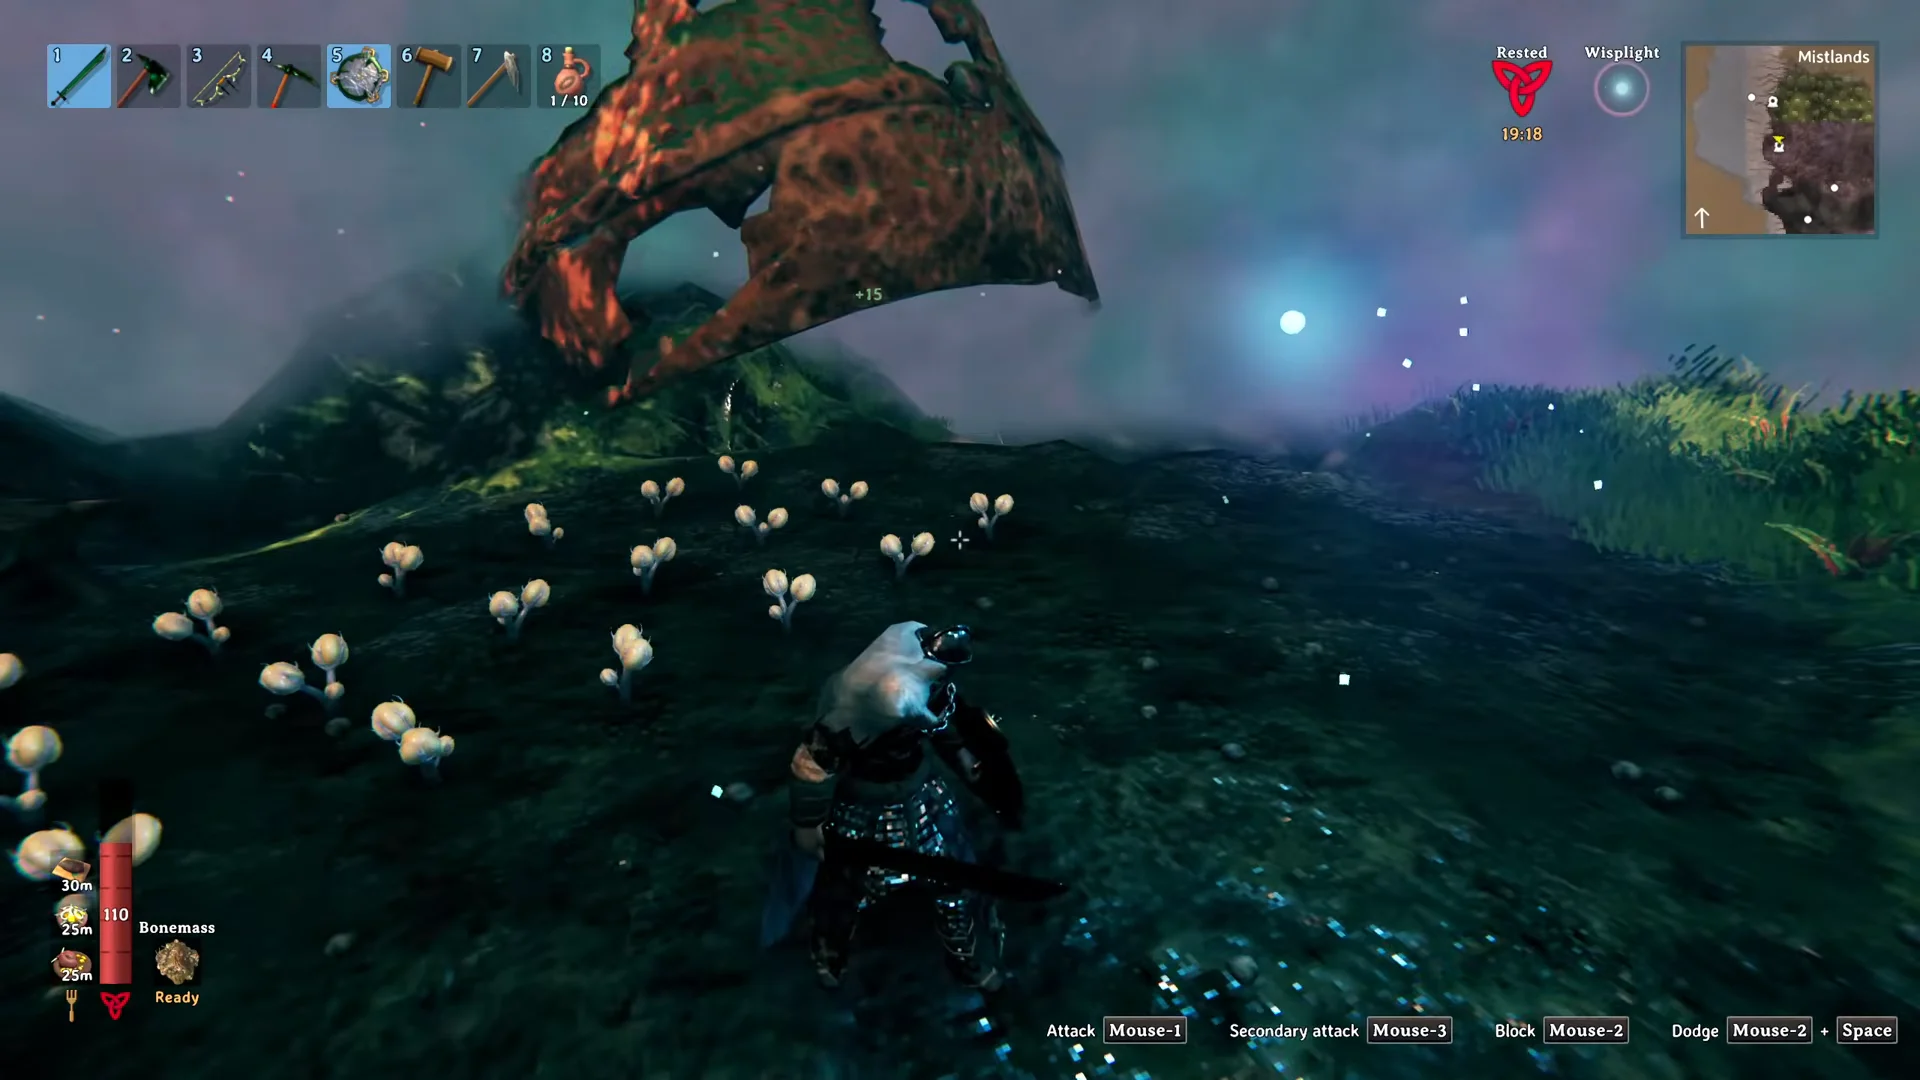
On Valheim’s progression path, the Mistlands is a late-game biome between the Plains and the Ashlands. Dense, persistent fog blankets the region and cuts sight to almost nothing; among its sharp valleys, deep ravines, and enormous black crags, enemies often detect you before you spot them. Luminous Yggdrasil roots run across the ground, Yggdrasil shoots grow from the rocks, and the biome introduces Eitr, the magic system that drives your goals here.
Why you cannot see: the mist and the Wisplight
You need to clear the fog before the Mistlands becomes practical to explore, and preparation begins before setting sail. Defeating Yagluth in the Plains gives you the Torn Spirit, used to make a Wisp Fountain at a Stonecutter with 10 Stone and 1 Torn Spirit. At night, the fountain attracts about one Wisp every 30 seconds; roughly nine can gather by morning, so collect them before dawn.
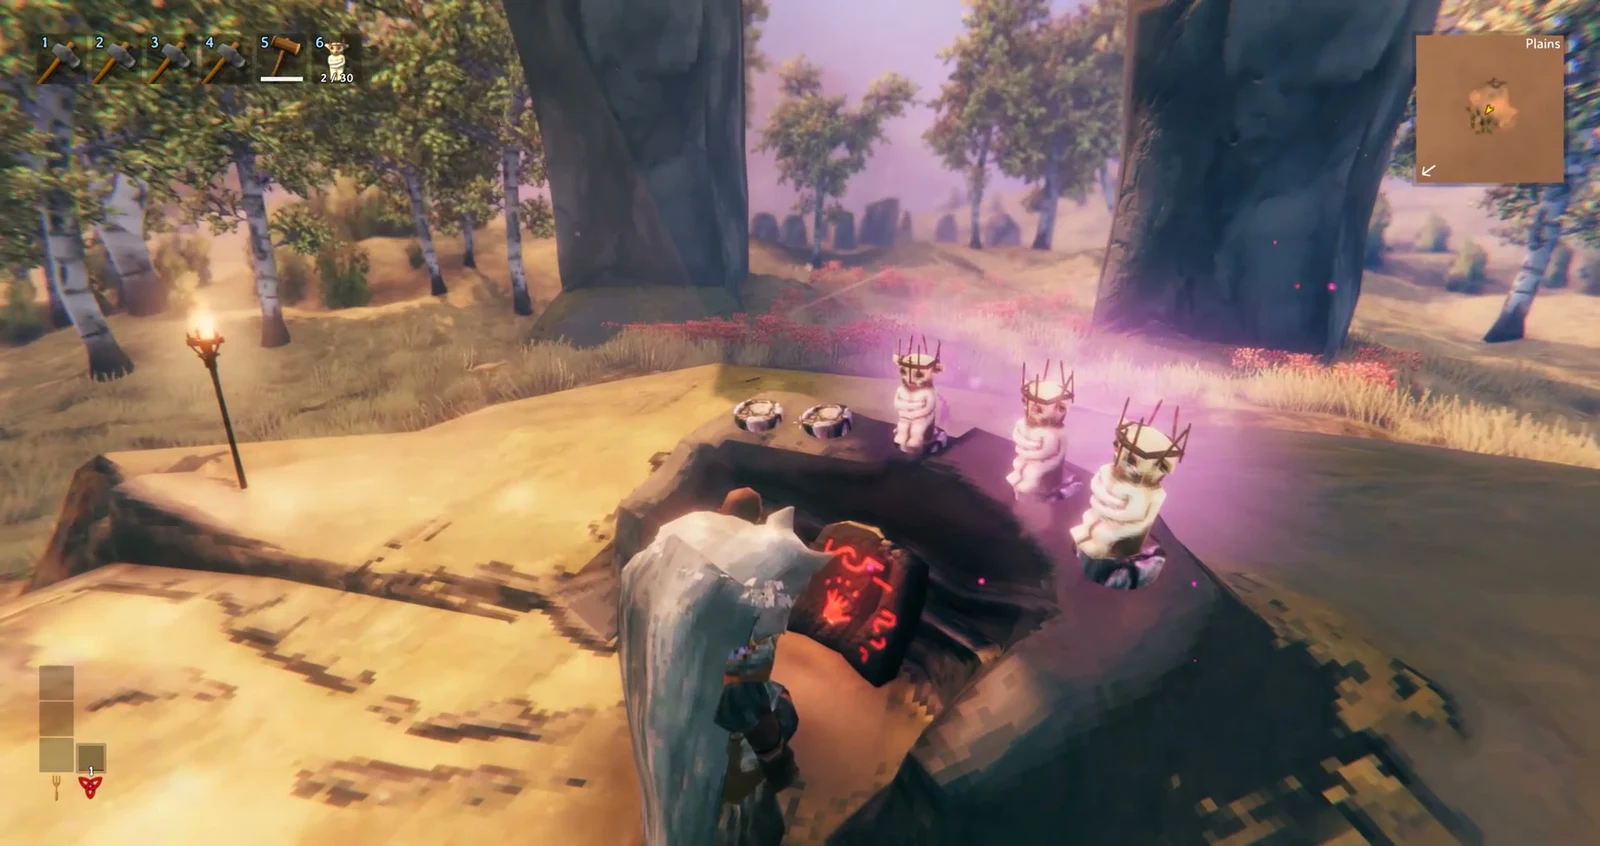
Two tools make use of Wisps. At a Workbench, combine 1 Wisp with 1 Silver to craft the Wisplight, an accessory that dispels mist within 10 meters of you. The Wisp Torch uses 1 Wisp and 1 Yggdrasil Wood; place it to light an area with a 12-meter radius indefinitely, without it burning out. The Wisplight takes up your accessory slot, so you must give up the Megingjord or Wishbone to wear it.
Audio matters more than sight here. Seekers buzz, Gjalls drone, and Ticks click, so the sound they make is often your first warning that something has found you.
What hunts you in the fog
Every hostile creature in the Mistlands resists physical damage and is immune to Spirit damage, so Plains-era gear still works but hits softer than you expect. Elemental damage from Fire, Frost, Lightning and Poison tends to serve you better.
Seekers are the most common threat, large insectoids that can take off and fly to reach you on higher ground. Fighting them one at a time is the safe approach, and a slowing effect such as Frostner’s helps control them.
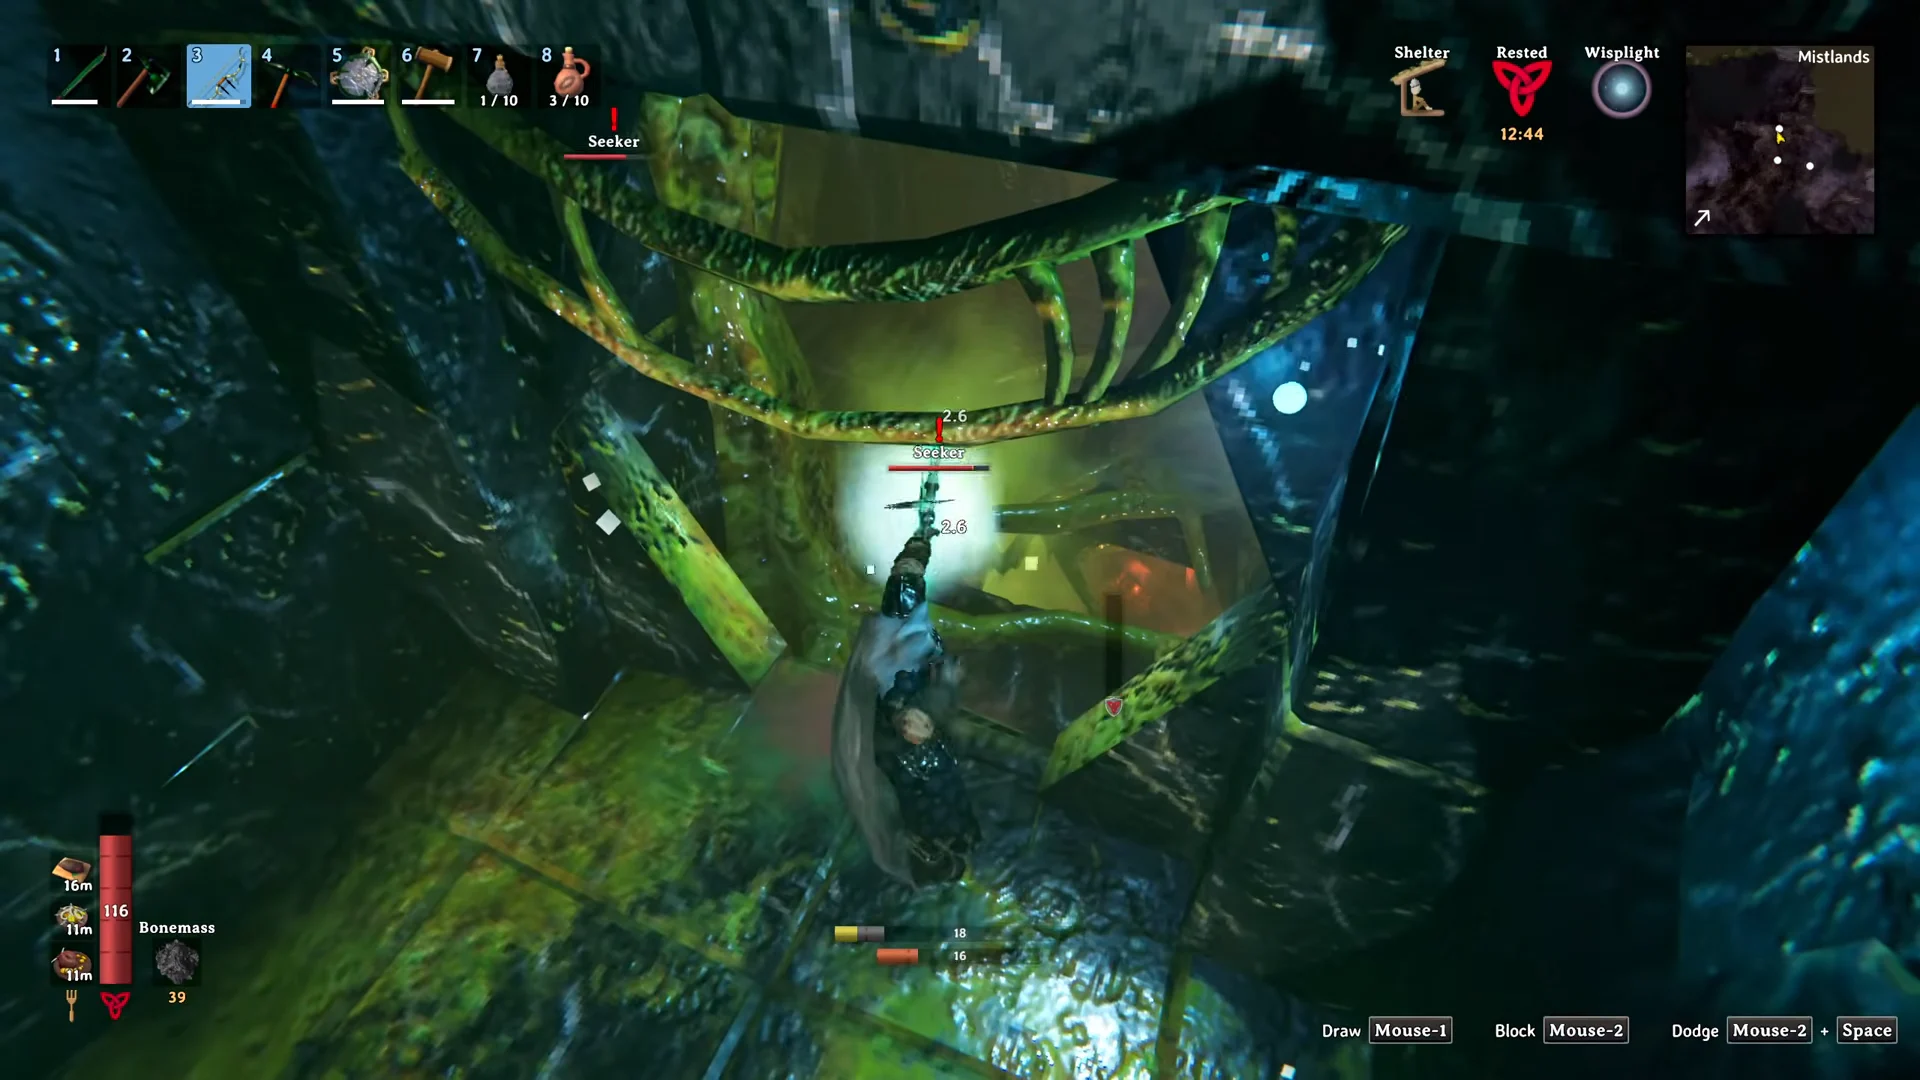
Seeker Soldiers are the armored tanks of the biome, with 1,500 health. They cannot fly, so elevation works against them, and they carry a weak point on the abdomen that takes extra damage. Getting behind one and focusing that spot is how you bring it down quickly.
Gjalls are blimp-like fliers you hear long before you see. They spit fireballs and periodically drop Ticks, and their soft glowing underbelly takes heavy bonus damage from arrows fired from below. A fire-resistance mead such as Barley Wine keeps their projectiles survivable.
Ticks are small parasites that latch on and drain health fast. Dodge-rolling detaches them, and they die quickly to a swing before they attach. They cluster near Giant Remains and inside Infested Mines, and Gjalls drop them.
The Dvergr are a neutral dwarven race found in towers, lighthouses, harbours, and excavation sites. They stay peaceful unless you hurt one of them or destroy an object within their Ward’s range. They also fight Seekers and Gjalls that approach their keeps, making Dvergr settlements handy safe spots.
The three resources that drive progression
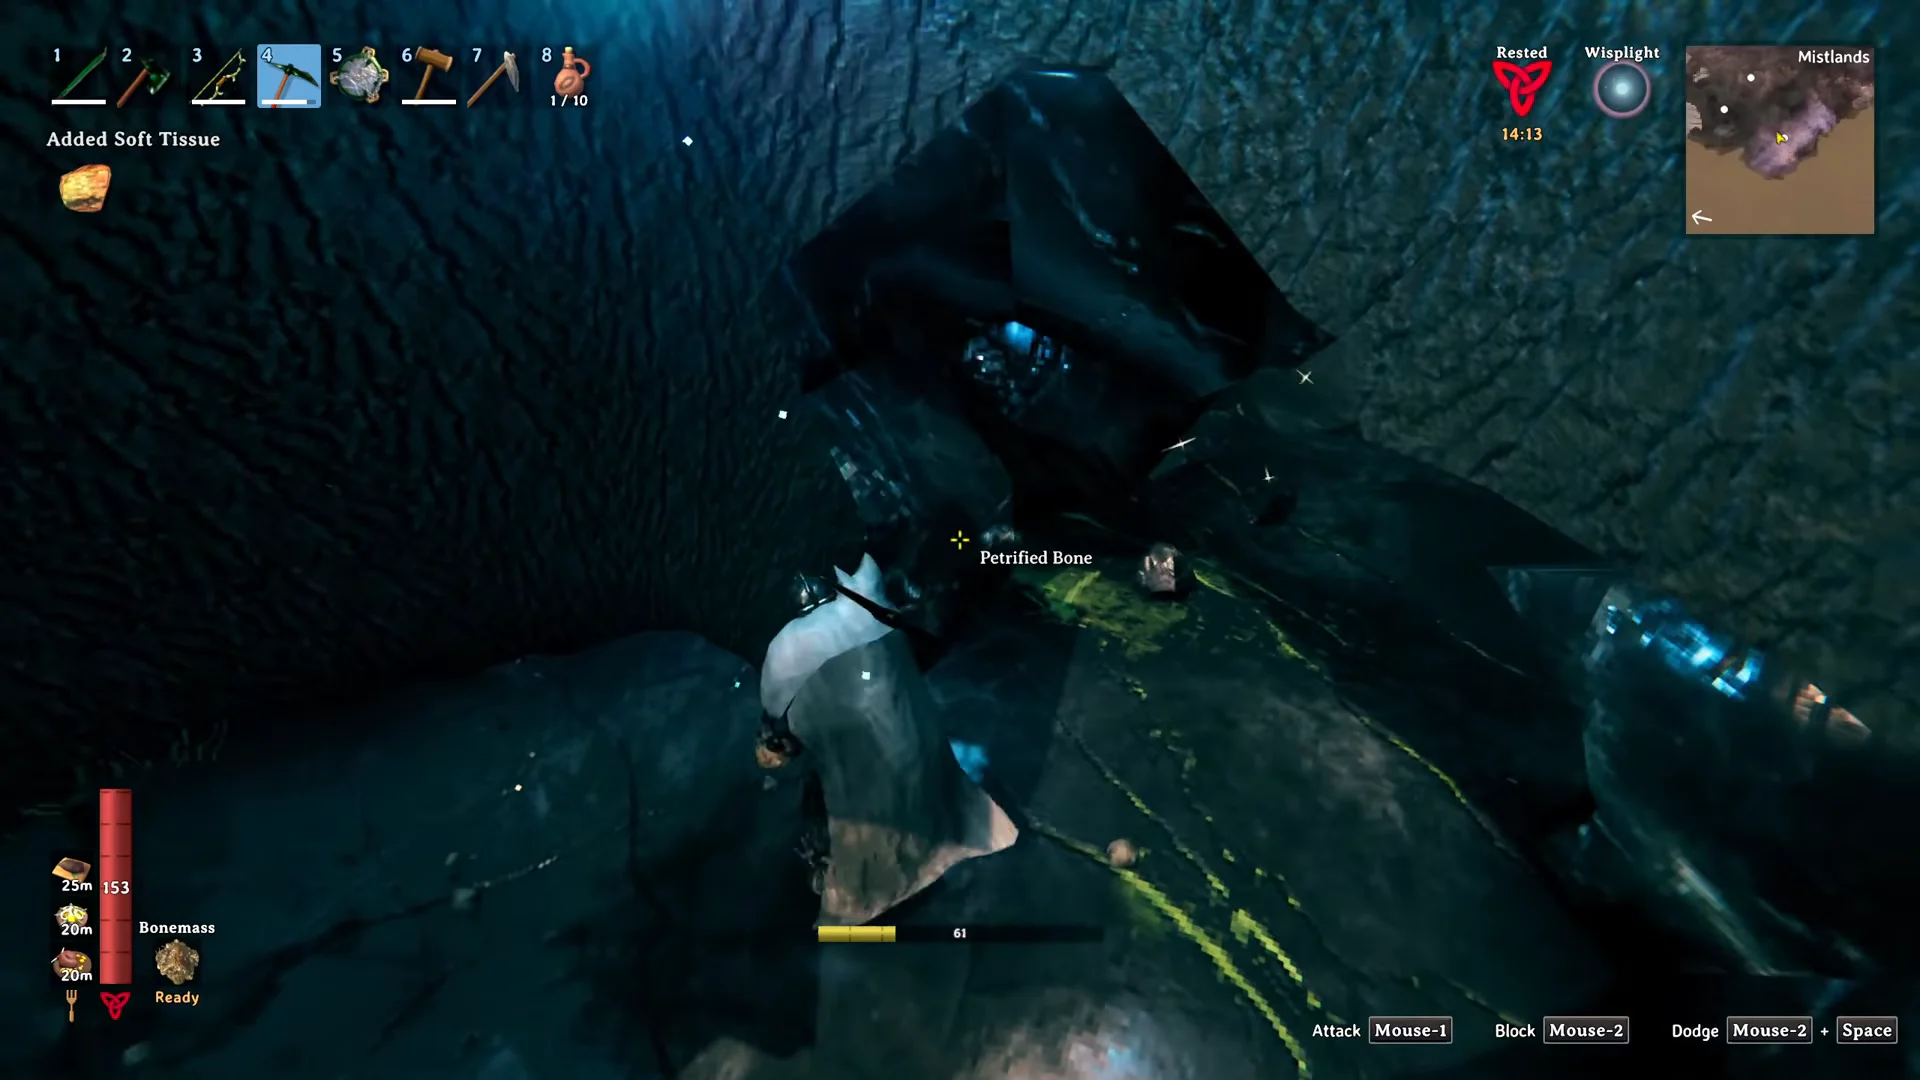
Three materials underpin everything you unlock in the Mistlands: Soft Tissue, Black Cores, and Sap. Across the biome, the enormous skeletal Giant Remains hold Soft Tissue within their skulls. Break the Petrified Bone surrounding a skull with a Black Metal Pickaxe to expose the brain cavity and its Soft Tissue; those same deposits also provide Black Marble.
Black Cores come only from Infested Mines, and Sap is pulled from glowing Yggdrasil roots with a Sap Extractor. Alongside these, the biome offers Yggdrasil Wood from Yggdrasil shoots, Carapace and Mandibles from Seekers, Royal Jelly from hives inside mines, and two crops you can only grow on Mistlands soil, Magecap and Jotun Puffs. Jotun Puffs need open sky above them to mature.
Infested Mines and Black Cores
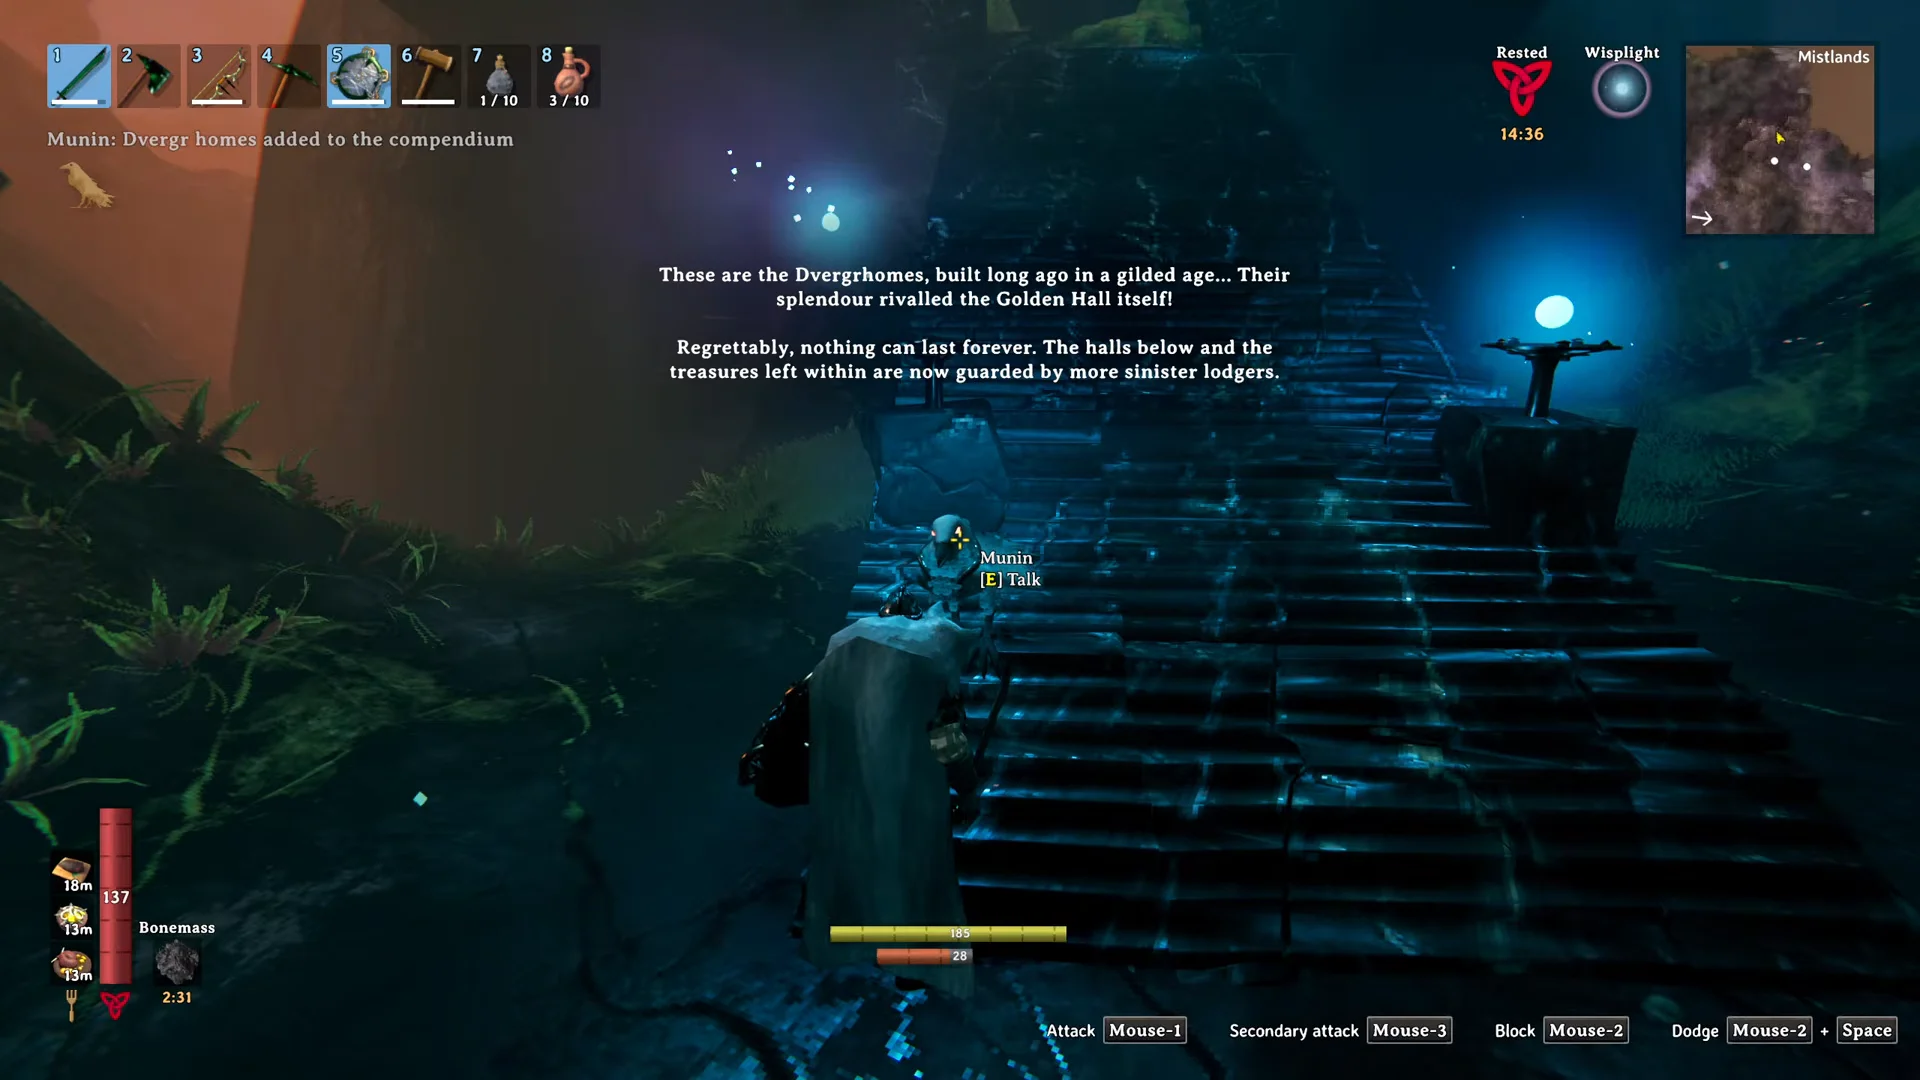
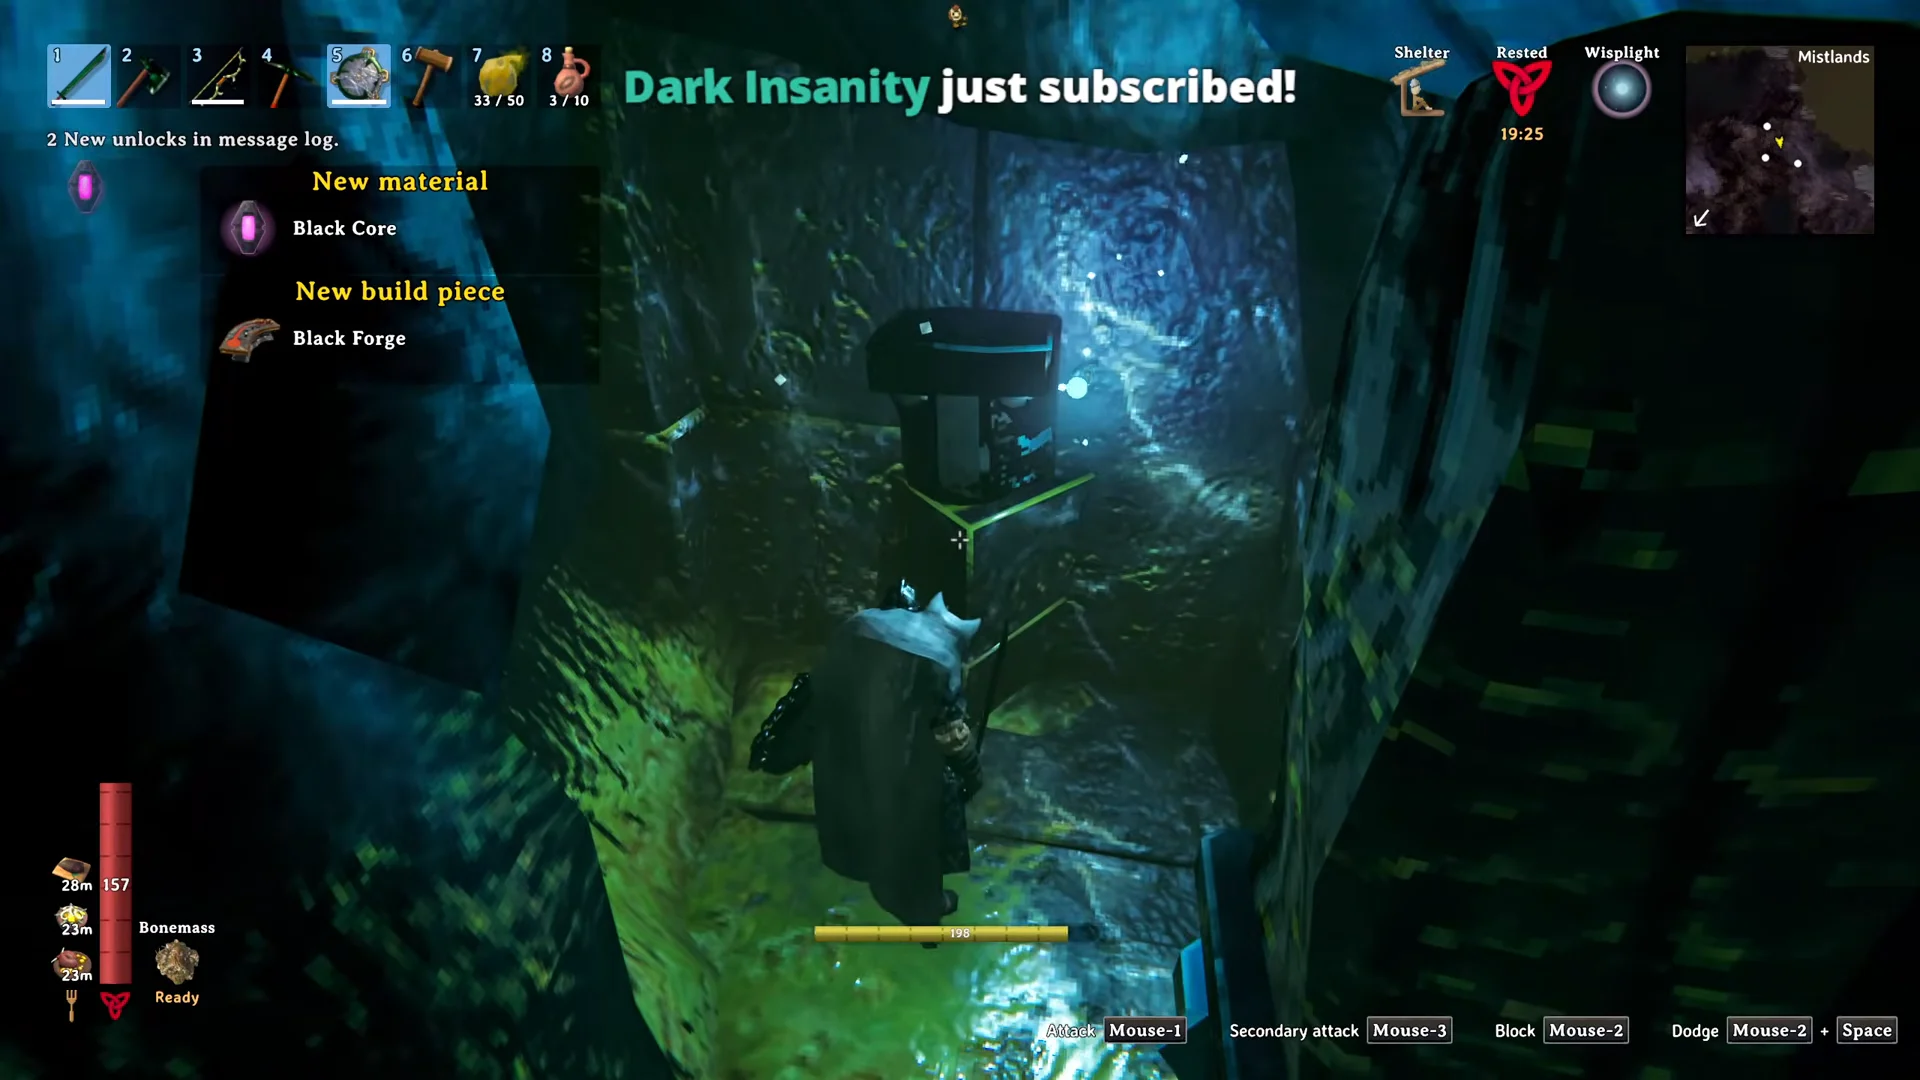
Infested Mines are the Mistlands dungeon type, found inside large stone ruins or beneath steep crags. Inside, you face Seekers, Seeker Broods, and Ticks, and the layout hides false walls marked with faint blue runes that conceal treasure rooms. Hugin and Munin appear at some entrances, and finding one adds Dvergr homes to the compendium.
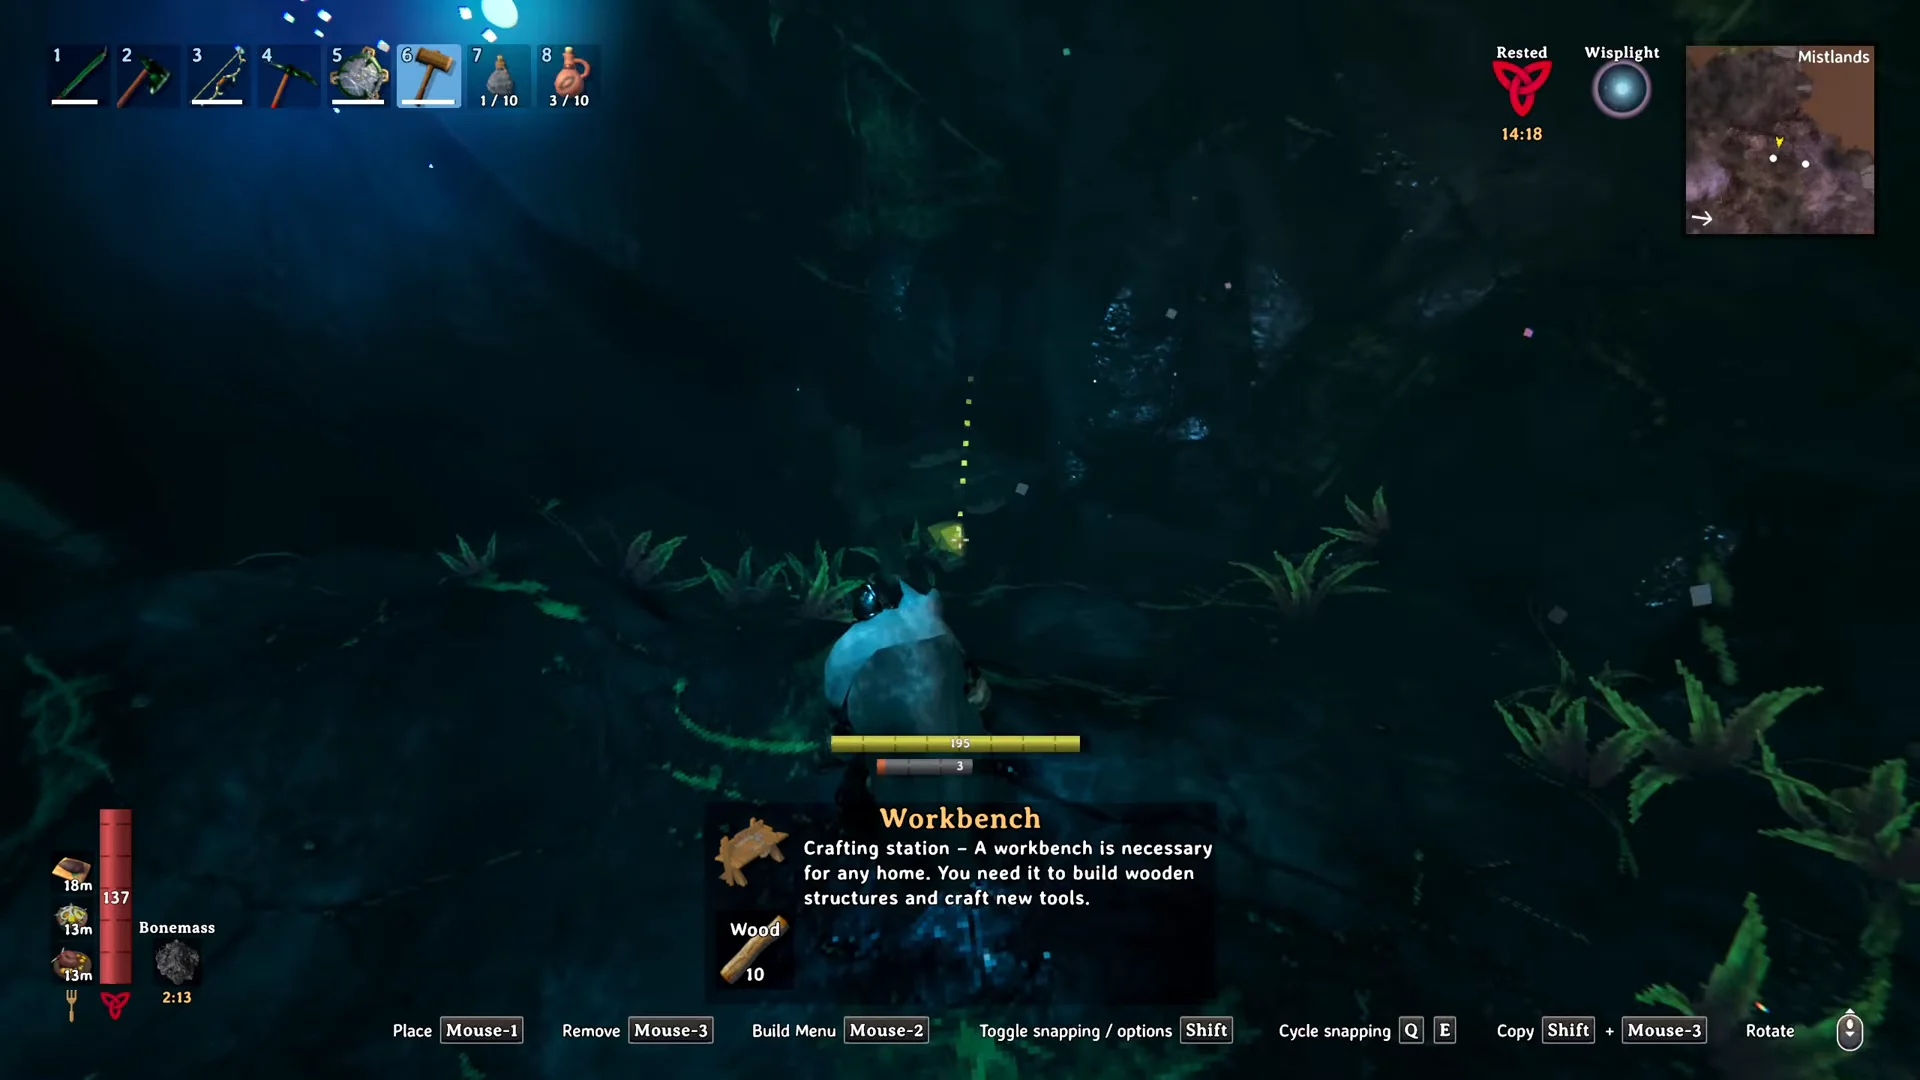
Because mines are dense with enemies, a workbench and portal placed on the entry platform make the dungeon a repeatable base of operations rather than a one-way trip. Ooze Bombs are worth bringing, since their area poison damage passes through the web and vine barricades inside, letting you clear clusters of Seekers and Broods without stepping into them.
Black Cores are the main prize: you need 15 to build all three new crafting stations. Since some mines have no Black Cores, you may have to clear several. Mines can also contain Sealbreaker Fragments and, in an inner chamber, a Vegvisir that marks The Queen’s location on your map.
The Dvergr and the Sap Extractor
Sap production hinges on a part the Dvergr keep for themselves. The Dvergr Extractor sits inside a Dvergr Component Crate at their settlements, and opening that crate damages Dvergr property, which turns every Dvergr within the Ward’s radius hostile. One way around it is to pull a wooden Cart into the camp and ram it into the Ward stone until the stone breaks, which does not aggro the Dvergr, then loot the crate freely. Another is to lure Seekers or a Gjall into the camp and let them do the fighting.
Once you have a Dvergr Extractor, the Sap Extractor is built from 1 Dvergr Extractor, 5 Black Metal and 10 Yggdrasil Wood with a workbench nearby, then mounted directly onto a glowing Yggdrasil root to draw Sap over time.
The Dvergr Extractor cannot travel through portals, so it has to be carried or sailed home manually.
Eitr and the new crafting stations
Eitr is the Mistlands’ magic system, gained by eating dishes made with the biome’s crops and creatures. It fuels staffs that launch fireballs, raise skeletons, freeze enemies, and create protective bubbles. Reaching this point requires building three stations in sequence, and each one needs Black Cores.
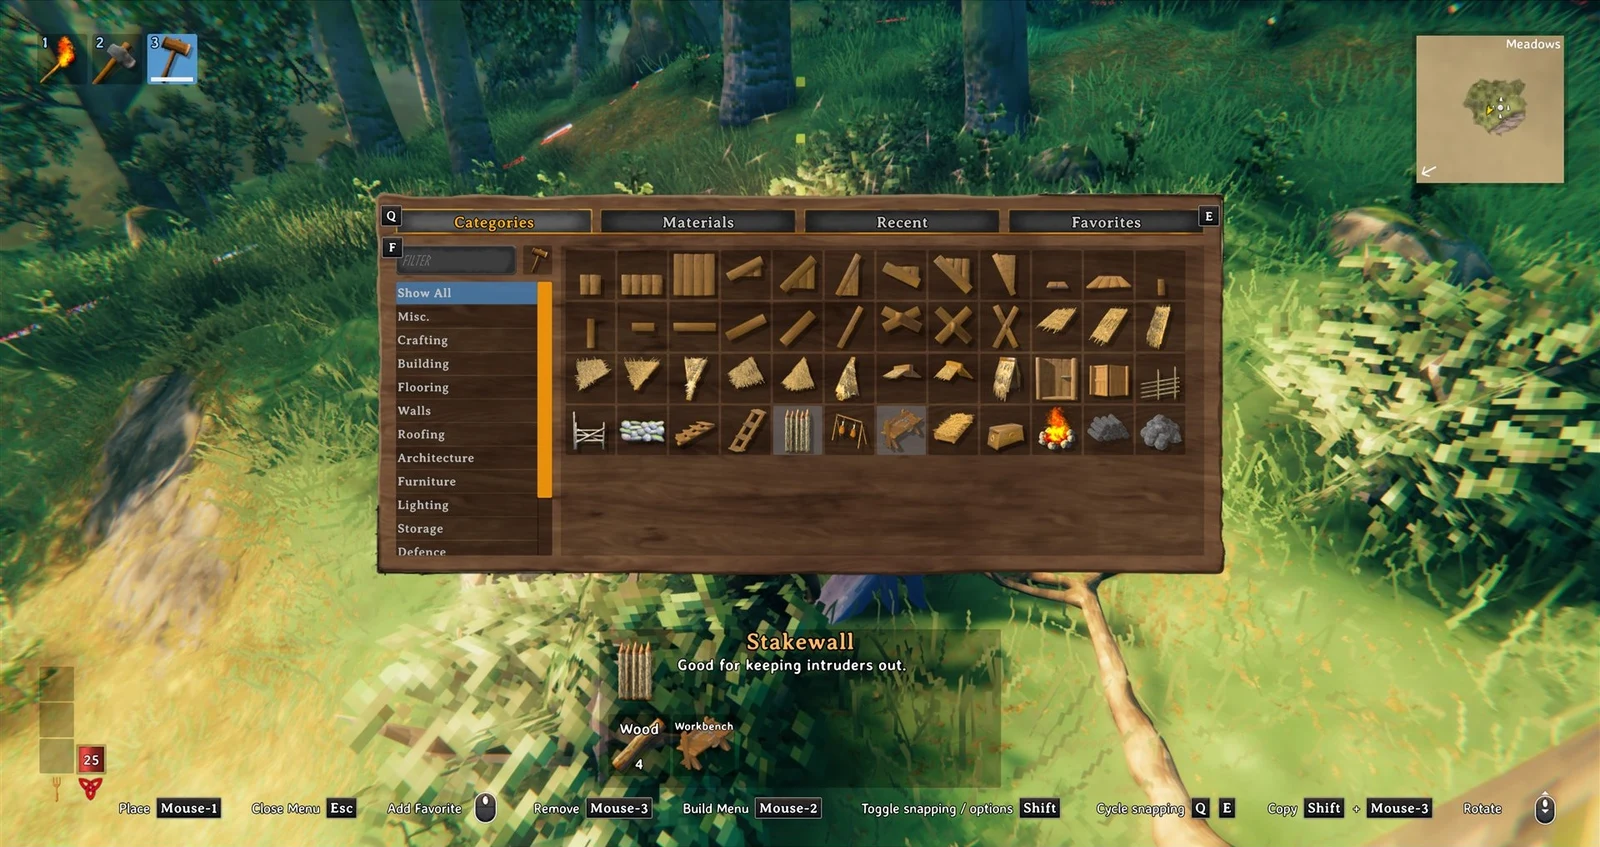
The Black Forge is the physical crafting station, built from 10 Black Marble, 10 Yggdrasil Wood and 5 Black Core at a Workbench, and it produces Carapace gear and Mistlands weapons. The Eitr Refinery takes Sap and Soft Tissue and turns them into Refined Eitr, and the Galdr Table uses that Refined Eitr to craft staffs, Eitr-weave armor, the Feather Cape and the Sealbreaker. The refinery throws out damage spheres while it runs, so it belongs outside and away from walls.
Summoning The Queen
The Queen is the Mistlands boss, and her arena is unlocked using Sealbreaker Fragments gathered from Infested Mines. Her location is revealed by the Vegvisir runestone found deep in a mine. To call her out once you reach the altar, you offer 3 Seeker Soldier Trophies, a drop that comes from Seeker Soldiers at a 5 percent rate. Defeating her opens the path toward the Ashlands.
Mistlands gear and food reference
Two Black Metal tools carry a lot of the Mistlands workload. The Black Metal Pickaxe is what breaks Petrified Bone and Black Marble, and the Black Metal Tower Shield is the heavy blocking option for standing your ground against Seekers.
| Item | Key stats | Recipe |
|---|---|---|
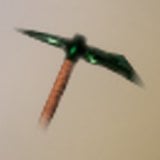 Black Metal Pickaxe Black Metal Pickaxe | 49 pierce / 49 pickaxe, tool tier 3 | Yggdrasil Wood x3, Black Metal x25 (Forge 2) |
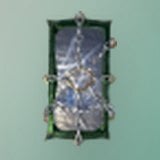 Black Metal Tower Shield Black Metal Tower Shield | 104 block armor, 150 block force, -10% move speed | Finewood x15, Black Metal x10, Chain x7 (Forge 3) |
Mistlands food covers the three stats you need to fight and cast here. Yggdrasil Porridge is the Eitr source, while Misthare Supreme and Cooked Seeker Meat handle health and stamina.
| Food | Health | Stamina | Eitr / Duration |
|---|---|---|---|
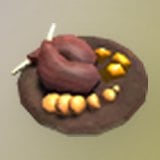 Misthare Supreme Misthare Supreme | 85 | 28 | — / 25 min |
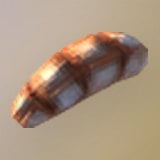 Cooked Seeker Meat Cooked Seeker Meat | 60 | 20 | — / 20 min |
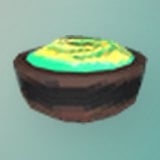 Yggdrasil Porridge Yggdrasil Porridge | 27 | 13 | 80 Eitr / 25 min |
Medium Healing Mead and Medium Stamina Mead round out the consumables, both fermented in 40 minutes from their mead bases and found in Jotun’s Chests. Taken together, this is the kit the Mistlands expects before it starts handing over Eitr, and the fog stops being an obstacle only once the Wisplight, the right food and a working portal network are all in place.