Chapter 1: Revival drops William into The Battlefield with a saber, a newly infected left arm, and three Ambers tucked away from the main path. None of them are missable, but two sit behind golden vines you can only clear once you have the Fire Transmutation, and the third hides in a trench dead end that is easy to walk straight past. Here is exactly where each one is and what it does once equipped.
Quick answer: All three Chapter 1 Ambers are in The Battlefield. Bottomless Well and Transmuted Persistence sit behind golden vines near the Onslaught Arch lantern, and Iron Grip is in a dead end near the Trenches lantern.
Get Fire Transmutation first
Two of the three Ambers are locked behind clusters of golden vines, and the only way through them is the Fire Transmutation. You pick it up automatically early in the chapter by interacting with the hanging corpse that carries a burning core, which infects William’s left arm with flame. Fire both ignites enemies and burns away the vine barriers that block optional areas, so there is no point detouring for the first two chests until your arm is lit.

Valor Mortis has no in-game map. You navigate by landmarks and checkpoint lanterns, so the directions below start from a named lantern each time.
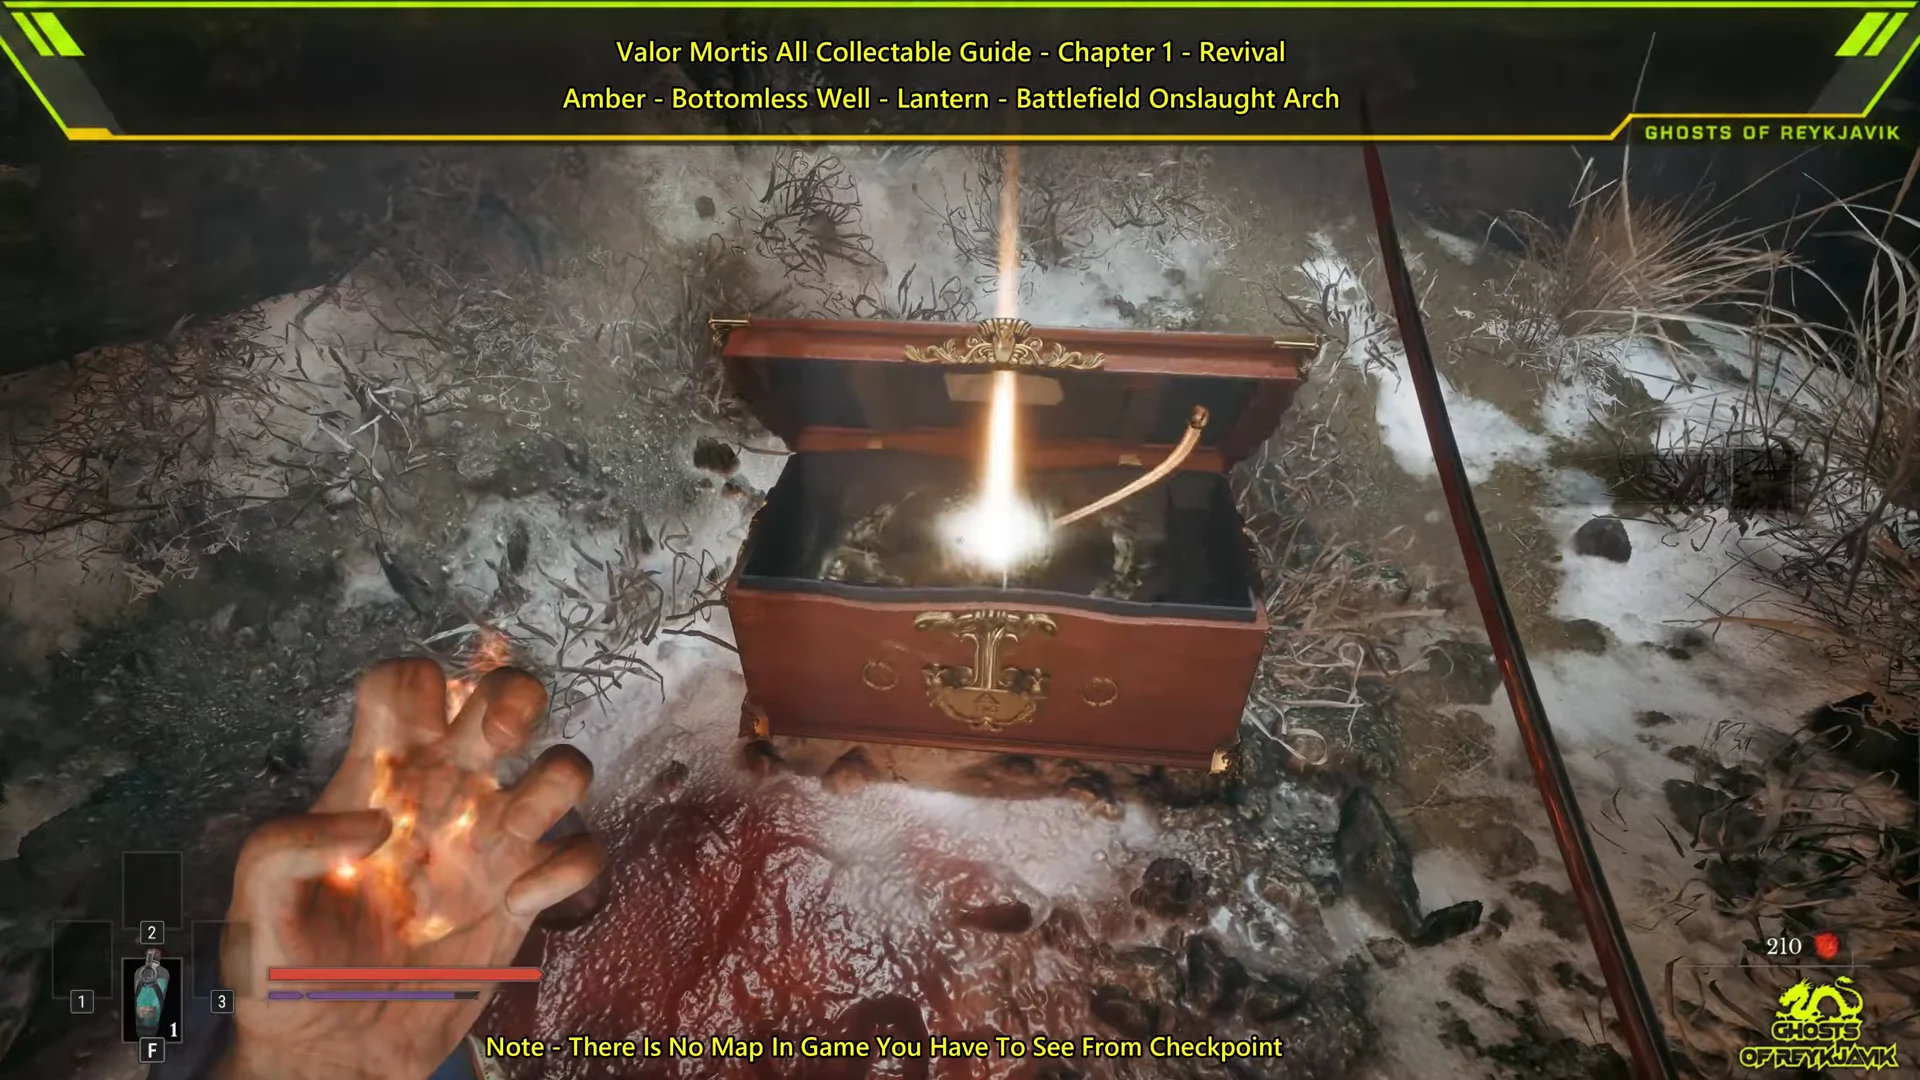
Bottomless Well location (Onslaught Arch lantern)
You’ll find this Amber tucked into an alcove overhead near the first lantern; double back to reach it instead of pushing farther into the battlefield.
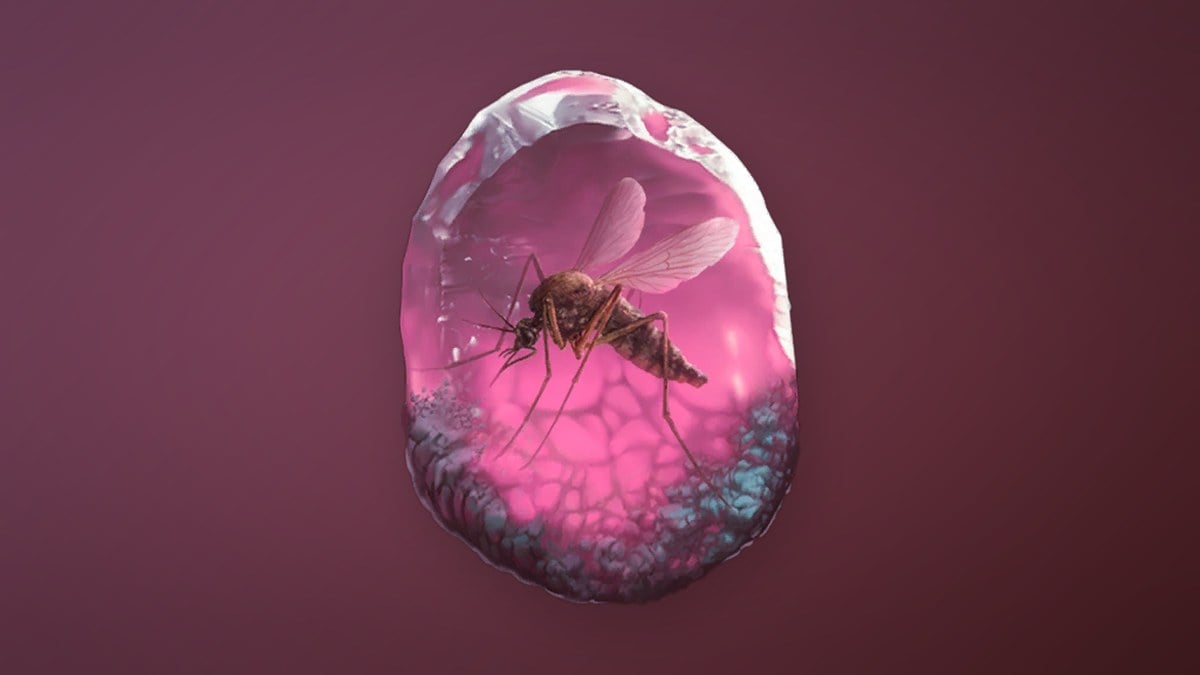
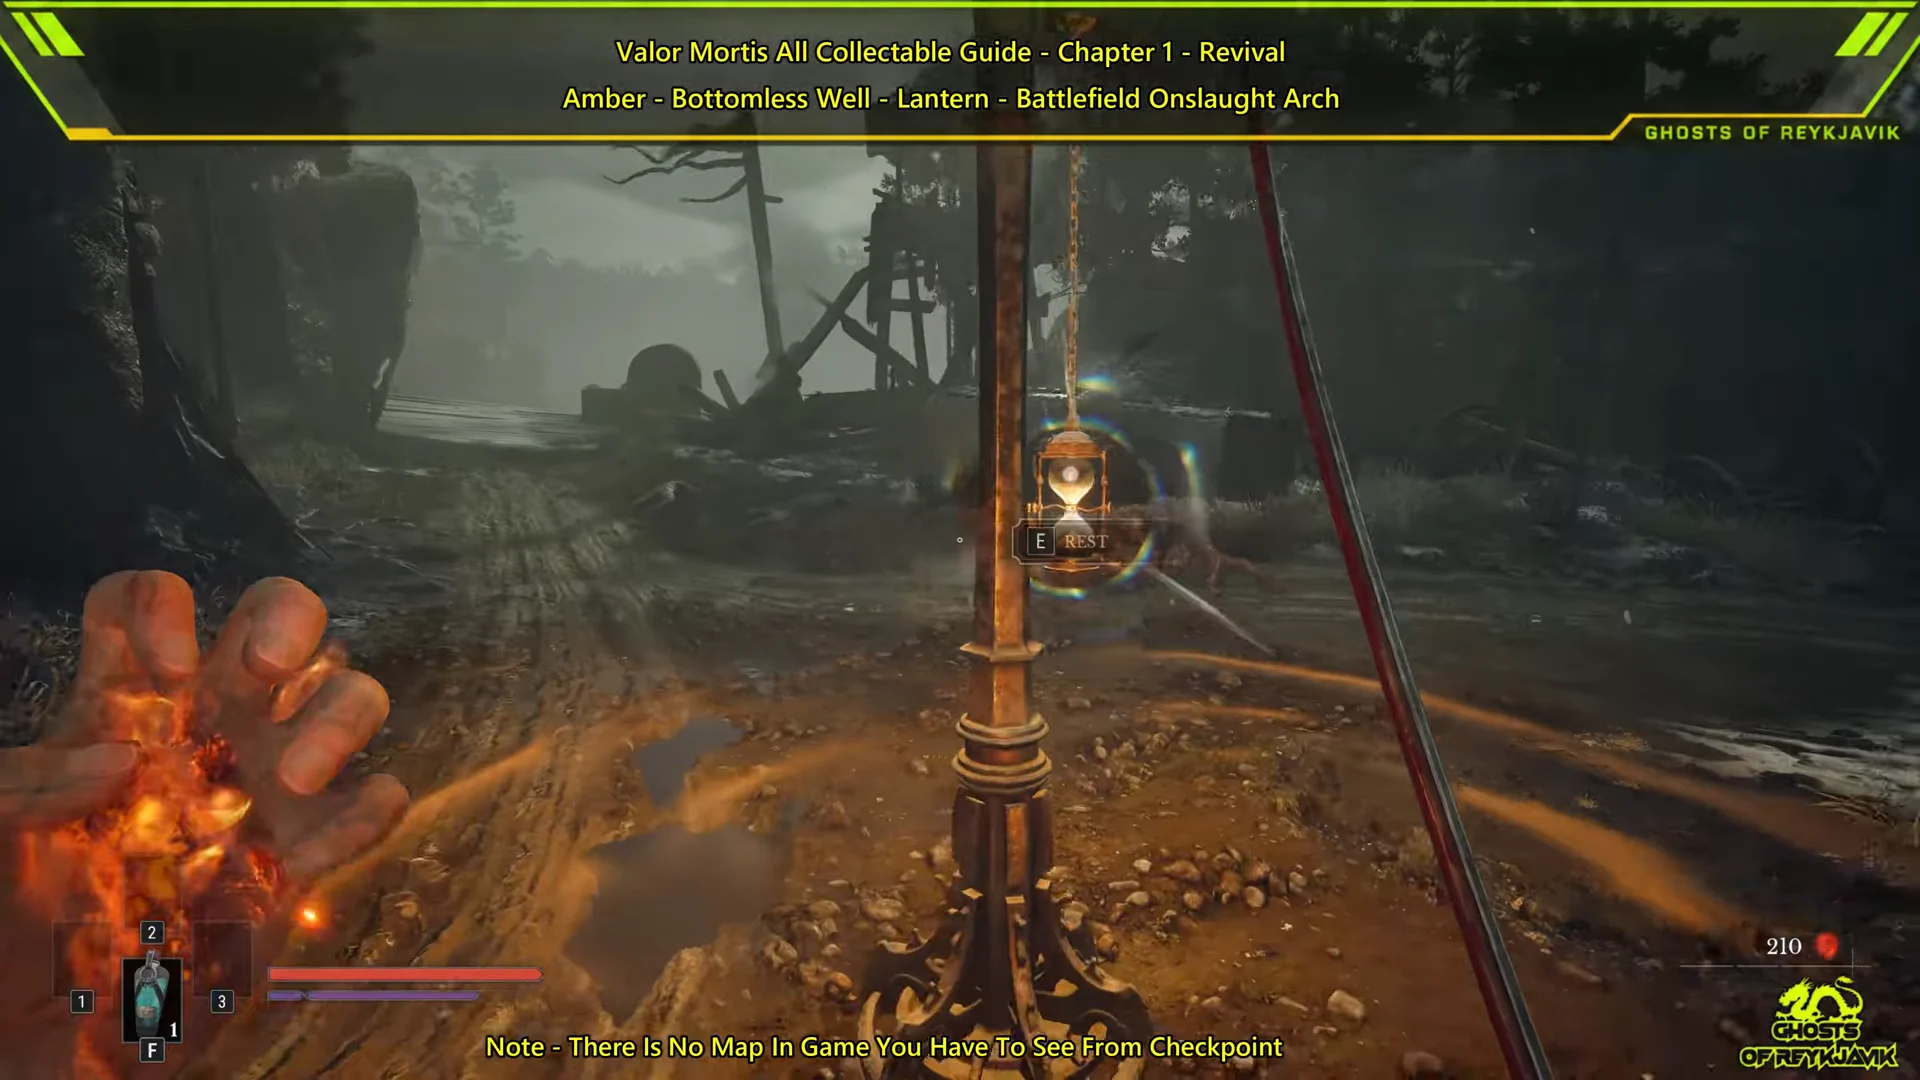
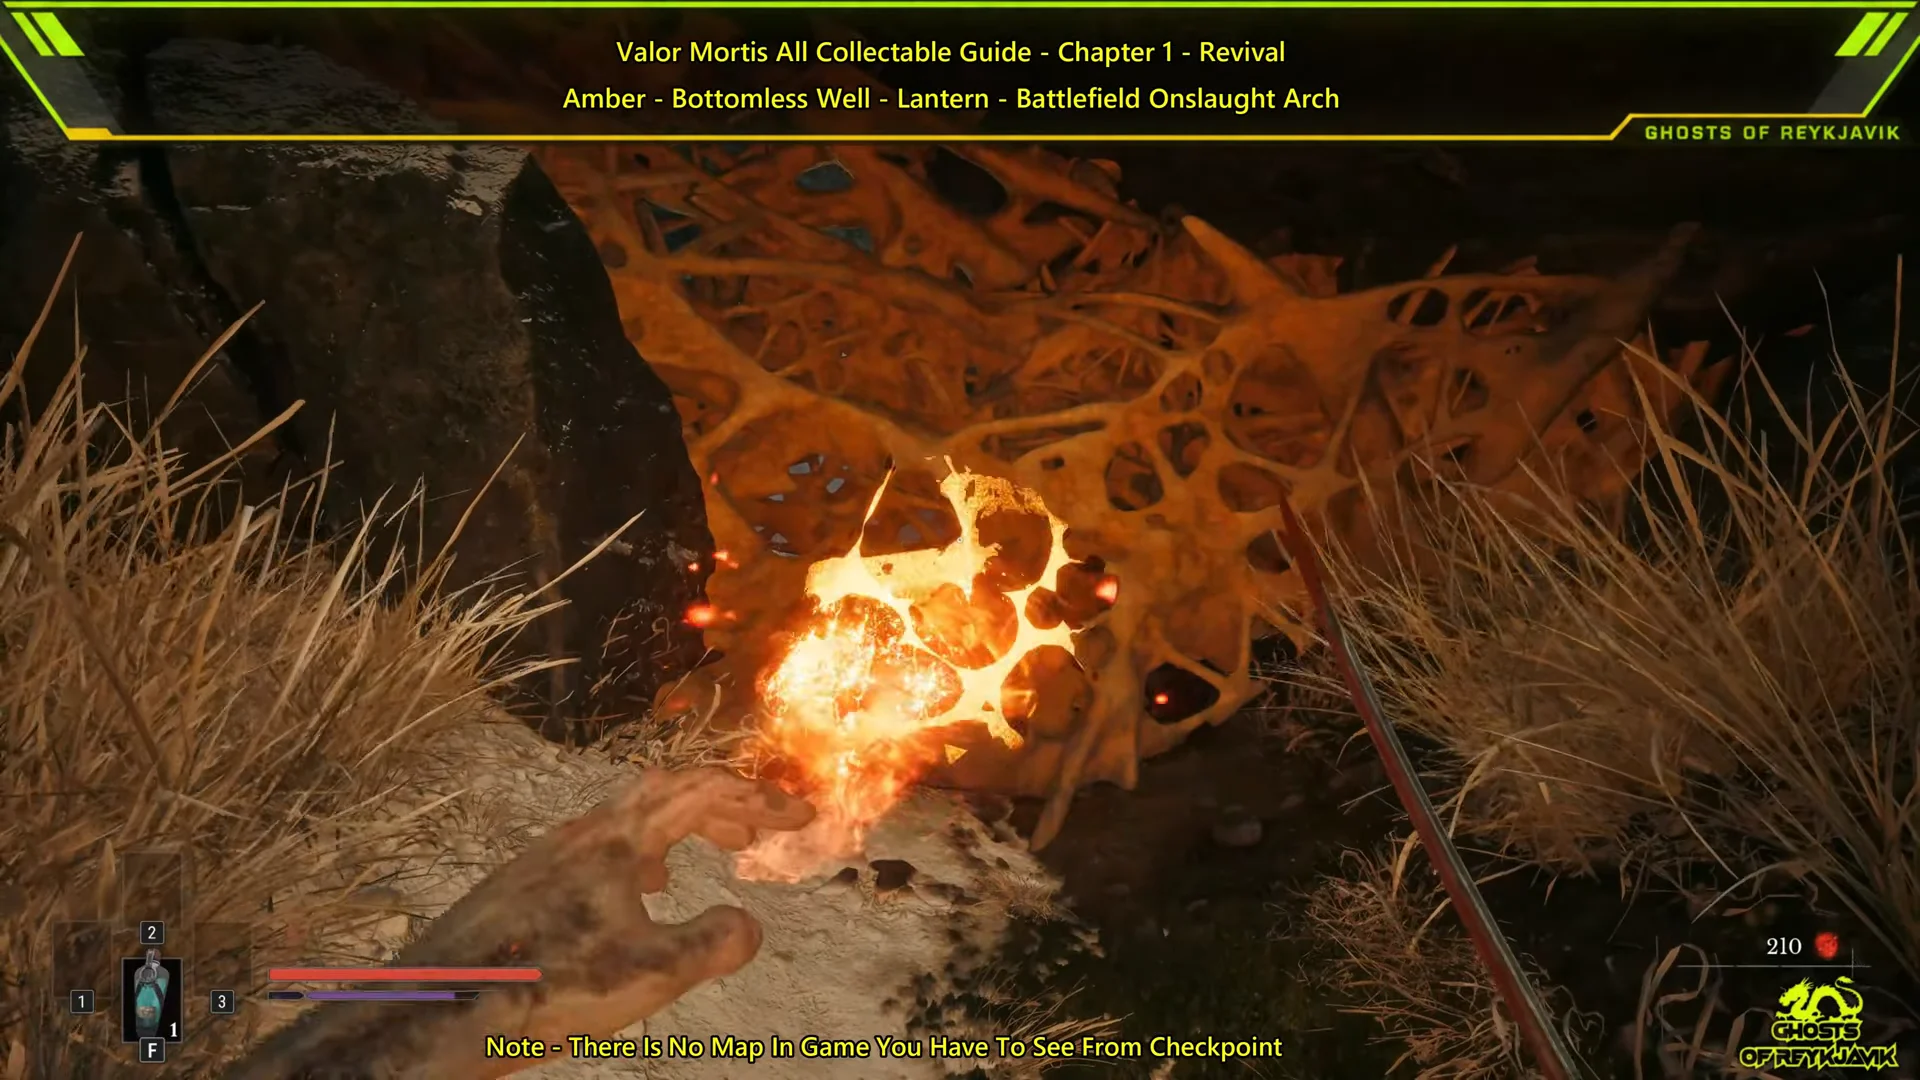
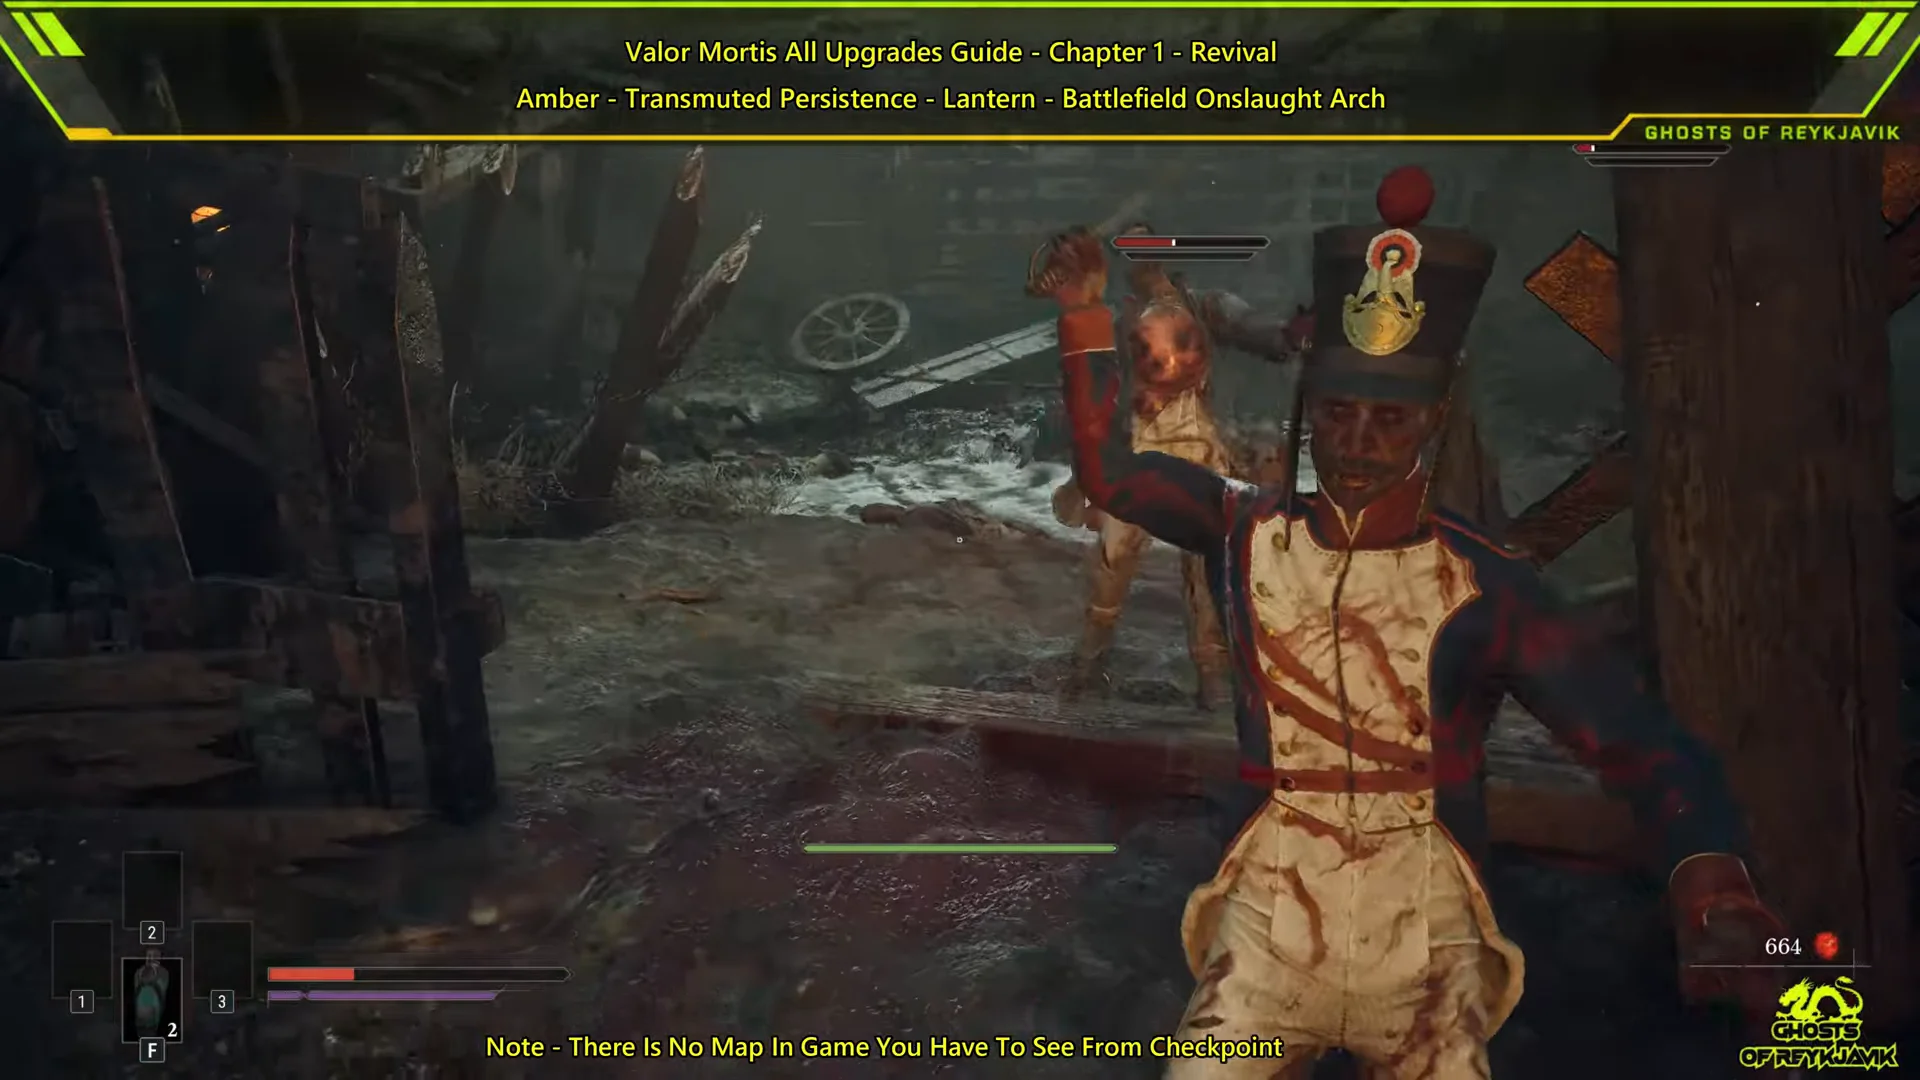
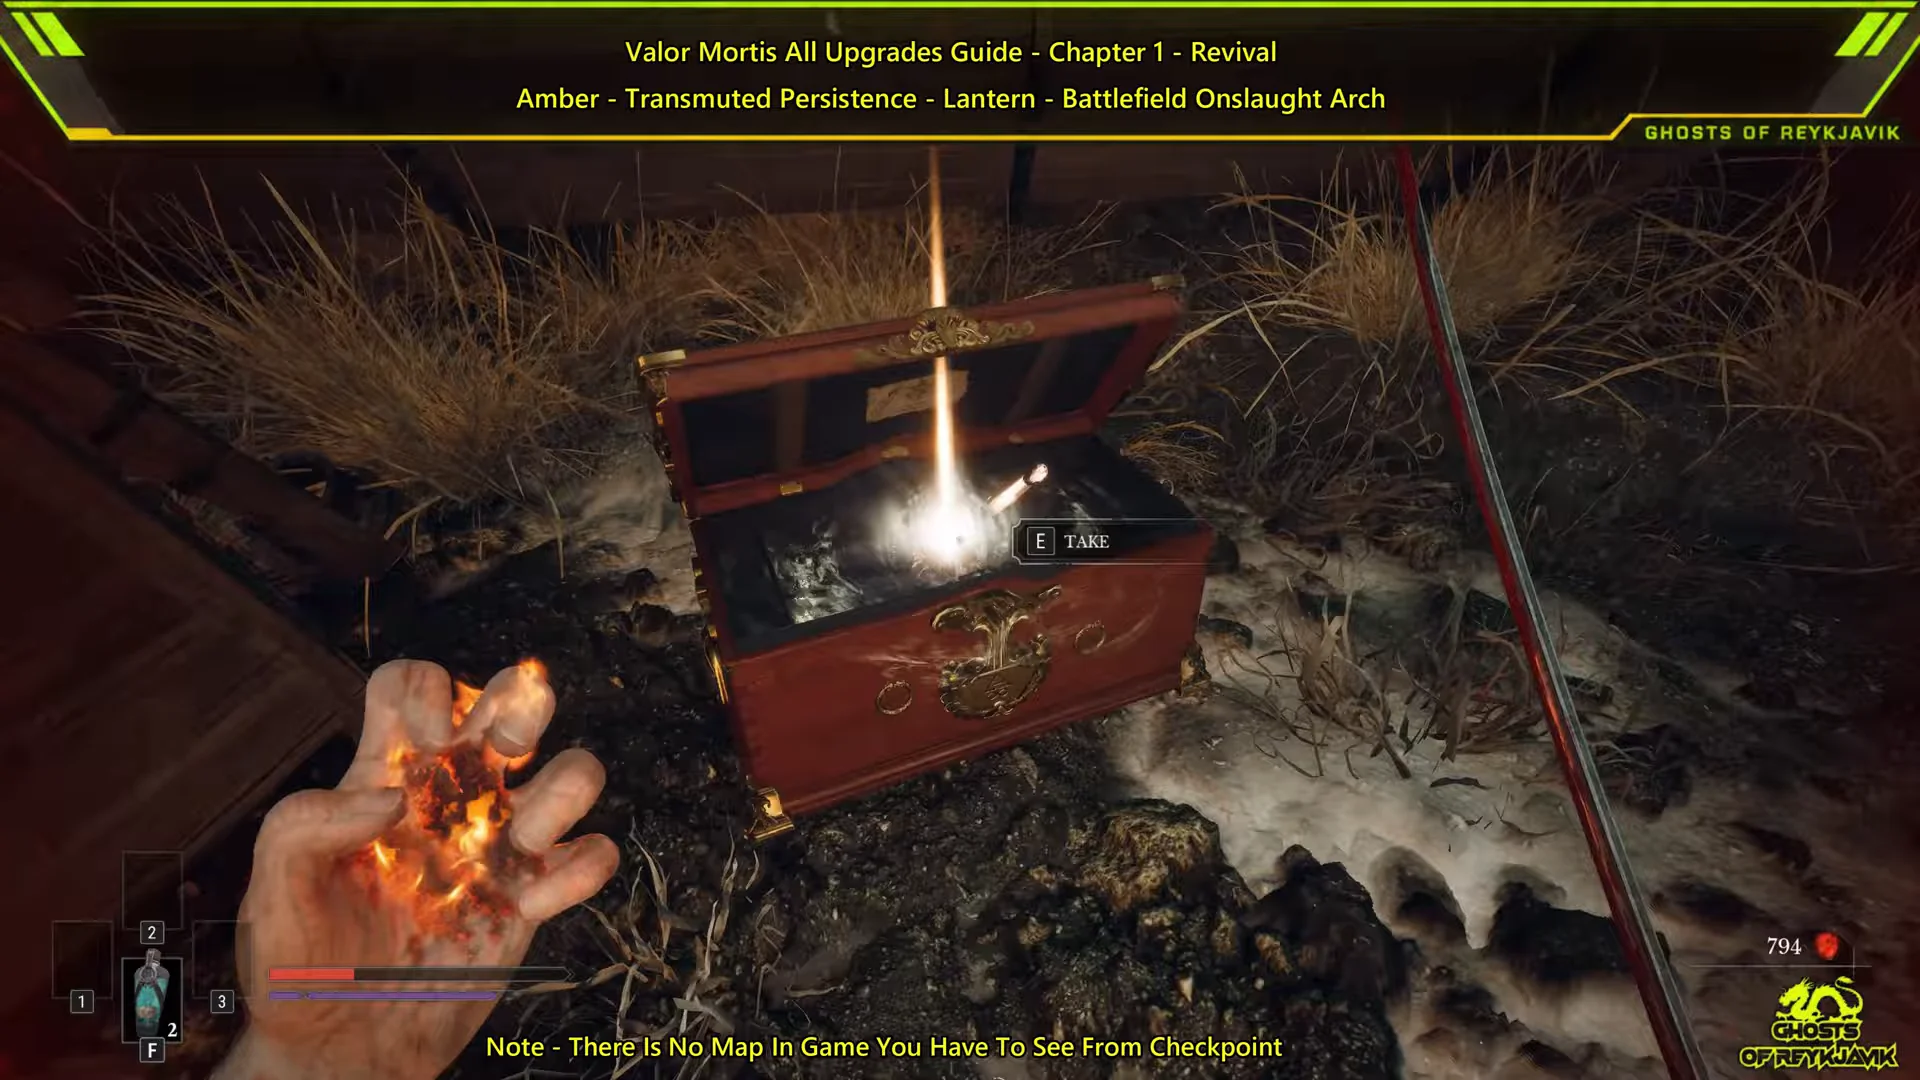
Transmuted Persistence location (Onslaught Arch lantern)
From the same lantern, this one is out in the main battlefield, hidden beside the route rather than along it. Hug the left edge as you advance.
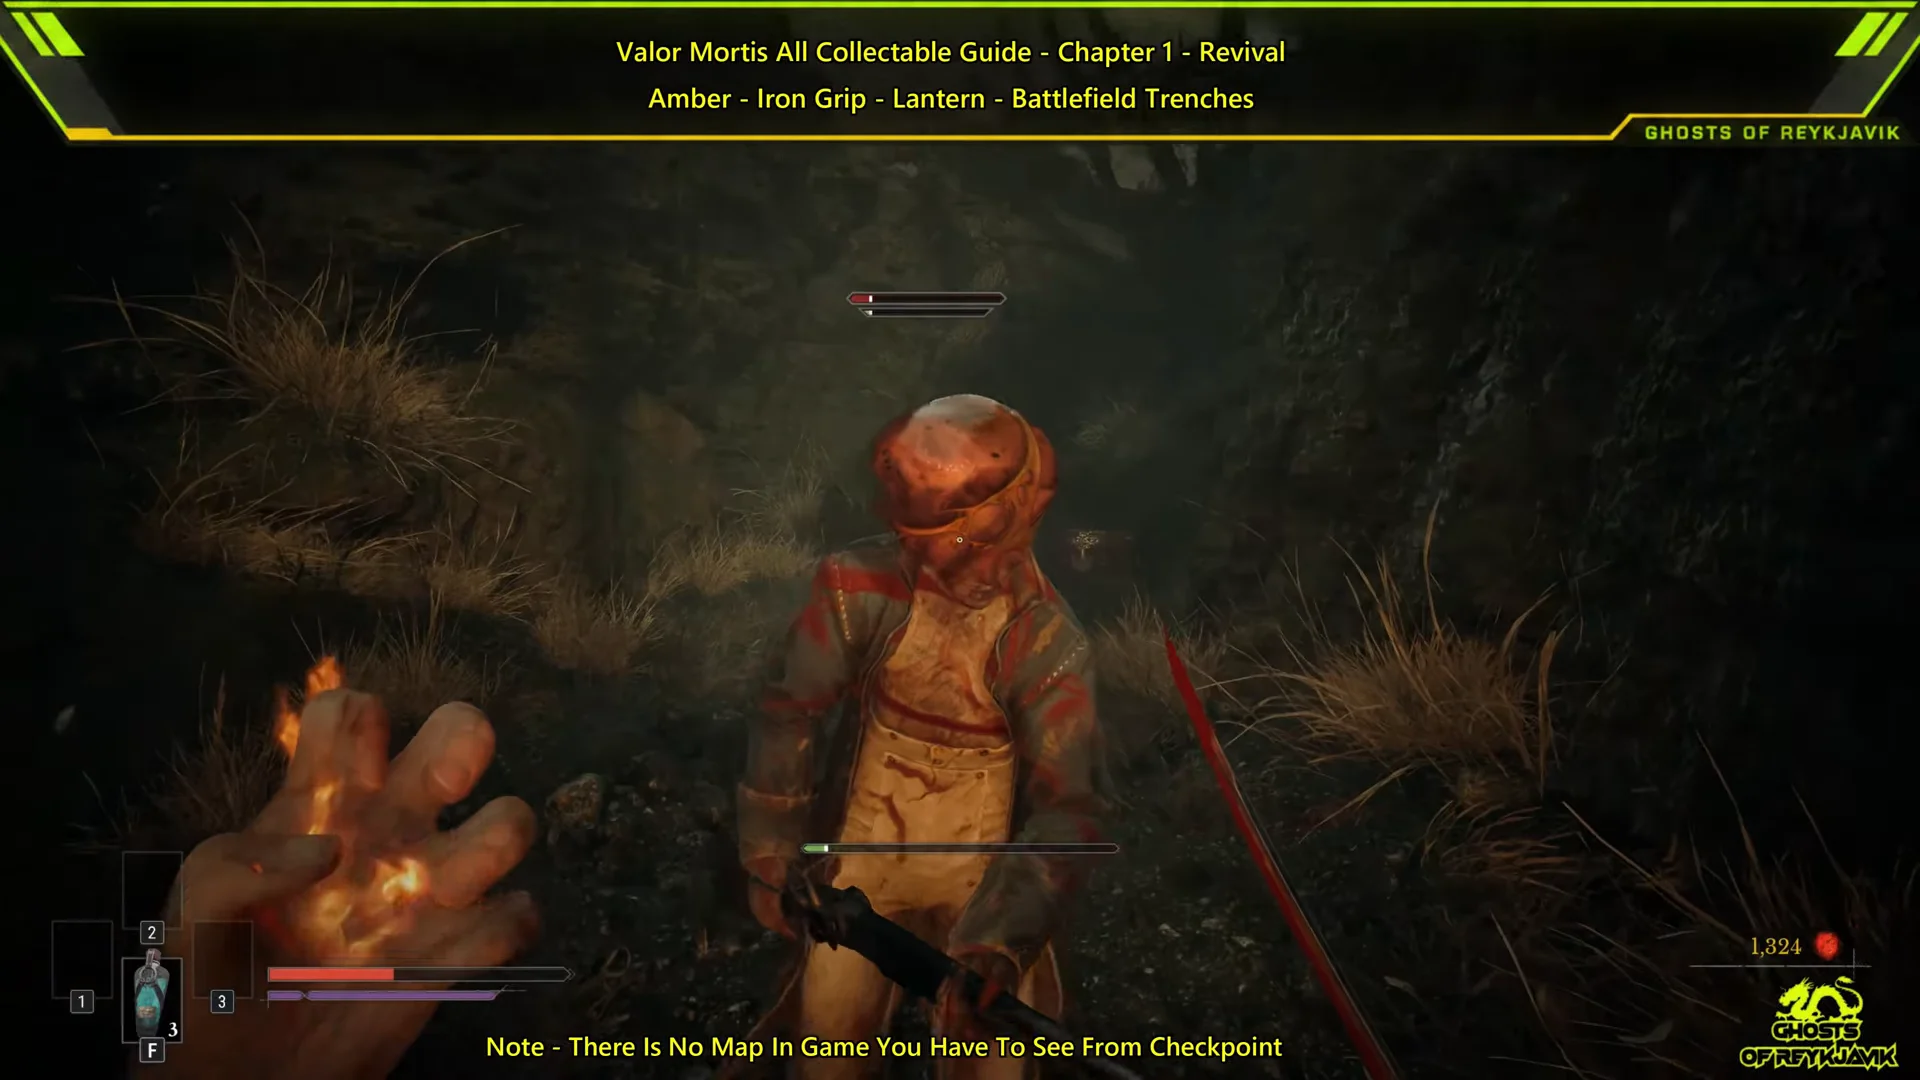
Iron Grip location (Trenches lantern)
The final Chapter 1 Amber does not need Fire at all. It sits in a short dead end off the Trenches, guarded by a few soldiers.
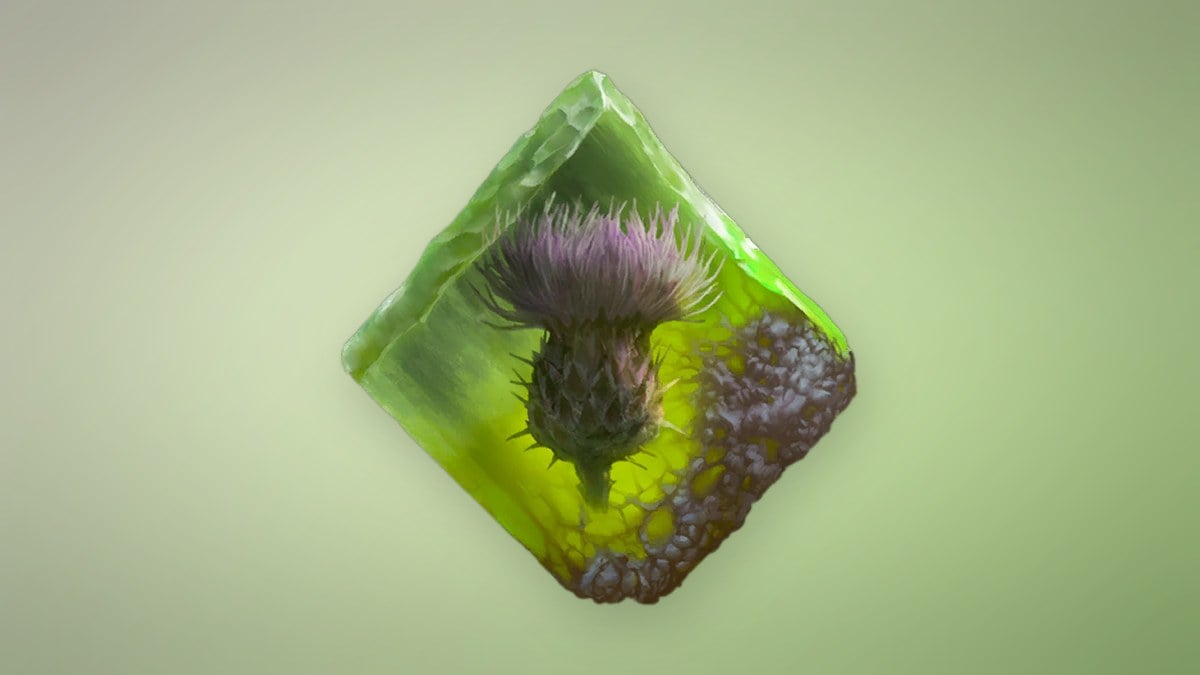
What each Chapter 1 Amber does
All three Ambers in The Battlefield are single-copy pickups pulled from chests. Here are their effects and maximum ranks so you know what you are equipping.
| Amber | Max rank | Effect |
|---|---|---|
 Bottomless Well Bottomless Well | 3 | Restores depleted Nephtoglobin over time |
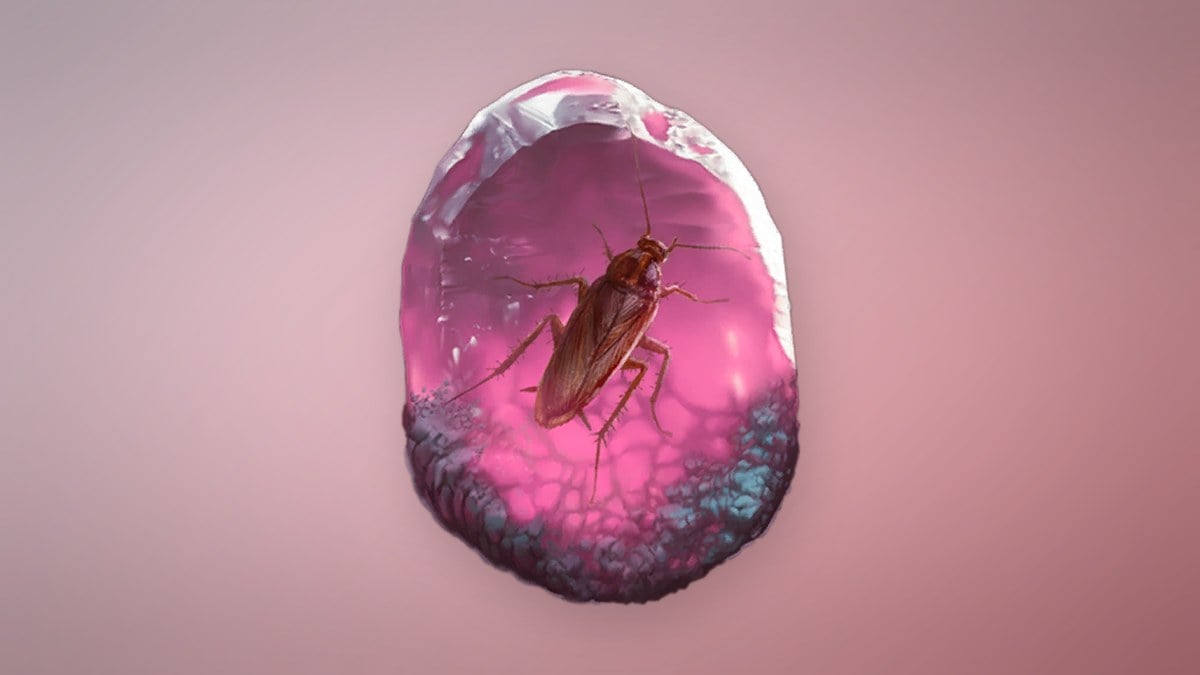
 Transmuted Persistence Transmuted Persistence | 1 | Transmutation damage restores Recoverable Health |
 Iron Grip Iron Grip | 1 | Using a Ferrofluid Flask takes less time and cannot be disrupted. |
Transmuted Persistence gives back Recoverable Health whenever your Transmutations damage enemies, applying a Recoverable Health factor of 2. It maxes at rank 1, so there is nothing further to upgrade once you equip it. It pairs naturally with the Fire Transmutation you use to reach it.
Iron Grip speeds up the act of drinking from a Ferrofluid Flask by a factor of 1.5 and stops the animation from being interrupted, which matters when you need to heal mid-fight. It also caps at rank 1.
Bottomless Well slowly replenishes spent Nephtoglobin, which is useful if you lean on abilities that drain it. Unlike the other two, it can be ranked up to a maximum of 3.
Returning for anything you miss
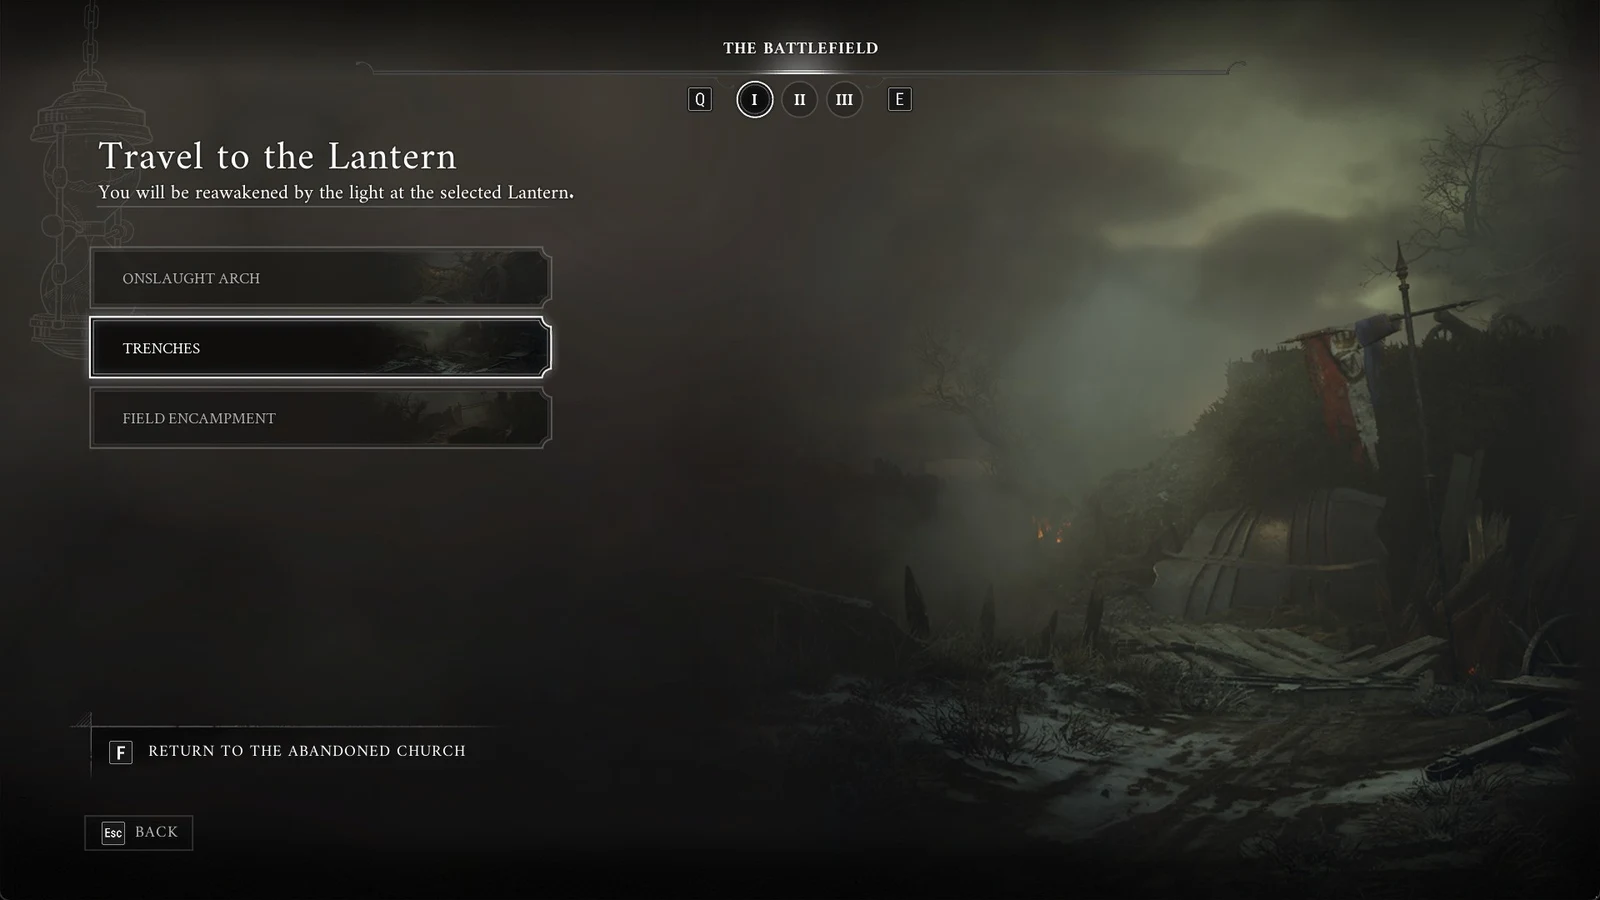
You confirm each pickup when the chest opens and the Amber appears in your collection with its beam of light. None of the three are permanently missable. If you skip one, you can come back to The Battlefield later and open the chest then. One wrinkle: although the lanterns exist from the start, their names only show up in the fast-travel menu after you beat the Chapter 2 boss and unlock fast travel, so note the Onslaught Arch and Trenches landmarks if you plan to backtrack.
Chapter 1 closes with the required battle against General Lothaire, the Eagle-Bearer. William is scripted to lose this opening encounter, and that defeat won’t cost you any collectibles. Once you have all three Ambers plus the Saber and Fire Transmutation, you’ve obtained the full contents of Chapter 1: Revival.