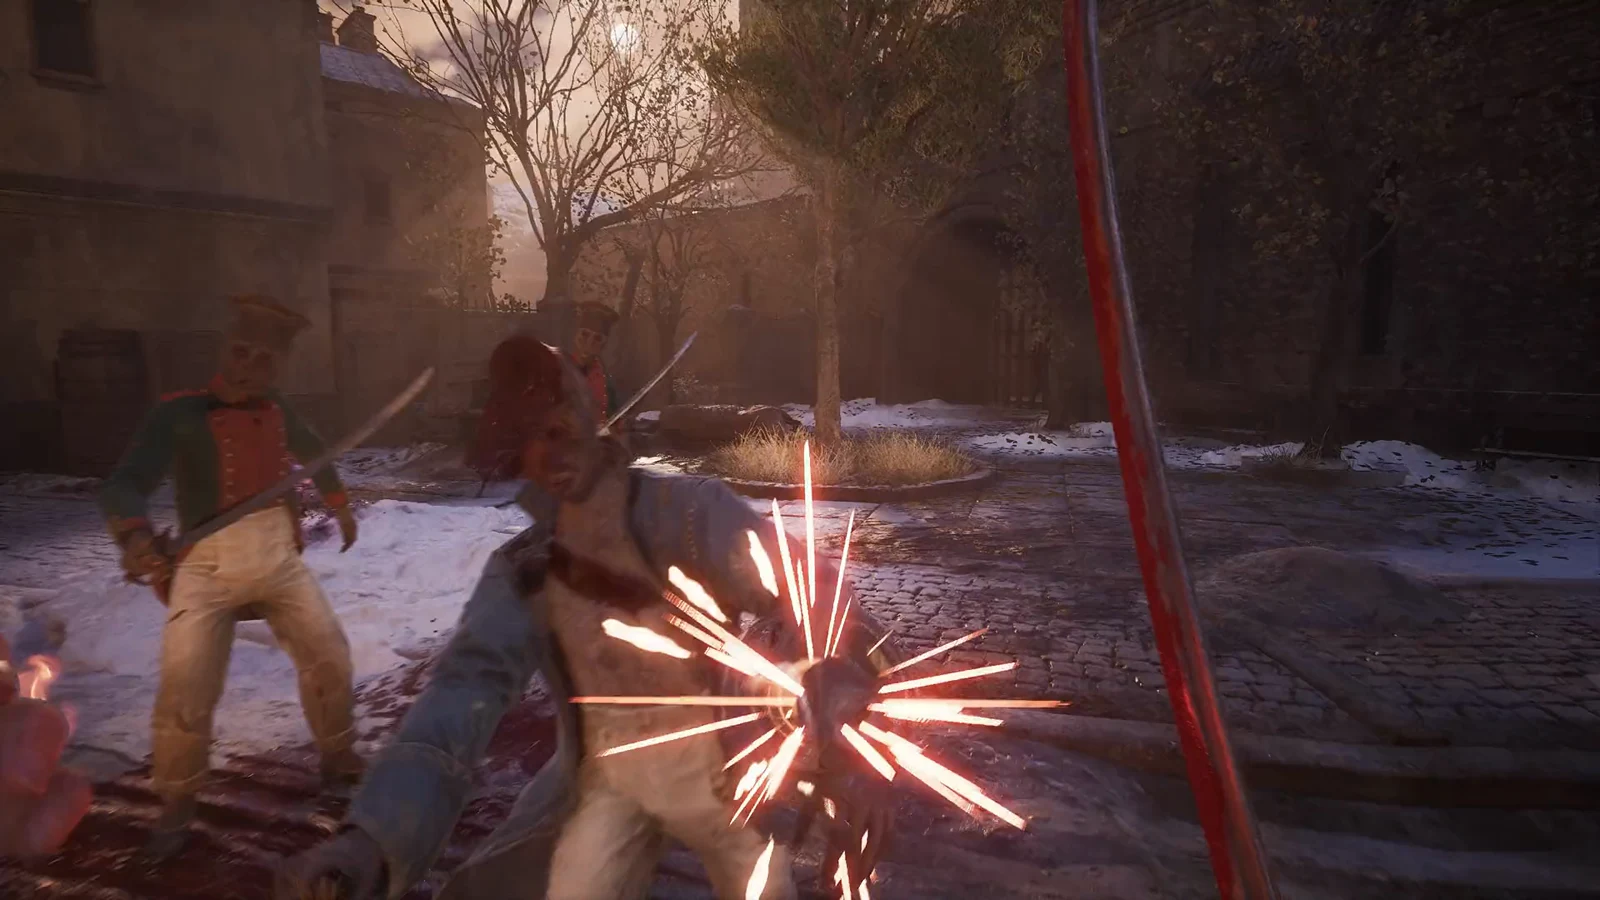
A parry build in Valor Mortis wins fights by turning deflected strikes into broken posture, then cashing that posture break into a critical attack. The whole plan rests on timing: deflect an incoming blow at the last moment, stack posture damage across several parries, and strike when the enemy opens up. Everything below is built to widen that parry window and make the follow-up hit hurt more.
Quick answer: Pair the Rapier with a Pistol, slot Duellist’s Focus and Dominatus, and level Parrying Impact, Critical Damage, and Melee Damage.

How the parry loop works
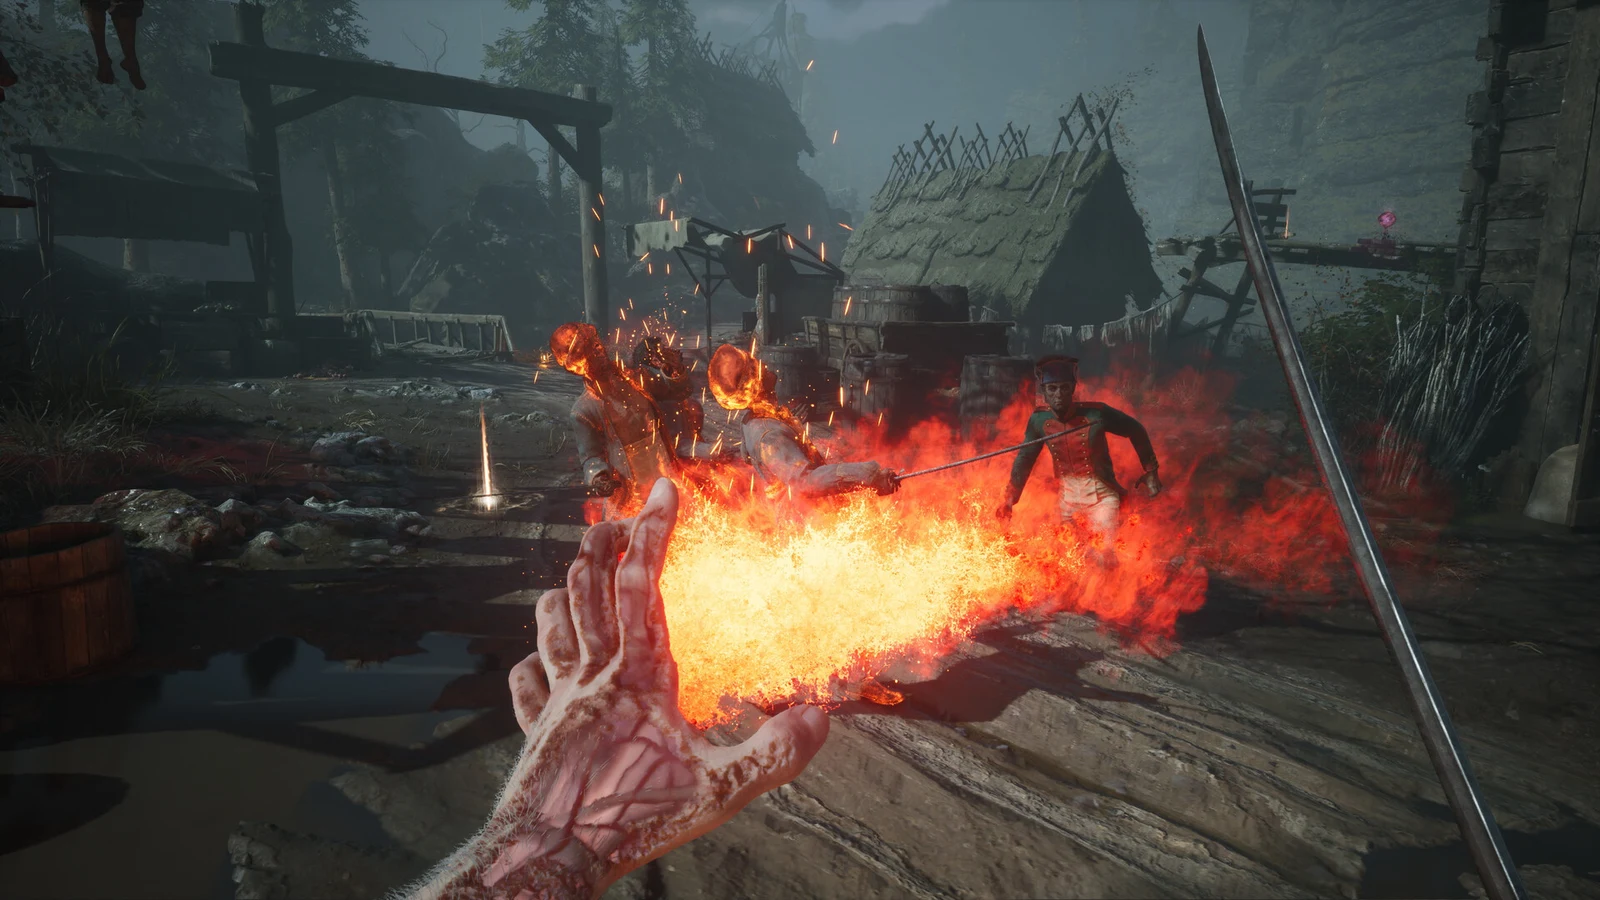
A successful parry deflects a strike without taking damage and adds to the enemy’s posture. Most tougher enemies need several parries in a row before their posture breaks, so the skill is landing consecutive deflects instead of retreating after each one. Once posture breaks, the enemy is open to a critical attack that does heavy damage.
Unblockable attacks, marked with a red indicator, cannot be parried and must be dodged. A build cannot fix that, so even a parry-focused character alternates between deflecting standard swings and dodging the red moves. The build makes the parry half of that exchange faster to pay off.
Best stats for a parry build
Two stats carry the build. Parrying Impact raises the posture damage every deflect deals, which shortens how many parries you need before a break. Critical Damage then makes the punish bigger once posture is gone. Around those, survivability stats keep you alive while you learn an enemy’s rhythm.
| Stat | Attribute | Per rank | Max ranks |
|---|---|---|---|
 Parrying Impact Parrying Impact | Endurance | +5% parry posture damage | 4 |
 Critical Damage Critical Damage | Might | +5% critical damage | 4 |
 Melee Damage Melee Damage | Might | +3% melee damage | 4 |
 Maximum Health Maximum Health | Might | +10 health | 8 |
 Maximum Endurance Maximum Endurance | Endurance | +5 endurance | 8 |
 Blocking Blocking | Might | -5% block endurance cost, +30% recoverable health | 4 |
 Headshot Damage Headshot Damage | Endurance | +5% headshot damage, +1 max Blunderbuss ammo | 4 |
Max out Parrying Impact and Critical Damage first, since they define the build’s whole payoff. Melee Damage feeds the critical strike from the other direction. Maximum Health and Maximum Endurance both run deep at eight ranks each, so spread into them steadily. Endurance is also what powers firearms, so levelling it supports the Pistol side of the build at the same time.

Best Ambers for parrying
Ambers push the build in the same direction as the stats: a longer parry window and more reward on each posture break. The three below cover offense, sustain, and a defensive answer if your timing slips.
| Amber | Effect | Where to find it |
|---|---|---|
 Duellist’s Focus Duellist’s Focus | Extends the parry timing window for melee weapons | Chest in The Battlefield |
 Dominatus Dominatus | Restores health on critical attacks (50% / 75% / 100% by rank) | Find 2 chests in The Outskirts and chests in Valley of Ashes; Shambling Civilians in Caverns drop them. |
 Wound that Heals Wound that Heals | Gradually restores lost health as time passes | Chests in The Battlefield and Vale of Wrath; dropped by Volunteers |
Duellist’s Focus is the build’s foundation. Its effect widens the parry timing window, the most demanding part of this setup to perform manually. Only one exists, in a chest in The Battlefield, and its maximum rank is 1.

Dominatus ties healing to the exact moment the build is built around. Every critical attack after a posture break restores health, scaling from 50% up to 100% as you rank it to three. Because a parry build lands criticals constantly, this doubles as your main sustain.
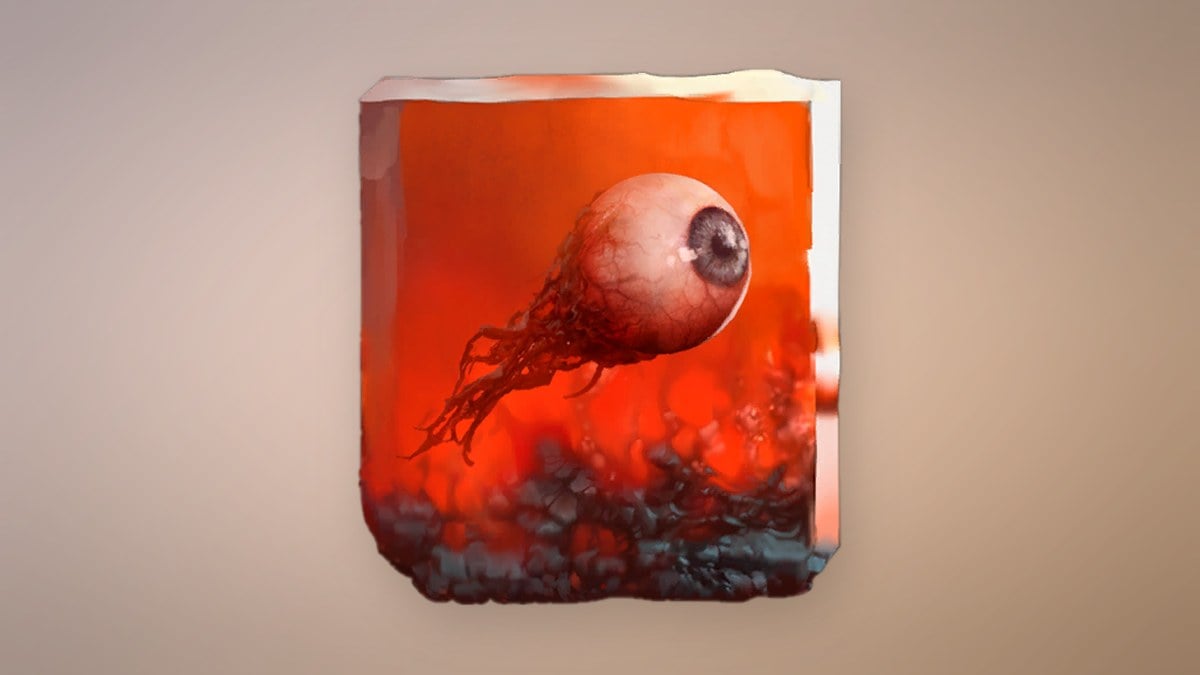
Wound that Heals fills the gaps, slowly regenerating health between posture breaks so a single missed parry does not snowball. If you prefer to deal with ranged attackers, Marksman’s Bane lets you parry bullets and hands you a Pistol round on each successful deflect. It sits in a chest in Valley of Ashes and caps at rank 1.
Weapons: Rapier and Pistol
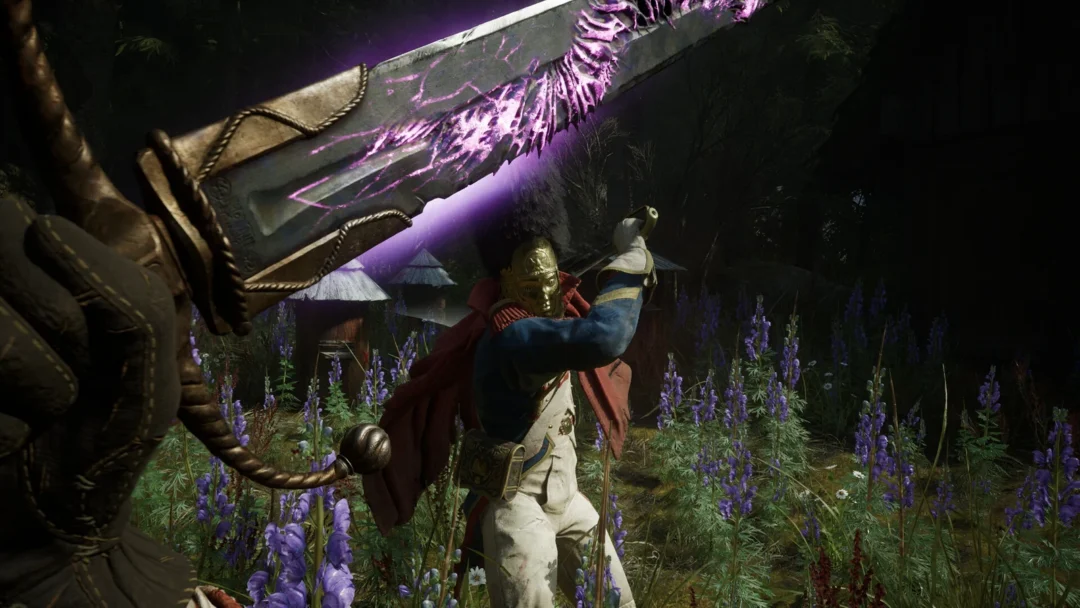
Use the Rapier as this build’s melee weapon: it is quick, built around parrying, and able to break Nephtoglobin Weak Points. Its Remise skill rewards precise play: each successful parry in a row raises the damage of the following Heavy Attack, while attacking foes keeps that bonus active longer. In practice, a string of deflections powers up a stronger counter.
Pistol for posture breaks
The Pistol pairs with the Rapier because it gives you extra ways to break posture from a safe distance. At weapon level 2, the Nephtoglobin Infusion — Bullet upgrade lets you hold Reload to load a posture-breaking round, paid for with Nephtoglobin rather than ammunition. Firing these chips away at posture so a break arrives sooner.
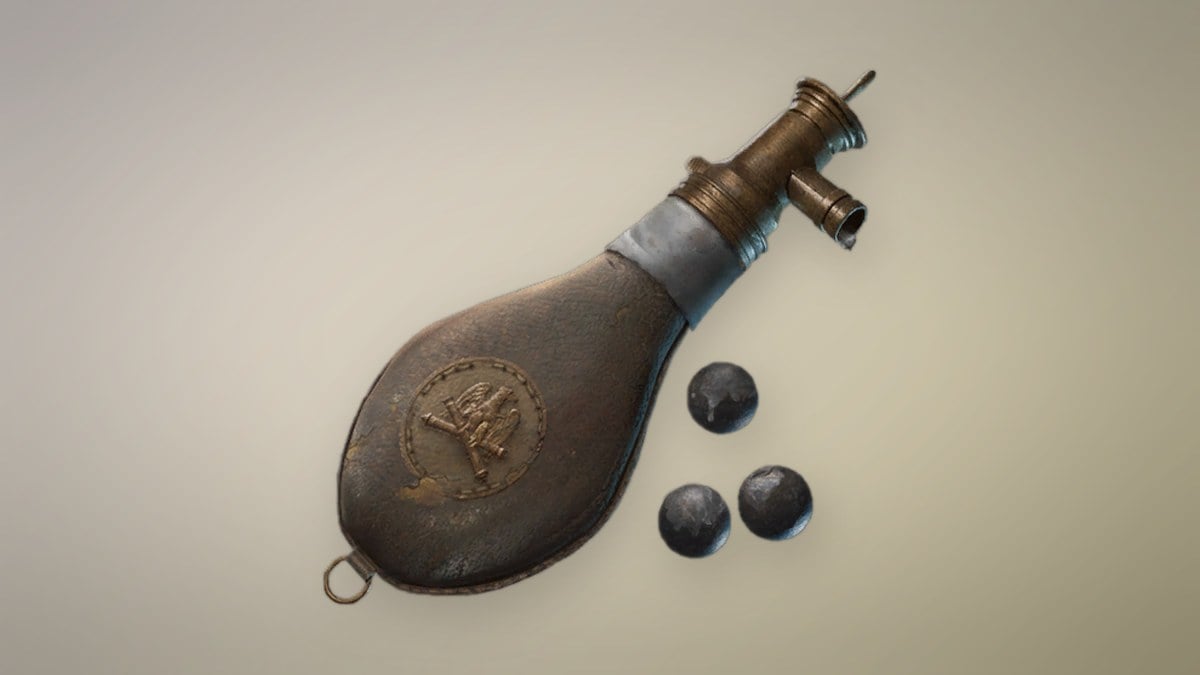
Mighty Rounds are consumables that increase the posture damage from your next several Pistol shots. You can carry up to 3, and from chapter 5 onward, James’s Iron Bench sells each one for 300.
Upgrade priorities
On the Rapier, level the blade as high as you can to maximize both parry value and critical damage. Prioritize the Invigorating Seconda upgrade, which regenerates stamina on each parry, so you can keep deflecting without running your Endurance dry mid-fight.
On the Pistol, push toward the Ruthlessness perk, which makes critical attacks significantly stronger. Combined with the Nephtoglobin bullet infusion, you get a weapon that both sets up posture breaks and amplifies the critical hit that follows.
How to confirm the build is working
You will know the pieces are in place when a well-timed defensive input deflects a strike instead of chipping your guard, and the enemy’s posture meter jumps on each clean parry. Chain enough parries and the posture bar empties, opening the enemy to a critical attack. With Dominatus slotted, landing that critical restores health, which tells you the heal-on-crit loop is active.
Against bosses, do not try to parry everything. Deflect the readable, repeating swings to build posture, dodge the red unblockable moves, then take your critical when the break lands.