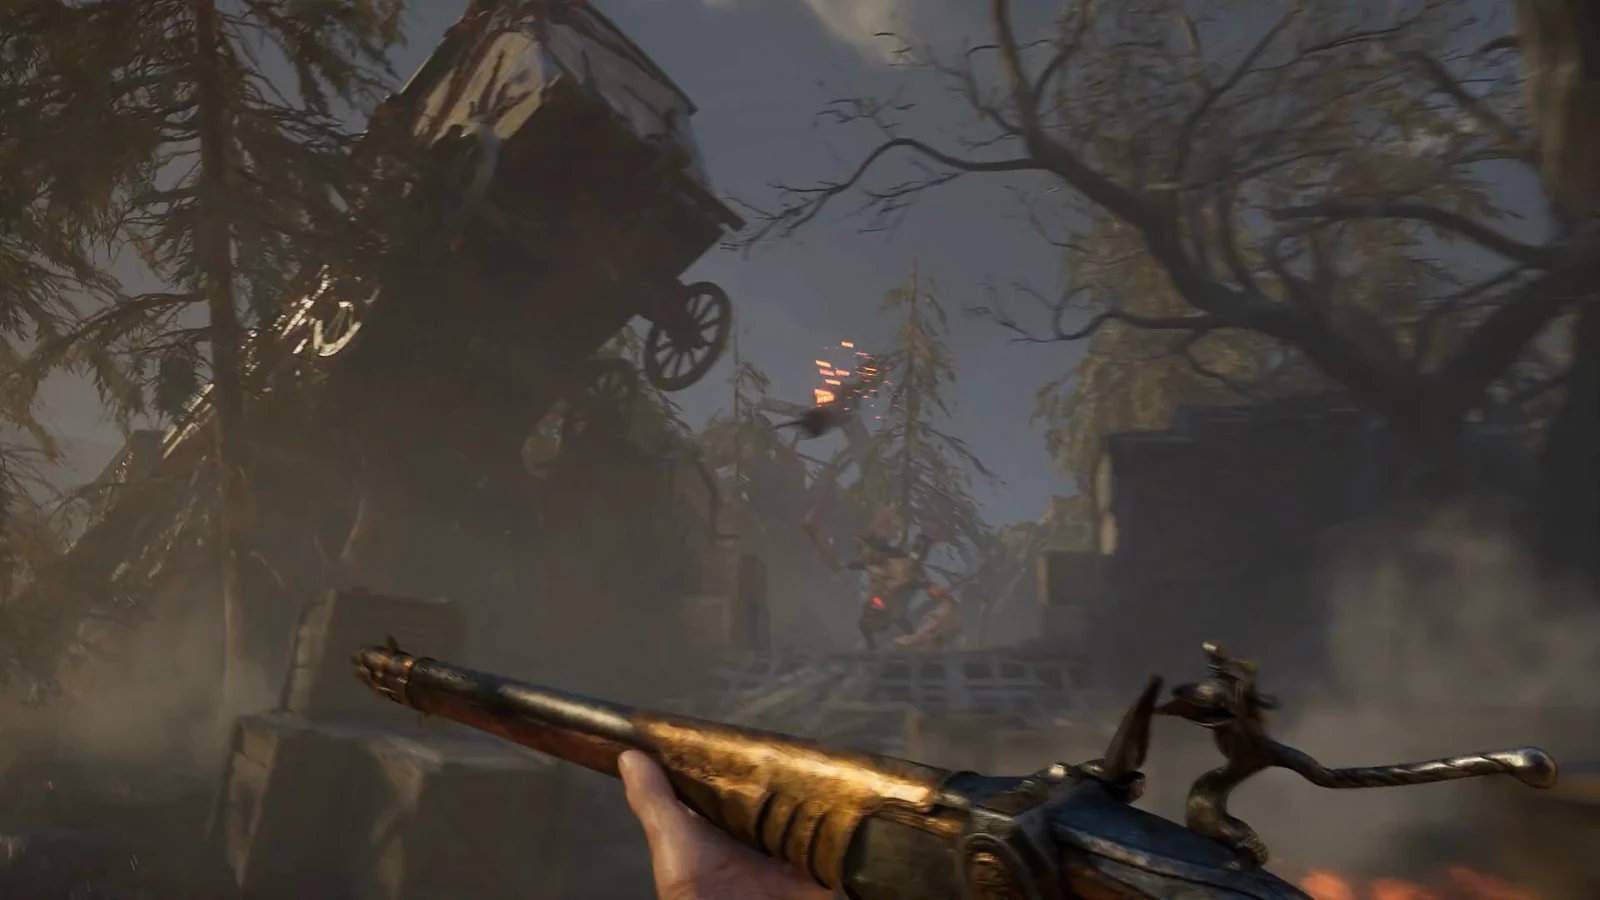
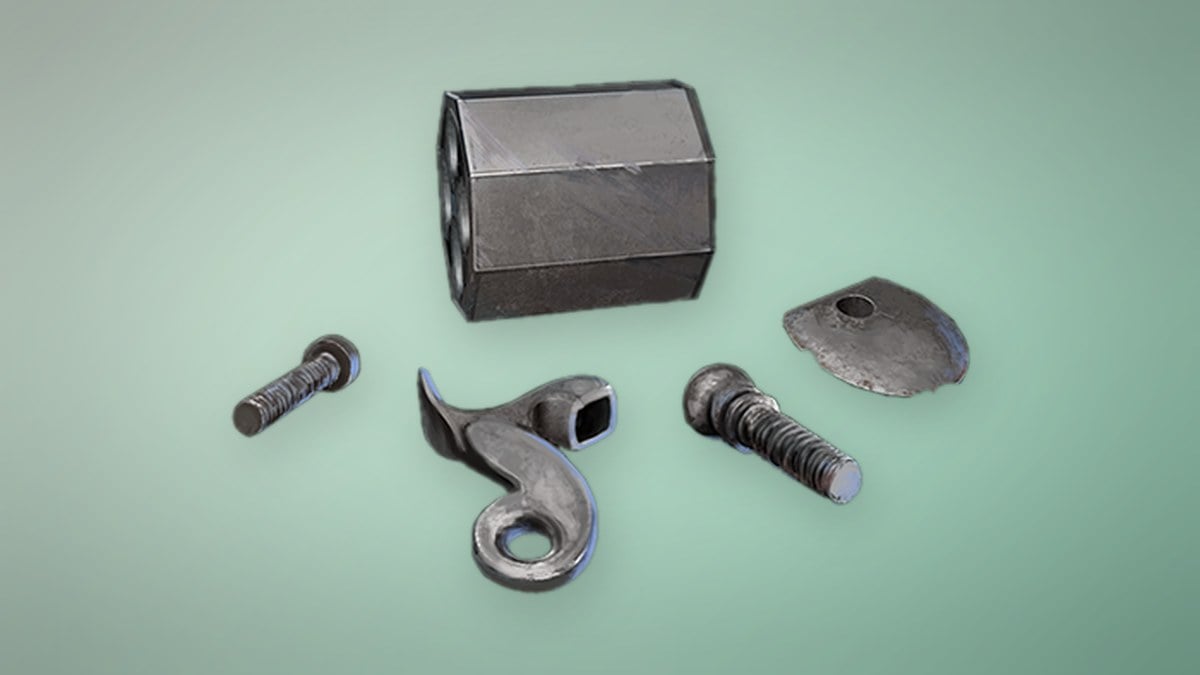
Firearm Parts are the materials that push William’s Pistol, Blunderbuss, and Musket to higher levels in Valor Mortis. They come in four tiers, and each tier only works on a set band of upgrade levels, so you collect them steadily as you move through the campaign rather than all at once.
Quick answer: There are four Firearm Parts tiers. Standard covers firearm levels 2–4, Superior covers 5–7, Exquisite covers 8–9, and Masterwork finishes level 10. You find them as world pickups, in chests, as rare enemy drops, and from James’s Iron Bench.
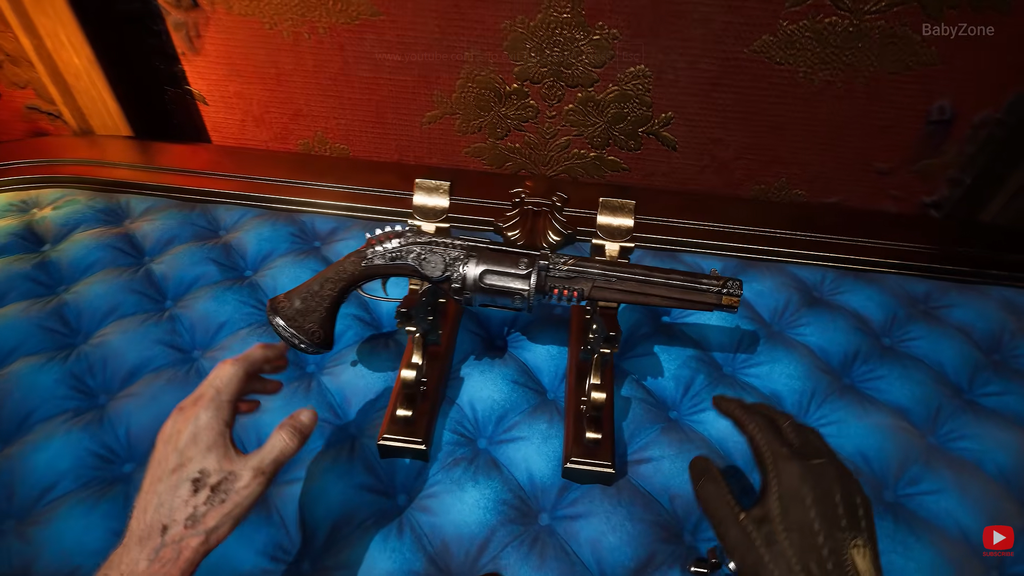
What each Firearm Parts tier upgrades
All three ranged weapons draw from the same four tiers. The amount needed climbs with each level inside a tier’s band, and the firearm level caps at 10. The table below shows the band each tier covers and the quantity per level.
| Tier | Price | Firearm levels | Amount per level |
|---|---|---|---|
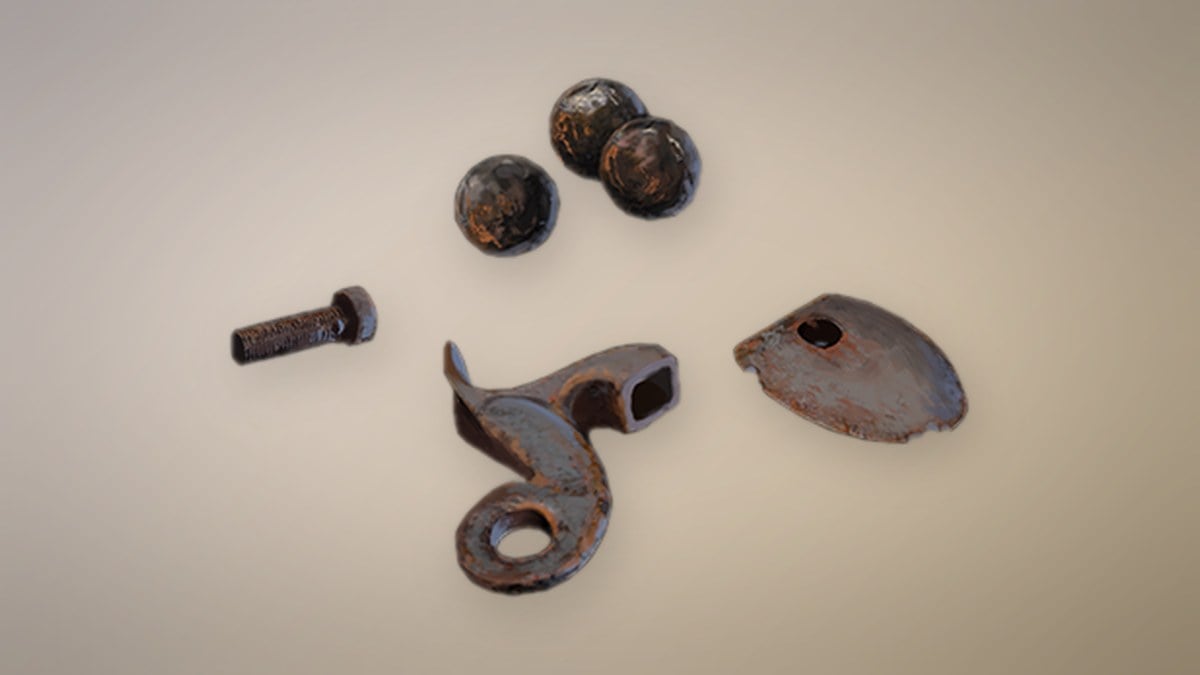
 Standard Firearm Parts Standard Firearm Parts | $1,500 | 2, 3, 4 | 1 / 2 / 3 |
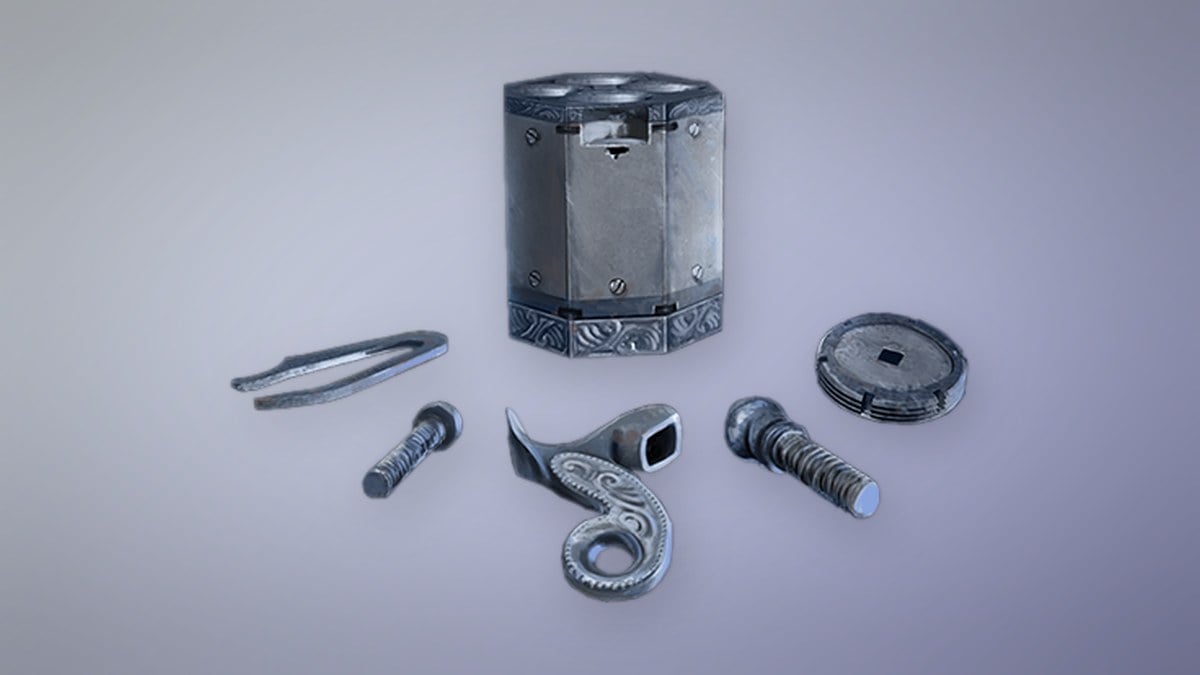
 Superior Firearm Parts Superior Firearm Parts | $3,000 | 5, 6, 7 | 1 / 2 / 3 |
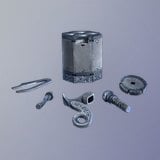 Exquisite Firearm Parts Exquisite Firearm Parts | $6,000 | 8, 9 | 1 / 2 |
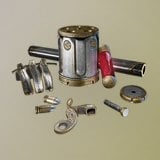 Masterwork Firearm Parts Masterwork Firearm Parts | — | 10 | 1 |
Each of these numbers applies identically to the Pistol, the Blunderbuss, and the Musket, so plan on tripling your totals if you intend to max all three.
Standard Firearm Parts locations
Standard Firearm Parts are the most common tier. Beyond the world pickups below, they drop from Eternal Guardsman (3%), Remnants of the Iron Regiment (3%), Risen Musketeer (2%), and Volunteers (2%).
Valley of Ashes
After finishing the An Unheard Farewell side quest, climb the ladder opposite the carriage holding the Adjudant Sous-Officier. Shoot the Nephtoglobin node to open the new path across the bridge, then look for a golden pickup on the narrow wooden ledge where a distant gunman fires at you.
Keep going into the poisoned encampment on the far side of that bridge. Just past the carriage that contains the Emissary’s Seal, a second set sits on the floor, closest to The Other Side Lantern.
A third set waits in the camp where three Howlers feed on corpses, lying on the ground right behind their feast. This one is nearest the Military Camp Lantern.
Abandoned Church
When you first reach the church, head outside and open the gate. While pursuing the Rendezvous objective, you will find a set on the floor just beyond that gate.
Fallen Village
Search the wheat fields before the white house, the one you enter by shooting a Nephtoglobin node to send a carriage crashing into it. The parts sit out in the field.
Caverns
From the Weeping Ledge Lantern, go straight ahead and watch the cliff edge on your right for a pickup.
At the Old Mine Lantern, enter the mines and descend the ladder. Turn left to find a set concealed behind crates.
Another set is close to the Old Mine Lantern; unlocking the steel-gate shortcut just to its left makes it easiest to reach. Pass through the gate and descend the ladder, then take the ladder on your left down to the minecart tracks. Watch for enemies and moving carts. Stay to the right, climb the stairs, and collect the parts from the top of a crate.
Vale of Wrath
Just past the Wolfsbane Field Lantern, cross the small bridge the Nephtoglobin node trails over, then enter the barn on the right. The parts are on the floor inside.

From the Under the Bridge Lantern, cross the bridge, duck right into the small shack, and follow the forest until the path splits. Take the left fork toward the wooden building. Shoot the Nephtoglobin node through the side window, enter through the front door, go upstairs, and shift the painting by the window to reveal another node beside a cross. Shoot it to clear the path on the right side of the house, follow that path, and keep right to reach the parts resting on a rock.
A final set lies farther inside. From the Poisoned Camp, cross the bridge guarded by the Iron Marshall-like enemy, then unlock the shortcut leading back to the Under the Bridge Lantern. At the locked gate beyond the bridge, climb the rocks ahead and wall-ride into the building. Pull the lever, then use Stasis on the cog to keep the gate open. Enter the village and go upstairs in one of the houses to find the parts on a bed.
Cursed Hollow
From the Village Church Lantern, enter the village and keep left to find a set on the floor beside a well.
From the Deep Water Lantern, go right then left down the first alley. A tree ahead holds two Spewers with a pickup on the ground below it. Jump the poison to grab the parts.
Once you have opened the shortcut linking the Silent Cannons Lantern back to the Deep Water Lantern, return to the Deep Water Lantern, pass through the house on your left, go left into another house, and keep left to reach the parts on the floor outside.
The Outskirts
From the Broken Bridge Lantern, push through the ruined bridge and crawl along the short corruption-coated passage. Use the Grapple point at the end to reach the battlefield of gunmen and mutants. Look left for the protruding end of a buried bridge with the parts sitting on it.
City of Orphans
From the Shamble Street Lantern, head toward the locked gate down the road. A bird painted on the wall to its left marks the route: follow the wooden platforms on your left into the next building, drop down the ladder into the courtyard, then climb the ladder opposite. In the building with three enemies and Nephtoglobin foundations, take the parts from atop a crate.
From that room, move into the area behind the enemies and climb the white crate to the floor above. Shoot the node to unlock a shortcut, then grapple across to the next building. Descend the stairs, pass through the broken wall, and find the parts just to your left.
After obtaining the Sewers Key, start at the Sewers Lantern, go forward, and unlock the gate on your left. Climb the stairs. Once you have the Sewers Master Key and have unlocked its gate, leave through it and climb the ramp. Turn back toward the Nephtoglobin railing and activate it. Defeat the enemies, then take the parts from the crates.
Superior Firearm Parts locations
Superior Firearm Parts carry your weapons through levels 5 to 7. Volunteers also drop them at a 4% rate.
Valley of Ashes
Near the Grenadier enemy, where the Indestructible Shell Amber sits and just before the Demolished Path Lantern, look through the gap in the rocks to the right of the cage and shoot the node (only possible once you have the Pistol later in the chapter). Head right across the wooden platform, take the left path, and keep left to a chest. An enemy bursts from the crates as you enter, so be ready.

Caverns
At the Old Mine Lantern, enter the mines and use Stasis to freeze the crate, letting you cross the room. Continue farther into the cave. Go ahead and climb the ladder beside the fiery mutant; on the right, crouch through the crawlspace into a room occupied by a Grenadier and a Howler. A chest there contains two sets.
From the Mine Cart Route Lantern, go past the Volunteers and cross both bridges. In the area with an enemy, a Grapple, and a wall-run platform, use the Grapple. Before climbing the ramp, veer right and take the set from the crate.
Cursed Hollow
From the Village Church Lantern, go straight through the village. You will meet a Volunteer patrolling a bridge and a Remnant of the Iron Regiment just past it. Clear both, then look left as you pass under the bridge and jump the poisonous pool to reach the parts on the floor.
From the Deep Water Lantern, go right then left down the first alley to the tree with two Spewers. Shoot the orange Nephtoglobin node in the house beside that tree, return to the alley, and go right into the now-open house, where a chest holds a set.
Also from the Deep Water Lantern, go right then turn left toward the Remnant of the Iron Regiment. The parts sit on the well he patrols.
At the Island of Whispers Lantern in The Outskirts, turn left and cross the bridge; corruption blocks this shortcut until you shoot the node on the far side. Continue straight, climb into the barn with the crates outside, clear the enemies, then collect the parts behind the hay bales upstairs.
The Outskirts
From the Market Square Lantern, face the poisonous village in the distance and take the road toward it. Enter the barn to your left and climb upstairs. Activate the Nephtoglobin rail and jump to the barn opposite. Go down, turn right, and pass between the hay bales to reach a chest containing a set.
From that same opposite barn, go downstairs and out, then into the house you run into. Upstairs and outside, burn the yellow growth, and be ready for the Volunteer behind it hurling fiery projectiles. Once he is dead, grapple into his building and take the parts from the floor behind his body.
City of Orphans
From the Tribunal Square Lantern, go straight and smash the crates on your left instead of taking the stairs to the guillotine. Follow the path left, then right, through soldier enemies including a Volunteer. At the end of the road, enter the house on the right, shoot the two nodes inside, then go upstairs to find the Rebel’s Note and a third node. Shoot it, drop back outside, and take the burning tunnel lined with hanging corpses. At its end, go right into the house and climb to the third floor, avoiding the false wooden floor on the second floor near a Grenadier. Cross the wooden beams, enter the room on your left, and the parts lie on the floor by a nest.
Exquisite Firearm Parts locations
Exquisite Firearm Parts handle the jump to levels 8 and 9. Most sit in chests or hidden corners across the later regions.
Cursed Hollow
From the Deep Water Lantern, go straight through the barn and use the grapple hooks to reach a Grenadier. Clear it, head left into the abandoned camp, and pass the blue memory on the right to find the chest.
The Outskirts
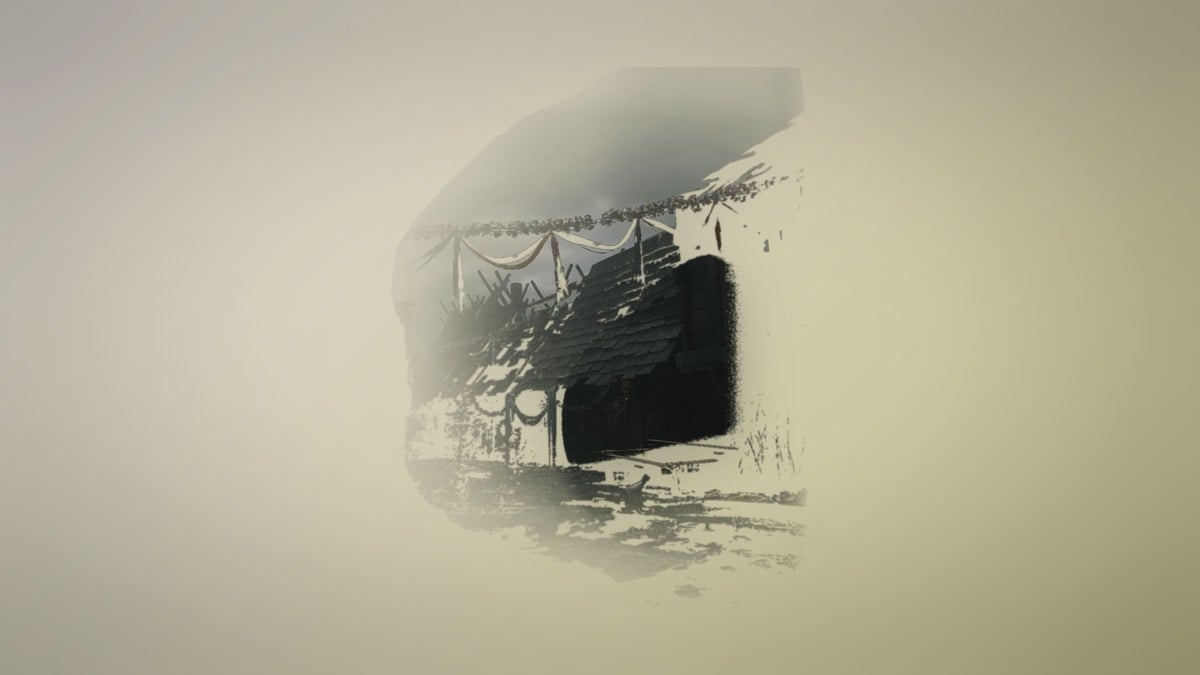
From the Market Square Lantern, face the poisonous village and walk down the road into the barn on the left. Kill the Howlers and Volunteer on the lower level, then carefully loot the parts from the poisonous mass on the floor.
City of Orphans
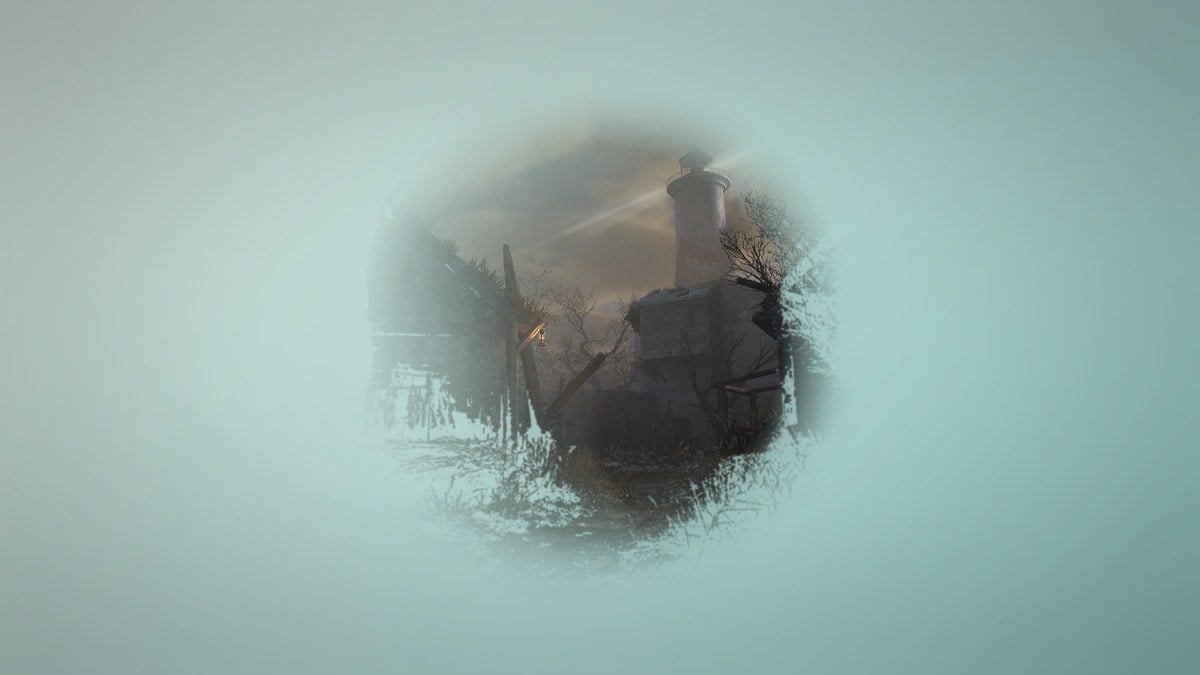
Follow the Shamble Street Lantern route past the bird marking, down the ladder into the courtyard, and up the ladder opposite. Climb the white crate to the next floor, shoot the node for a shortcut, and grapple across. Exit through the broken wall in the bedroom, up the ladder, and across the bridge. Cross the gaps in the rooftop into the next building, where a chest guarded by two gunmen holds the parts.
University
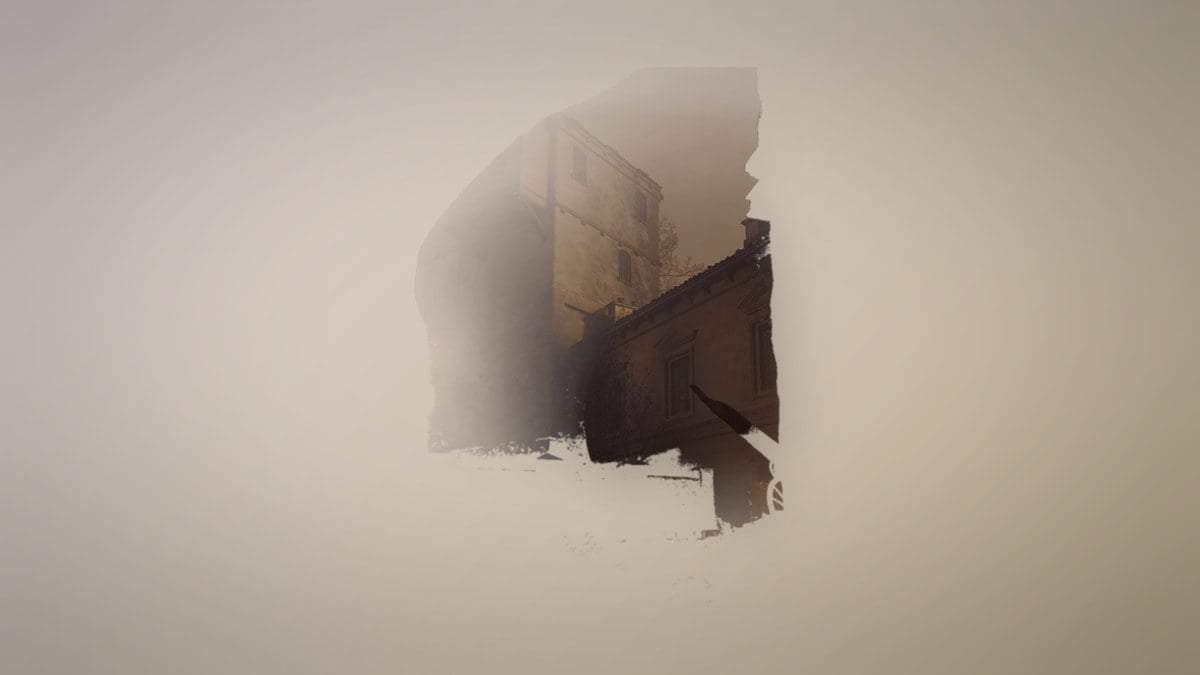
From the Main Hall Lantern, once you have the Auditorium Key, go through the locked gate on the right side of the room. The parts sit on the desk in the Auditorium.
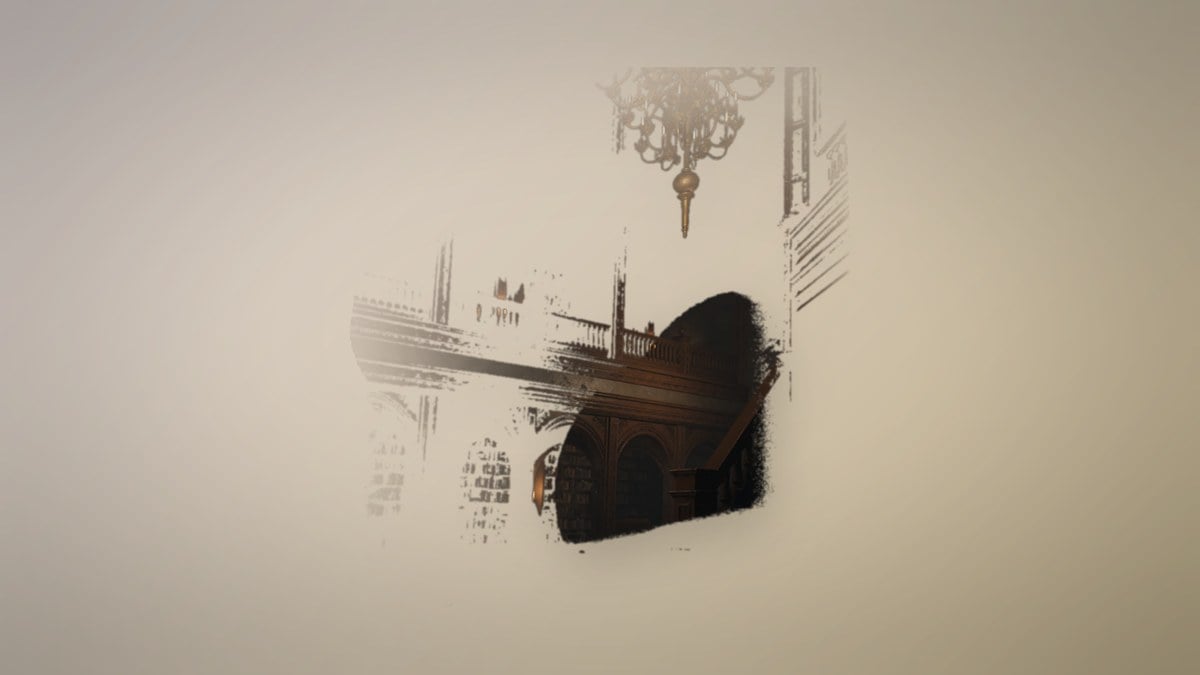
From the Lift Shaft Lantern, follow the linear path through the laboratory to the green room full of Nephtoglobin foundations. Step into the red room ahead to open a shortcut, then return and use the foundations to reveal an orange node. Shoot it to open a path downward into a room that locks you in with several Howlers. Kill them all, including the one marked with a skull, to claim the Warrior’s Fury Level 2 Amber, then take the parts from a crate.
Abandoned Church
Once Shield Transmutation is unlocked at the University, drop into the poisonous pit in the Crypt beneath the Abandoned Church. At the passage’s end, a small room contains the parts.

Fortress
Starting at the Courtyard Lantern, go through the archway marked by the tricolore above it. At the crossroads, continue straight and climb the stairs. Follow the path as it bends left to reach a chest containing a set.
Fortress’ Prison
From the first Lantern during your escape from the prison, at the start of the sewer system, go straight ahead and right, using the Shrike’s painted bird symbols to guide you. The route is linear until the end, where an Abomination guards a poisonous path on the right just before you emerge into the City of Orphans. Kill it, use the Shield Transmutation, and head right to the chest.
Masterwork Firearm Parts locations
Masterwork Firearm Parts are the final tier, each one taking a firearm to level 10. Two chests hold them.
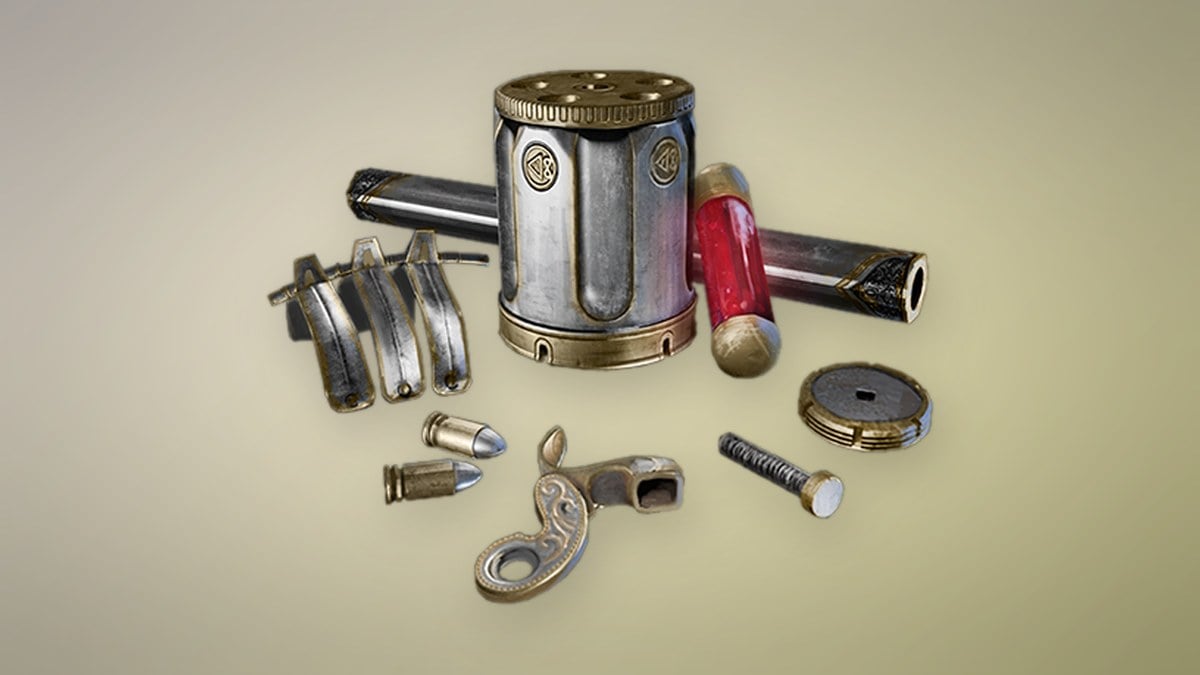
In the City of Orphans, after obtaining the Sewer Master Key, open the gate directly beside the Sewers Lantern and loot the chest inside.
At the University, first unlock the shortcut through the leftmost door at the top of the Main Hall stairs, and obtain Shield Transmutation. Starting from the Main Hall Lantern, climb the stairs, pass through that door, and follow the hall. At the crossroads, turn right and use the chandelier to cross to the opposite balcony. Go through the poisonous hallway beneath Shield Transmutation and enter the small passage, then take the elevator down. Continue straight, staying right whenever possible, and pass a Volunteer and a gunman to reach the next hall. This leads to an auditorium with four hanging bodies and a blue memory. The parts are in the chest beside the ladder at the rear.
Buying Firearm Parts from James’s Iron Bench
If you would rather buy than hunt, James at the Abandoned Church sells three of the four tiers over the course of the story. His stock refreshes at certain chapters, so check back after reaching Crime (chapter 5) and In Ruins (chapter 9).
- Six sets of Standard Firearm Parts at 1,500 Catalysts each.
- Three sets of Superior Firearm Parts at 3,000 Catalysts each.
- One set of Exquisite Firearm Parts at 6,000 Catalysts.
Masterwork Firearm Parts are not sold, so the two chests are the only way to finish a firearm’s final level. Between those chests, James’s stock, the world pickups above, and the enemy drops, you have more than enough to carry a single firearm all the way to level 10, with plenty left over if you focus on one weapon rather than spreading your parts across all three.