Valor Mortis opens with General Lothaire, the Eagle-Bearer, as its first boss, and you face him on two occasions. The Battlefield encounter is designed to end in defeat; the Catalysts and trophy are awarded after you return for the fight at the Abandoned Church. Here’s what happens in each battle and how to recognize his attacks.
Quick answer: The first Lothaire fight at The Battlefield is a scripted loss that ends when your health empties, not his. The kill and the reward of 10,000 Catalysts come from the rematch at the Abandoned Church.
Who General Lothaire is
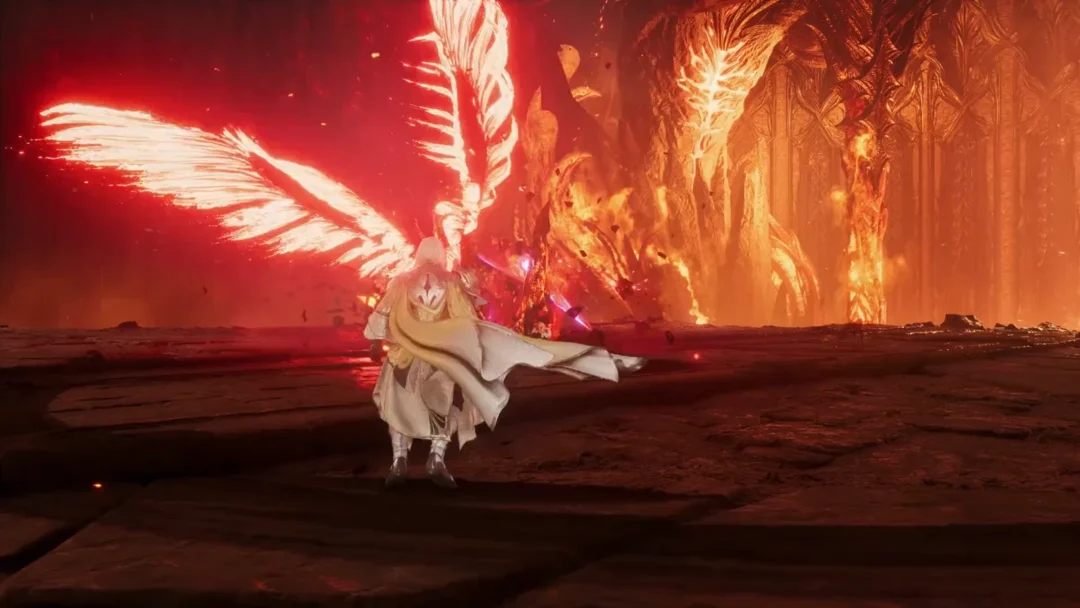
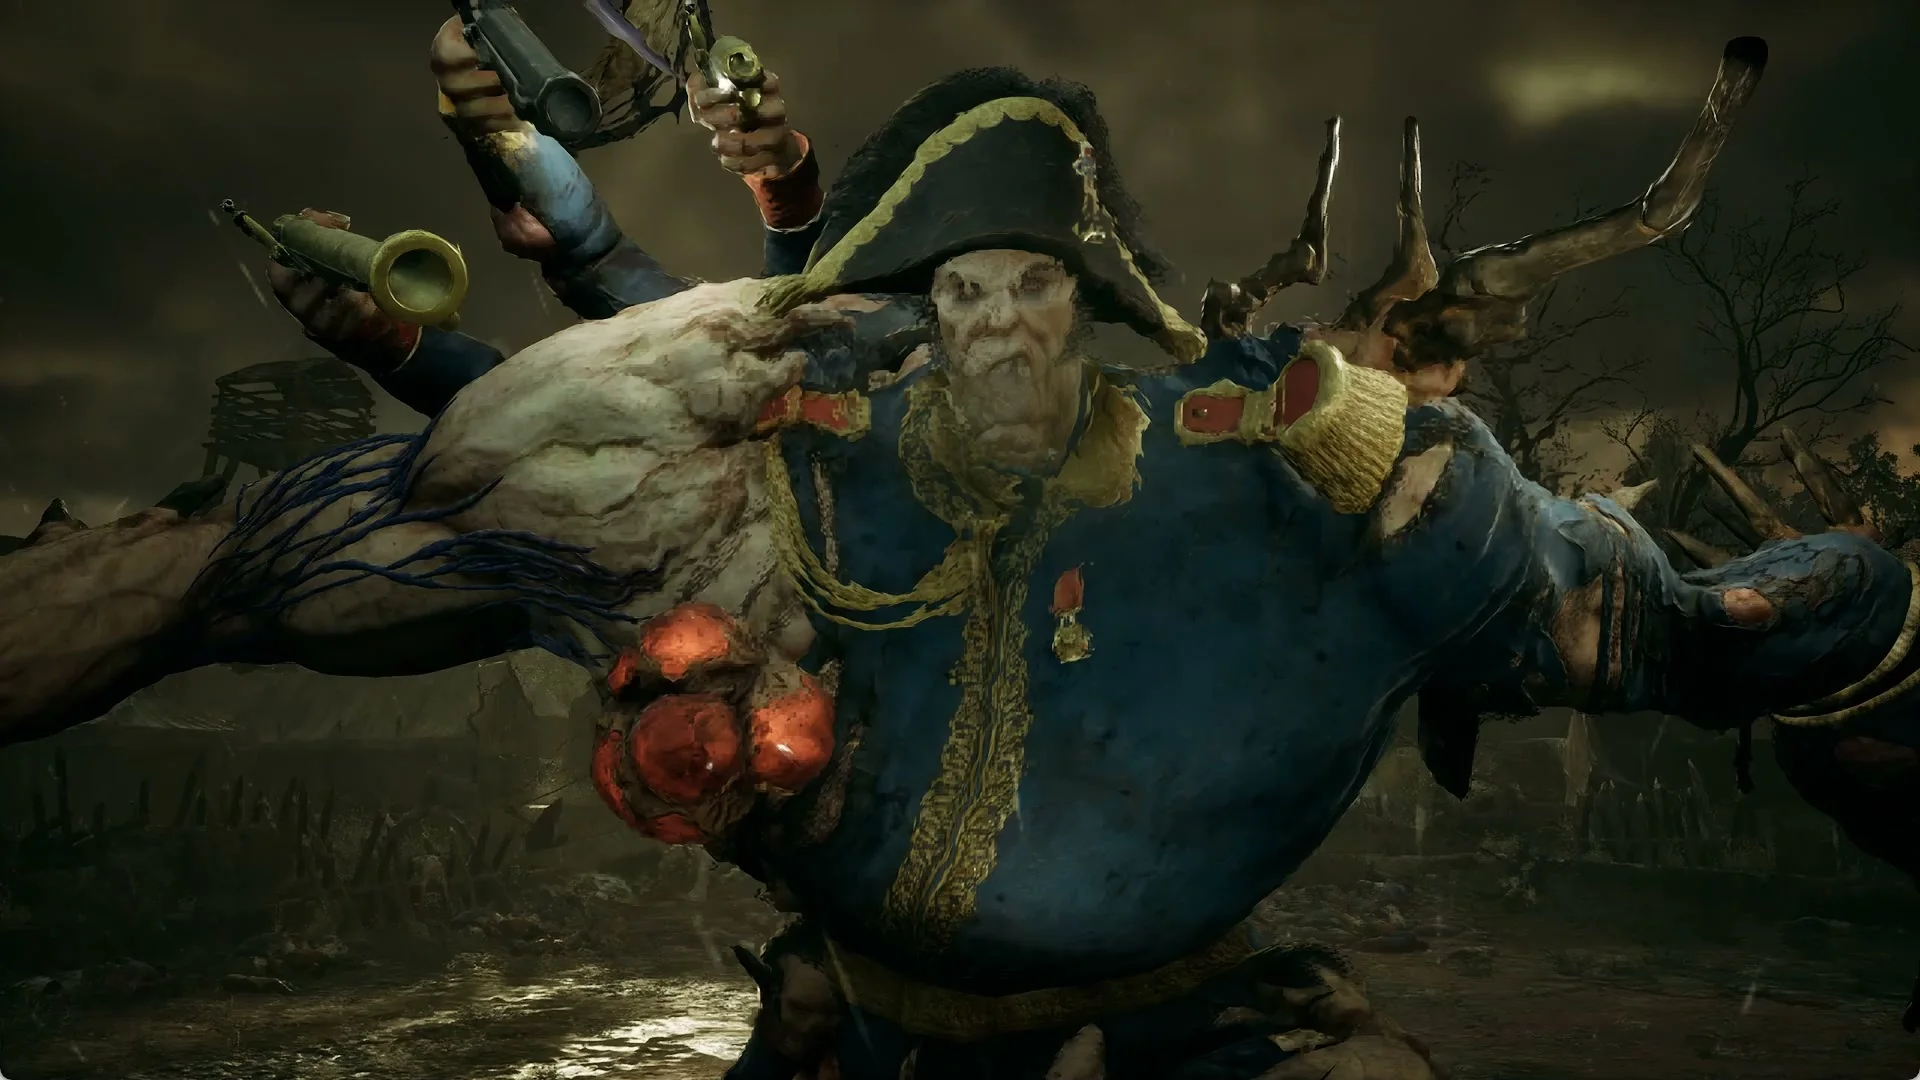
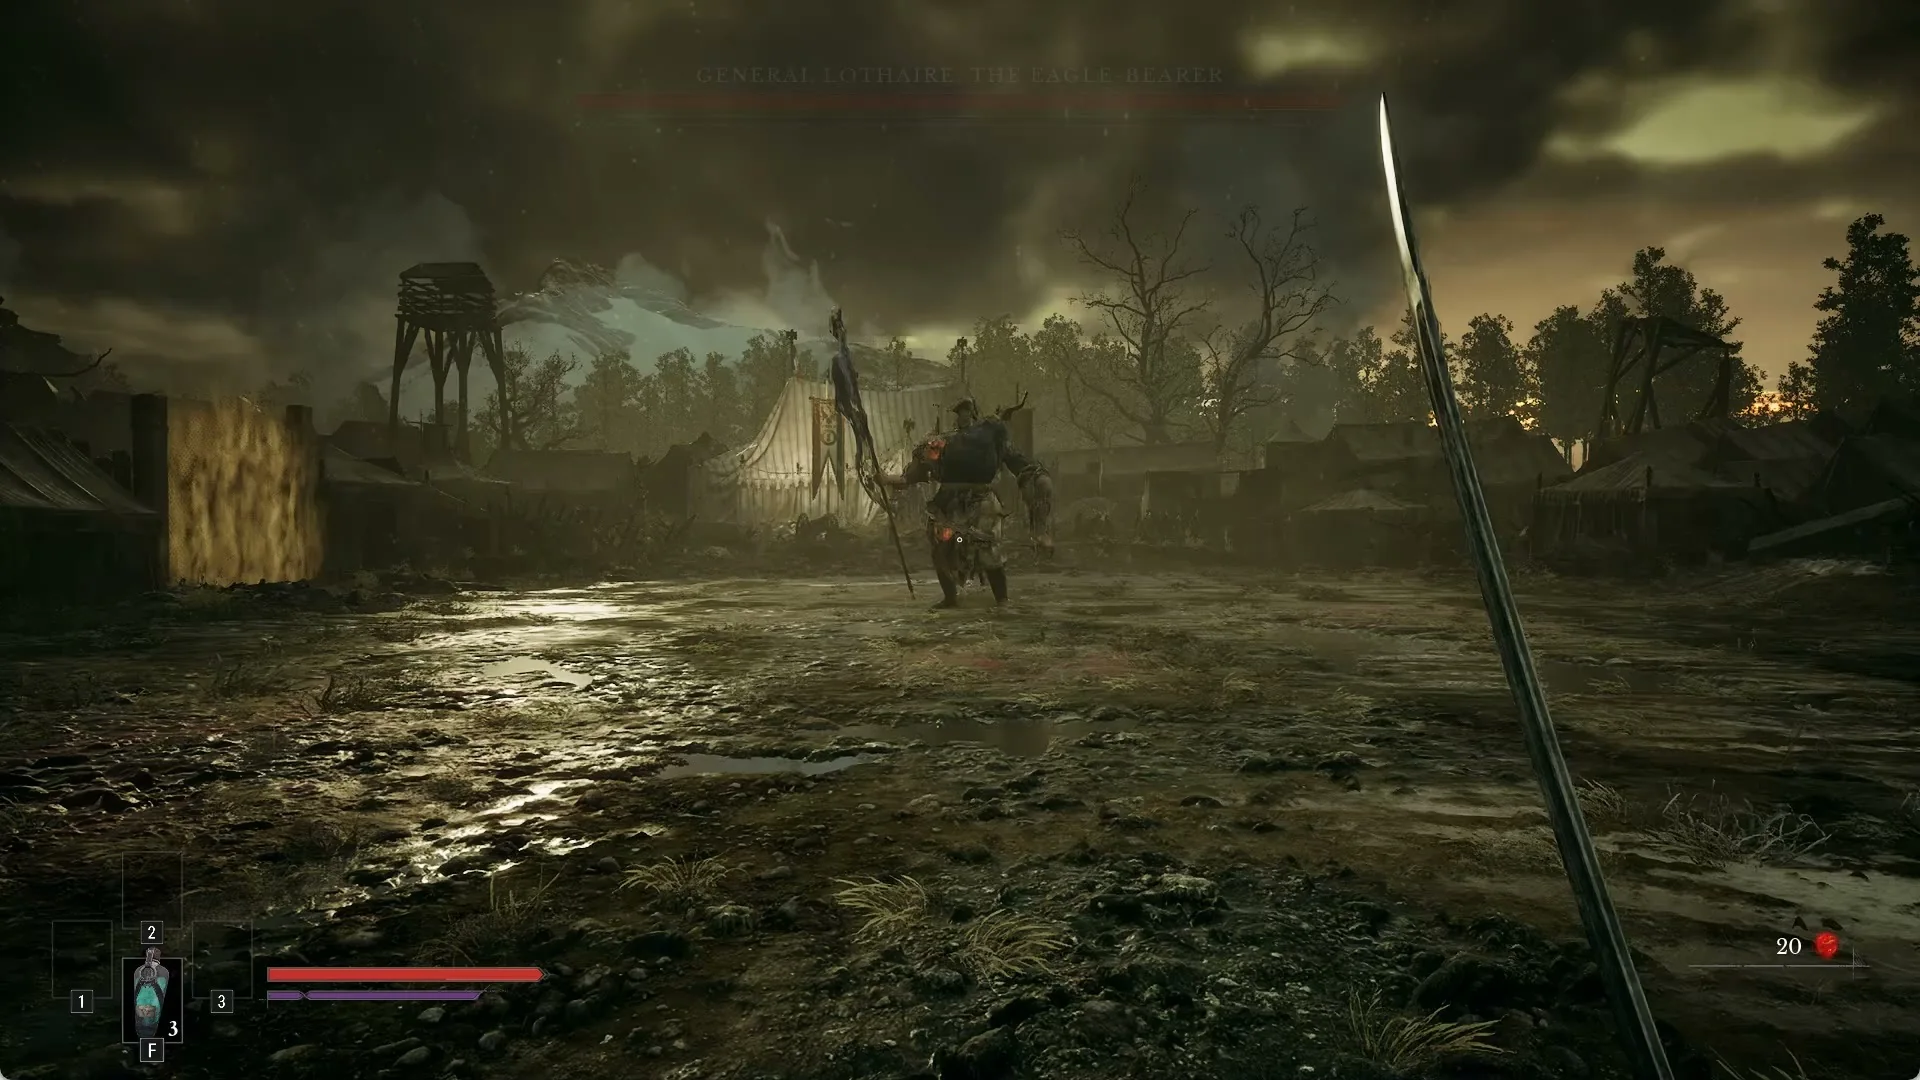
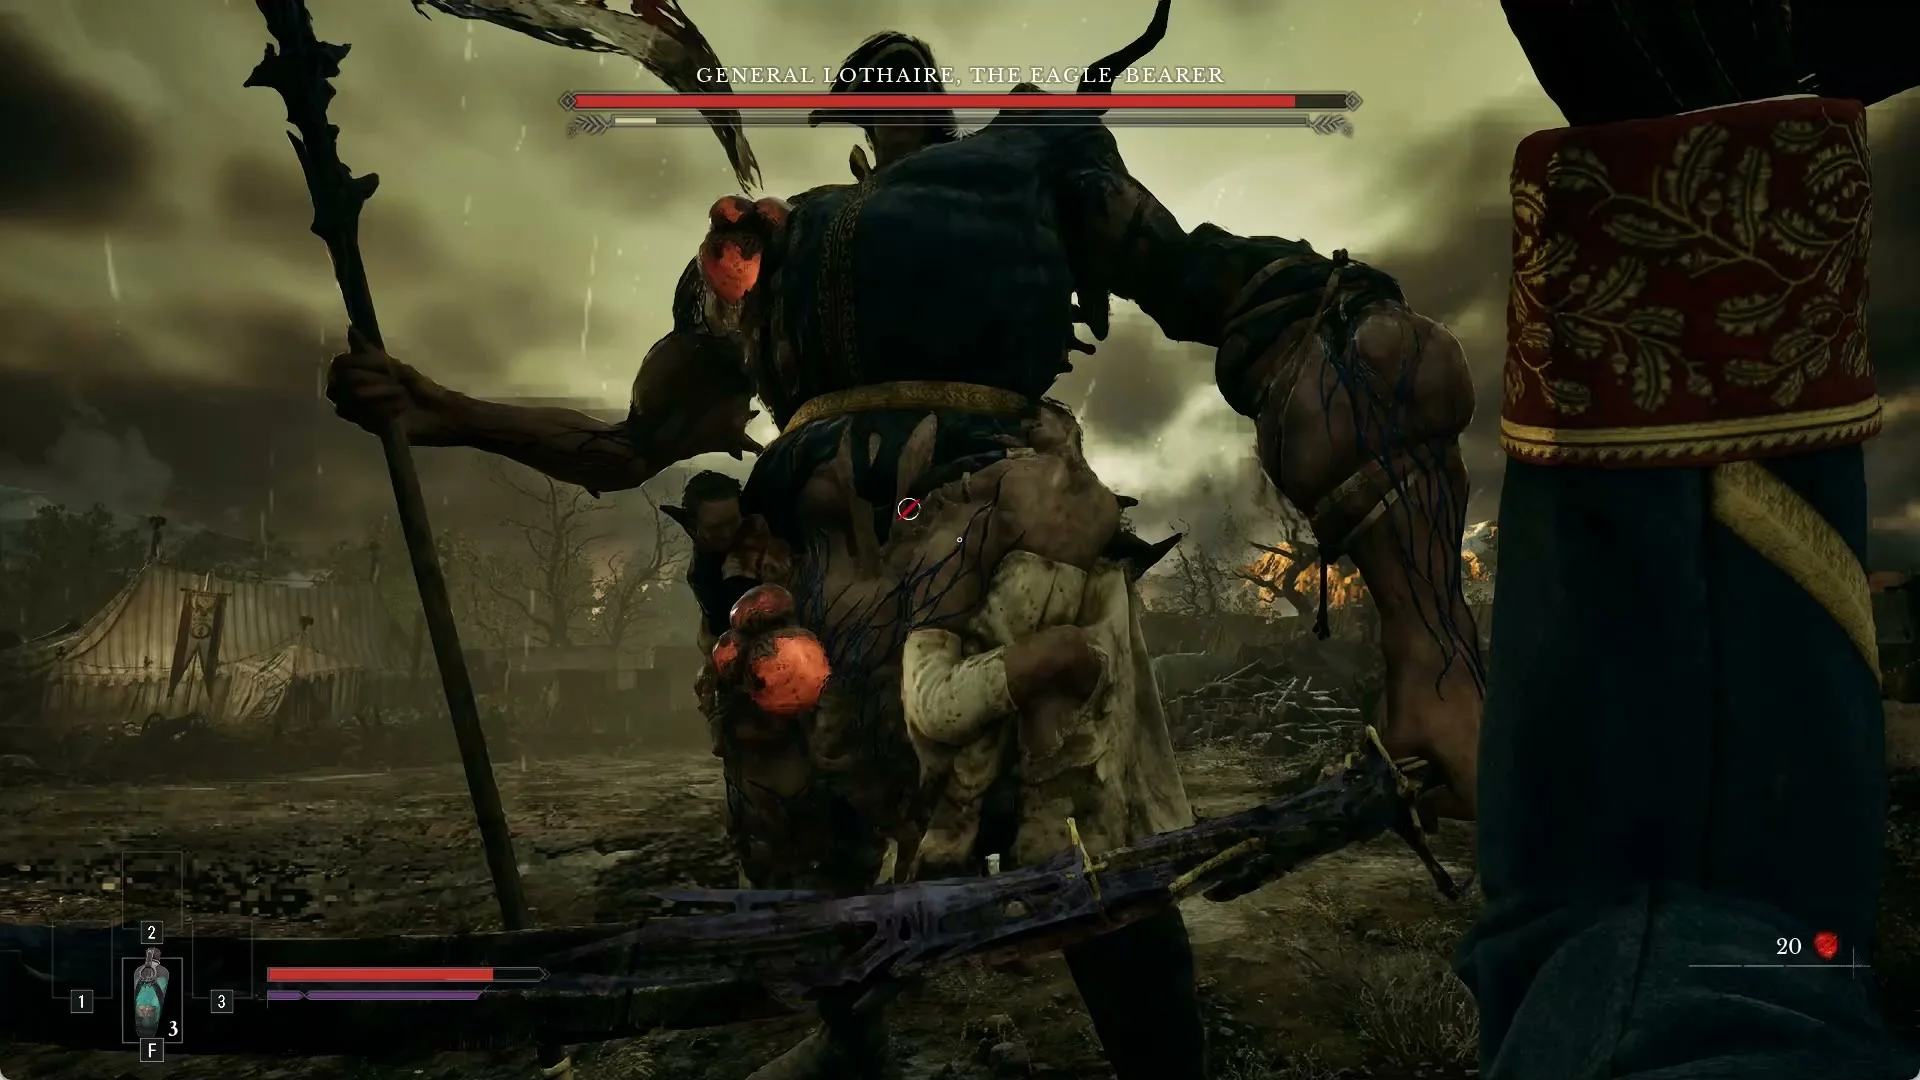
His boss bar reads “GENERAL LOTHAIRE, THE EAGLE-BEARER”. He is a towering general in a blue coat and bicorne, with extra grafted arms gripping flintlock pistols and a brass blunderbuss, and glowing red growths across his body. His weapon is the eagle standard, a long pole tipped with a blade beneath a torn tricolour flag, swung like a polearm.
- Health: 1,800. Posture: 500. He has two phases.
- Weak points: glowing red growths at three spots—the left shoulder, hip and right thigh.
- He takes extra fire damage (Ignite resistance of -40%) and resists Stasis (50%).
- You will not receive Ignite, Stasis or infection buildup from any of his attacks.
Beating him grants the Commander’s Catalyst Clot, whose text reads “Use to gain 10000 Catalysts. An apt reward for a gargantuan effort.” You also earn the Torn Banner achievement, “Kill General Lothaire, the Eagle-Bearer.” Both come from the rematch, since the first fight ends with your defeat.
Reaching Lothaire at The Battlefield
Why you cannot win the first fight
Your defeat, rather than his, ends this encounter: wearing his health bar down will not bring the fight to a close. When a hit drains your health, no “YOU ARE DEAD” screen appears. Instead, a dark cutscene shows close-up images, including a hand on the ground and a face; the next area then loads and Chapter II starts.
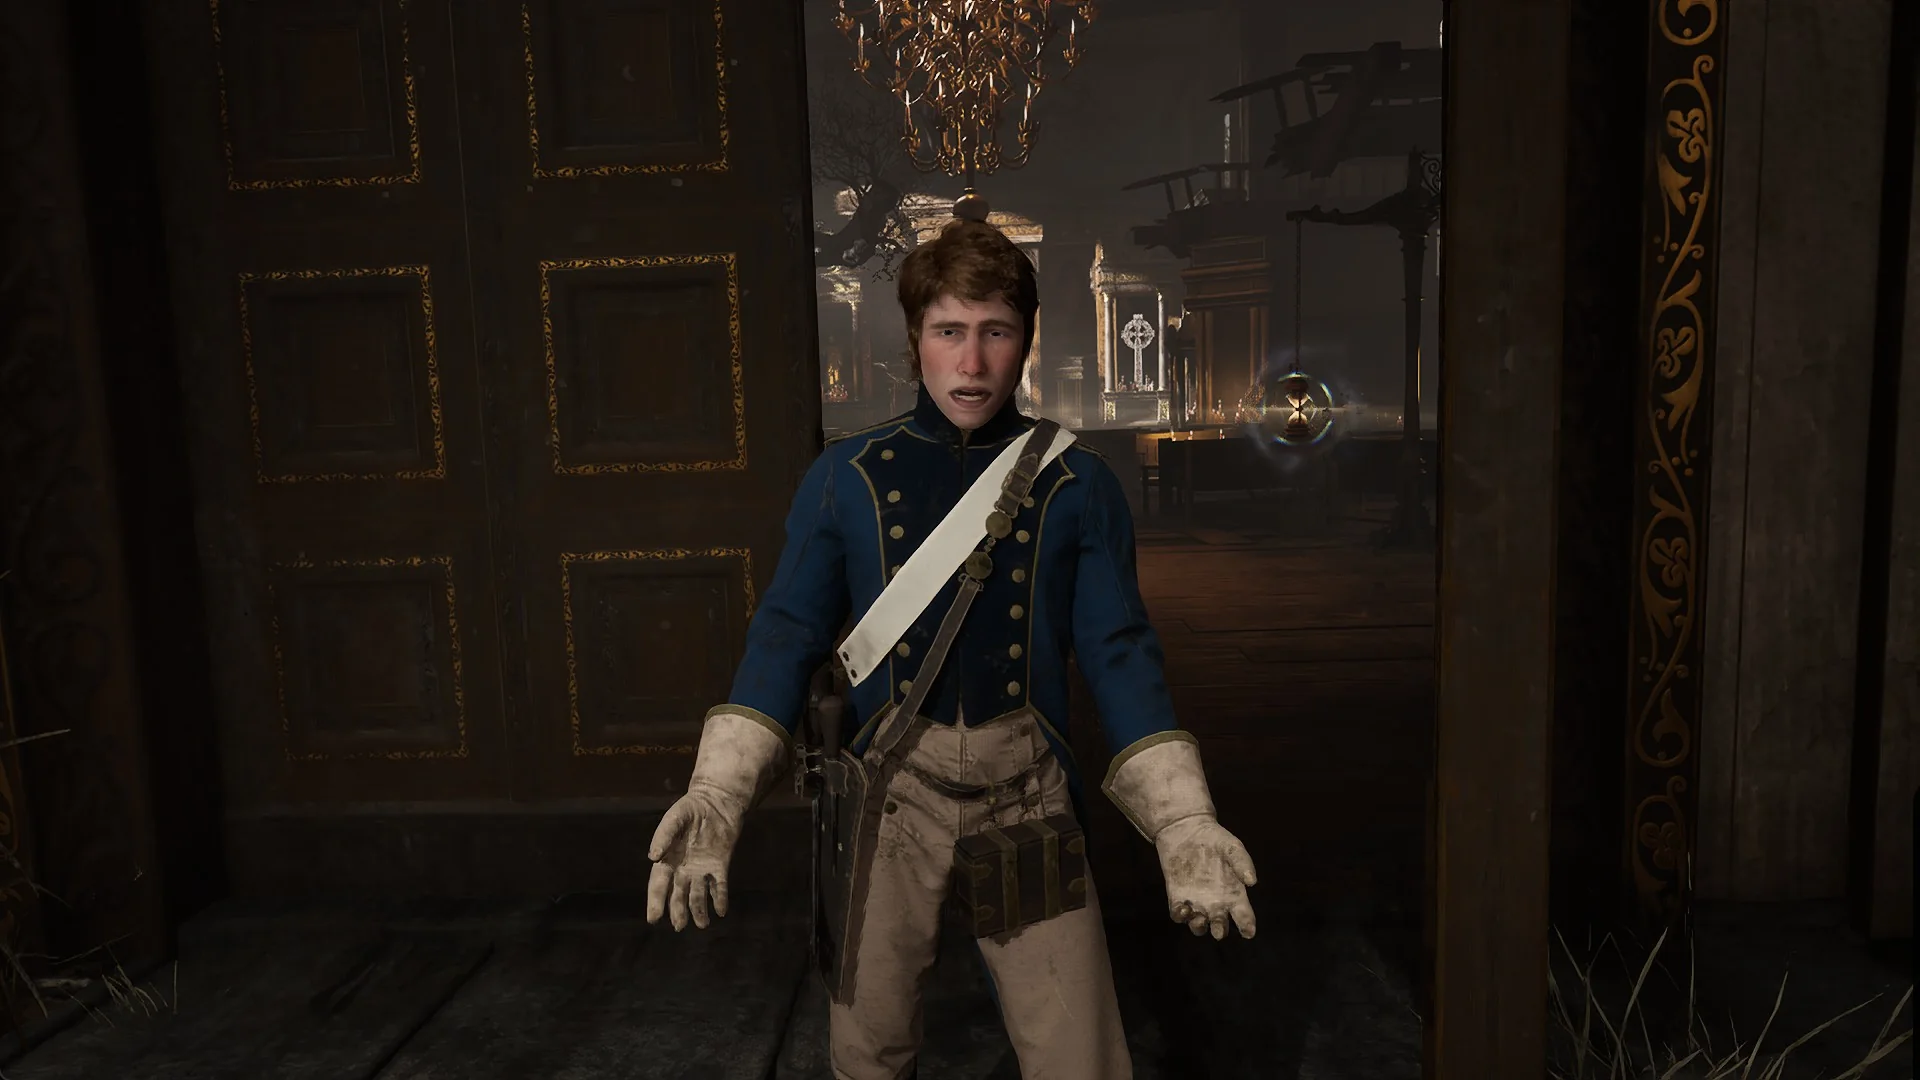
You wake beside Lucjan, a man in a top hat and long coat, at the Guidepost Lantern in the Valley of Ashes, and he rekindles the Lantern (“LANTERN REKINDLED”). The Catalysts you were carrying are still with you afterward.
There is no reason to grind for this one. Use it to learn Lothaire’s moves, because the same general returns for the rematch.
Lothaire’s attacks and tells
Your character starts with 100 Health. A blocked hit still passes 30% of its damage through, and every damage figure below is per hit.
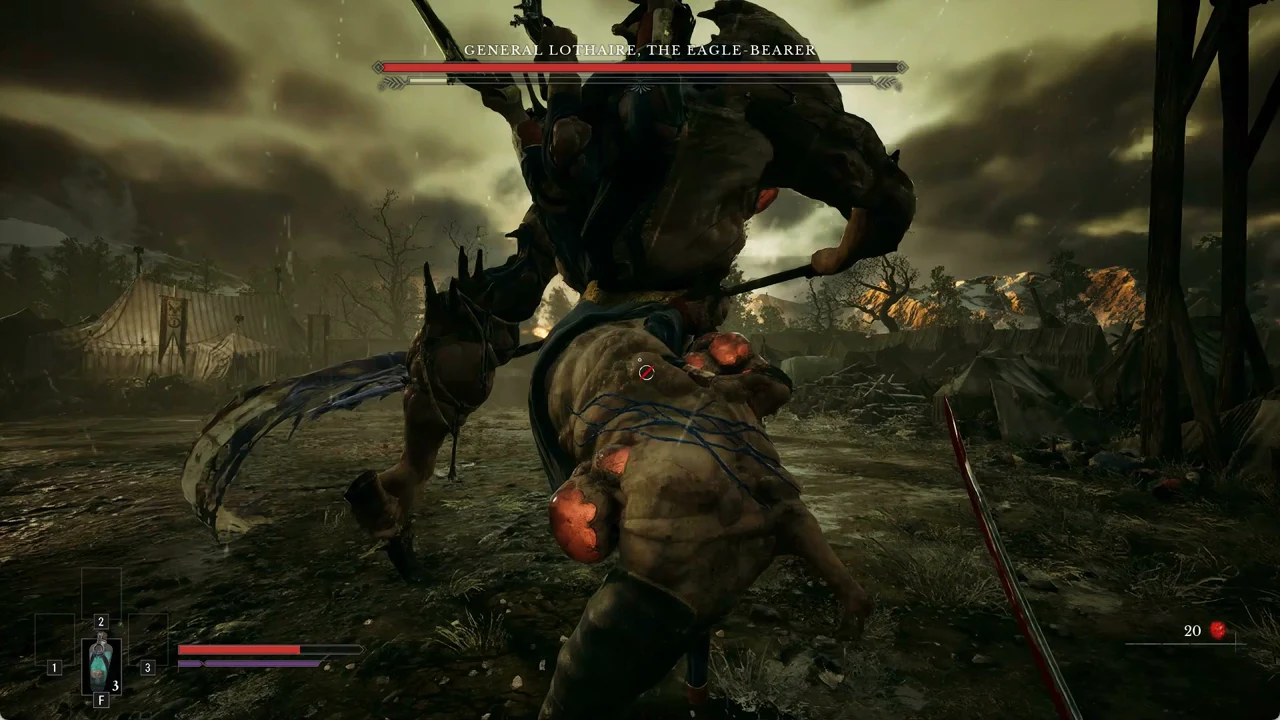
Standard swings (blockable, 37 damage)
- Wide standard sweep: he draws the pole back across his body, then swings it flat at waist height. The reach stretches to about 6 m, further than the Saber.
- Low sweep: the standard swung low and flat across the ground in front of him.
- Close-range swing: up close he swings the standard across in front of him, often as the second or third hit of a combo.
- Overhead slam: he raises the pole over his head and brings it straight down in front of him.
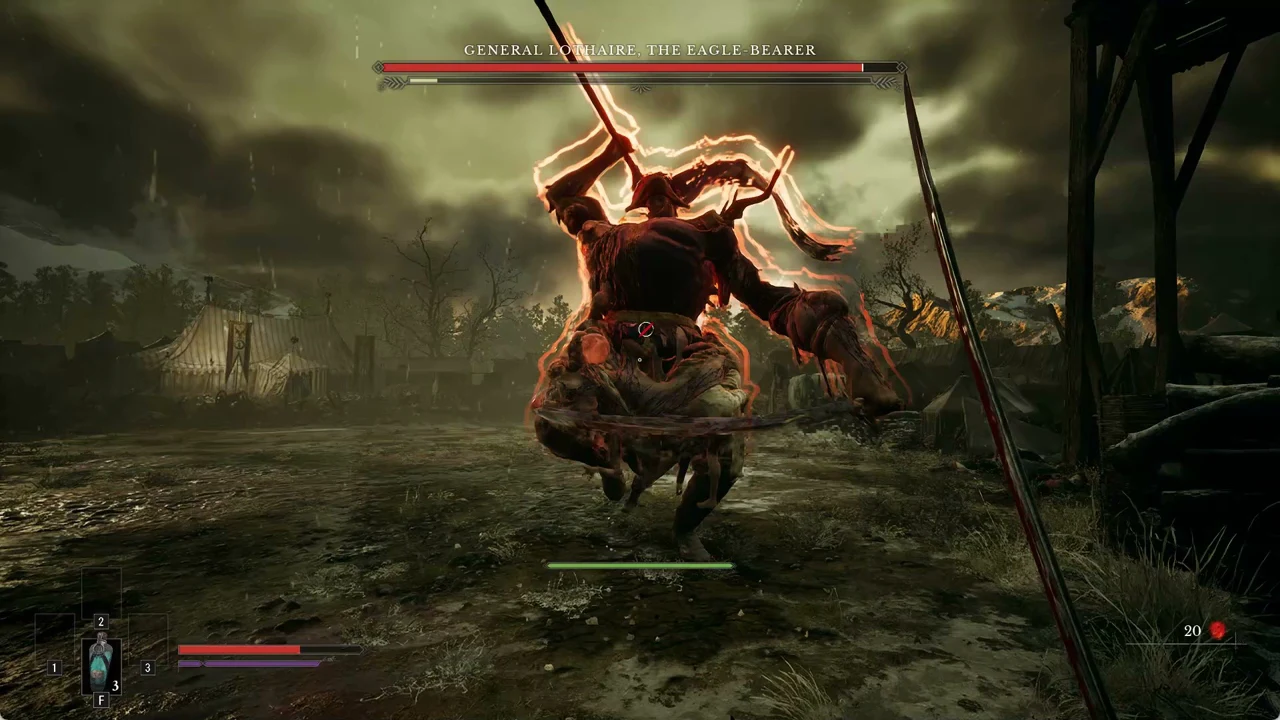
The red-outlined leap
His whole body is outlined in glowing red-orange, then he jumps forward with the standard raised over his head. It deals 50 damage, half of a fresh character’s health in a single hit. It cannot be blocked. This leap is the blow that ends the first fight.
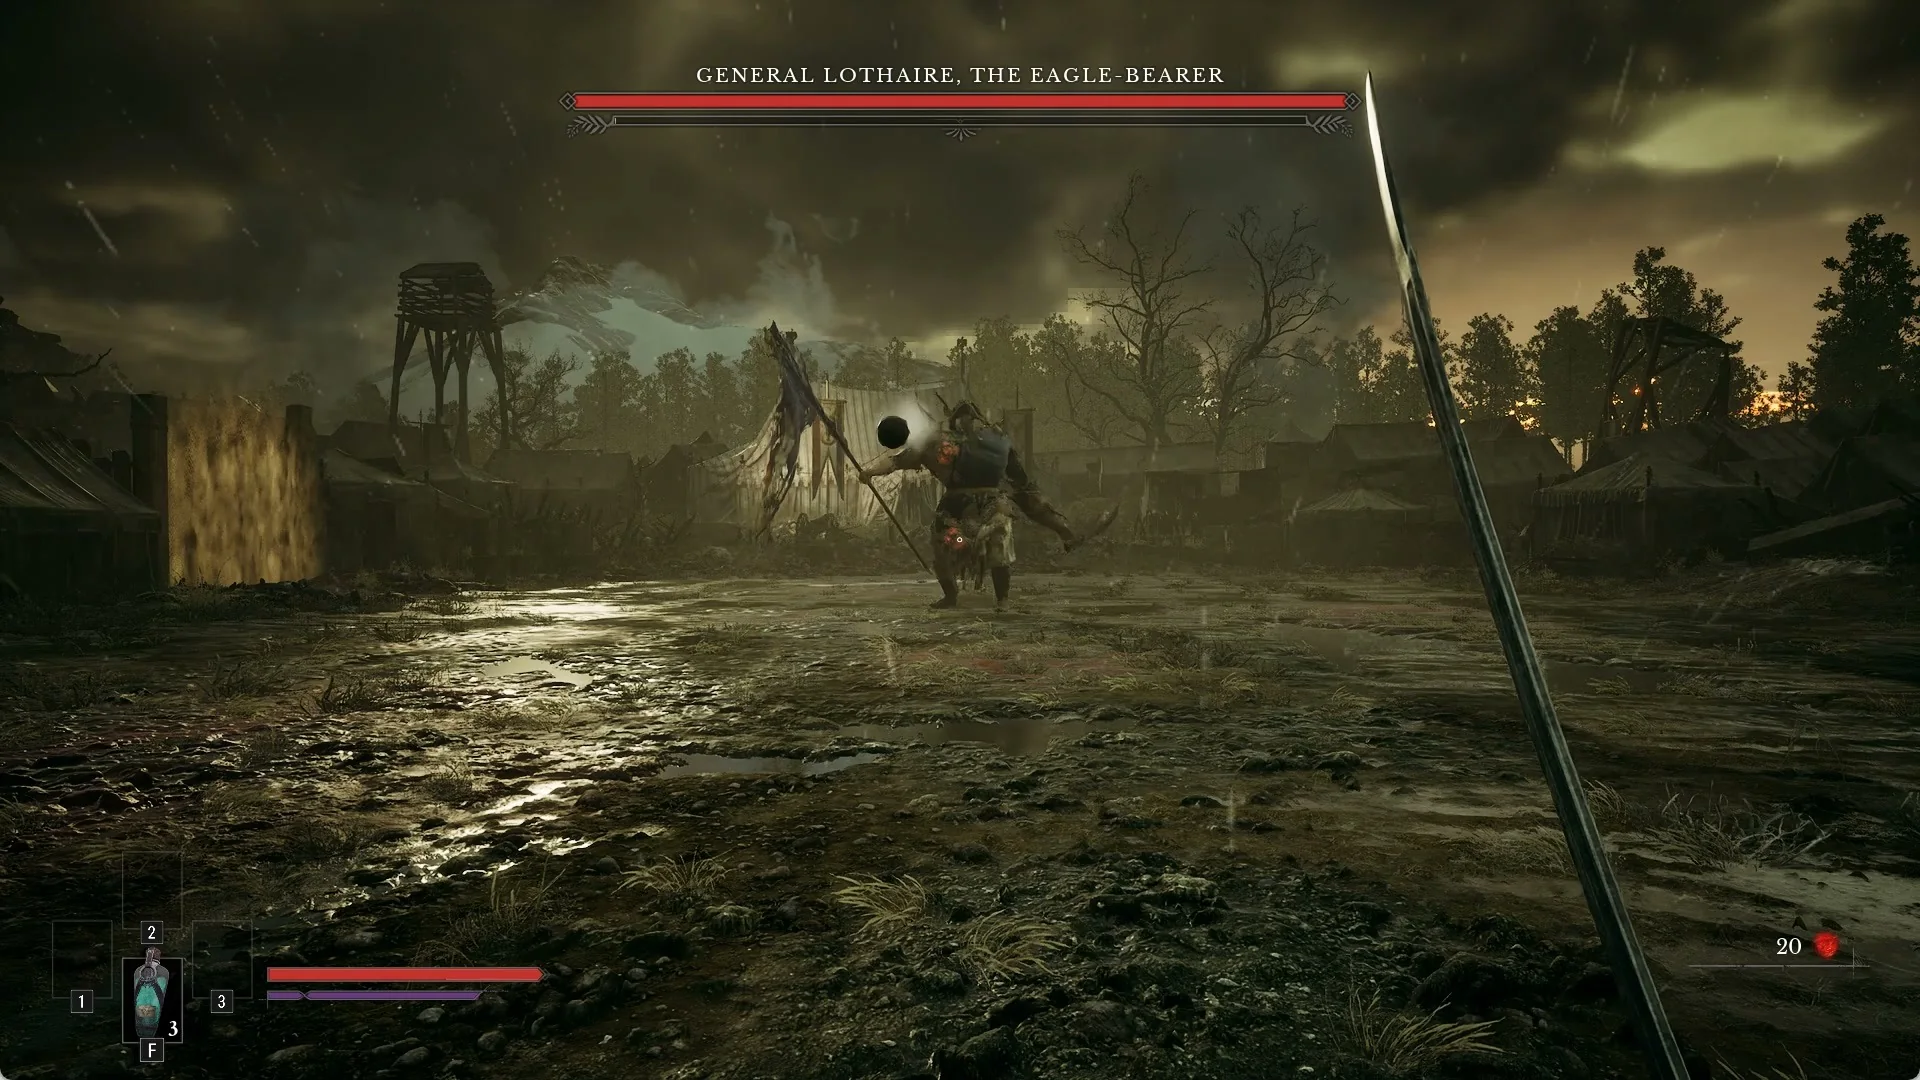
Ranged fire: single shot and pistol volley
At range, a muzzle flash from one of his extra arms sends a large black ball straight at you. That single shot deals 20 per bullet and can be blocked.
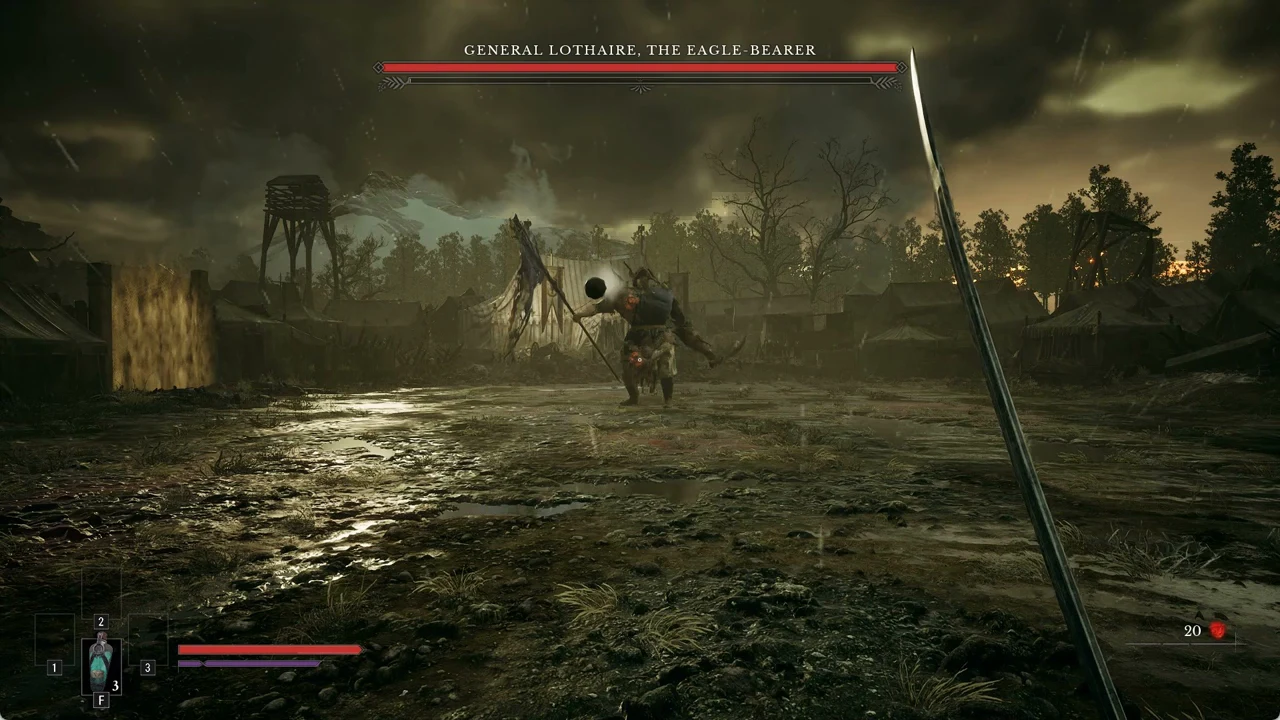
The pistol volley follows a two-hit standard combo: he raises three extra arms with pistols straight up and fires them together, three muzzle flashes with black balls launched upward, and a burning patch can appear on the ground near you. The volley is three shots of 20 and cannot be blocked.
First-phase combos and other moves
Phase one draws on seven attack chains: one three-hit combo, two distinct two-hit combos, a lone swing, a slash, a spinning slash, a bash, and a two-hit sequence ending with the pistol volley. The bash deals 50 damage and cannot be blocked; the volley is also unblockable. Every other standard hit in these chains deals 37 damage and is blockable.
His other moves include an unblockable grab (20 damage), a blockable lunge to close distance (37), a blockable charge (37), an unblockable shockwave (32 damage and heavy Posture damage), and unblockable ground spikes in a line (40 damage and heavy Posture damage). He can also throw a corpse; it explodes and cannot be blocked.
Lothaire’s summons
For reinforcements, he summons either three Risen Soldiers or two Risen Musketeers. Each summon has 1 Health and goes down to one hit.
The Abandoned Church rematch
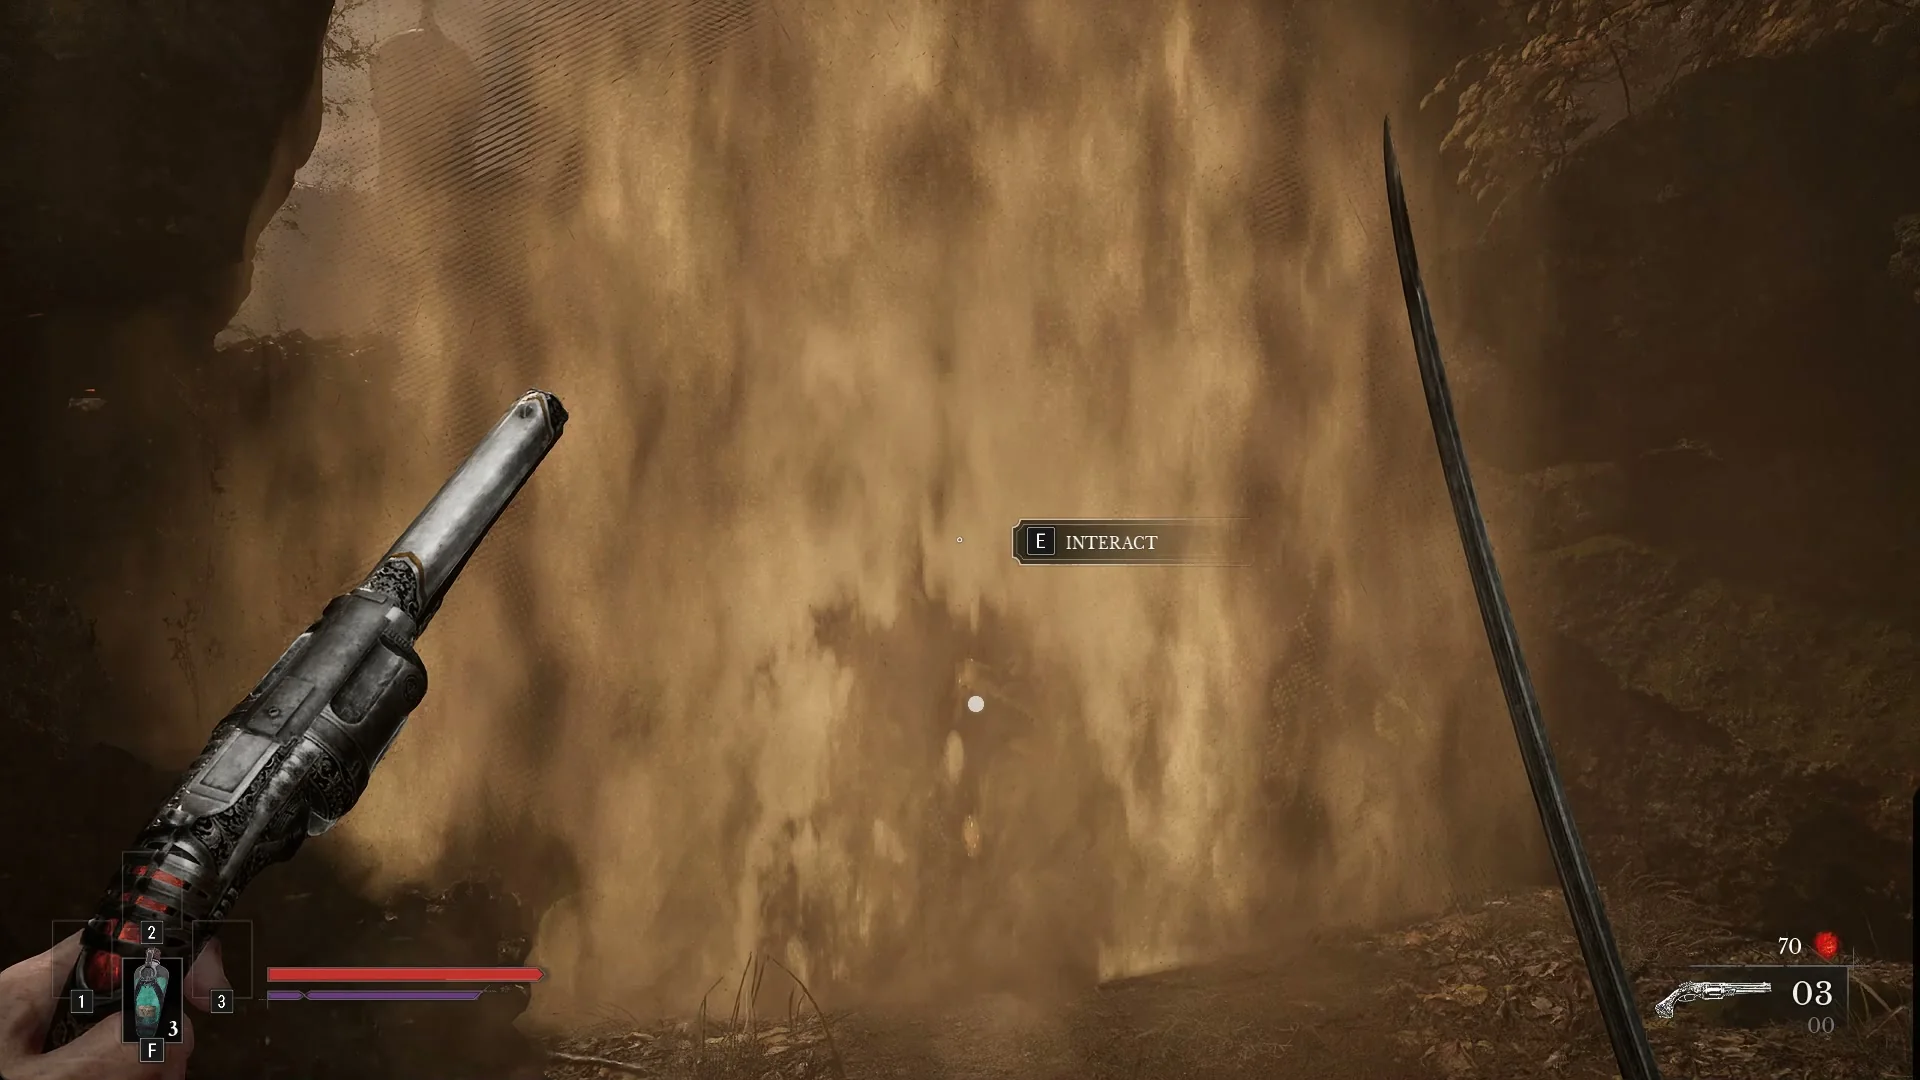
At the end of Chapter II you arrive at the Abandoned Church, the game’s hub. Past its first Lantern, a wall of golden fog stands across the path. Walk up to it and press E at the “INTERACT” prompt to go through.
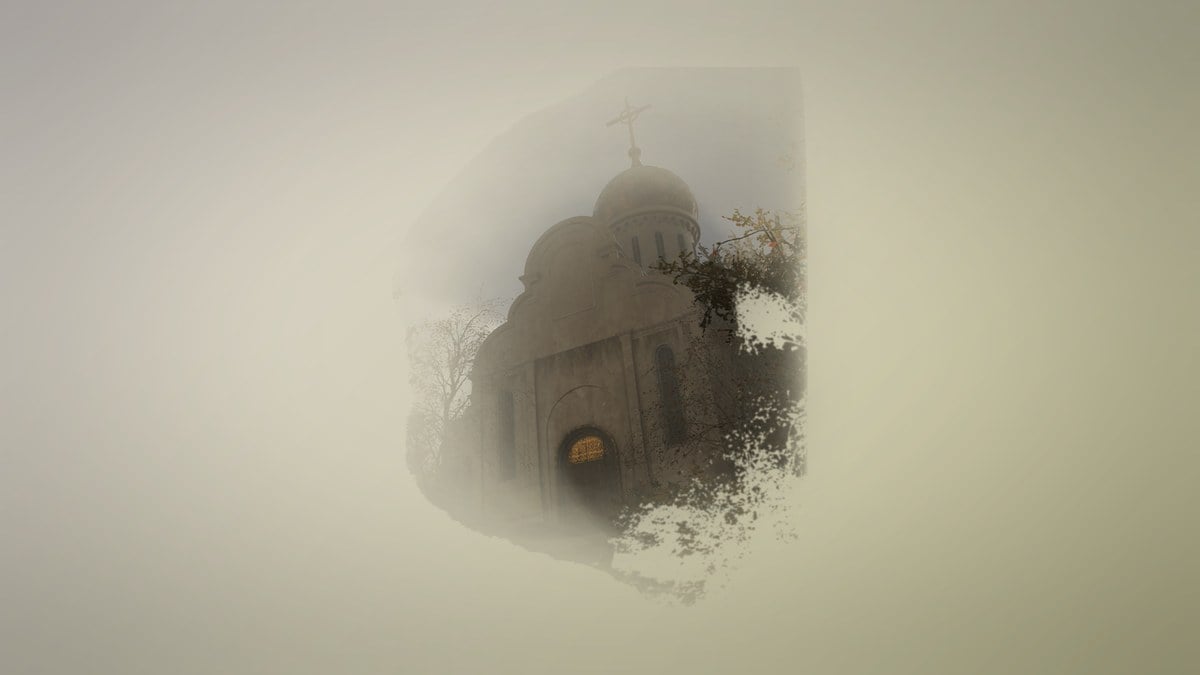
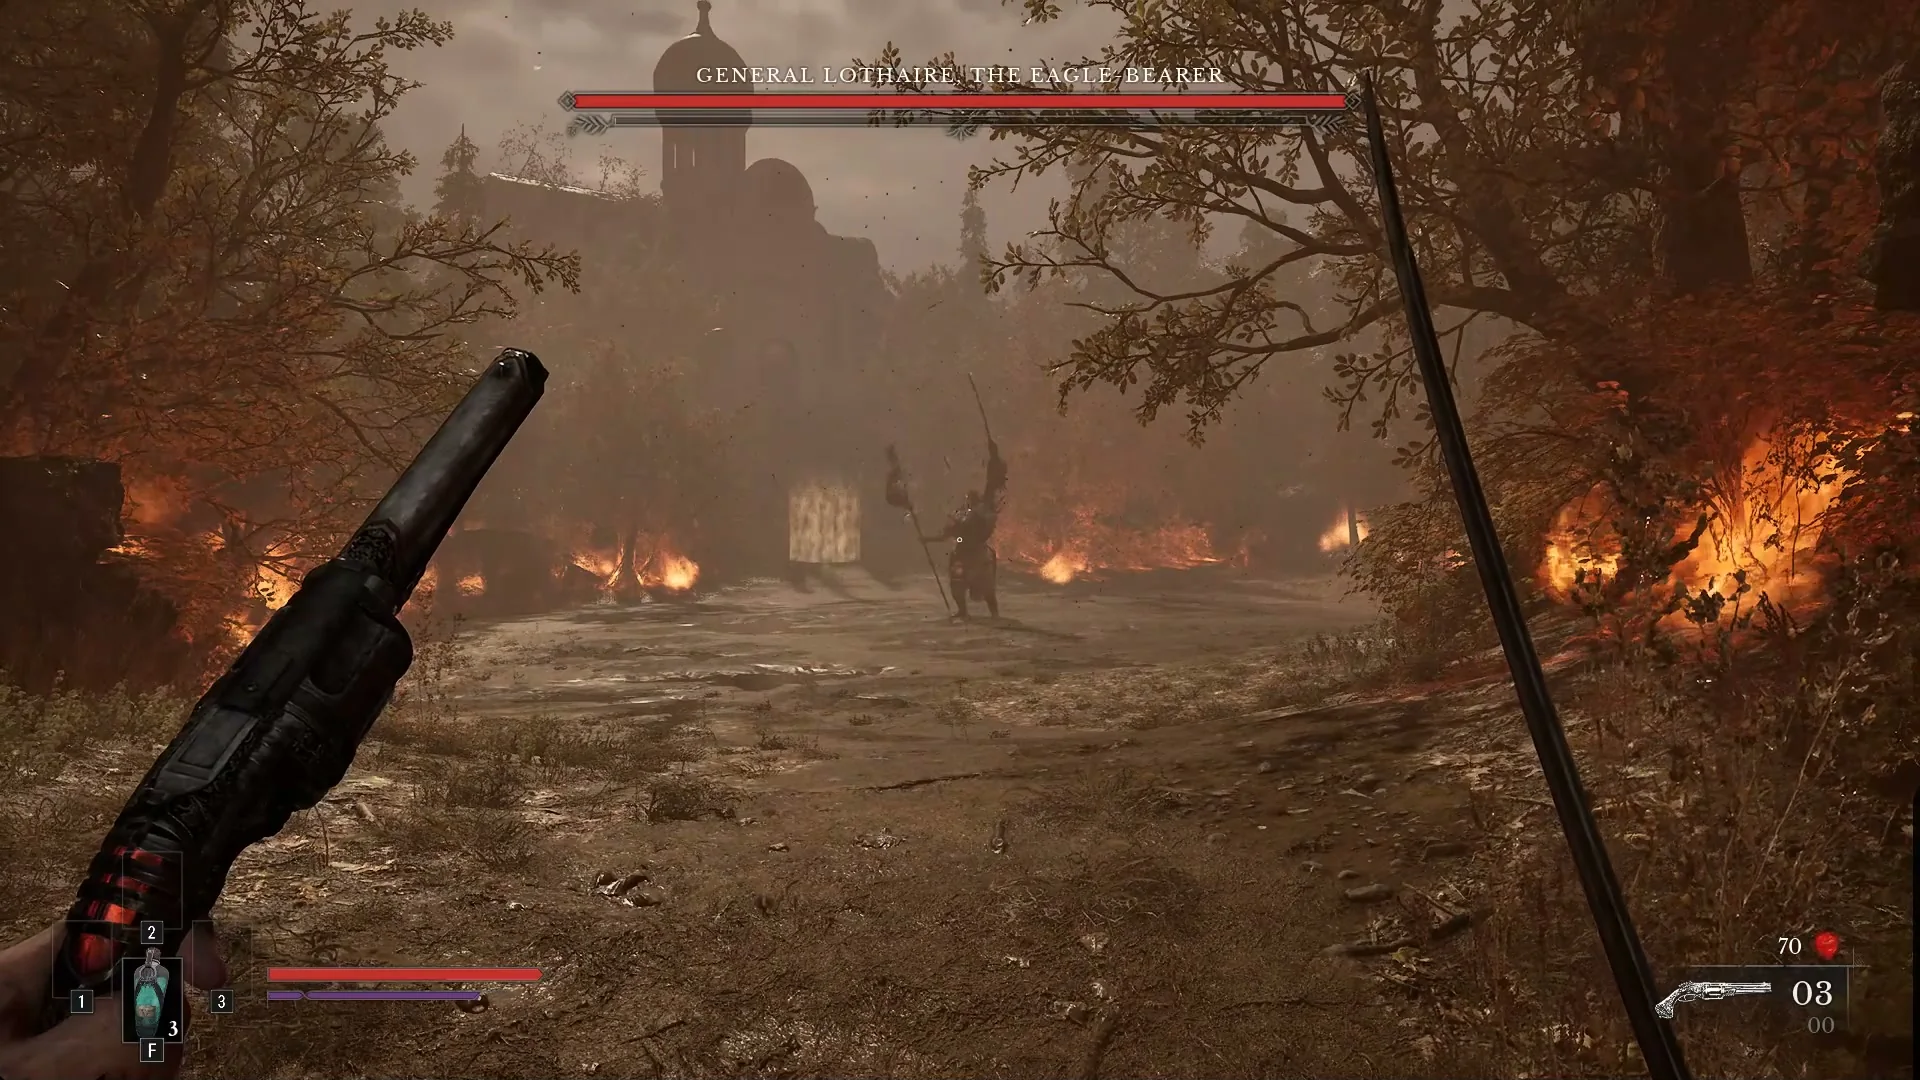
On the other side is his arena, a burning field in front of a domed church. A second fog gate seals the way out until he is dead.
Lothaire comes across the field toward you and his boss bar appears. This time he has two health bars. When the first one empties, a second full bar of 1,800 Health replaces it, under the same name: that second bar is his second phase.
Second-phase attacks
In the second phase he drops the first phase’s chains for four harder ones: two- and three-hit combos built around 50-damage hits, several of which cannot be blocked (37/50, 50/50/35, 50/50/50 and 37/50). His whole body still glows red-orange at times in this phase, as it does before the leap in the first fight; the leap deals 50 and cannot be blocked.
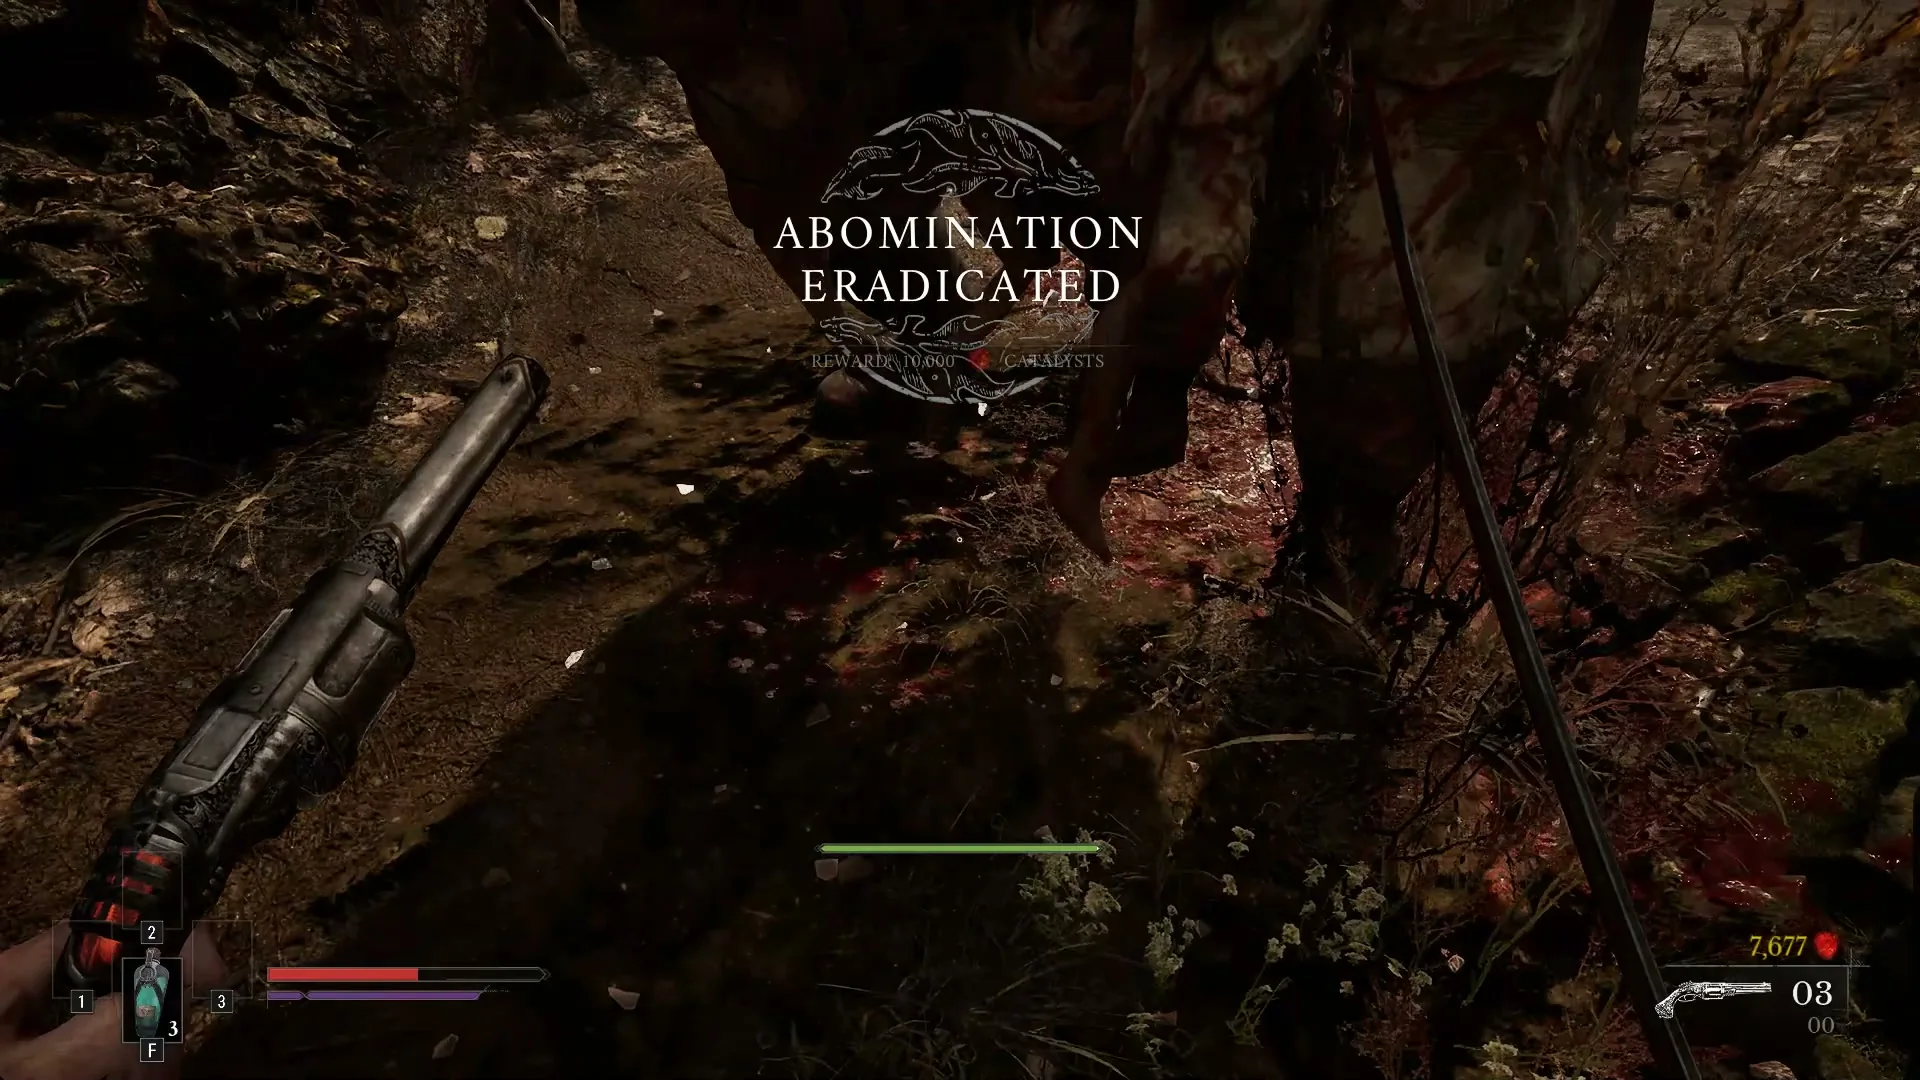
When he falls, the banner “ABOMINATION ERADICATED” appears with “REWARD: 10,000 CATALYSTS”, the Torn Banner achievement pops (“Kill General Lothaire, the Eagle-Bearer.”), and “NEW ENTRY ADDED TO THE JOURNAL” shows at the left of the screen. His body breaks apart into red tendrils, and William remarks that he would never have taken orders from him anyway.
The exit fog gate then opens. Past it, the road leads down to the church, where James and his Iron Bench are.