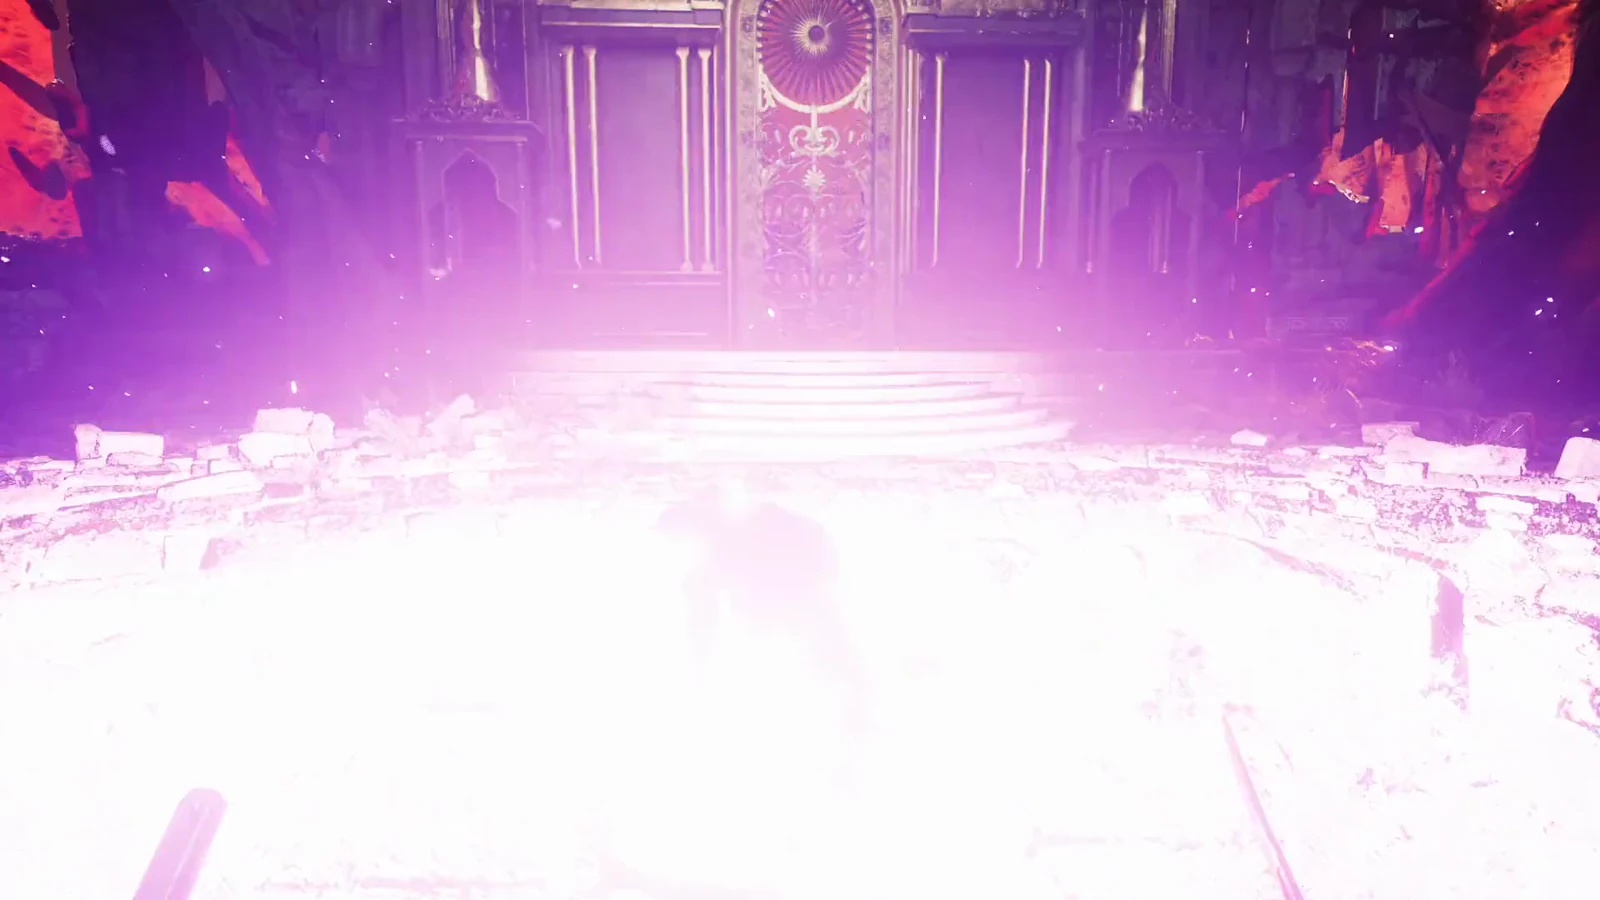
The Sphinx, Devourer of the Unworthy is the third major boss in Valor Mortis, fought deep in the Caverns during Chapter IV’s Dark Descent. It is a chained, mask-wearing quadruped that rises from a sandstorm in a pyramid arena, and it mixes fast claw combos with purple energy attacks that get nastier in its second form. The fight rewards patience with parries over brute aggression, and defeating it pays out 20,000 Catalysts.
Quick answer: Parry its blockable claw and tail strikes to drain the 350 posture pool, land the 300-damage critical attack when it drops, then finish its 2,000 HP with Fire Transmutation burn and Blunderbuss shots to the exposed head.
Where to find the Sphinx in Valor Mortis
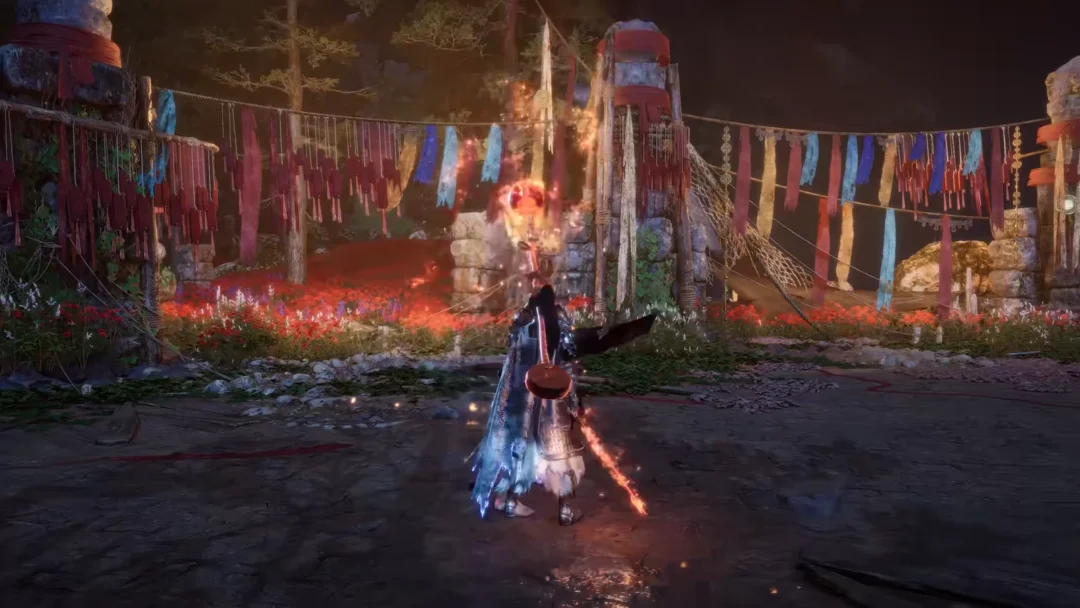
In Chapter IV, Dark Descent, the fight takes place in the Caverns. William rides a cart through the Salt Mines, descends into the caves below, and falls through a fissure in the stone to a sandy arena encircled by pyramids. A sandstorm rises, bringing the Sphinx into view.
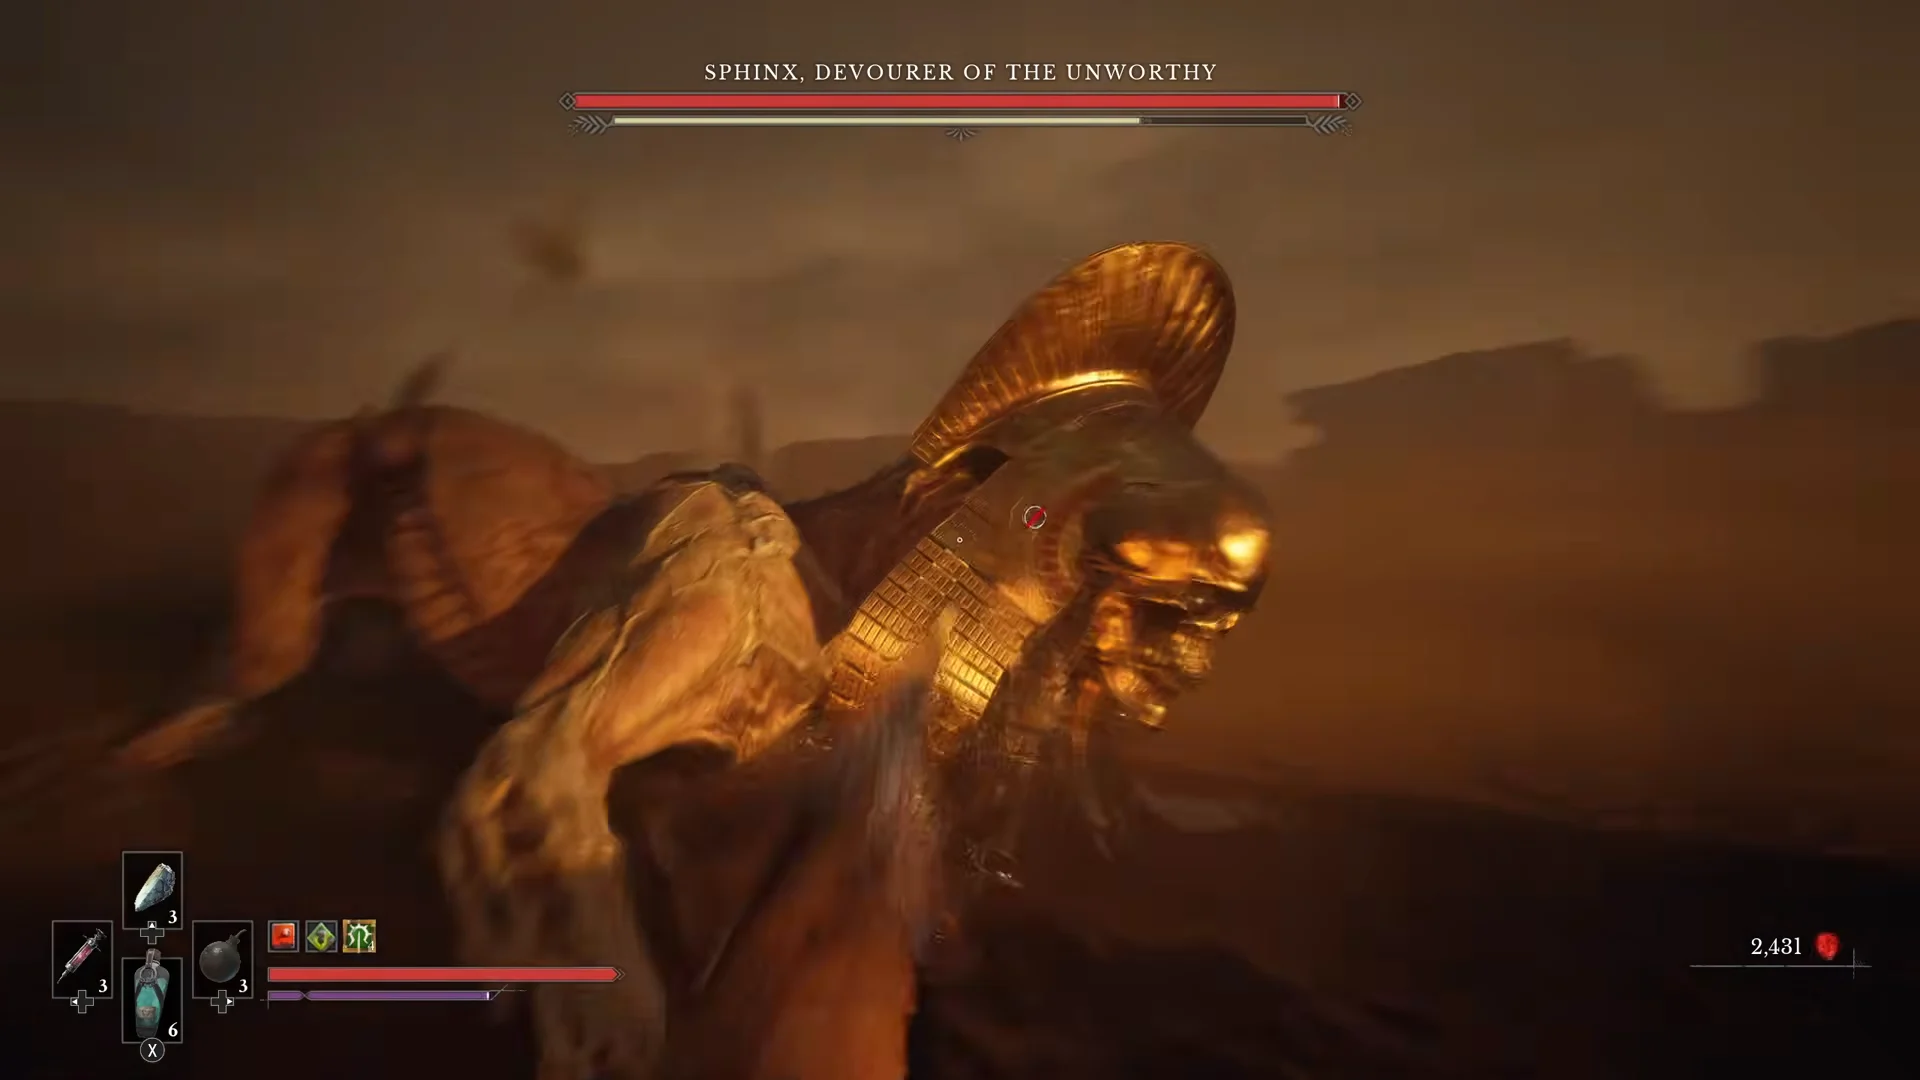
The nearest Lantern, Ancient Lair, is roughly 368 meters from the arena, so the walk back after a death is long. Carry spare flasks and go in prepared rather than relying on quick retries. You can also teleport back to base before an attempt to upgrade gear and stats.
Recommended loadout for the Sphinx fight
The Sphinx has no elemental weakness at all. Its armour does the defending, with body zones that take full damage next to parts that absorb much of it, so the plan is to posture-break it and go for criticals rather than chip away at armour. Fast weapons and reliable chip damage beat raw hit numbers here.
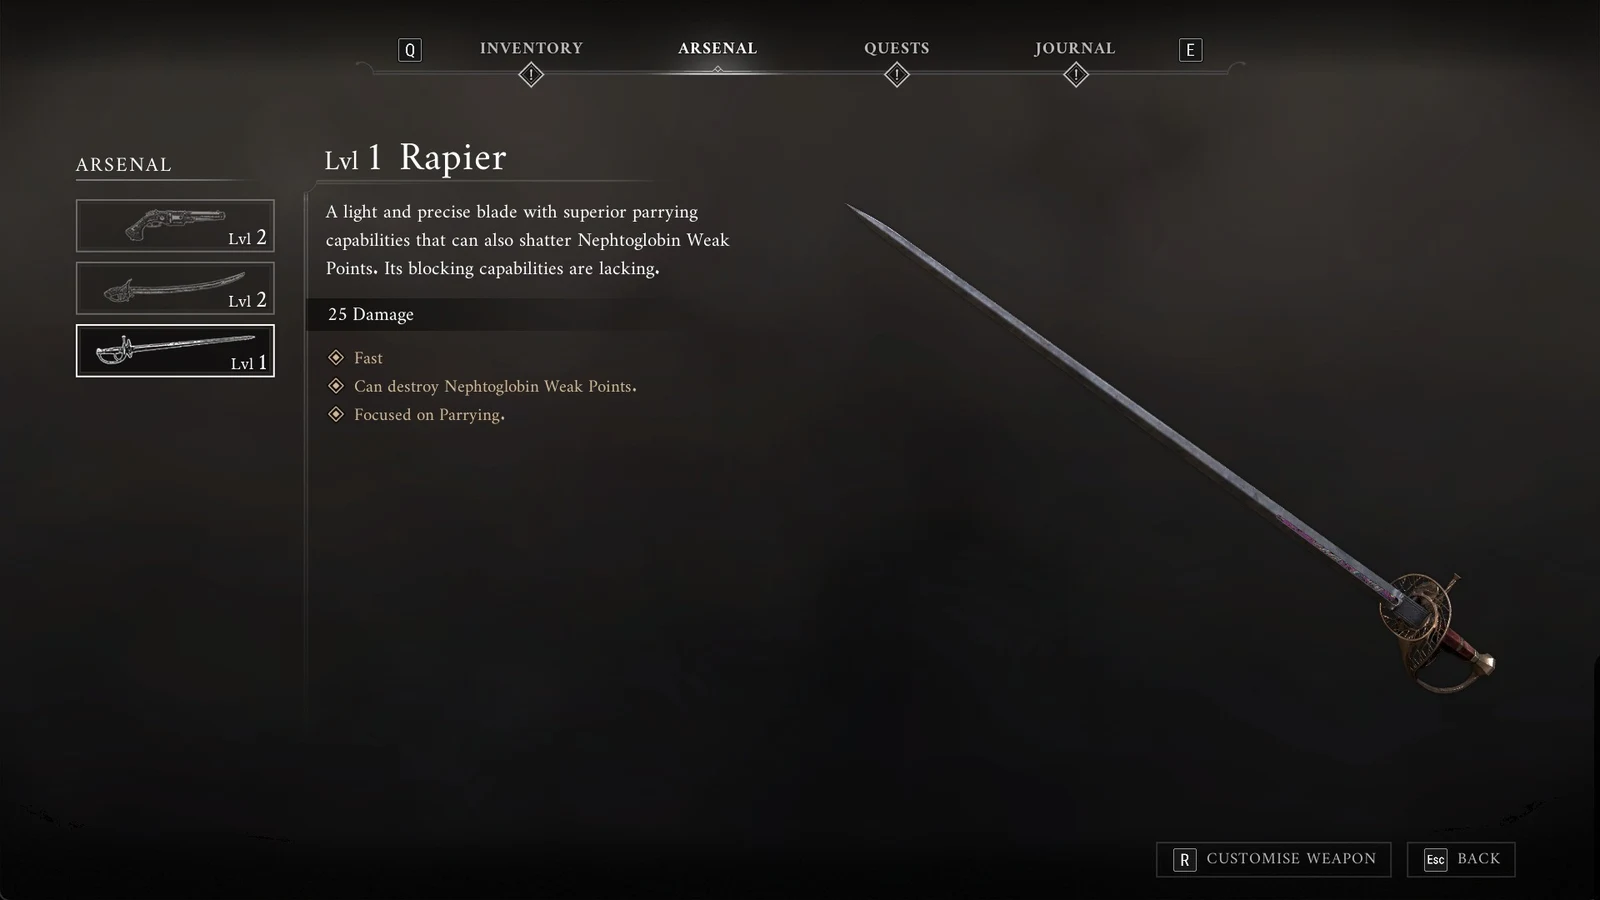
- Rapier — its charged heavy unleashes three quick stabs, and it deals 150 posture damage on a perfect parry, the tool that opens the boss up.
- Fire Transmutation — the Sphinx has no Ignite resistance, so burn ticks for steady damage while you reposition.
- Blunderbuss — saved for the second phase to burst the exposed head with point-blank shots.
- Consumables — Flaming Whetstones for extra burn, magic-restoring ampules, and throwable bombs.
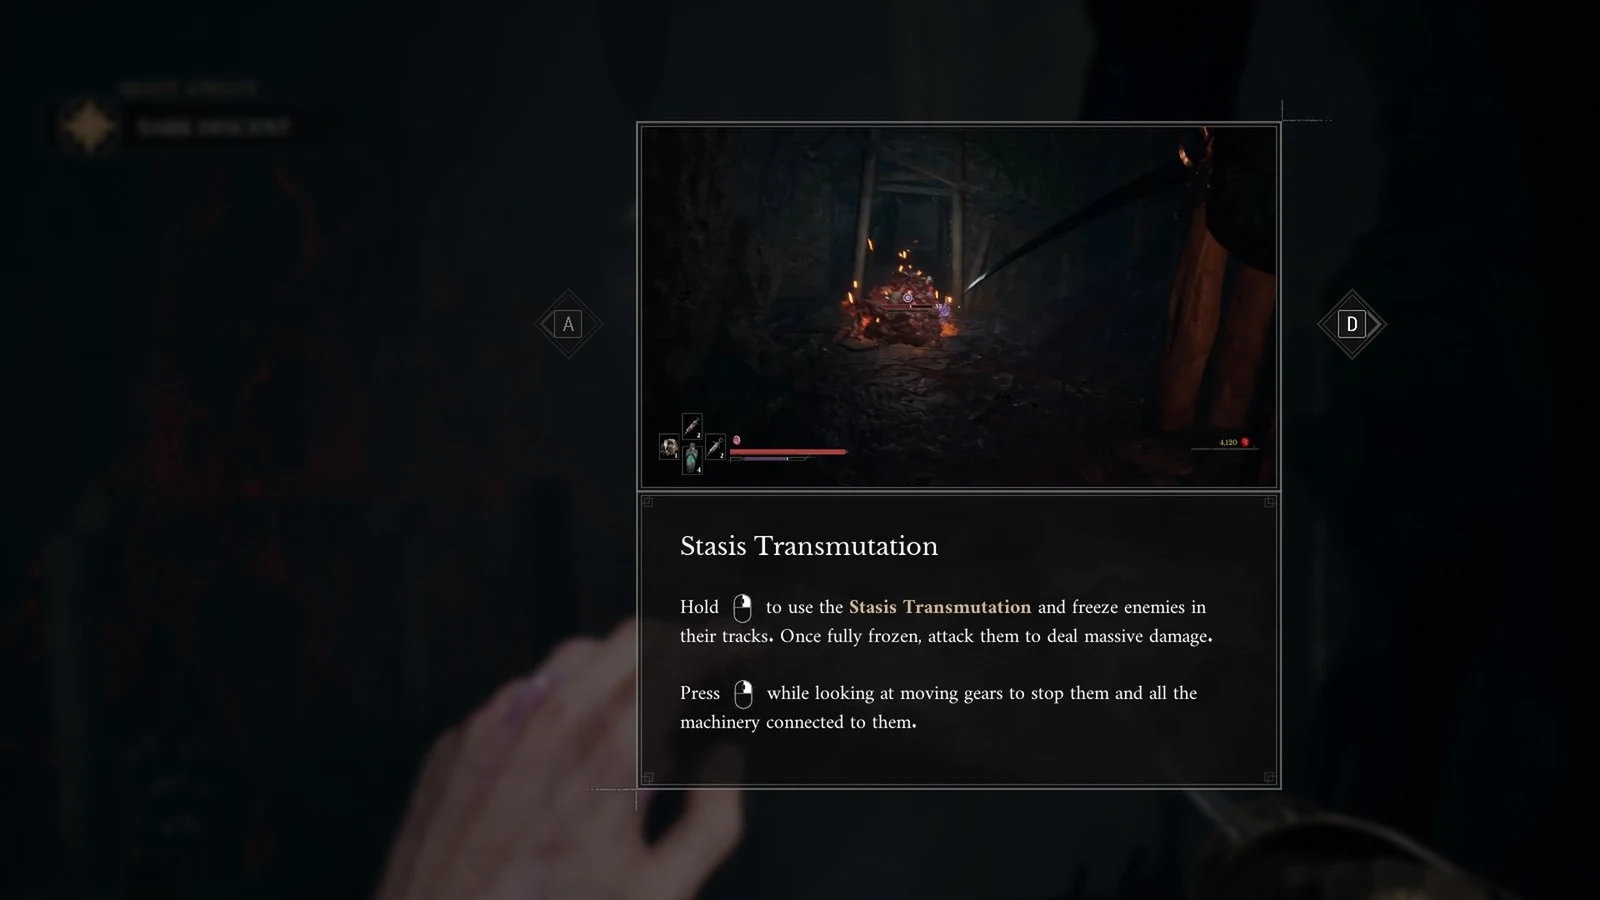
The Stasis Transmutation from the Caverns also works well, because the boss has no Stasis resistance. Its gauge fills across five segments, and a full freeze breaks for a large burst of damage.
Every Sphinx attack and how to counter it
Across its two forms, the Sphinx has 14 attacks; five are unblockable. Nearly every strike from its claws or tail adds Crystallization (Stasis), making exchanges dangerous while the gauge remains elevated. Retreat until it subsides, then move back in.
| Attack | Phase | Response |
|---|---|---|
| Three-part claw combo | Both | Parry each hit, then punish the recovery |
| Tail strike | Phase 2 | Watch for the quick whip; dodge or parry |
| Gap closer / leap | Both | Dodge the landing; some leaps are unblockable |
| Breath attack | Both | Sidestep; fills a bar that kills if maxed |
| Energy beam | Phase 2 | Dodge out of its path, never block |
| Purple energy pillars | Both | Find the gap between the formations |
| Exploding orb | Both | Jump over the ground wave on detonation |
Combo 3, Combo 4, the Leap, the posture-break slam and Vanish are the unblockable moves. They flash red, so dodge instead of holding block. Everything else can be blocked, and the blockable claw and tail strikes all have a tight 0.2-second parry window.
The breath attack fills a status buildup bar that causes instant death if it maxes out. Always dodge to the side rather than standing in front of it.
Parry the claw combo to break posture
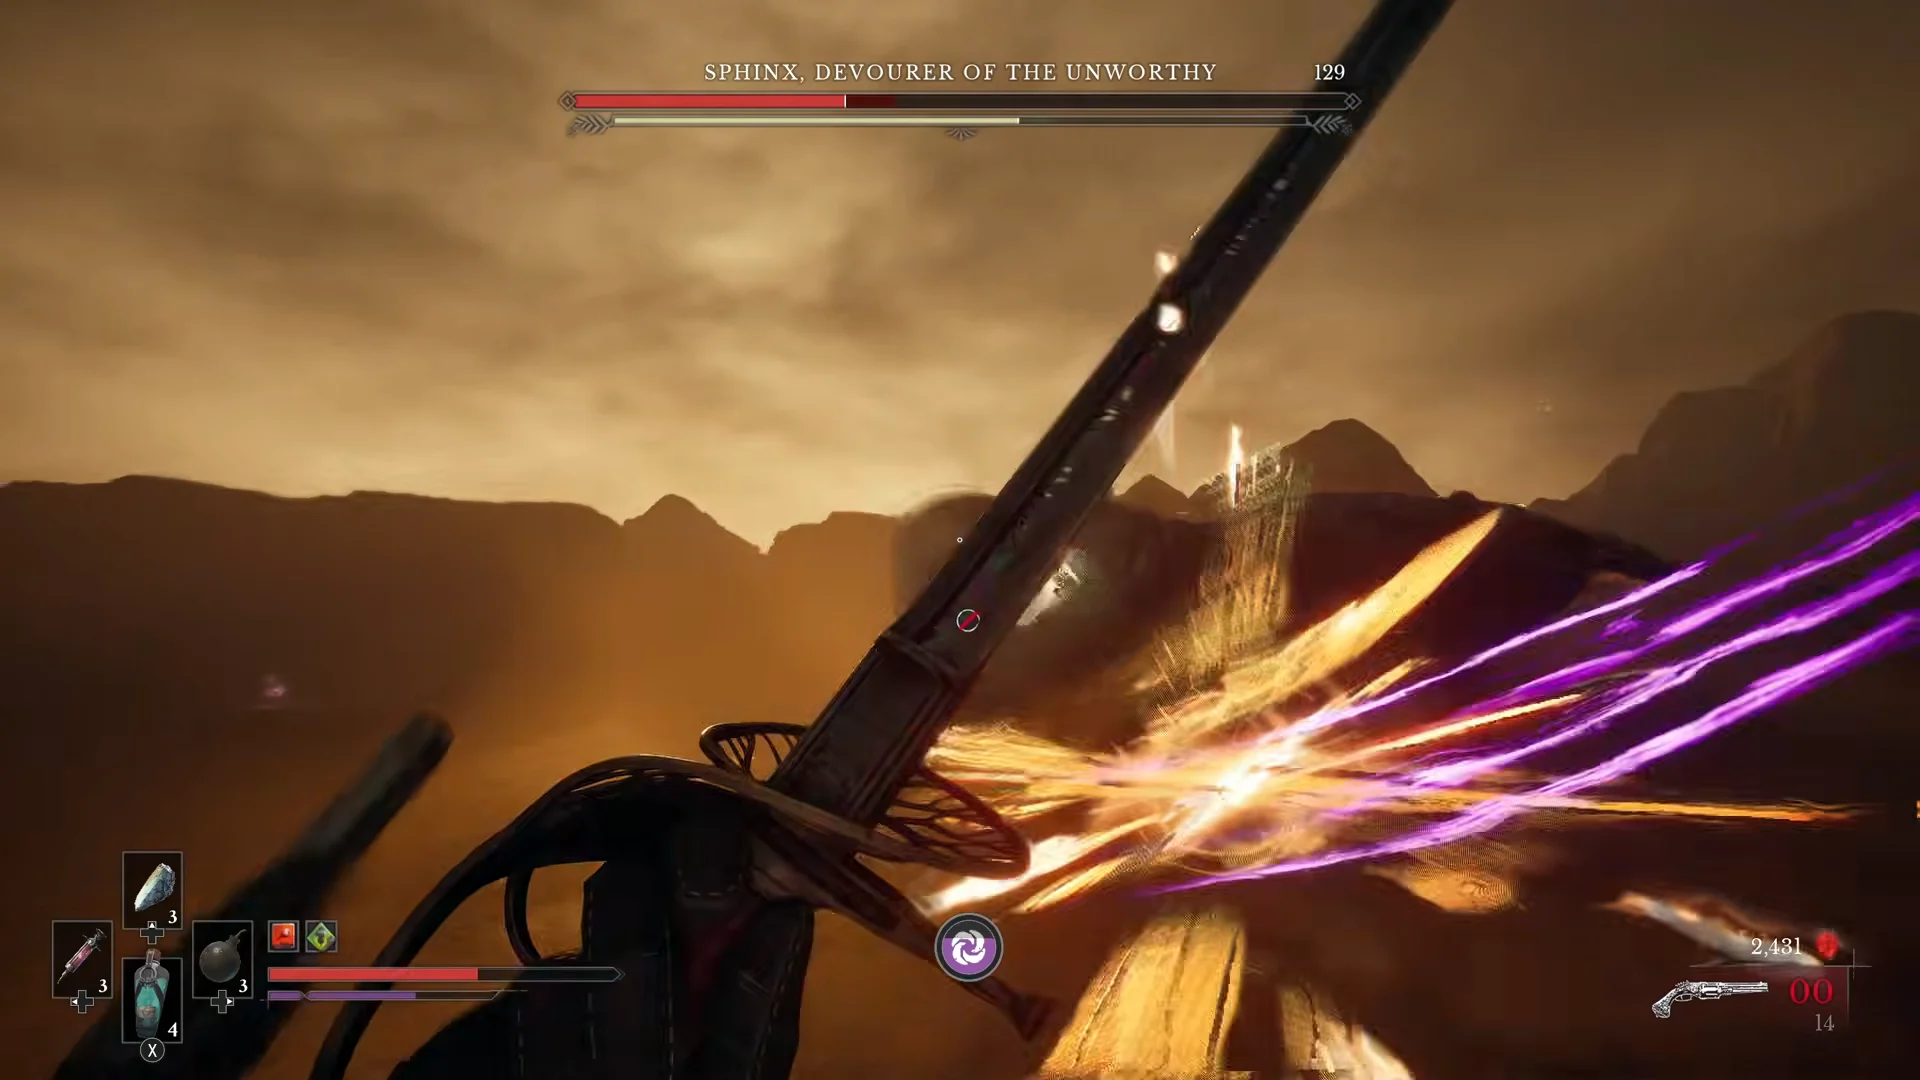
The three-hit claw sequence is the Sphinx’s most frequent attack and your main source of posture damage. The paws glow with a purple aura right before each swing, which is your timing cue. Parry the full sequence rather than retreating, and the creature is left open for retaliation.
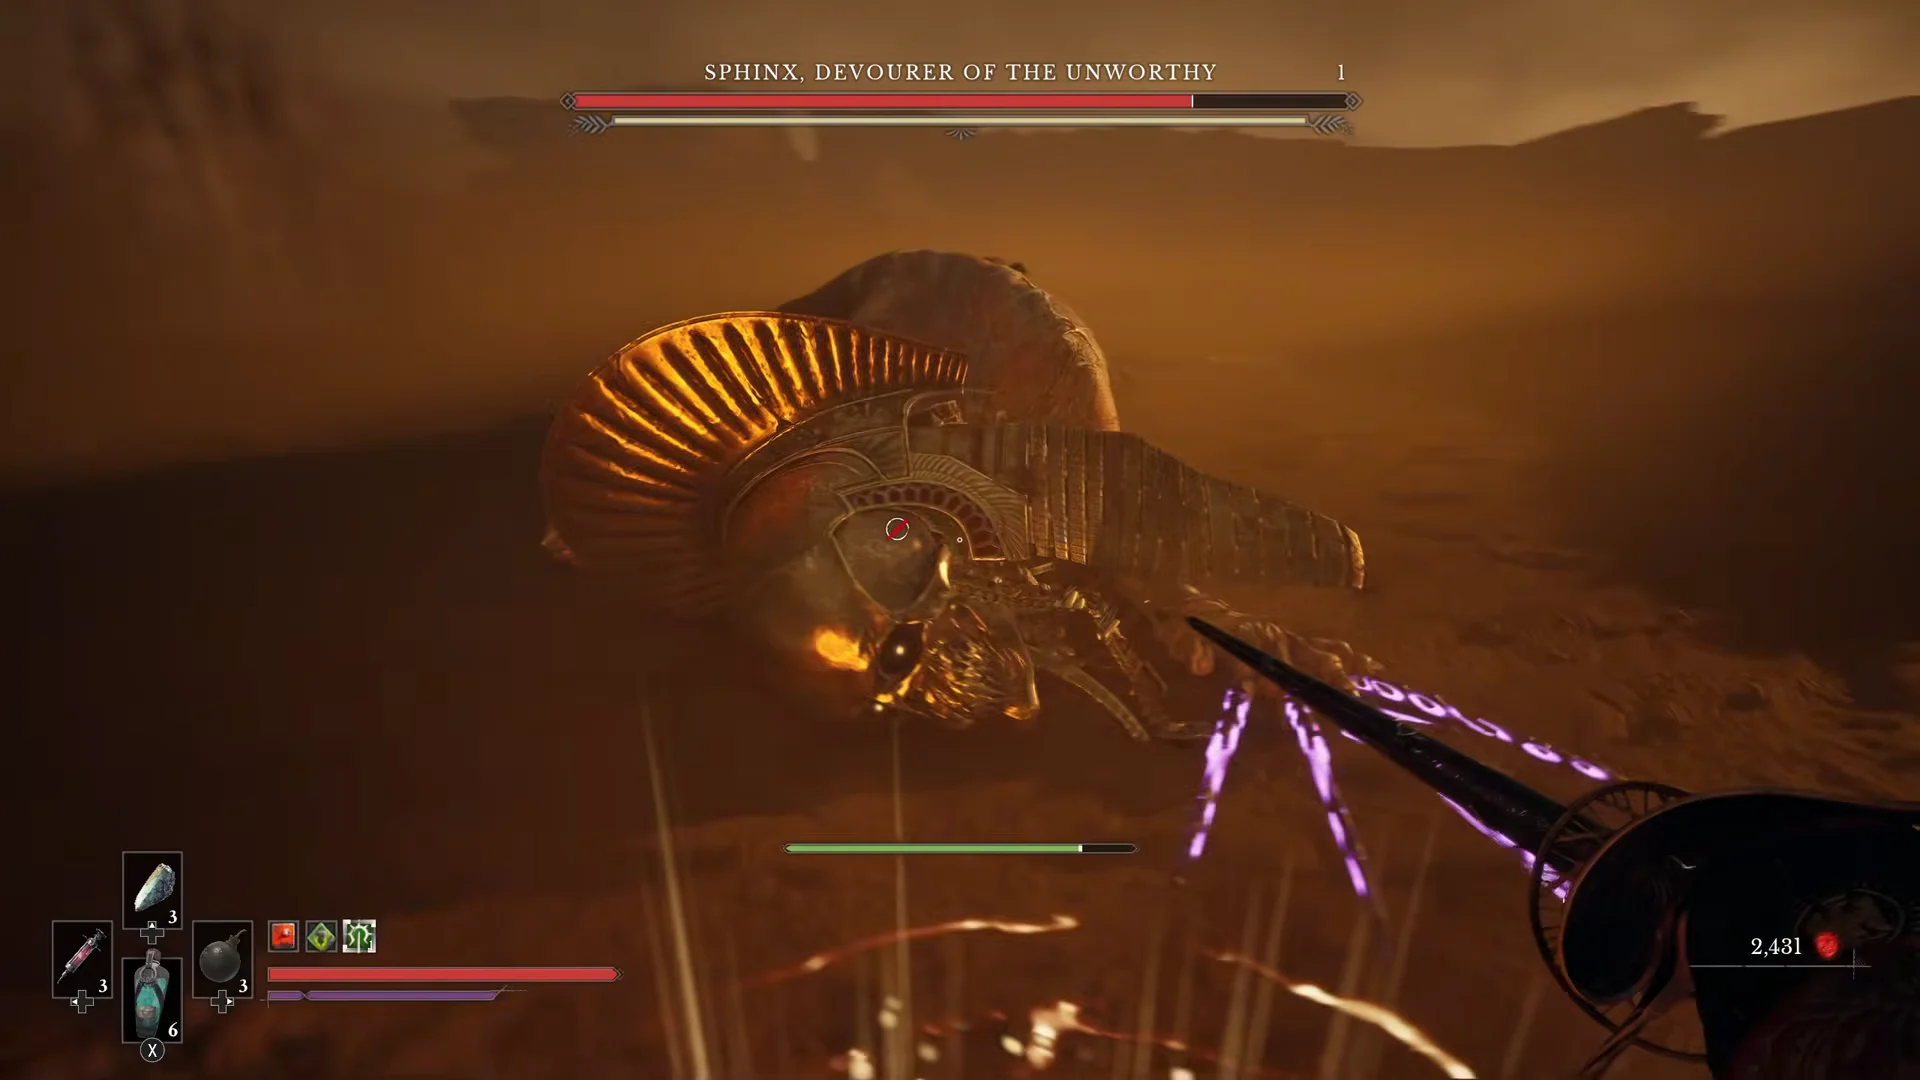
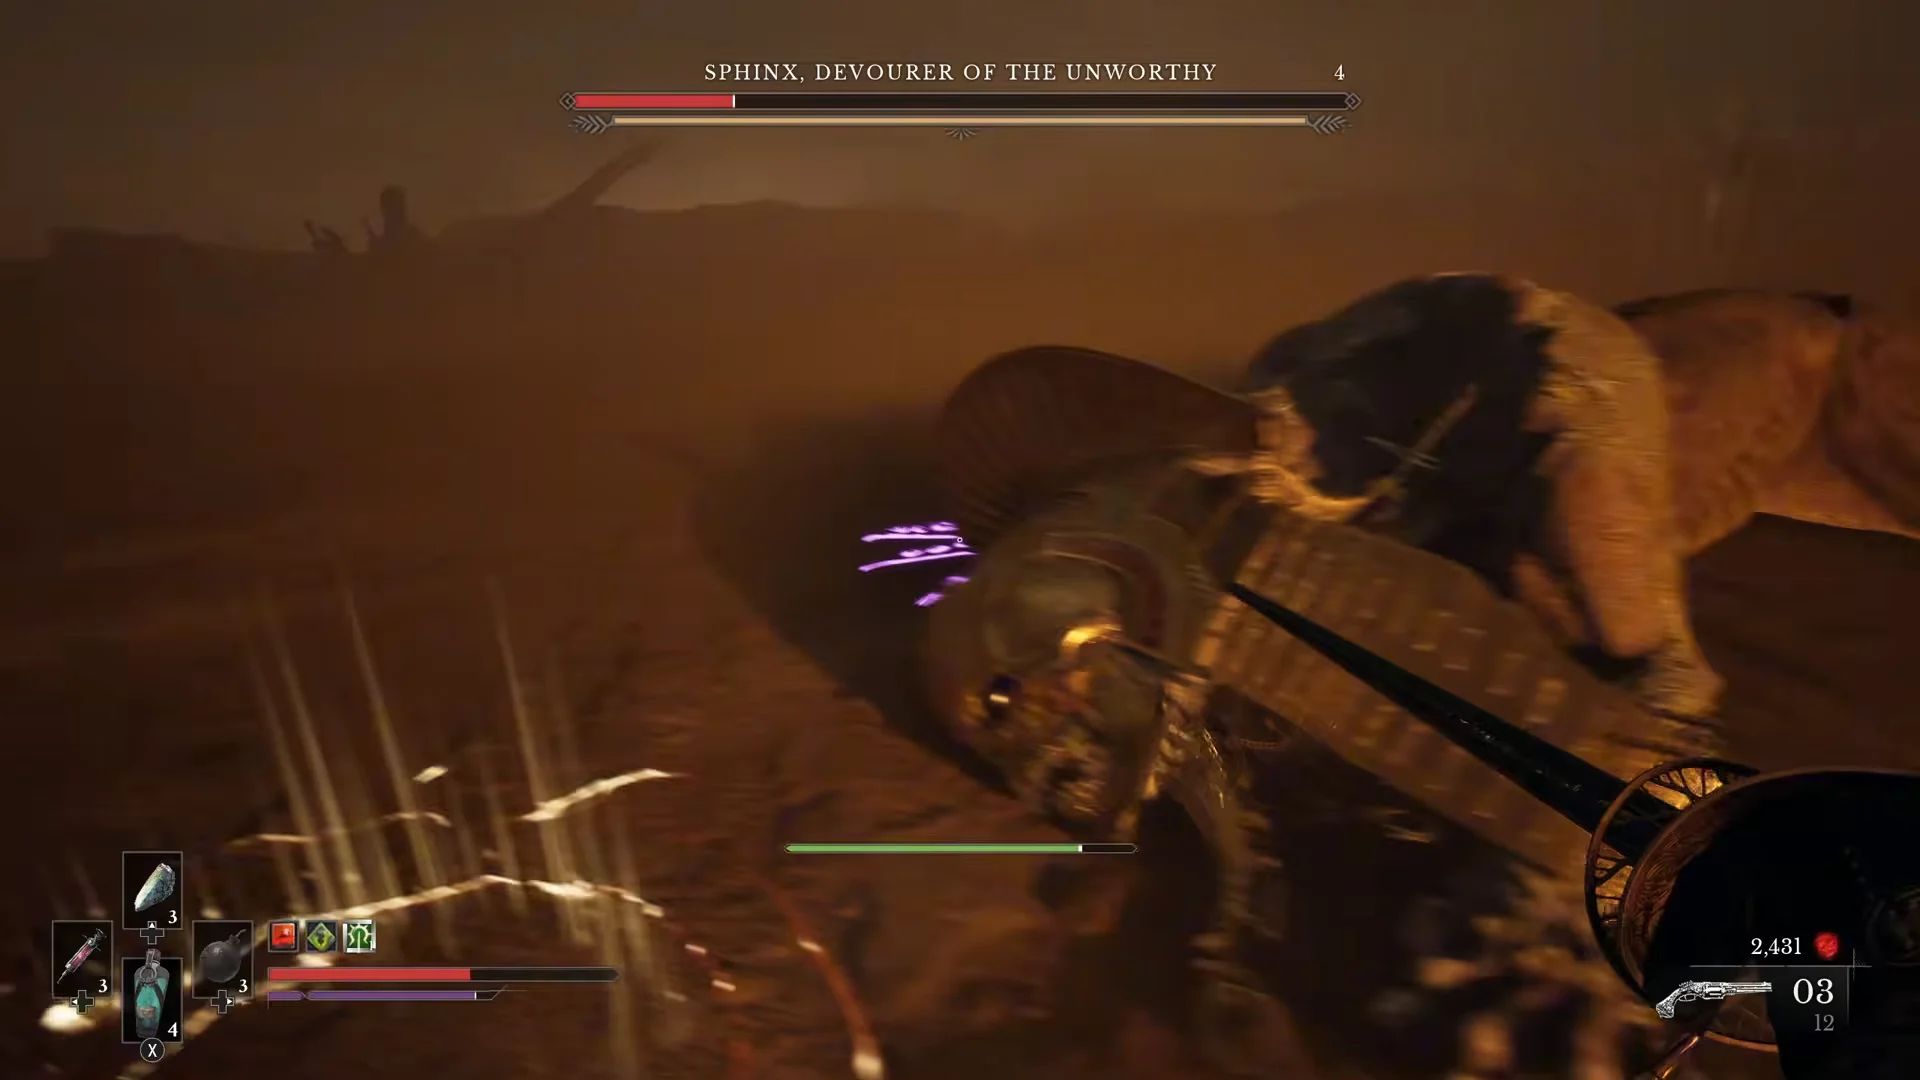
The Sphinx’s posture pool is only 350, the smallest of any boss in the game, so it breaks fast. Each perfect parry with the Rapier deals 150 posture damage, which means three clean parries alone are enough to stagger it. Heavy and charged attacks add to the total between parries.
Watch the ground while you parry. The Sphinx can layer a purple area attack over its melee pressure, forcing you to track both the claws and the floor beneath William at the same time.
Trigger the critical attack on every stagger
When the posture gauge is full, the Sphinx lies belly-down, leaving the space near its head open. Use this opening to land a critical visceral: William thrusts his fire-imbued hand and the Rapier into the cavity in its exposed head. The hit always deals 300 damage, equal to 15 percent of the boss’s health.
You can stagger the Sphinx more than once over the fight. Hunting those openings is far more efficient than trading ordinary hits, since its armour soaks most direct damage anyway. Firearm shots during its vulnerable animations also help top off the stagger meter between melee openings.
Phase two: hit the face and throw bombs
After you land the first critical hit, the Sphinx sheds its mask and becomes hostile. It picks up the pace, adds tail attacks to its moveset, and restores its ranged attacks in more powerful versions, including an energy beam fired from its mouth. With a shorter window to respond, hold off on lengthy attacks unless you’ve secured a clear opening.
Switch to the Blunderbuss here and target the face. Firearm hits to the head land as heavy critical damage, and point-blank shots strip large chunks off the remaining health bar.
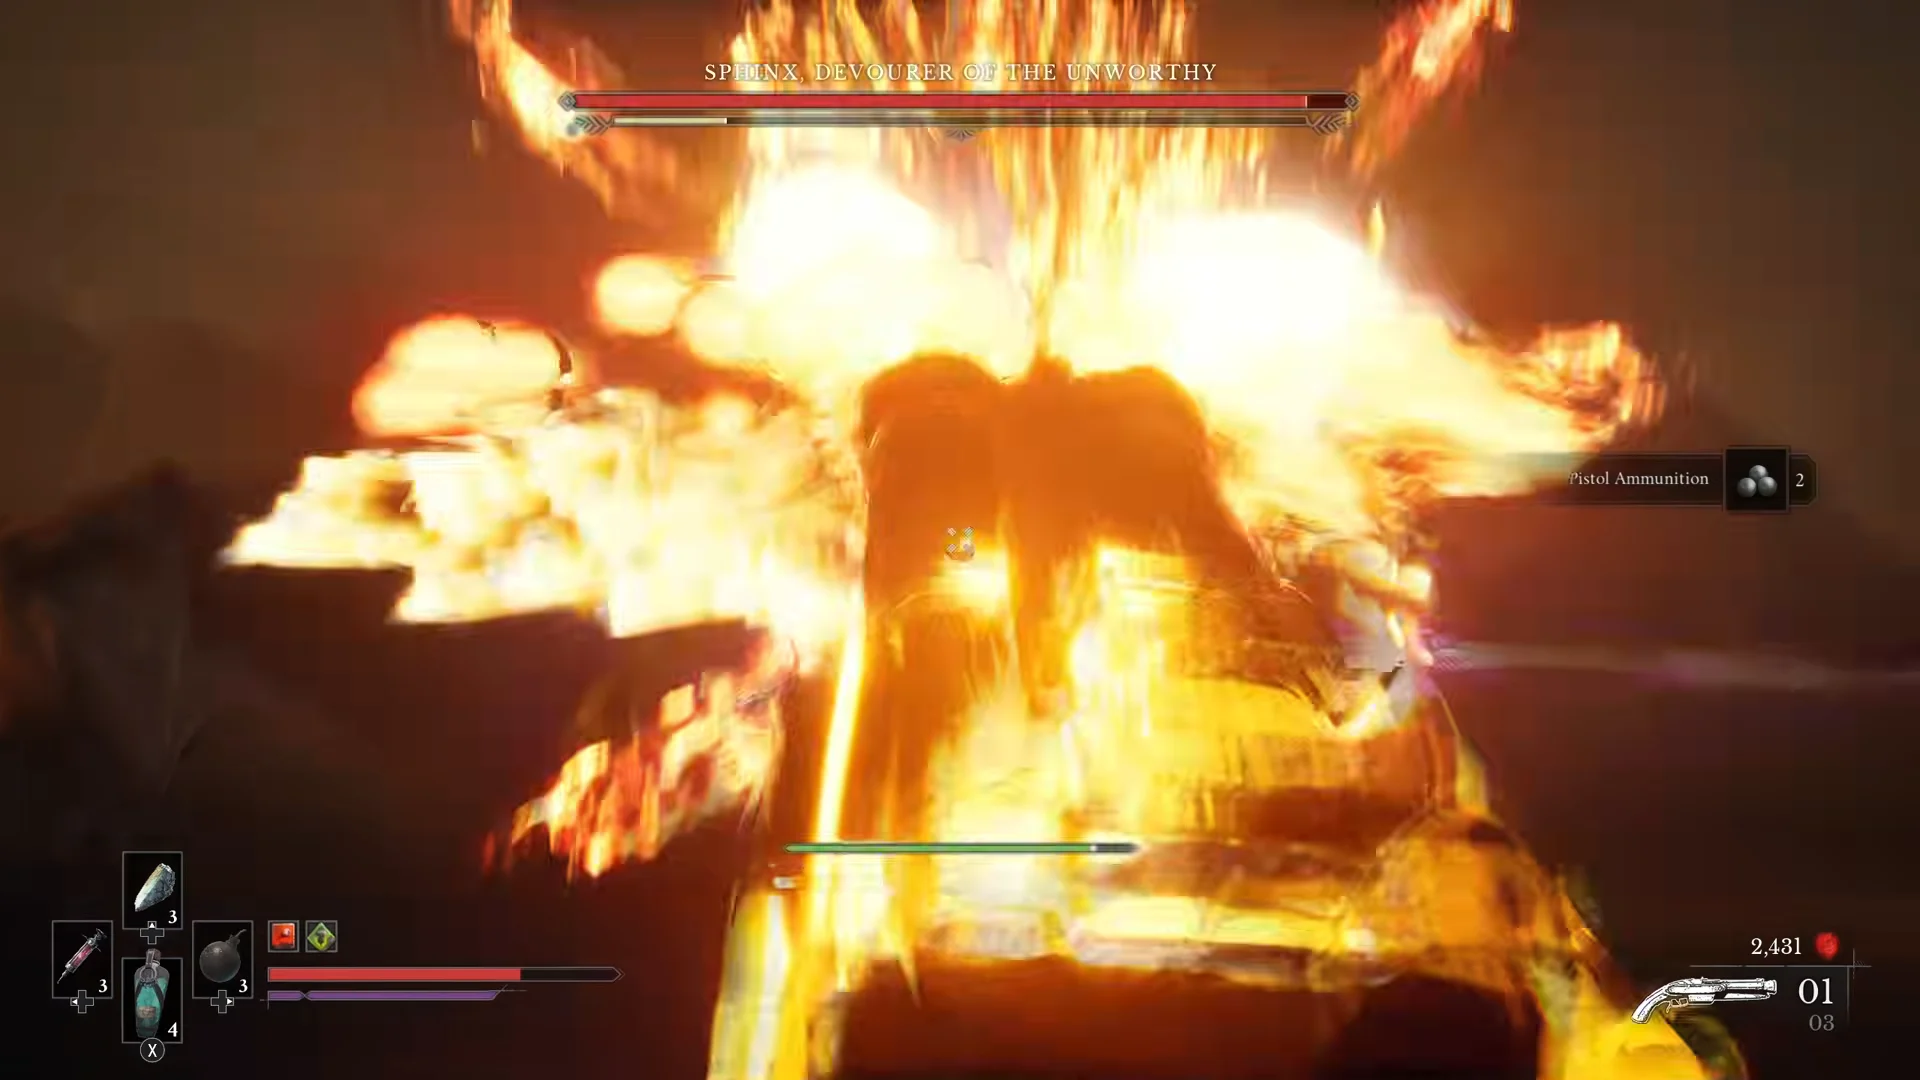
Keep Fire Transmutation active throughout. The burn ticks continuously, stacks with Flaming Whetstone bonuses, and can stagger the boss while you reposition. Damage bonuses against burned targets make the fire even more valuable in the back half.
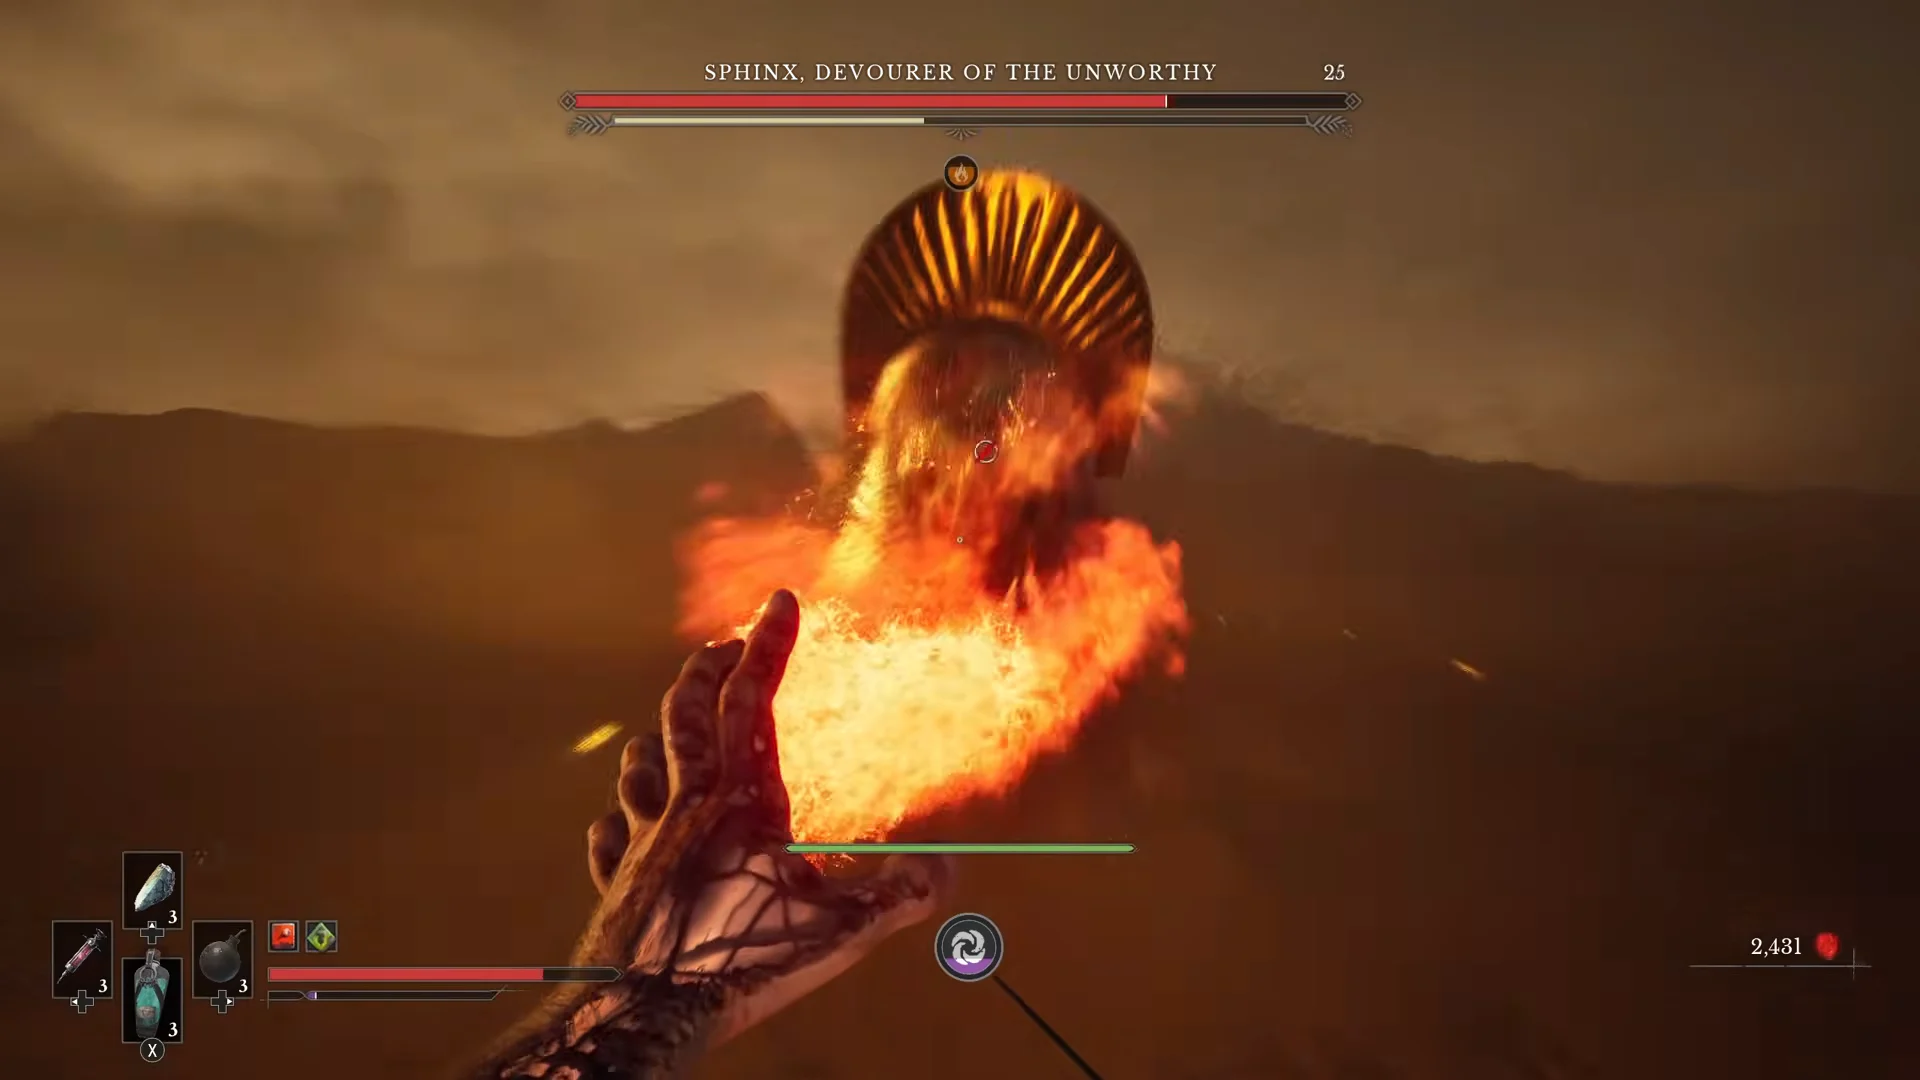
Save bombs for the final quarter of the health bar. The Sphinx locks into stationary animation cycles late in the fight, and that is when a thrown bomb lands cleanly instead of being wasted on a moving target.
Sphinx stats and weapon reference
These are the numbers worth knowing before you walk in. The posture-to-critical line is the whole fight in miniature, since a 350 posture break hands you a fixed 300-damage hit.
| Stat | Value |
|---|---|
| Health | 2,000 |
| Posture | 350 |
| Critical attack damage | 300 (fixed) |
| Stasis segments | 5 |
| Hardest single hit | 50 (Combo 4) |
| Catalyst reward | 20,000 |
The two weapons doing the heavy lifting scale cleanly with upgrades. The Rapier’s value is its parry posture damage, while the Blunderbuss is pure burst for the head in phase two.
| Weapon | Lvl 1 | Lvl 5 | Lvl 10 |
|---|---|---|---|
 Rapier (damage) Rapier (damage) | 25 | 35 | 45 |
| Rapier (perfect parry posture) | 150 | 150 | 150 |
 Blunderbuss (damage) Blunderbuss (damage) | 15 | 19 | 30 |
The Rapier’s perfect parry posture damage is fixed at 150 regardless of its level, so even an early Rapier breaks the Sphinx in three clean parries. Upgrading it raises the stab damage you follow up with, while a higher-level Blunderbuss turns those phase-two face shots into bigger chunks.
How to confirm the kill
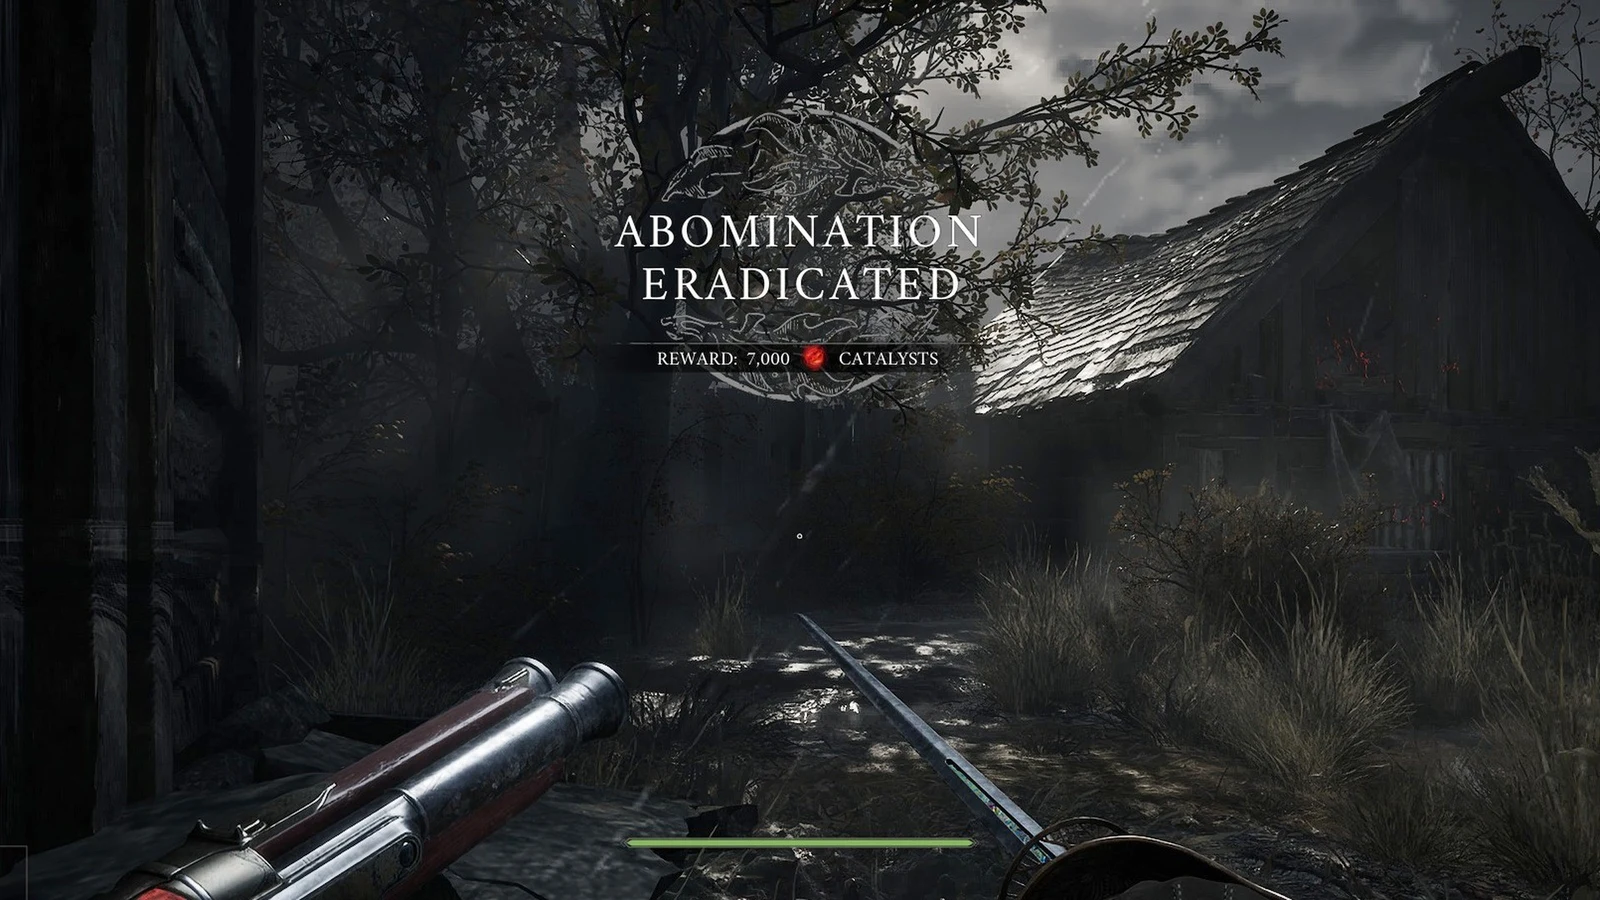
When the health bar empties, the Sphinx collapses and dissolves into dust, and an “Abomination Eradicated” banner appears with a +20,000 Catalyst payout on the kill screen. A new journal entry is added, and William enters a dark stone chamber with a pulsing red seal that opens the route forward into the next section of the campaign. If you see that screen and the Catalyst total jump, the fight is done.