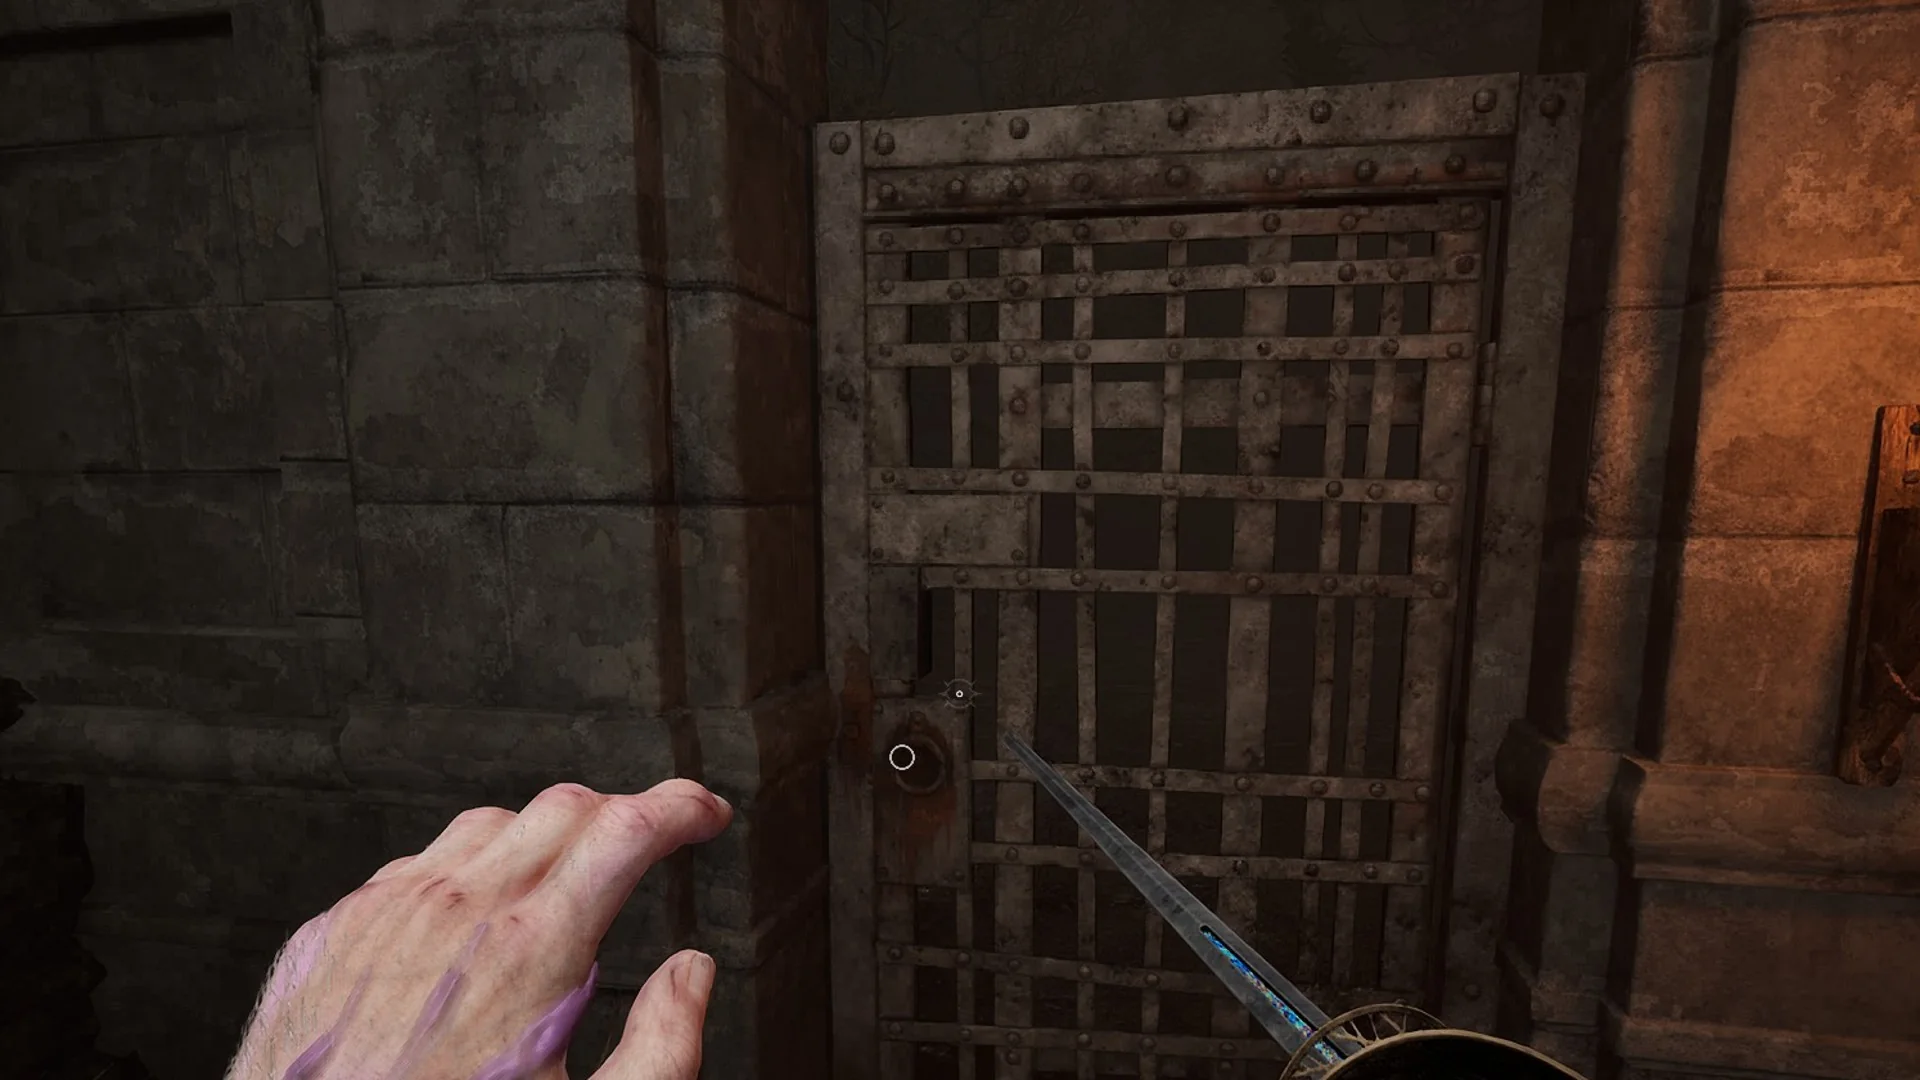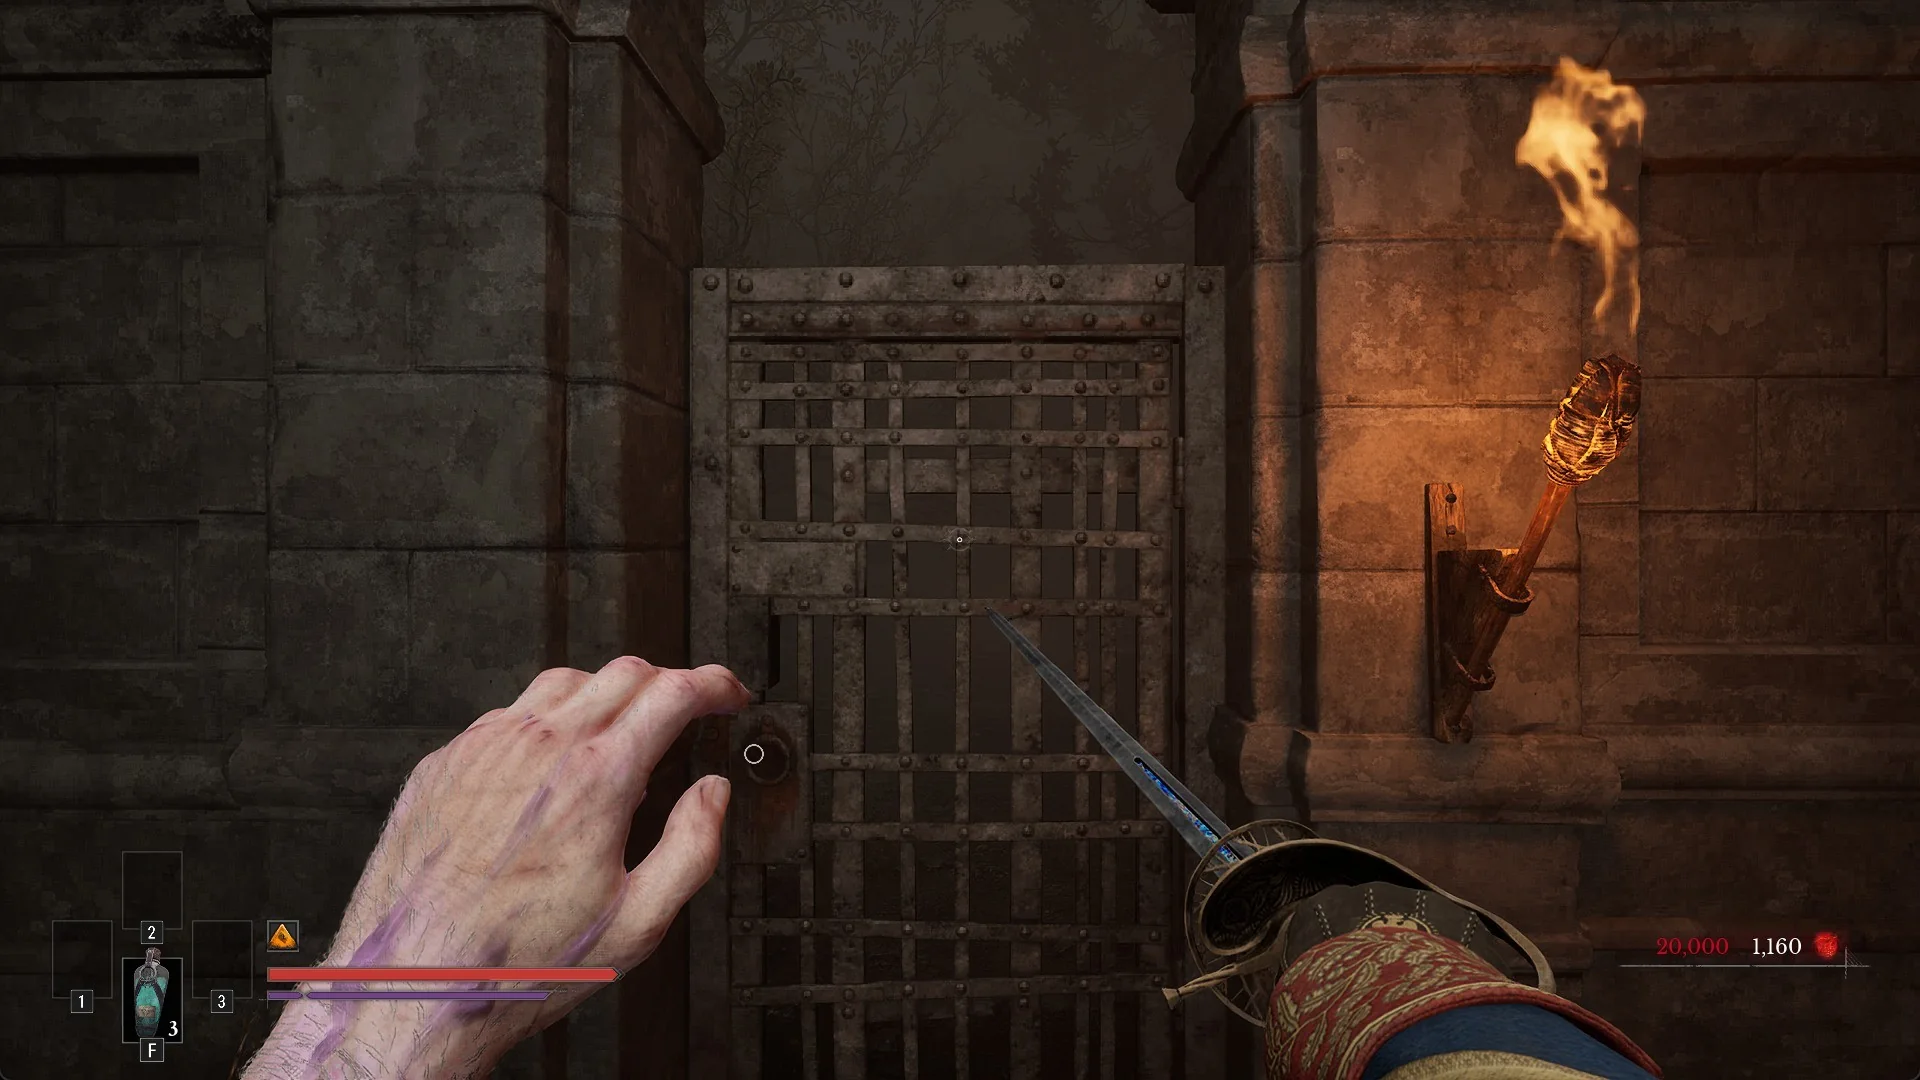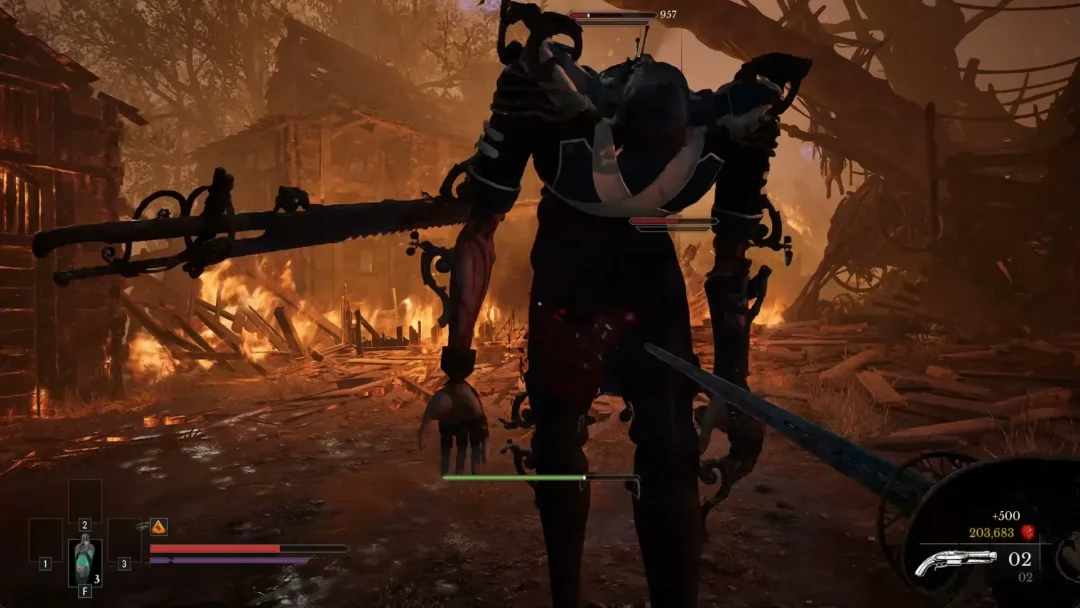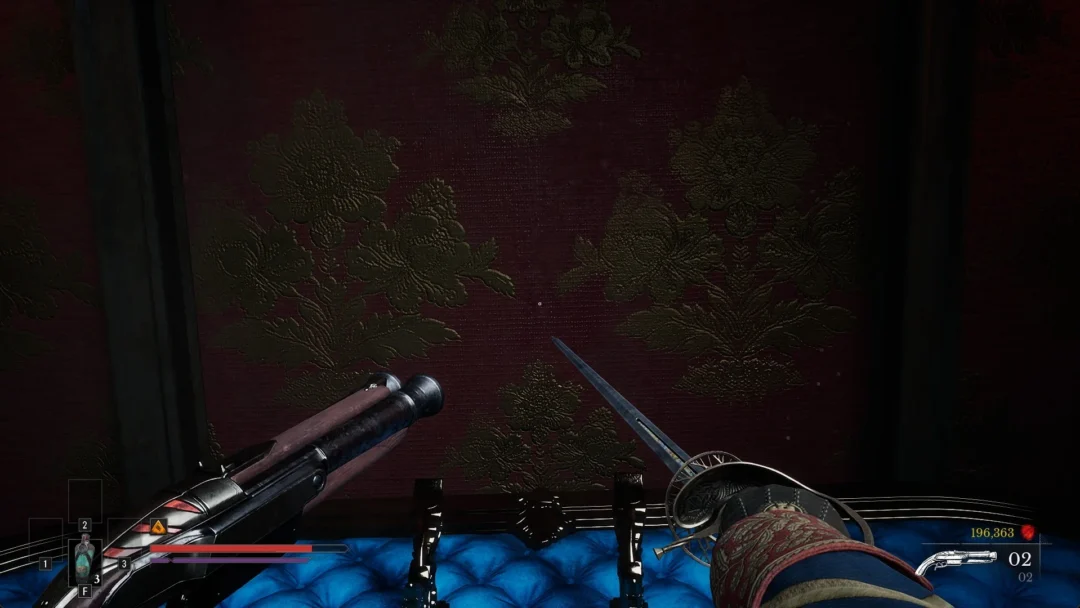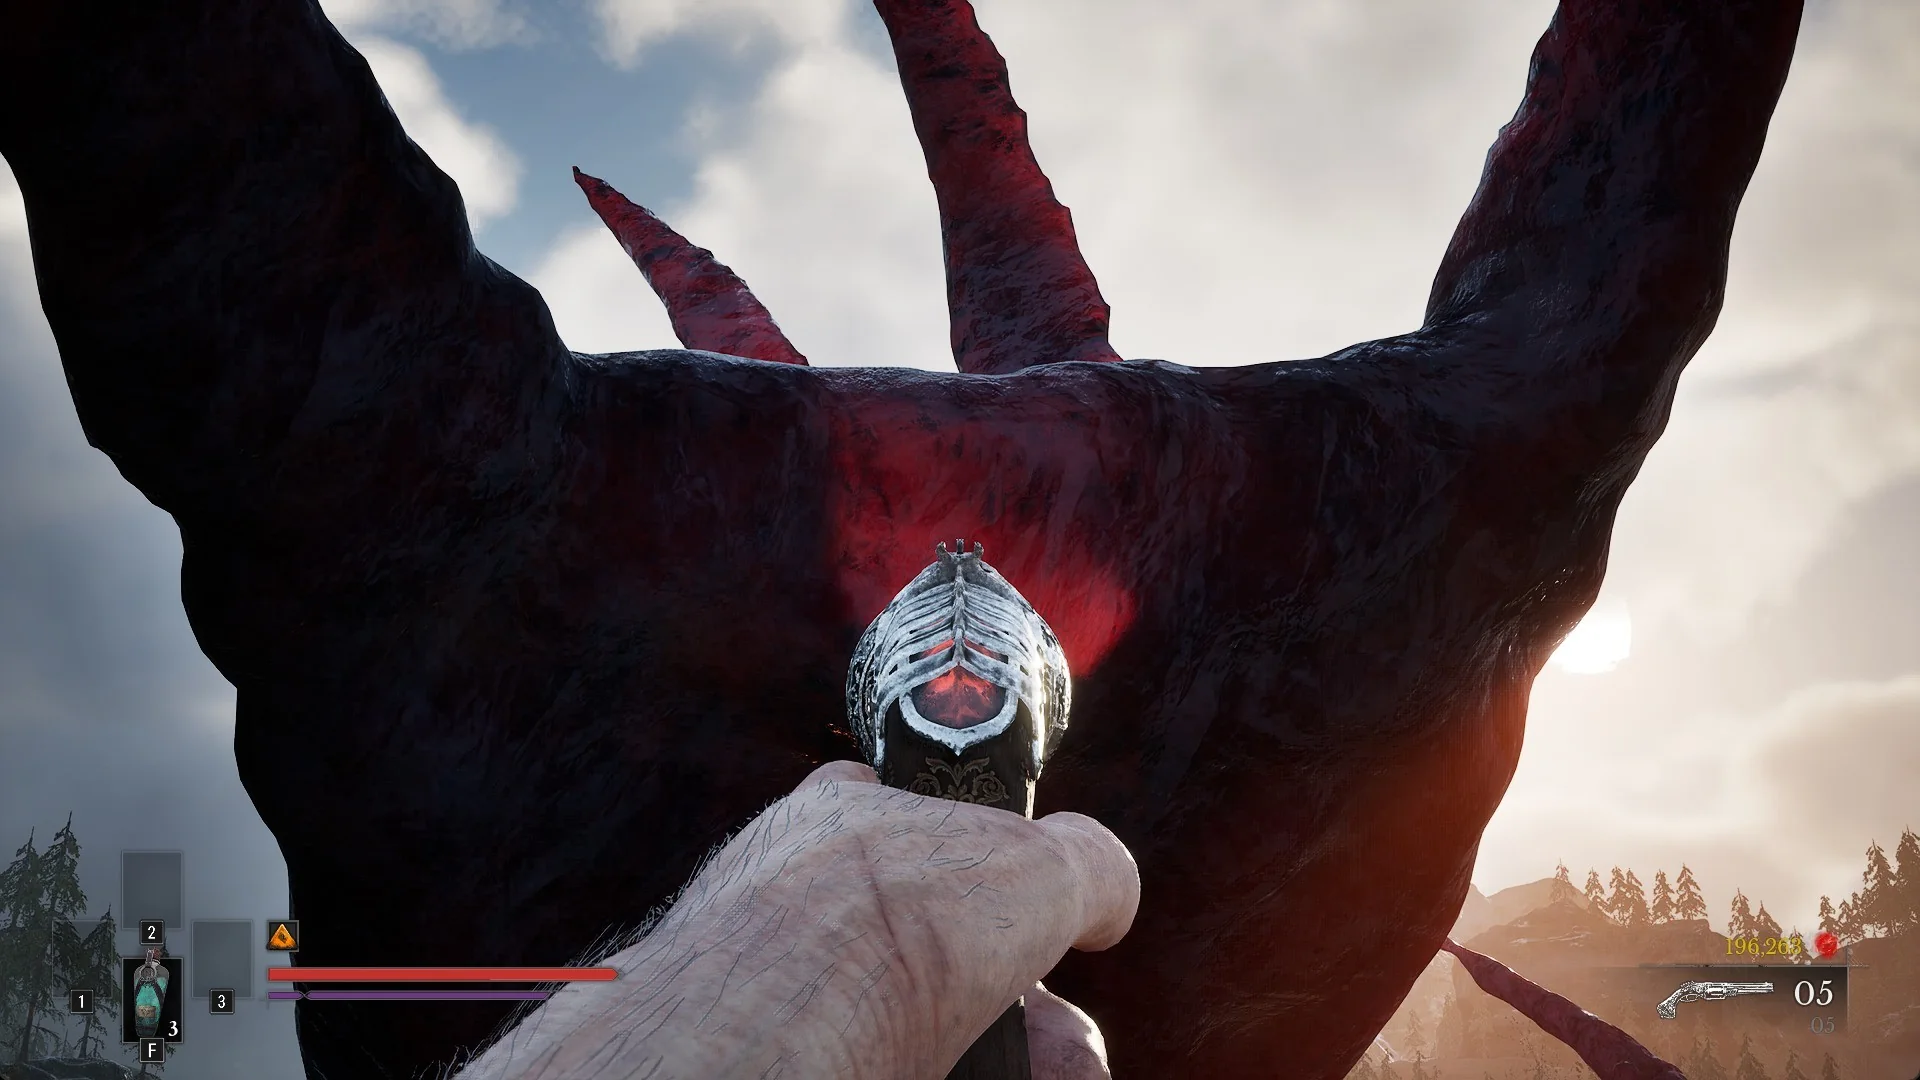
Valor Mortis spreads William’s journey across large, interconnected regions, and many paths stay sealed until you pick up movement abilities later in the campaign. Fast travel is what makes returning to those earlier spots painless, but it stays locked during the opening hours. You unlock it by reaching a fixed story milestone, after which every Lantern you light becomes a teleport point.
Quick answer: Beat General Lothaire, the Eagle-Bearer, enter the Abandoned Church behind him, and interact with the Lantern inside. That permanently unlocks fast travel between every Lantern you have lit.
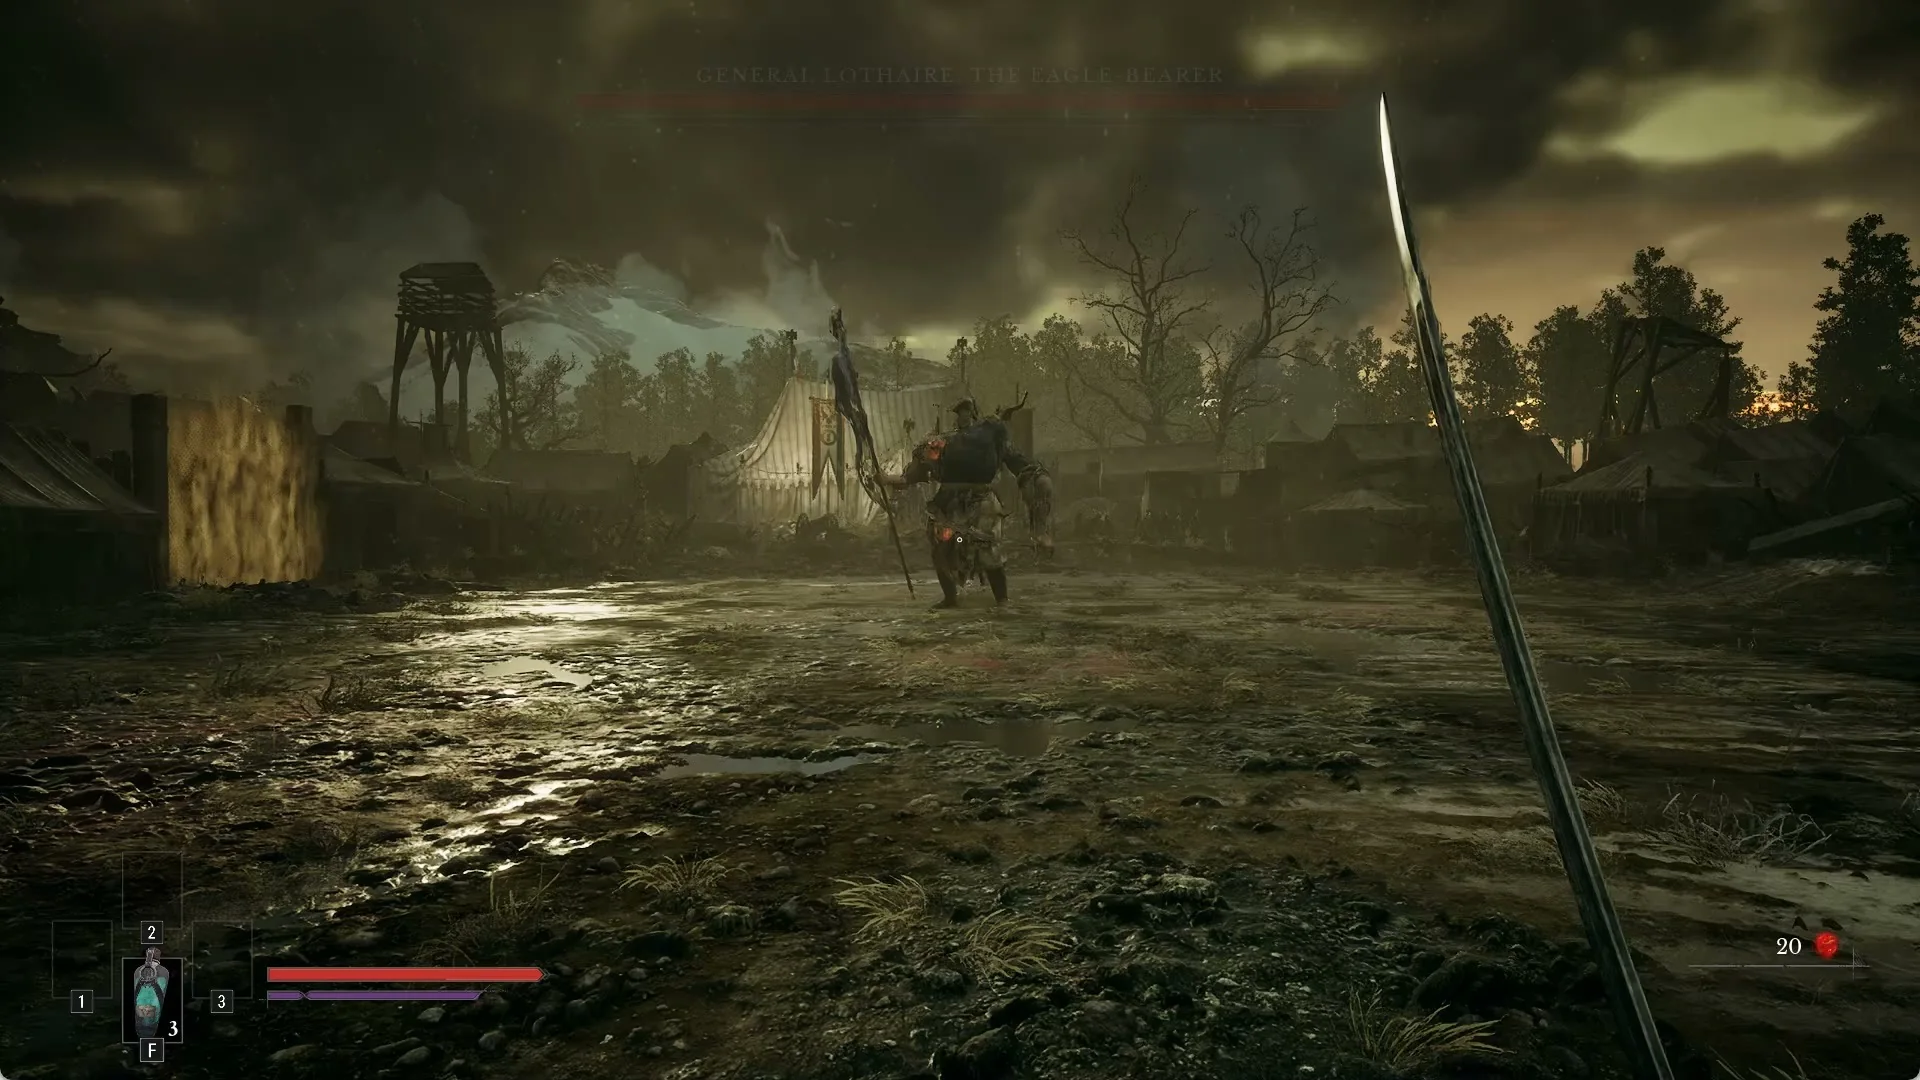
Unlock fast travel by defeating General Lothaire
There is no side quest or collectible tied to this feature. You simply push through the main story until you clear the second chapter. The fight that matters sits at the end of the Valley of Ashes, where General Lothaire, the Eagle-Bearer blocks the entrance to the Abandoned Church.
You meet Lothaire earlier, during the opening battlefield sequence, but William loses that encounter and is dragged away. The rematch outside the church is the one you need to win. A fog wall marks the arena in the usual soulslike fashion, and the door to the hub lies directly past him.
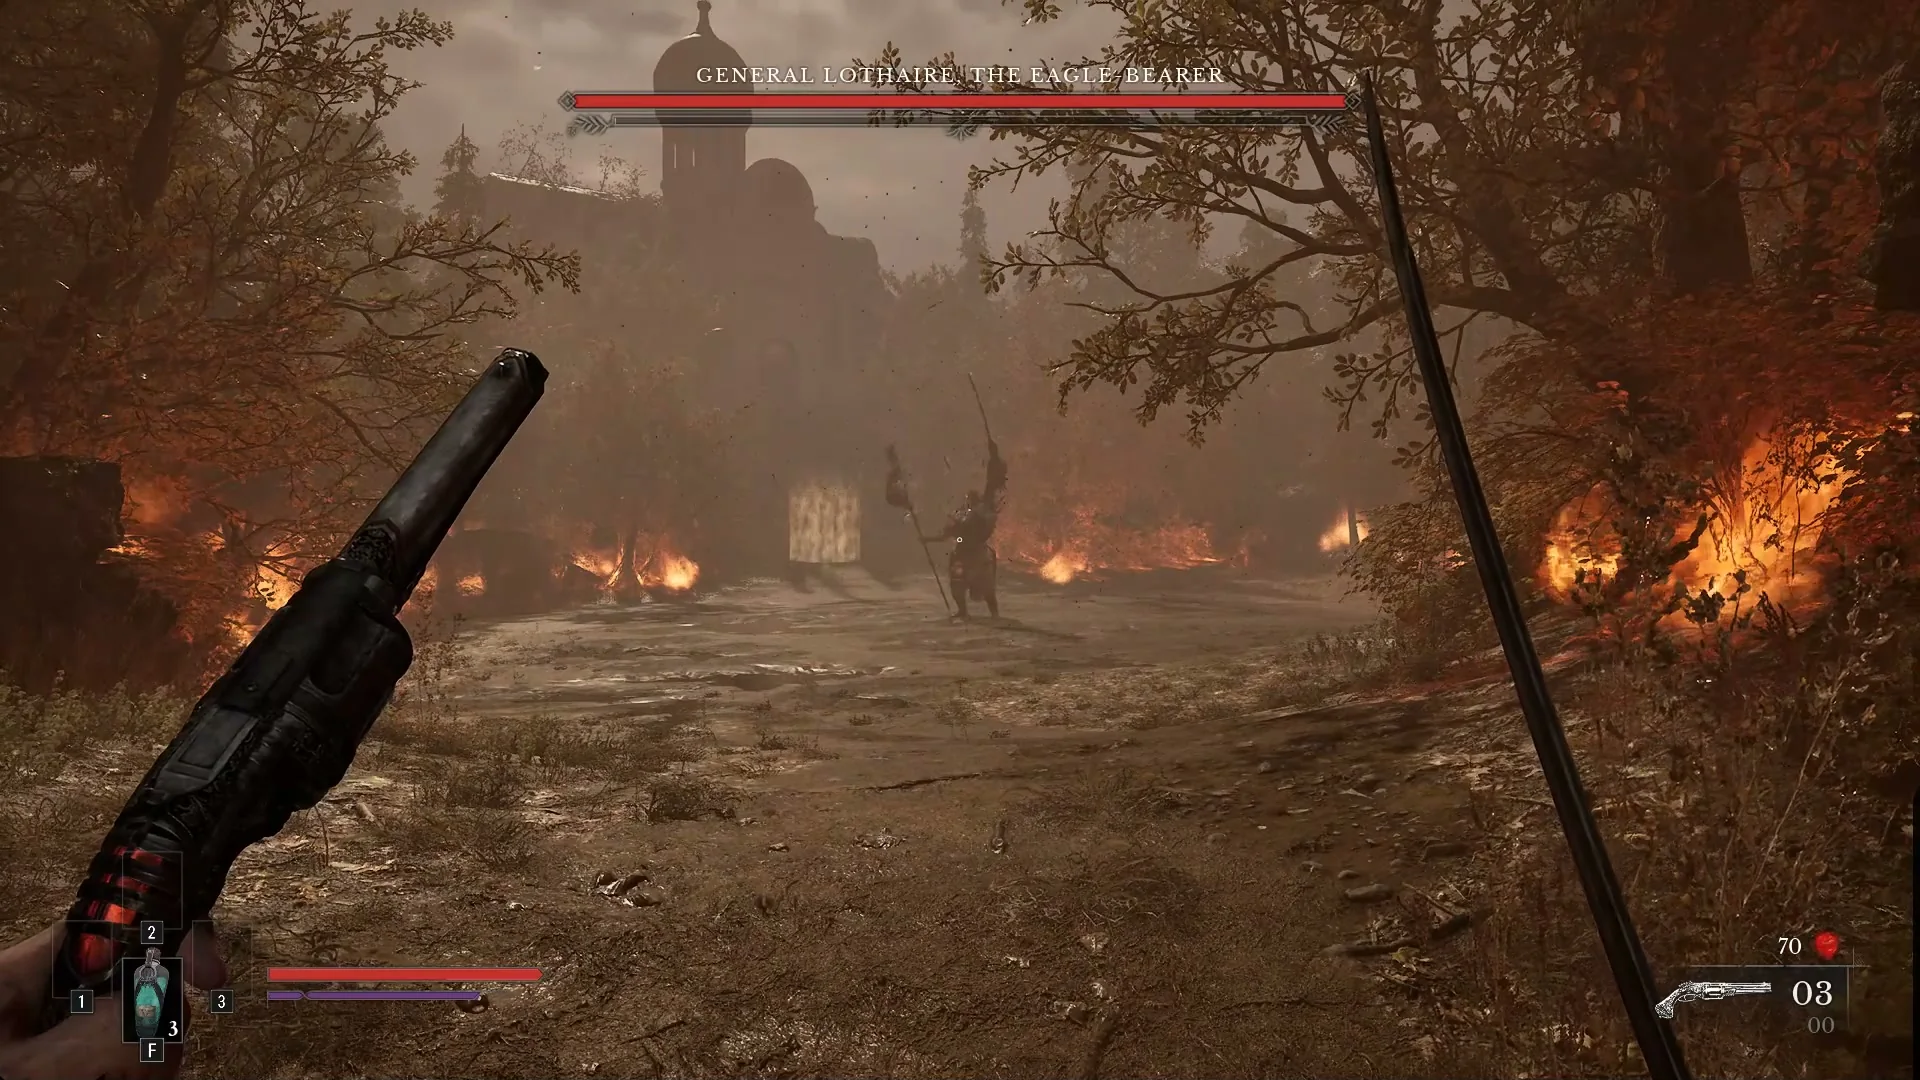
Explore each region thoroughly before you move on, because William cannot revisit most areas until fast travel is active, and a couple of story-only zones never reopen at all.
Activate the Abandoned Church Lantern
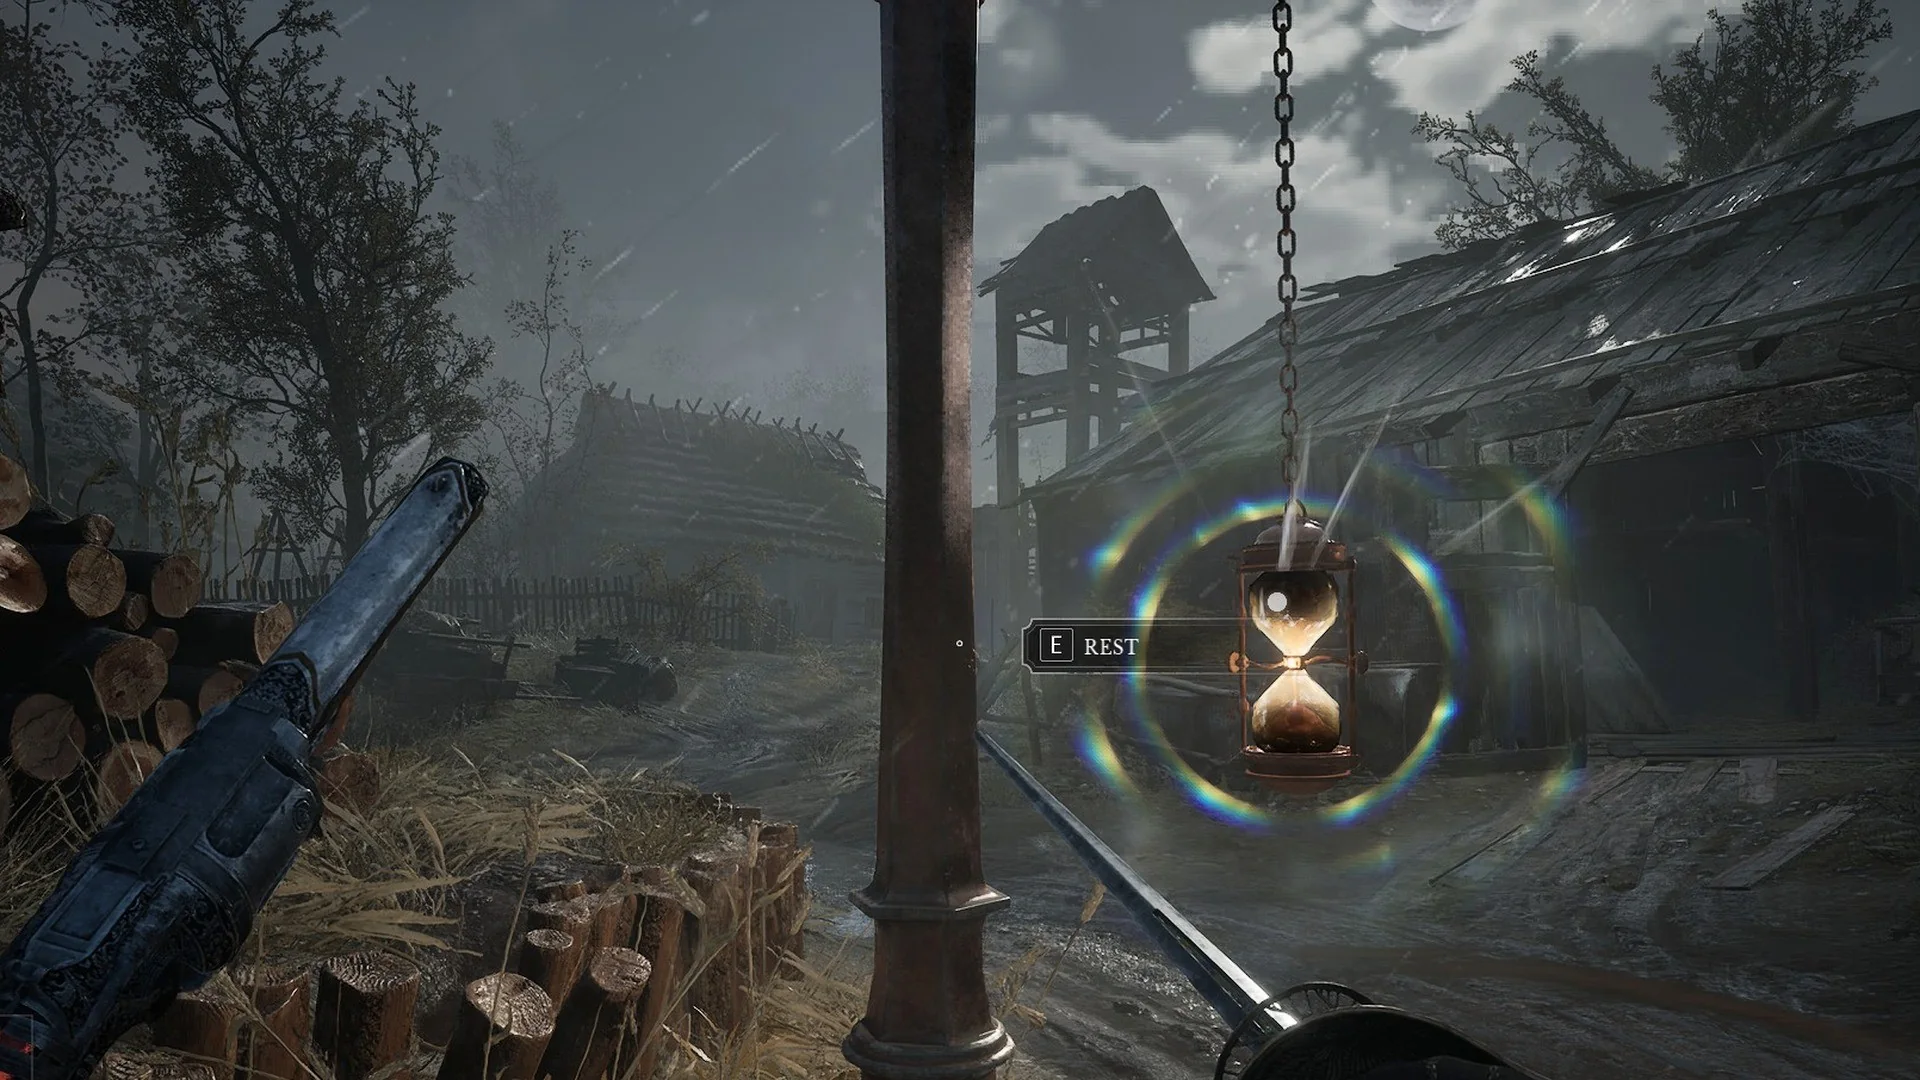
Step inside the church after the fight and James greets you. The Abandoned Church becomes your base of operations, the place you return to for weapon upgrades and story progression. Walk up to the Lantern inside, an hourglass lantern hanging on a chain just inside the church’s main door, and press E at the “REST” prompt.
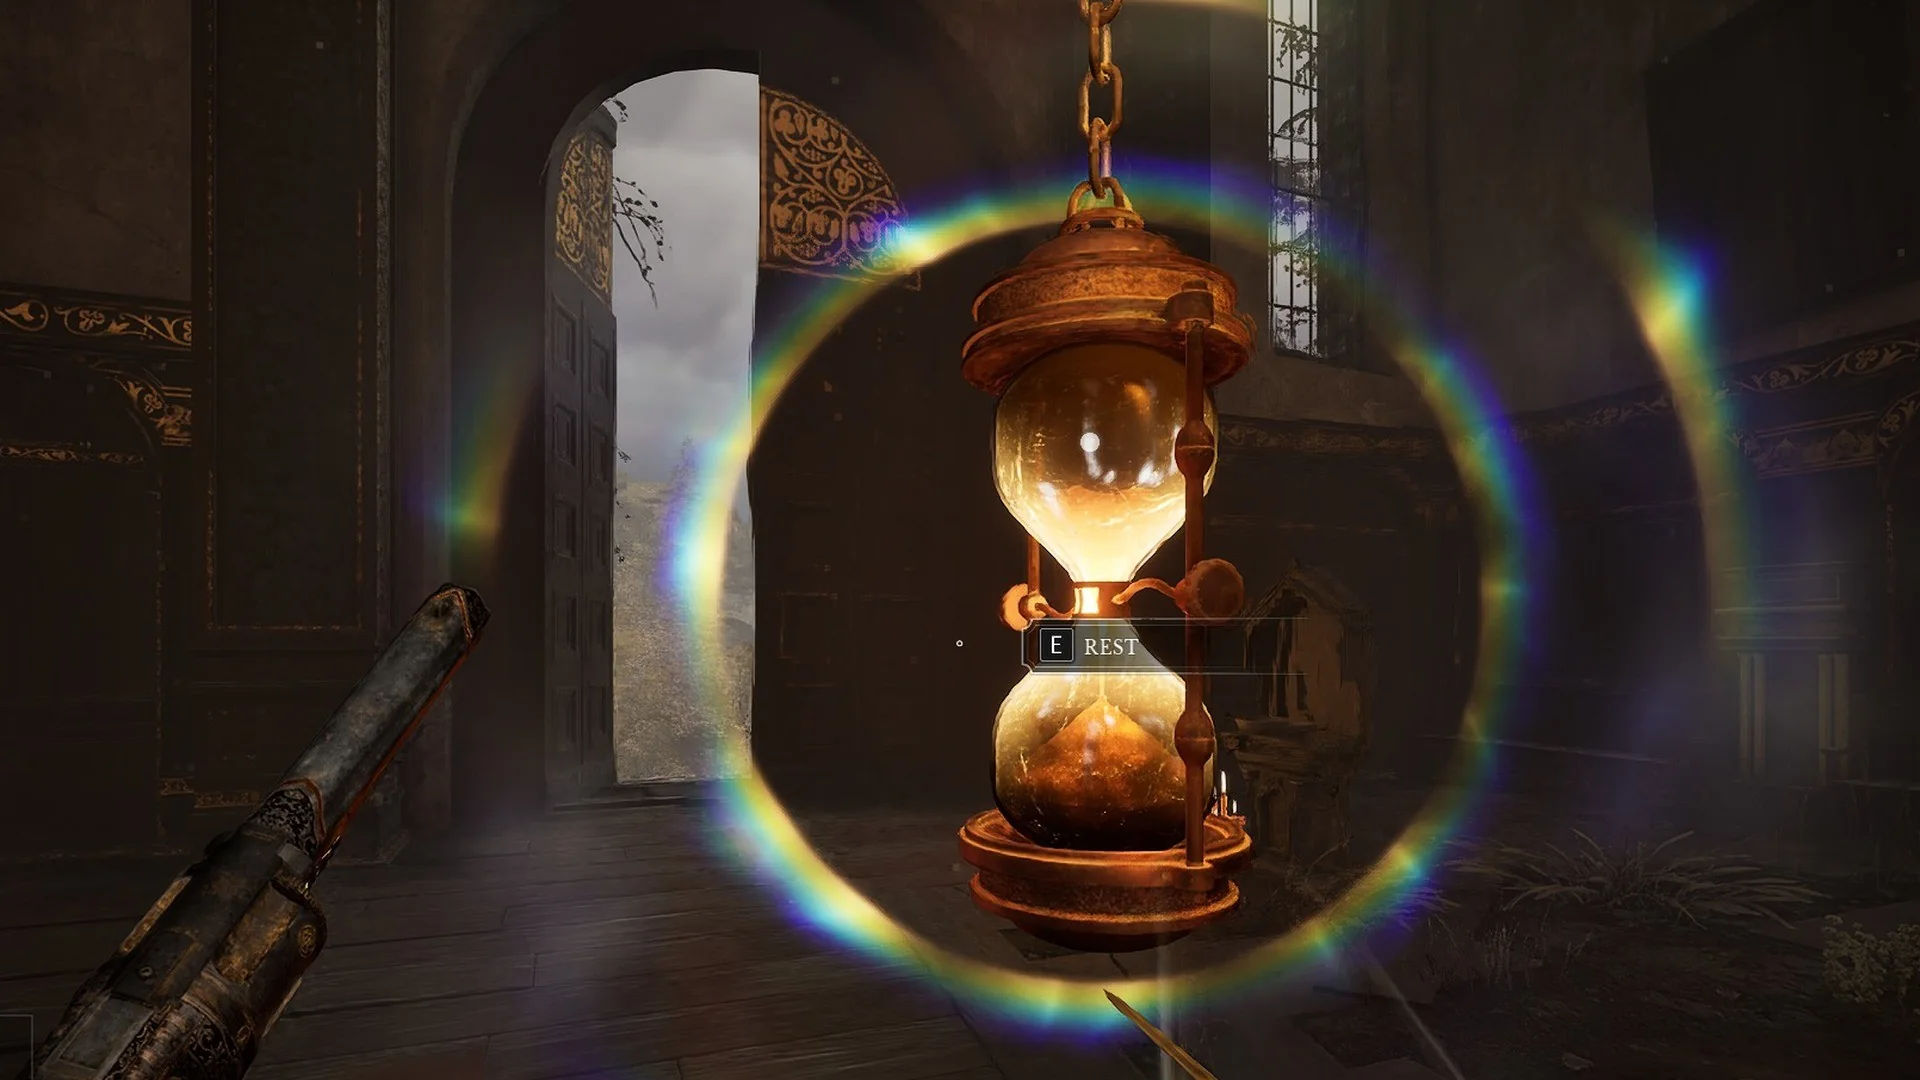
The first time you rest at it, a Fast Travel tutorial appears: “You can freely travel between any discovered Lanterns.” The Lantern menu now has a TRAVEL row under LEVEL UP. That message is how you know fast travel is live. From this point on, you can use it for the rest of the playthrough, apart from a few moments covered in the section on when fast travel is blocked below.
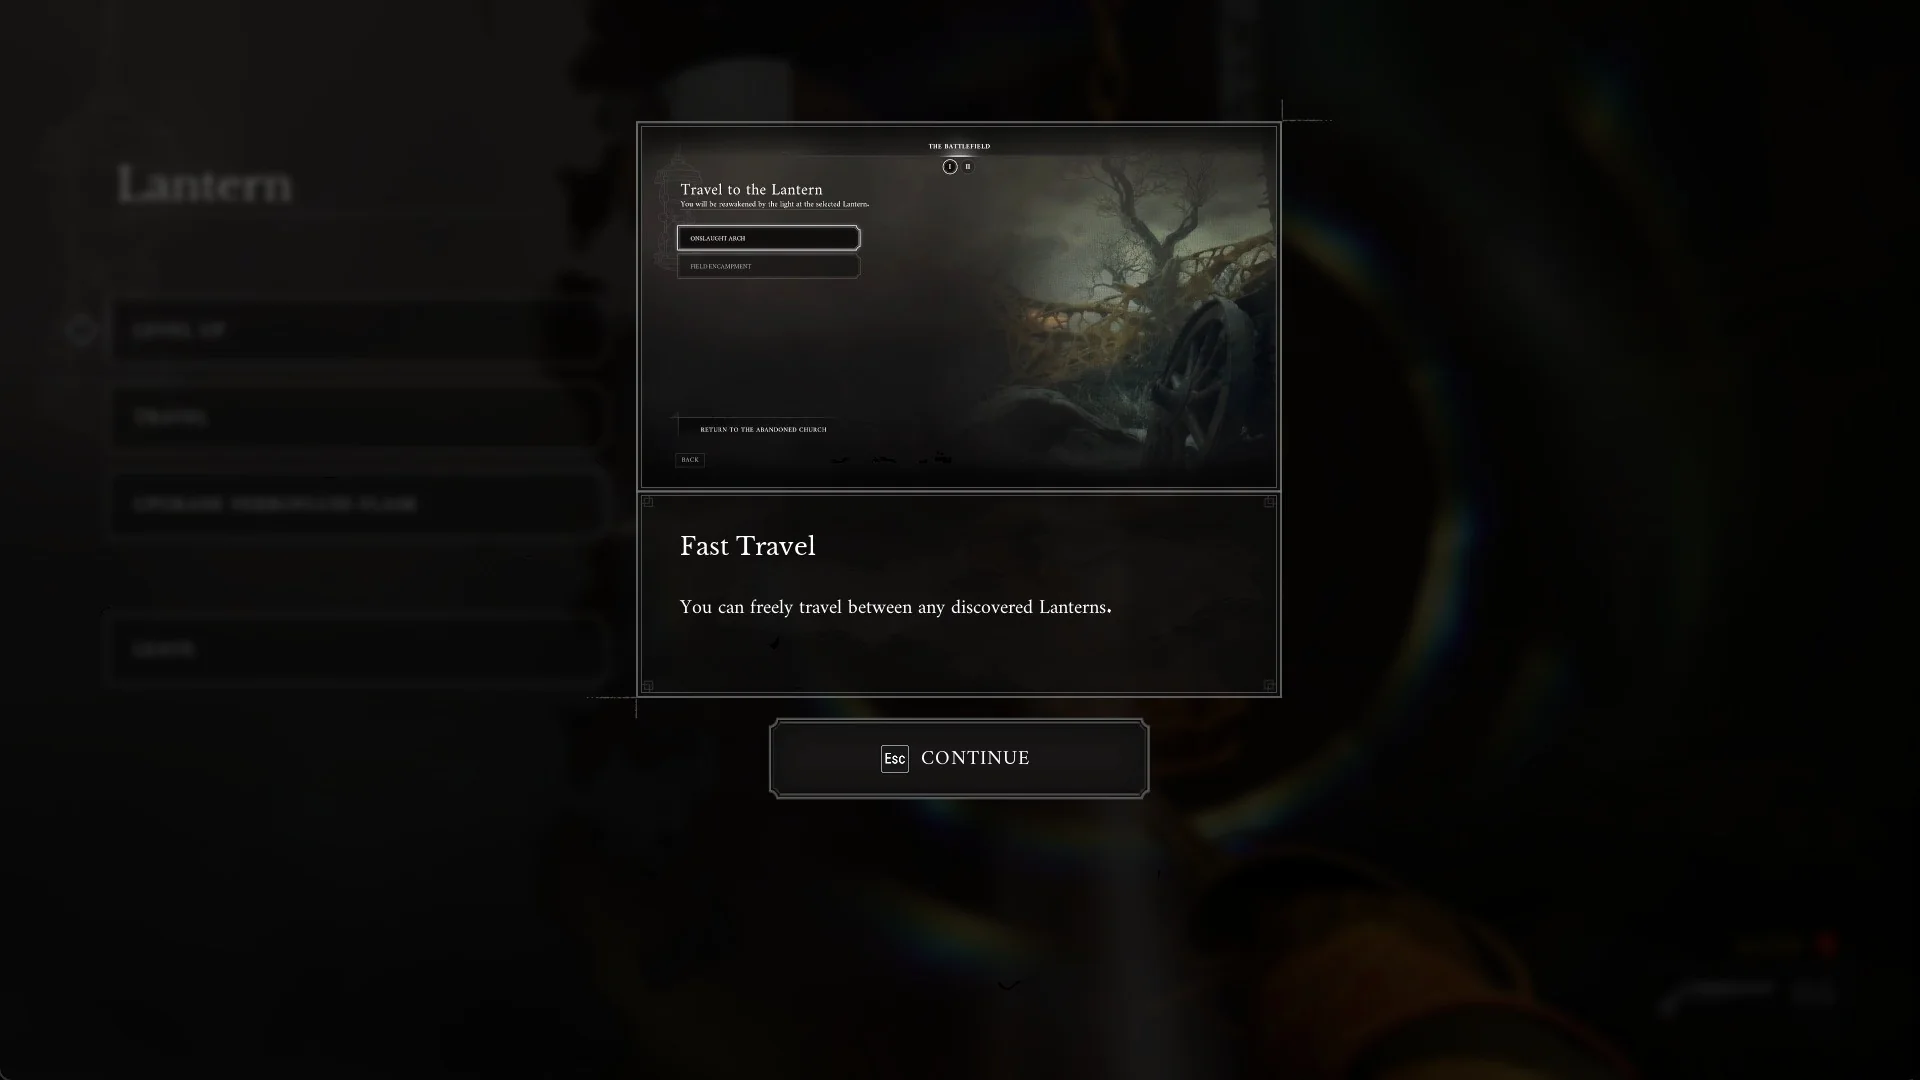
How to fast travel between Lanterns
Lanterns double as checkpoints, level-up stations, and teleport beacons. Any Lantern you have rekindled can send you to any other one you have discovered.
See every Lantern by region on the Valor Mortis map.
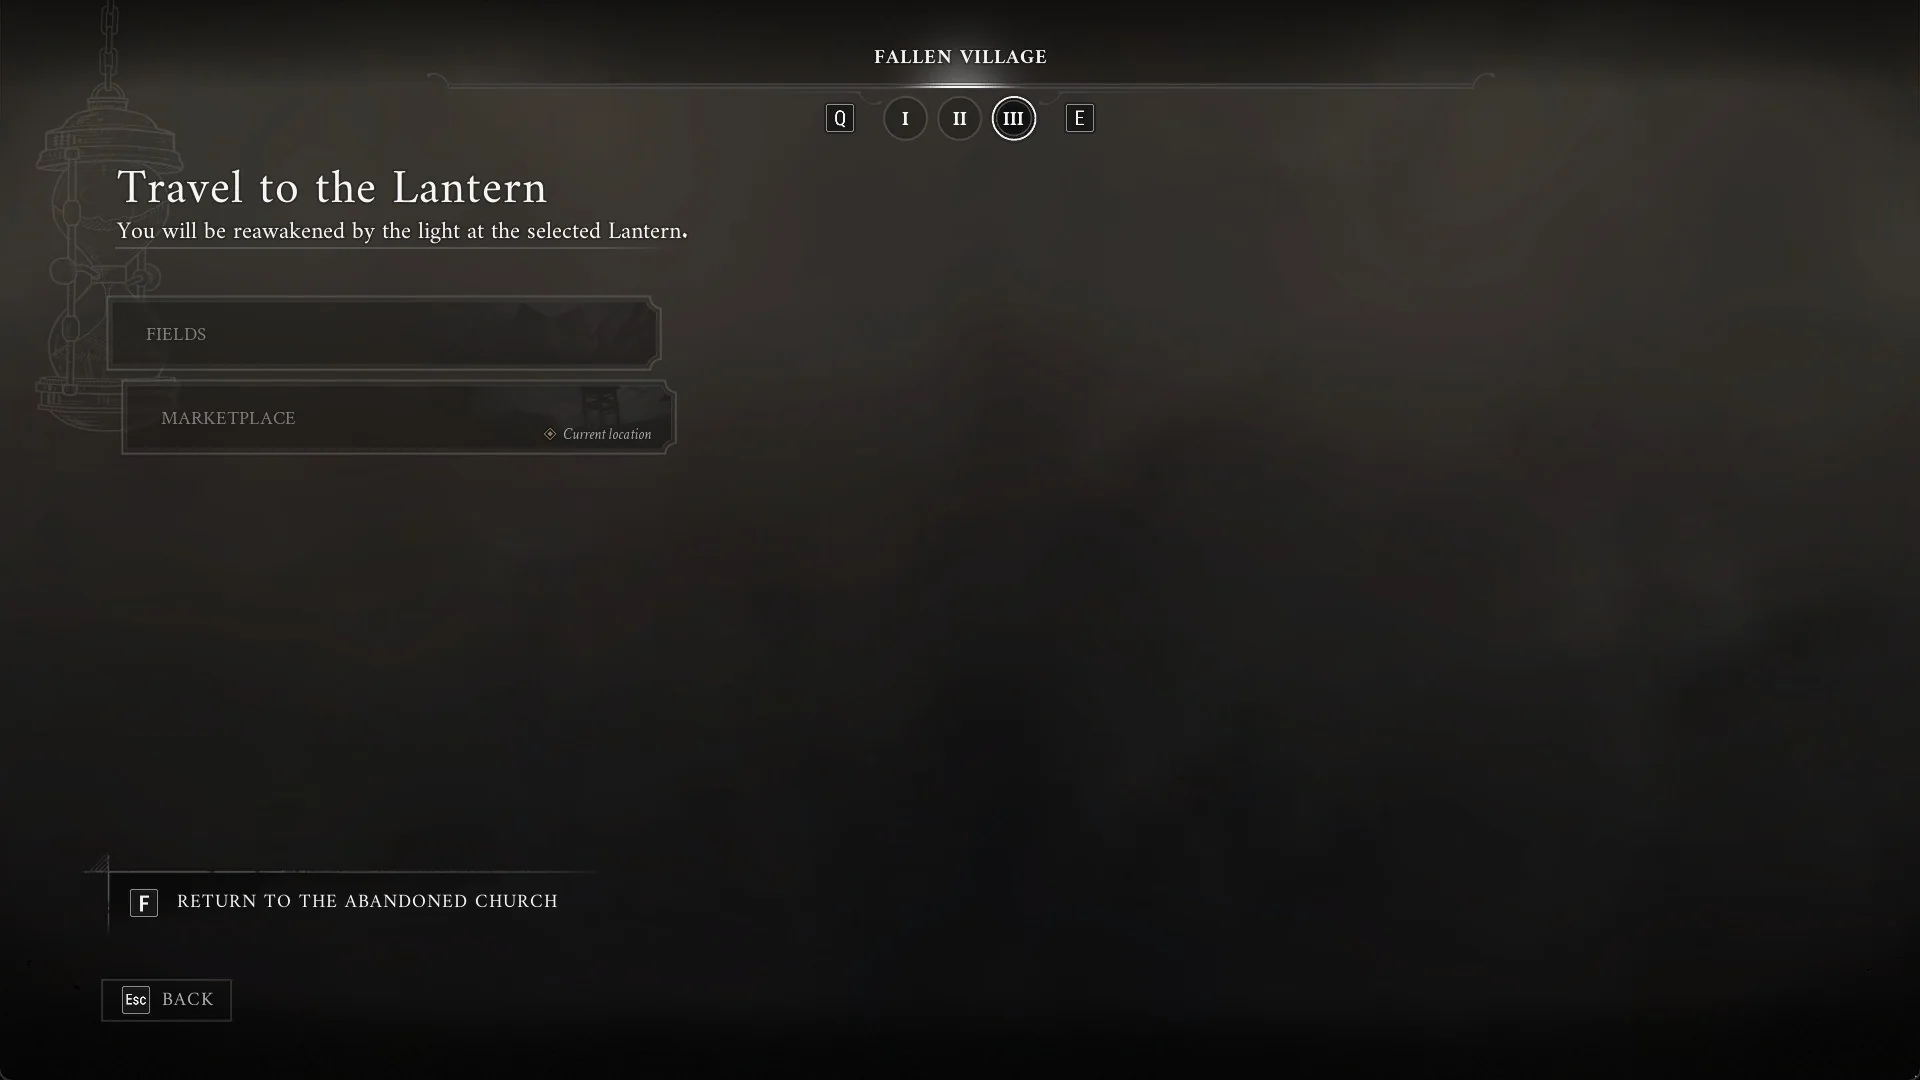
The full Lantern interface holds four options, so it helps to know what each one does before you start jumping around.
| Option | What it does |
|---|---|
| Level Up | Spend Catalysts on stats and passive skills |
| Travel | Teleport to any discovered Lantern |
| Upgrade Ferrofluid Flask | Improve your healing flask |
| Leave | Exit the rest screen |
When fast travel is blocked
Unlocking fast travel does not make it usable at every time. While a boss’s health bar is visible, the fight remains active; regional Lanterns will not allow you to rest, leaving their menu closed and travel unavailable. Finish the fight, die, or choose Surrender to access the menu again.
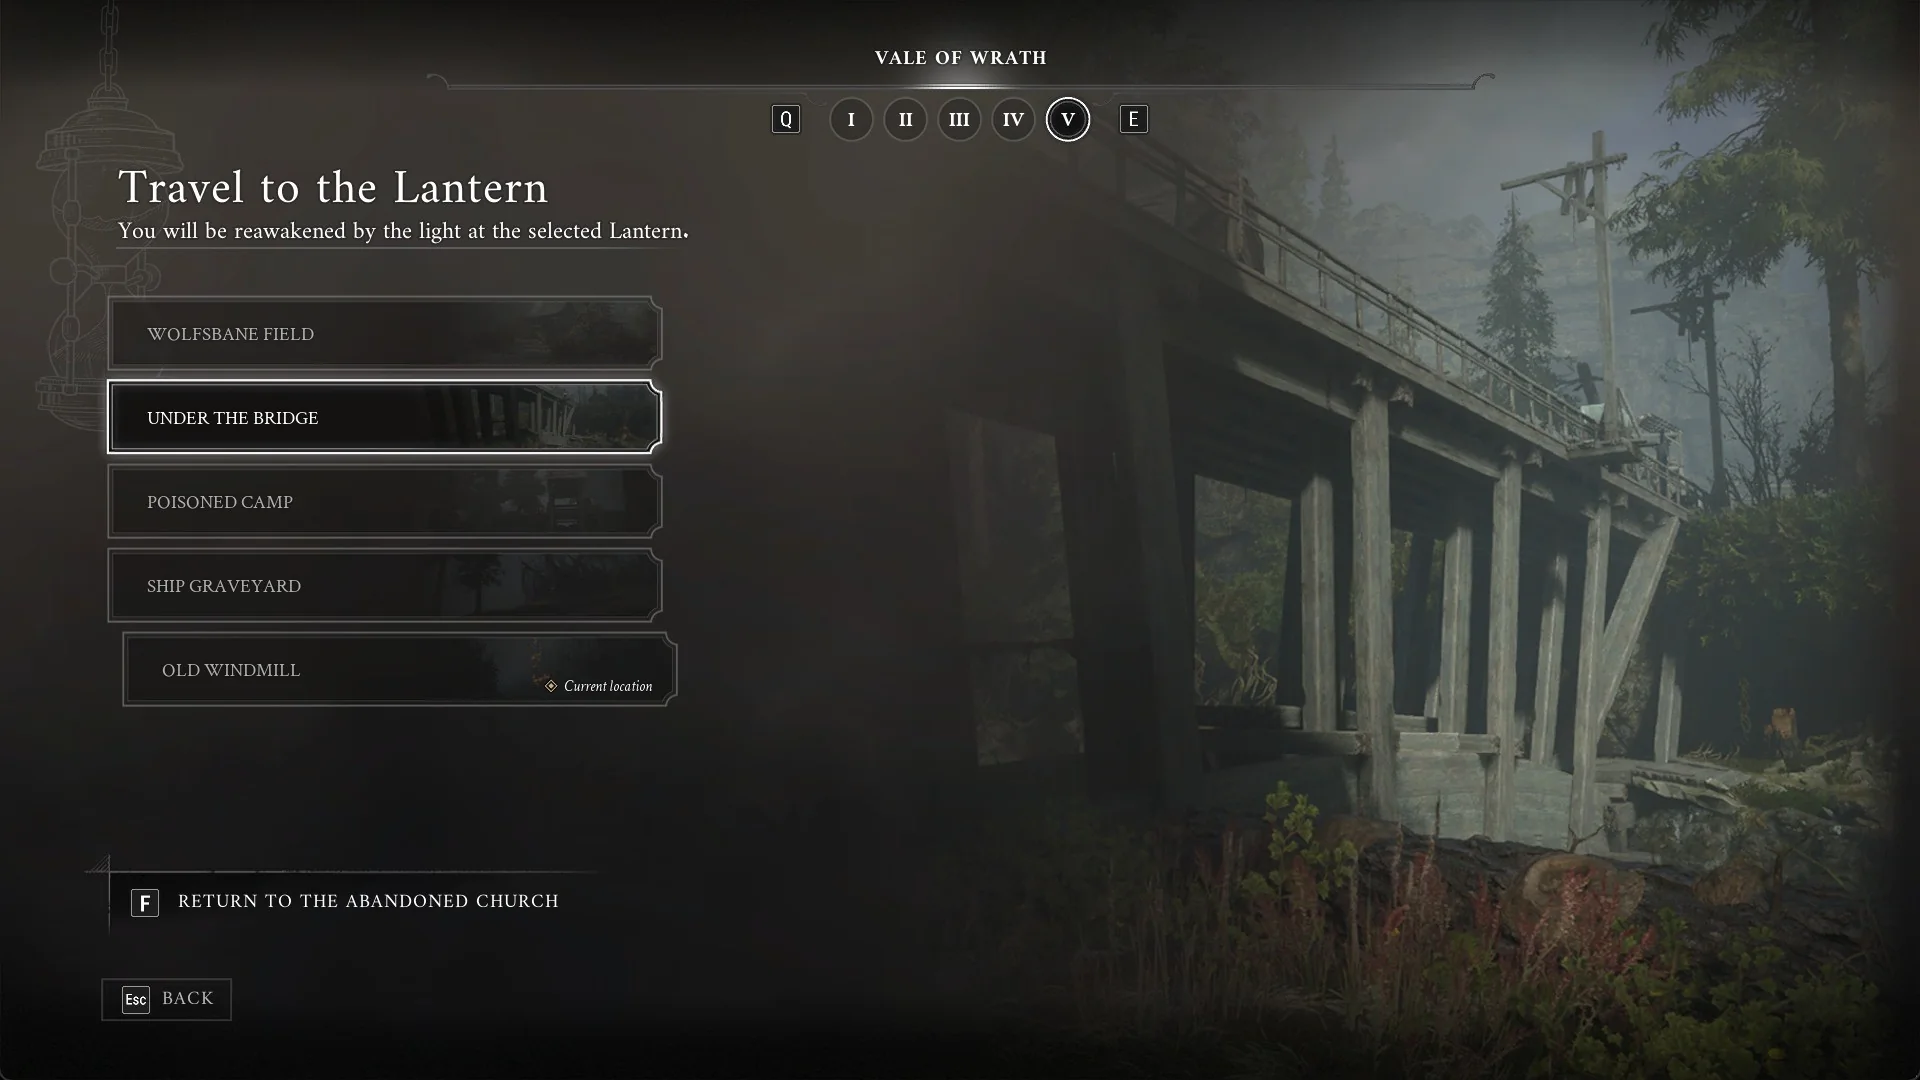
Story progress can also temporarily disable travel from the hub. In Chapter IV, after the Sphinx, back in the Abandoned Church, the hub Lantern displays “Travel between lanterns is currently impossible.”; TRAVEL is greyed out, but LEVEL UP and UPGRADE FERROFLUID FLASK remain available. At about the same point, the travel screen renders “[F] RETURN TO THE ABANDONED CHURCH” dimly, and pressing F has no effect.
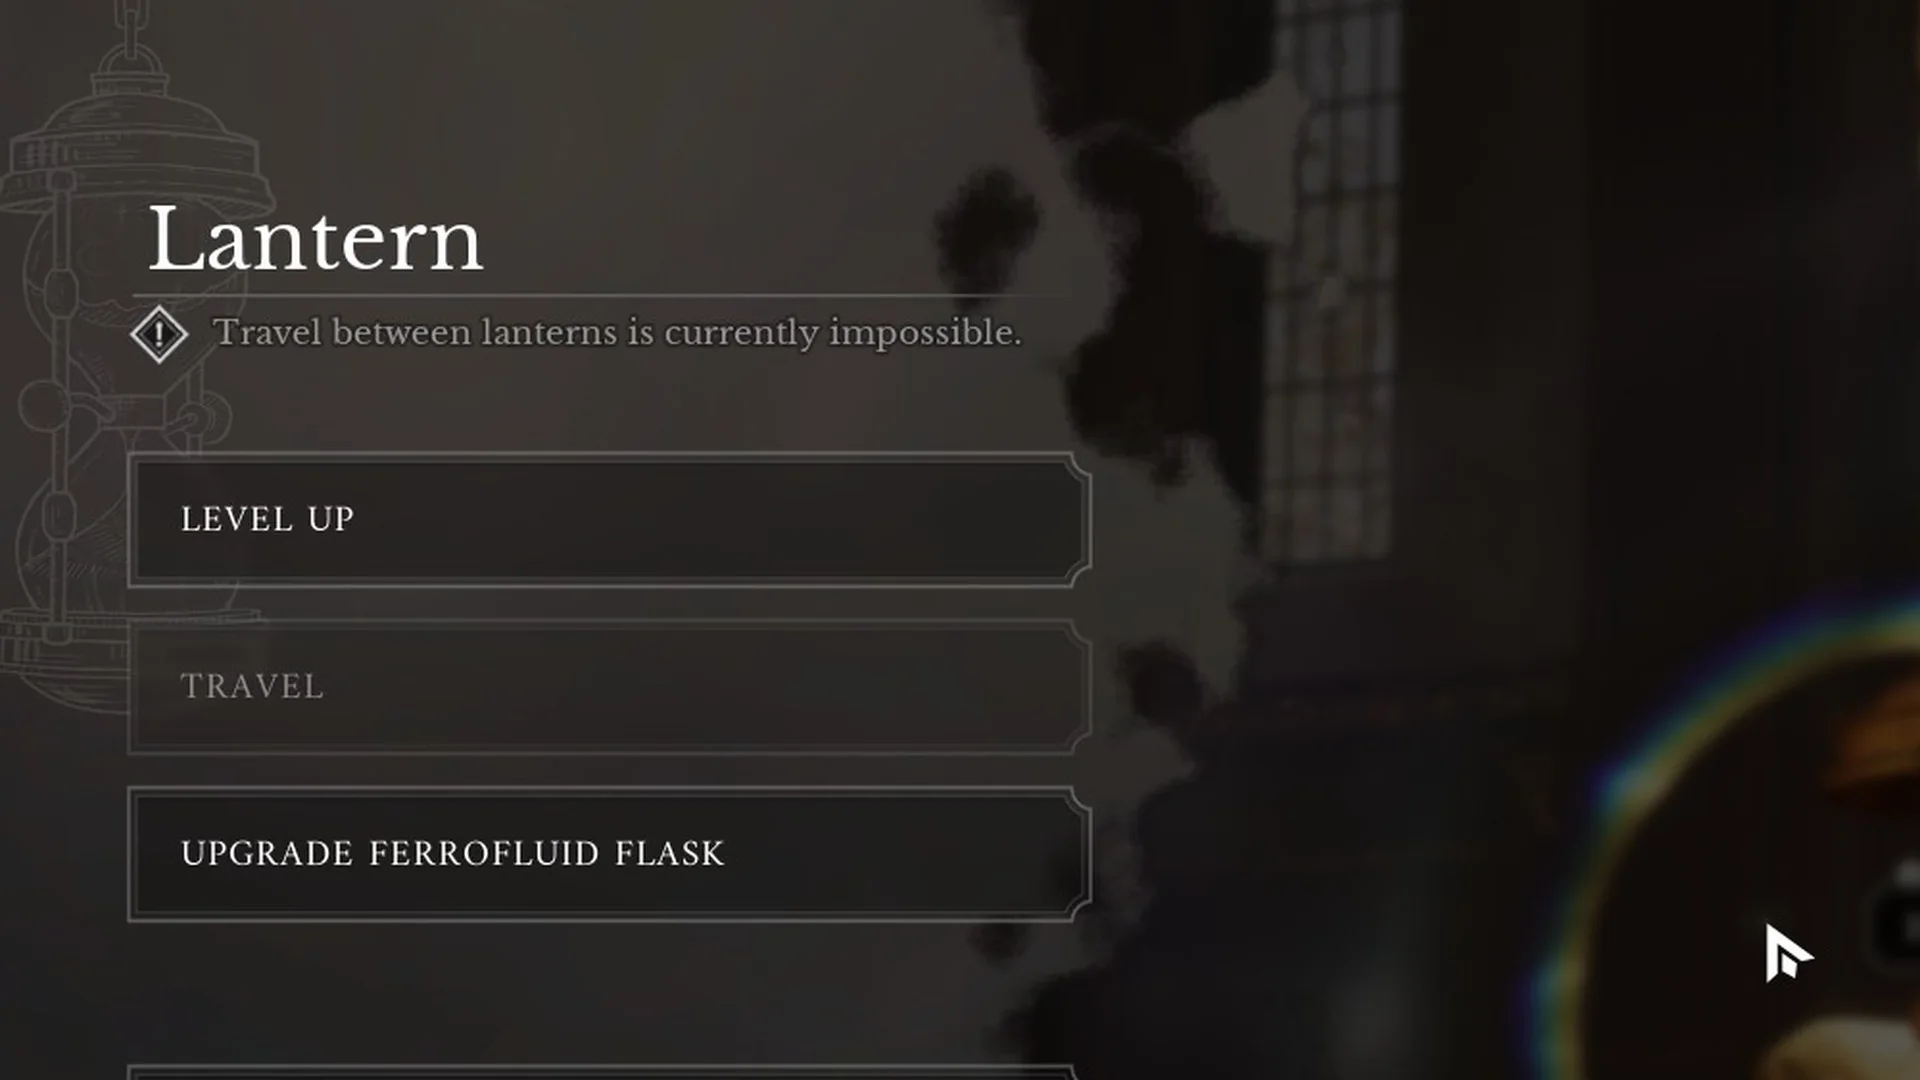
The travel lock does not last for the rest of the story. In Chapter V, once you reach the Vale of Wrath, the travel screen is usable again and offers “F RETURN TO THE ABANDONED CHURCH” as an available option.
Every fast travel region and its Lanterns
Ten regions open up for revisiting once fast travel is unlocked, each holding several Lanterns. Two additional story-locked areas, the Prison and Entropy, do not appear in the travel list and cannot be returned to even after their quests are done.
| Region | Lanterns |
|---|---|
| The Battlefield | Onslaught Arch, Trenches, Field Encampment |
| Valley of Ashes | Guidepost, Demolished Path, The Climb, The Other Side, Military Camp, Quarry |
| Fallen Village | Fields, Marketplace, Orchard, Path of Fire |
| Caverns | Last Sunlight, Weeping Ledge, Old Mine, Mine Cart Route, Ancient Lair |
| Vale of Wrath | Wolfsbane Field, Under the Bridge, Poisoned Camp, Ship Graveyard, Old Windmill |
| Cursed Hollow | Eerie View, Village Church, Deep Water, Silent Cannons |
| The Outskirts | Broken Bridge, Breach, Island of Whispers, Market Square, Lighthouse, Harbour |
| City of Orphans | Tribunal Square, Shamble Street, Sewers |
| University | Main Hall, Lift Shaft, Laboratories, Sewage Drain |
| Fortress | Main Gate, Traverse, Chapel, Ramparts, Courtyard, High Tower |
Why backtracking matters after you unlock it
Valor Mortis leans on Metroidvania-style gating, so earlier regions hide items, paths, and whole pockets of the map that only open once you gain new tools. Abilities such as the Grapple and the Shield Transmutation let you cross gaps and reach loot that was impossible to touch on your first pass.
Because every Lantern links back to the Abandoned Church, you can clear an area, jump home to spend Catalysts and upgrade gear, then teleport right back out without walking through hostile ground. Returning with more levels and the right Transmutations is the fastest way to complete each region fully.