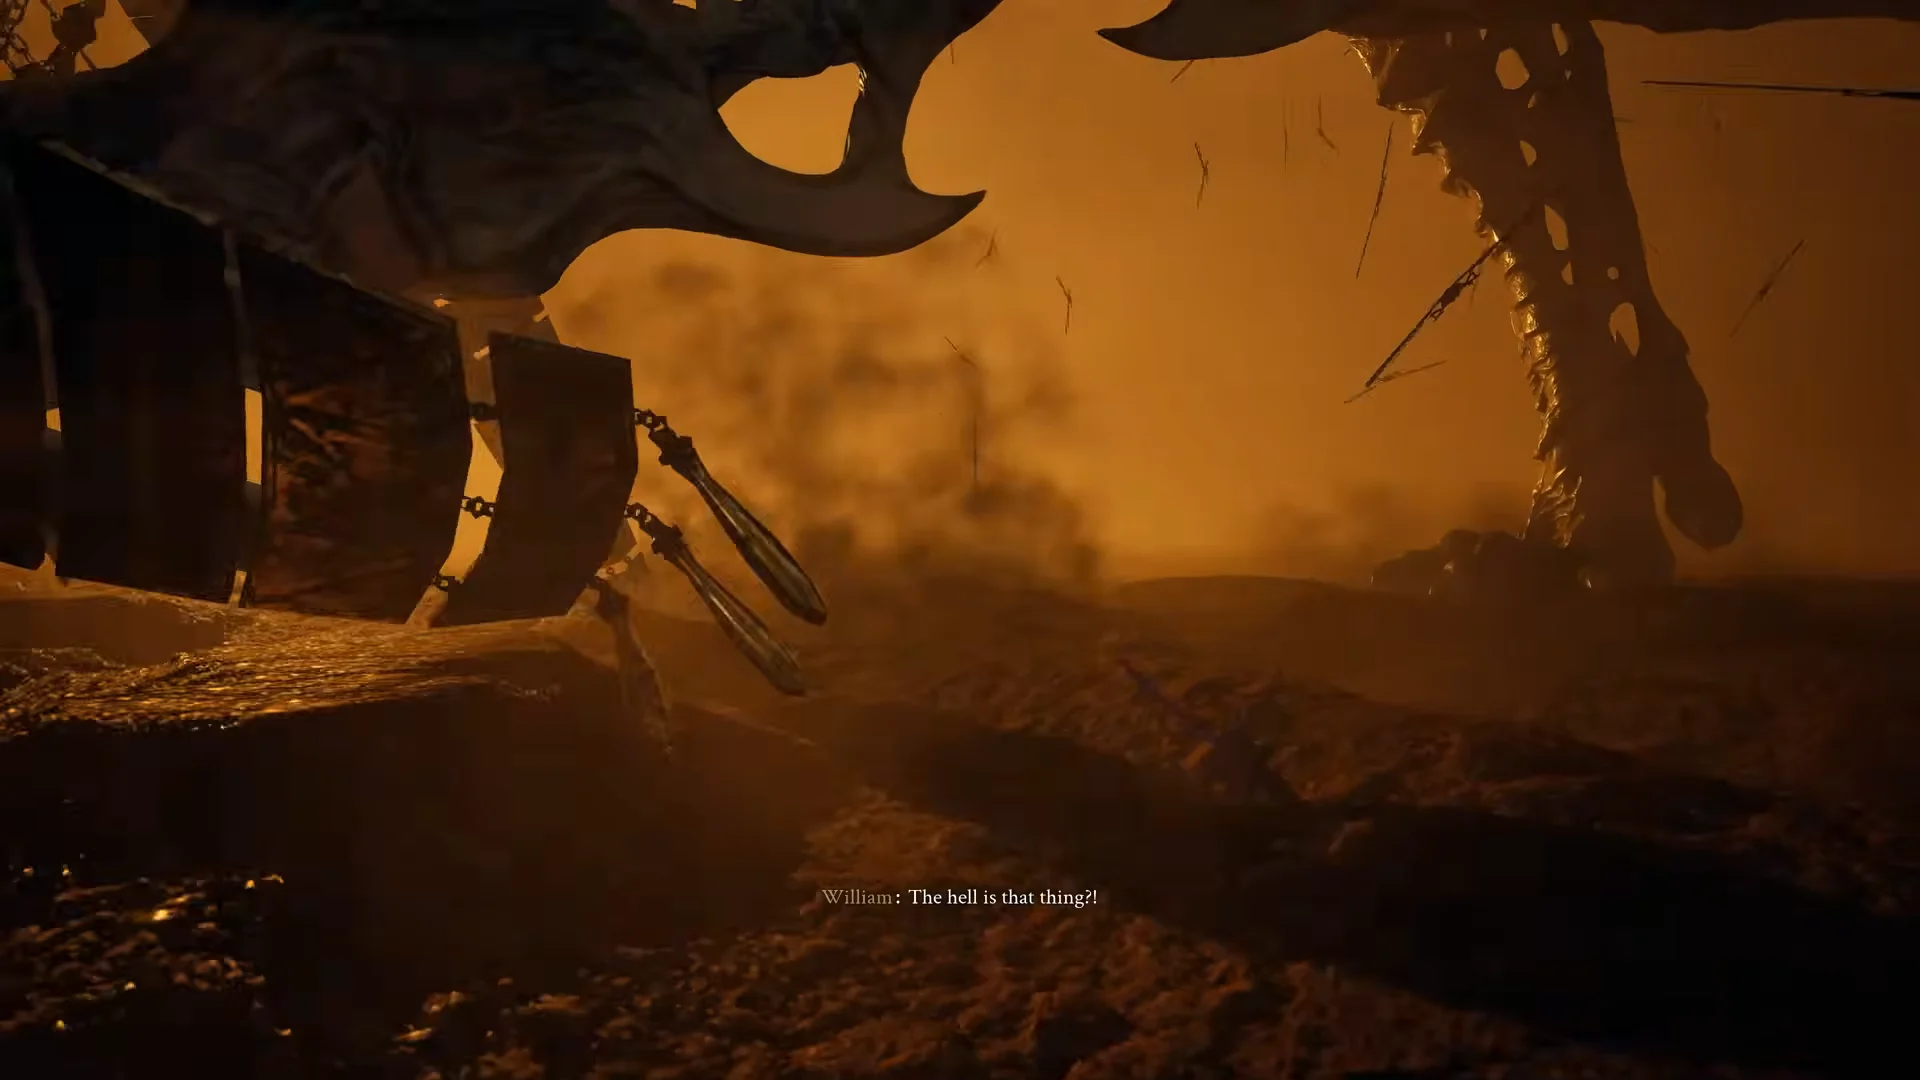
The Sphinx, Devourer of the Unworthy is a four-legged abomination in Valor Mortis, wrapped in chains and crowned with a golden pharaonic skull mask. It waits in a sun-scorched desert expanse dotted with pyramids, rising out of a sandstorm the moment William drops into the arena. The fight tests parry timing against fast melee rushes while layering in a growing set of ranged energy attacks.
Quick answer: The Sphinx appears in Chapter 4 of Valor Mortis, reached after a cart ride through the Salt Mines. Beating it awards 20,000 Catalysts and adds a new journal entry.
Where the Sphinx appears in Valor Mortis
During Chapter 4’s Dark Descent quest, William travels by cart through the Salt Mines and the cavern beneath them before reaching the Sphinx. He drops through a break in the rock into a sandy realm, where the creature emerges from the dunes. The arena has an ancient Egyptian feel, with pyramids visible in the distance around it.
Lore within the game frames the Sphinx as something wholly alien, proof that the plague does not only corrupt but can also create. It is treated as evidence that the force behind the calamity holds ambitions larger than people realise. William himself has no clear idea why his companion Louis wanted him to find this place.
How the two-stage fight is structured
The fight has two stages. At first, the Sphinx’s moves are easy to read: it strings together claw swipes and rapid dashes, then sometimes backs off to use a ranged attack. It favors close combat, but often pounces in a single leap to cover the distance and engage William.
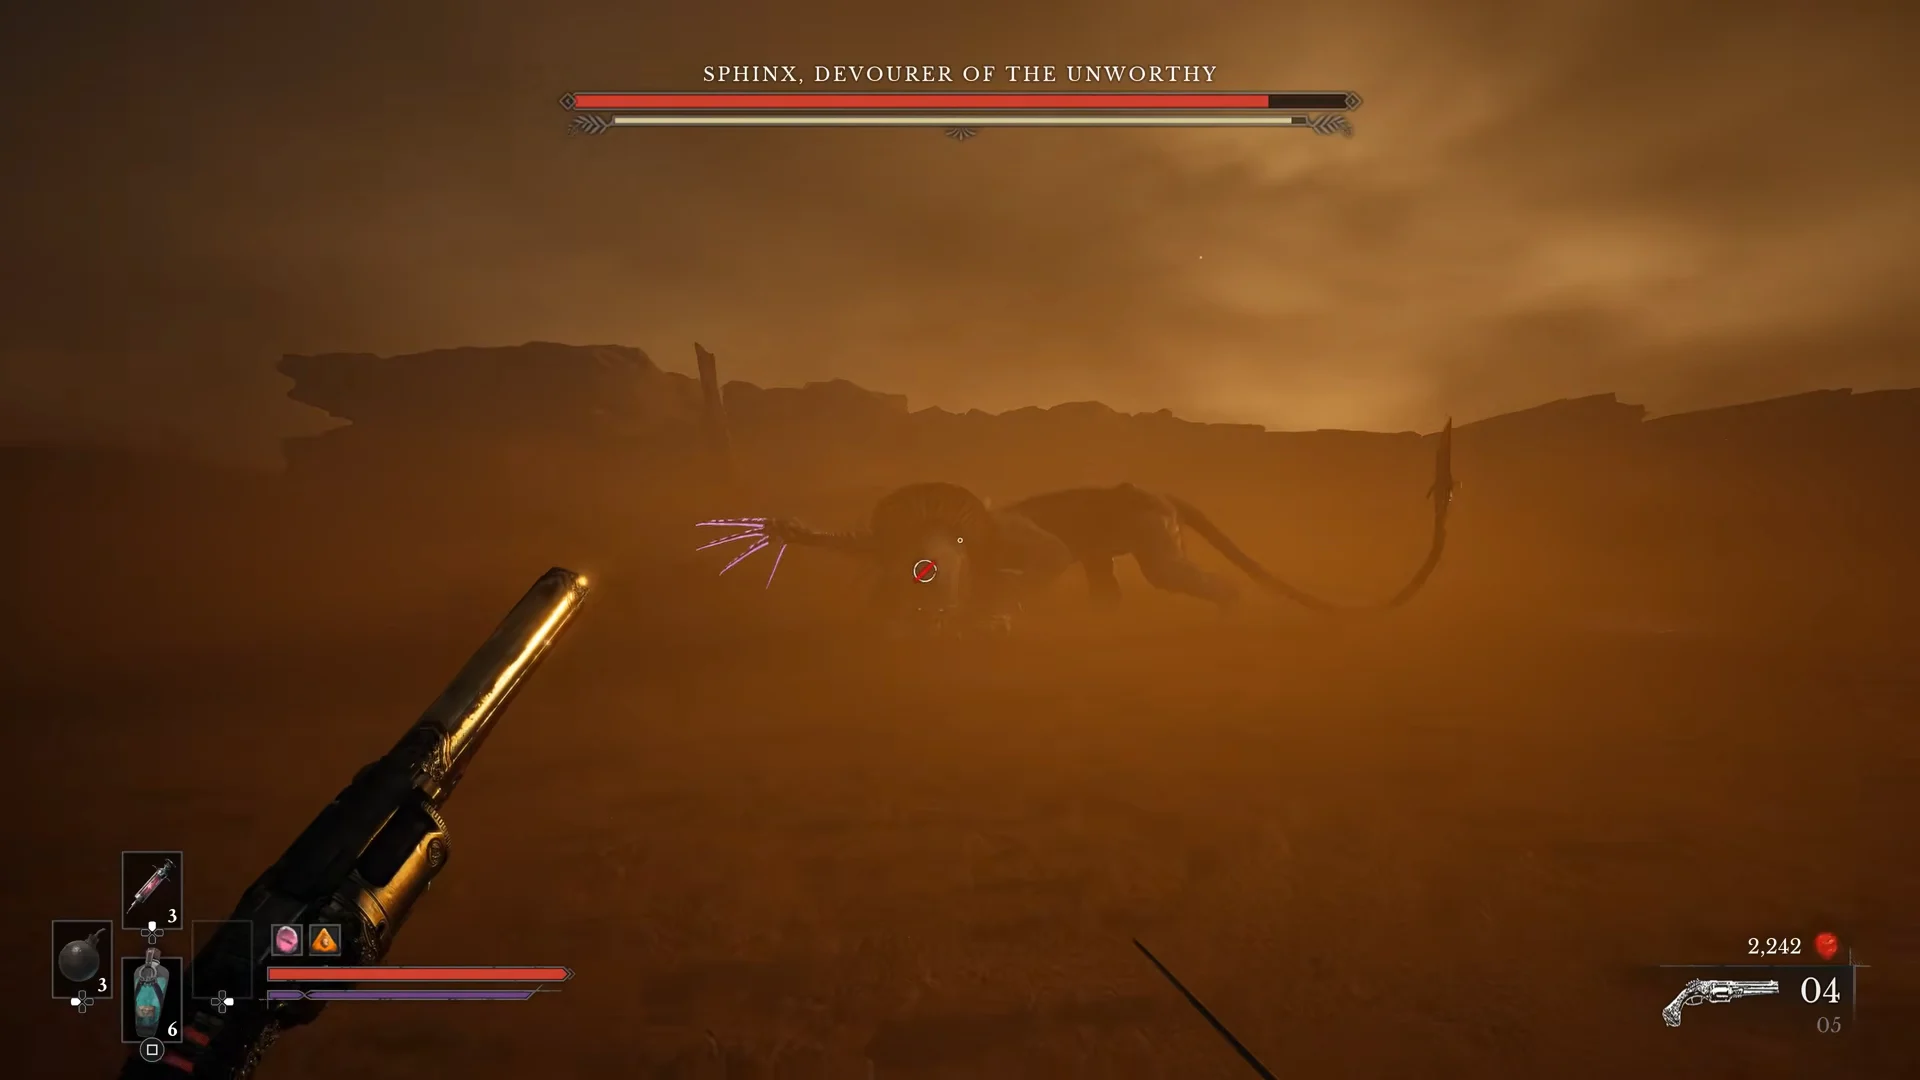
Once staggered and dropped the first time, the boss shifts into its enraged second stage. Its attacks speed up and its ranged options return in upgraded forms, so the pressure rarely lets up. Staying mobile and reading the change of pace matters more than trying to force the first-stage rhythm.
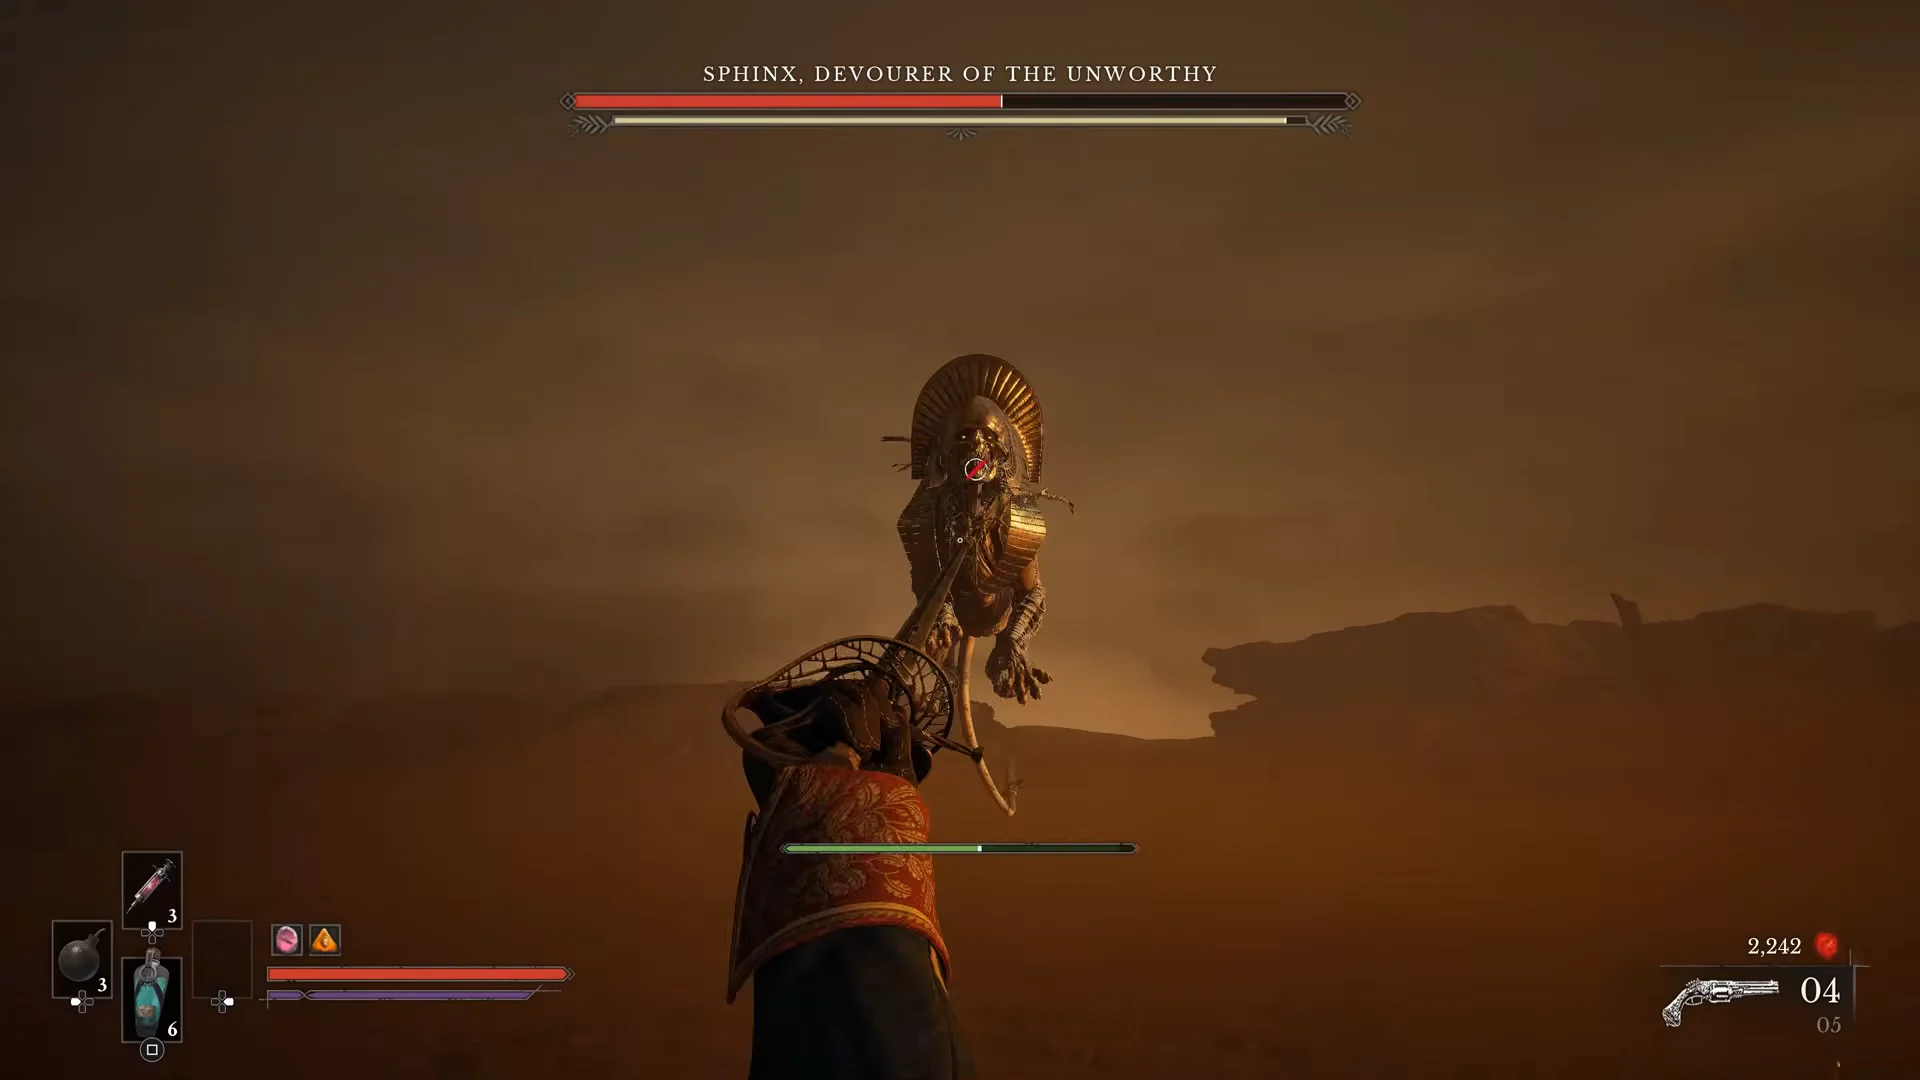
The Sphinx’s moveset
| Attack | Stage | Behaviour |
|---|---|---|
| 3-part combo | Both | Main claw pattern with several variants; parry each hit |
| Stalking slash | Stage 2 | Slashes that close distance one big step at a time |
| Leap attack | Both | Straight lunge or arc leap; some are unblockable |
| Tail strike | Stage 2 | Fast whip that can surprise early in the phase |
| Breath attack | Both | Short-range breath, easy to sidestep |
| Energy beam | Stage 2 | Beam from the mouth; dodge only |
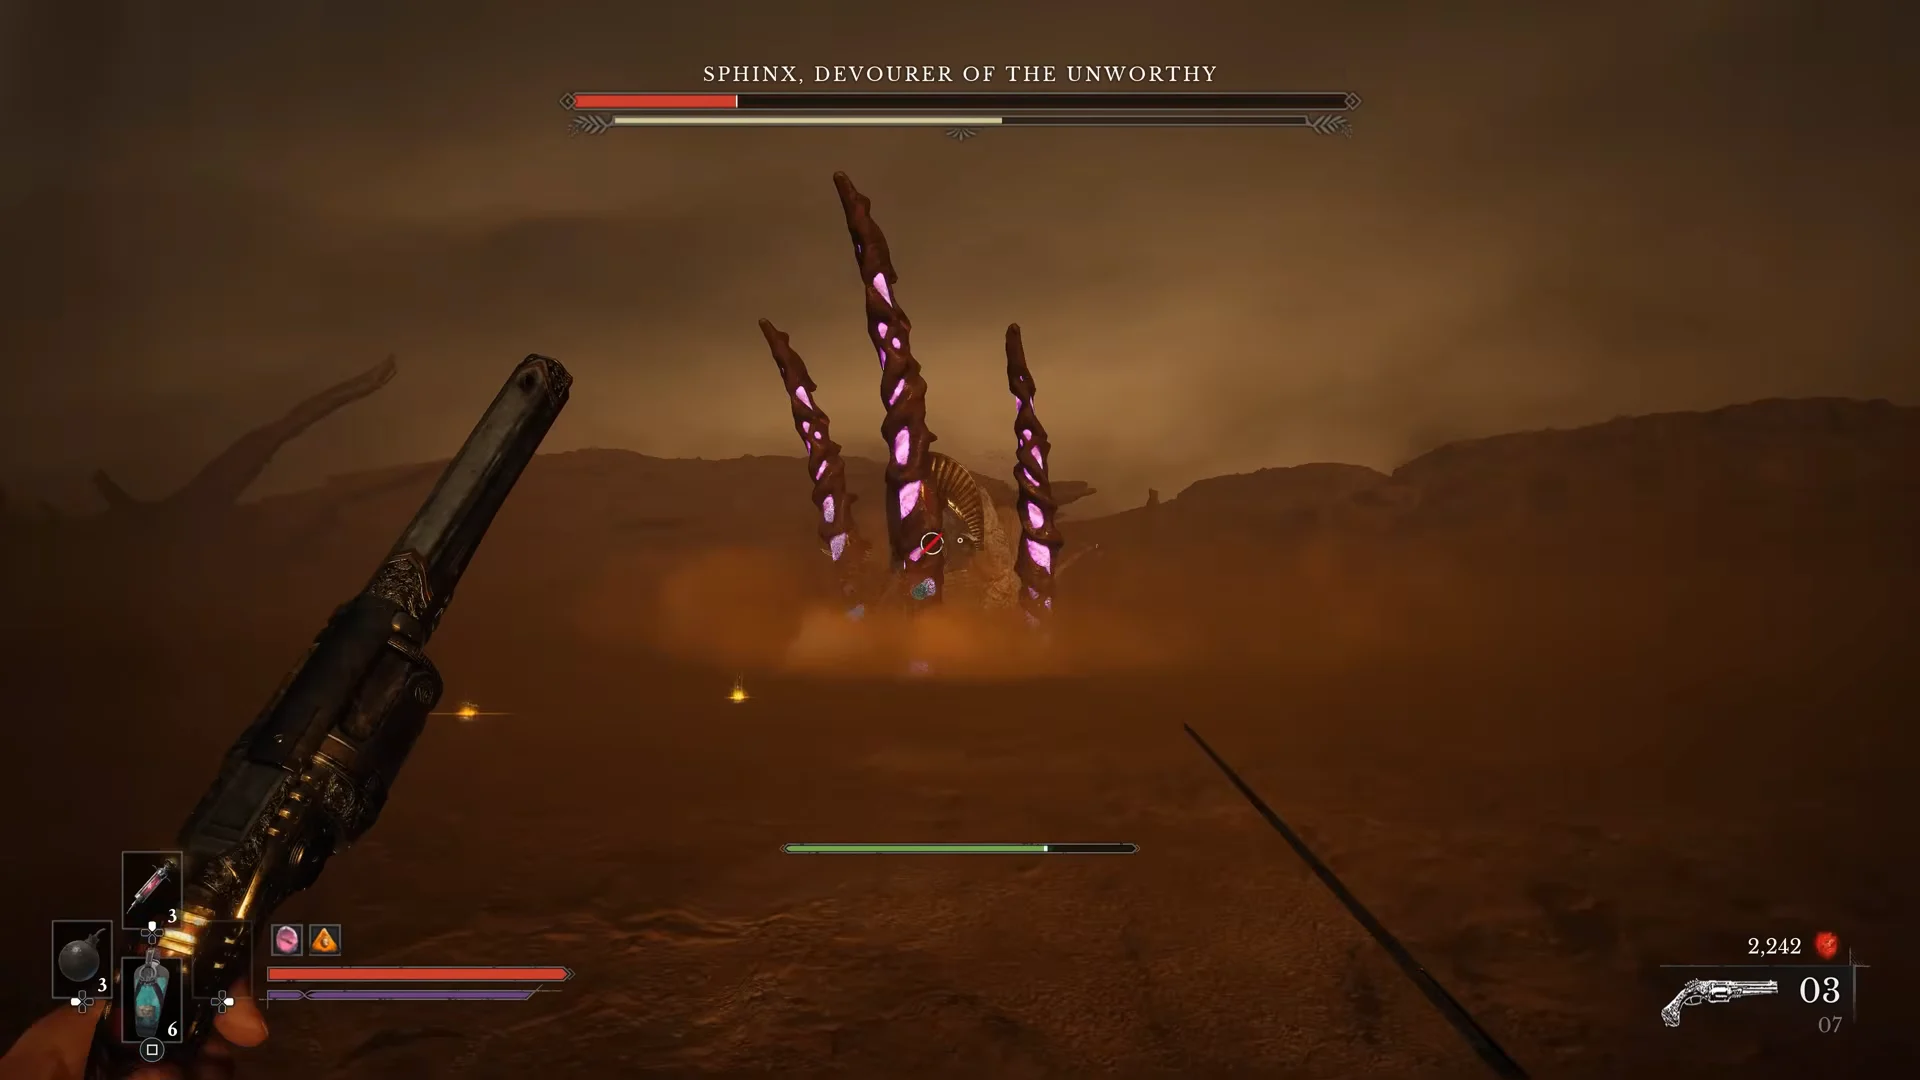
| Pillar range attack | Both | Three purple pillars, rising to nine in three directions |
| Energy AoE | Both | Floating orb detonates into a ground wave; jump to avoid |
The 3-part combo is the move you will see most, and a clean parry on all three hits leaves the Sphinx open to melee punishment afterward. The energy area-of-effect orb is the trickiest overlap, since the boss tends to detonate it at the same moment it throws its combo, forcing you to watch both the claws and the spreading ground wave. The pillar attack is beaten by finding its blind spot, while the shorter-range breath and most other projectiles only need a simple dodge.
Parries, staggers, and visceral attacks
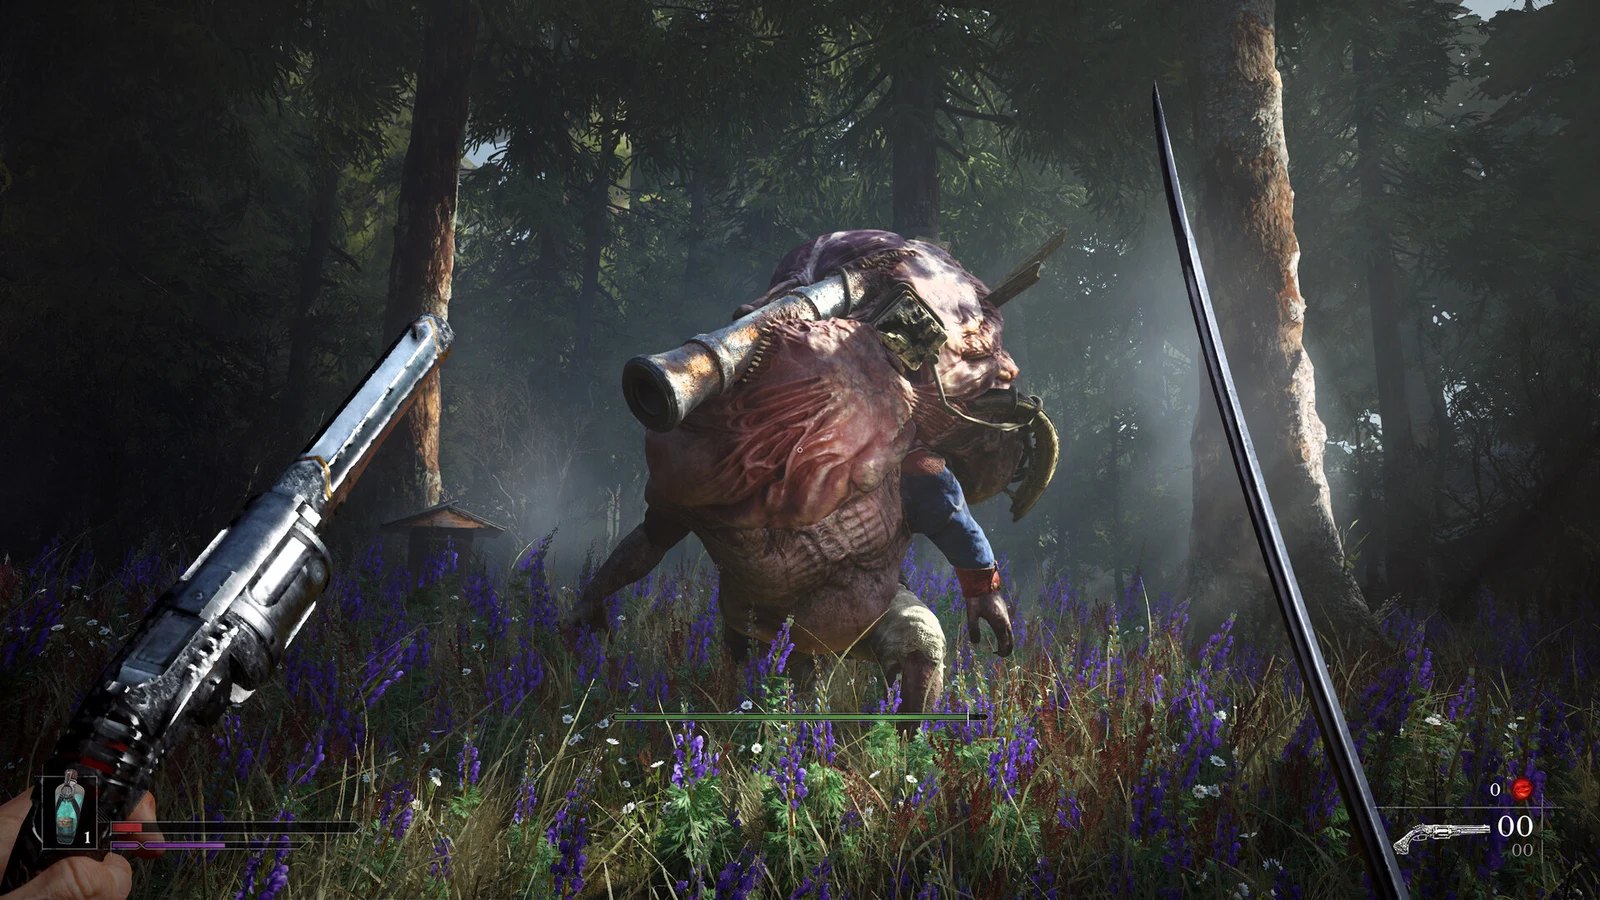
William’s main hand holds a thrusting rapier, while his off hand carries a single-action revolver with room for up to five rounds. A well-timed parry against a claw strike or a shot fired during the boss’s vulnerable animations builds the stagger gauge. Once it is full, the Sphinx drops onto its stomach, leaving it open to a critical execution.
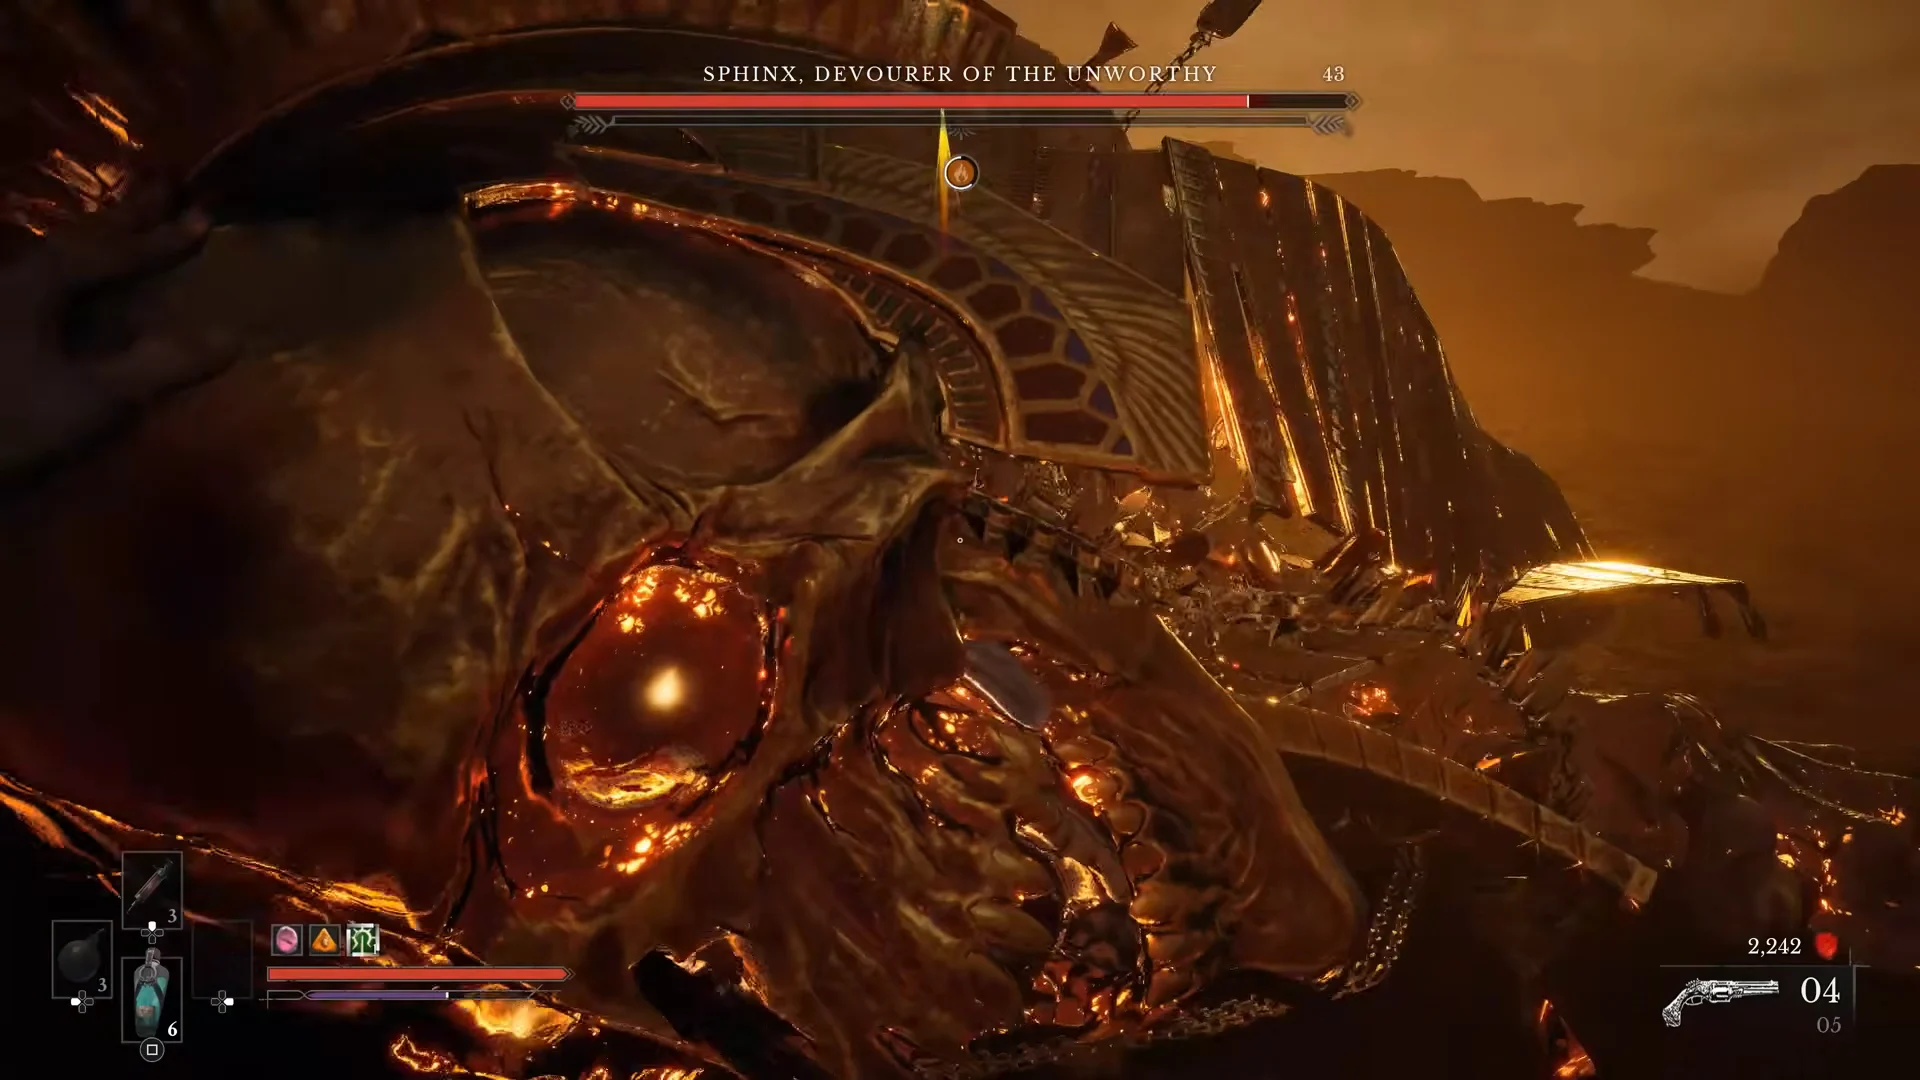
During a stagger, the visceral attack plunges a fire-imbued left hand along with the rapier into the creature’s head cavity, tearing through the exposed, eye-like orbs inside. Across a full run the boss can be staggered several times, with each execution carving a large chunk out of its health before the final sword strikes finish it.
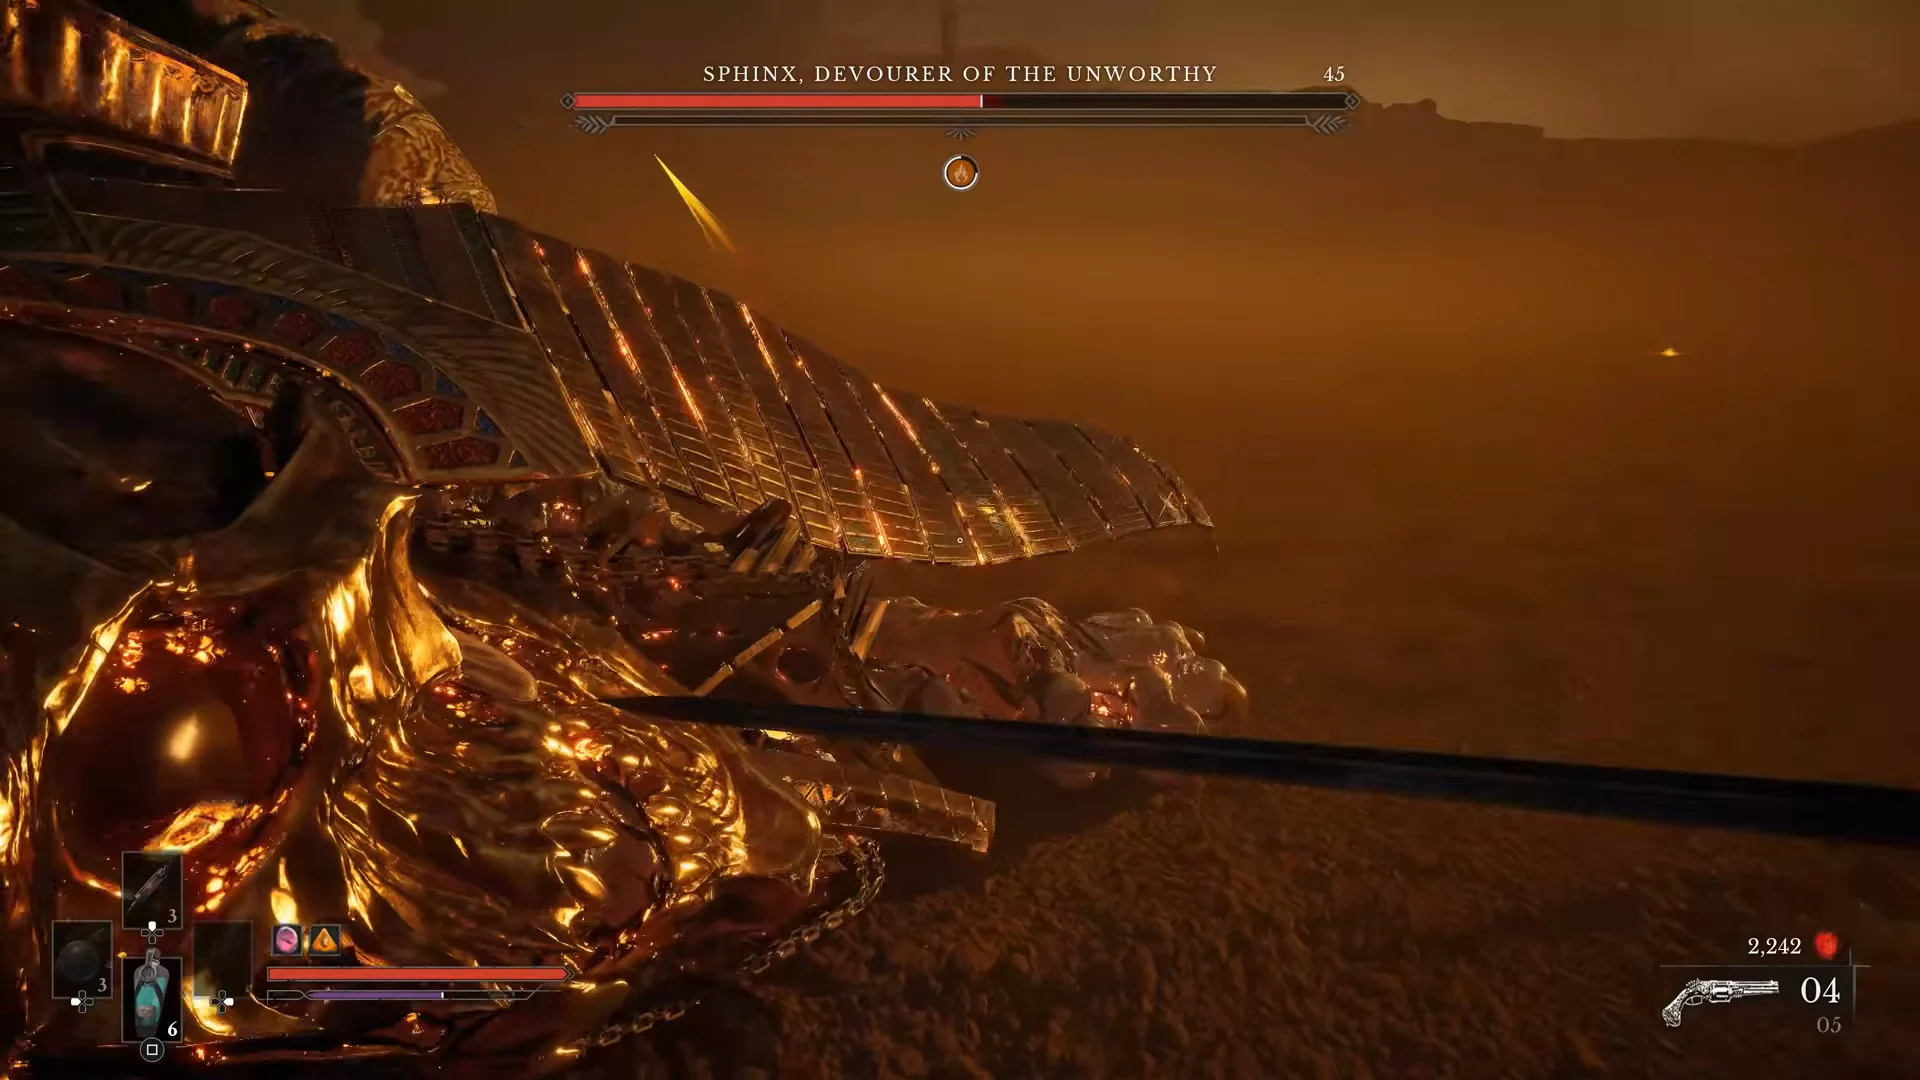
The pistol is the more flexible firearm here because its ammo pool leaves room to keep moving as the Sphinx dashes and leaps, while a Blunderbuss opening trades that mobility for a single large burst of damage.
Rewards and what follows the fight
You know the fight is over when the Abomination Eradicated banner fills the screen and the reward reads 20,000 Catalysts. A run that starts at 2,242 Catalysts ends at 22,242, and the game confirms a new journal entry has been added. The Sphinx then collapses and dissolves into dust against the desert backdrop in a short cutscene.
Next, William enters a chamber of dark stone and reaches for a red, pulsing circular seal etched into the wall. The seal forms an organic spiral opening that points toward what follows. Its appearance confirms the battle is over and that the route onward continues past the arena.