Seamus Diggory is a deserter from the Grande Armée hiding in a boarded shed in Cursed Hollow, convinced that turning into a vampire will save him from the plague. He asks William for a sample of clean blood, and how you answer that request forms the whole of this Chapter 6 side quest. Both endings finish the quest and hand over the same main reward, so the decision is a roleplay one rather than a mechanical trade-off.
Quick answer: Start the quest at Seamus’s shed near the Silent Cannons lantern, collect both the Blood-Filled Bottle and the Bottle of Wine, then return and hand over either one. Both complete the quest and unlock the Blood and Wine achievement.
Where the quest starts in Cursed Hollow
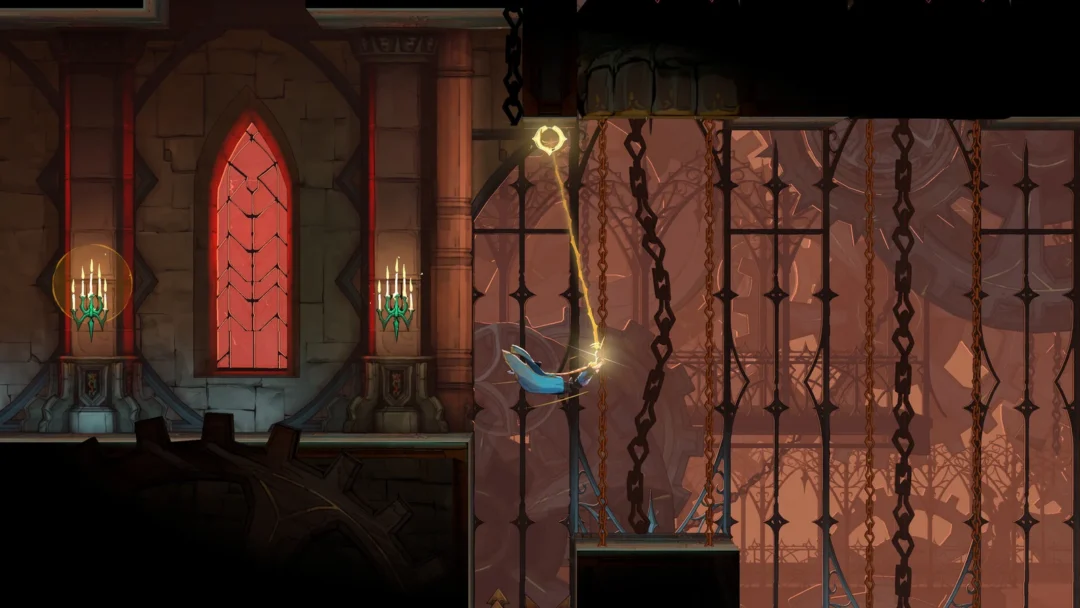
In Chapter 6, begin the quest in Cursed Hollow beside the Silent Cannons lantern. This marks the area’s second river crossing, which comes after you talk to Lucjan and see the short cutscene featuring Napoleon and the Shrike. From there, cross the flooded stretch by moving over floating cargo, planks, submerged rooftops, and grapple points to get to the far side.
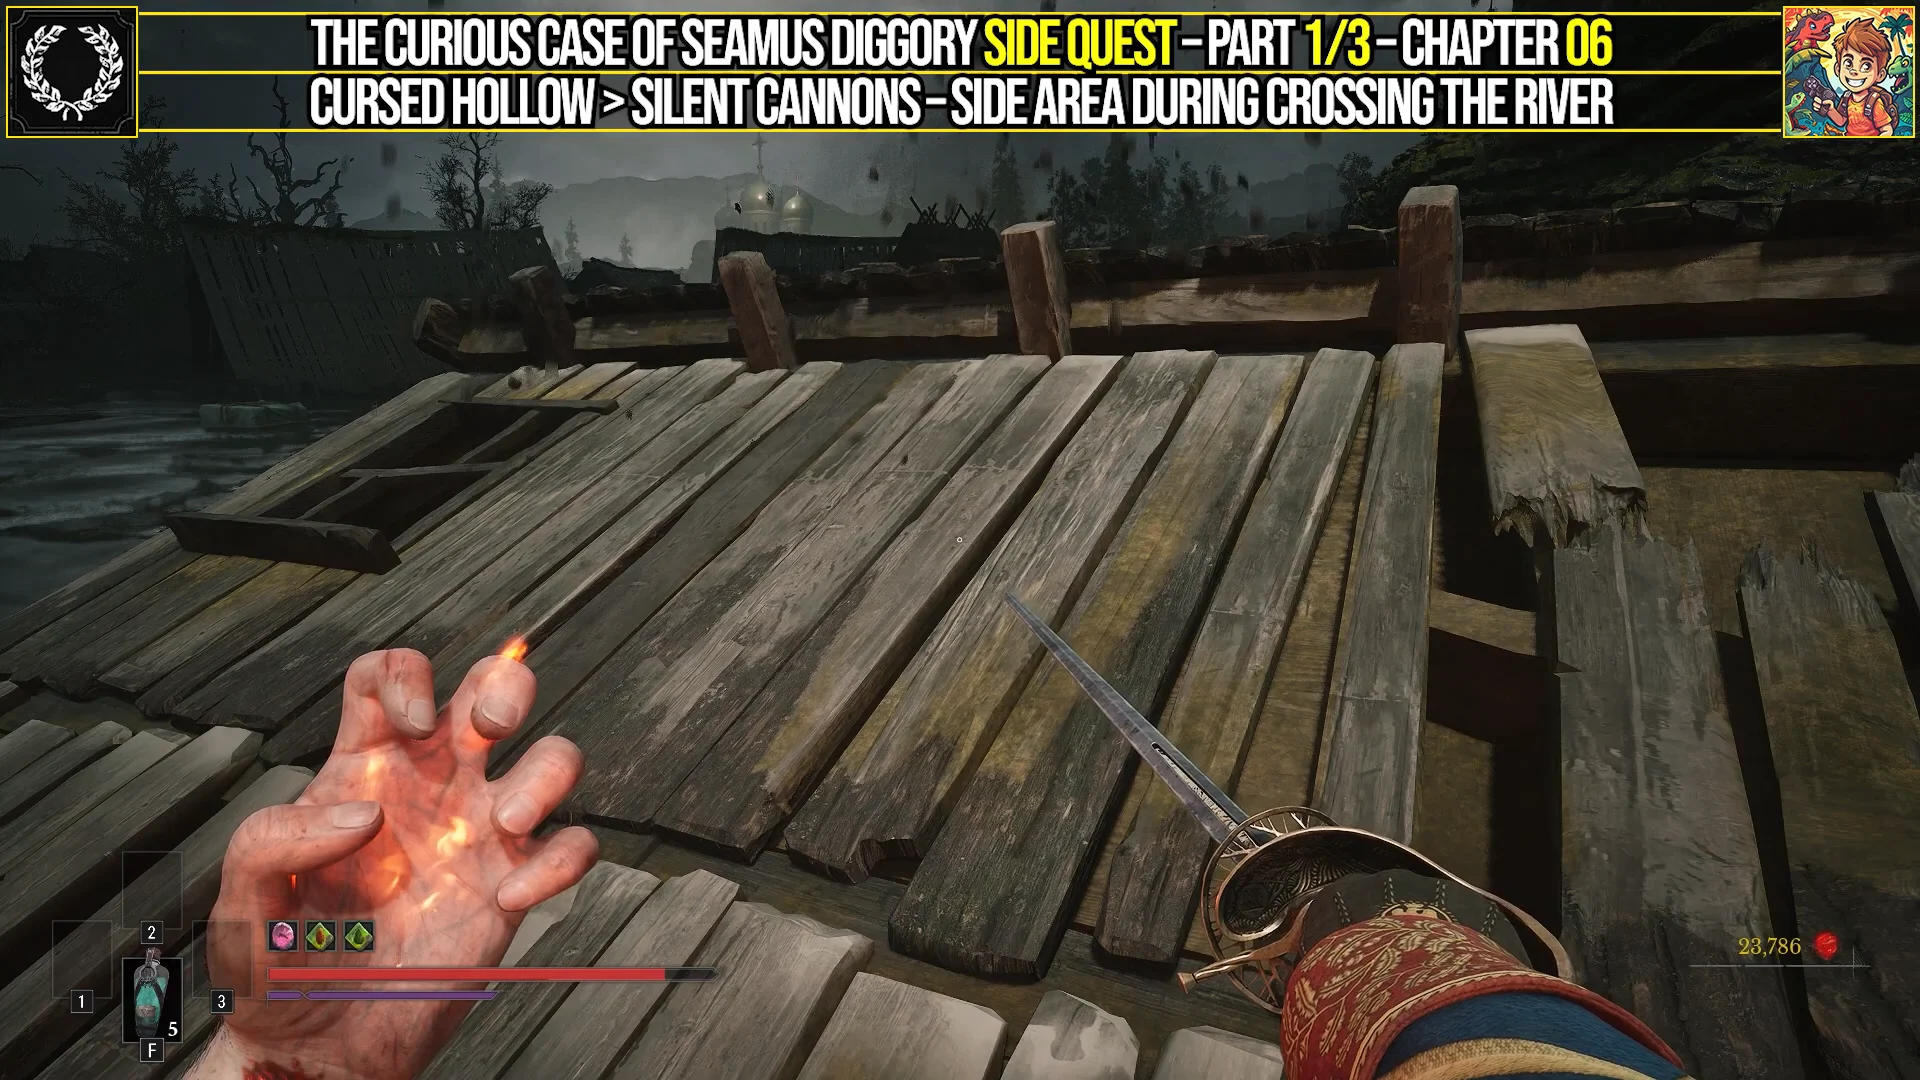
Use the blue grapple bulb to get onto a nearby rooftop, then grapple across to the other side. Keep watch for enemies patrolling the space between platforms. Leap across more floating objects until you come to an overturned wagon, then approach the cave without entering. Instead, climb the platform on the right and run along the blue wall to access the hidden area.
A ranged enemy guards the approach on the left. Backstab it, then walk to the glowing barred window of the wooden shed.
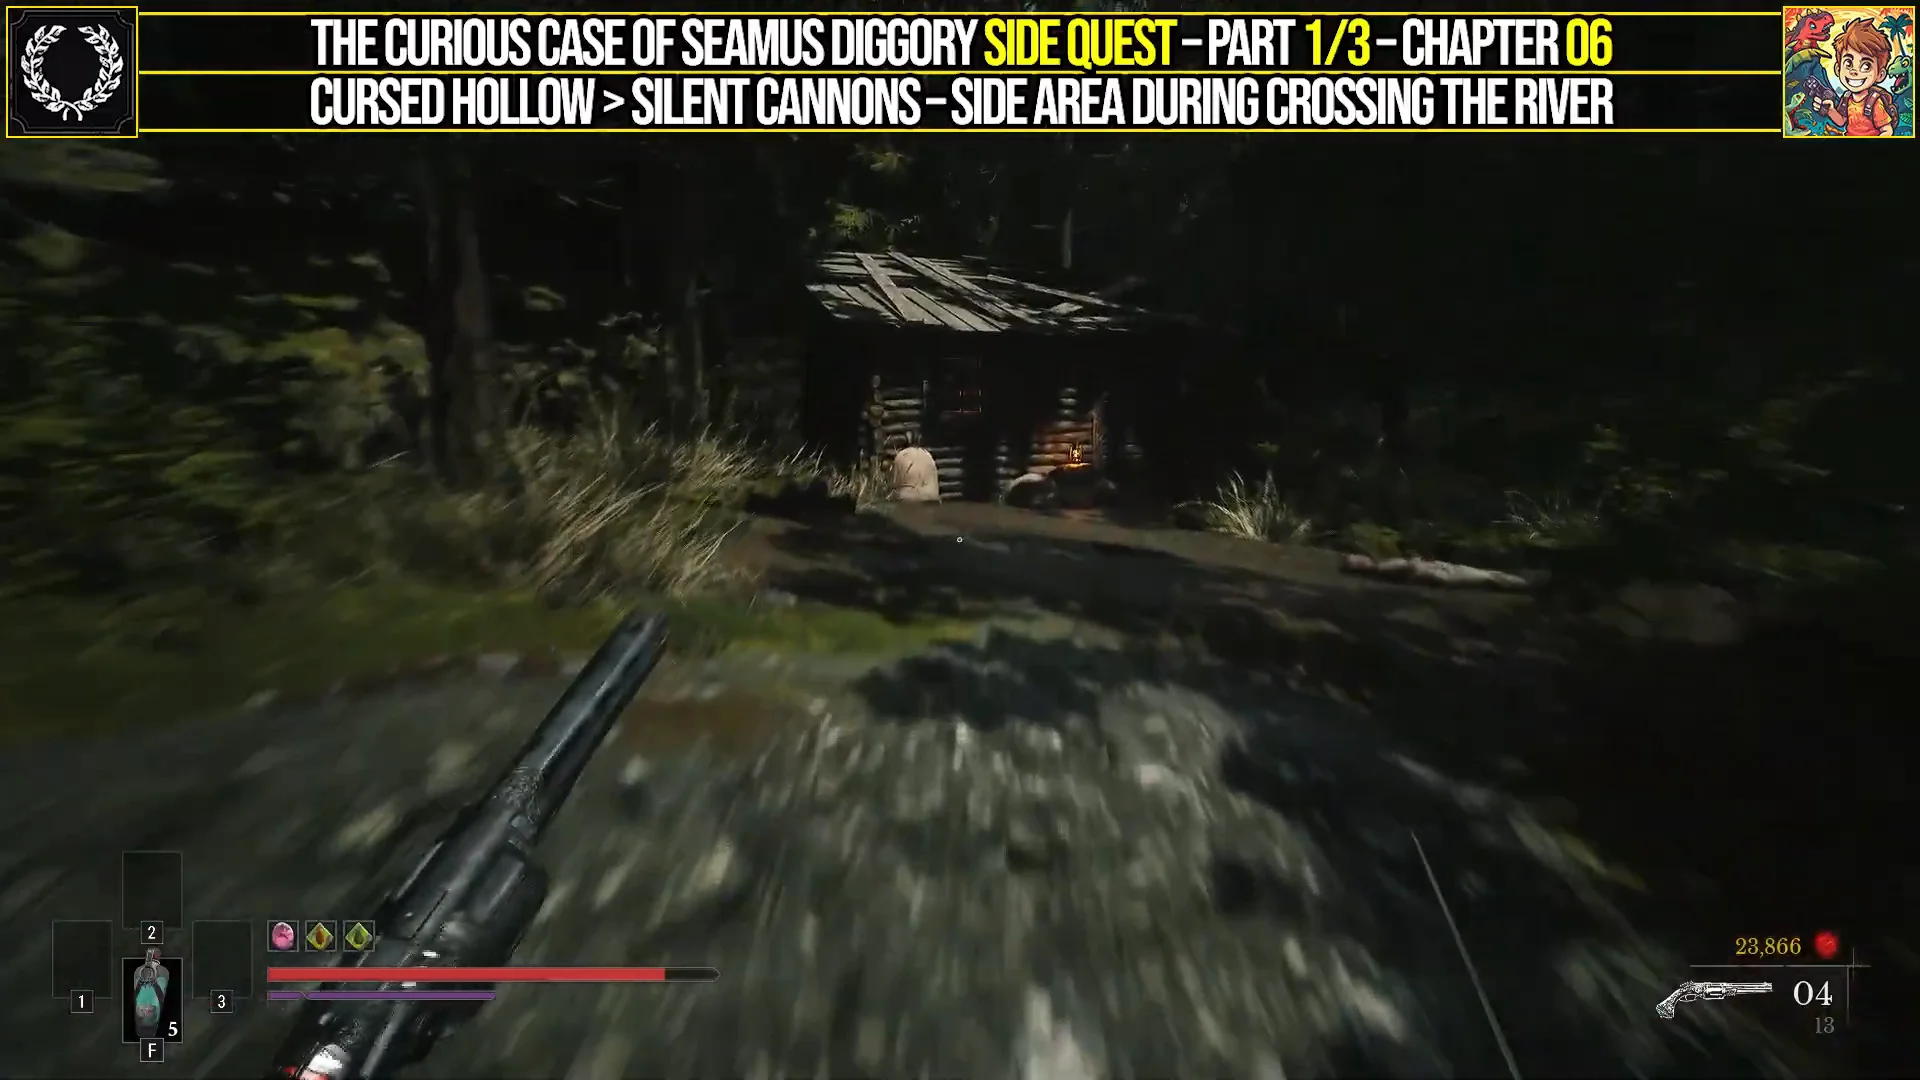
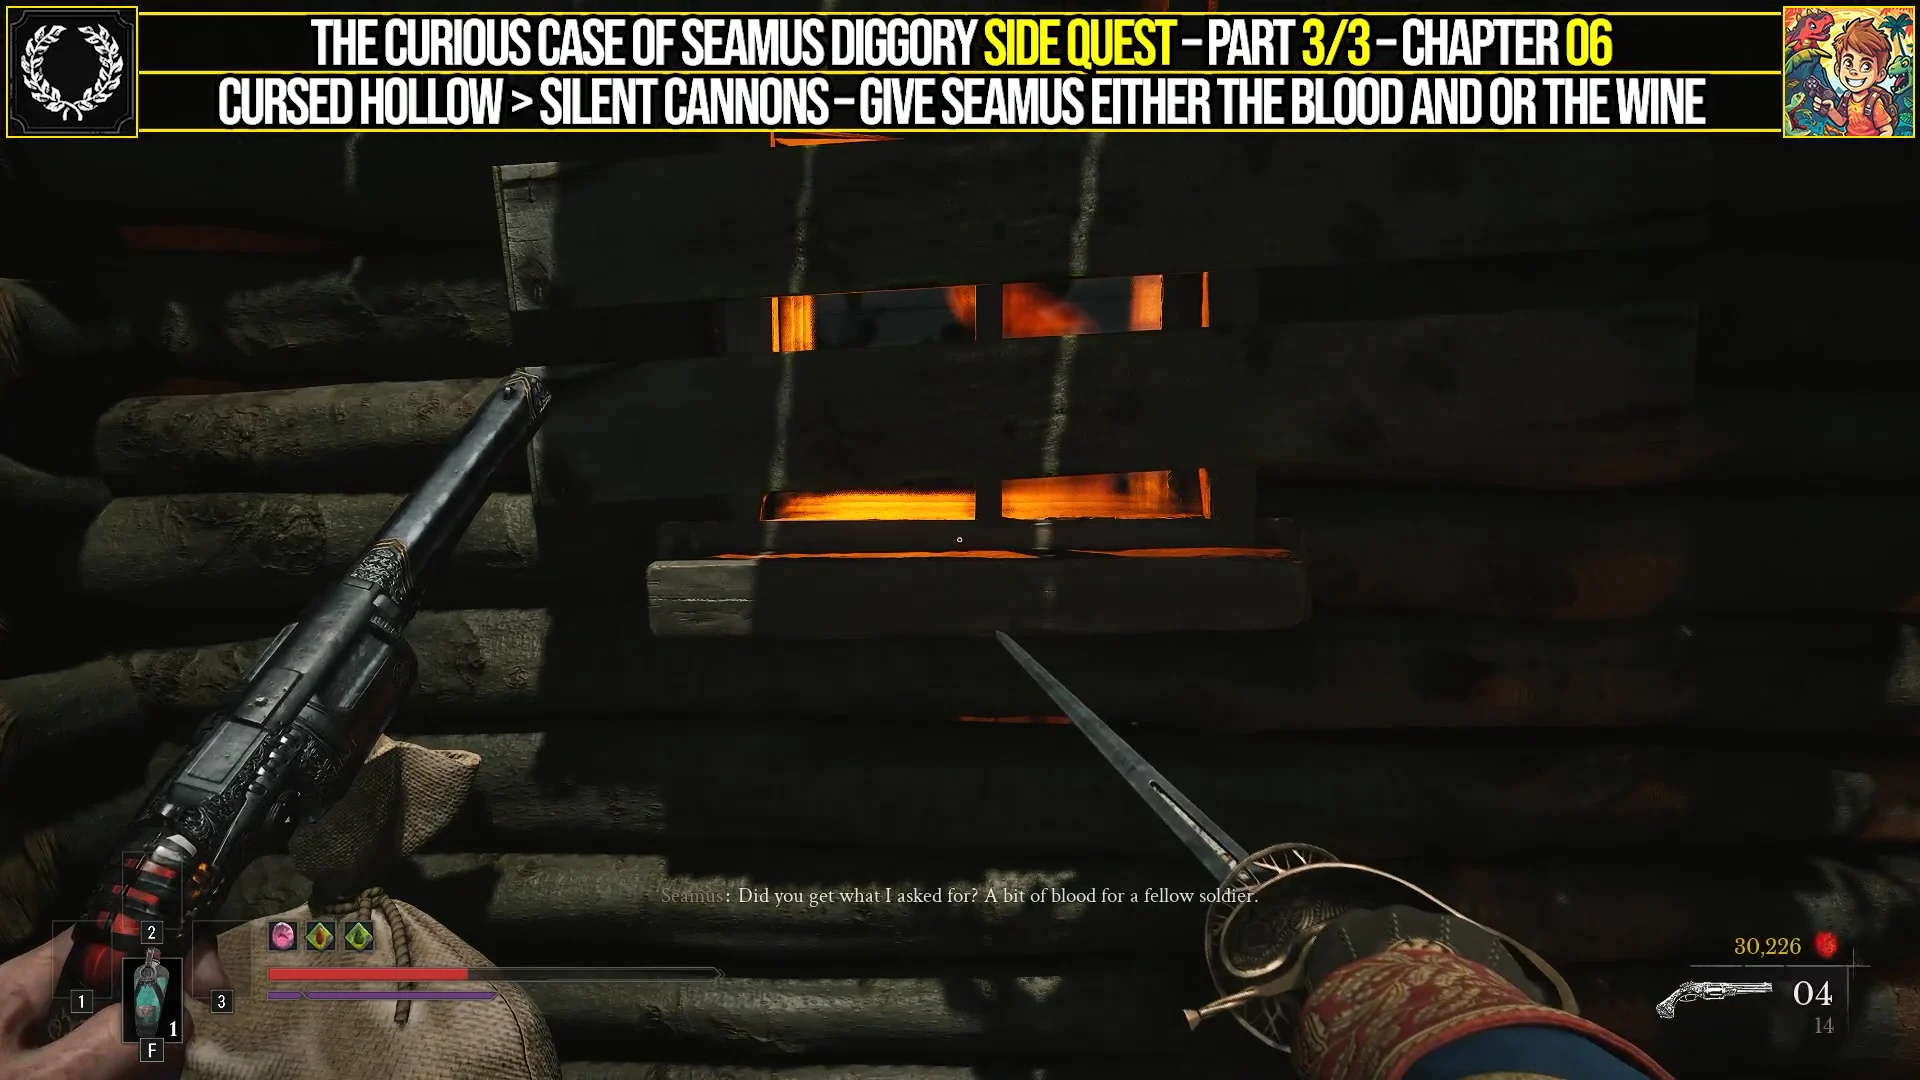
Speak to Seamus through the window. He introduces himself, explains that sunlight does not agree with him, and asks you to fetch some blood for his experiment. Agreeing starts The Curious Case of Seamus Diggory and places an Empty Bottle in your inventory.
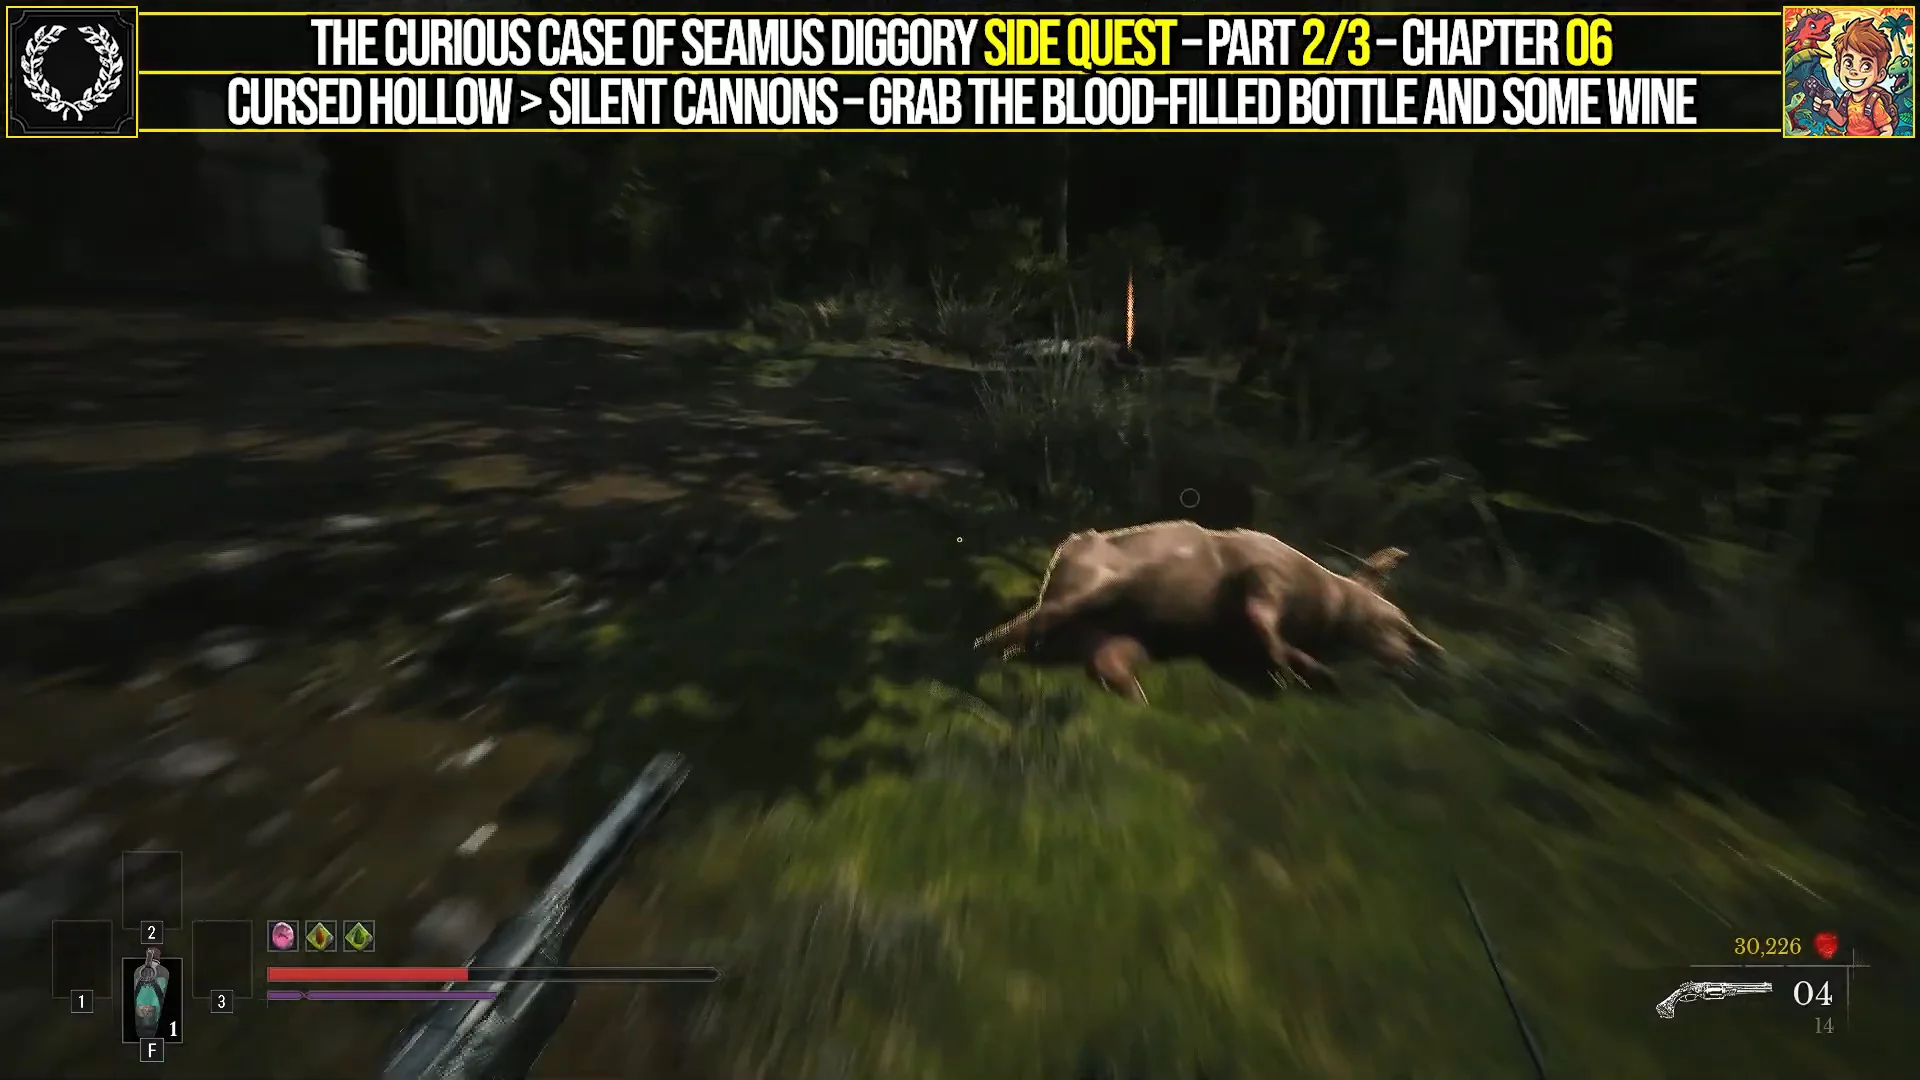
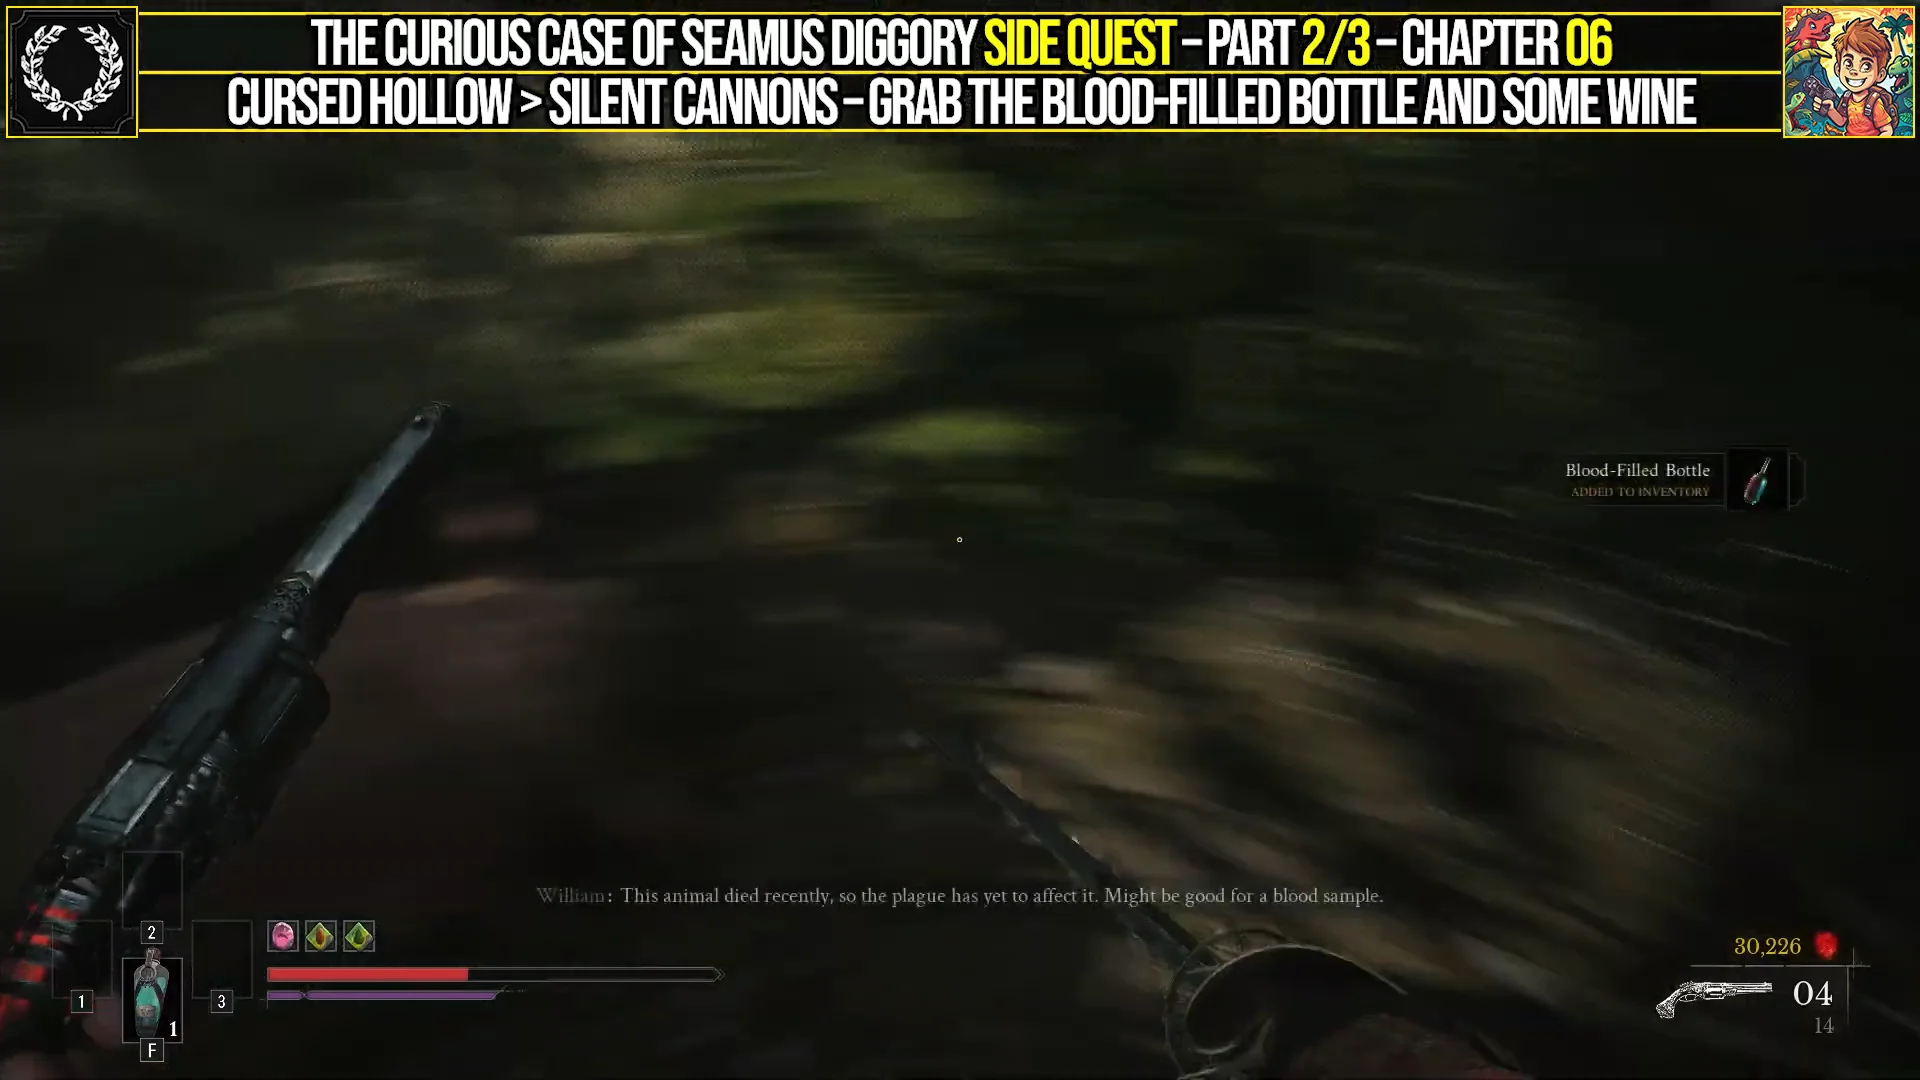
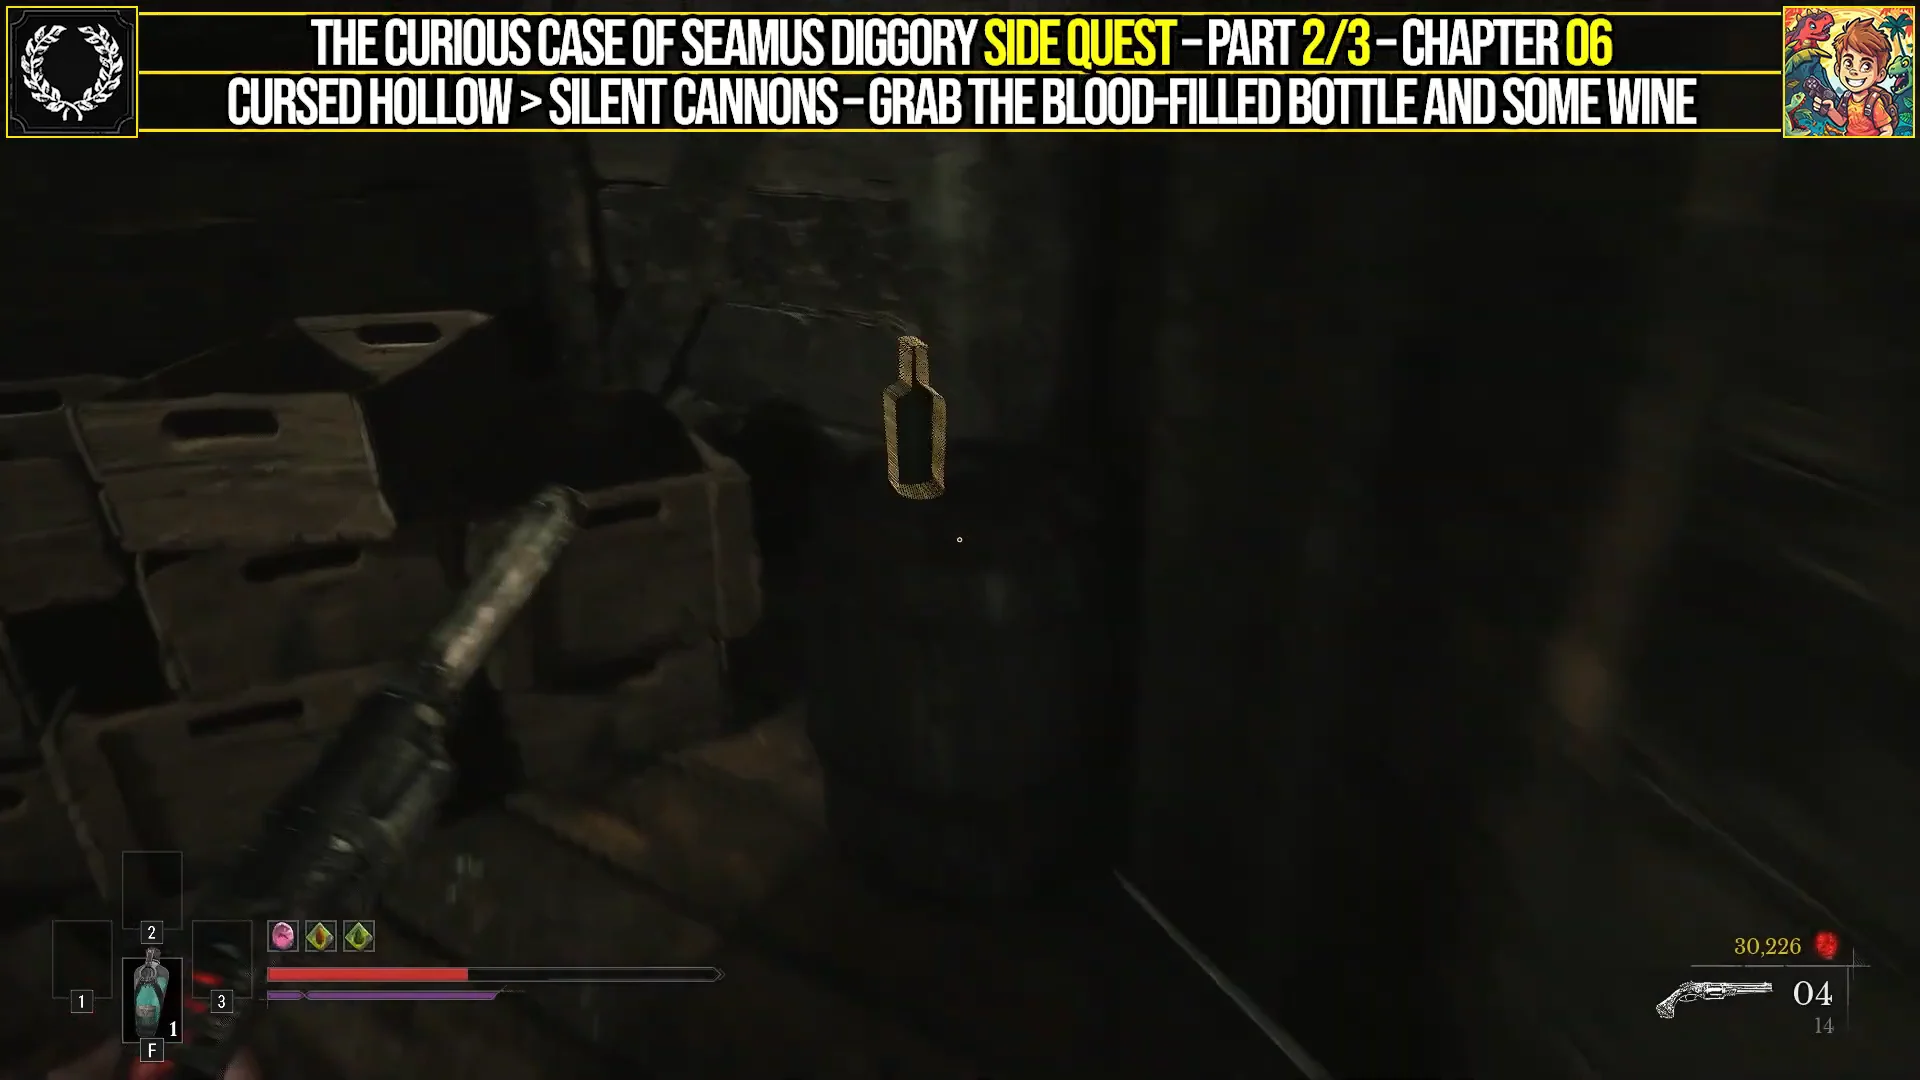
Collect the blood and the wine
You need both items in your inventory to be offered a choice at the end. If you turn in before grabbing the second bottle, you lose the option. Grab both unless you are already set on one outcome.
Blood or wine: what each choice does
Return to the same barred window and speak to Seamus again. With both bottles in hand, you can offer one. You can only give him a single item, and the choice is final once made.
Give the blood, and Seamus dislikes the taste and realizes he is still an ordinary human. Nothing stands between him and the plague now, so he shuts down, falls into despair, and will not speak to you again.
Give the wine, and he drinks it believing it is blood. He is overjoyed, certain his transformation into a vampire is complete. William’s lie spares him the crushing disappointment of a failed experiment, which the journal frames as the kinder of the two outcomes.
Either way, the quest log updates to complete and you unlock the Blood and Wine achievement. Beating the Howler earlier also leaves you with the Amber as a separate pickup.
The reward: Ferrofluid Flask Power Upgrade
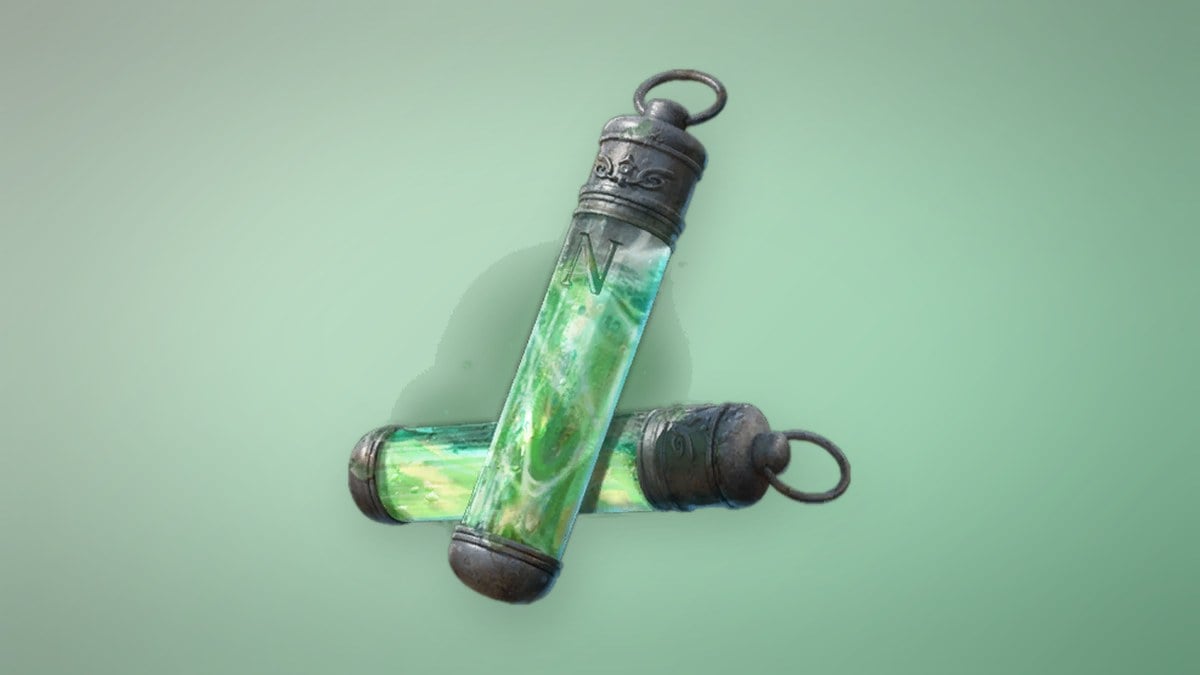
Finishing the quest gives you a Ferrofluid Flask Power Upgrade. Bring it to a Lantern to boost the healing your Ferrofluid Flasks provide. This healing-resource upgrade material also appears in regional chests and costs $3,000 at Louis’s Laboratoire, making Seamus’s free one worth the detour.
Each upgrade material you spend pushes the flask’s healing higher, with later tiers costing more materials per step. This is how the potency scales from its base of 50:
| Upgrade | Healing | Power Upgrades needed |
|---|---|---|
| Base | 50 | — |
| 1 | 60 | 1 |
| 2 | 70 | 2 |
| 3 | 80 | 2 |
| 4 | 90 | 2 |
| 5 | 100 | 3 |
| 6 | 110 | 3 |
| 7 | 120 | 3 |
| 8 | 130 | 4 |
| 9 | 140 | 4 |
Cursed Hollow holds another Ferrofluid Flask Power Upgrade inside one of its 14 chests, along with an Empty Ferrofluid Flask that adds a charge. While you are in the Silent Cannons area, it is worth sweeping the nearby rooms for both.
Cursed Hollow quest reference
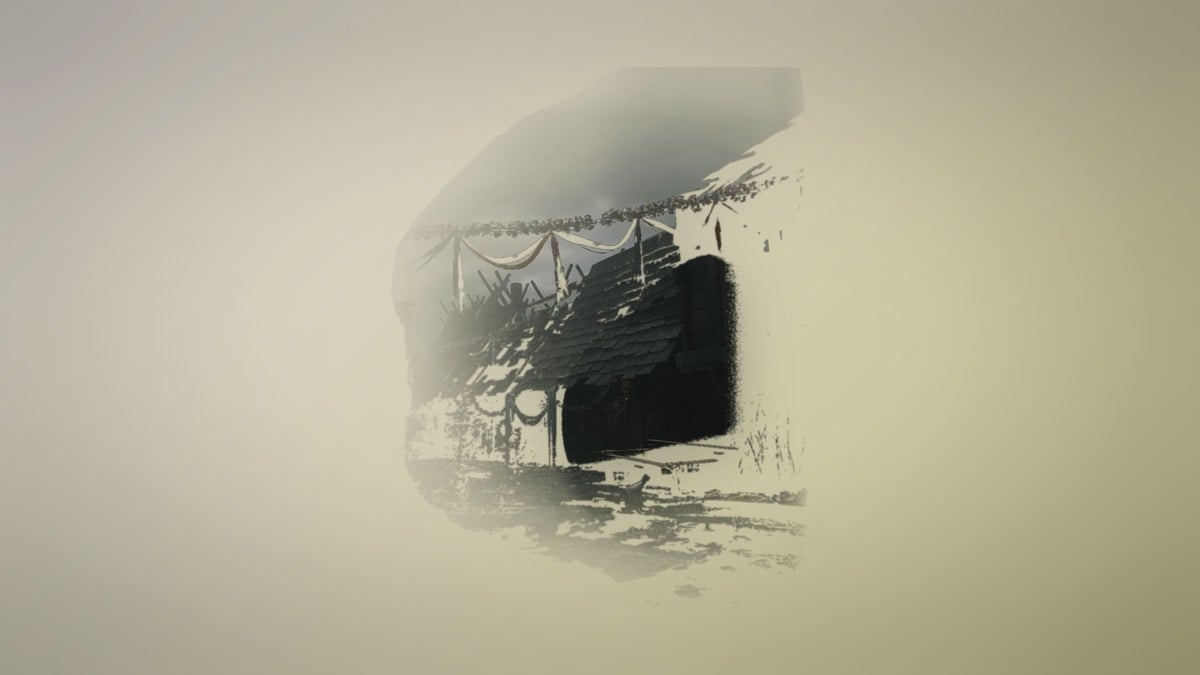
Seamus’s quest is one of several threads running through Cursed Hollow, the drowned village marked with numeral VI on the map. The region holds the boss Anna, the Bride Drowned in Tears, four lanterns, and a dense spread of notes and pickups. Nothing in Chapter 6 is missable, and you can return later, so there is no pressure to rush the choice.
| Region detail | Value |
|---|---|
| Map numeral | VI |
| Chapter | 6 (Punishment) |
| Boss |  Anna, the Bride Drowned in Tears Anna, the Bride Drowned in Tears |
| Chests | 14 |
| Notes placed | 11 |
| Lanterns | Eerie View, Village Church, Deep Water, Silent Cannons |
Because the reward and the achievement land whichever bottle you hand over, the only thing really at stake is how Seamus’s story ends. Grab both bottles, read his journal pages for the full context, and give him the wine if you would rather leave him believing the experiment worked.