

Vesna and Vodyanitsa arrive together in Phase 1 of Genshin Impact Version 7.1 on September 23, 2026, and the fully invested version of the pair — both at C6 with R5 signature weapons — is already the benchmark for Stellar Swirl damage. Vesna is the on-field Anemo sword carry; Vodyanitsa is the Hydro catalyst support who bends the reaction in Vesna’s favor. Run together with a Cryo enabler and an Anemo buffer, the team ends Stygian Onslaught stages in seconds rather than minutes.
Quick answer: At C6R5 with 4-piece Scarlet Proof and R5 Beyond the Chrysalis, Vesna clears Stygian Onslaught bosses in as little as 11 seconds, with Vodyanitsa’s Wandering Vortex cutting enemy Anemo RES.
Stygian Onslaught clear times at C6R5
The fastest recorded runs use two slightly different line-ups depending on the boss. Sucrose slots in for the Domovoy Sculptor and Guardian Blade stages, while Faruzan and Qiqi come in for the Secret Source Automaton.
| Encounter | Party | Clear time |
|---|---|---|
| Domovoy Sculptor: Gale Hewing | Odette, Sucrose, Vodyanitsa, Vesna | 15s |
| Guardian Blade: Endless Reverberation (Fearless) | Odette, Sucrose, Vodyanitsa, Vesna | 11s |
| Overseer Device: Obliterator Panoply | Odette, Faruzan, Qiqi, Vesna | 22s |
A second set of runs at Level 105 on Fearless difficulty, with Qiqi handling sustain alongside Vodyanitsa and Odette, lands slower but still well inside the limit. The Domovoy Sculptor falls in 40 seconds, the Overseer Device in 37 seconds, and the Guardian Blade in 36 seconds.
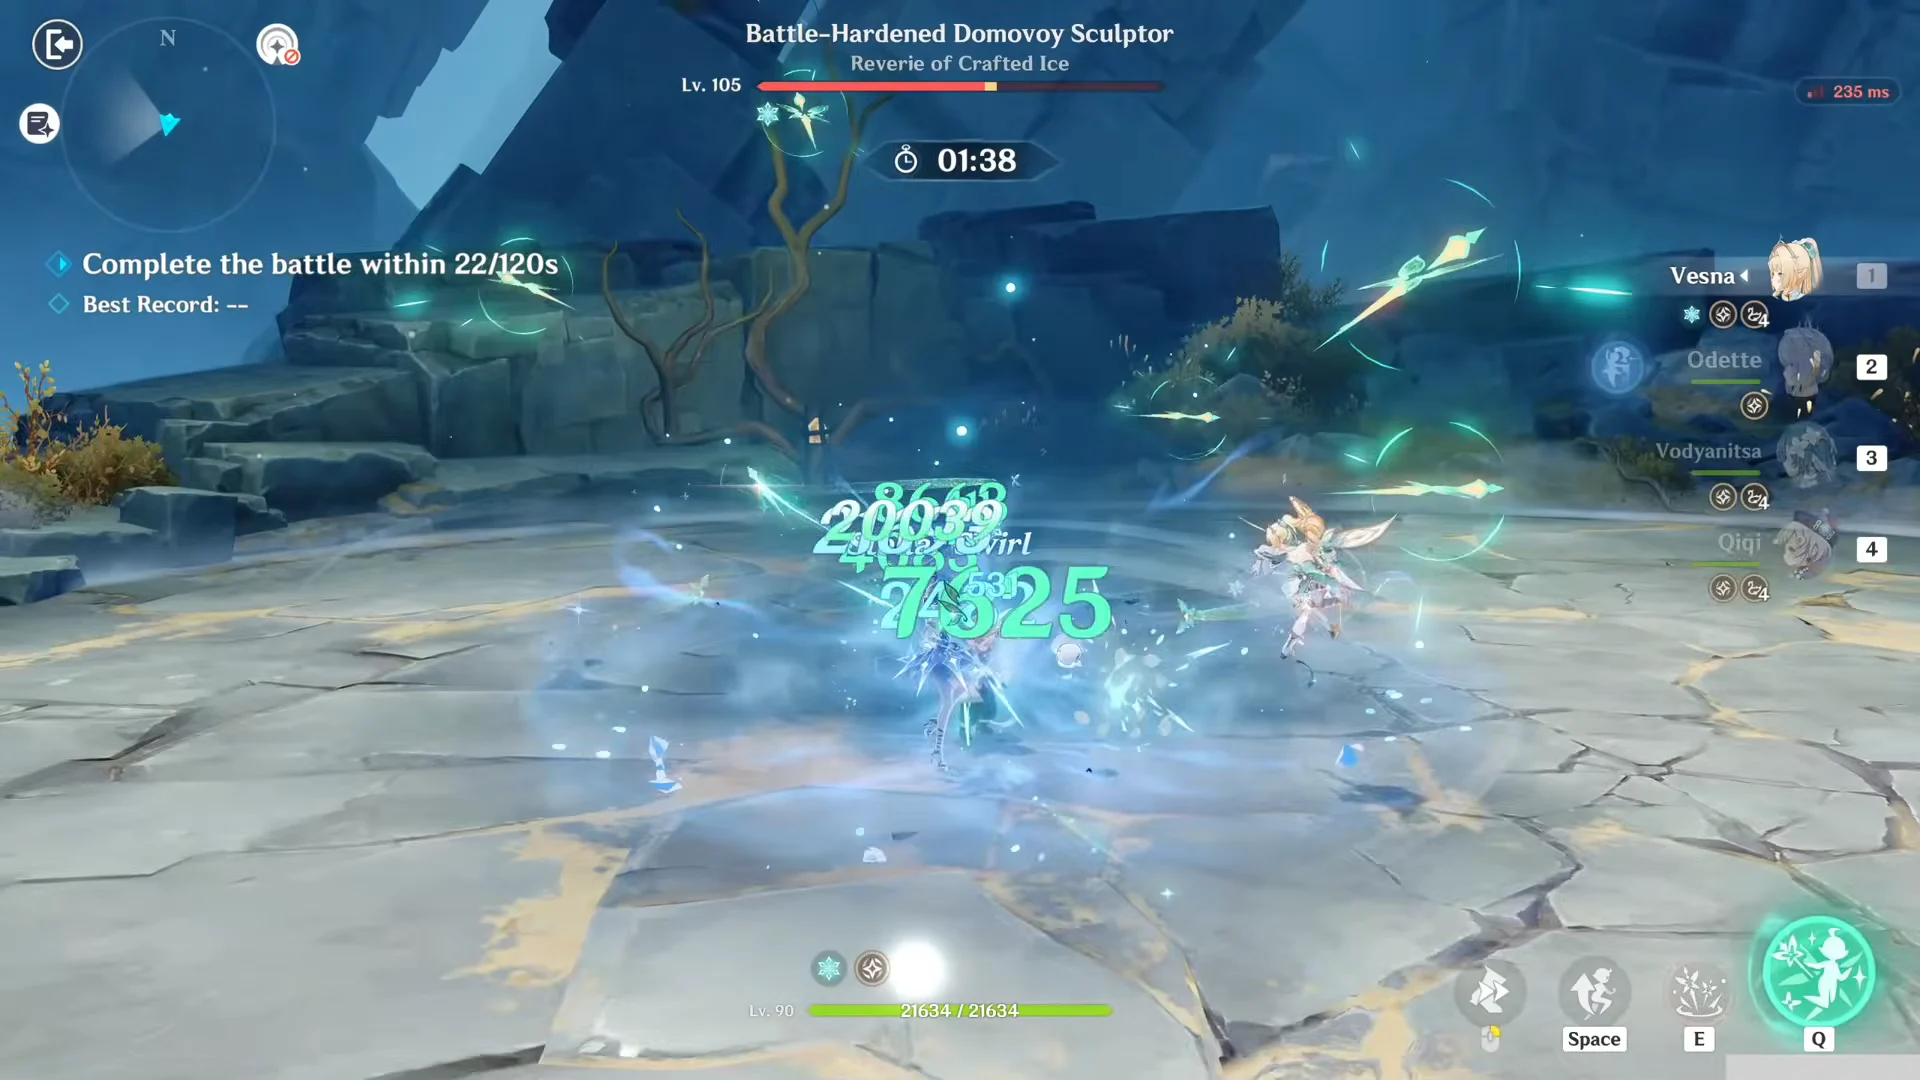
The Guardian Blade of Drifting Snow puts up a Cryo ward. Breaking it is what lets the 11-second clear happen, since the team’s Swirl and Cryo reactions chain straight through afterwards.
Vesna’s C6R5 build: Beyond the Chrysalis and Scarlet Proof
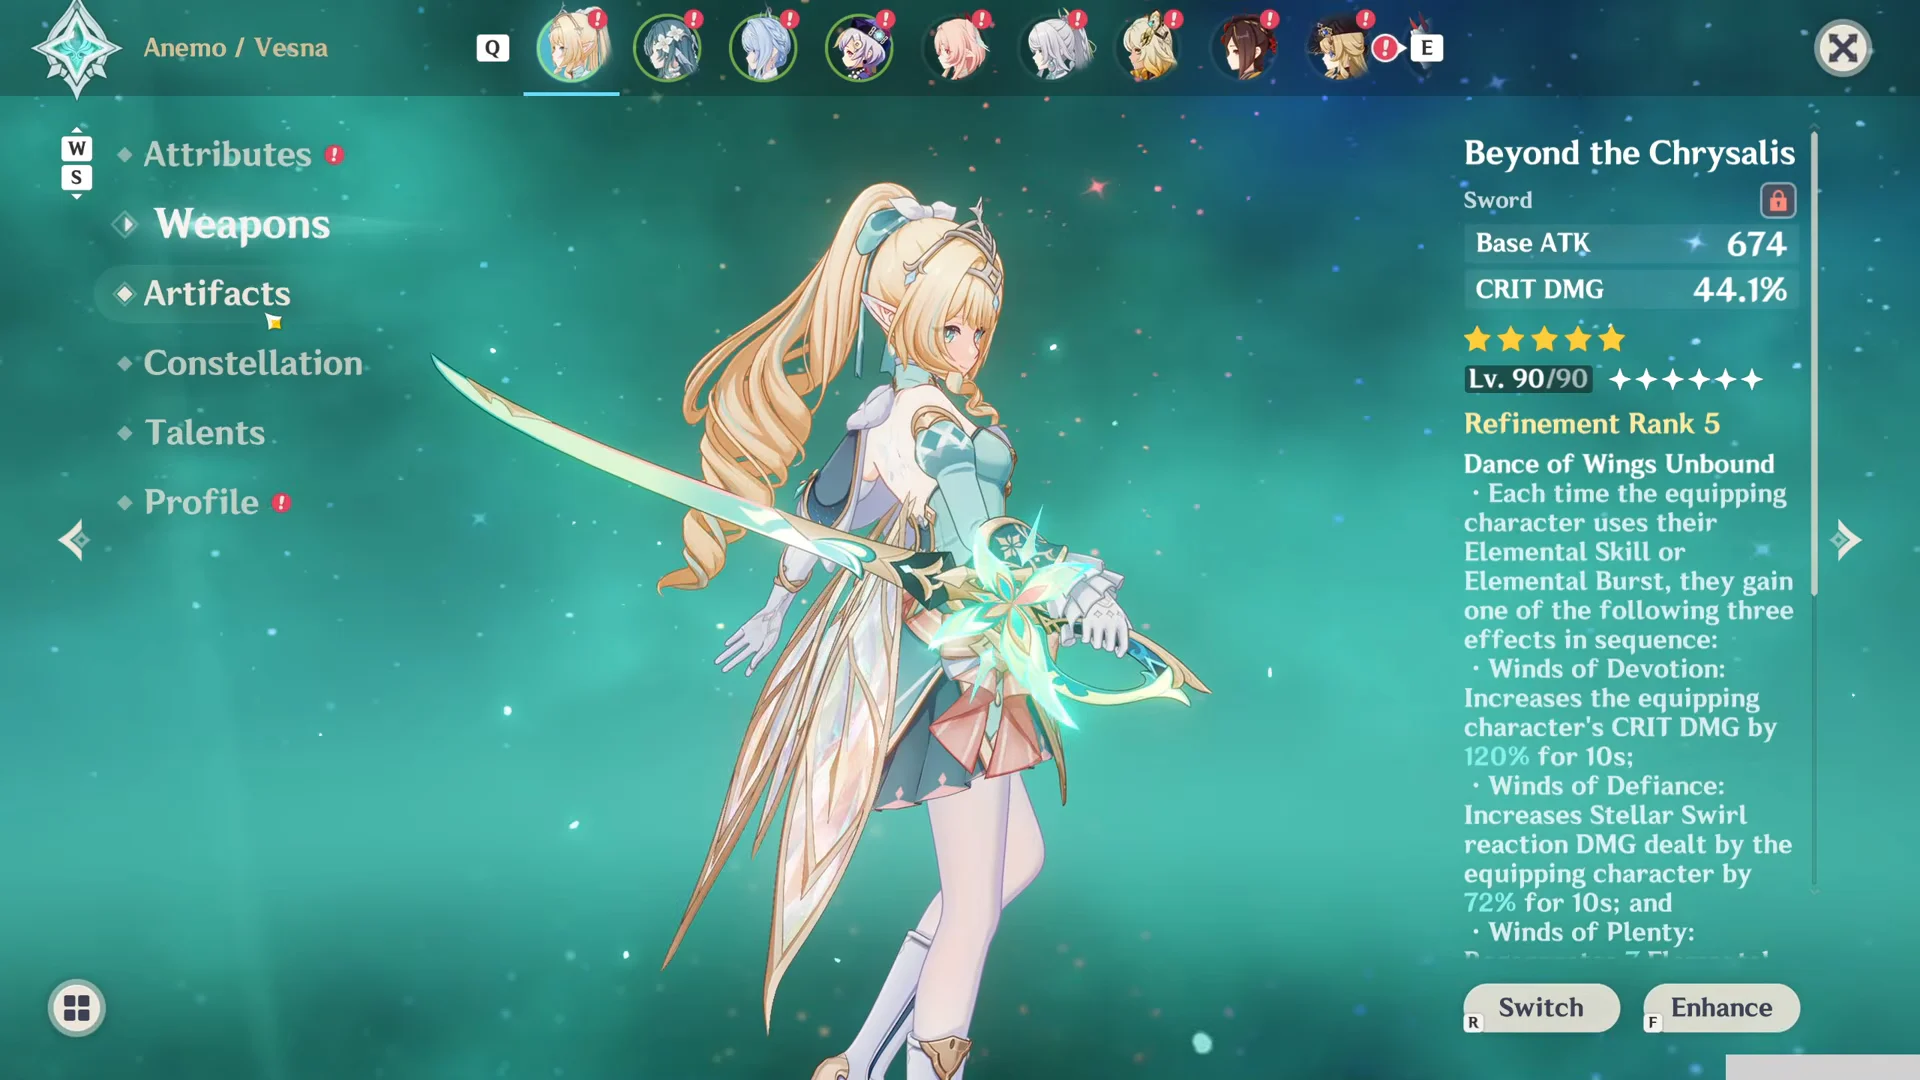
At Level 90, Vesna equips her signature Beyond the Chrysalis, a 5-star sword at Refinement Rank 5, alongside a 4-piece Scarlet Proof set. Her talents are level 10; the skill and burst show 13 since constellations C3 and C5 each grant three additional levels.
| Stat | Value |
|---|---|
| Max HP | 21,634 |
| ATK | 2,680 |
| DEF | 868 |
| Elemental Mastery | 105 |
| CRIT Rate | 52.2% |
| CRIT DMG | 205.2% |
| Energy Recharge | 152.5% |
That is one tuning of the character. A separate C6R5 Vesna built for the Night’s Trial benchmark pushes to 100.9% CRIT Rate and 357.1% CRIT DMG instead, trading the extra Energy Recharge for crit weight. Either way, the Scarlet Proof 4-piece adds 16% CRIT Rate and 40% Stellar Swirl reaction damage for 10 seconds every time she triggers the reaction, so her real crit numbers in combat sit above what the character screen shows.
Beyond the Chrysalis grants 44.1% CRIT DMG as its secondary stat and cycles three effects through its Dance of Wings Unbound passive, one per skill or burst cast. At R5 those are 104% CRIT DMG for 10 seconds, 56% Stellar Swirl reaction damage for 10 seconds, and 5 Elemental Energy.
How Vesna’s Sword Essence rotation works
Her Elemental Skill, The Art of Victory, drops her into Core DPS Mode. That raises her interruption resistance, converts her Normal Attack damage to Anemo, and unlocks special Elemental Skill attacks paid for with Sword Essence.
- Sword Essence caps at 3 stacks, and one stack pays for exactly one special skill use.
- The Elemental Skill grants 2 stacks; the Elemental Burst grants 1.
- Normal Attacks during Core DPS Mode generate more stacks on top of that.
- Every stack spent, and every burst cast, raises the damage of the next special skill or burst.
- When a teammate triggers a Stellar Swirl reaction nearby, she follows up with extra bursts of Stellar Swirl damage.
Her burst, For the Tsaritsa!, summons Spirit Blades for AoE Anemo damage that counts as Stellar Swirl reaction damage. It feeds the escalation loop rather than capping it, which is why the recorded rotations cast it mid-combo instead of saving it for last.
Vodyanitsa’s C6R5 support build and the Wandering Vortex
Vodyanitsa holds the catalyst Hymn of the Maelstrom at R5 and a 4-piece Tenacity of the Millelith set, with total HP reaching 81,069 in the fully built version. Her Elemental Skill, Rechitativ: Sonorous Dawn, summons the Horn of Spring’s Call, which cuts enemy Hydro and Cryo RES, raises party-wide Hydro and Cryo damage, and heals and steadies whoever is on the field.

The part that matters for Vesna is the second branch. Vodyanitsa’s song upgrades the Stellar Vortex created by a Stellar Swirl reaction into a Wandering Vortex. When that is generated or detonated, enemy Anemo RES drops, and the Hydro and Cryo damage bonuses are replaced — not stacked — with a Stellar Swirl damage bonus. She can also extend how long teammates keep their Radiance: Stellar Swirl state. Her burst, Koda: Sink With Thee, adds AoE Hydro damage on top.
The support slots: Odette, Faruzan, Sucrose and Qiqi
The fourth slot rotates depending on what the fight needs, and the third is usually the Anemo buffer.
| Character | Weapon | Artifacts |
|---|---|---|
| Odette | Whitelake Frostfeather | Heart of the Furnace |
| Faruzan | Favonius Warbow | Viridescent Venerer |
| Sucrose | Thrilling Tales of Dragon Slayers | Viridescent Venerer |
| Qiqi | Skyward Blade | Song of Days Past |
Odette is the Cryo half of the reaction and the only fixed teammate across every run. Her build reaches 84.2% CRIT Rate and 228.3% CRIT DMG, and in one Stygian Onslaught line-up she swaps to Disenchantment in Deep Shadow.
Faruzan is the pure Anemo damage buff, built at C6 with 283.4% Energy Recharge so her burst is always available. Sucrose replaces her when the fight rewards grouping and Viridescent Venerer’s RES shred more than raw Anemo scaling, and Qiqi comes in as the healer for the longer Level 105 runs, sometimes carrying Freedom-Sworn instead of Skyward Blade.
Spiral Abyss Floor 12 with Vesna and Vodyanitsa
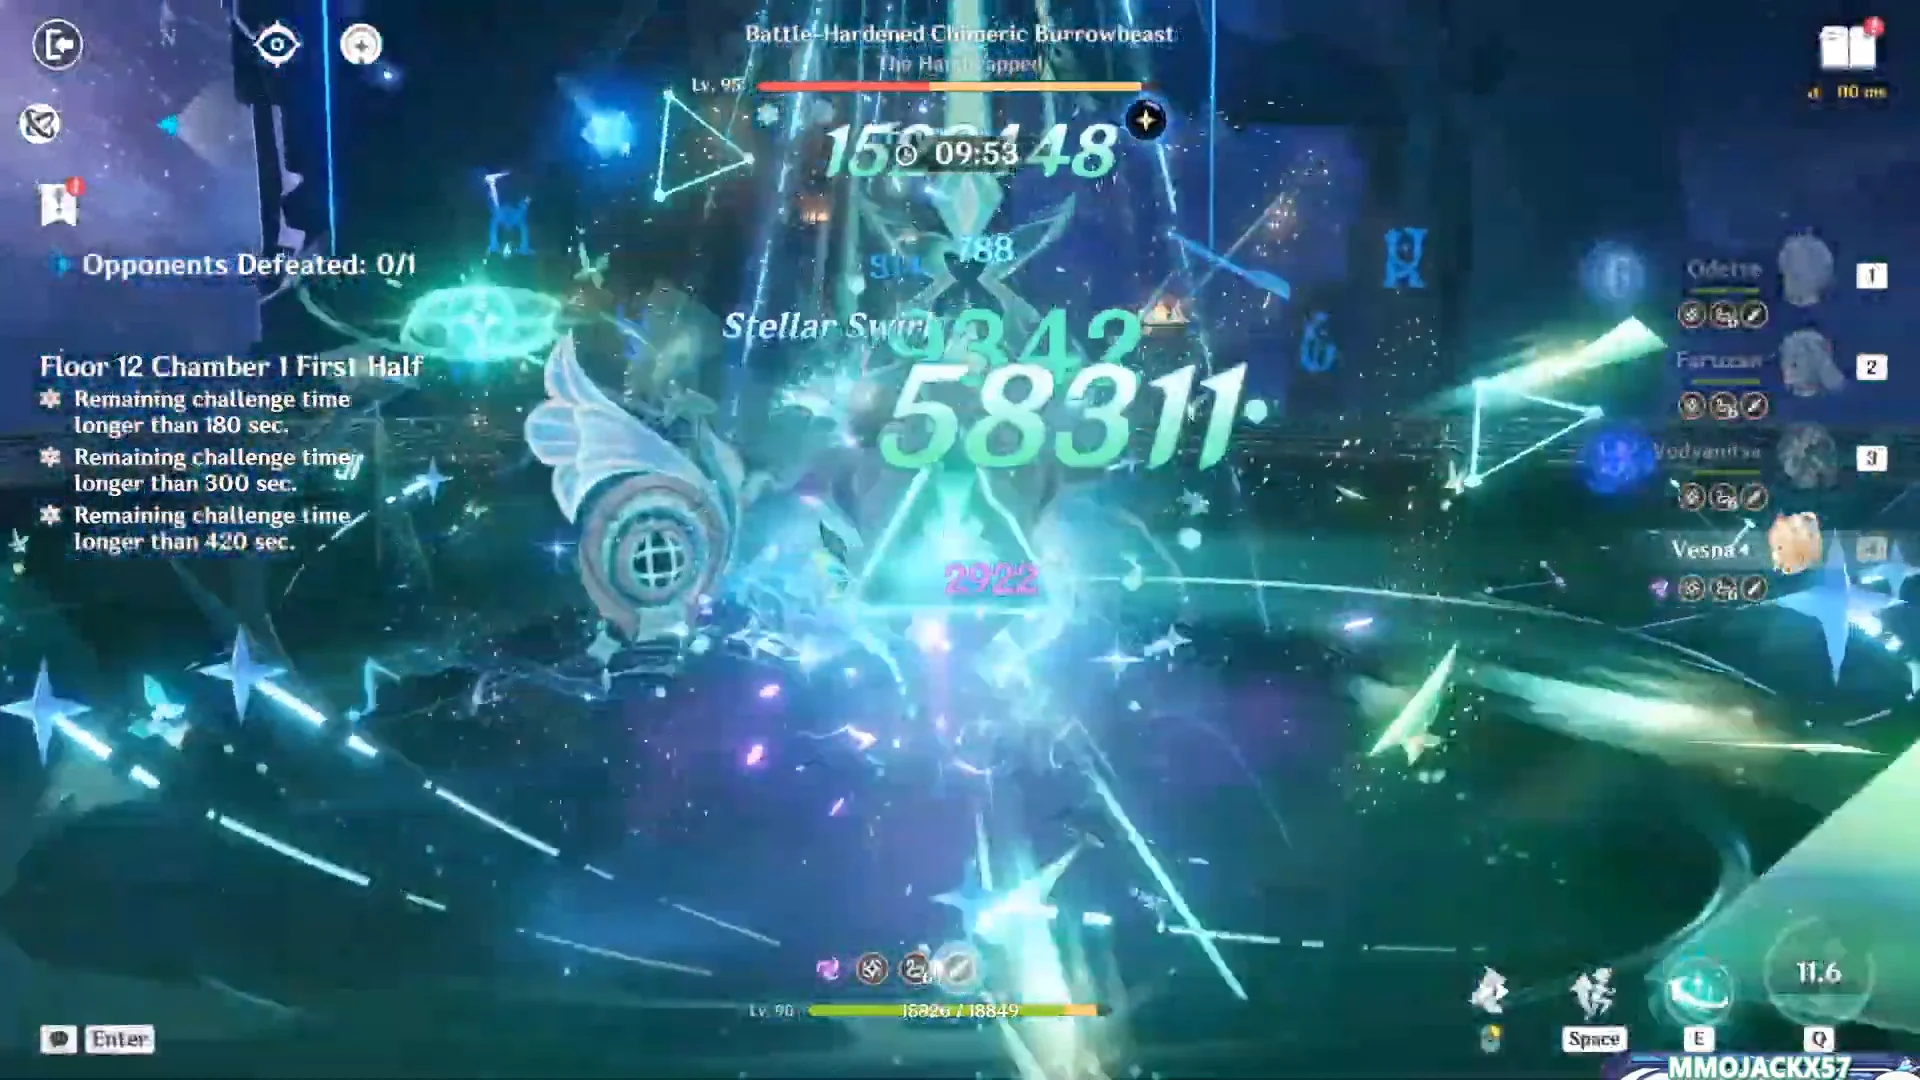
Floor 12 runs with Odette, Faruzan, Vodyanitsa and Vesna. Chamber 1’s first half puts the team against the Battle-Hardened Chimeric Burrowbeast, which drops to a single pass of skills and bursts.
Chamber 2 is run with the Character Elemental Skill DMG +20% ley line blessing selected, and the Immortal Construct in the first half goes down in seconds to the Faruzan and Vesna burst pairing.
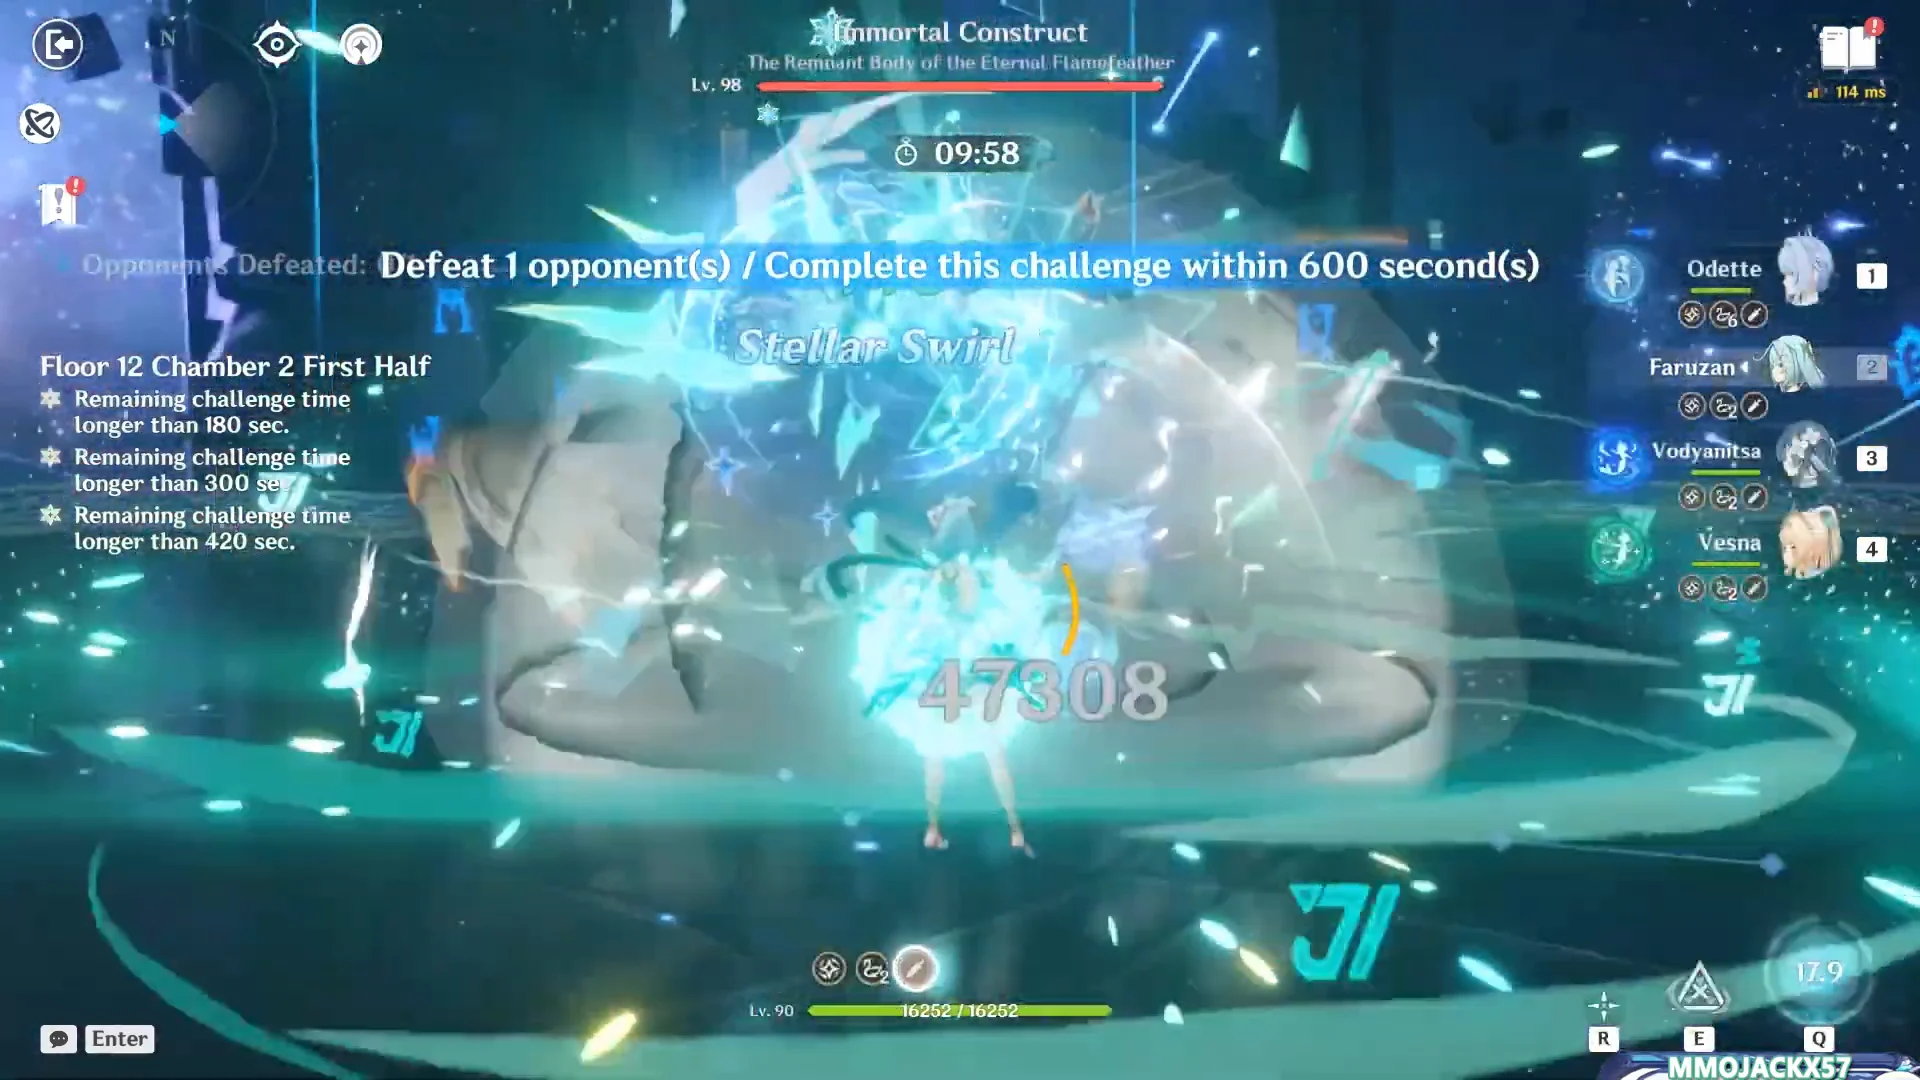
In the first half of Chamber 3, the Battle-Hardened Domovoy Sculptor appears again. Faruzan’s Anemo burst comes first; next, Vodyanitsa sets up a Hydro field, with Vesna’s Anemo attacks layered afterward.
What each constellation adds from C0 to C6
Constellation testing is done against Potapo’s Solidarity, with a C0R1 baseline team of Vesna, Vodyanitsa, Odette and C6R1 Faruzan before anything is unlocked.
| Const. | Vesna | Vodyanitsa |
|---|---|---|
| C1 | Winter’s Farewell Feast | Waters in Full Splendor |
| C2 | Kolo of Spring’s Arrival | Echoes That Pierce the Snow |
| C3 | Winter’s Last Offering | Song Lingering on a Spring Morning |
| C4 | Glory to Our Forebears | Melancholic Voice Upon the Gentle Waters |
| C5 | The Nobleborn’s Charge | Together, Down Into the Deep |
| C6 | Unwavering Ardor | Neverending Song of Revelry |
Three of Vesna’s six do measurable work on their own. C3 raises her Elemental Skill by three levels, C5 does the same for her burst, and C4, Glory to Our Forebears, triples the stat bonuses from her Truth Prevails passive. C1 and C2 change how her skill combos and attack strings behave, while C6 unlocks the solo skill loop that the fastest clears are built around. On Vodyanitsa’s side the payoff is team damage rather than personal numbers, with C6 boosting what the whole party puts out.
These are pre-release numbers from a kit that is still subject to change before Version 7.1 goes live, so treat the exact clear times as a ceiling for a maxed account rather than a target. The structural points are the ones to plan around: Vesna wants ATK, crit and enough Energy Recharge to keep her burst in rotation, Scarlet Proof rewards her for triggering Stellar Swirl on cooldown, and Vodyanitsa’s Wandering Vortex is what converts a Hydro support’s buffs into Anemo damage she can actually use.





