Vesna is the 5-star Anemo sword user who headlines Phase 1 of Version 7.1, and she breaks the usual Anemo rule. Her damage comes from Stellar Swirl, which scales off her ATK rather than pure Elemental Mastery, so the build that works for most Swirl carries is the wrong one here. Her banner runs from September 23 through October 14, 2026, alongside Vodyanitsa.
Quick answer: Equip Beyond the Chrysalis with four-piece Scarlet Proof, then run ATK% sands, ATK% goblet, and a CRIT DMG circlet. ATK beats Elemental Mastery, and an Anemo goblet does nothing for her.
ATK vs EM: what the main stat tests show
Six main stat combinations were run against the Algorithm of Semi-Intransient Matrix of Overseer Network boss using the same weapon (Beyond the Chrysalis), the same four-piece Scarlet Proof set, and the same team of Odette, Faruzan, and Vodyanitsa. Only the sands, goblet, and circlet changed.
| Sands / Goblet / Circlet | ATK | CRIT Rate / DMG | Strongest hit |
|---|---|---|---|
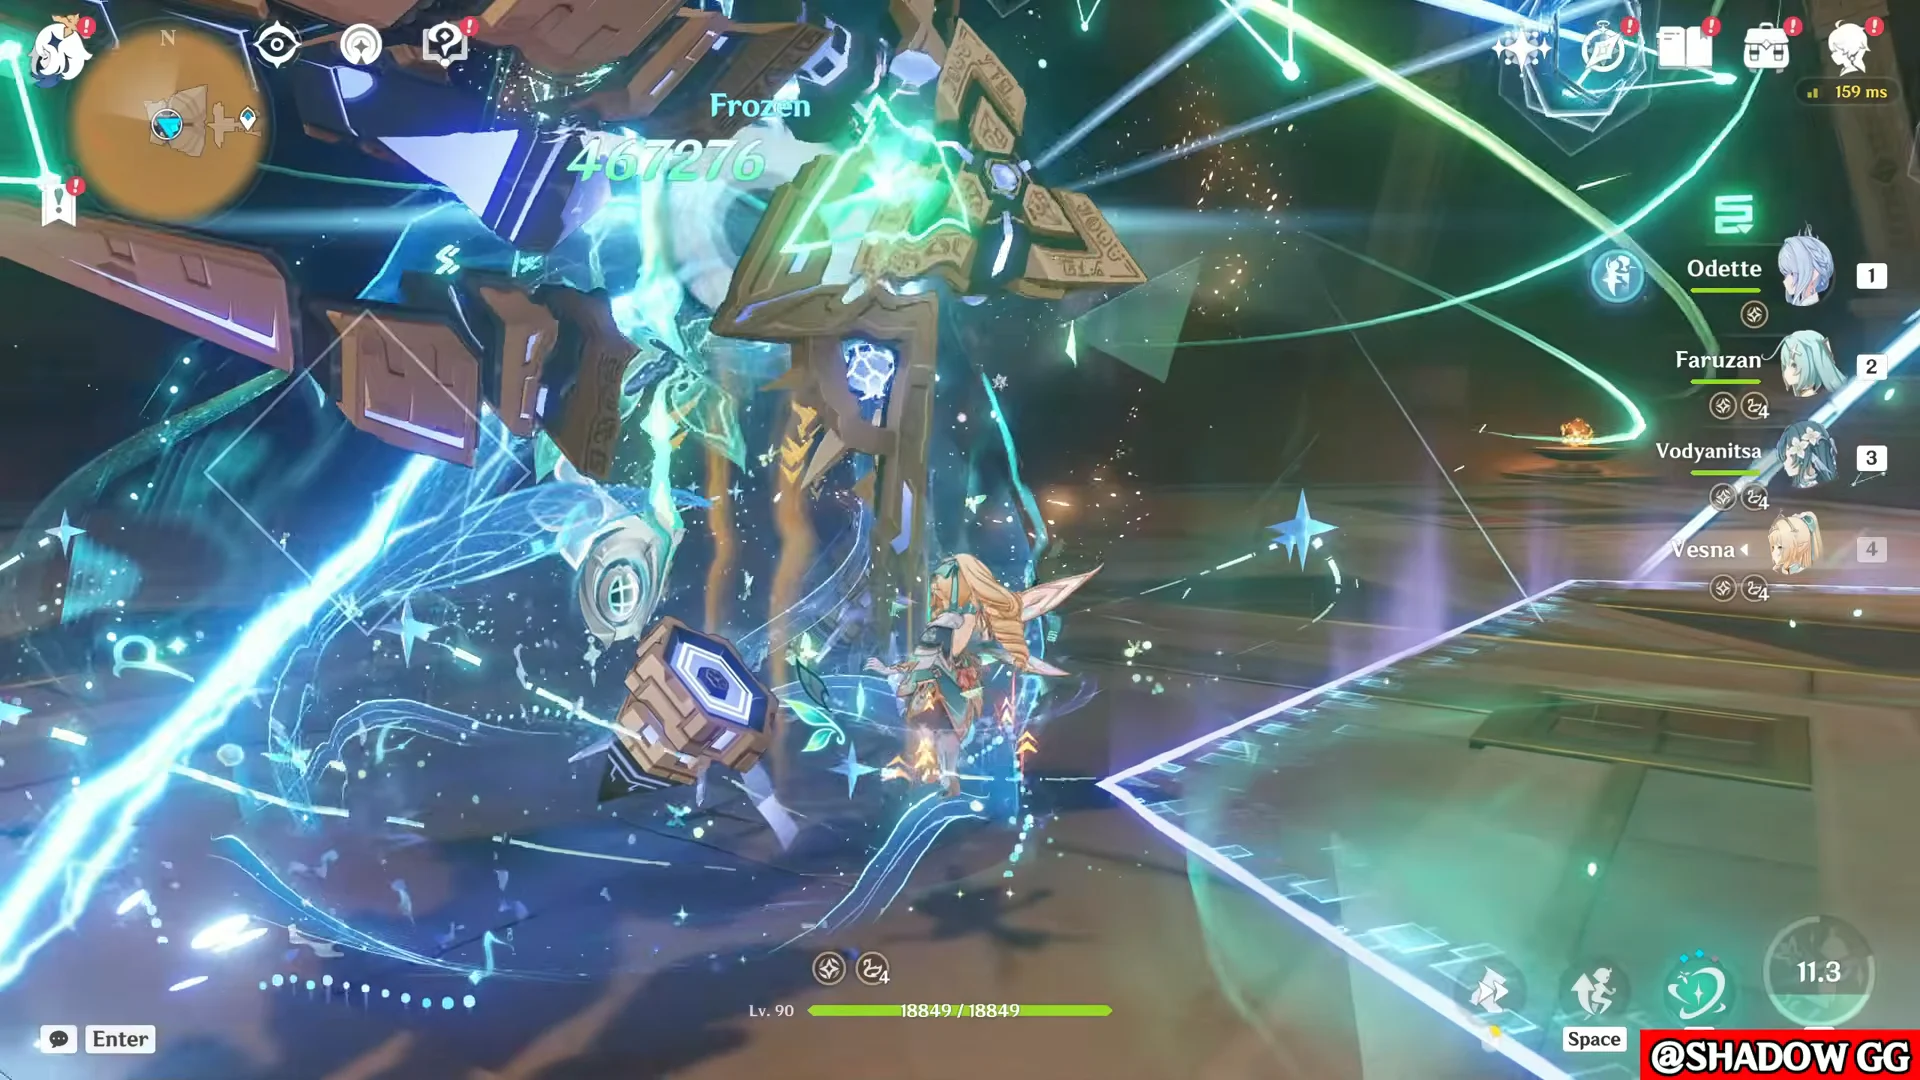
| EM / EM / CRIT DMG | — | 88.0% / 297.0% | 467,276 |
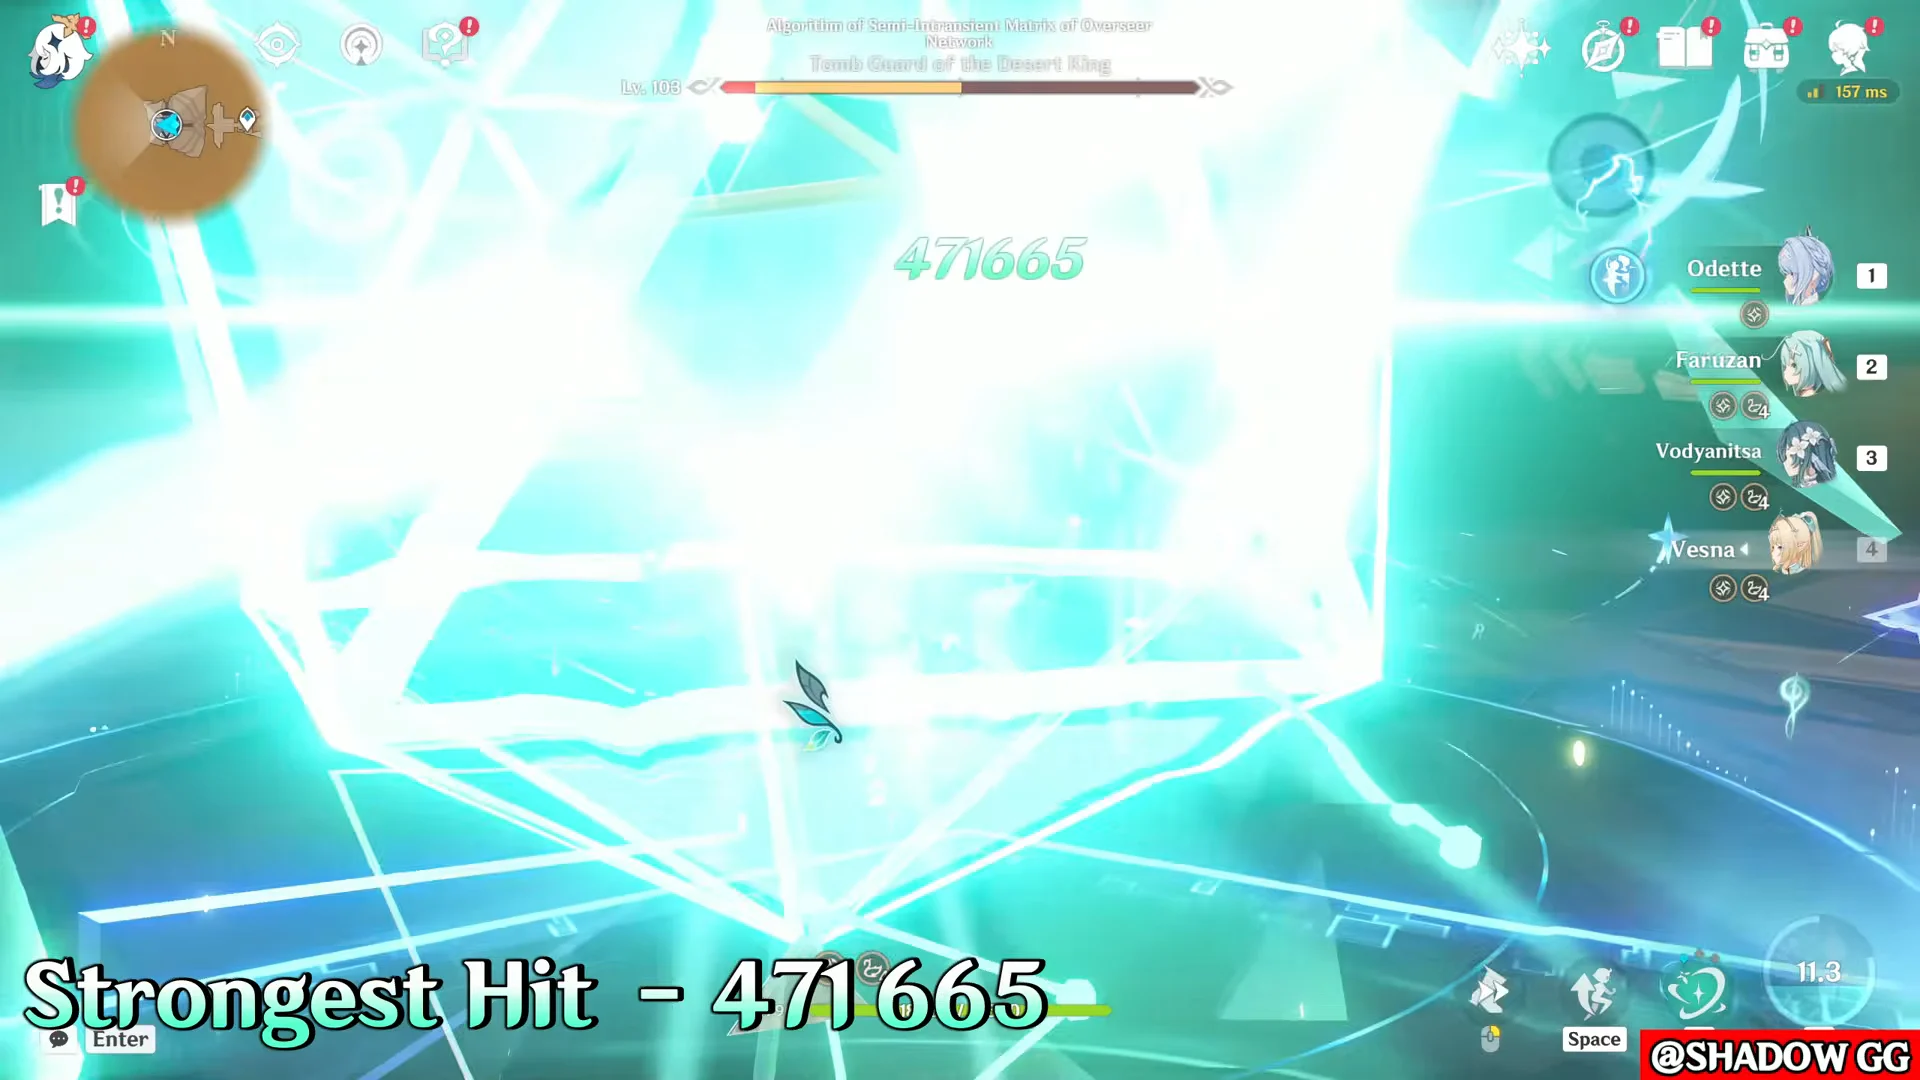
| EM / EM / ATK | 2,711 | 84.8% / 248.8% | 471,665 |
| ATK / ATK / ATK | 3,488 | 95.8% / 239.4% | 474,463 |
| EM / ATK / ATK | 2,974 | 86.1% / 256.5% | 493,328 |
| EM / ATK / CRIT DMG | 2,603 | 89.2% / 304.8% | 496,320 |
| ATK / ATK / CRIT DMG | 3,063 | 89.2% / 293.1% | 515,751 |
The double Elemental Mastery build finished last even with 398 EM and nearly 300% CRIT DMG on the board.
Swapping the circlet to ATK barely moved the needle, landing at 471,665. Every combination that put ATK on at least two pieces pulled ahead, and the clear winner was ATK% sands, ATK% goblet, CRIT DMG circlet at 515,751 — roughly 10% above the worst option.
Elemental Mastery is not worthless — it still feeds Stellar Swirl, and the EM sands variant with an ATK goblet and CRIT DMG circlet came within striking distance. It is simply third in line behind crit and ATK. The one case where an EM main stat is worth testing is when your sword already hands you a large chunk of ATK%, at which point swapping one ATK piece for EM can be a small gain.
Vesna deals Stellar Swirl damage, not regular Anemo damage. Anemo DMG Bonus does nothing for her, so skip the Anemo goblet and any set built purely around Anemo DMG.
Vesna stat targets and substat order
These numbers assume a decently rolled set of artifacts and her best weapon. Her ascension stat is CRIT Rate (19.2% at level 90), which does a lot of the early work for you.
| Stat | Target |
|---|---|
| ATK | 2,600+ |
| CRIT Rate | 50–84% |
| CRIT DMG | 180%+ |
| Elemental Mastery | 100–180 |
| Energy Recharge | 100–135% |
Substats go CRIT Rate and CRIT DMG first, then ATK%, then Elemental Mastery, then Energy Recharge. Keep the usual 1:2 crit ratio and stop adding Energy Recharge the moment her Burst lines up inside her combo.
The CRIT Rate ceiling is lower than it looks because of stacking external sources. Scarlet Proof hands over 16% CRIT Rate once Stellar Swirl goes off, and two Cryo teammates add another 15% through Cryo Resonance. Pushing much past 84% from artifacts just overcaps.
Best weapons for Vesna
| Sword | Base ATK | Secondary | Source |
|---|---|---|---|
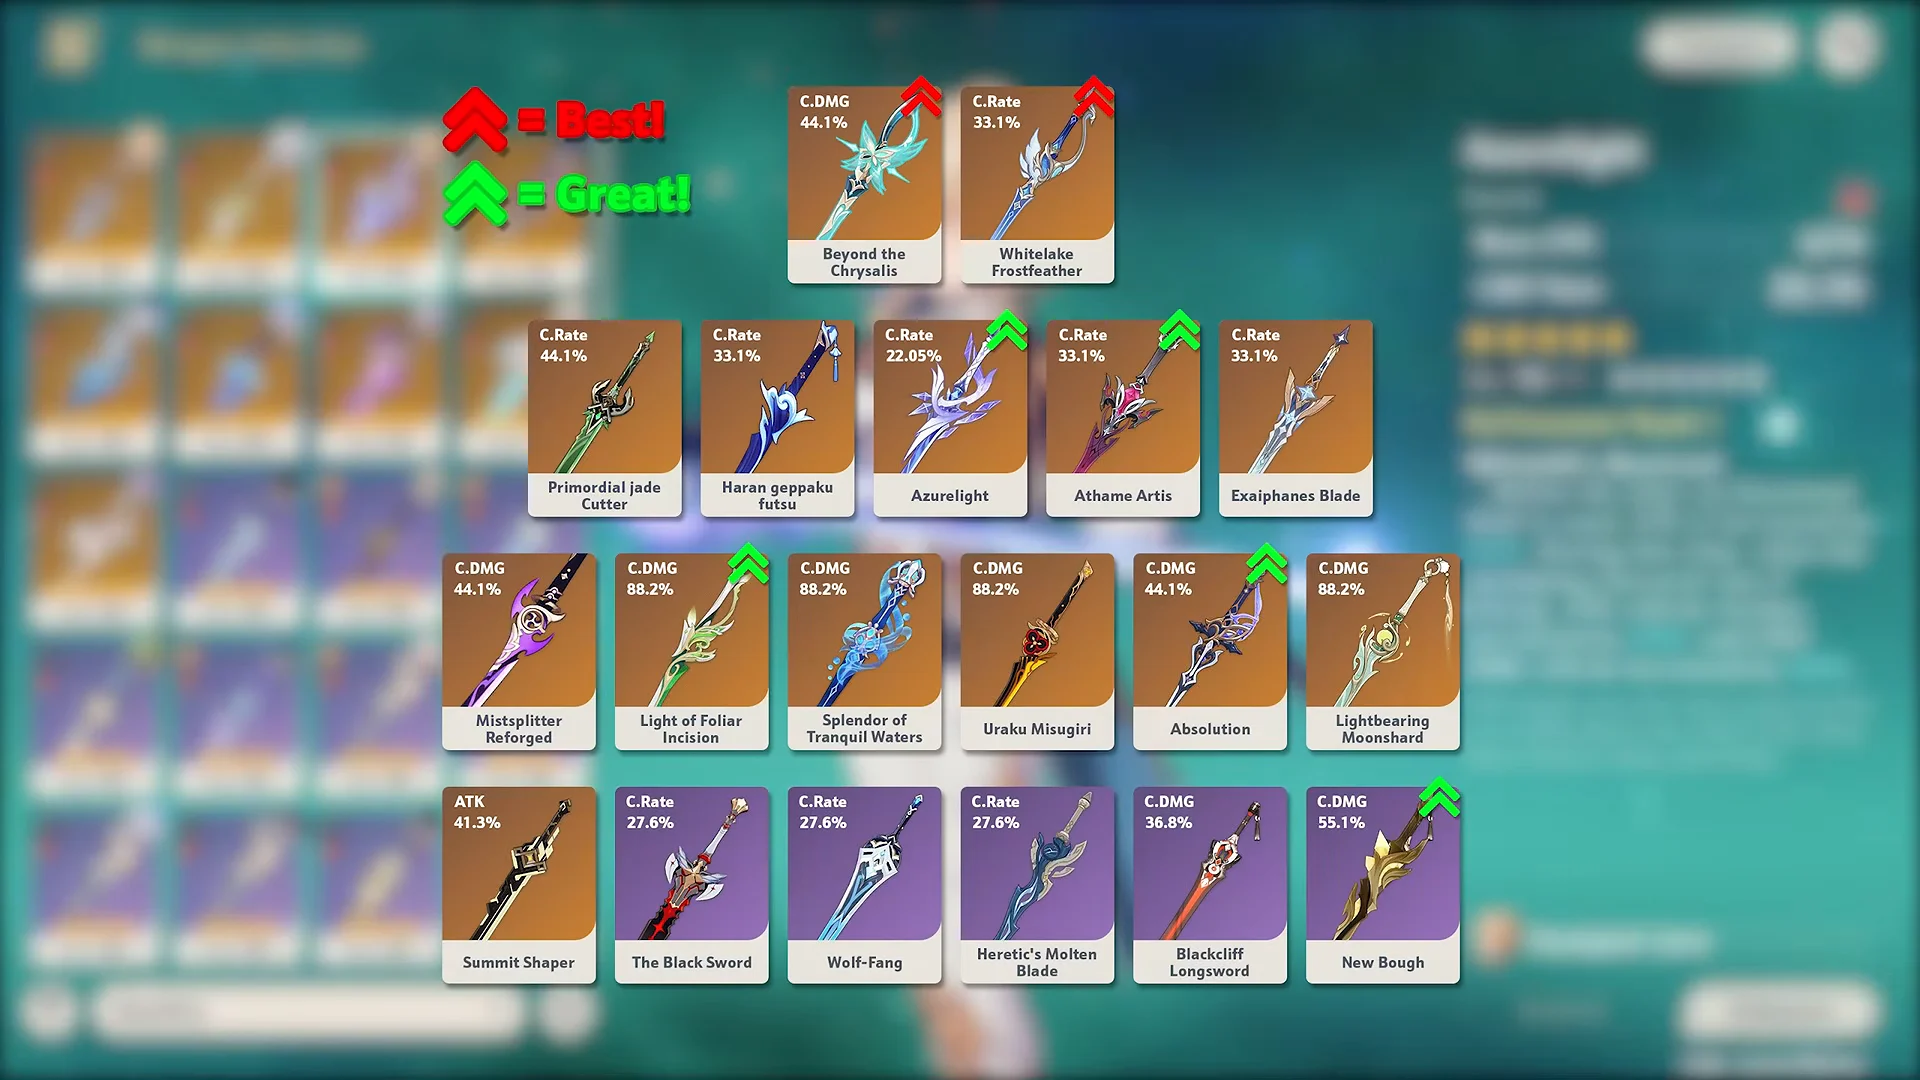
| Beyond the Chrysalis | 674 | 44.1% CRIT DMG | Wish |
| Whitelake Frostfeather | 674 | 22.1% CRIT Rate | Wish |
| New Bough | 510 | 55.1% CRIT DMG | Wish (4★) |
| Emberwell | 510 | 165 EM | Crafted (4★) |
| Silver Light | 510 | 41.3% ATK | Event (4★) |
| Heretic’s Molten Blade | 510 | CRIT Rate | Battle Pass |
Beyond the Chrysalis is her signature and her best-in-slot by a wide margin. Every Skill or Burst cast fires one of three effects in sequence: 56% CRIT DMG for 10 seconds, 36% more Stellar Swirl reaction damage for 10 seconds, or a chunk of Elemental Energy. All three can be live at once, so a full rotation leaves her sitting near 100% extra CRIT DMG with the energy problem mostly solved. It runs roughly 20–23% ahead of the alternatives, and it works as a universal stat stick on any sword user who casts a Skill each rotation.
Whitelake Frostfeather is Odette’s signature and the nearest thing to a substitute. It stacks ATK on Skill hits, boosts Stellar reaction CRIT DMG at max stacks, and refunds energy when it caps out. If you already own it, you can skip Vesna’s weapon banner entirely.
Emberwell is the free pick. The Snezhnaya craftable gives Elemental Mastery, ATK on any reaction, and bonus Stellar reaction damage after a Stellar trigger — her standard rotation lights up both halves. New Bough, the new 4-star from the weapon banner, is strong at high refinement but falls behind the free event sword Silver Light at R1. Heretic’s Molten Blade needs refinements it cannot easily get, and Azurelight works fine as an accessible 5-star stat stick.
Best artifacts: Scarlet Proof over Viridescent Venerer
Scarlet Proof remains her signature set and the clear top choice. With two pieces equipped, it grants 18% ATK. The four-piece effect activates whenever a Stellar Swirl reaction occurs, providing 16% CRIT Rate and 40% Stellar Swirl reaction damage for 10 seconds. No alternative matches it, and its domain also awards Heart of the Furnace, the support set Stellar teammates prefer, making every farming run worthwhile.
Viridescent Venerer falls behind by just 1–2%, but it offers more team utility when Vesna is the squad’s sole Anemo character because its Anemo and Cryo resistance reduction benefits the whole party. While farming the finished sets, combine any ATK-focused 2+2 setup; two ATK pieces paired with two Elemental Mastery pieces is one option.
Talent priority and Vesna’s rotation
Level the Elemental Skill first, the Burst second, and Normal Attacks last. The Art of Victory puts her into Armed for Action for 15 seconds, gives her an Anemo infusion that cannot be overwritten, raises her interruption resistance, and lets her spend Sword Essence on Windborne Sword. That window holds the vast majority of her damage.
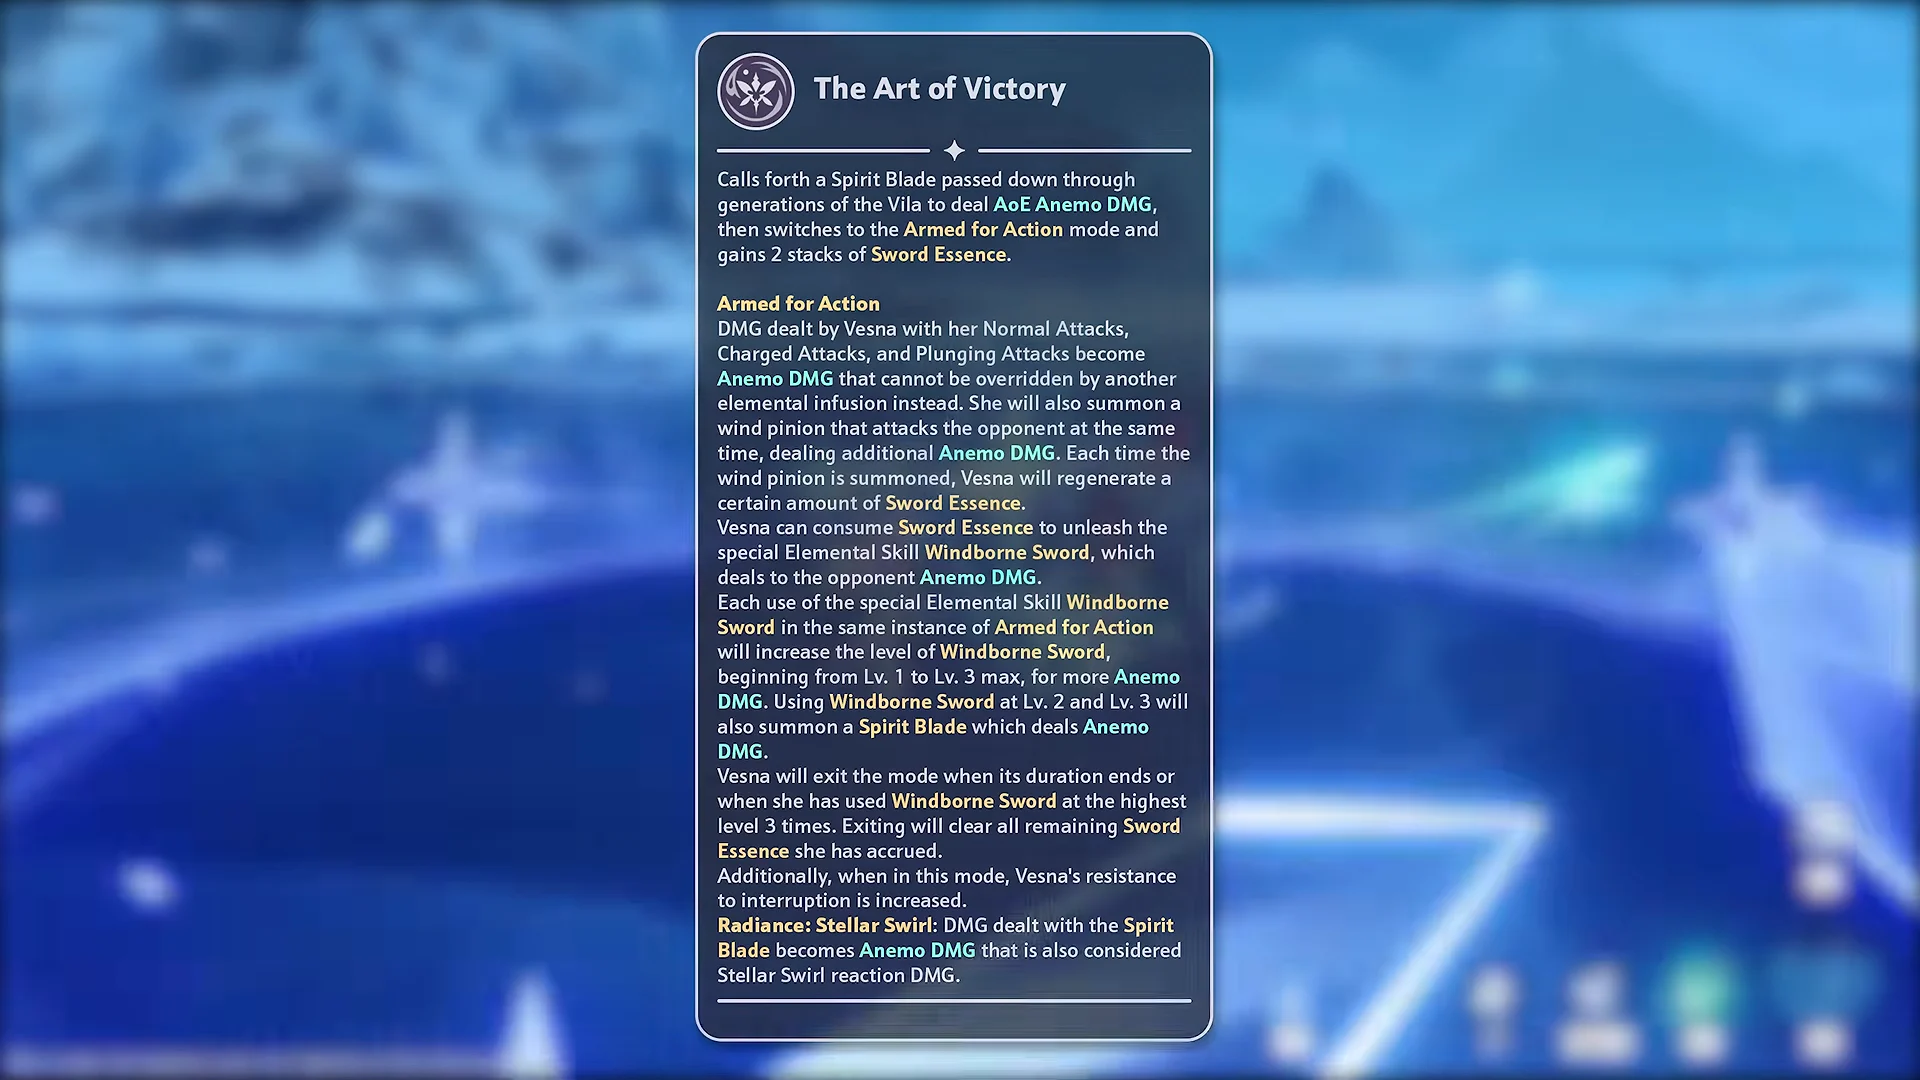
For the Tsaritsa! is close behind in importance. It is not a finisher — it refunds Sword Essence and feeds straight back into the combo. Vila Blade Dance, her Normal Attack talent, contributes very little and can wait indefinitely.

Her passive, Stellar Jubilee: Splendid Prelude, is what converts Cryo Swirl into Stellar Swirl for the whole party and raises the team’s Stellar Swirl base damage by up to 14%, scaling off her ATK and capping at 2,000 ATK. That cap is another reason ATK matters so much on her sheet.
Rotation order
Best Vesna teams for Stellar Swirl
Vesna handles the on-field carry role, while her allies work to maintain Cryo on targets and turn her Swirl into Stellar Swirl. At minimum, include one off-field Cryo character; in most teams, she prefers having two.
| Team | Members |
|---|---|
| Premium | Vesna, Odette, Cryo Traveler, Vodyanitsa |
| Buffer variant | Vesna, Odette, Cryo Traveler, C6 Faruzan |
| Budget | Vesna, Diona, Cryo Traveler, Sucrose |
Make Odette the team’s anchor: she deals substantial Stellar damage from off the field, grants a major Stellar DMG increase, applies Cryo consistently, and benefits from Heart of the Furnace. Cryo Traveler costs nothing, adds Cryo and an Elemental Mastery boost, and can supply a meaningful amount of team damage with the improved Charged Attack and Burst.
The fourth slot decides the team’s shape. Vodyanitsa shreds Anemo resistance, adds extra Stellar Swirl instances through a quill-style mechanic, and heals. Faruzan trades that sustain for more raw damage and enough energy that Vesna can Burst every rotation, but she needs C6 to be worth the slot and can slightly reduce Stellar Swirl trigger frequency when stacked with Vodyanitsa.
On a budget, Diona covers healing, shielding, and a buff with enough uptime to cover Vesna’s entire field time, while Sucrose adds Elemental Mastery. Qiqi and Escoffier are additional Cryo options.
Vesna constellations worth stopping at
Her constellation line is among the strongest in the game for a DPS, with C5 as the only flat one. C1 and C2 are the sensible stopping points.
- C1 – Winter’s Farewell Feast: A fourth max-level Windborne Sword plus 20% Stellar Swirl DMG, around a 25% personal DPS gain.
- C2 – Kolo of Spring’s Arrival: Max Disciplinary Action stacks instantly and 40% ATK, roughly matching C1.
- C3 – Winter’s Last Offering: Three Skill talent levels, about 12–13% personal DPS.
- C4 – Glory to Our Forebears: Triples the Truth Prevails passive for a large ATK% jump.
- C5 – The Nobleborn’s Charge: Three Burst talent levels, nothing special.
- C6 – Unwavering Ardor: Adds Windborne Sword: Transpose and another 20% Stellar Swirl DMG.
Get her ATK past 2,600, keep crit near the 1:2 line, add only the Energy Recharge her Burst timing actually needs, and give her steady Cryo to swirl. Everything else is optimization at the margins.