In WARDOGS, armor is the biggest recurring expense for most players, since every respawn means paying for it again. Vendor tiers aren’t career ranks: Levels 1 through 4 indicate how much bullet damage the plate reduces and which body areas it protects. Pick gear you can bring into the fight, or you’ll waste your cash.
Quick answer: For most lives, Level 3 Armor offers the best protection for its weight: 250 durability for $2,000. Level 4 reaches the pelvis and upper arms and has 300 durability, but its 18 kg weight costs you sprint.
Body armor tiers: durability, weight and price
| Armor | Durability | Weight | Price |
|---|---|---|---|
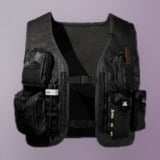 Level 1 Armor Level 1 Armor | 200 | 3 kg | $400 |
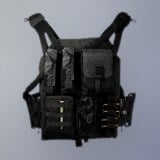 Level 2 Armor Level 2 Armor | 220 | 4.5 kg | $1,000 |
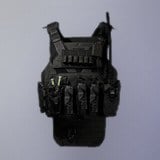 Level 3 Armor Level 3 Armor | 250 | 10.5 kg | $2,000 |
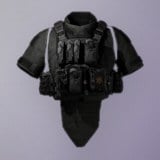 Level 4 Armor Level 4 Armor | 300 | 18 kg | $4,000 |
Tier durability rises less dramatically than damage reduction, the factor that matters in a gunfight. The lightest tier cuts an incoming hit by roughly 30 percent, Level 2 by around 40 percent, Level 3 by about 55 percent, and the highest by 65 percent. From Level 1 to Level 4, the price multiplies by four while the weight increases sixfold.
Level 1 Armor
This is the entry plate. It covers the upper, middle and lower torso with low damage reduction, and it is cheap and light enough to blunt a flanking shot without weighing down an aggressive respawn. It is the smart default for your first lives of a session or any time your bank is thin.
Level 2 Armor
Level 2 gives you the most value. It offers medium damage reduction over the same torso areas as Level 1, for just 1.5 kg more. You can still move in a light weight class for long flanks and scouting rotations; getting to the fight in that class often matters more than the reduction percentage.
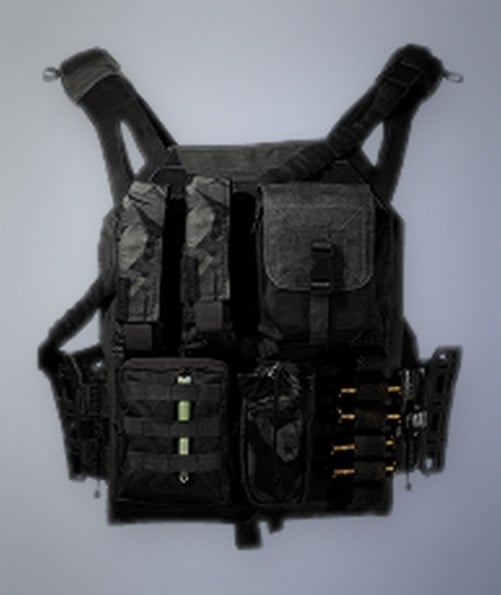
Level 3 Armor
Level 3 brings high reduction, still limited to the torso, and it is the minimum you want when holding the Control Zone or a Hot Zone. The weight jump here is the real cost: 10.5 kg still moves, but it is a genuine step toward a heavier class. For most objective holds, this is the plate that pays for itself.
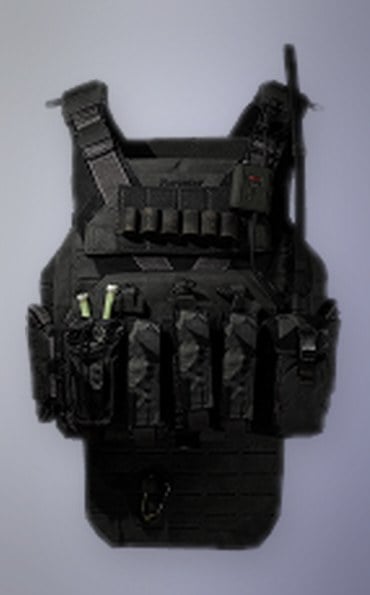
Level 4 Armor
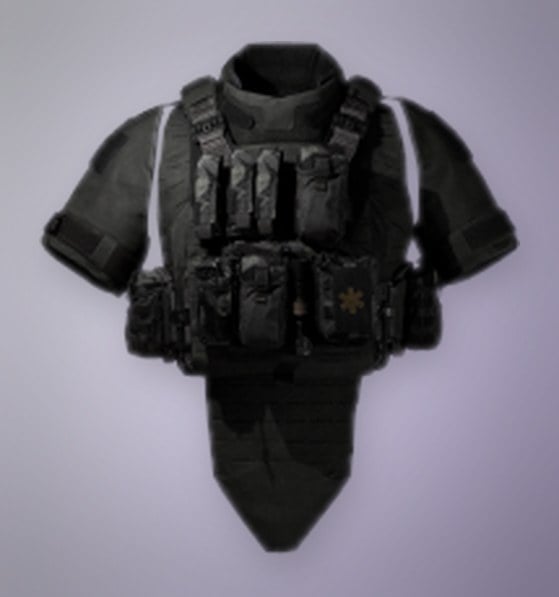
The highest reduction, 65 percent, belongs to Level 4, the only vest that guards areas beyond the torso. Its protection covers the upper, middle and lower torso, plus the pelvis and upper arms, so even shots that stray from center mass are softened against a top-tier wearer. That broader coverage is what sets this tier apart. The tradeoff is its 18 kg weight: it puts you in the Super Heavy class and removes sprint. Use it like an emplacement—hold a point or arrive by vehicle—and don’t purchase it for a position you’ll need to walk to.
Helmet tiers and what they protect
| Helmet | Durability | Weight | Price |
|---|---|---|---|
 Level 1 Helmet Level 1 Helmet | 80 | ~1 kg | $200 |
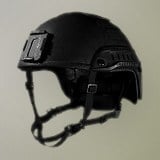 Level 2 Helmet Level 2 Helmet | 100 | 1.6 kg | $500 |
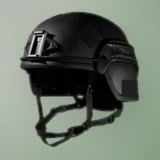 Level 3 Helmet Level 3 Helmet | 180 | 3 kg | $1,500 |
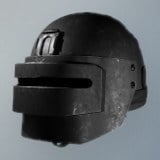 Level 4 Helmet Level 4 Helmet | 200 | 4.5 kg | $3,000 |
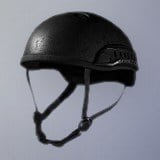
Helmet coverage separates the tiers: Levels 1 and 2 protect only the head, while Levels 3 and 4 also cover the neck, a zone long-range shots can hit unintentionally. Since a headshot can end a fight outright, a helmet is often the better protection purchase. At $200, the Level 1 helmet is the game’s least expensive survivability upgrade.
Since helmets weigh much less than plates, upgrading your head protection usually adds fewer kilograms than moving up two chest tiers. When your kit is close to crossing a weight-class threshold, improve the helmet before reaching for a heavier vest.
Career levels and unlock fees
Each tier requires a career-level threshold and a one-time cash payment, in addition to the cost of equipping it for each life. Your WARDOG level combines your six role levels, so reviving as a medic or flying helicopters advances you toward higher plates just as quickly as rifle kills.
| Tier | WARDOG level | Armor unlock | Helmet unlock |
|---|---|---|---|
| Level 1 | 3 | $10,000 | $7,500 |
| Level 2 | 30 | $50,000 | $37,500 |
| Level 3 | 60 | $100,000 | $75,000 |
| Level 4 | 100 | $200,000 | $150,000 |
A tier unlock gives you permission to buy it, not a free vest; the usual purchase cost still applies each life. Match loot can bypass the requirement: you can take locked gear from a body or find it in a supply crate. A player at career level 20 who wins the right fight may therefore walk away wearing a Level 3 vest.
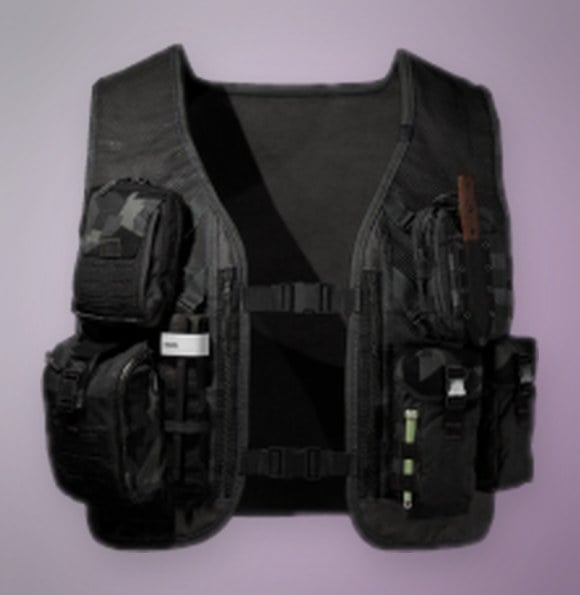
A Tactical Vest is not body armor. The vest slot handles utility and handling; ballistic protection lives in the separate Armor slot. Deploying with an Attack Vest and an empty Armor slot means you are wearing no plate at all.
How durability works while you are being shot
Durability works as a reserve, not as another health bar. Hits to protected areas wear it down; once the reserve is gone, the plate provides no more reduction and you’ll spend the rest of that life effectively unarmored. Its appearance moves through four wear states: full protection, degraded, critical with a warning indicator, and broken.
An intact plate doesn’t stop all damage. Each tier reduces only a percentage of every hit, meaning you can bleed out before the vest runs out of durability. The number of shots needed to kill you differs from the number needed to break the armor; only the kill count decides the fight.
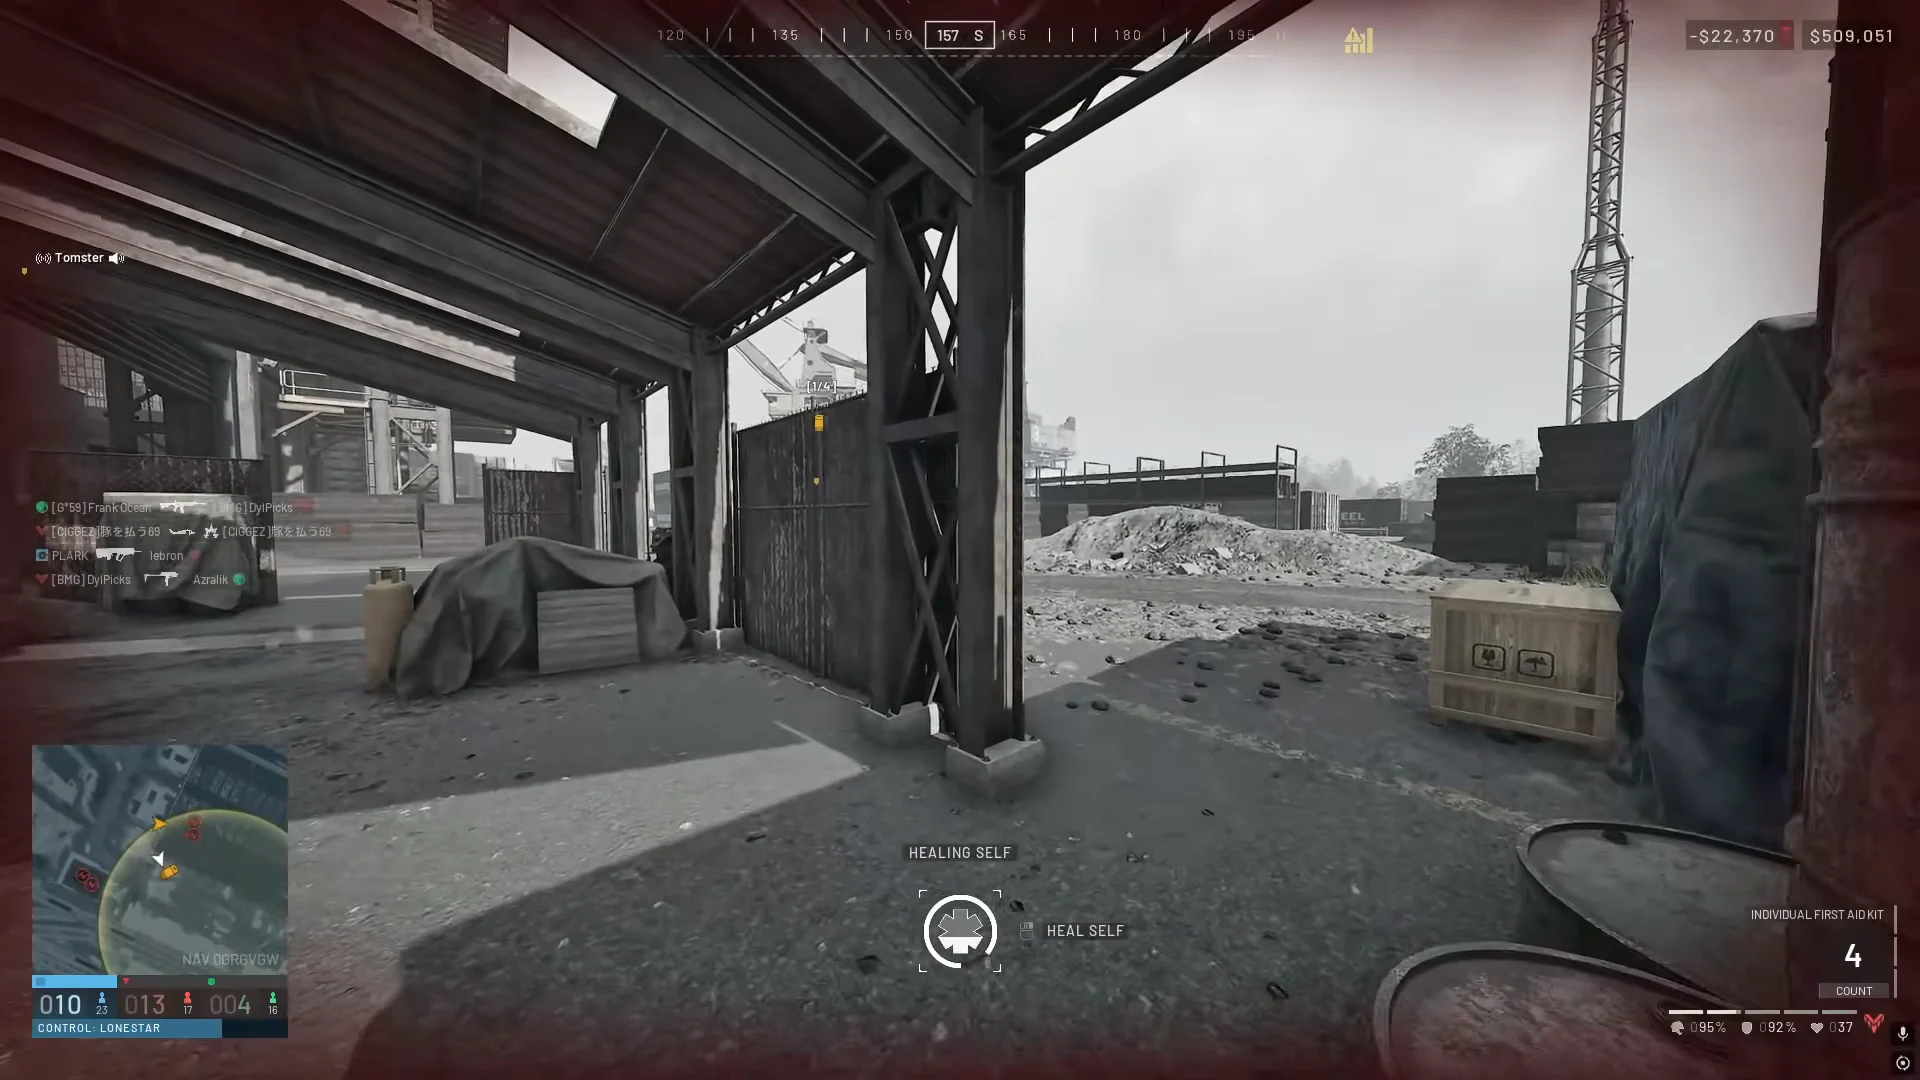
Sustained fire puts armor at a disadvantage in two ways. The opening magazine is reduced by the plate as it drains its durability; the next burst then hits a much less protected target. Firing to suppress a held angle before advancing is both a positioning move and a way to deal damage.
FMJ, HP and AP against armor
Ammo choice depends on what you’re shooting at, not on a simple upgrade ladder. A plate changes how each round performs as soon as it gets in the way. The figures below compare each type against Level 4 plate, before the vest’s own reduction is applied.
| Ammo | Damage | Penetration |
|---|---|---|
| FMJ | 1× | — |
| HP | 1.5× | 0.1× |
| AP | 0.3× | 1.8× |
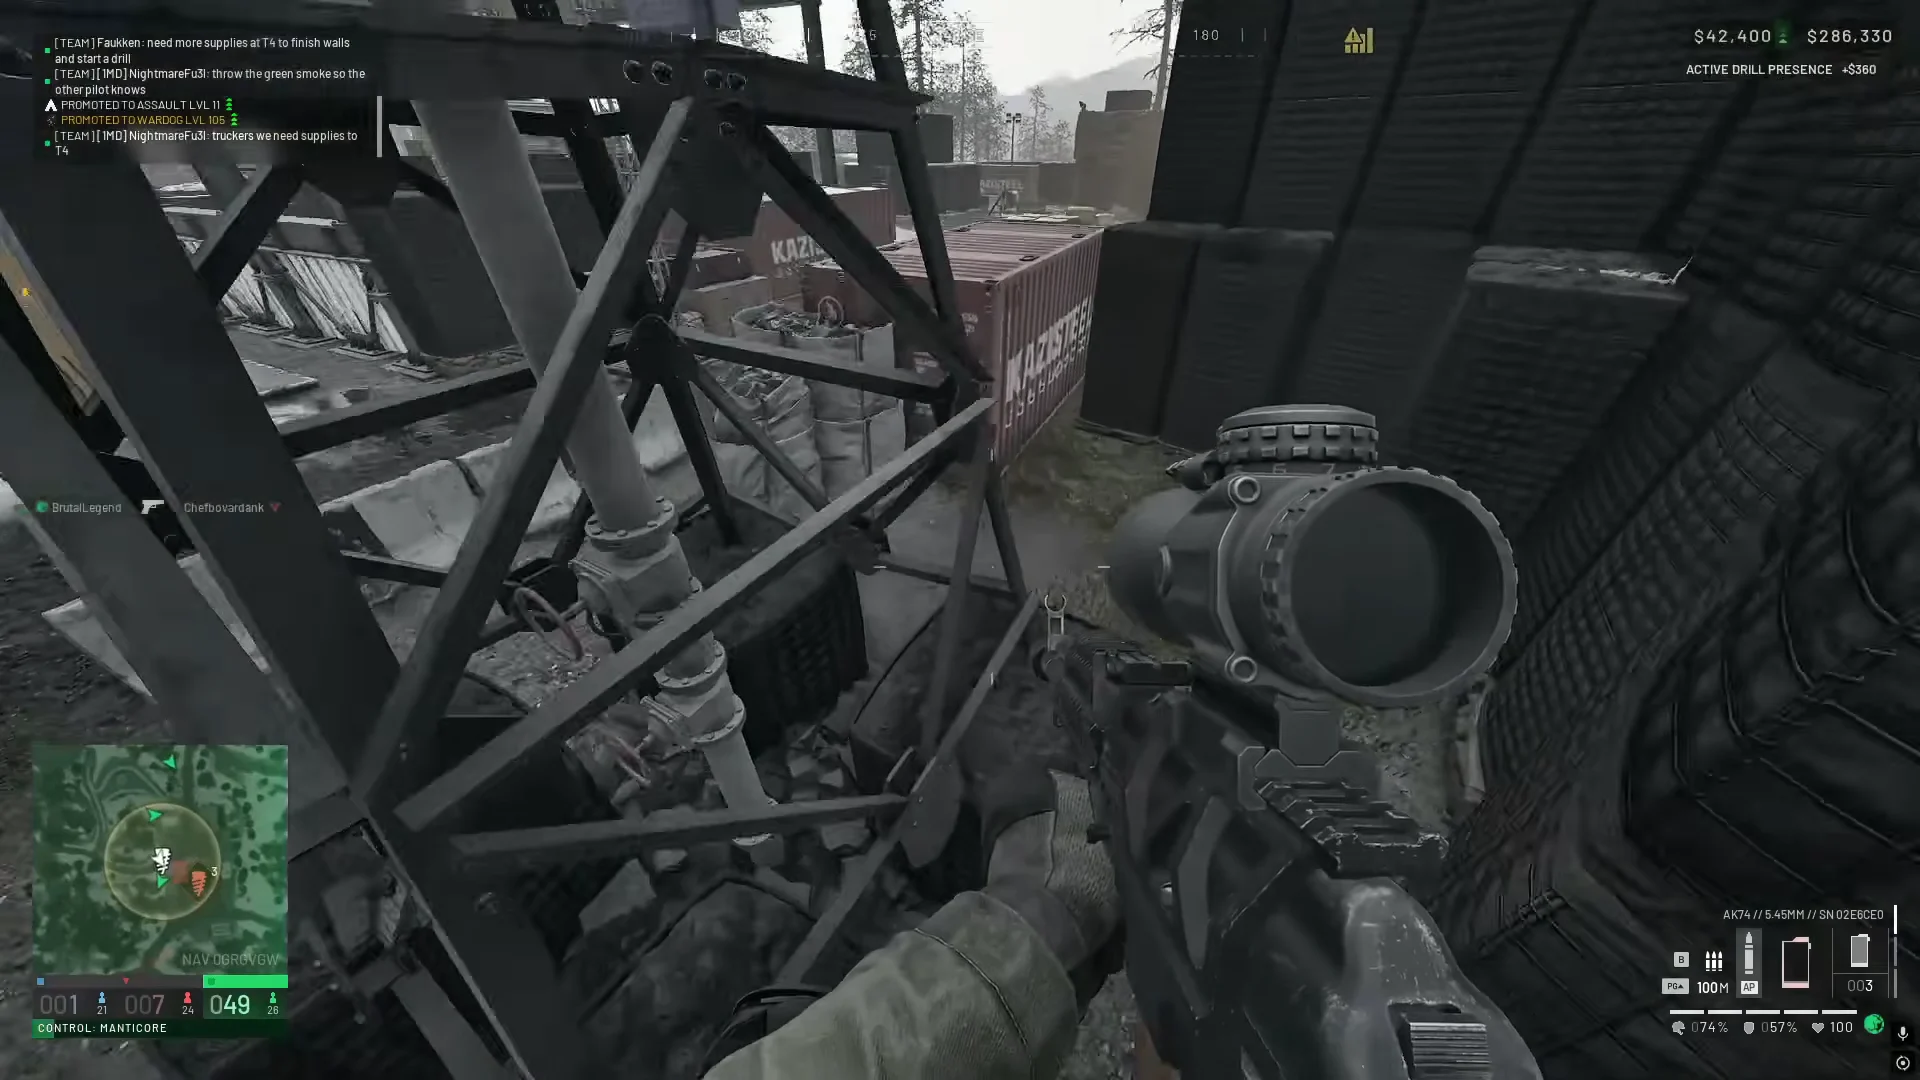
Choose Armor Piercing when plates are the problem: it punches through them, making it suited to an opponent exposing an armored head and torso from a window or ridgeline. Its performance drops on unprotected flesh, so equip it for a reason rather than by habit. Hollow Point reverses that tradeoff, hitting unarmored body parts brutally but losing much of its force to plates; even a Level 4 foe running over open terrain may be brought down with shots to the legs. Keep your aim low and their armor offers little protection; if your spray rises onto the vest, HP is about the poorest ammo in your hands.
Standard Full Metal Jacket (FMJ) is the middle-ground choice by design. Against unarmored flesh it doesn’t reach the top damage, but neither does it fall apart versus Level 4 plates; that consistency helps in a three-faction match, where your next opponent might be a ghillie scout or a heavily plated anchor. Keep progression in mind before spending on armor: HP variants become available early in your career, whereas AP is a late unlock, generally beyond level 60. At a season’s start, incoming rounds are mostly ammunition that armor counters especially well.
The Ghillie suit uses the armor slot and stops nothing
The Ghillie Body Suit (Dead) takes up the armor slot but offers no ballistic damage reduction. At 1.5 kg, it must be paired with the matching Ghillie Headwear (Dead); it also removes the death cam after a kill and conceals you from Infrared Range Finders. It works well for concealment in forests, poorly in towns, and not at all once a Hot Zone fight begins. Choose the set for stalker or sniper lives that involve repositioning after every shot, rather than wearing it in place of plates.
Which tier to buy, and when
Your cash balance persists across lives and matches, so buy a tier you can afford to lose after a bad spawn. The rifle issued to your faction’s recruits is always free, making armor the better early-game expense. Choose a plate that suits the route you’re about to take.
- When cash is low or you’re on your session’s first lives, equip Level 1 or Level 2 with its matching helmet.
- For long flanks and scouting rotations, use Level 2 to remain in a light weight class.
- For a Control Zone or Hot Zone hold, bring Level 3 at minimum.
- For objective anchoring, anti-materiel rifle use, or transport travel, choose Level 4 after setting aside the vehicle budget.
- Don’t use Level 4 as a fix for bad positioning; at 18 kg, it won’t get you to the fight any faster.
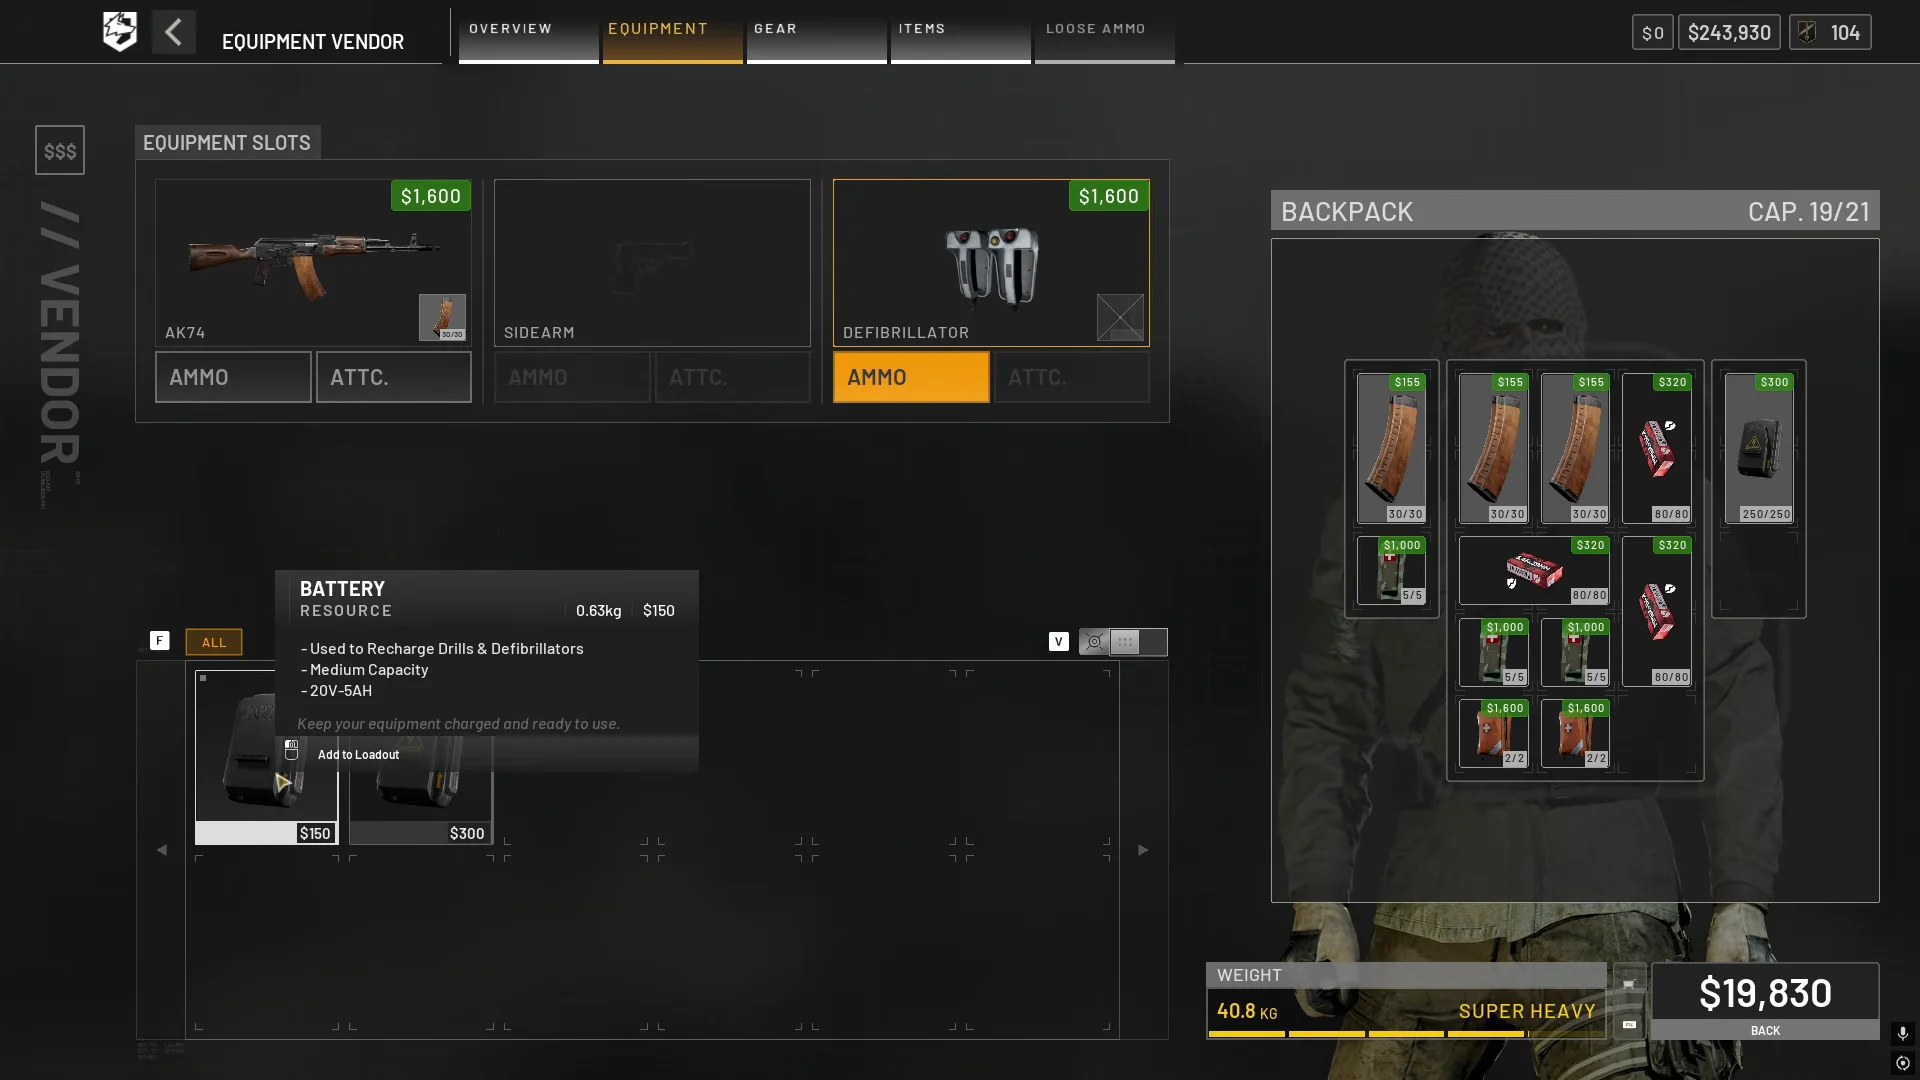
Check the weight category on your loadout before deployment; that threshold is what matters. Heavy removes tactical sprint, while Super Heavy takes away sprint altogether. A complete kit weighing 39.9 kg can still be Heavy and retain sprint, so the plate is seldom the sole cause—the pack, ammunition and traversal gear piled on afterward are usually responsible. Choose armor for the route you’re about to take, then inspect the weight bar once more before spawning.