Season 2 of WARDOGS reset progression on October 15, raised many unlock costs, and reworked the cash economy. Kills still pay, but the steady money comes from actions that keep paying while teammates do the shooting. Revives, resupplies, rides, spotting, and spawn vehicles all trigger assist cash and XP. Stack several of them in one life and your balance grows even in matches where you barely fire your rifle.
Quick answer: Spawn in a near-free kit, then run Ural pallet loops, Medic revives, or Monocular spotting near the Hot Zone. Once Support 8 and Driver 3 are unlocked, add a hidden Stingray FOB to hunt armor.
How cash works in WARDOGS Season 2
A new account has $10,000, and unspent cash remains available in later matches. Since you pay for another loadout each time you spawn, focus on profit rather than total earnings. For example, earning $20,000 but leaving a $15,000 kit behind is less profitable than making $6,000 with a free rifle. Reaching the match’s end returns most of what you spent on your loadout.
Where you fight has a major effect on payouts. The Control Zone boosts combat earnings, while the Hot Zone applies an additional 2x cash multiplier. About every 22 seconds, presence rewards pay $160 in the Control Zone or $320 in the Hot Zone, regardless of whether the area is friendly, contested, or hostile.
Season 2 changed several values directly. Base logistics and transport payouts went down, spotting pays about 30 percent less, and new streak bonuses reward players who repeat a delivery route.
| Season 2 action | Reward |
|---|---|
| Assault-archetype weapon kill bonus | $2,000 (up from $1,500) |
| Hack an enemy FOB | $2,500 / 250 XP |
| Teammate near a hacked FOB | $1,000 / 250 XP |
| Destroy a FOB | Up to +$7,500 / +250 XP |
| Capture a hostile Drill Tower | $1,500 / 300 XP |
| Breach a door with the Halligan Bar | $100, once per door |
| Close a friendly FOB door | $75 |
The FOB destruction bonus scales with the supplies the base holds, capped at 25,000 supplies. Any faction sitting at least 40 points behind second place also gets a 20 percent vendor discount, which cuts spending rather than adding income. The Wager Vendor, which lets you bet your own cash on objectives, did not ship at launch, and no opening date is confirmed yet.
Cheap loadout that keeps every life profitable
Keep spending to a minimum until your bank can handle losses. Use the free Bushmaster with a small backpack, Level 1 Armor to avoid losing a life to one sniper round, and a respirator that lets teammates revive you quickly without charge.
| Item | Price | Unlock | Key stats |
|---|---|---|---|
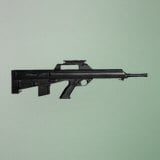 Bushmaster M17S Bushmaster M17S | $0 | Default | 5.56x45mm, 28 damage, 700 RPM |
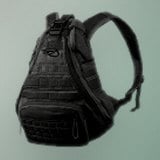 Small Backpack Small Backpack | $350 | Default | 8 slots (4×2), 0.5 kg |
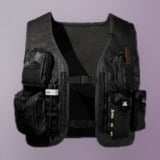 Level 1 Armor Level 1 Armor | $400 | Wardog 3 ($10,000) | Tier 1, 200 durability |
Bushmaster M17S fires in semi and burst modes, hits for 65.8 on a headshot and 11.2 through body armor, and takes standard 30-round mags from the M4, KH2002, A91, TAR21, and STANAG families. It cannot mount attachments, so it works best at medium range. The $600 T-21 is the cheapest step up when you want full-auto fire.
Level 1 Armor offers low damage reduction and covers only the upper and lower torso. That is still enough to survive a single sniper hit. The Small Backpack gives you room for bandages and spotting gear without paying for a bigger pack.
Support: Stingray drone FOB for vehicle kills
Destroying armed vehicles pays far more than anything else a single action can earn. The Stingray launcher fires a remote UAV that you fly into enemy armor from a hidden FOB, so you never stand in the line of fire yourself. It takes some setup money, and you can fund the whole thing solo.
PURCHASE STINGRAY prompt.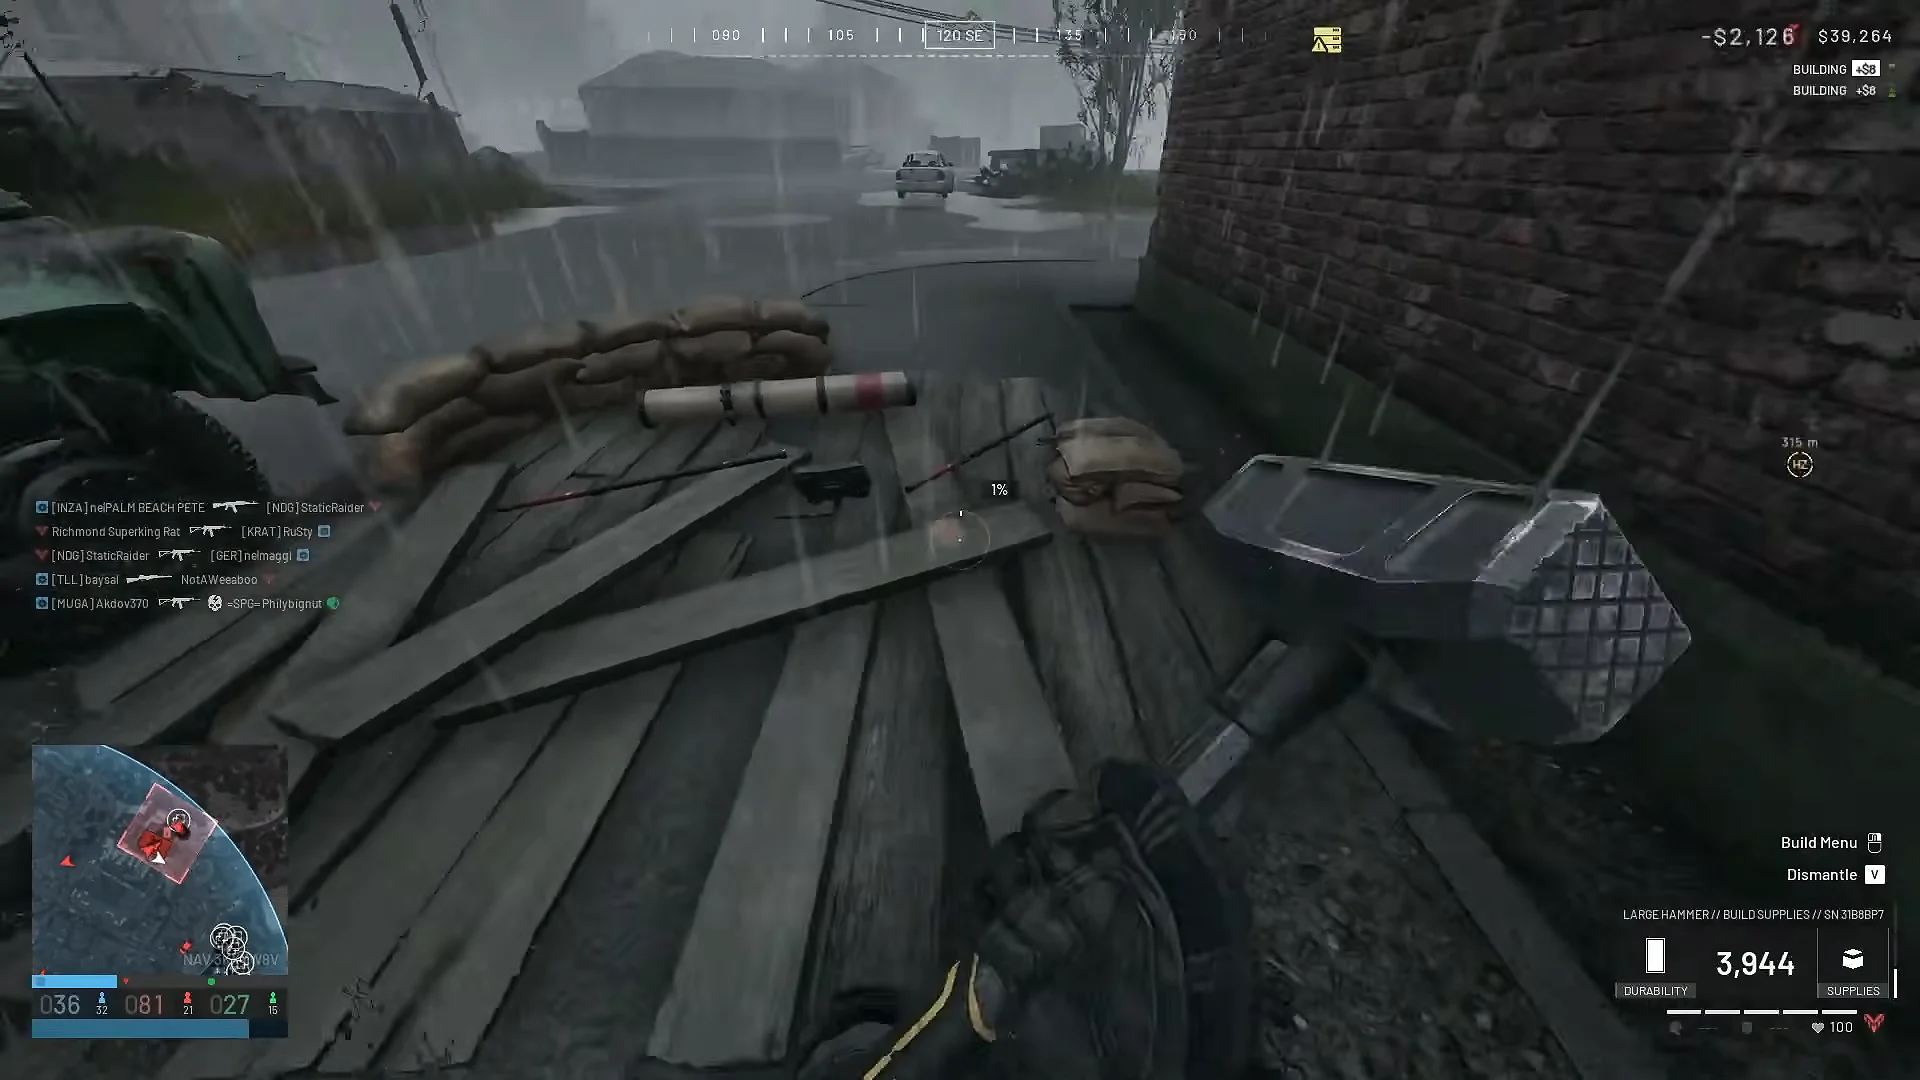
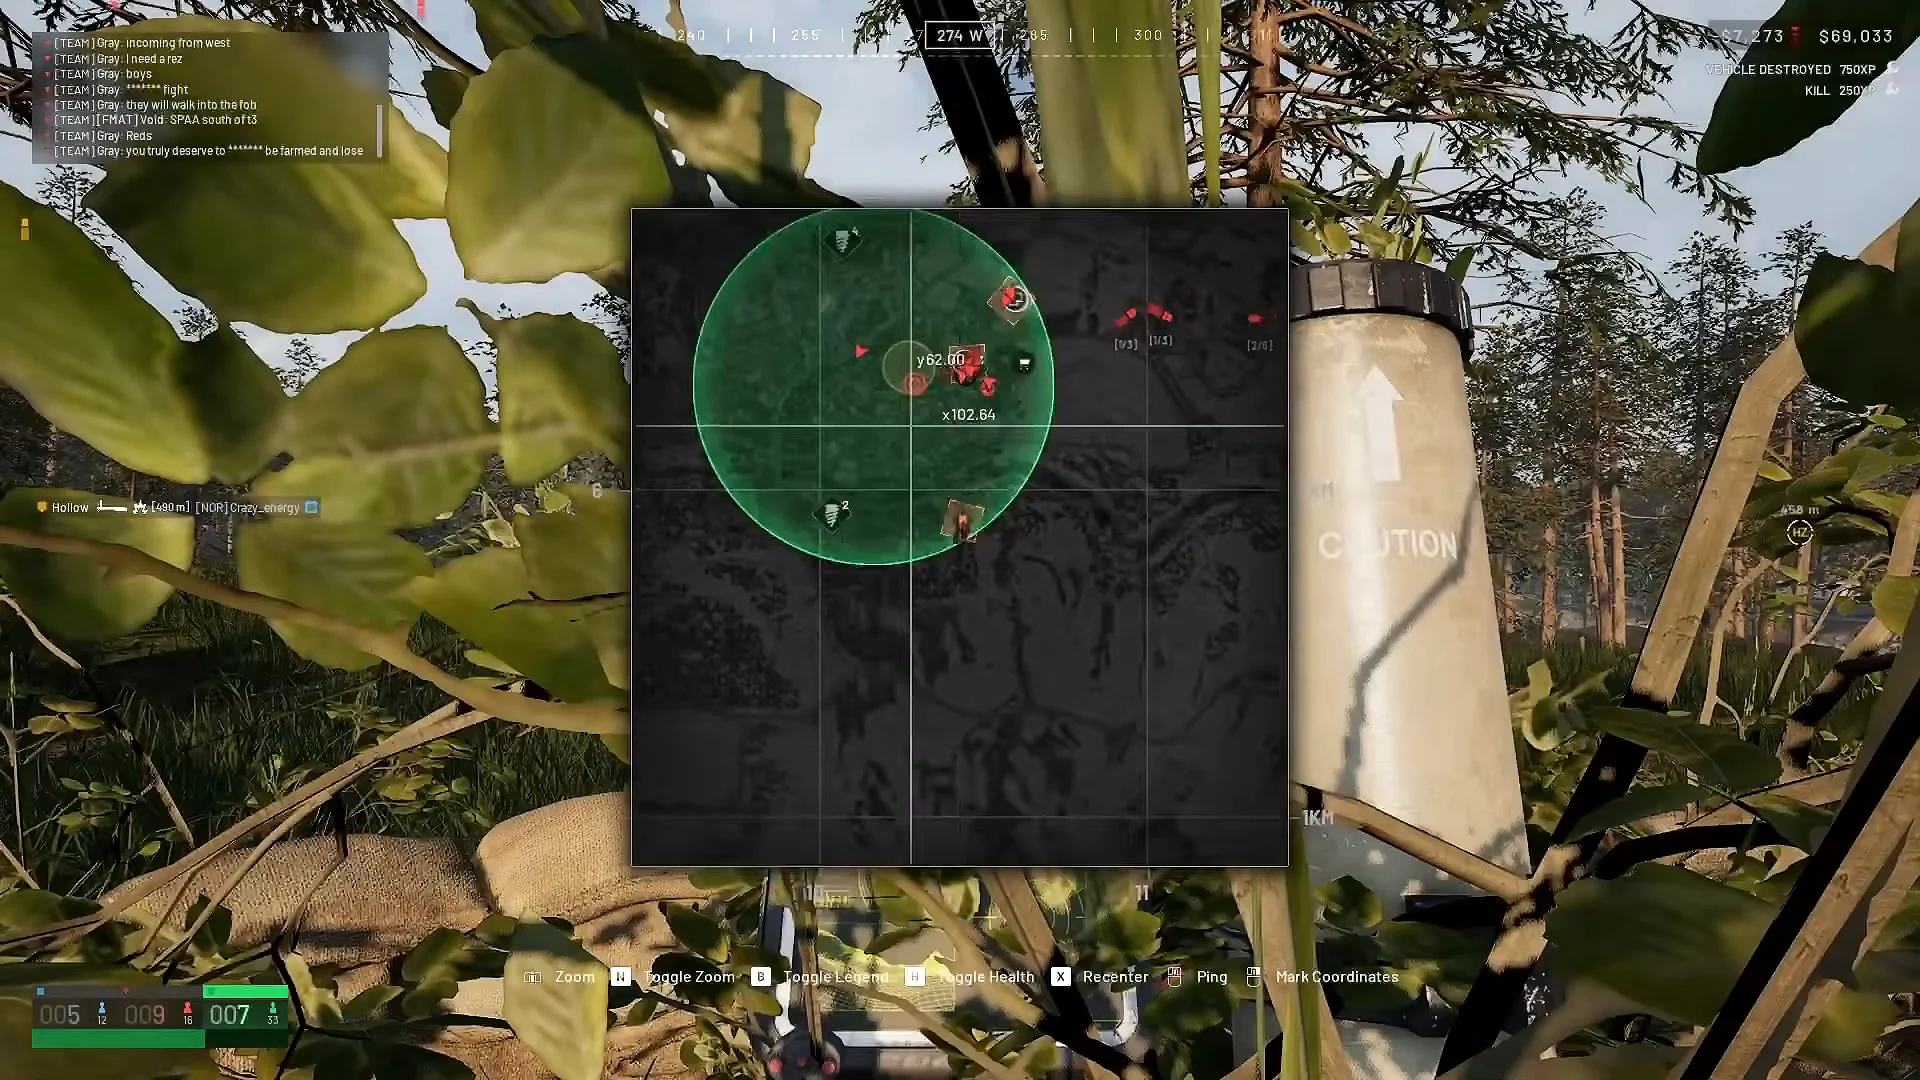
Q to enter the Stingray and fly away from the Hot Zone first. Spend about 25 percent of the battery turning around, which leaves roughly 75 percent for scanning and the attack run.ARMING appears. Cancel boost and hold Ctrl to slow down so you do not overshoot before impact.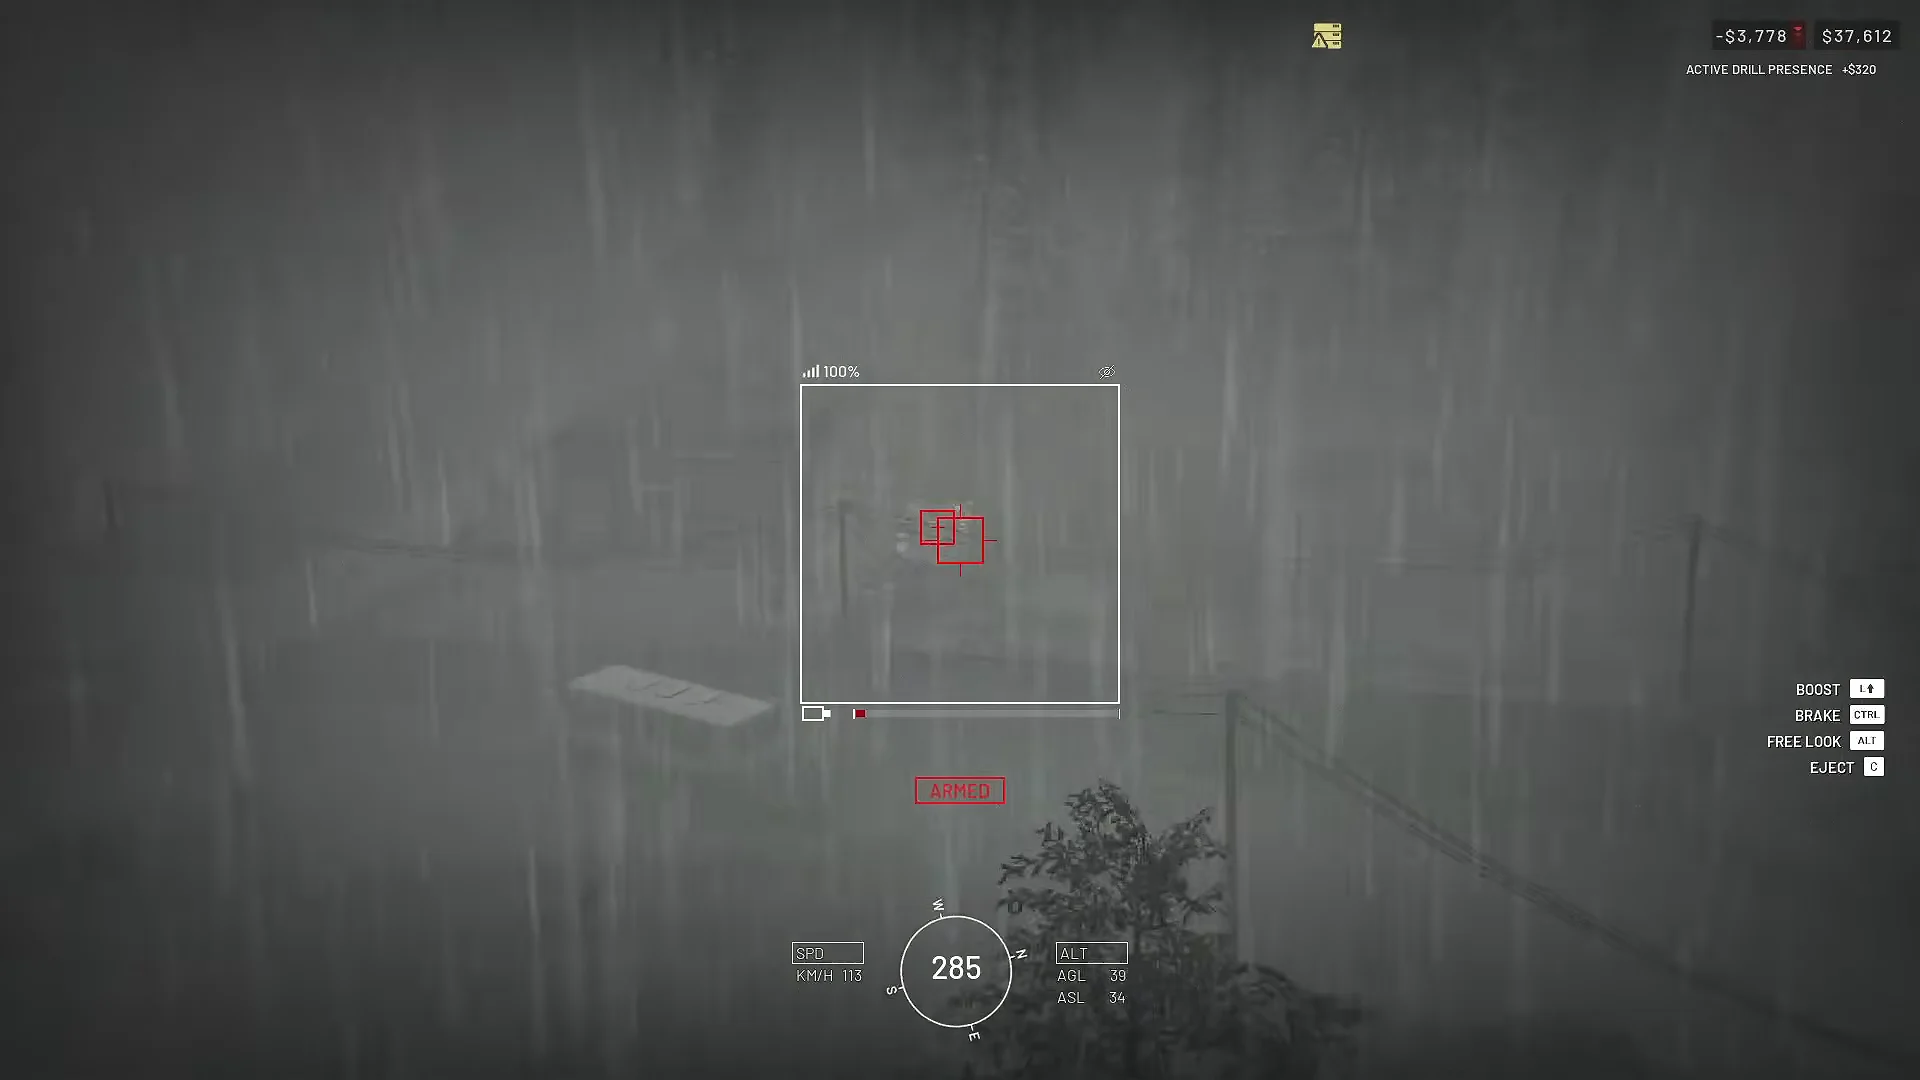
A hit shows a VEHICLE DESTROYED or SPAWN VEHICLE DESTROYED notification with the payout. Spawn vehicle kills have paid $15,000, and tank kills between $12,750 and $17,150. If the drone is shot down or runs dry, the feed cuts to // SIGNAL LOST... PLEASE STANDBY//.
Kodiaks and Humvees pay only $500 when destroyed, which barely covers a tenth of one drone’s cash cost.
Season 2 gives every vehicle variant its own destruction value. Big targets include the T-72B3 at $8,000, the AH-6R rocket Little Bird at $9,400, the L2A6 at $11,000, and the Havoc at $14,000, before zone multipliers. Enemies who destroy your own Stingray earn $650, so tuck the launcher out of sight.
Medic: revives, heals and stims in the Hot Zone
Medic offers a strong mix of income and manageable risk. Revives and heals both pay, with amounts determined by your current zone. You also continue receiving assist income when someone you saved scores a kill. These are the money-focused unlocks to prioritize.
| Item | Medic level | Unlock fee | Price |
|---|---|---|---|
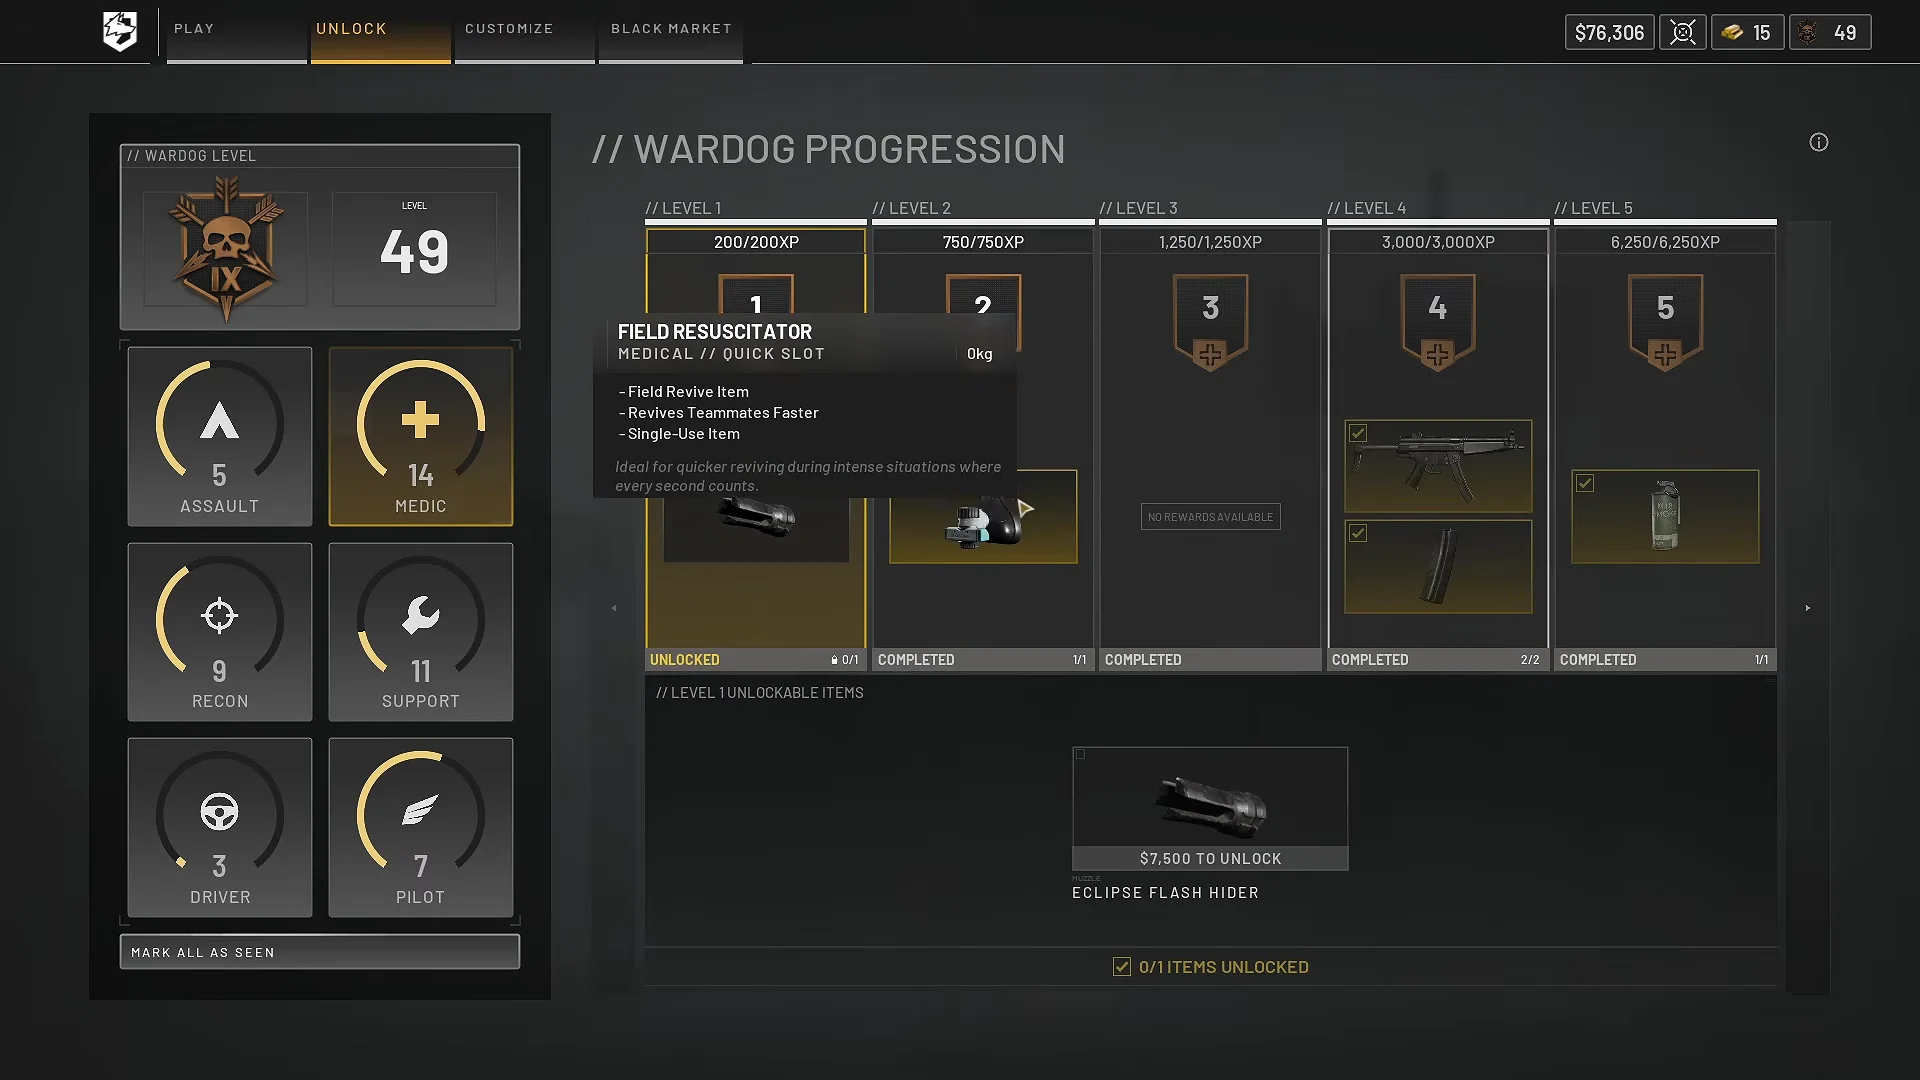
| Field Resuscitator | 2 | $10,000 | $450 |
| M18 Smoke Grenade: White | 5 | — | — |
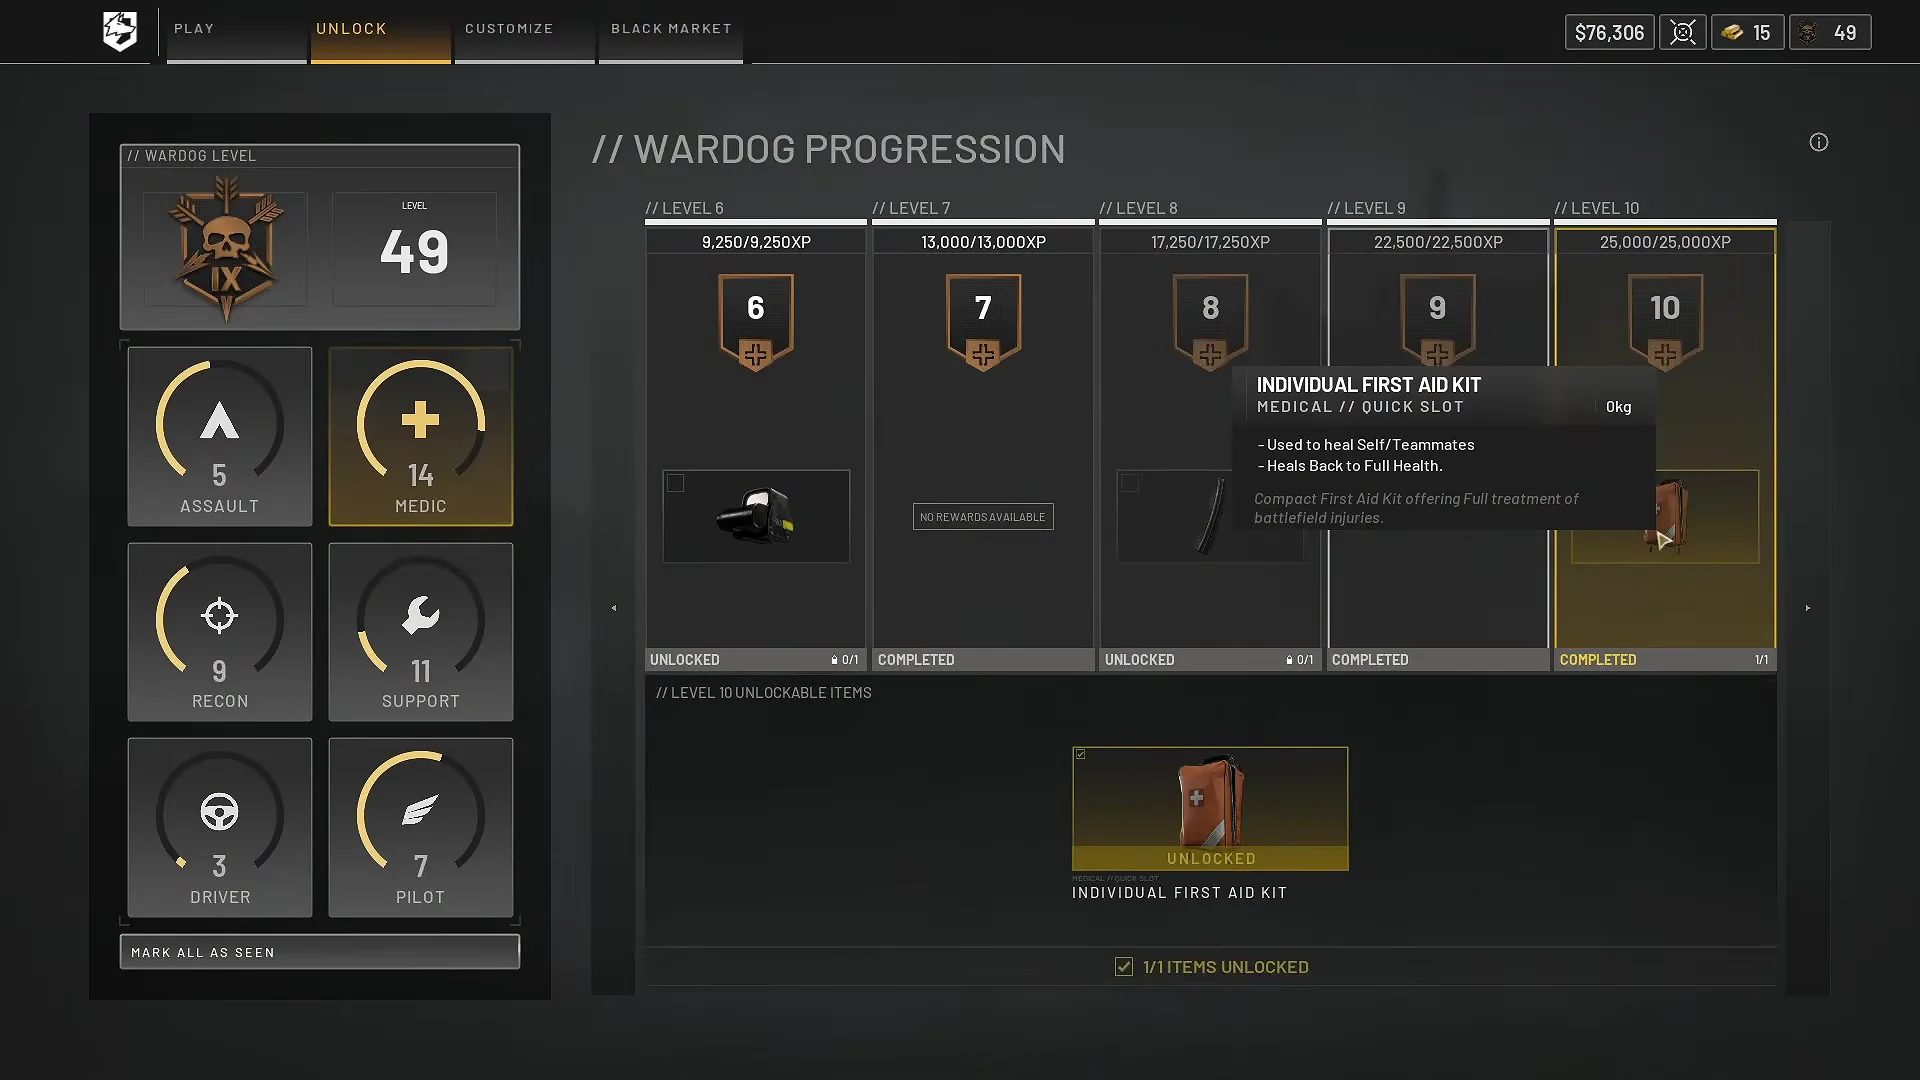
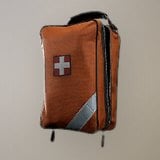 Individual First Aid Kit Individual First Aid Kit | 9 | — | — |
| Defibrillator | 11 | $50,000 | $1,600 |
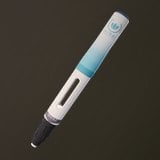 Adrenaline Pen Adrenaline Pen | 14 | $25,000 | $250 |
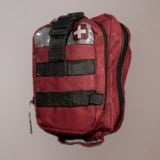 Medical Bag Medical Bag | 24 | $75,000 | $2,000 |
Field Resuscitator revives faster than a hand revive and comes almost immediately at Medic level 2. Revives in the Hot Zone pay $1,600 each, and Season 2 still pays a PLAYER REVIVE ASSIST if someone else finishes the revive you started.
| Revive type | Outside zone | Control Zone | Hot Zone |
|---|---|---|---|
| Manual revive | $400 | $800 | $1,600 |
| Defibrillator revive | $600 | $1,200 | $2,400 |
Smoke grenades go on top of a downed teammate before you start the revive, so enemies lose sight of both of you. Individual First Aid Kits heal a teammate fully for a bigger single payout than a bandage, which pays $400 per use. Carry around five bandages per life.
Defibrillator revives teammates instantly but needs a battery to charge, and it pays back its price in a couple of revives near an active fight. Adrenaline Pen is a single-use stim that gives unlimited tactical sprint for a short time and lowers your equipment weight class. Using one on a teammate pays $500, or $1,000 in the Hot Zone.
Medical Bag provides healing over time to you and nearby teammates while making revives faster, but healing yourself costs more. Since it unlocks late, plan for it as a longer-term investment. The payout seems to diminish when you revive one teammate repeatedly, so help different people across a large squad and check the ping wheel for healing requests.
Logistics: pallet loops, streaks and supply crate sales
Supply pallet runs with the Ural
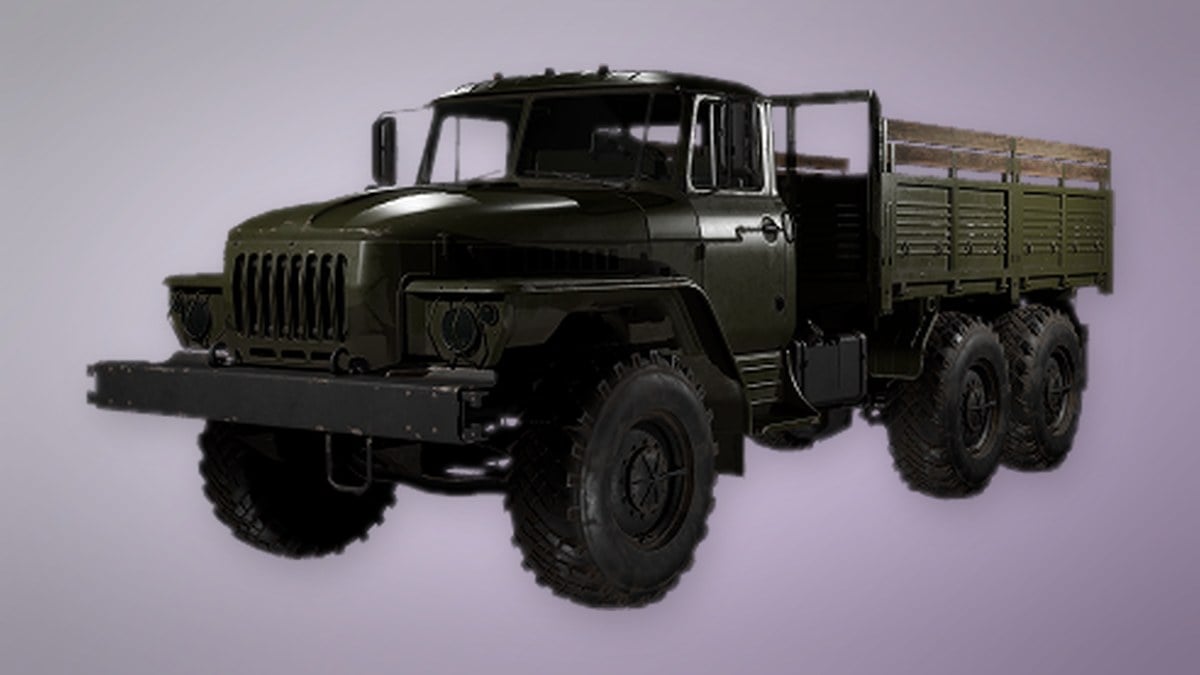
Logistics needs almost no gunplay. A pallet costs $400, and deploying it into the Control Zone pays $1,250 and 400 XP in Season 2, down from $2,500. A teammate breaking it down at a FOB earns you a further payment. The Ural carries two pallets per trip and unlocks at Driver level 3, so it remains the ground truck to buy.
Season 2 makes single deliveries weaker and repeated routes stronger. Each consecutive action adds a streak bonus, up to the cap shown below.
| Streak | Bonus per action | Max streak |
|---|---|---|
| Crates | +$100 / +50 XP | 10 |
| Pallets | +$250 / +100 XP | 10 |
| Players delivered | +$25 / +5 XP | 25 |
| Return trips | +$50 / +25 XP | 10 |
Repeat the cycle of loading, delivering, and returning, while keeping the truck intact. Make deliveries to FOBs your team is actively using; an unattended base will not earn the second half of the payout for its pallet. Helicopter drops are possible, but a pallet released at excessive height or speed will explode on impact, leaving it impossible for anyone to unpack.
Selling items from a supply crate
A mobile supply crate turns you into a vendor. You earn on each sale, then again as an assist whenever the buyer uses the item in a fight. Sales have paid $375, $1,000, and $3,000 per item.
LOGISTICS menu. Mount it on a Kodiak [Pickup] or an MH-6 helicopter.SUPPLY CRATE ITEM SOLD notification with your cut.
Items sold for under $75 give just 1 XP, so cheap filler stock is not worth carrying for progression.
Transport: helicopter drops and the M113 spawn vehicle
Piloting earns money without needing good aim. Skip the loadout screen, take a helicopter at match start, and unlock it so others can board. Fly to where players are gearing up, fill every seat, and drop them inside or right next to the Hot Zone. You earn for each drop, again when passengers survive, and again when they score kills. Land or hover low, because passengers who bail early lose you the survival and kill bonuses.
The MH-6 Little Bird serves as the starter transport. At Pilot level 10, the Z20 Lakota unlocks for $35,000, with each purchase costing $7,400. Its 13 seats, 445 km/h top speed, and logistics capacity let a single trip earn both passenger and delivery payouts. First practice landing in the Firing Range, and bring flares to counter enemy anti-air.
Once either side reaches 20 points, fewer players need rides because the M113 APC SV becomes available as an HQ spawn vehicle. Take it and head for the Control Zone. You receive money for each teammate spawning in it, with additional earnings when they survive or score; over a match, this can reach $20,000 to $30,000 or more. Hide it behind a wall or among buildings in the outer Control Zone to keep rockets from finding it right away. Medics can treat it as an armored aid station, using smoke and reviving teammates nearby.
Recon: spotting from outside the zone
Spotting costs the least to set up. The Monocular unlocks at Recon level 2 for $750, and basic binoculars cost around $75. Every kill your team makes on a target you marked pays a SPOTTED KILL ASSIST, which has paid $1,600 and 150 XP in the Hot Zone.
- Climb cranes, apartment rooftops, or hilltops outside the combat zone.
- Watch contested FOBs, the Hot Zone, and the busiest approach roads.
- Mark infantry and vehicles continuously, and move if enemies find you.
- Do not fire an unsuppressed rifle unless the headshot is guaranteed.
In Season 2, spotting rewards are roughly 30 percent lower, and the payout is now tied to target value. Spotting an armed vehicle or costly buildable pays much better than marking an inexpensive target. When the third faction destroys your marked target, you receive only 25 percent of the reward. Rather than focus on sniping, wait for the SKS at Recon 5 or Mosin Nagant at Recon 10, and make spotting your main task. Pairing with an anti-air teammate to spot helicopters is particularly effective.
FOB building, mortars and anti-air
Construction pays steady money from relative safety. Each hammer swing on an unfinished structure pays $50, and hitting the yellow build marker pays extra. Hesco blocks, airlocks, barbed wire, and bastions all count. Barbed Wire pays $10 to place and $75 to whoever destroys it. Emplacements cost no cash inside a FOB because they run on build supplies.
From inside a FOB, an L41 mortar and Talon 9K-SAM can target enemy vehicles, drills, aircraft, and anti-air while you stay under cover. Build an anti-air FOB beneath a frequently used helicopter route for consistent earnings; in an isolated part of the map, the same setup brings in nothing. Maintain its build supplies and ammo, and be ready to protect it. Season 2 introduces the MG Nest, a manned M2 Browning requiring a Large Hammer and 650 build supplies.
Driver vehicle unlocks, prices and seats
Armed technicals pay the driver an assist every time the gunner scores. All of these are bought from the vehicle vendor in your faction’s safe zone and never spawn in the world during a match.
| Vehicle | Unlock (fee) | Price | Seats |
|---|---|---|---|
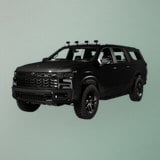 Kodiak Kodiak | Default | $2,500 | 4 |
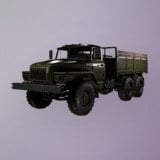 Ural Ural | Driver 3 ($35,000) | $5,000 | 3 |
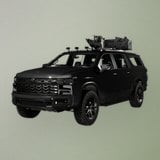 Kodiak [M249] Kodiak [M249] | Driver 6 ($50,000) | $3,750 | 5 |
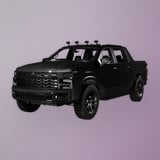 Kodiak [Pickup] Kodiak [Pickup] | Driver 10 ($35,000) | $3,000 | 6 |
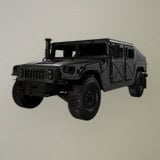 Humvee Humvee | Driver 15 ($25,000) | $3,000 | 4 |
| Ural Defender | Driver 18 ($75,000) | $6,000 | 3 |
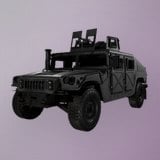 Humvee [M249] Humvee [M249] | Driver 20 ($125,000) | $3,750 | 5 |
| Ural Defender [M249] | Driver 25 ($125,000) | $6,750 | 3 |
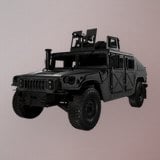 Humvee [Minigun] Humvee [Minigun] | Driver 30 ($150,000) | $4,500 | 5 |
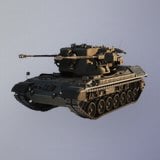 Flakpanzer Gepard Flakpanzer Gepard | Driver 25 | $10,000 | 2 |
Kodiaks are fastest at 154 km/h, Humvees reach 113.2 km/h, and Urals 79 km/h. Season 2 also adds the Wolf-110 at Driver 8, the Wolf-110 [M2 Browning] at Driver 16, and the T-72B3 main battle tank at Driver 20. The M2 Wolf gives a squad gunner a heavy machine gun, and every kill feeds the driver assist cash.
The T-72B3 and the Flakpanzer Gepard should sit mid-to-back near your own lines. From there they can pick off helicopters and enemy armor while staying clear of C4 and rockets. The Gepard is a two-seat anti-air tank with a 65 km/h top speed and a 110-litre tank that burns 10 litres per km.
Which role track each money action levels
Role XP is tracked separately from cash, and what you carry decides which track rises. The Wardog track runs to level 150, Driver and Pilot top out at 35, and the other four roles go to 50. Hover over an item to see its track.
| Role | Actions that grant XP |
|---|---|
| Assault | Rifle, pistol and M67 kills, Halligan breaching |
| Medic | SMG kills, heals, revives, kills by revived players |
| Recon | Spotting, kills on spotted targets, sniper and bow kills |
| Support | Building, pallets at FOBs, LMG and launcher kills, mortars, anti-air |
| Driver | Ground transport, spawn vehicle use, ground vehicle kills |
| Pilot | Air transport, flying supplies, helicopter kills |
Overlap them in one life for the fastest climb. A rifle, binoculars, and bandages feed Assault, Recon, and Medic in the same fight. A Ural full of pallets feeds Driver and Support, and a loaded Lakota feeds Pilot and Support.
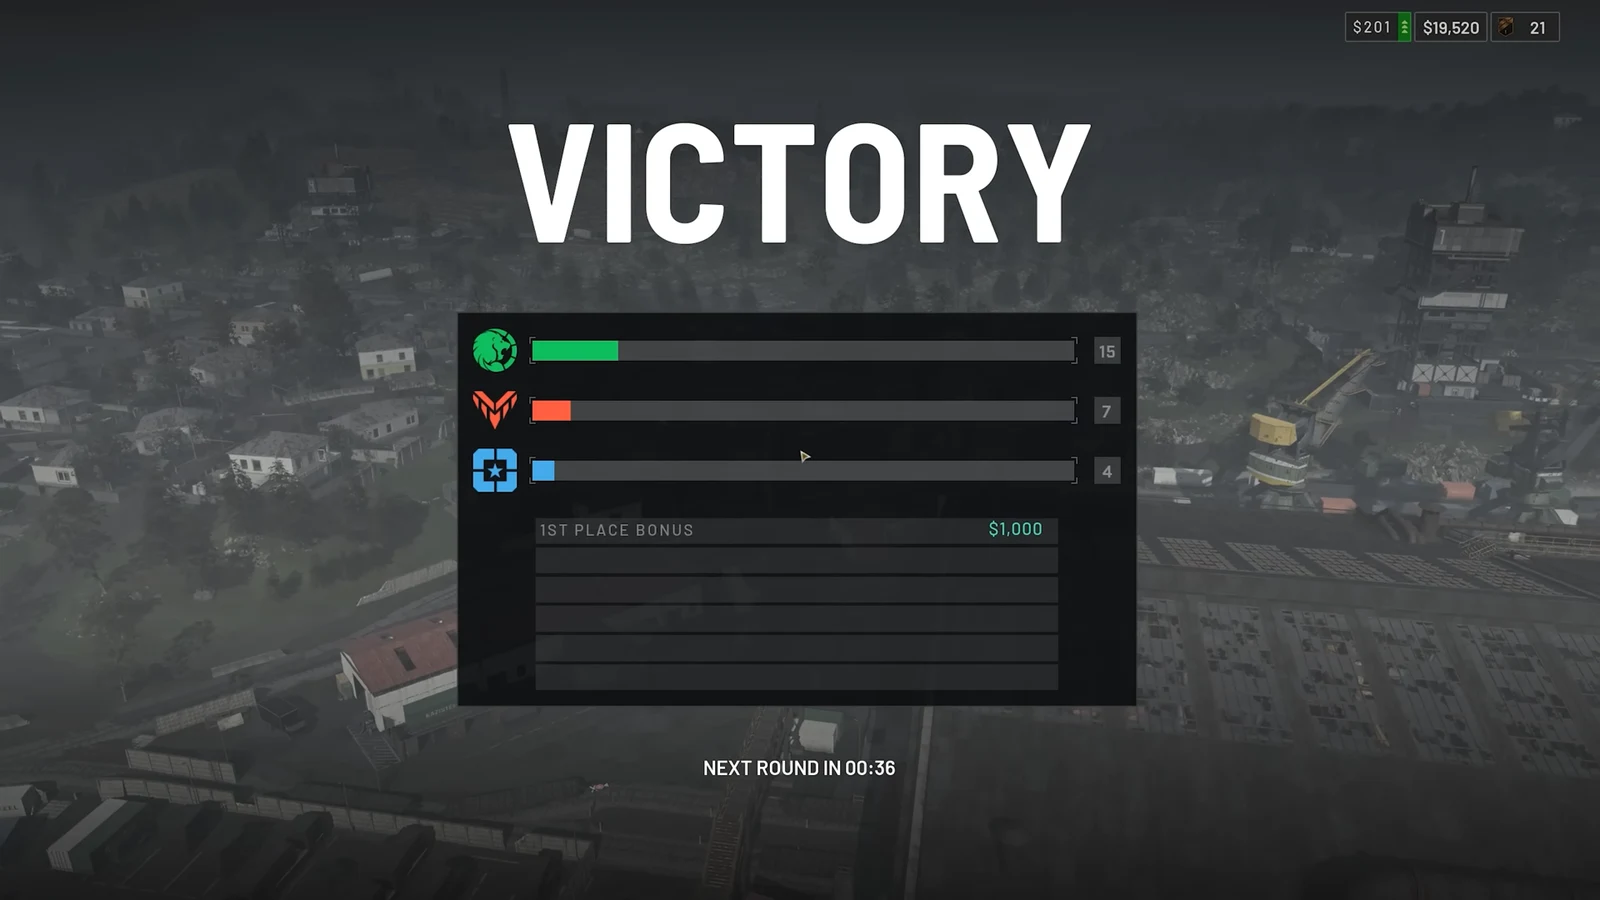
The end-of-match summary shows whether any of this worked. It breaks out CASH SPENT, CASH EARNED, CASH REFUNDED, and TOTAL PROFIT. A thin profit line after a busy match almost always points to loadout cost or dying with an unrefunded kit. Keep enough in reserve for several cheap infantry lives, and treat everything above that as your budget for vehicles, drones, and specialist gear.