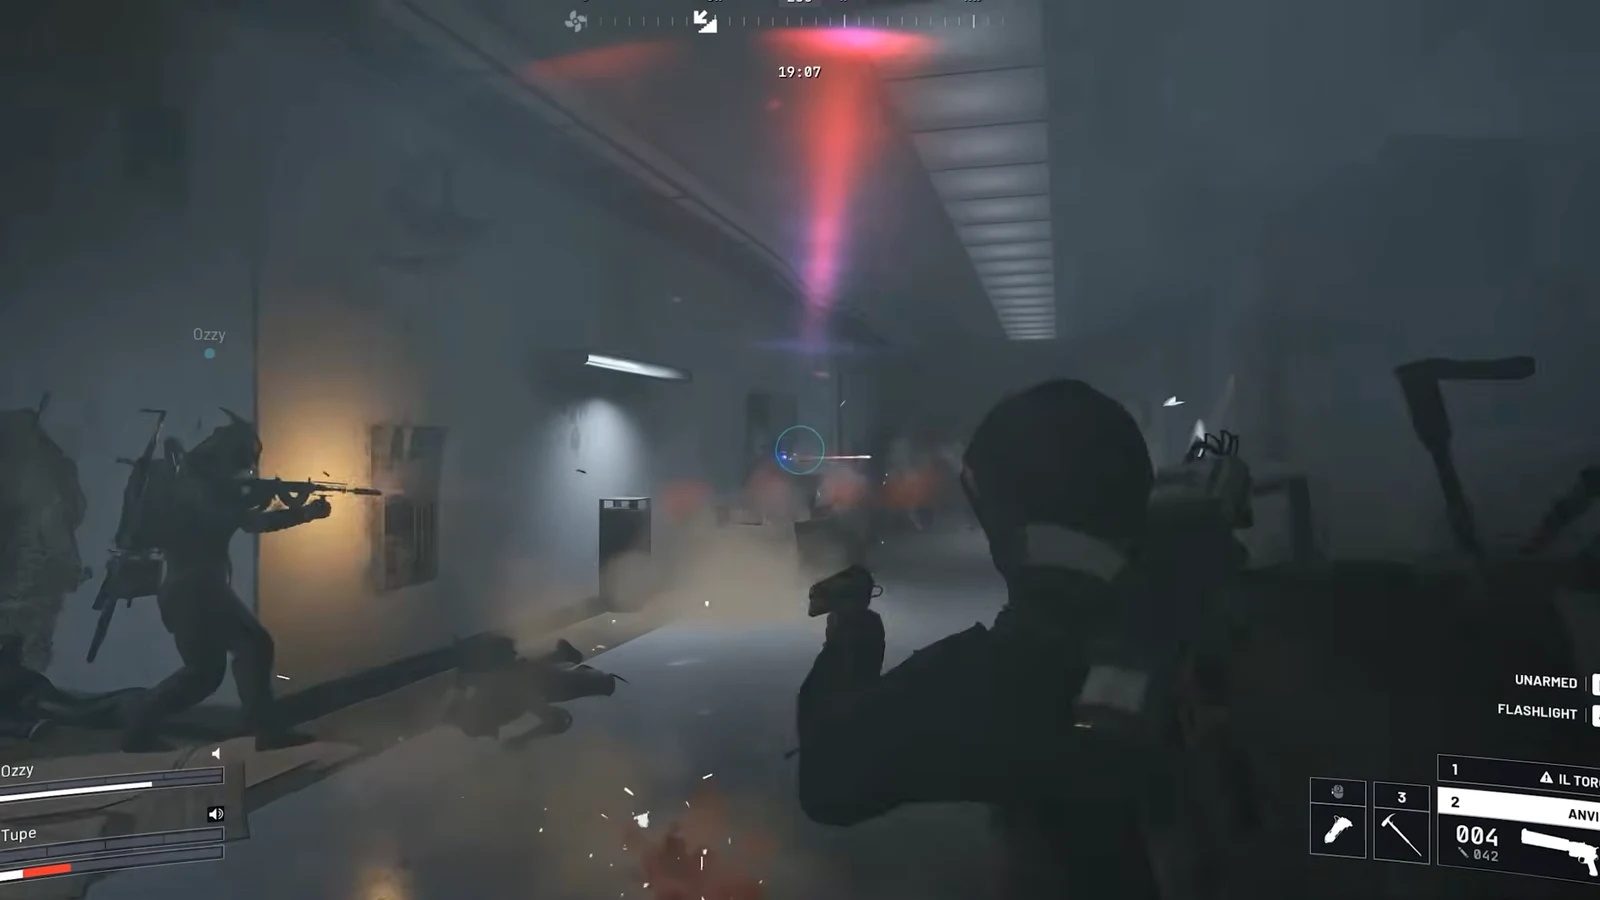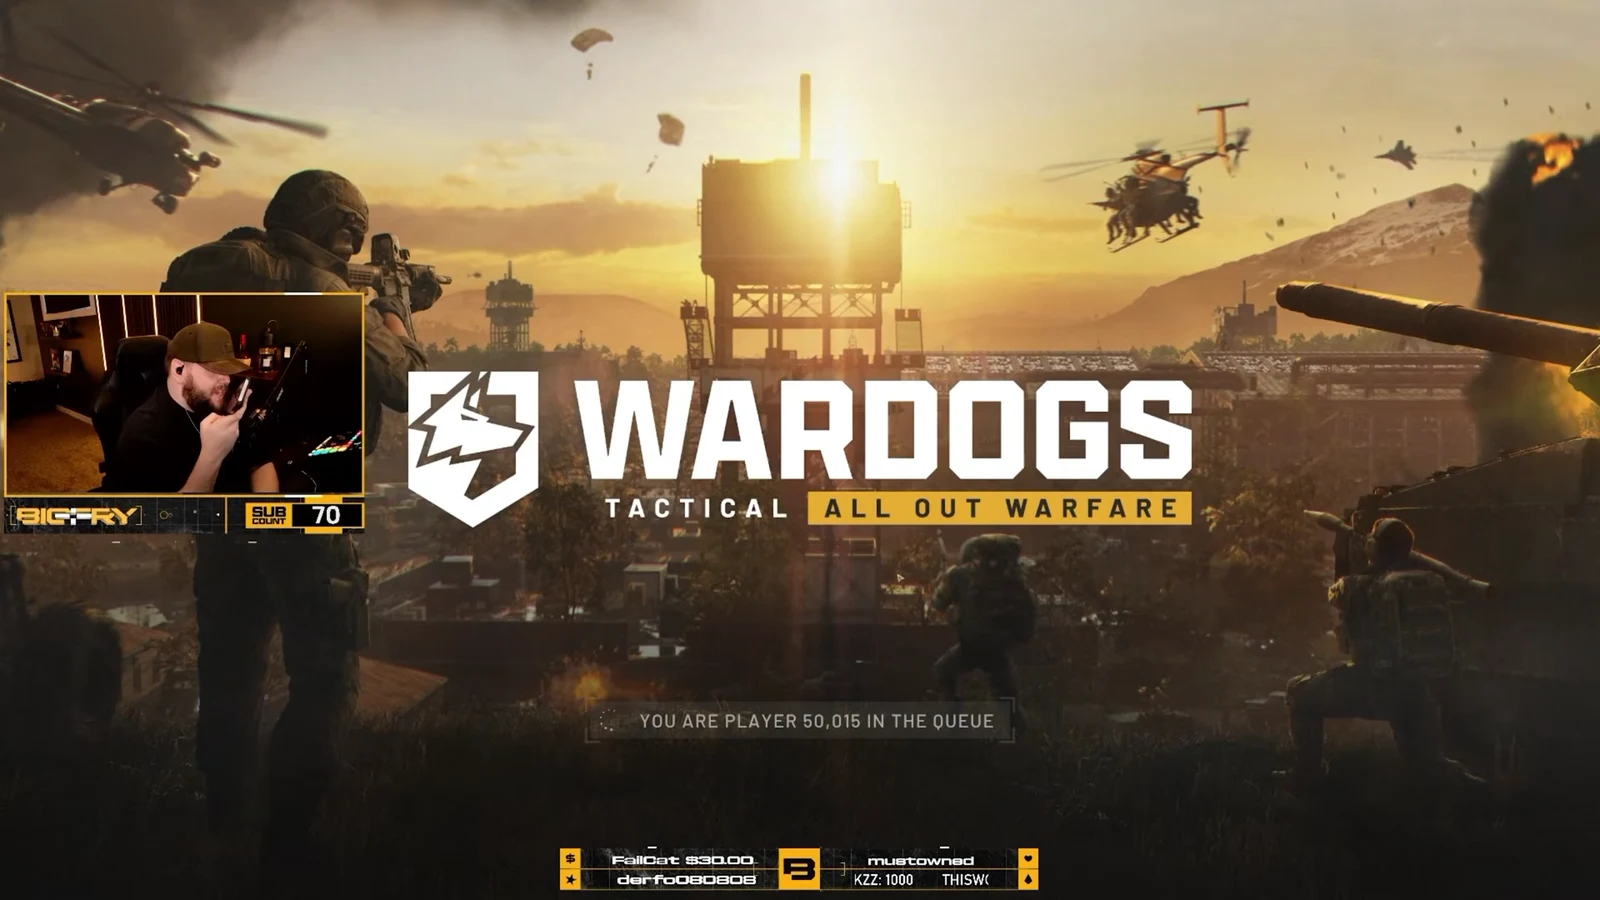
Wardogs is a tactical extraction shooter built around squads fighting over contested objectives on very large open maps. Players deploy from faction safe zones, cross long stretches of transit terrain, and push toward a rotating Control Zone, buying gear with in-match currency and losing it when they die. Long queues greeted the launch, with the title screen reporting player positions well into the tens of thousands, but the core loop on community servers such as Redline Gaming is already clear: coordinate transport, hold the point, and recover your position after every wipe.
Quick answer: Wardogs is a King of the Hill extraction shooter with three factions, role-based unlocks, and a launch build shipping three KOTH maps plus one Sniper Showdown map; gear is bought at safe-zone vendors and lost on death.
How a Wardogs match plays out
Matches run on the King of the Hill mode, labelled in the HUD as the Control Zone. The objective area has a radius of 85 metres and moves between a small set of play areas during the round, so holding ground is temporary and squads are constantly repositioning. Each map carves its world into three parts: the faction safe zones where you spawn and buy gear, the wilderness you travel through, and the hot Control Zone itself.
Death is costly. Equipment is purchased at vendor stations inside the safe zone and is lost when you go down, which is why vendor re-buy and teammate revives matter so much. A round ends with a faction win screen and an end-of-match profit calculation, and progression is tracked separately across roles including Wardog, Recon, Medic, Support, and Driver.
Factions and deployment
Three factions anchor every map: Lonestar, Manticore, and Valkyra. You pick one at the start, deploy into that faction’s staging safe zone, and regroup with your squad before heading out. Each faction gets its own vehicle vendor, equipment vendor, deployment board, and safe zone on the maps that carry them, so the three sides start from different corners of the world rather than a shared base.
Deployment boards sit outside the playable areas entirely, often several kilometres from the nearest Control Zone. On Bakurani, for example, a Manticore board can sit more than 2,700 metres from the Default area, and a Lonestar board sits roughly 3,700 metres out from Farmland. That distance is the reason transport is a core part of the game rather than an afterthought.
Getting to the fight: helicopters and ground vehicles
Because the Control Zone can be kilometres from where you spawn, squads rely on vehicles bought from the faction vehicle vendor. Helicopters handle the long aerial insertions: the MH-6 Little Bird carries squads up to the ridges, and a utility transport chopper can drop a team directly above a contested stadium for a parachute entry. Ground options include the Kodiak truck line and a dune buggy for fast off-road runs along dirt roads.
The Kodiak comes in three versions, all with matching top-speed and fuel stats. The basic model is the least expensive four-seat option; the Pickup offers more passenger space, while the M249 carries a machine gun. No version spawns during a match, so purchase one from the vendor in the safe area for your faction.
| Vehicle | Seats | Top speed | Price |
|---|---|---|---|
 Kodiak Kodiak | 4 | 154 km/h | $2,500 |
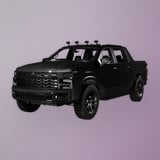 Kodiak [Pickup] Kodiak [Pickup] | 6 | 154 km/h | $3,000 |
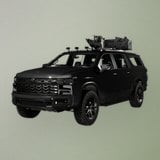 Kodiak [M249] Kodiak [M249] | 5 | 154 km/h | $3,750 |
Every Kodiak holds 50 litres of fuel, burns 2.9 litres per kilometre, and is worth $500 to whoever destroys it. The Pickup unlocks at Driver level 10 for a one-time $35,000 fee, while the M249 unlocks at Driver level 6 for $50,000.
Maps in the launch build
Four maps are playable at launch, with a fifth named in the files but not shipped. Three run King of the Hill, and one runs a dedicated Sniper Showdown mode. Each playable world is around 16 kilometres across.
| Map | World | Mode | Rotating zones |
|---|---|---|---|
| Bakurani | Kavkazi | KOTH | 3 of 3 |
| Ozeti | Europe | KOTH | 3 of 4 |
| Zestafona | — | KOTH | 3 of 4 |
| Bakurani Outskirts – Jutari | Kavkazi | Sniper Showdown | 1 of 1 |
| Saburtulo | Russia | KOTH | Not in this build |
Bakurani
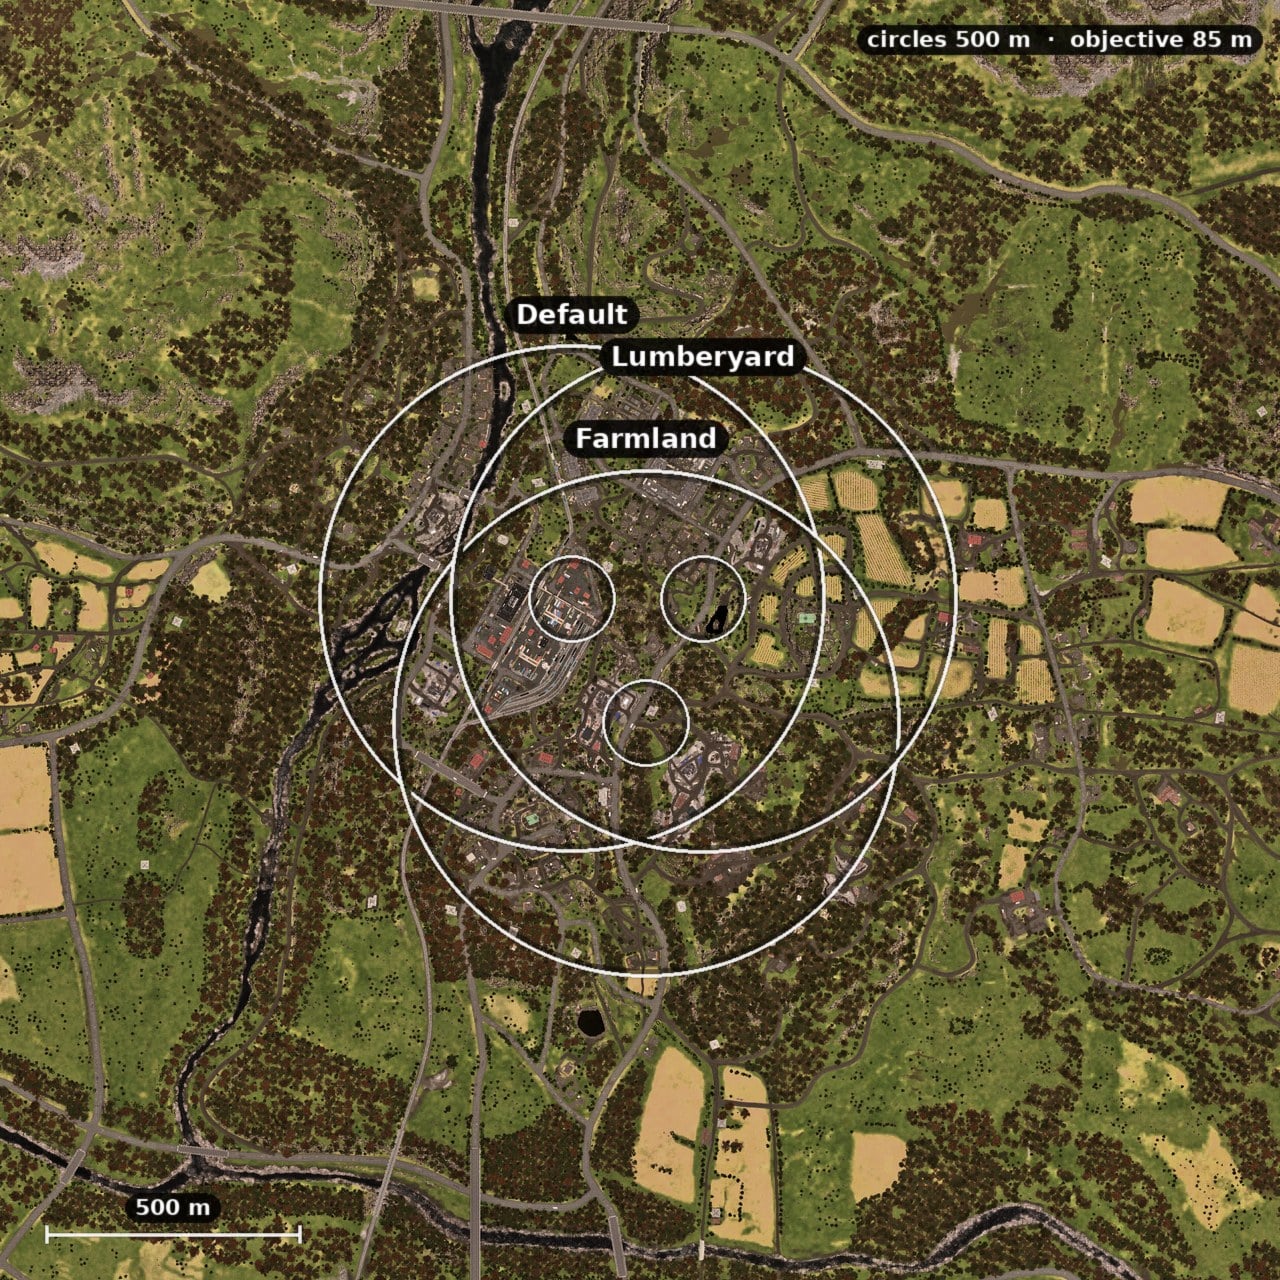
Bakurani is a rural Kavkazi map whose objective rotates through all three of its play areas: Default to the south-west of the middle, Farmland to the north, and Lumberyard to the south-east. Each area has a 500-metre radius, and the two furthest sit only 285 metres apart, so the fighting stays fairly concentrated. The terrain mixes a scatter of towers, apartments, a bridge hill, a container-and-factory cluster, a forest quarry, a hill town, and the wooded lumber yards and swampy market that give the map its name. It carries full vendor coverage for all three factions, plus garages and three fuel points.
Ozeti
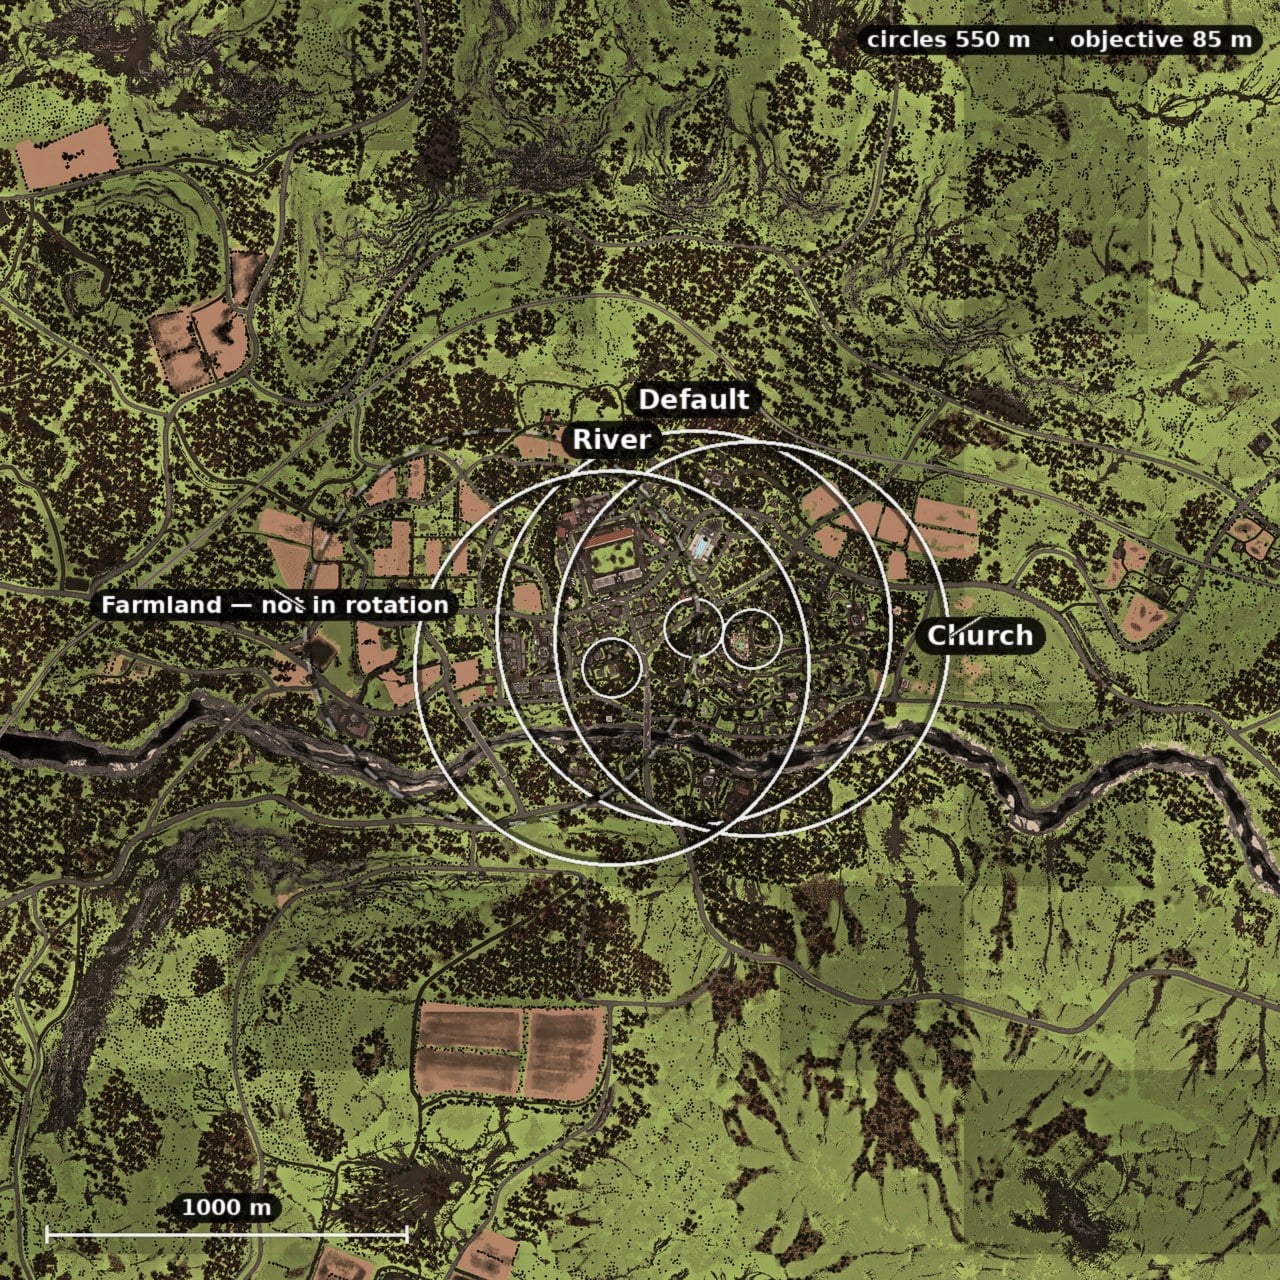
Ozeti is the European map seen most in extended play, with a church sector, a stadium marked by “DINAMO OZETI” signage, and sprawling sunflower fields. It defines four play areas but holds Farmland out of the rotation, so the objective cycles between Default, Church, and River. Its areas are slightly larger at 550 metres, and the two furthest sit 693 metres apart. Ground ranges from dense residential blocks and farms to forest, a hillside church, a lumberyard, an industrial strip, and the stadium complex with its parking and garages.
Zestafona and Bakurani Outskirts – Jutari
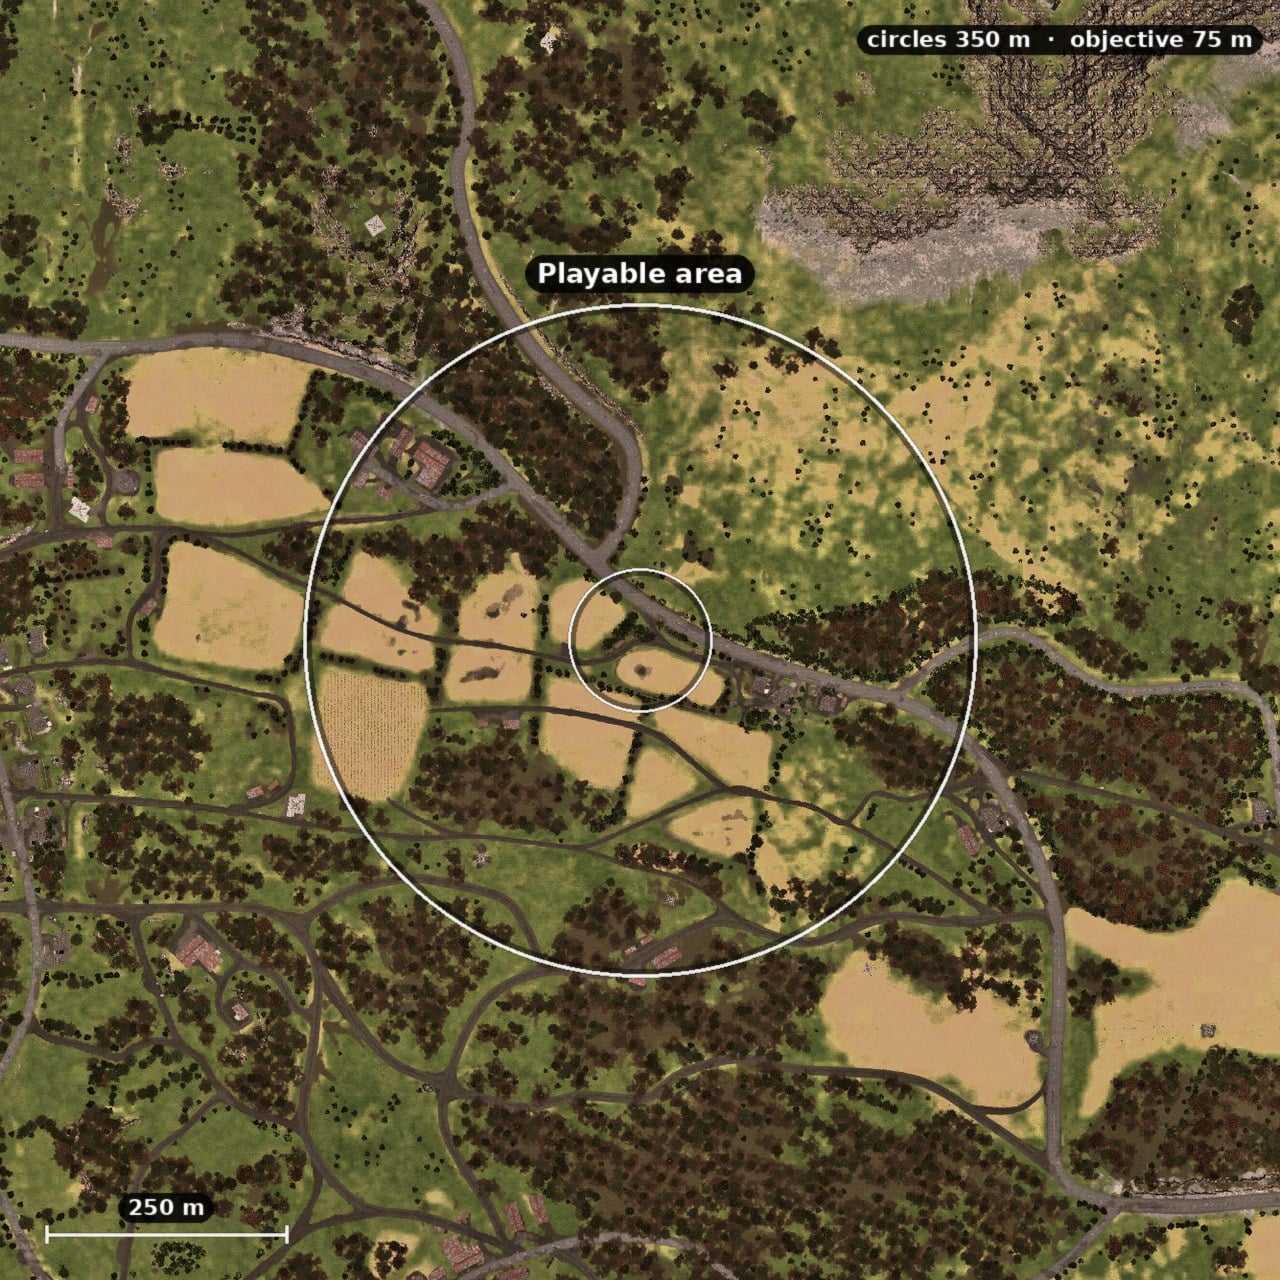
Zestafona is an industrial KOTH map of warehouses, offices, factories, and rail infrastructure, with four defined areas and the Small Factory held out of rotation. Bakurani Outskirts – Jutari runs the Sniper Showdown mode on a single 350-metre playable area in the centre of the world, trading the roaming objective for one tight arena. Saburtulo is named in the game’s files, but its world is not part of this build, so it cannot be played yet.
Long-range combat and the AMR 50
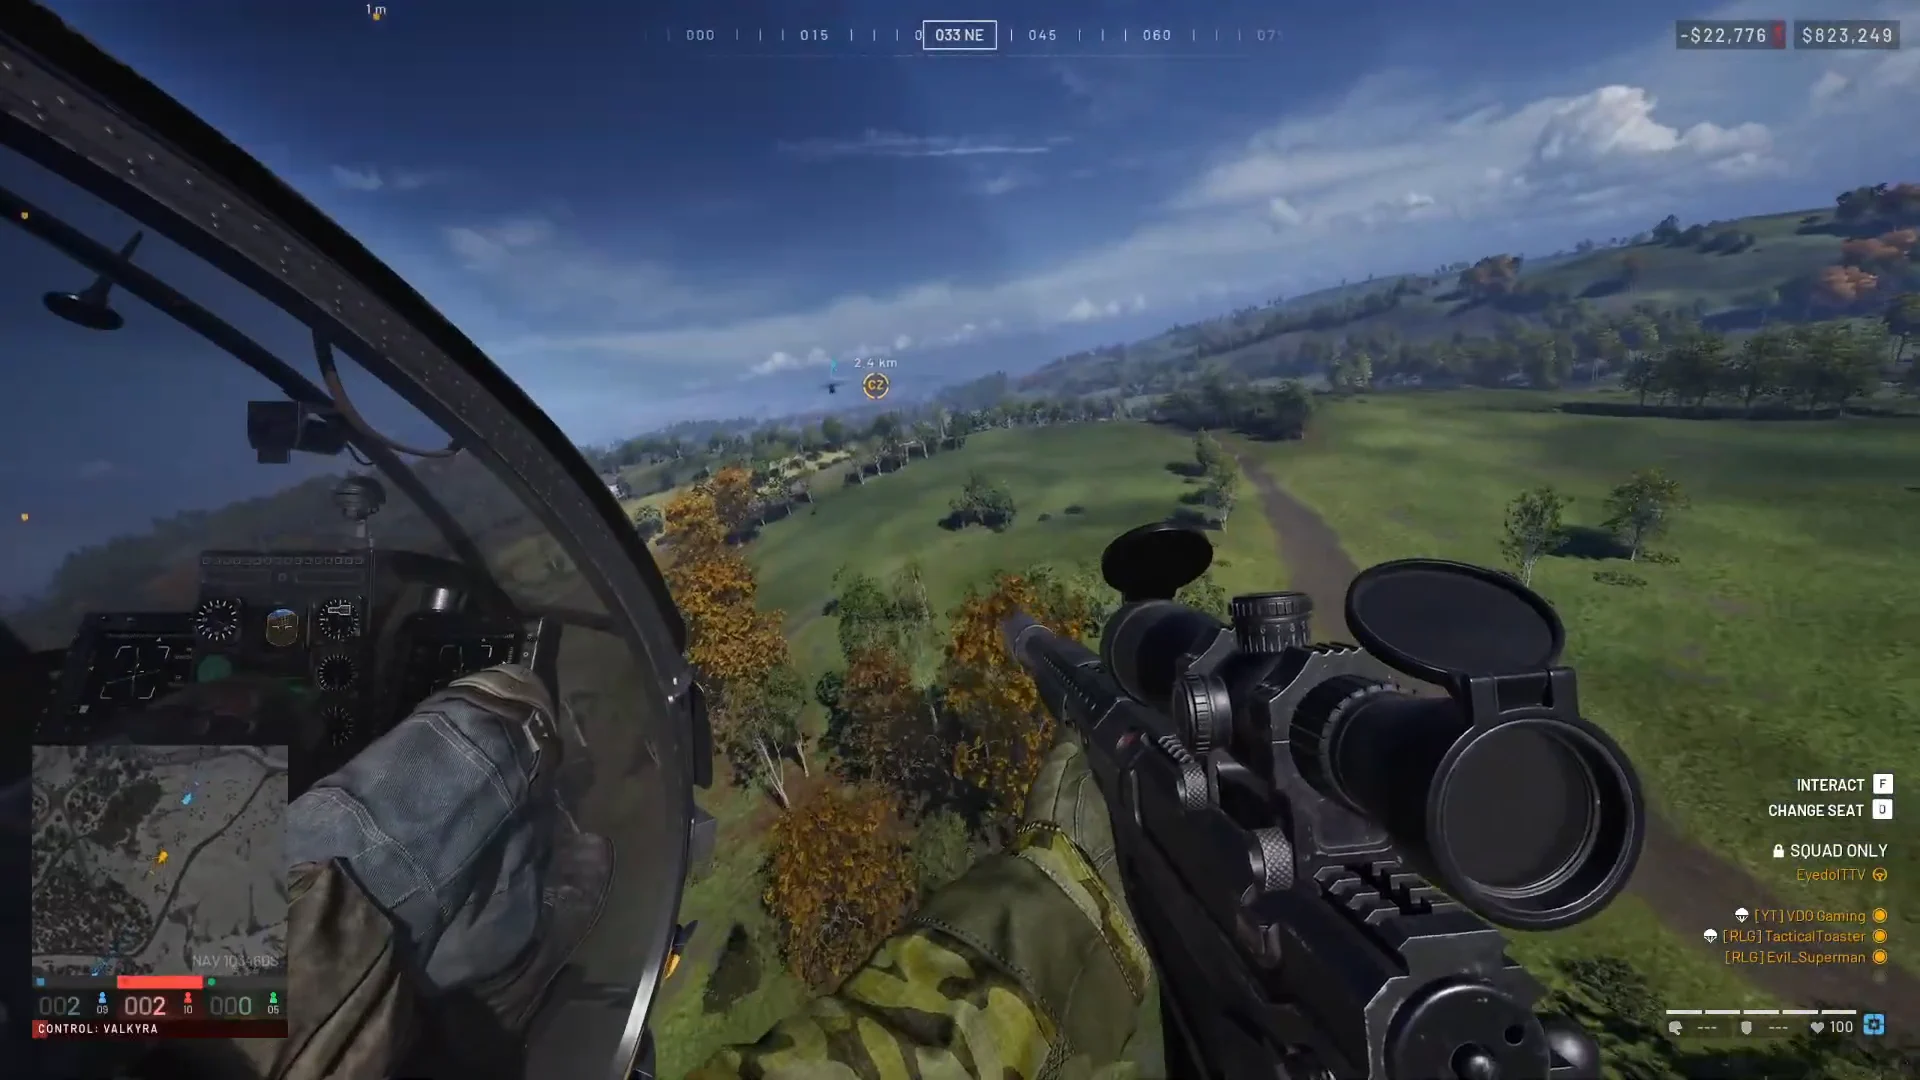
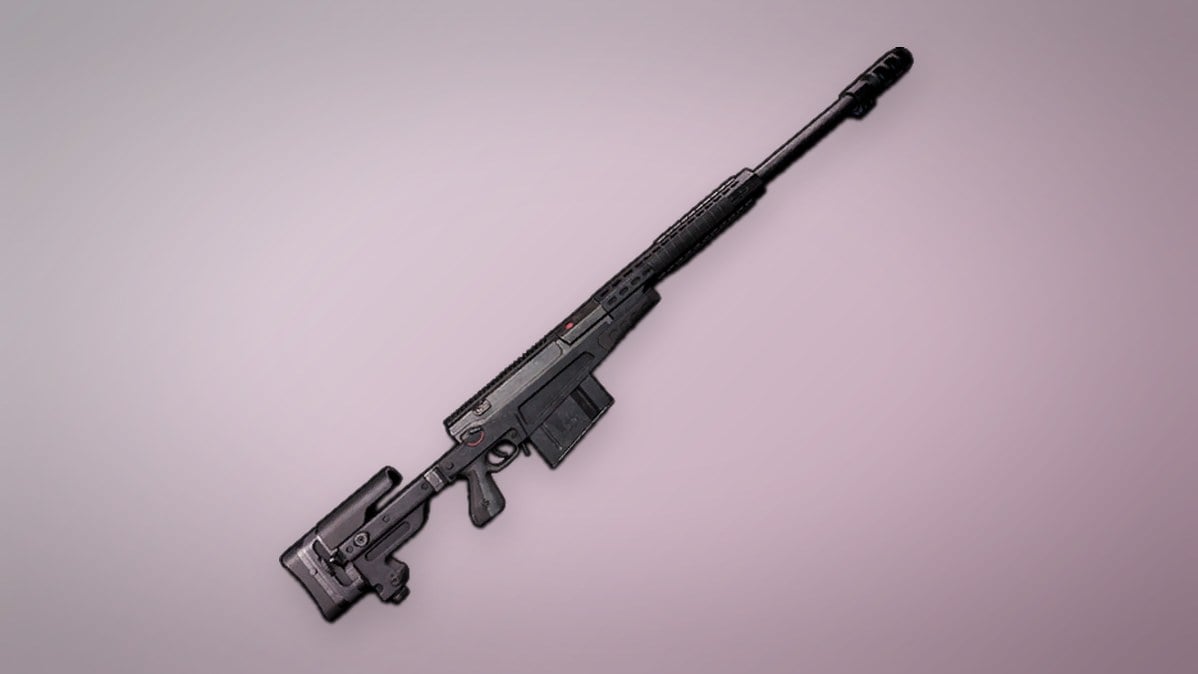
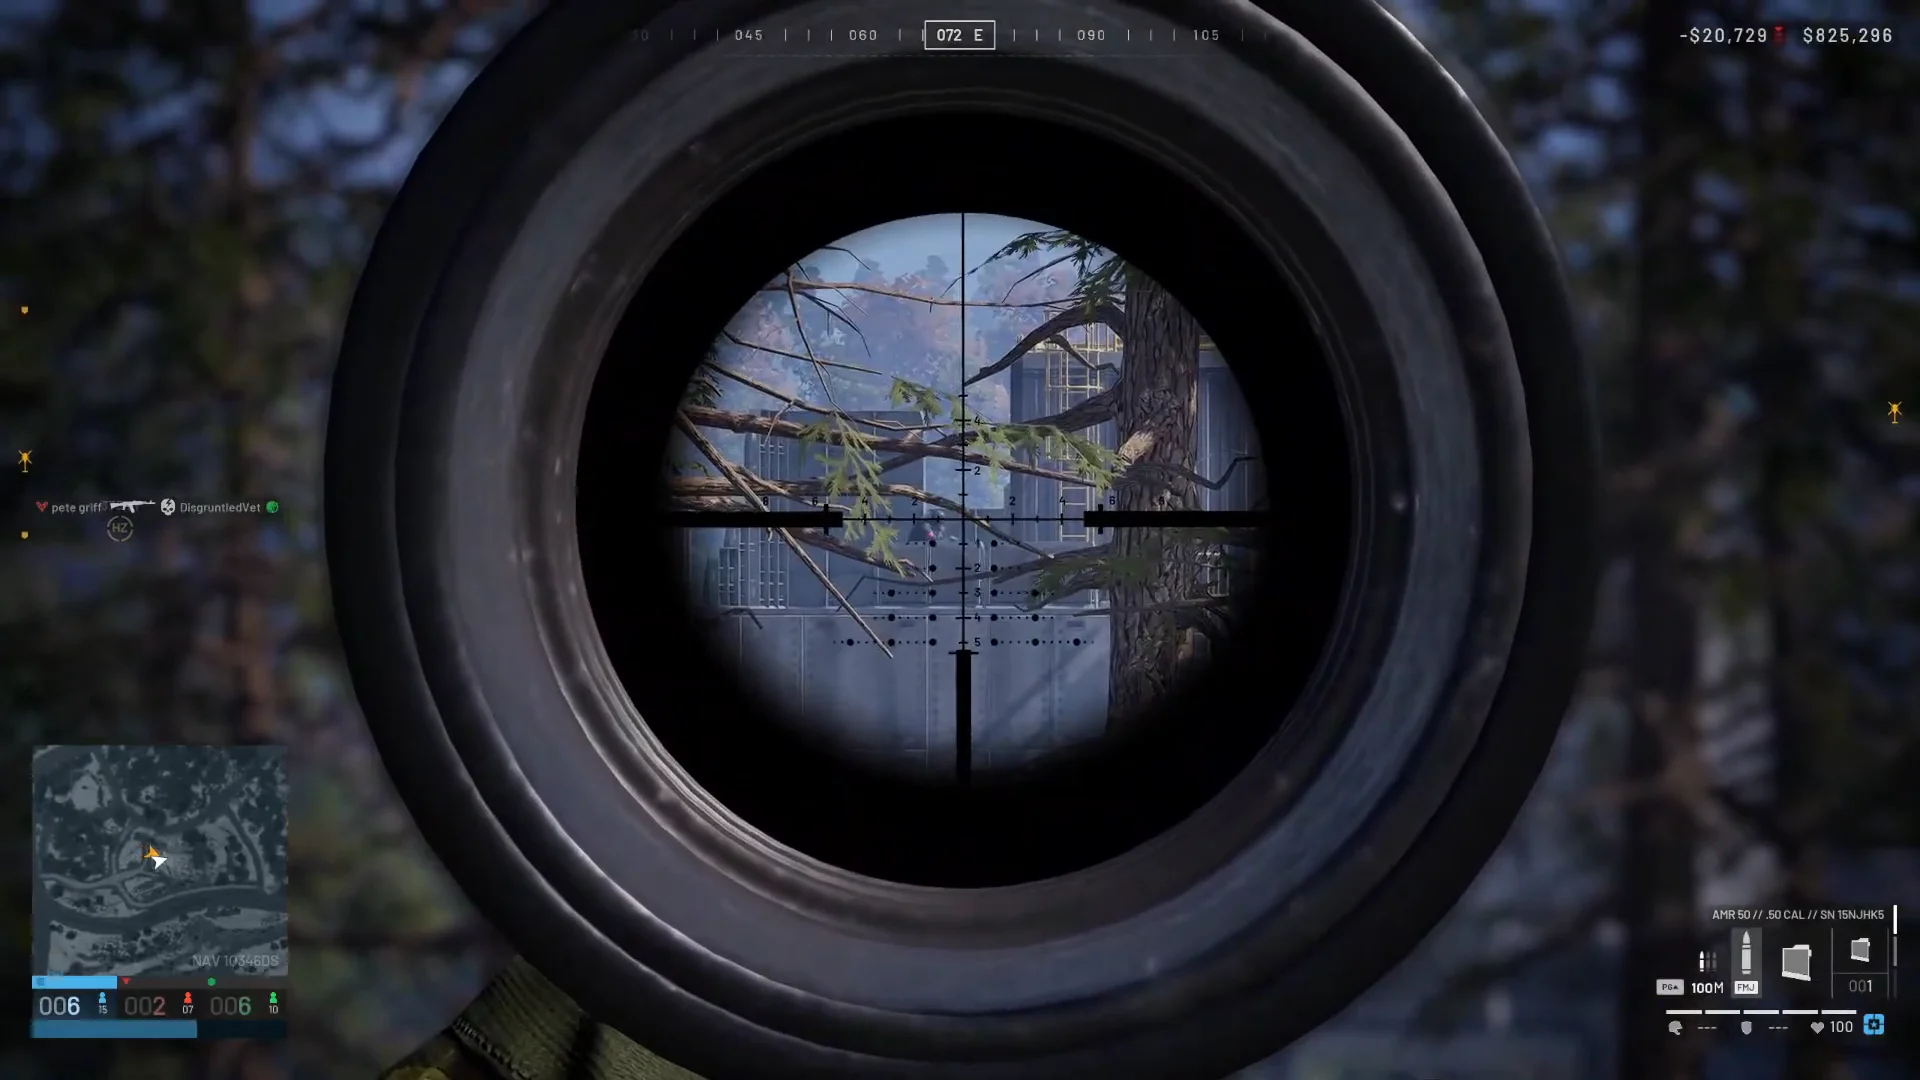
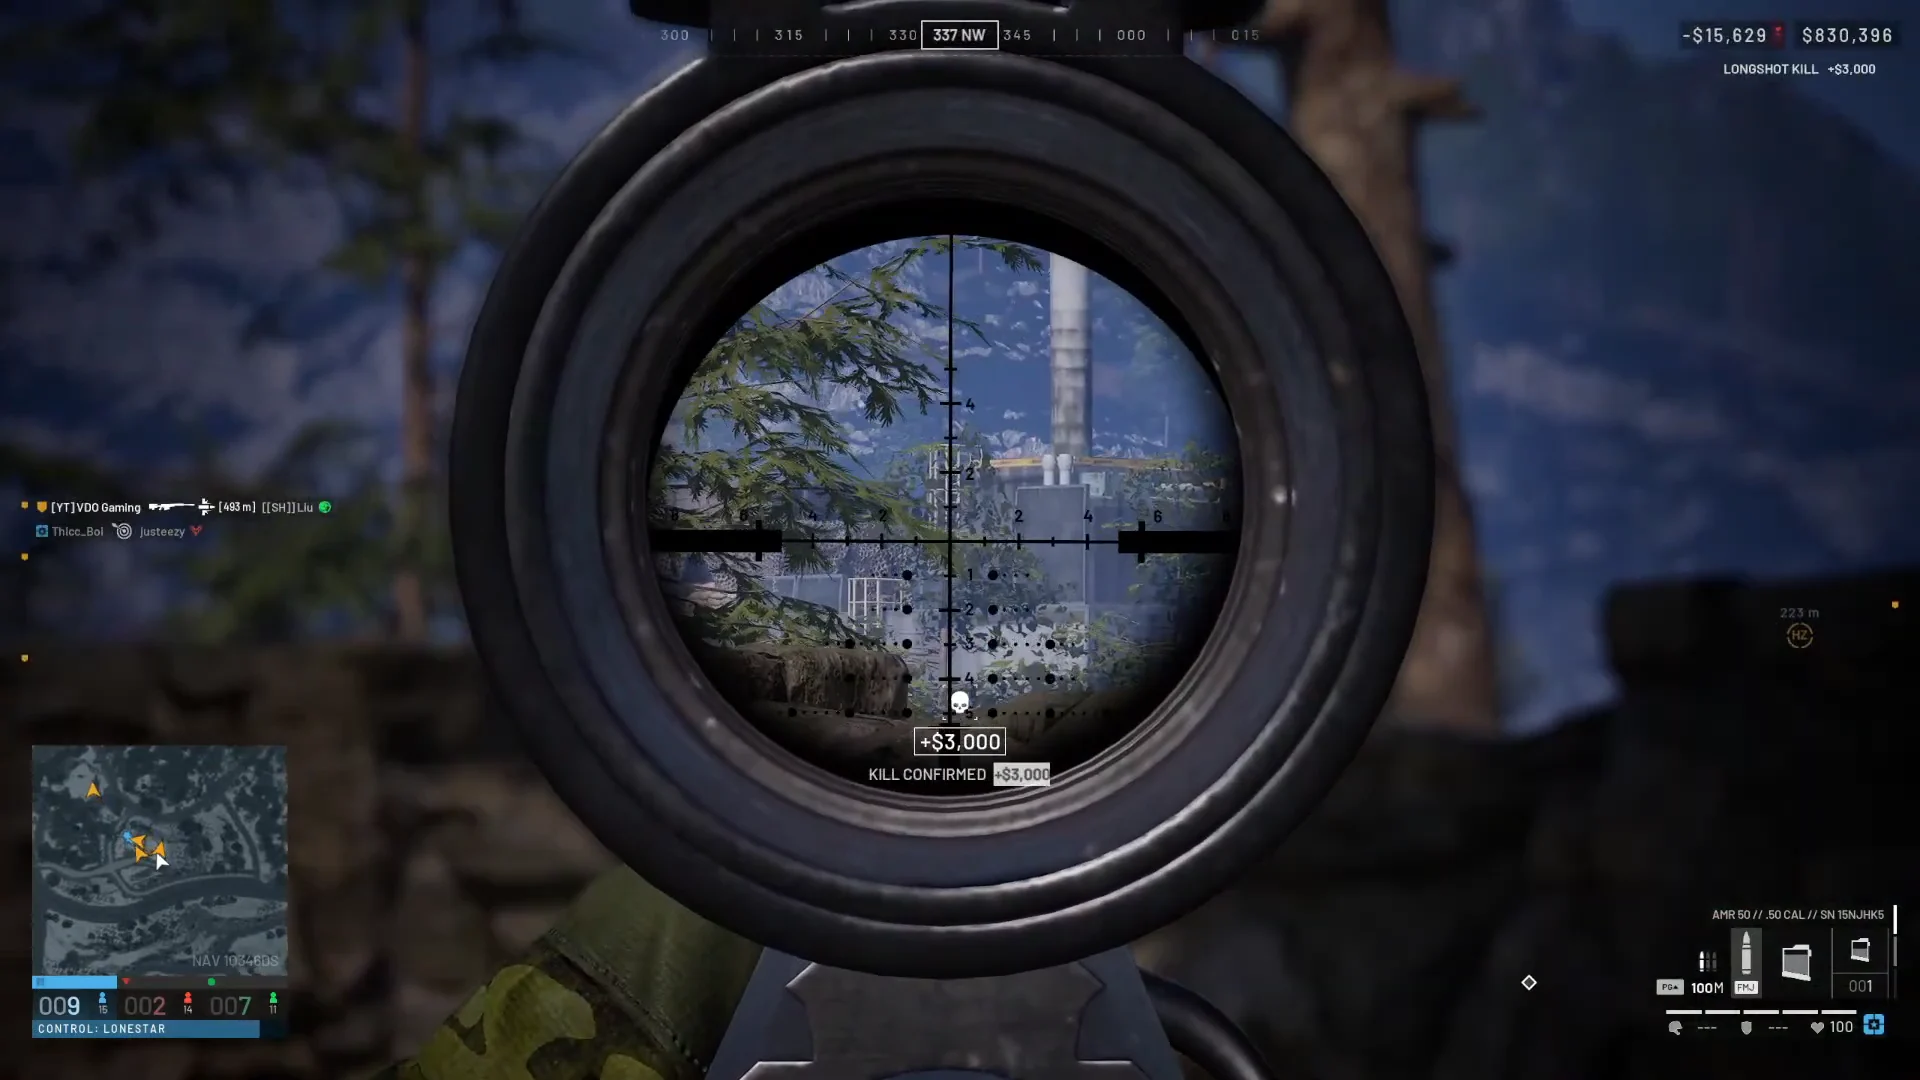
A large part of the appeal is distance shooting. Sniper nests on ridges and towers overlook the valleys and industrial yards, and confirmed kills reach well past the 400-metre mark, with one longshot landing at 493 metres. The AMR 50 is the heavy anti-materiel rifle at the centre of that play, firing a .50 Cal round with a muzzle velocity of 900 m/s and a maximum zeroing range of 300 metres.
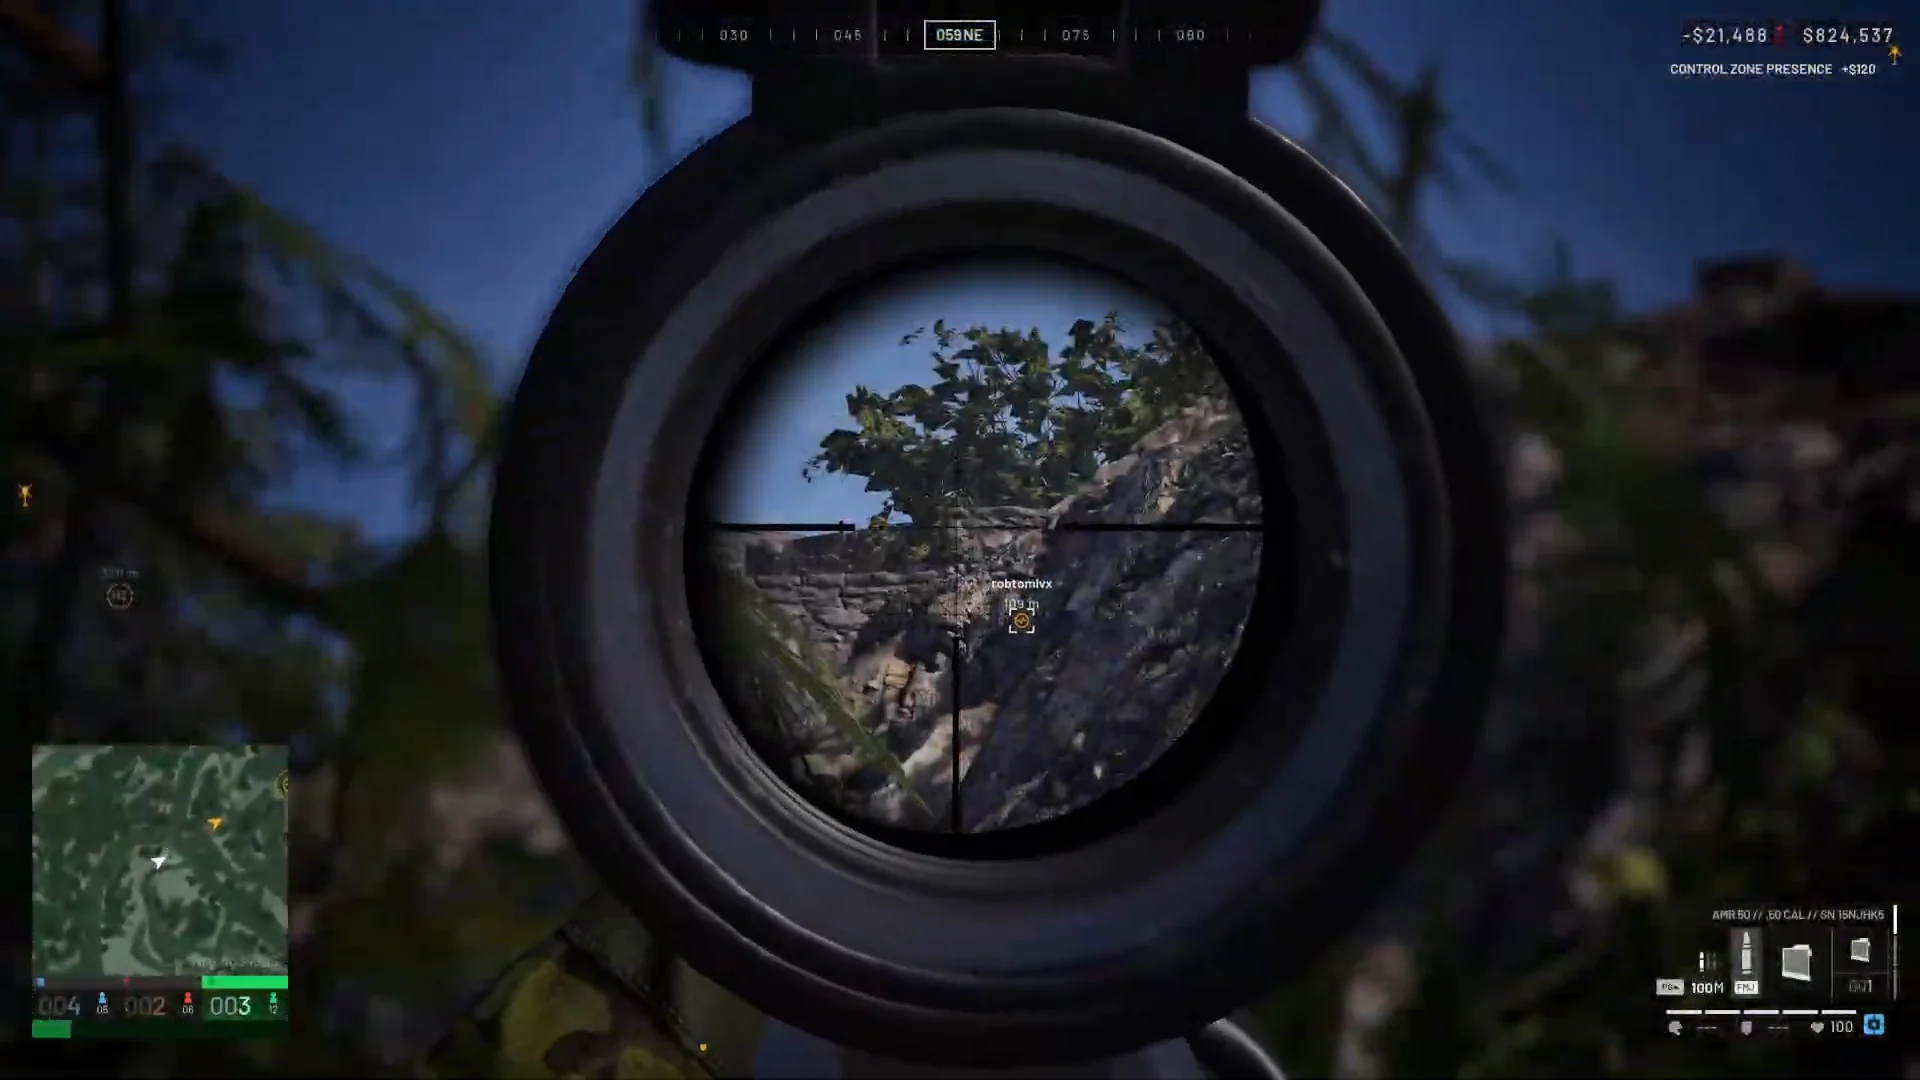
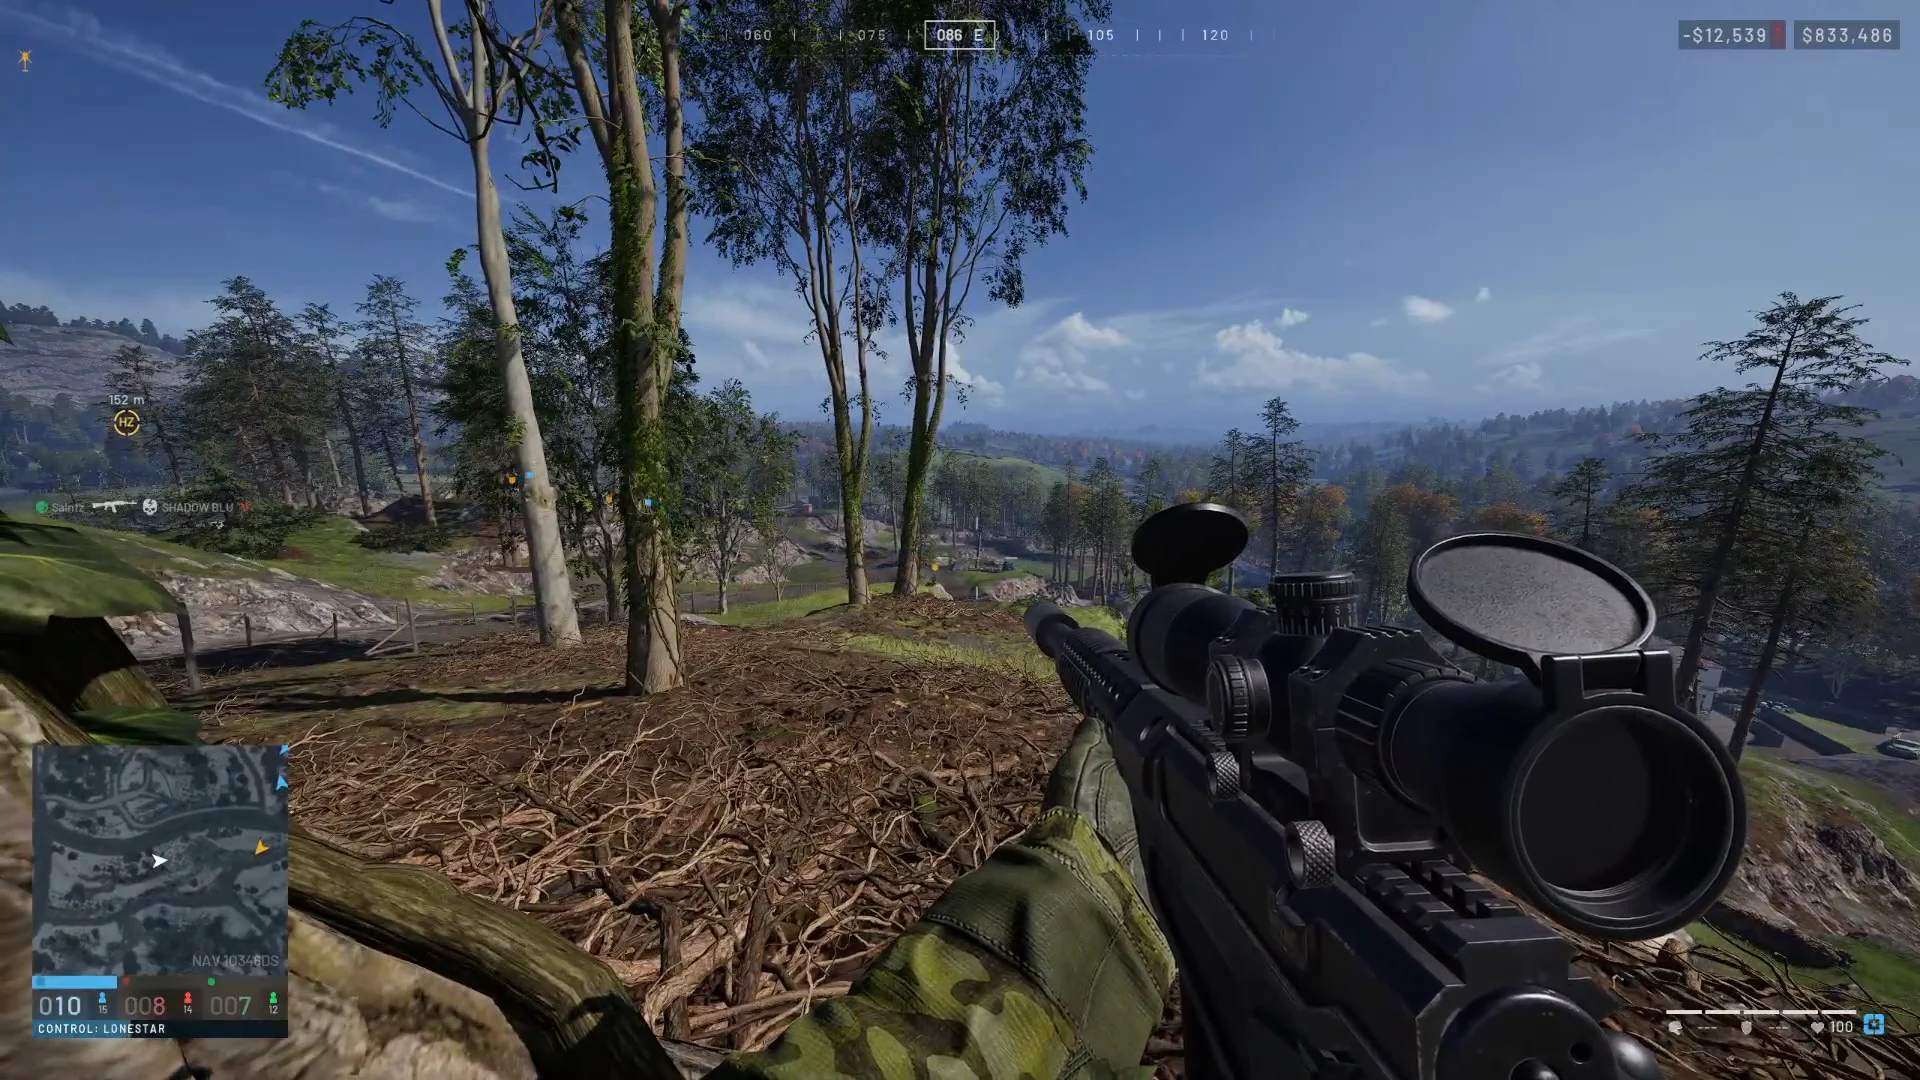
Towers are common perches, and much of the engagement is counter-sniping: spotting an enemy on an elevated structure before they spot you. The HUD carries a compass heading up top and a health and weight bar at the bottom left, and target callouts drive a lot of the squad coordination.
The weapon table below collects the three guns shown most across a session. Note that armour changes how much damage lands: every one of these weapons is treated as a bullet hit by body armour, and the “through armour” figure is what actually gets through.
| Weapon | Damage / through armour | RPM | Price / unlock |
|---|---|---|---|
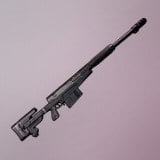 AMR 50 (Sniper) AMR 50 (Sniper) | 107 / 42.8 | 41.5 | $8,800 · Recon 35 |
 Compound Bow (Bow) Compound Bow (Bow) | 77 / 30.8 | 90 | $800 · Recon 17 |
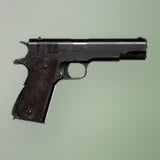 M1911 (Pistol) M1911 (Pistol) | 30 / 12 | 430 | $300 · Wardog 40 |
AMR 50. Unlocked at Recon level 35 for a single $200,000 payment, this 12.5 kg rifle serves as a long-distance mainstay. It fires .50 Cal rounds from a 5-round magazine with a bolt-action mechanism, and a headshot inflicts 342.4 damage.
M1911. The .45 ACP sidearm is the cheap backup, a semi-automatic pistol that becomes its own self-imposed challenge when squads run pistol-only loadouts. It deals 63 damage on a headshot, carries a short 25-metre zeroing range, and unlocks at Wardog level 40 for $25,000.
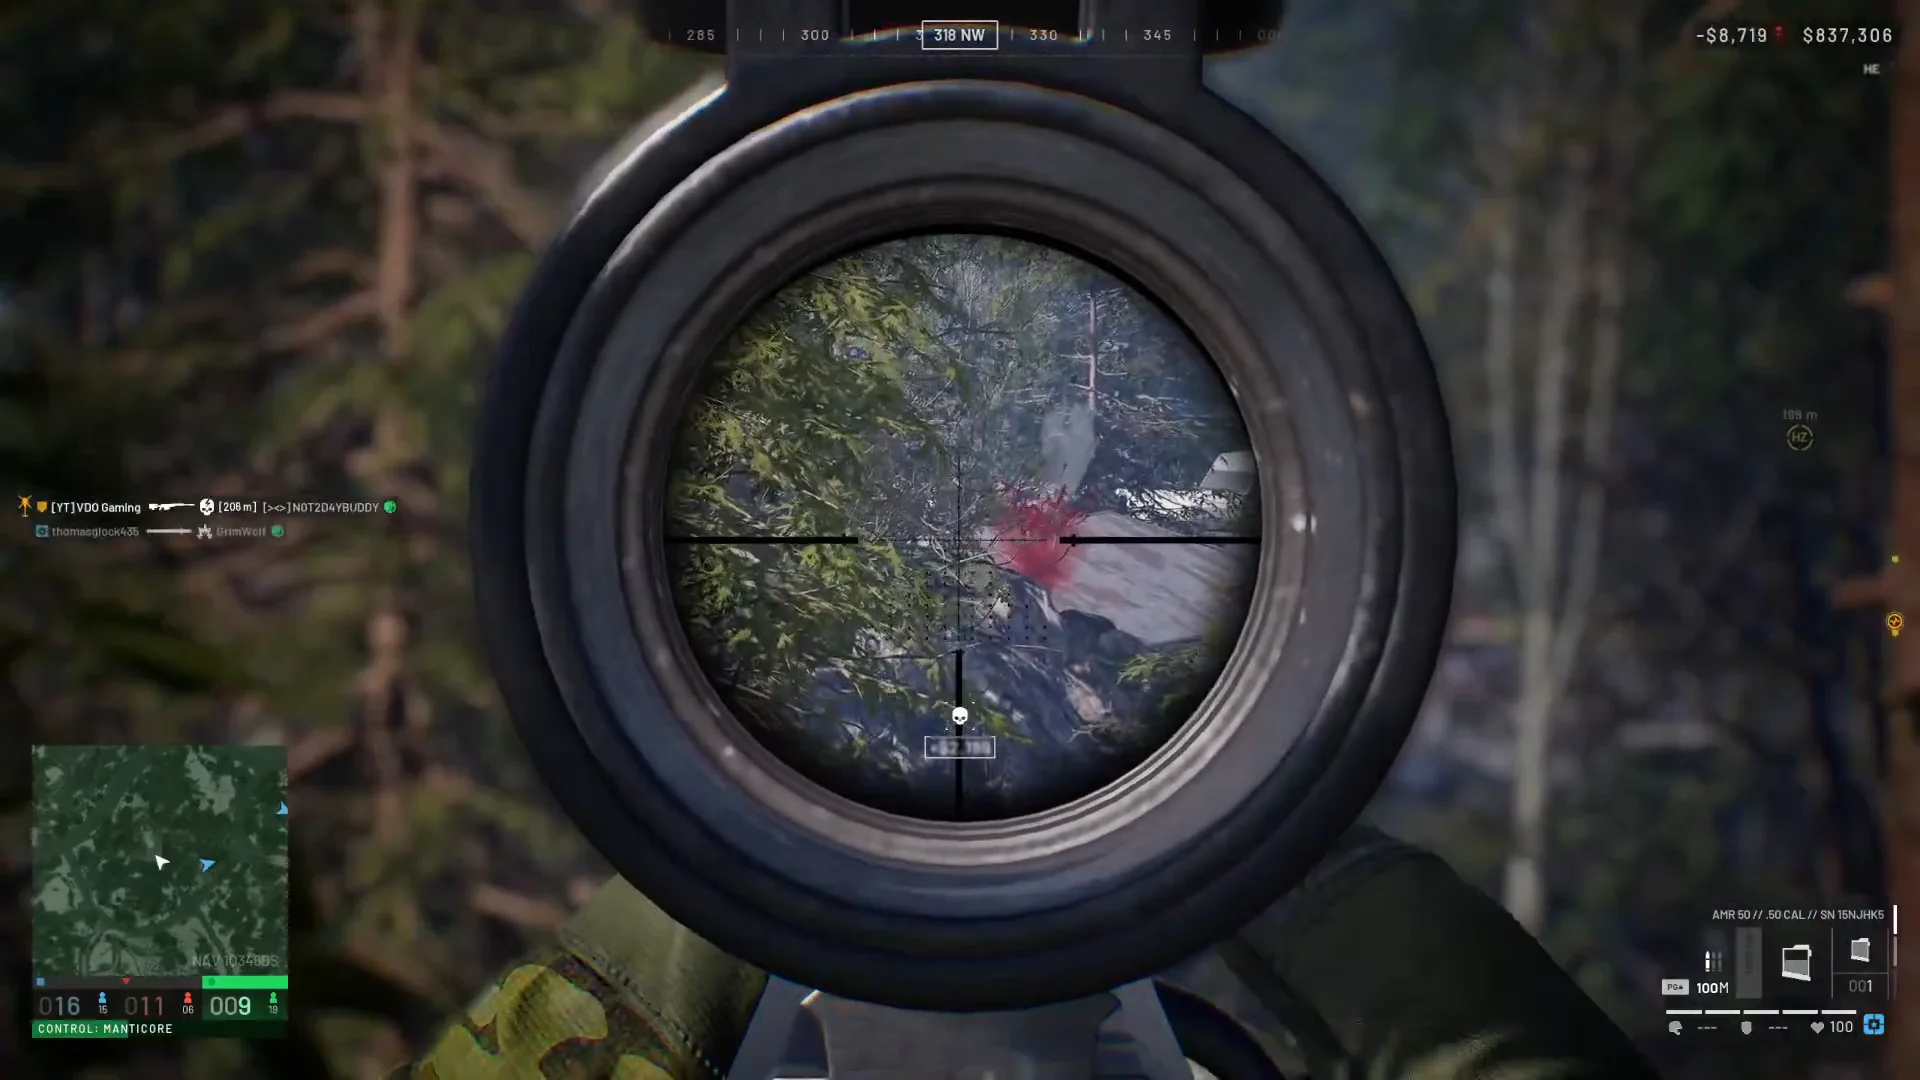
A ridge sniper is not safe from armour. Enemy tanks can spot an elevated position and neutralize it with a single direct main-gun shell, so a fixed perch that works against infantry becomes a liability the moment vehicles arrive.
Stealth play: the Compound Bow and ghillie kits
At the other end of the loadout spectrum is the Compound Bow, a silent option paired with a full ghillie suit for hunting through sunflower fields and around the church cemetery. It fires Standard Arrows with a pull-and-release action, produces no muzzle flash and no loud report, and deals 77 damage per shot. That makes it effective from concealment, though its draw of 90 rounds per minute and arrow scarcity push you toward patient, single-target kills rather than sustained fire.

The bow is cheap at $800 and unlocks at Recon level 17 for a one-time $125,000 fee. A full stealth kit pairs it with ghillie body and headwear, turning a Recon loadout into something that can sit in foliage and pick off defenders behind cover without giving away a position.
Support gear: reviving and spotting
Two support items change how a squad survives a drawn-out hold. The Defibrillator revives a downed teammate instantly, but it needs a battery to charge before it can be used, so it is not a free reset. It costs $1,600, weighs 2.6 kg, and unlocks at Medic level 11 for a one-time $50,000 fee.
The Range Finder is the Recon counterpart. It spots enemy infantry and vehicles, offers high-level variable magnification, and gives an accurate distance readout, which feeds directly into the long-range shooting the maps encourage. It is light at 0.23 kg, priced at $400, and unlocks at Recon level 8 for a one-time $15,000 fee.
What the launch build adds up to is a shooter that wants you to plan the whole round, not just the gunfight. The deployment boards sit far out, the Control Zone keeps moving, and your gear is gone the moment you die, so travel, transport, and revives carry as much weight as aim. Whether you bring the AMR 50 for 500-metre kills, a pistol-only run for the challenge, or a silent Compound Bow and ghillie suit through the sunflowers, the same loop holds: spend, deploy, hold the point, and rebuild after every wipe.