WARDOGS recognizes a flight stick and throttle as genuine analog devices, then assigns them control as soon as you take a pilot seat. The game gives you no explanation of this, and its initial axis settings are troublesome until you adjust several values. After setup, the stick flies well, provided you understand that it controls rotational speed rather than the aircraft’s attitude.
Quick answer: Use Settings > Gamepad > HOTAS, turn Enable HOTAS to Enabled, and assign roll, pitch, yaw, and collective to four distinct axes. Entering a pilot seat makes the game use the stick automatically.
Which helicopter to train in: MH-6 and AH-6M
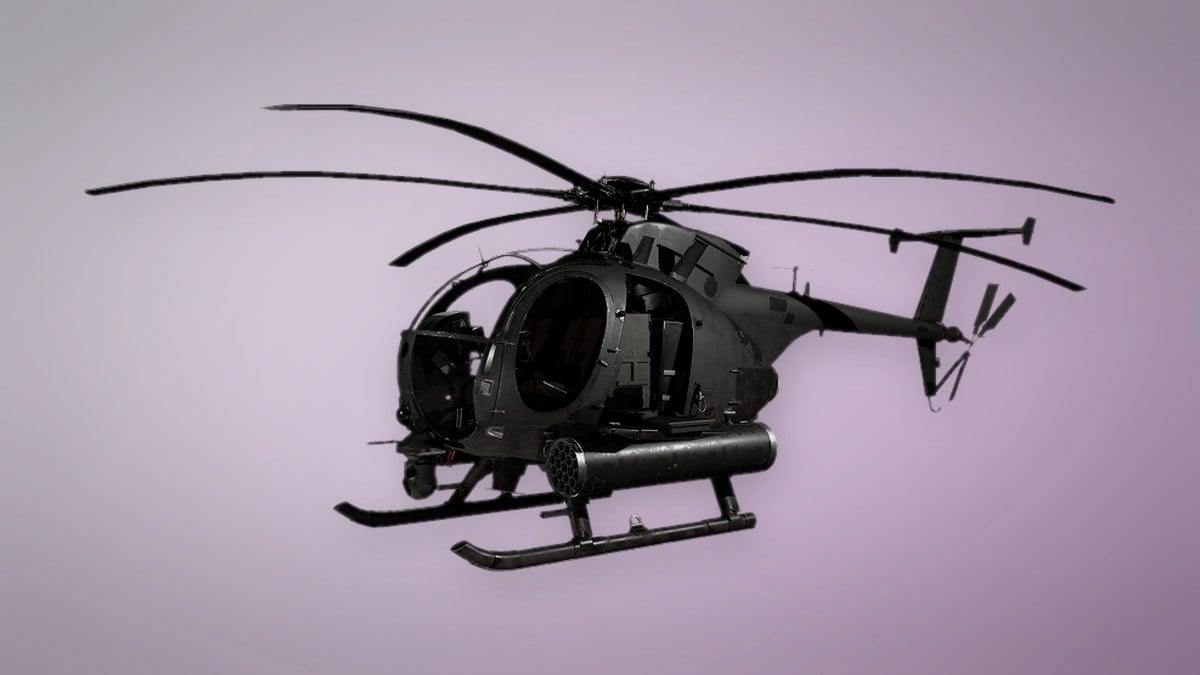
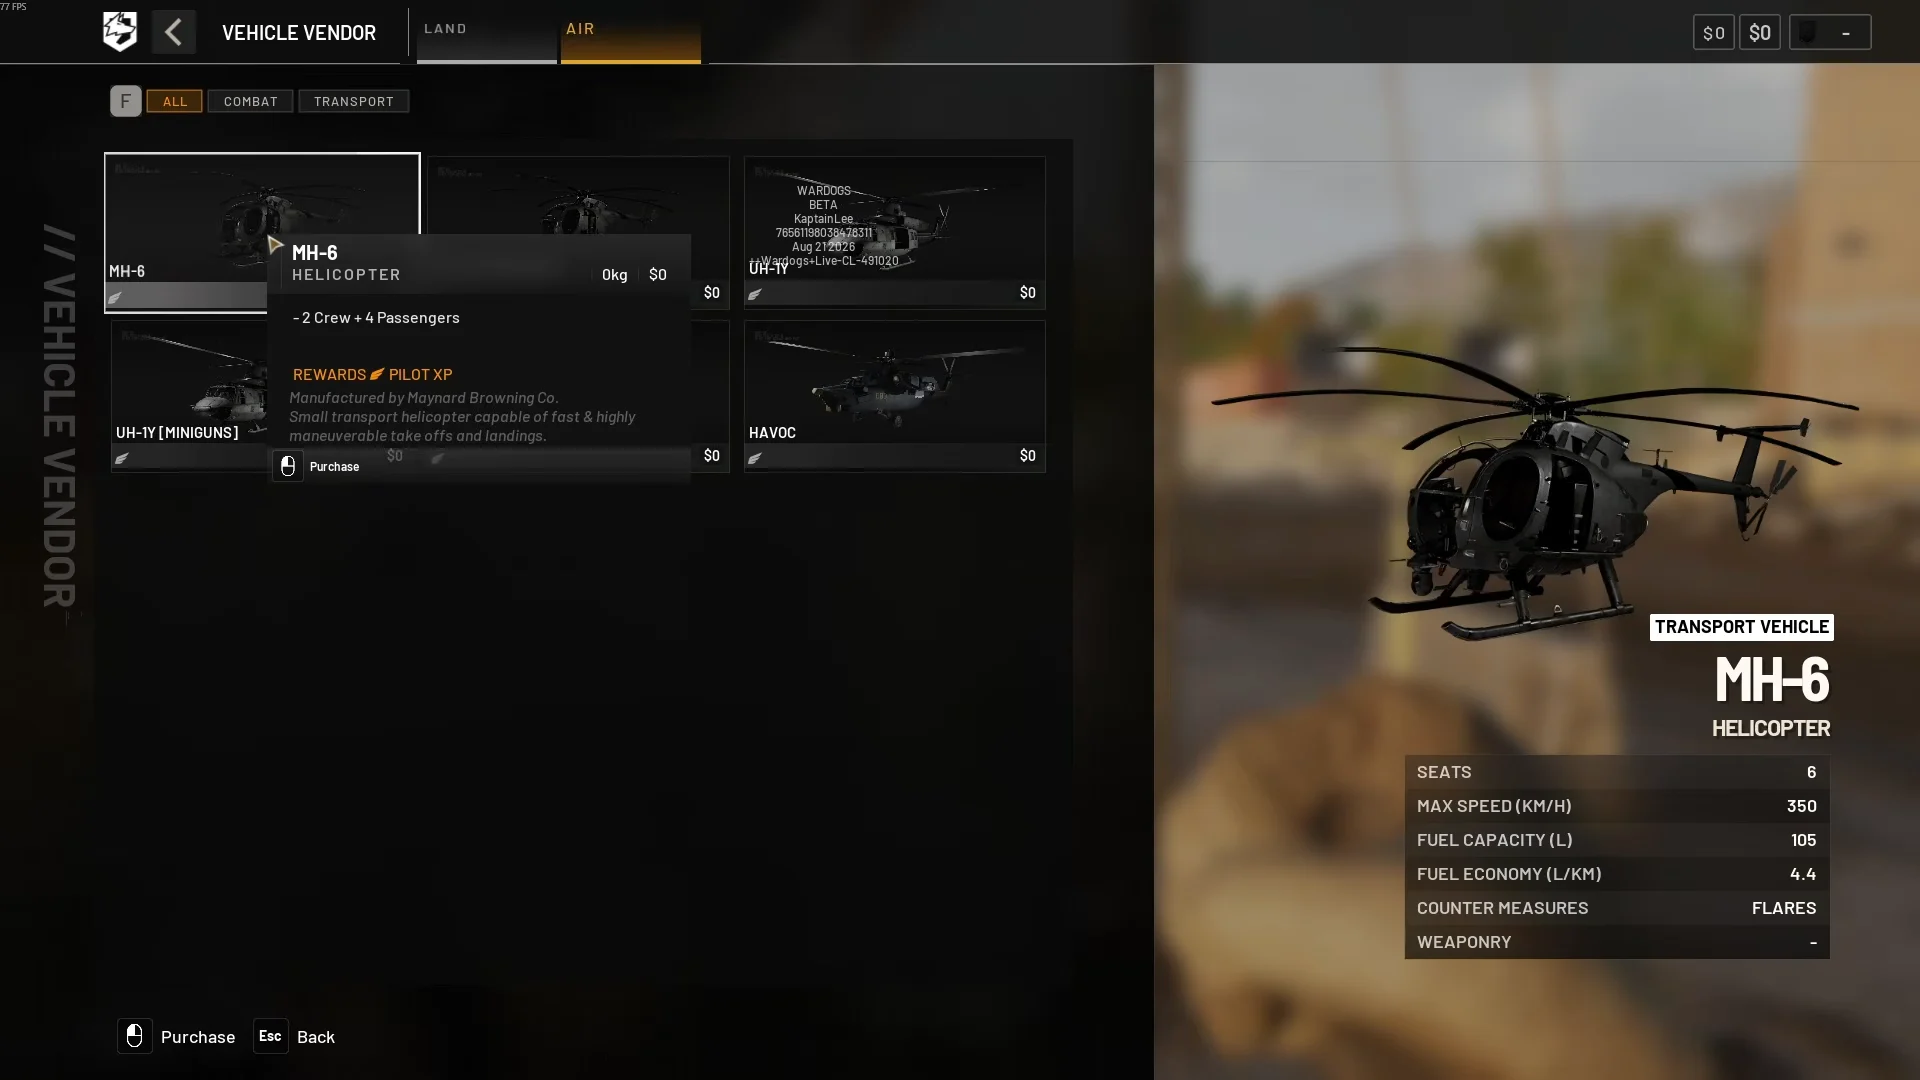
Both small helicopters are bought from the vehicle vendor at your faction’s safe zone — neither is ever placed in the world during a match. For learning, the MH-6 is the cheaper and more forgiving of the two, and it is the one to spawn while you are testing axis directions.
| Helicopter | Price | Seats | Top speed |
|---|---|---|---|
 MH-6 MH-6 | $6,250 | 6 | 350 km/h |
 AH-6M [Miniguns] AH-6M [Miniguns] | $7,000 | 2 | 350 km/h |
Both airframes carry 105 litres of fuel and burn 4.4 litres per kilometre, and destroying either one pays the killer $800. The armed AH-6M is not available from the start: it unlocks at Pilot level 4 with a one-time fee of $50,000.
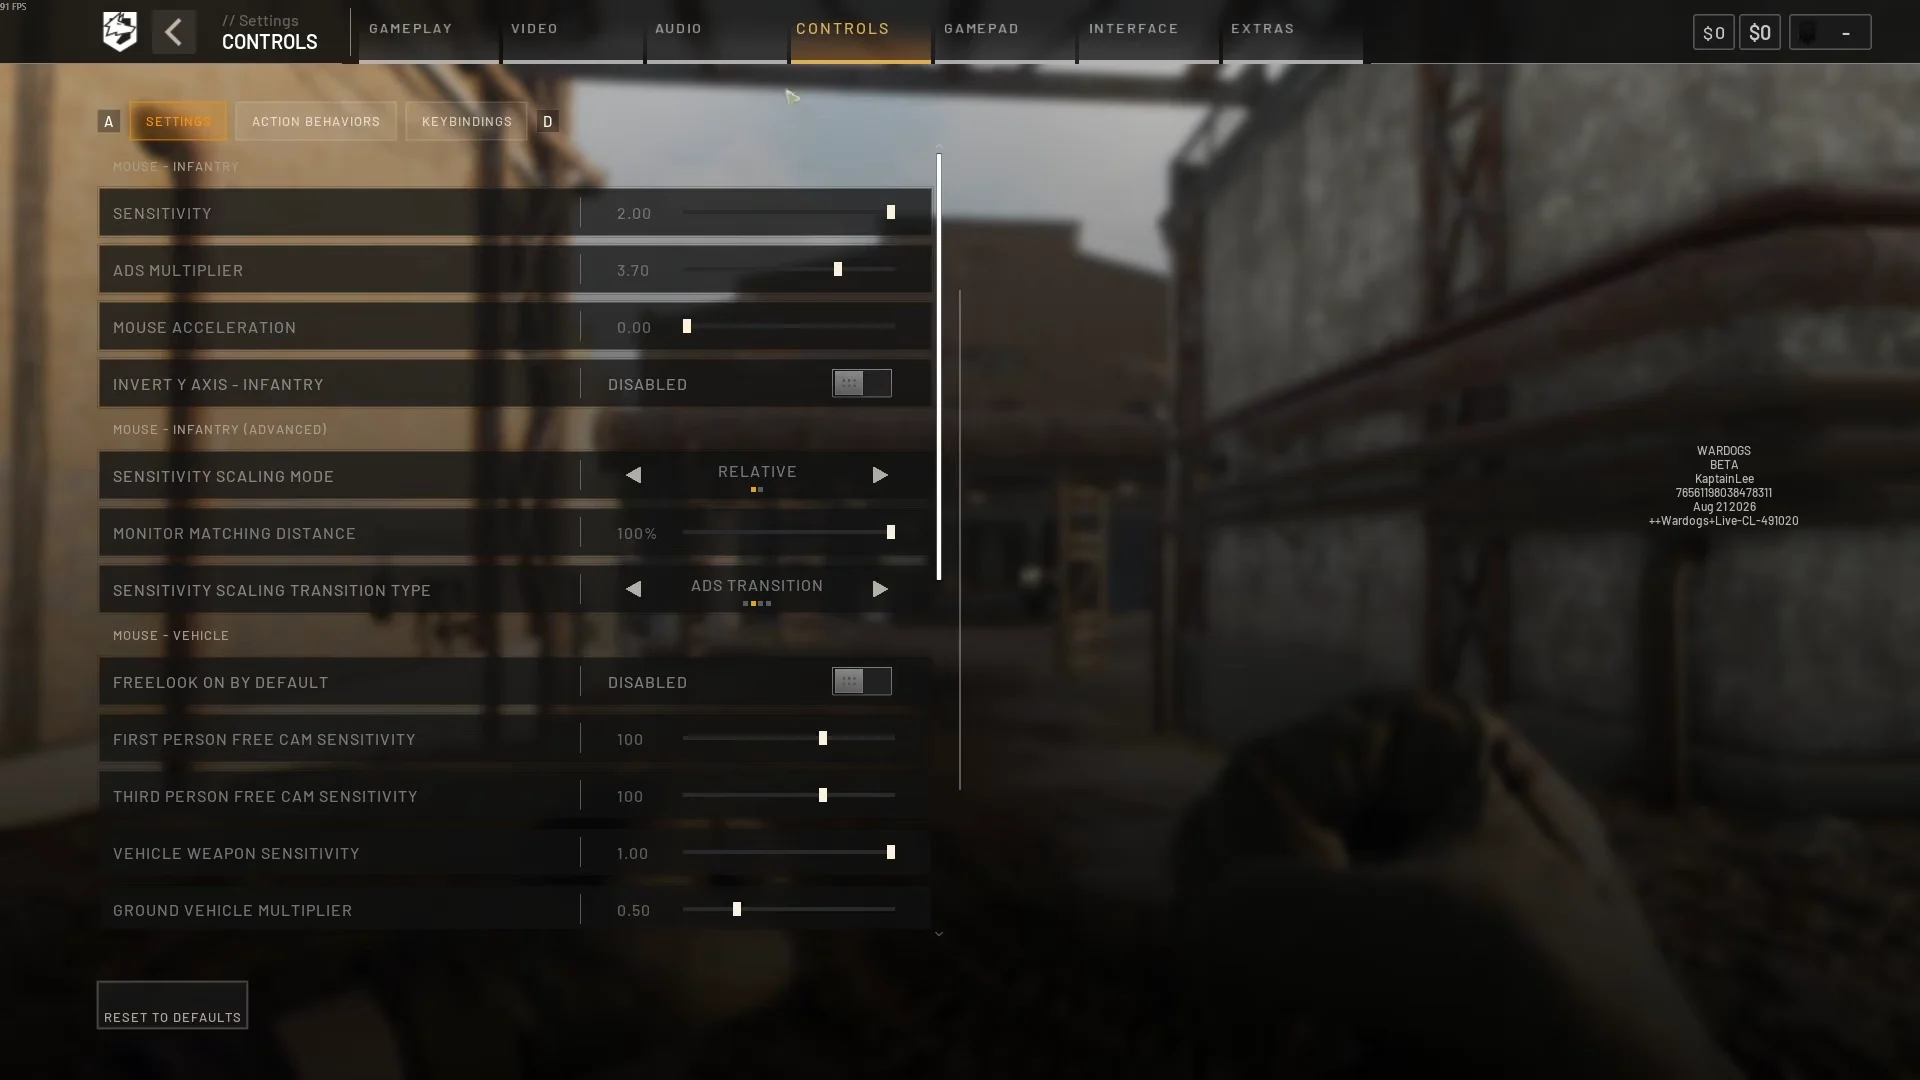
Enable HOTAS and bind your axes in the Firing Range
Use the Firing Range for the entire setup. Helicopters can be spawned there whenever needed, enemies leave you alone, and you can repeatedly alternate between the settings screen and test flights.
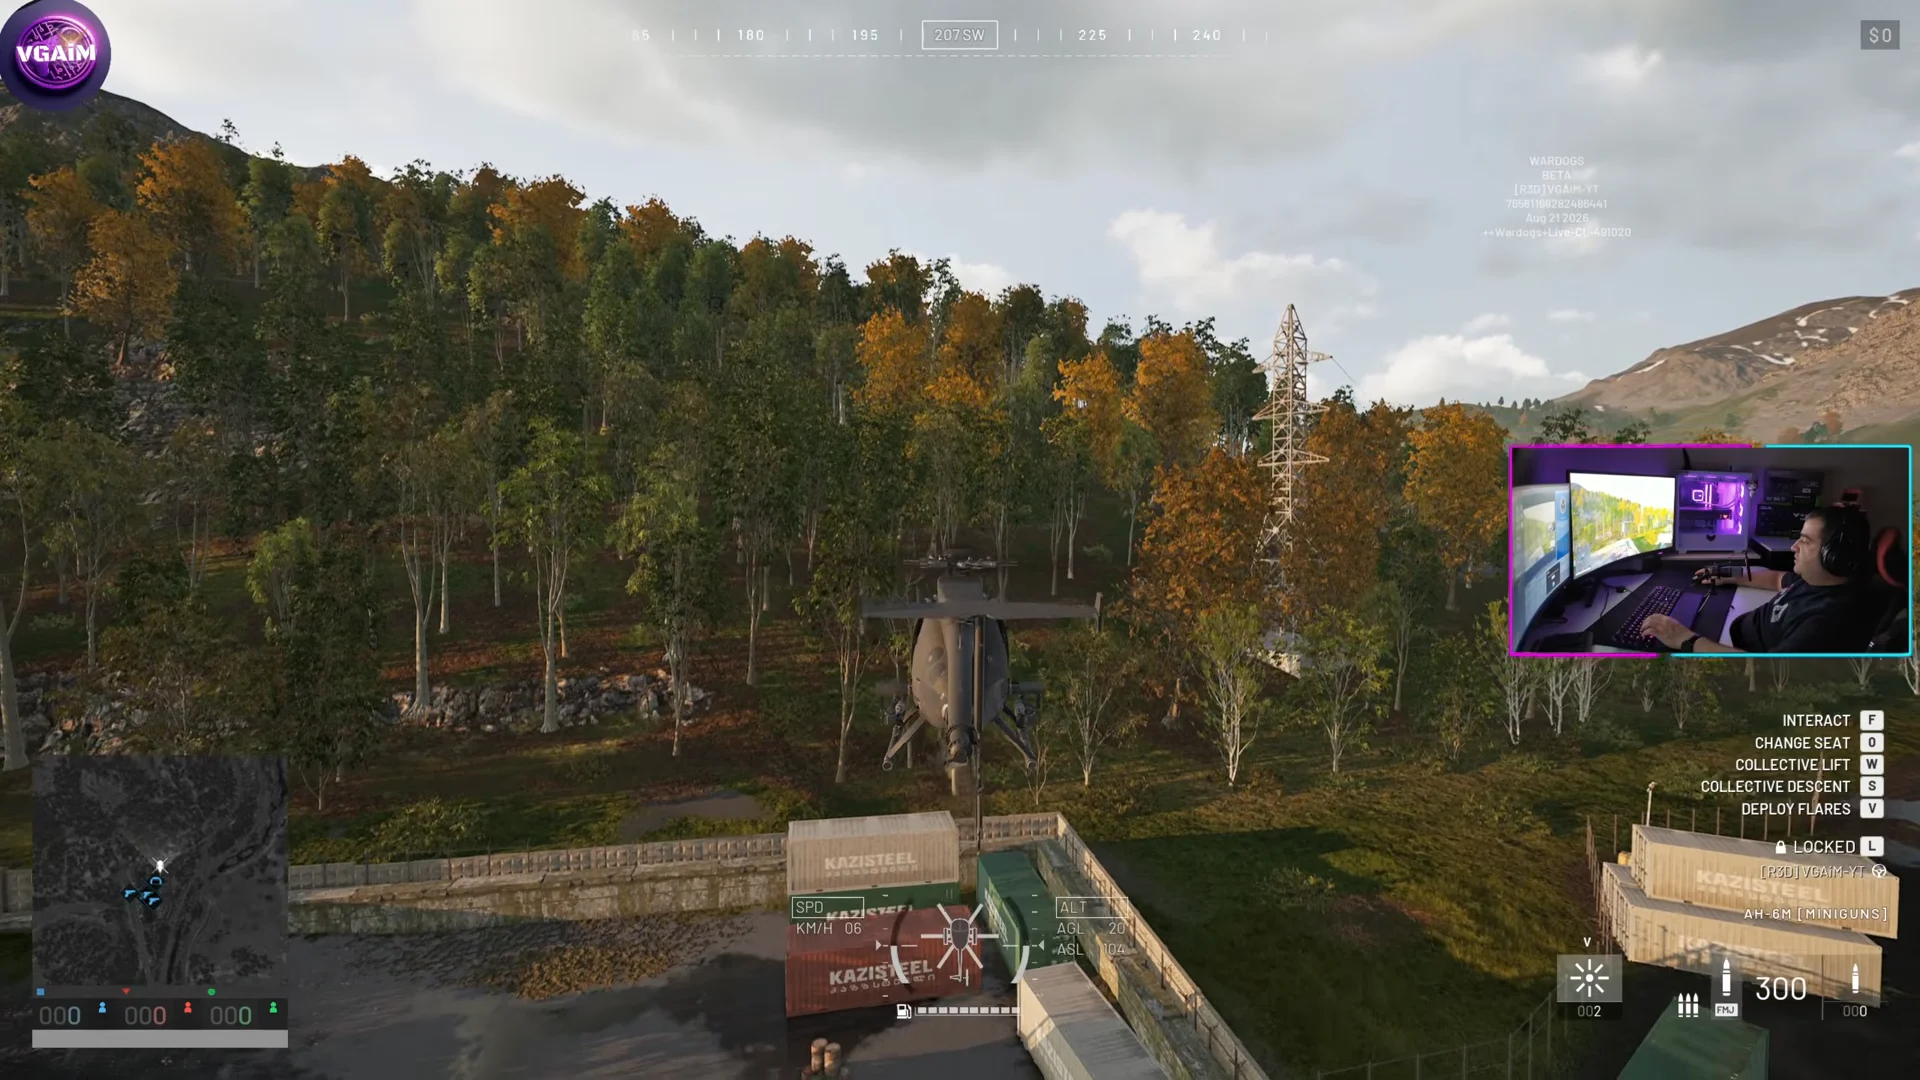
How WARDOGS reads stick axes: rate, not attitude
Flight-sim experience can make this behavior surprising. In WARDOGS, holding an analog input off center continuously commands rotation in that direction. The helicopter therefore keeps turning while the deflection remains, instead of holding a bank angle based on the amount of input.
To halt a roll or pitch movement, move the stick all the way back to its actual center rather than merely reducing pressure. Any small resting signal from the hardware continues the drift. A modest deadzone is therefore essential because it establishes a dependable neutral point.
Roll and pitch deadzone values
You will find the air-vehicle deadzones under Gamepad. Reduce them until the control still registers a true zero when released; with a decent stick, values in the low hundredths generally suffice.
| Setting | Value | Effect |
|---|---|---|
| ROLL DEADZONE | 0.02 | Ignores small left/right sensor noise |
| PITCH DEADZONE | 0.03 | Same for fore/aft, which sits noisier |
Your hardware choice also matters. Removing a stick’s centering springs and tightening its clutch lets it remain wherever you place it, a useful helicopter trait, but it removes the mechanical return to zero and leaves the deadzone responsible for everything. A strongly self-centering stick creates the reverse issue: the hardware may return physically to center while the game retains some input, requiring a push in the opposite direction to cancel it. A throttle that returns to a center detent is the standard remedy.
Pitch and roll sensitivity caps your rotation rate
A twitchy helicopter may tempt you to reduce the sensitivity slider, but that setting does not merely calm the center. Lower pitch or roll sensitivity cuts the maximum rotation rate throughout the axis instead of preserving full control at the extremes.
The difference is clear when comparing 0.5 with 1.0: the lower value restricts the aircraft’s roll speed. At 0.1, the helicopter reacts too slowly to emergency corrections, making a crash more likely than a smooth landing. Keep both settings close to 1.00.
For fine control near center without giving up full deflection authority, shape the curve in your stick’s own software instead — a custom response curve on pitch and roll in VKB Device Config or the equivalent tool flattens the middle of the travel while still reporting 100 percent at the stops.
Matching collective sensitivity to throttle travel
Tune collective by how it feels instead of chasing a fixed number. Set it so the lever’s complete physical range corresponds to the entire collective gauge in the game, with neither endpoint leaving unused travel.
In Gamepad, change Collective Sensitivity, then hover and observe the gauge as you move the lever between both stops. Reaching maximum before the throttle reaches its end means sensitivity is excessive and wastes upper travel. Failing to reach the top means it is insufficient, leaving you without maximum climb power when escaping trouble.
Bind cockpit functions from the pilot seat
HOTAS contains the flight axes and some vehicle controls, but button assignment goes further. While occupying the pilot seat, open the ordinary Controls and Keybinding menu and assign stick or throttle buttons to nearly any function. Those devices are not accepted from the main menu or while on foot; the seat is required.
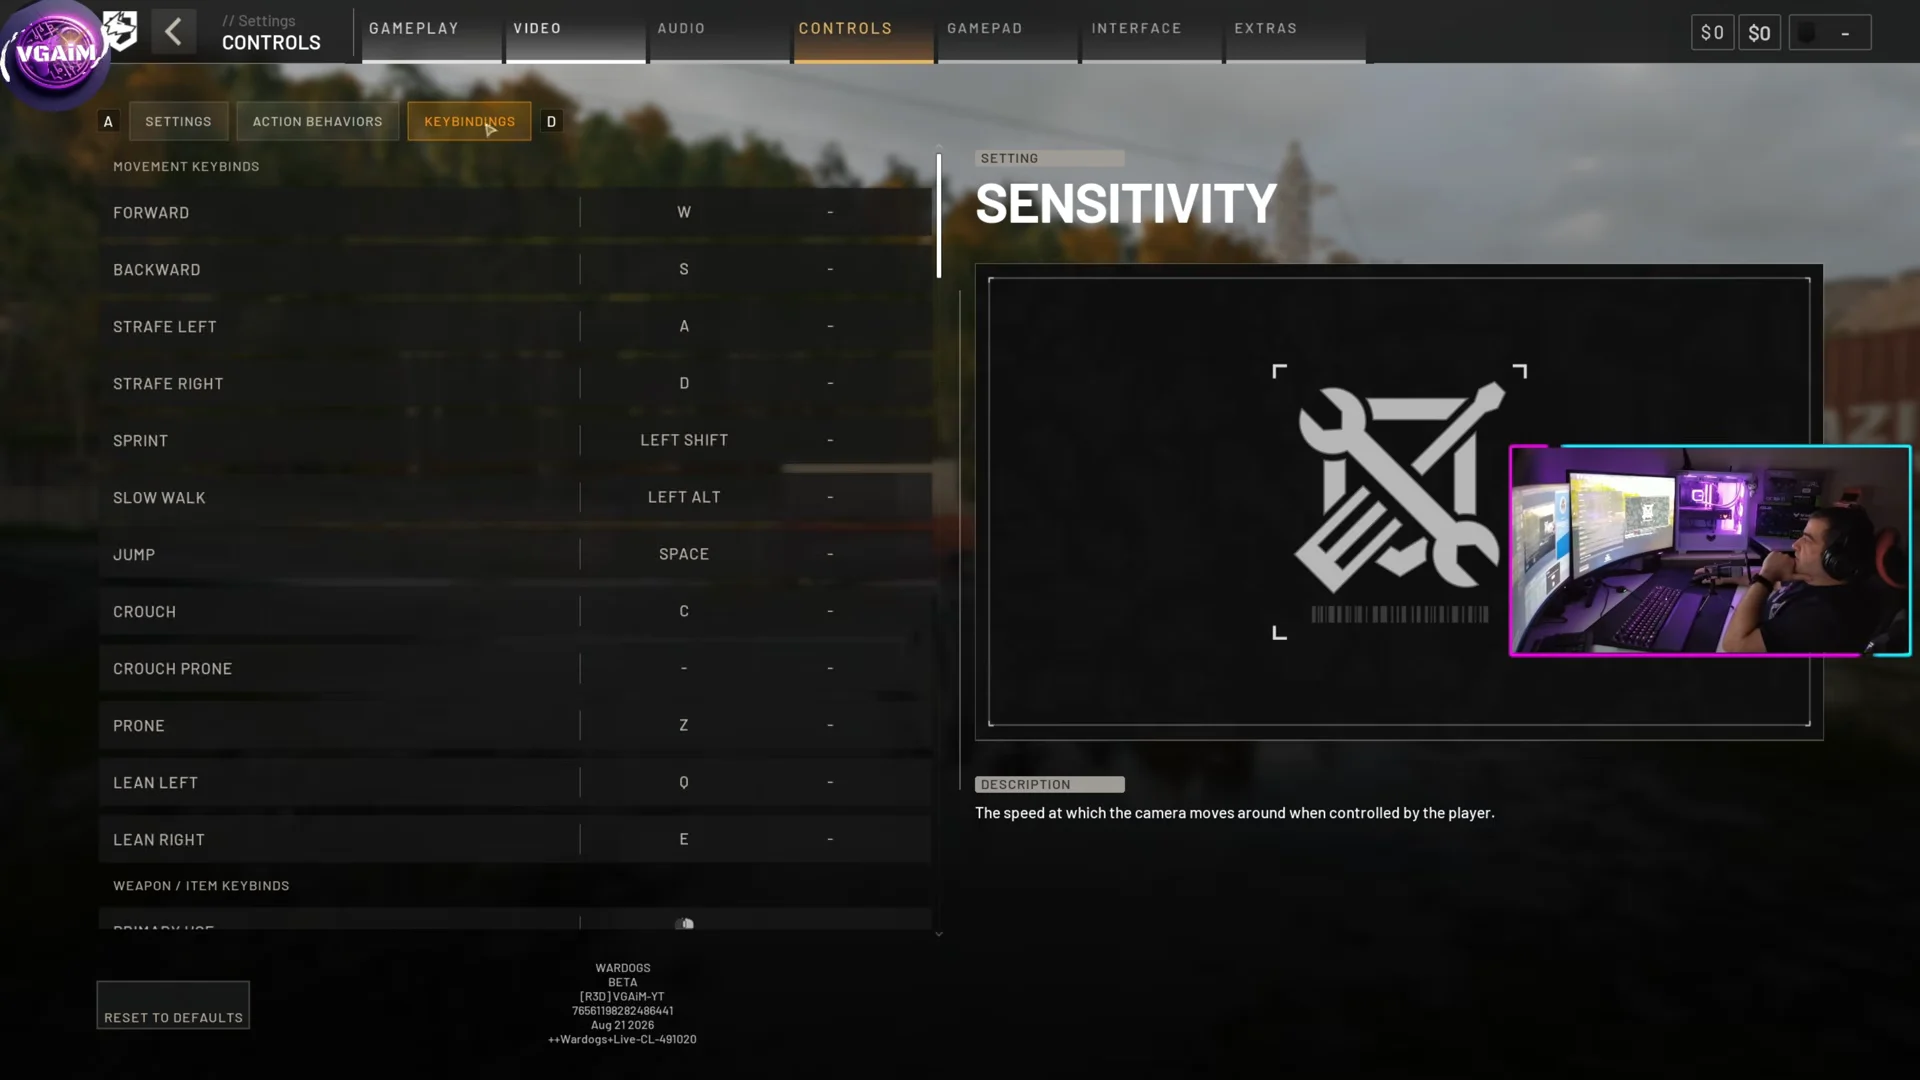
This keeps the keyboard out of reach during flight. Assign Interact to a stick button for engine start and stop, inventory access, and exiting the aircraft. Configure an encoder wheel as mouse-wheel input in your device software to cycle through the interaction choices. Put Garage/Vendor on another button, and use a thumb hat configured as left click, right click, and Escape so the purchase screen works without releasing the controls.
- Flares — the anti-air countermeasure, $750 for three bursts
- Guns
- Camera toggle and camera rotation
- Map
- Voice comms, ideally as a dedicated push-to-talk button
- Cargo drop and the horn
Bind flares first. Everything else on that list is convenience; that one is survival.
The four flight controls
Everything a helicopter does comes out of four inputs, and the whole of basic training is learning to combine them without panicking.
- Pitch — tilts the nose down to accelerate forward, or up to decelerate
- Roll — banks the aircraft left or right to slide sideways and turn
- Yaw — the tail rotor, rotating the nose around the vertical axis
- Collective — overall rotor lift, controlling climb and descent independently of nose angle
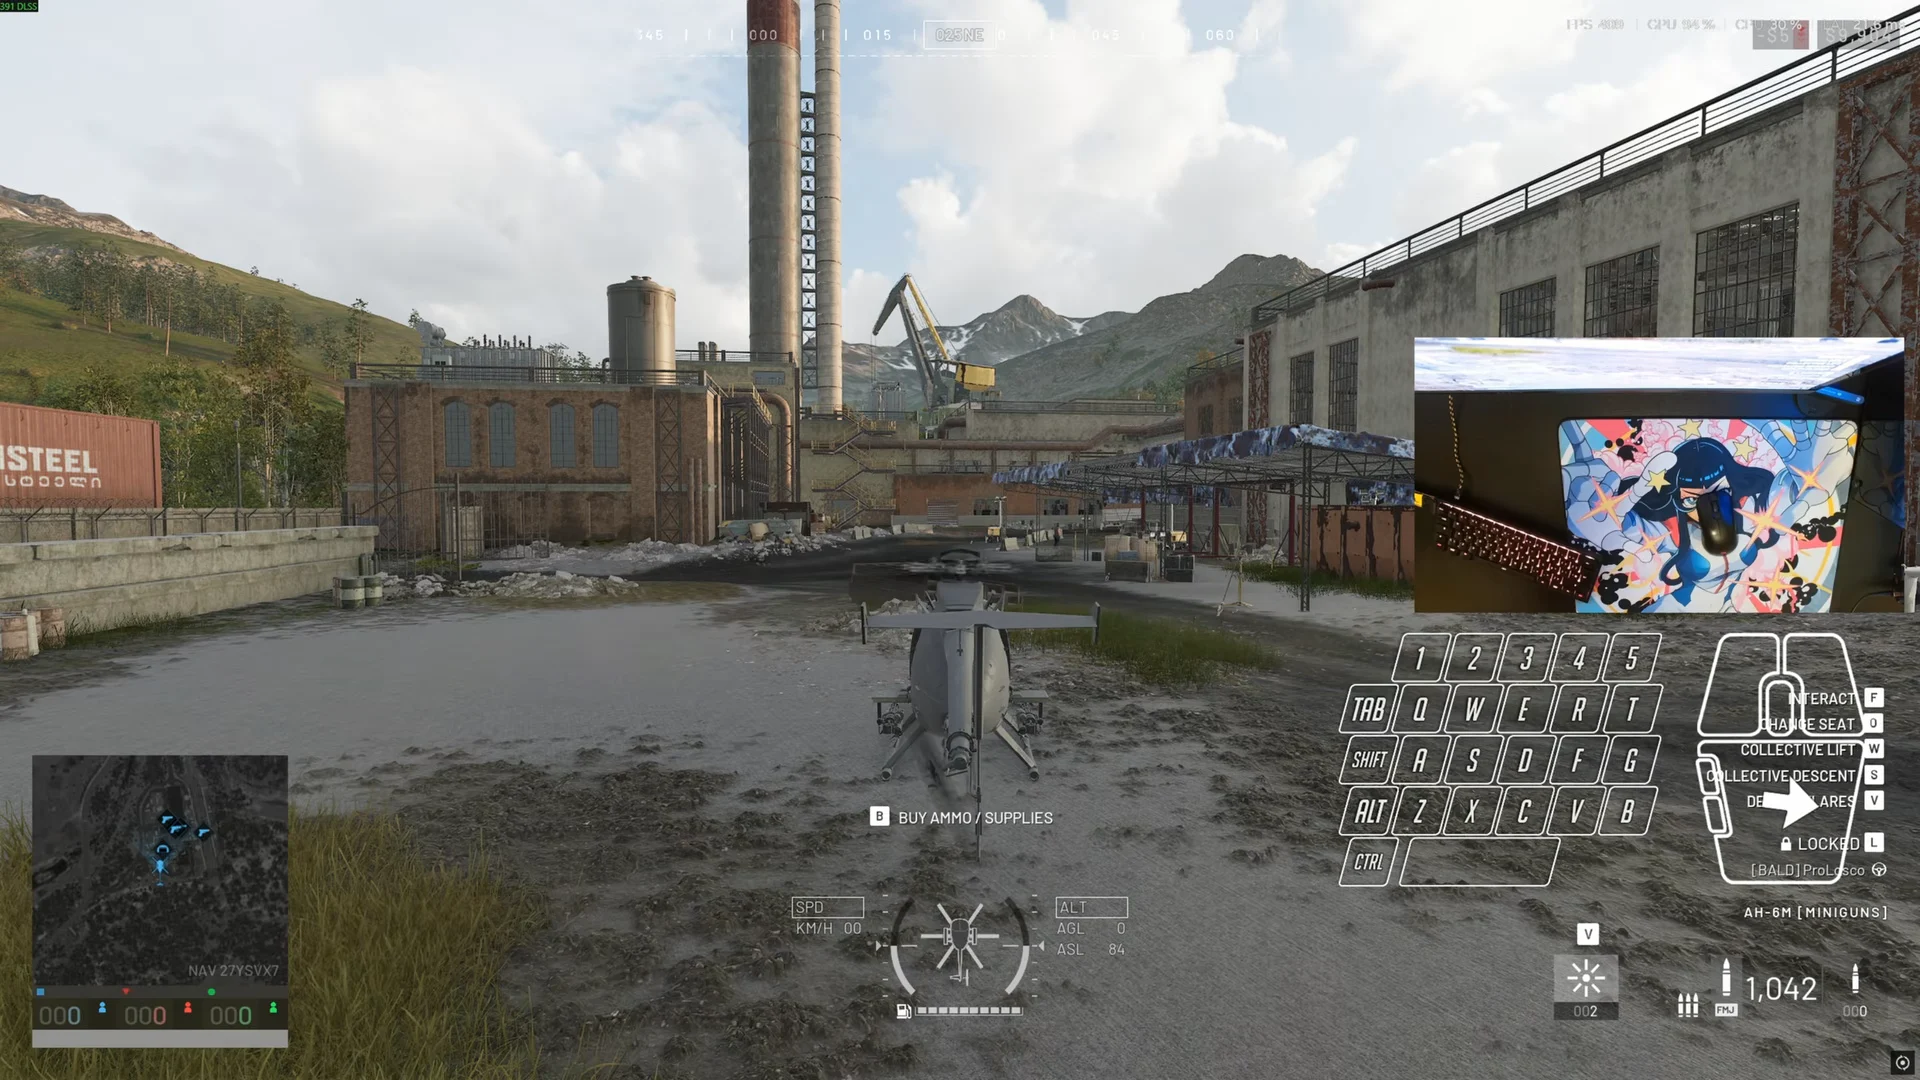
The relationship that matters most is between pitch and collective. Tilt the nose down and some of your vertical lift is redirected into forward thrust, so you sink unless you add a little collective. That single trade explains most of the altitude you will lose in your first hour.
Hover, cruise, and stop
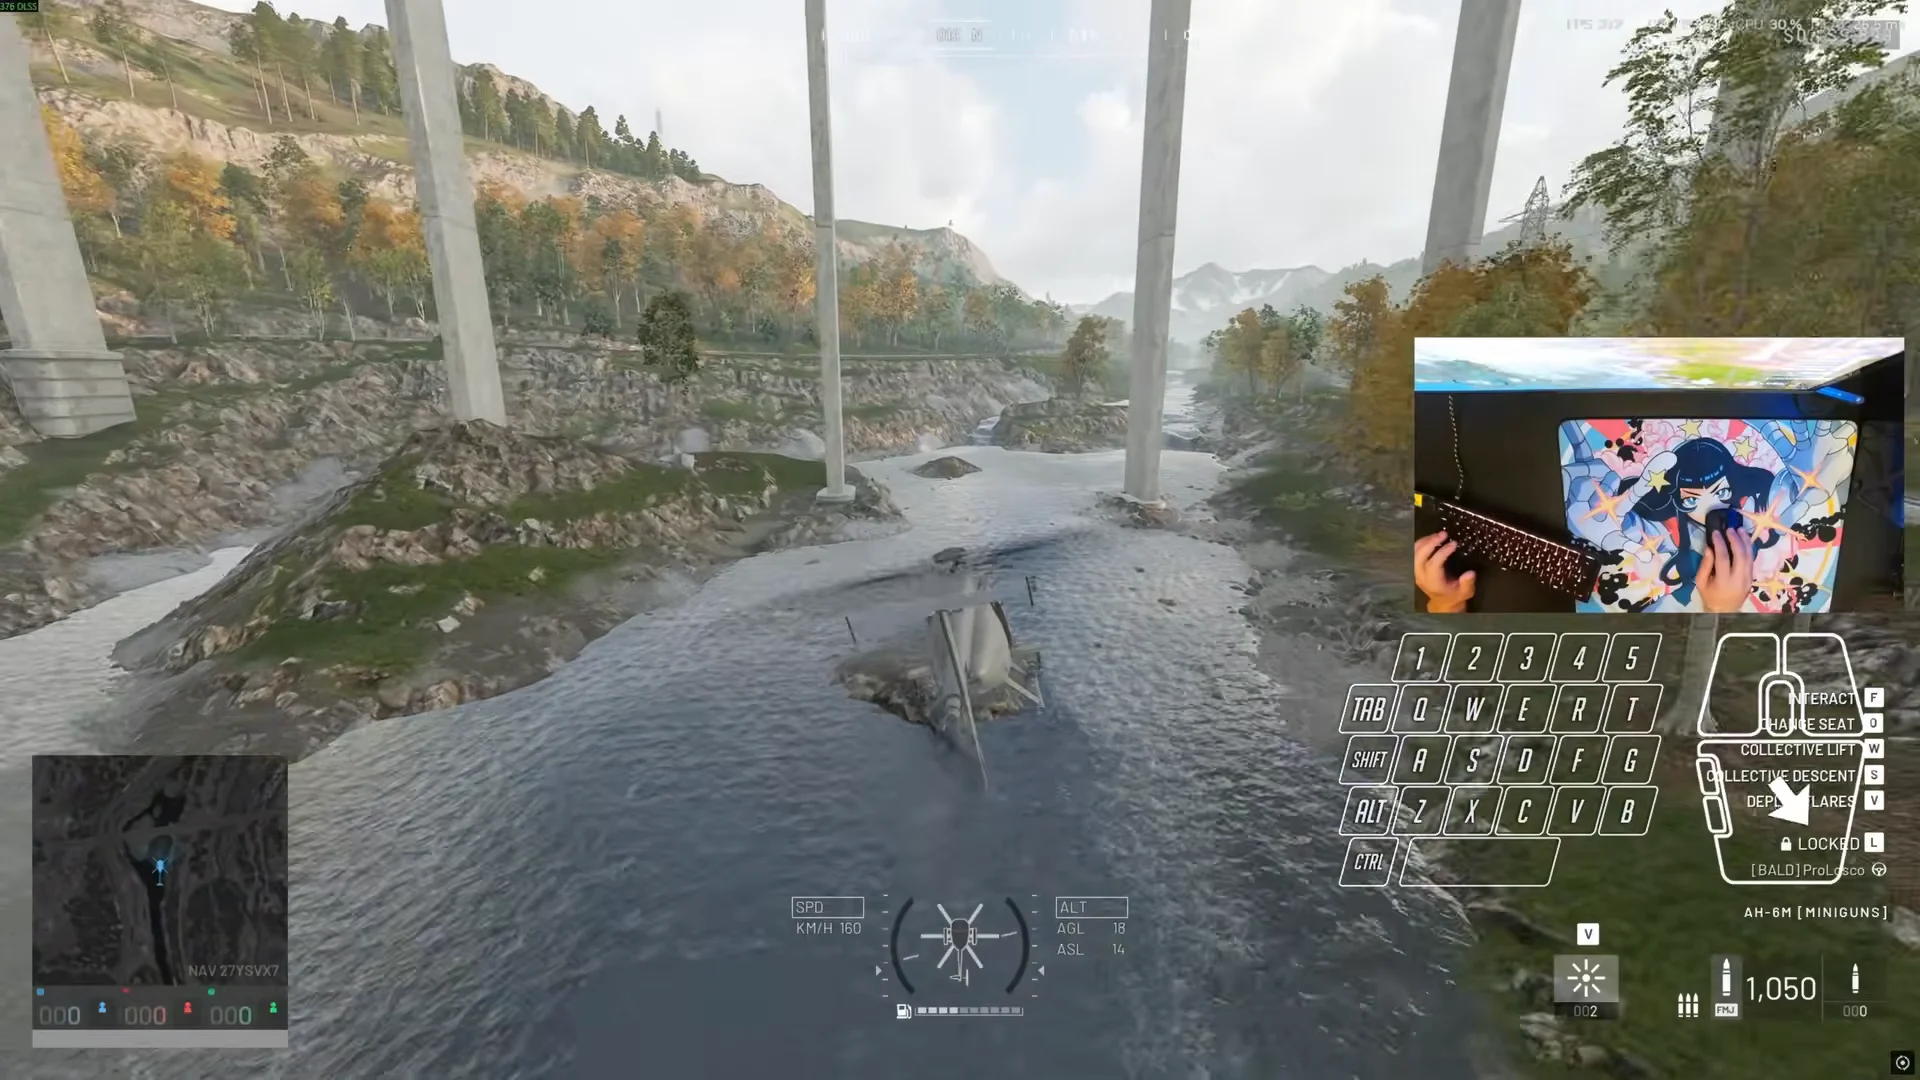
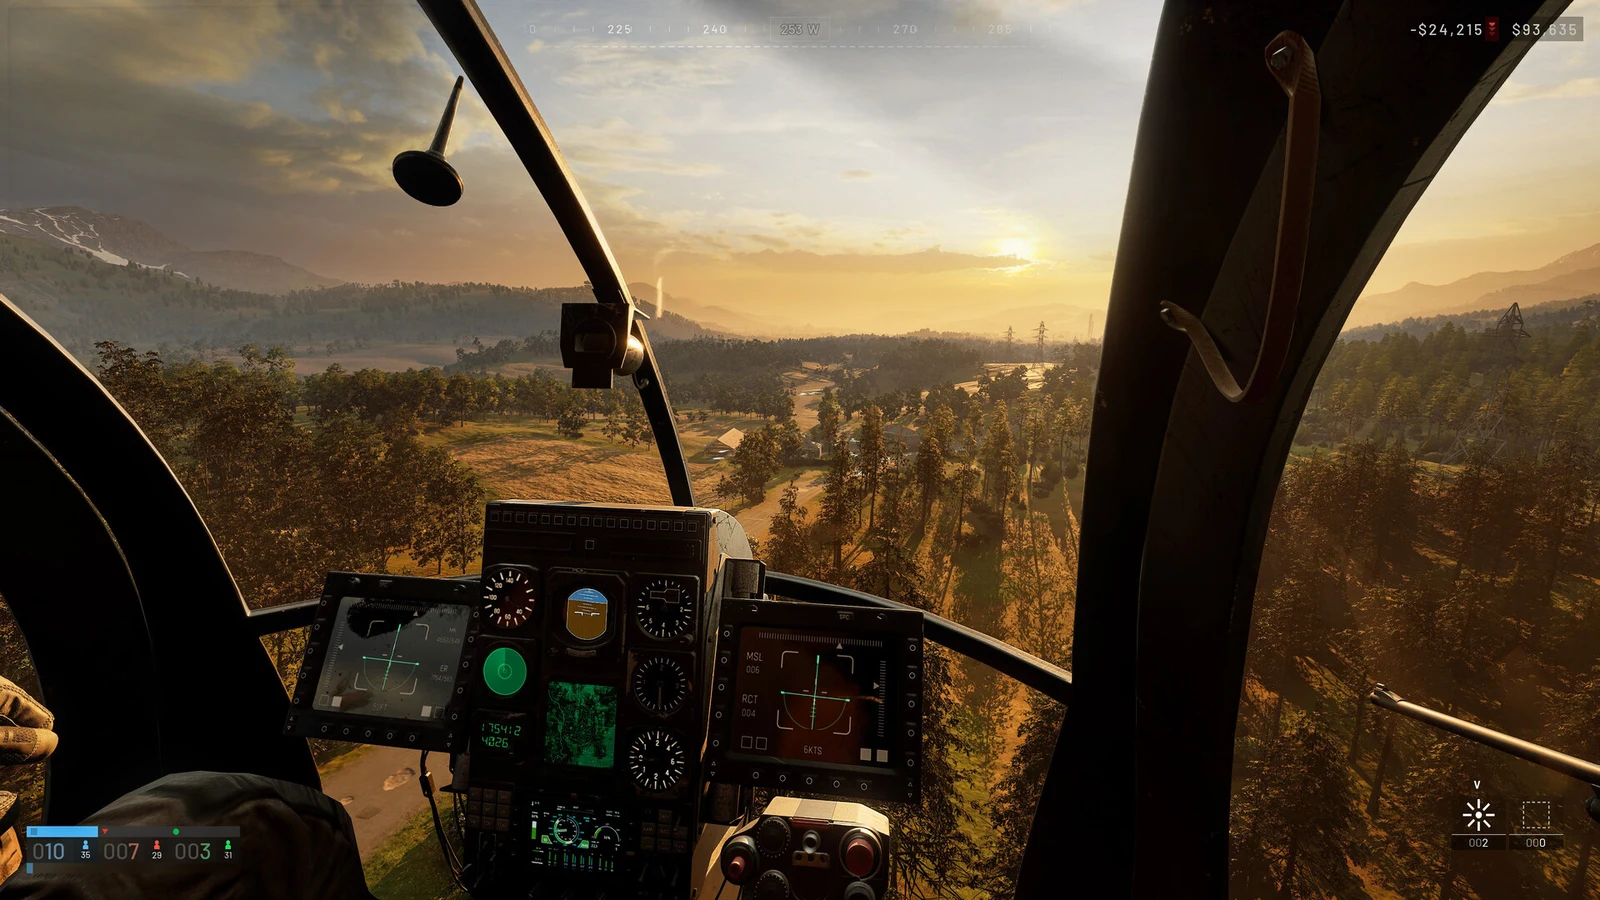
Reading the helicopter HUD and attitude indicator
The flight HUD sits at the bottom center of the screen. You do not need to stare at it, but it is the fastest way to tell whether you are actually level when you are lining up a landing.
| Element | What it shows |
|---|---|
| Central vertical bar | Collective input, neutral at the middle |
| Side bars | Roll or bank angle |
| Outer arrows | Pitch attitude, nose high or low |
| SPD | Airspeed in km/h |
| ALT AGL | Height above the terrain |
| ALT ASL | Height above sea level |
The dashboard gauges mirror the same information against the real horizon. On the artificial horizon, the blue half is sky and the brown half is ground, and what it shows lines up with what you see out of the cockpit — useful when the view outside is all trees or all dust.
Turning without losing altitude
Banking into a turn tilts the rotor disc away from vertical, so the helicopter sinks unless you add collective through the turn. Get into the habit of feeding in lift the moment you roll, and back out of it as you level off.
There are three levels of turn, in increasing order of rate. Roll alone gives the gentlest change of heading. Roll combined with pulling back on pitch tightens it considerably. Roll plus pitch plus yaw on the rudder gives the fastest rotation the aircraft can manage — and also the largest altitude loss, so it demands the most collective.
Two Firing Range drills
Drill 1: Establish a steady hover, pitch forward and travel down a road, then bring the aircraft back to a controlled hover stop. Repeat until the stop lands where you intended rather than ten metres past it.
Drill 2: Pick two points, such as a rooftop and a ground landmark, and fly between them quickly at a constant altitude. Establish a hover at each end without overshooting. This is the drill that builds the collective-and-pitch coordination you need for a real insertion.
Common beginner mistakes
- Overcorrecting with large stick inputs instead of small ones
- Holding the stick off-center too long, so the rotation never stops where you wanted
- Forgetting collective during turns and during stops
- Chasing perfectly level flight rather than simply staying in control
- Attempting complex maneuvers such as J-hooks before the fundamentals are solid
Known HOTAS problems
Stick support is real, and it is rough in specific, repeatable ways. Plan around these rather than assuming your hardware is broken.
| Problem | What to expect |
|---|---|
| Bindings do not persist | Remap the full set each session |
| Axis sticks after remapping | A constant input; re-enter the vehicle or redo the bind |
| Freelook is slow | Hat panning is far slower than mouse, with no sensitivity slider |
| Freelook on an axis | Virtual-joystick setups can pan the camera instead of flying |
| Map is awkward | Navigating and zooming on buttons is clumsy |
| Lakota flight assists | Reported as not applying with a stick, making landings harder |
| Input delay | Input delay unaffected by deadzone and sensitivity adjustments |
The game’s own settings do not handle head tracking. Pilots leave vehicle freelook enabled and use TrackIR, Beam Eye Tracker or OpenTrack.
Use small deadzones, keep pitch and roll sensitivity around 1.00, and adjust the center curve through the stick’s software instead of the game. Calibrate collective travel against the gauge. Finally, practice in the Firing Range until one principle becomes instinctive: the stick commands rotation rate, and turning ends only when you return it to center.