

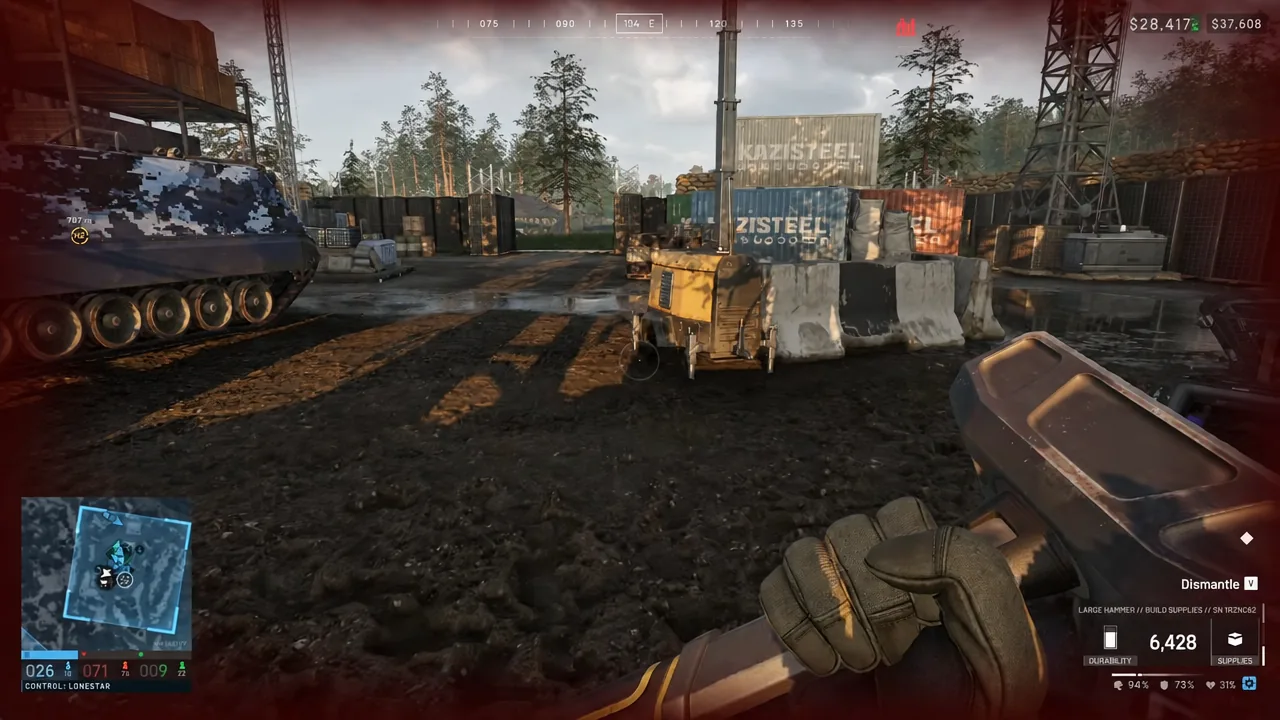
The Recon Tower is one of the more useful structures in WARDOGS. It hands you elevation wherever you want it, works as a sniper perch or a mount point for heavier gear, and takes a serious amount of punishment before it comes down. It is also one of the buildables people get stuck on, because the buildables wheel will not show it at all unless you are holding the right tool.
Quick answer: Equip a Large Hammer, right-click to open the buildables wheel, press F until you reach Recon Tower, place the blueprint, then hold left-click and strike the yellow X marks until it reads BUILDING COMPLETE.
Recon Tower requirements and stats in WARDOGS
The tower is a Support-role structure, so putting one up pays Support XP rather than Recon XP. It is a larger buildable, which means it needs a Forward Operating Base nearby to act as the build radius and the resource pool.
| Property | Value |
|---|---|
| Class | Structure |
| Durability | 5000 HP |
| Footprint | 6×6×7.6 m |
| Grid size | 1×1 |
| Build cost | 163 supplies |
Before you place anything, make sure you have all three of these:
- A Large Hammer equipped. Smaller hammers will not bring up the tower blueprint.
- A Forward Operating Base, priced at $7,500 and weighing 6.5 kg, deployed within range of your build site.
- Enough supplies stocked in that FOB to cover the full 163.
The FOB is the piece people skip. It is what unlocks larger structures, it stores items and resources for anyone on your team to pull from, and it draws the radius inside which building is allowed at all.
How to get a Large Hammer
There are three ways to end up with one, and only the first is reliable.
Buy it at Support Level 8
Once you hit Support Level 8, the Large Hammer becomes available in the item shop and you can simply buy one before you deploy. This is the version of the answer you want long term, because it means you never have to gamble on finding a tool mid-match.
Pull one out of an FOB
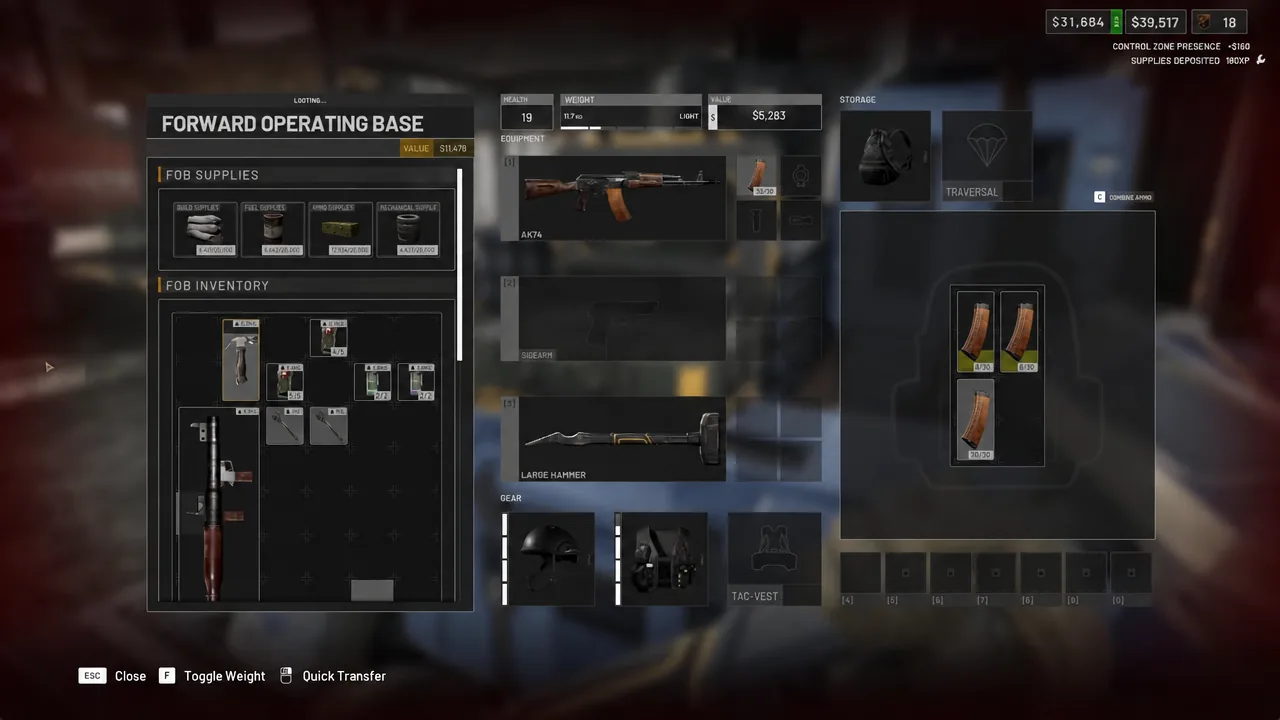
Walk up to a friendly Forward Operating Base and open its inventory. Teammates frequently leave spare tools in storage, and a Large Hammer sitting in an FOB can be taken straight into your own loadout alongside your weapon and magazines.
Take one from a helicopter supply drop
Supply drops delivered by helicopter can contain hammers too. Open the Small Armored Crate and check the tool slots. You will often see a Medium Hammer offered alongside the Large one, sometimes still gated behind an unlock cost, so read the entry before you grab it.
Load supplies into the FOB first
Your hammer does not carry supplies. It draws from the pool inside the FOB, so a tower stalls halfway up if the base runs dry. Bring supply pallets to the site, stand next to the FOB, and use the on-screen prompt to unload them into it before you commit to a blueprint.
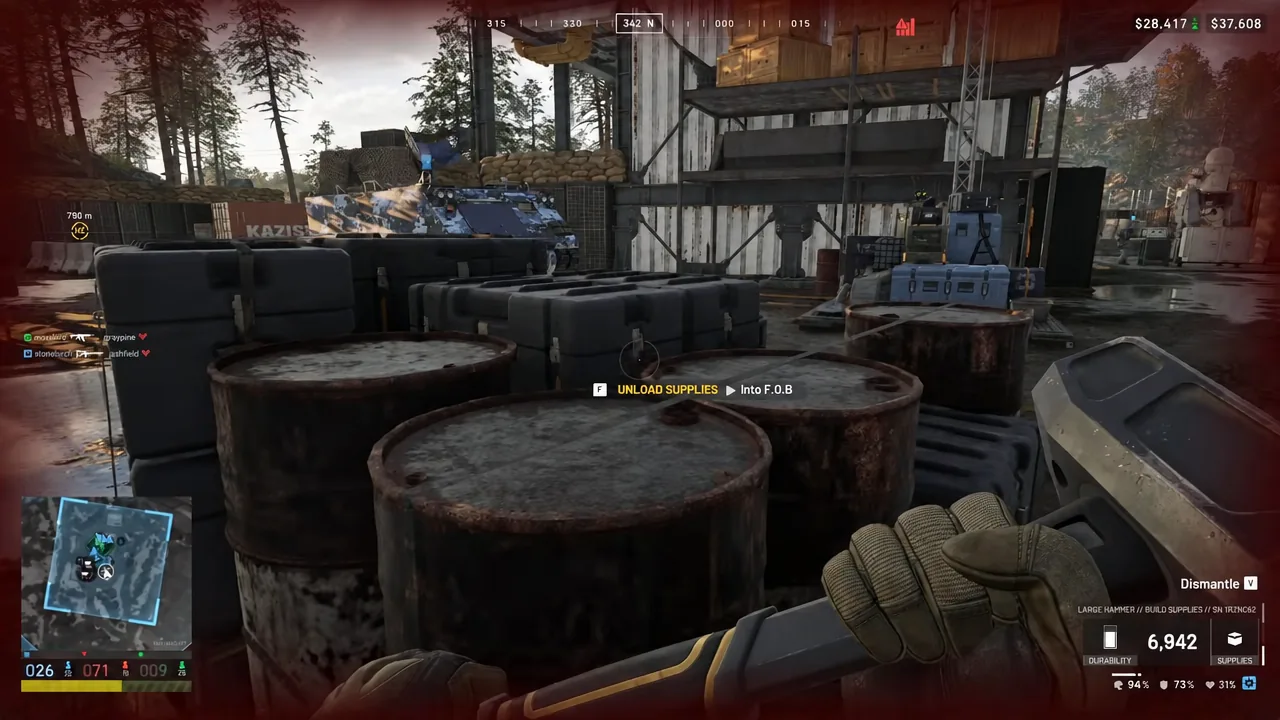
A personal backpack will not hold enough to finish a tower on its own. If you are building solo, haul pallets in a vehicle and dump them into the base before you start hammering.
Place the Recon Tower blueprint
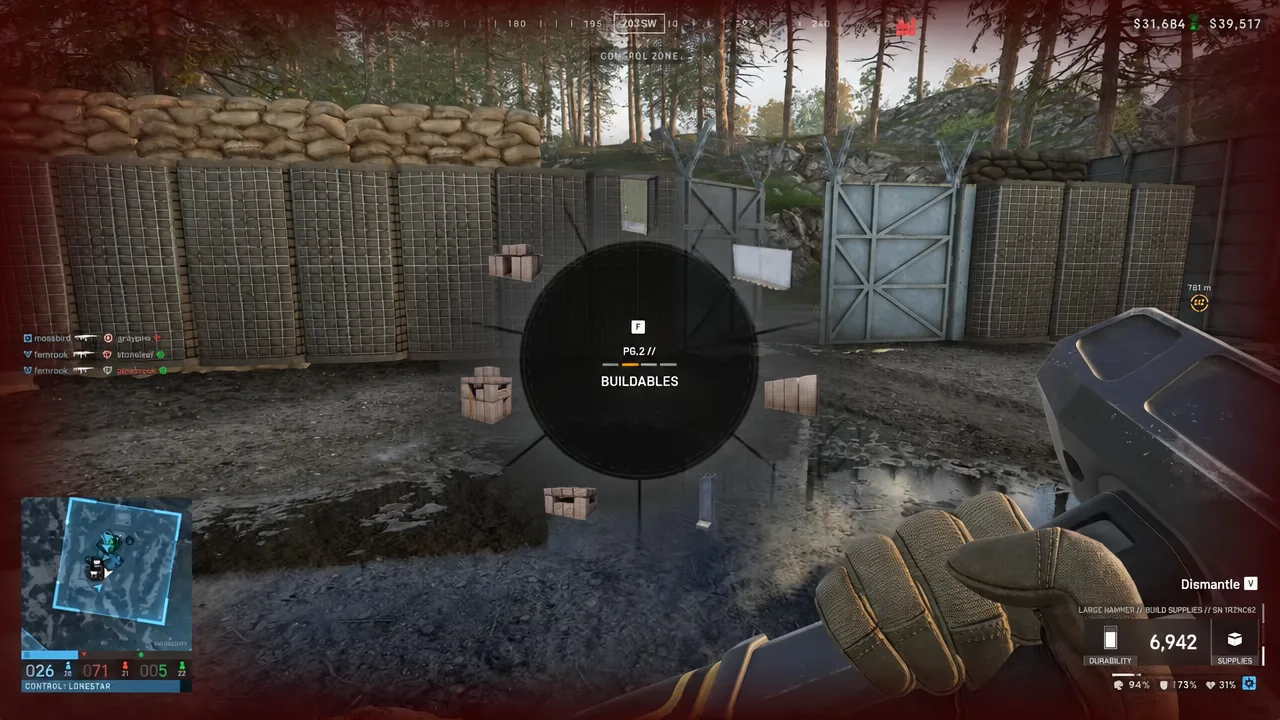
Build it fast by hitting the yellow X marks
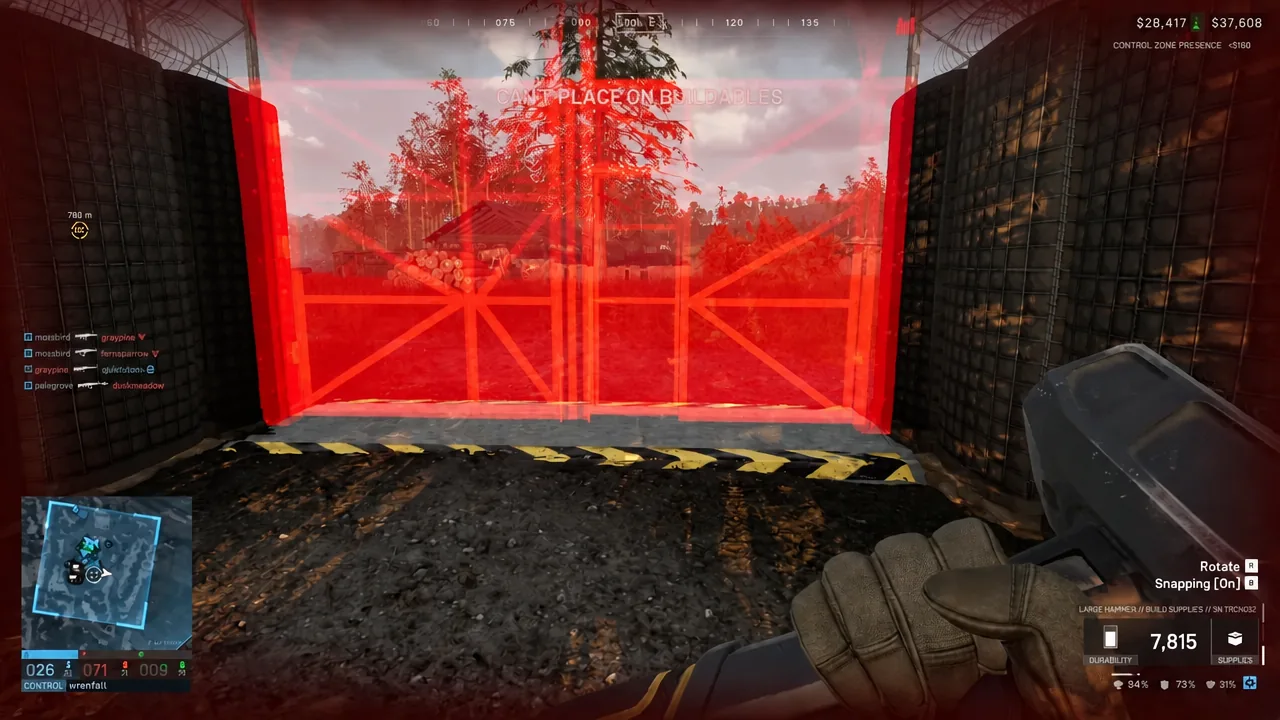
If a placement preview turns red, the surface under it is not finished. Complete the layer beneath before trying to attach anything on top.
Repairing and dismantling the tower
The same hammer handles the rest of the structure’s life. Point it at a damaged tower to repair it, or look at a piece you no longer want and use the Dismantle prompt to take it back down. That is worth knowing if you place a tower badly, since moving it means removing it first.
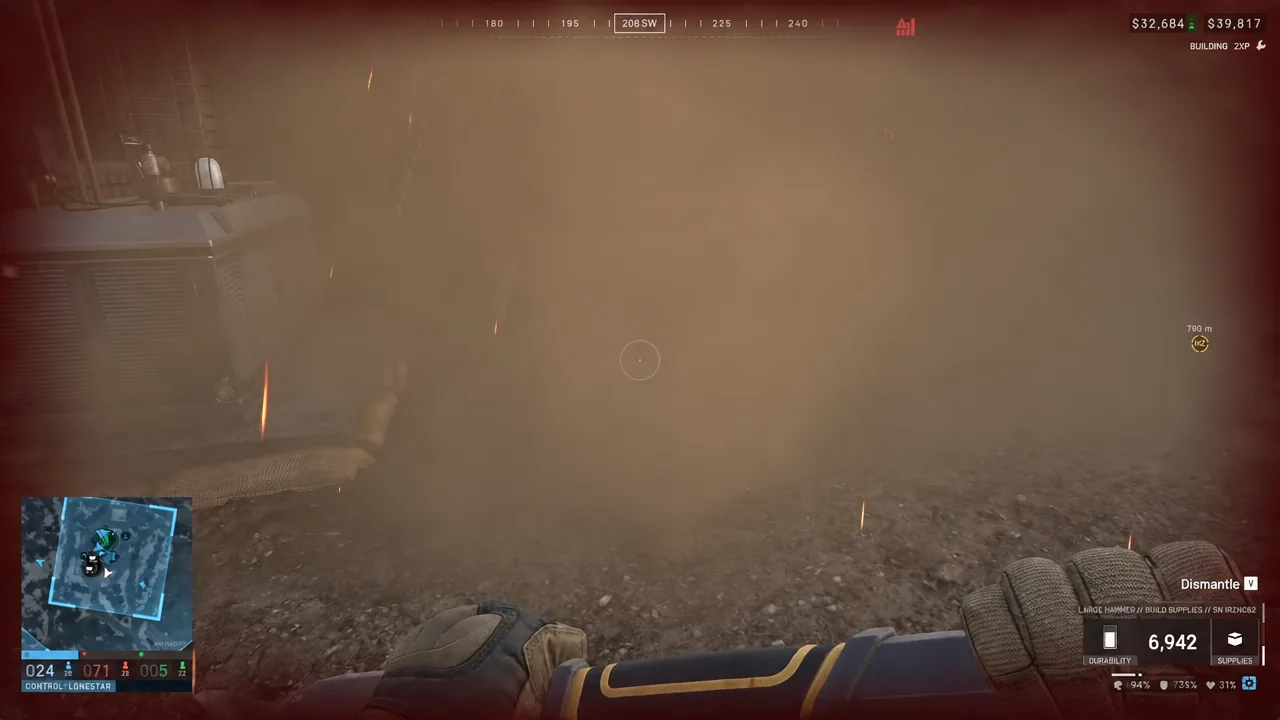
Once it is up, the tower is a platform rather than a finished position. Ringing it with walls stops enemies reaching the ladder, and the top deck is flat enough to mount heavier equipment such as a Talon 9K-SAM if you have the supplies to spare. On its own, though, it does the one job you built it for: it puts you above everyone else, which is exactly where a spotter or a sniper wants to be.





