A solo anti-air position in WARDOGS is one of the few builds that pays for itself. One player with a Large Hammer, a Forward Operating Base and a truck full of supplies can put a Talon 9K-SAM over a contested flight path, drop a mortar pit underneath it, and keep firing for the rest of the match without ever needing a squad.
Quick answer: Buy a Forward Operating Base ($7,500), haul it plus two Ammo Supply Pallets in a Ural, then build a Mortar and a Talon 9K-SAM inside Large Hesco walls using the Large Hammer.
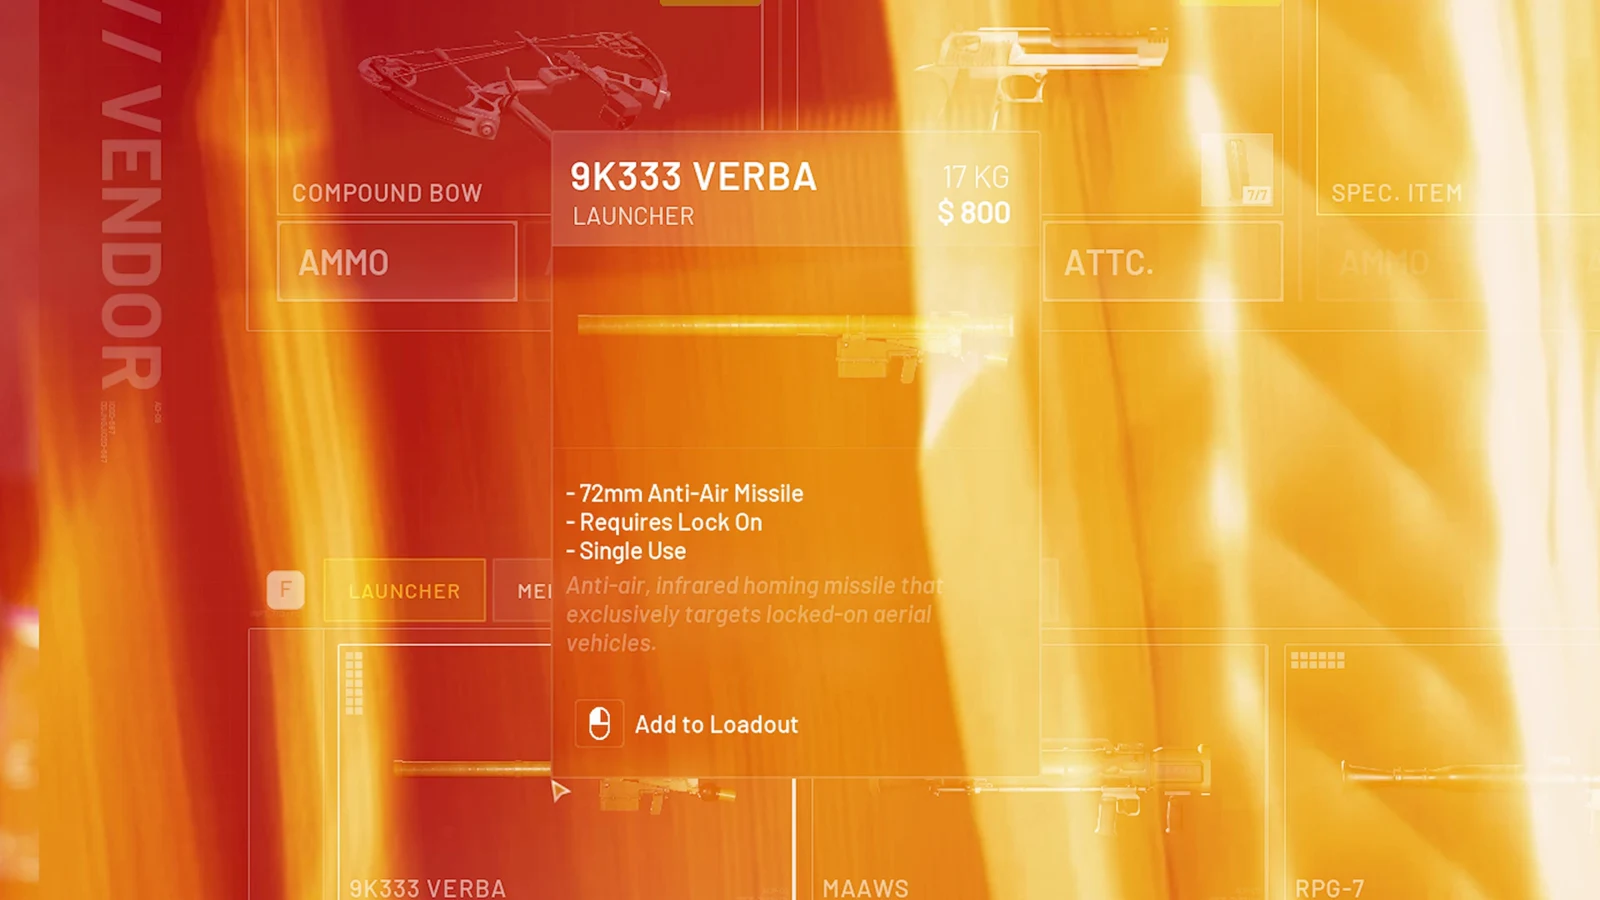
Unlocks and loadout you need before you build
The whole position hinges on one tool. The Large Hammer unlocks at Support level 8, and without it you cannot build Large Hesco Blocks or the mortar itself. Support levels come fast from construction work and from killing high-value targets, so build walls and sandbags whenever you are near a friendly FOB.
Everything else is a shopping trip at the Equipment Vendor. Check your backpack size before you pay for the FOB kit, because it weighs 6.5 kg and a small pack will not take it.
| Item | Price | What it does |
|---|---|---|
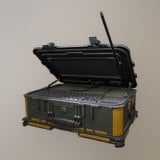 Forward Operating Base Forward Operating Base | $7,500 | Build radius, supply storage |
| Ammo Supply Pallet | $400 | Bulk shells for the pit |
| Build Supplies | $10 | Required for every buildable |
| Ammo Supplies | $10 | Reloads buildable weapons |
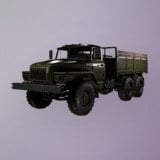 Ural Ural | $5,000 | Hauls the kit and pallets |
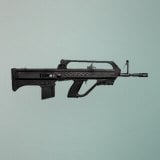 KH-2002 KH-2002 | $0 | Free self-defence rifle |
The FOB kit arrives loaded with roughly 1,250 building supplies, which is enough to get the first walls and the mortar up. Ammo Supplies only work inside a FOB radius, so there is no point buying them for a position you have not sited yet.
For personal defence, grab the KH-2002. It costs nothing, fires 5.56x45mm at 700 rounds per minute in semi or burst, weighs 3.17 kg, and cannot take attachments. That is fine for a builder who mostly needs to stop one attacker reaching the pit.
Hauling the kit: Ural truck or helicopter
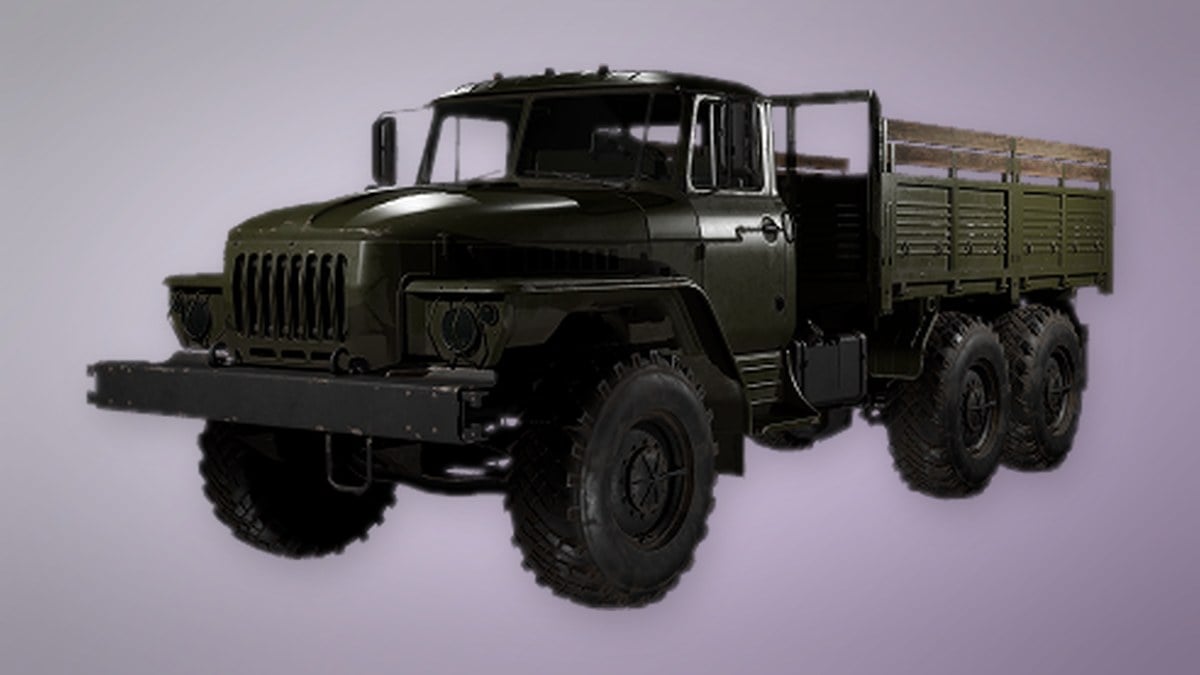
The Ural is the workhorse for this build. It is a Transport-class vehicle with three seats, an 85-litre tank, a top speed of 79 km/h and a thirst of 4 litres per kilometre. It costs $5,000 per purchase from the vehicle vendor in your faction’s safe zone, on top of a one-time unlock fee of $35,000 at Driver level 3. It never spawns in the world, so you always drive it out from home.
If you are going to a rooftop instead of ground level, a light helicopter such as the MH-6 is faster and lets you resupply mid-match. Load your Build Supplies and Ammo Supplies into the aircraft’s inventory first, then buy the FOB and spare ammo on a second trip to the vendor before you climb into the pilot seat.
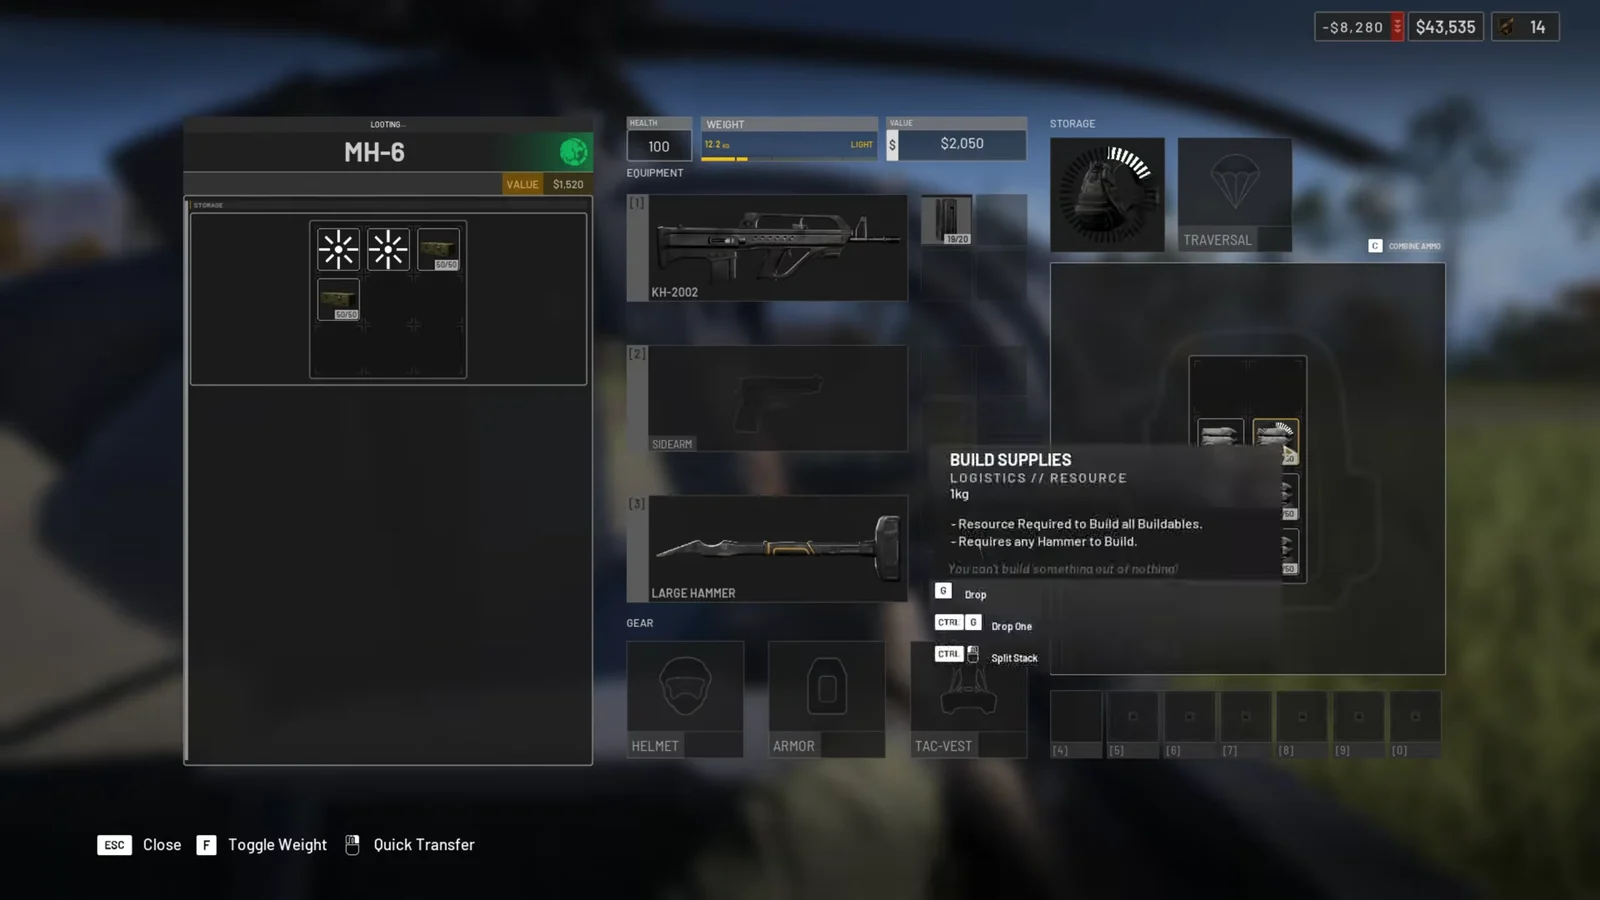
On the flight in, watch for enemy SAM locks and pop flares with V. Deploy them late, once the lock has finished, not the moment the warning starts. After you land, hop into the pilot seat and out again every two to three minutes while you build, or the helicopter will despawn and strand you.
Ammo Supply Pallets break on high-speed impacts, with a free fall of around 90m as the limit. Set them down at the FOB rather than dumping them out of a moving vehicle or a hovering aircraft.
Siting the FOB and walling the perimeter
Pick ground that overlooks enemy FOBs, towers, helicopter approach lanes or the Hot Zone, but keep natural cover between you and the nearest windows or high ground. The back of a building or the reverse slope of a hill hides the FOB long enough to get the guns working. Open roads and known sniper lanes are the worst possible choice.
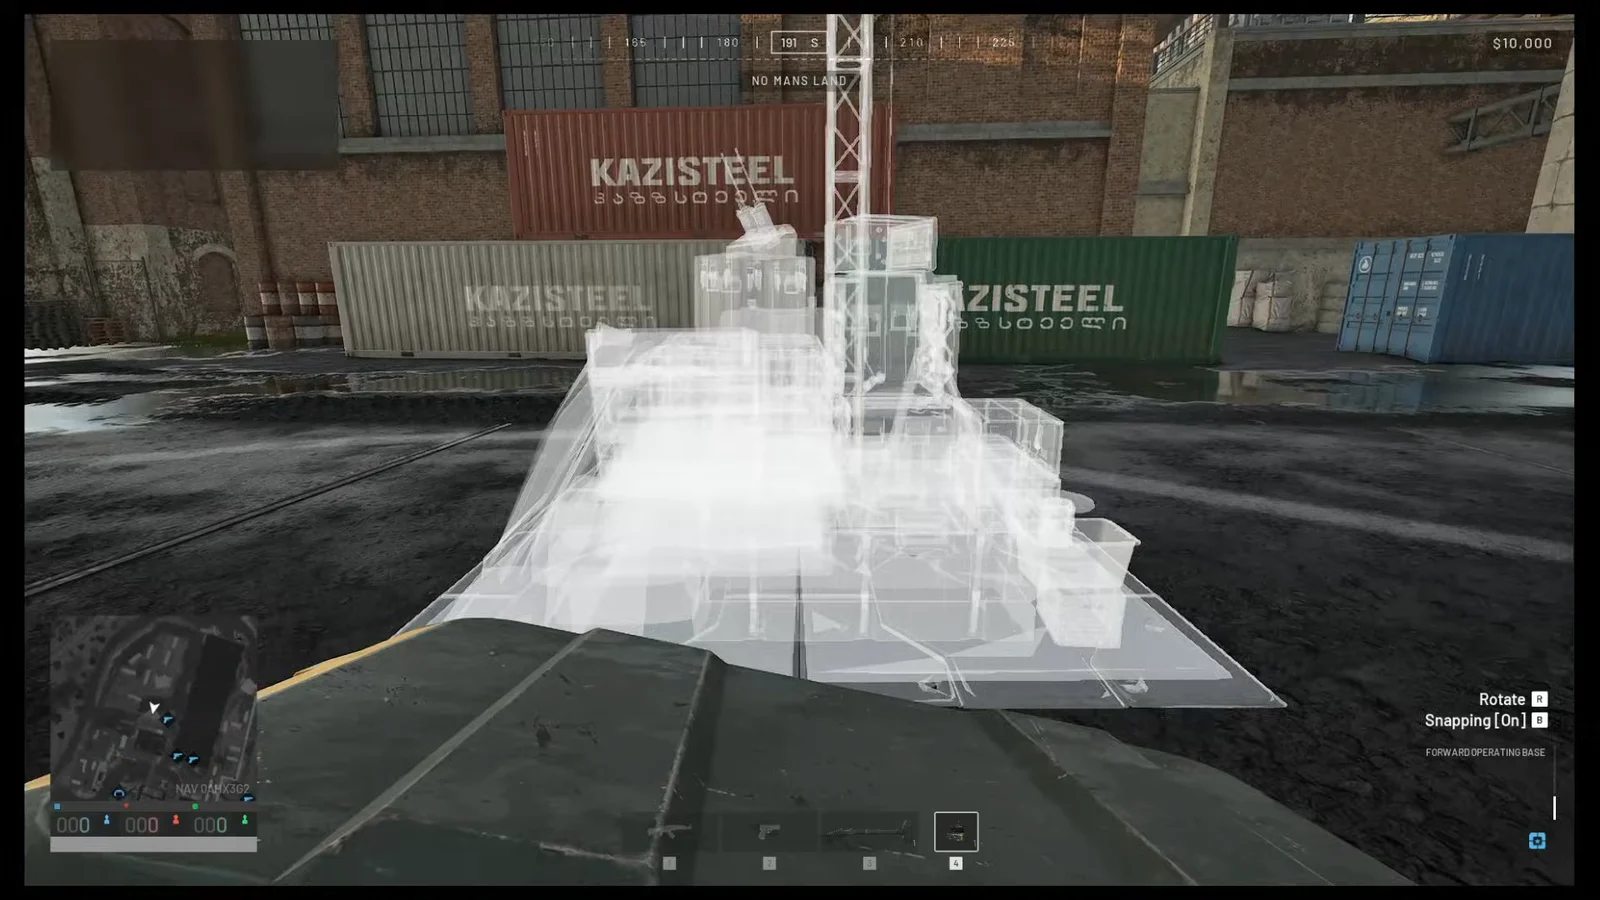
Building on a roof changes one thing. Before anything else, wall the stairwell doorway with stacked Hesco so nobody can walk up behind you. One set of blocks is usually enough, two if the building is busy. Just remember that sealing the stairs means your aircraft is the only way down.
A Sandbag Wall pays whoever destroys it $100, so every low-value barrier you scatter around is a small bounty for the enemy.
Building the mortar pit
You know the emplacement is finished when the planks are gone and the mortar is sitting in its sandbagged pit, ready to mount.
Aiming and firing the mortar
The mortar UI puts Range on the left panel, Mil elevation on the right and a compass along the top. Higher Mil means a steeper arc and a shorter flight, W/A/S/D traverse the tube, and the mouse wheel zooms for fine adjustment. Maximum reach is 700 metres.
You can skip the maths and simply lob a round, check the map for the impact point and walk the range in, but that burns shells fast. Either way, watch where each round lands and adjust rather than shelling the same square repeatedly, which wastes ammunition and advertises your position. Three rounds can go out in sequence, and C cancels the shell follow-camera so you can get back to loading.
Mounting the Talon 9K-SAM above the pit
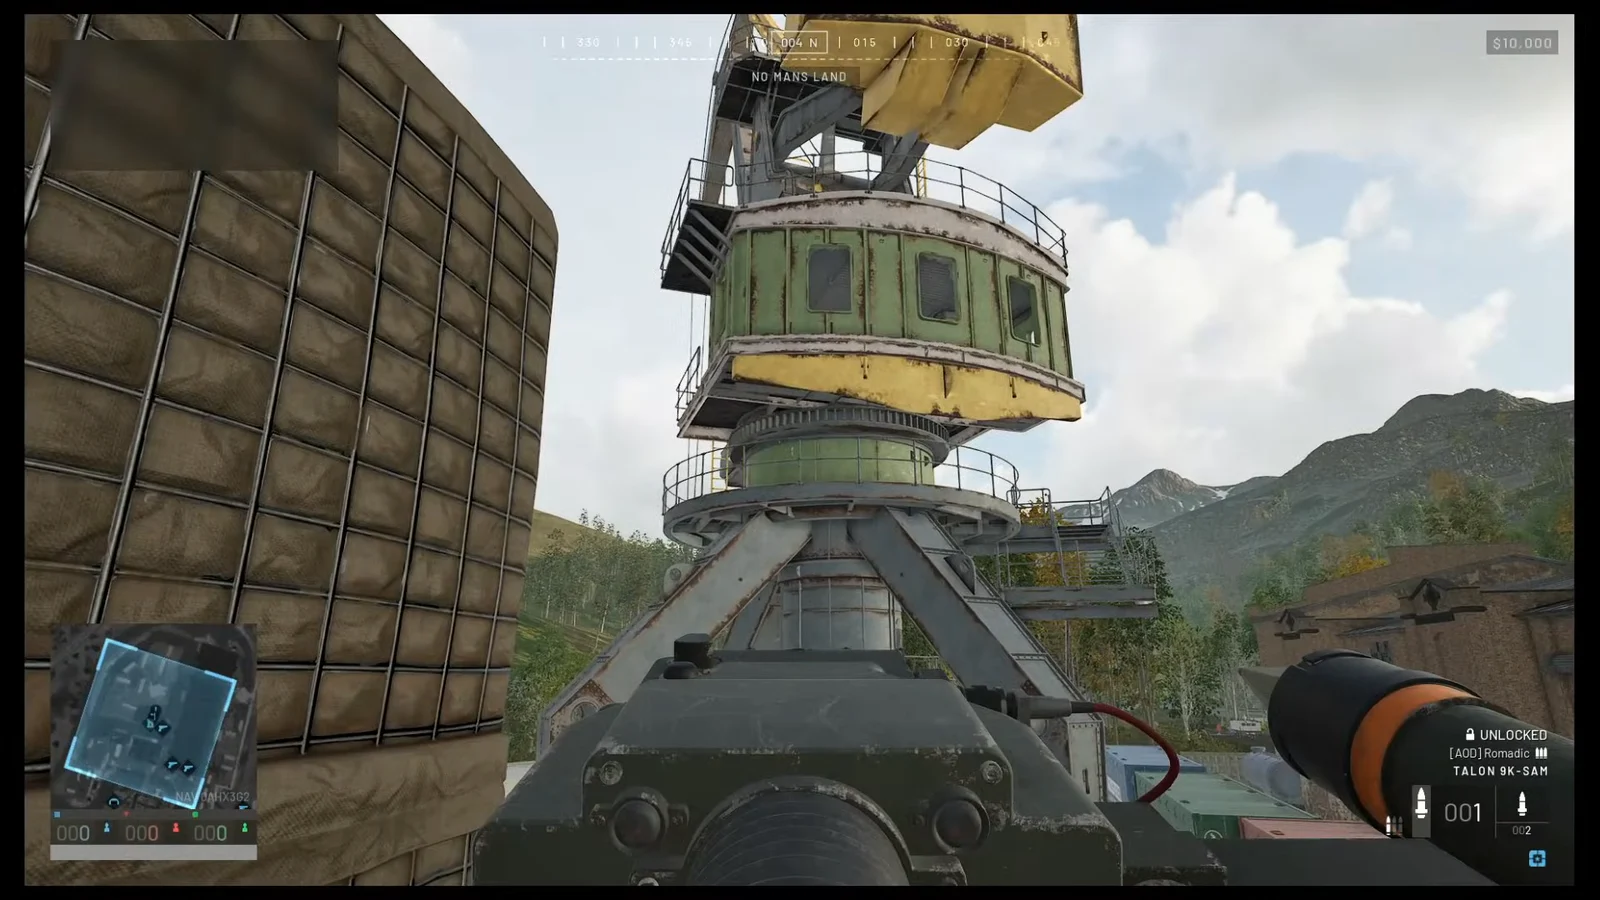
Locking on and firing the Talon 9K-SAM
Mount the turret, then right-click to aim down the optic and scan the airspace. Put the reticle on an aircraft and hold it there. The targeting box starts red and turns green when the lock completes, which is your cue to left-click and fire. That colour change is the only confirmation you need that the turret is working.
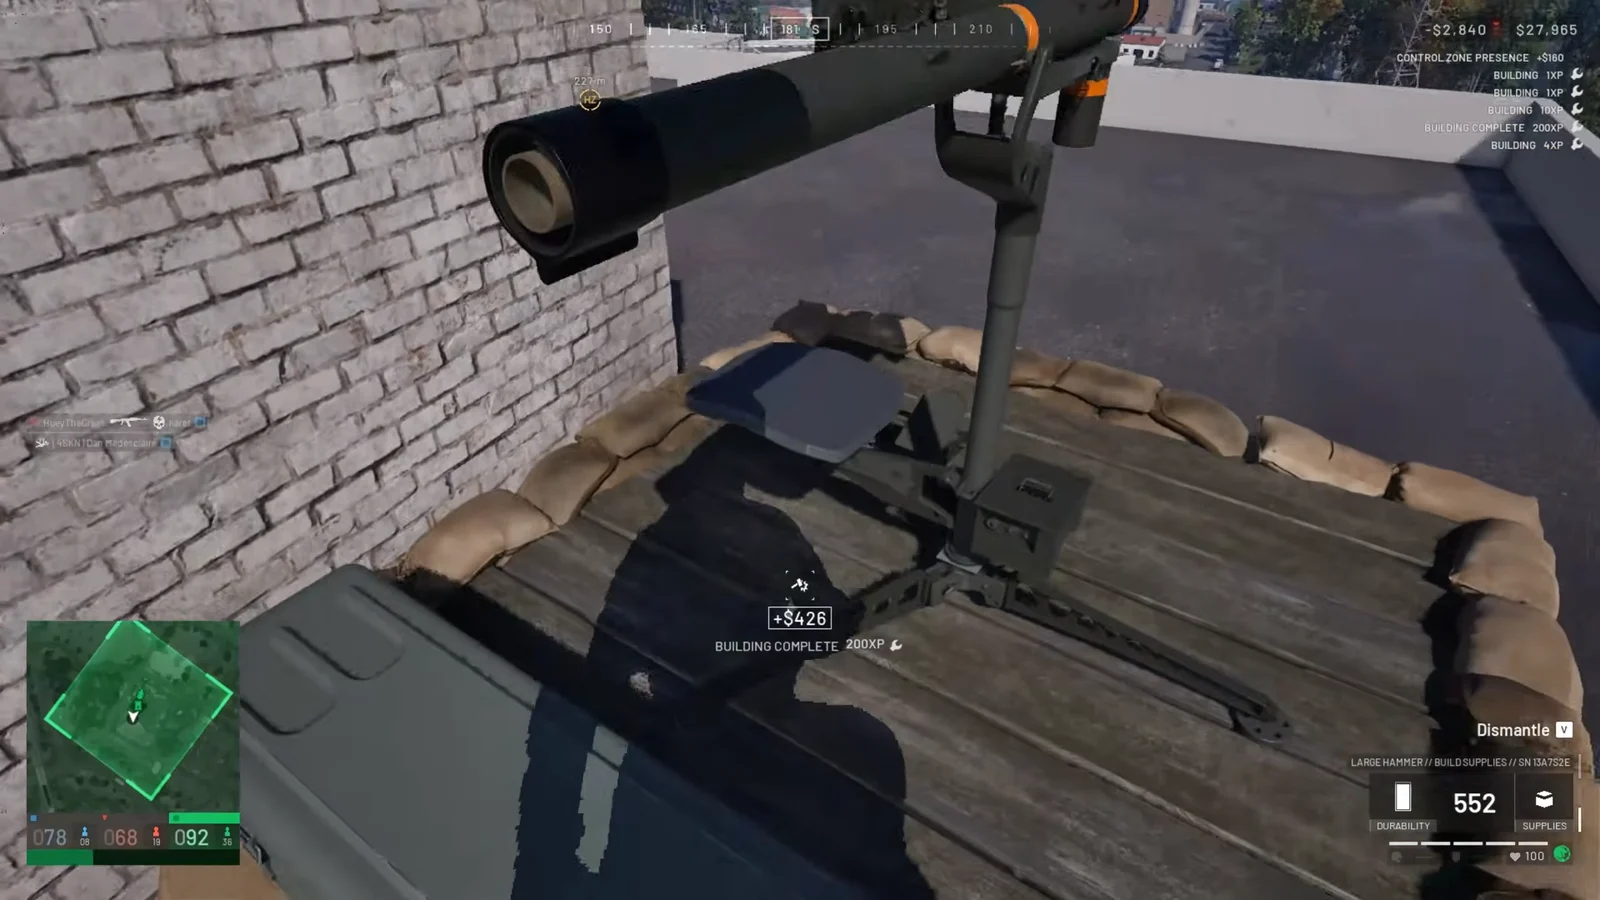
If the launcher refuses to lock onto aircraft coming from a particular direction, the structure around it is in the way. Shift the turret slightly forward on the platform and the number of viable targets goes up noticeably.
Overhead cover using the Indirect Fire Shelter
An open pit is vulnerable to enemy mortars dropping rounds straight in. The Indirect Fire Shelter fixes that. Build one, then hammer away the exterior walls you do not want, leaving a wide outward firing arc with the roof and sides intact. A Talon 9K-SAM slotted inside gets protection from above without losing its view of the sky.
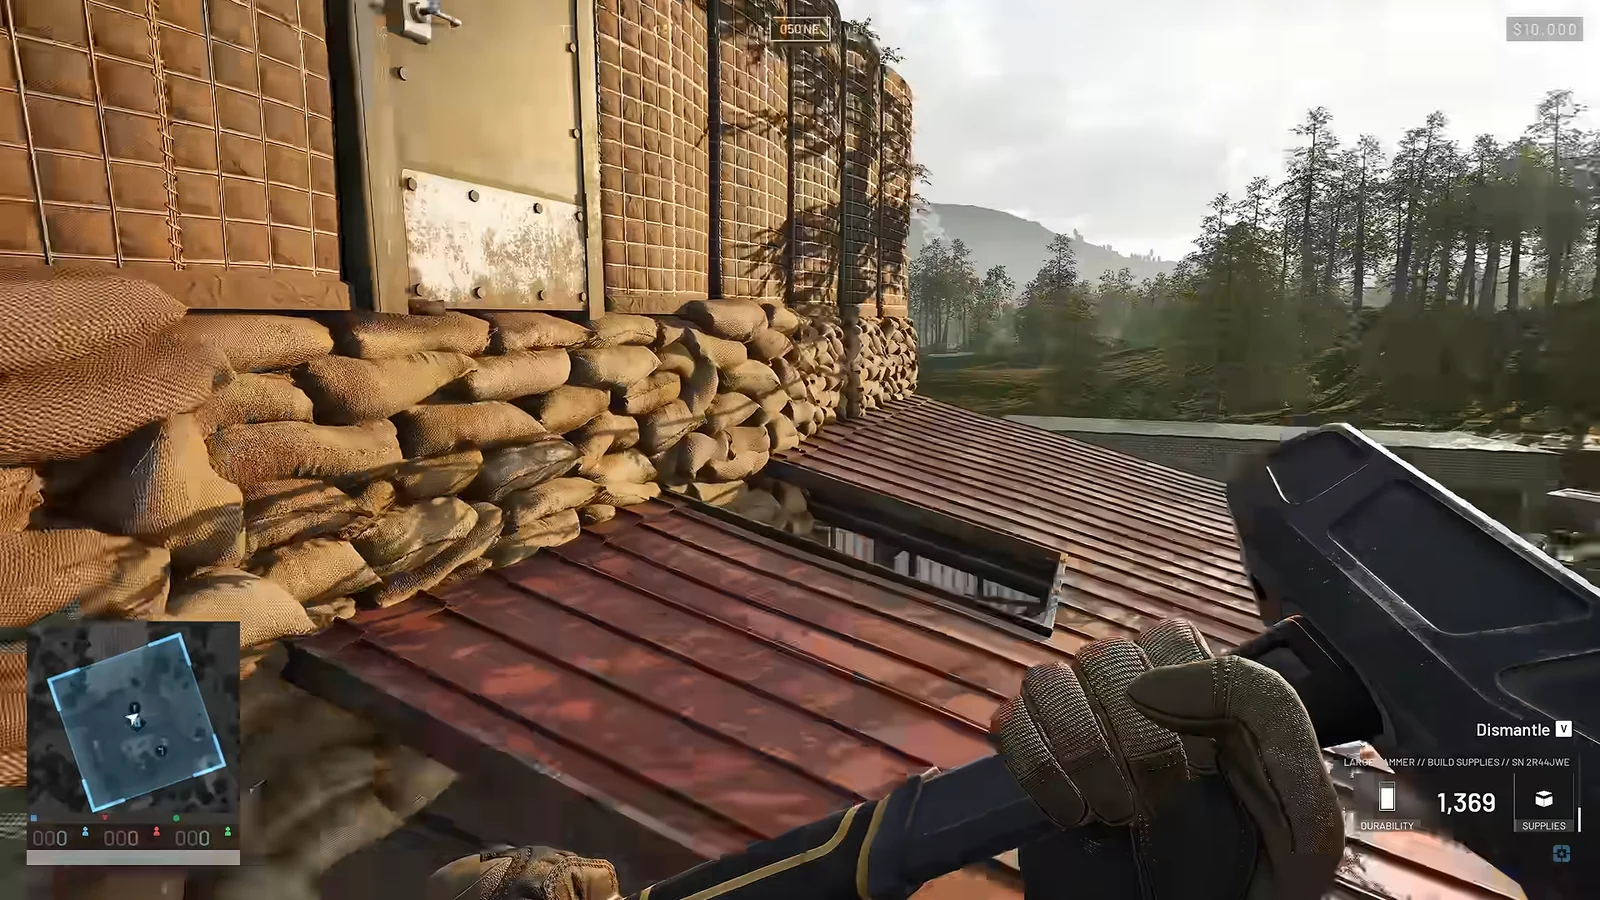
The same trick works for the mortar. Place a Recon Tower, hammer out the Large Hesco Blocks in a corner section, and embed the mortar into the gap for overhead cover. Removing part of the floor extends the firing arc further. Leave the window structures alone, though, since cutting those can compromise the build.
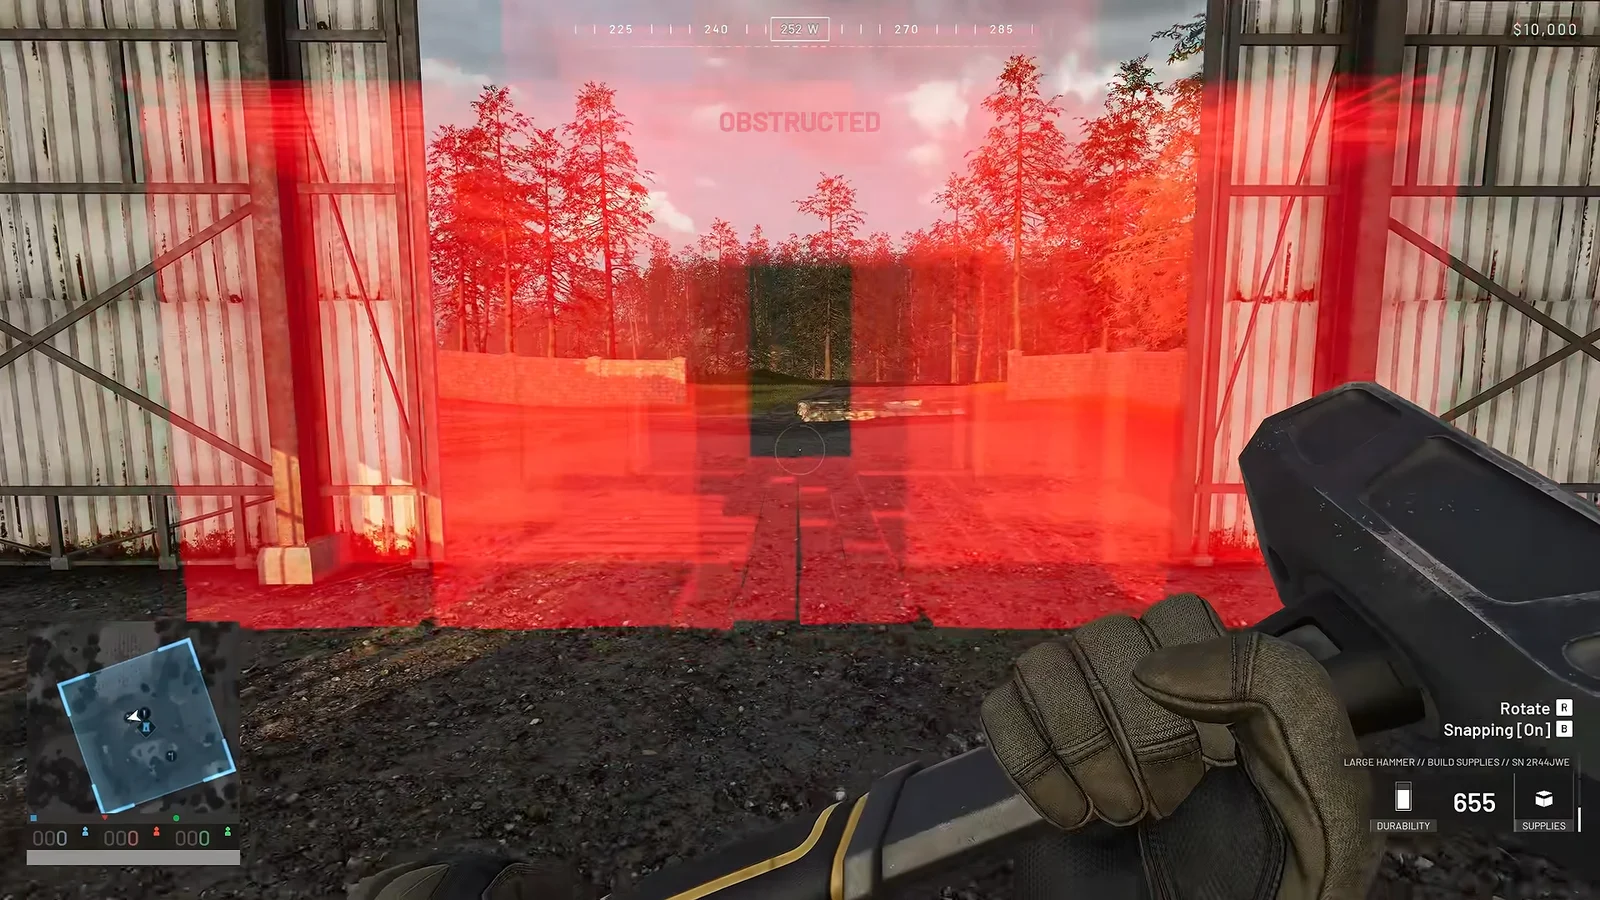
Blueprint snapping lets you chain shelters together with Hesco walls and small blocks into a larger compound, with internal Hesco blocks acting as stairs to an upper tier and mortars sitting on the roof deck behind sandbag parapets. Camouflage nets over the top help hide the whole thing.
Target priority and when to relocate
Once both guns are live, spend your shells where they hurt most. The mortar’s best targets, in rough order, are enemy mortars, Talon 9K-SAMs, armoured vehicles and enemy FOBs, since those remove spawn points, suppression and anti-air cover in one go. Helicopters, rooftop campers and tower positions are worth rounds after that. The SAM handles everything in the air.
- If enemy mortars start dropping counter-battery fire on you, move or leave. Digging in loses the gear and the FOB.
- If you run dry with nobody to resupply you, the position is finished. Switch to defence or head to the front line.
- If the fight turns against your team, shift fire onto the Hot Zone to stabilise it.
- Keep the free rifle on you at all times. A solo FOB that gets spotted is an easy target.
By the time the walls are up and the pallets are unloaded, most of the initial spend is already back in your pocket, and the guns are pure profit from there. The build only fails when it gets found, so treat concealment as part of the construction, not an afterthought.