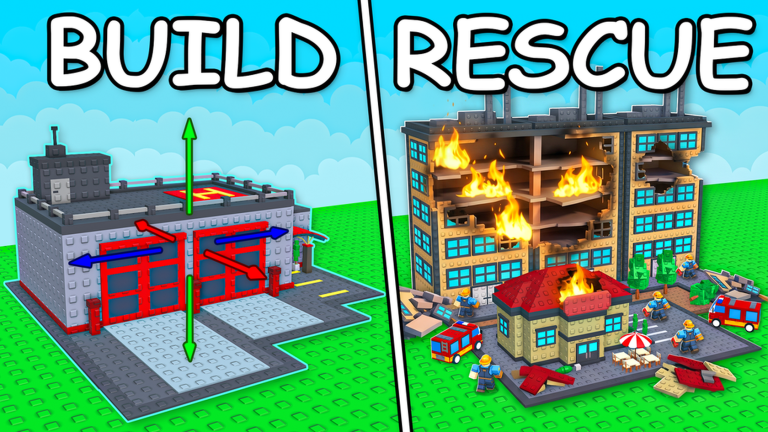
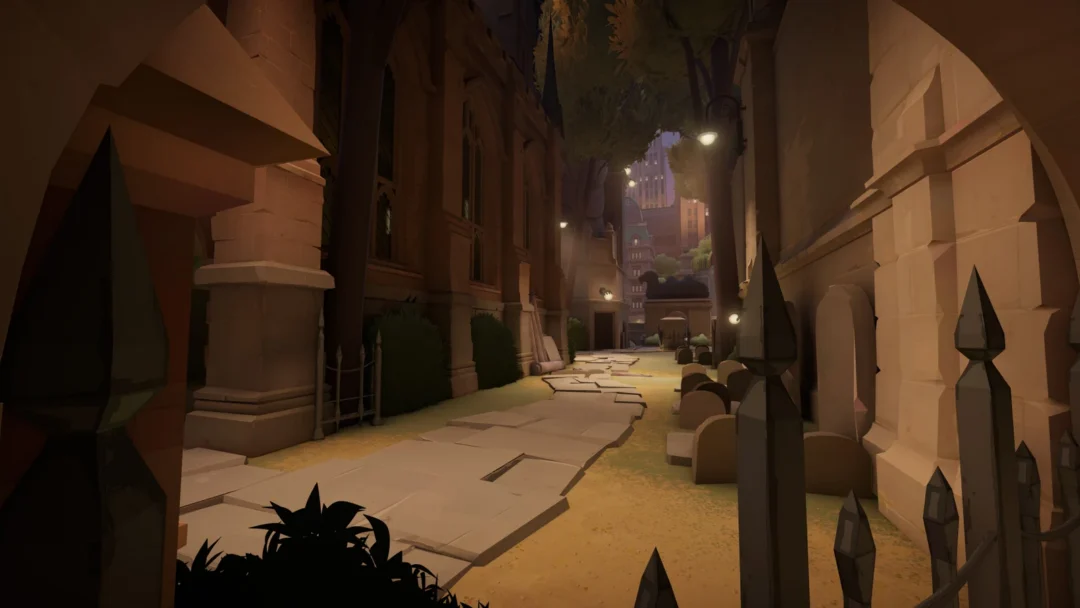
Building is the system that separates WARDOGS from every other 100-player shooter, and it is also the one most players skip past in the tutorial. Walls, mortars, repair stations, and the Drill Rig that drags the Hot Zone toward your team all run through the same short loop: hold a hammer, spend build supplies, hit the thing until it finishes.
Quick answer: Stand inside a friendly Forward Operating Base zone with a hammer equipped, hold right-click to open the radial build menu, pick a structure, place the blueprint on flat ground, then hold left-click on the blueprint and swing at the yellow X markers until construction completes.
Build requirements: hammer, supplies, and a FOB
Three things gate every construction in the game. You need a hammer in a gear slot, you need build supplies in range, and for most of the useful stuff you need to be standing inside the build zone that a Forward Operating Base projects around itself. That zone is marked on your map, and the game also shows a control zone presence readout on the HUD so you can confirm you are inside it before you waste anything.
Build supplies are bought from the Equipment Vendor at HQ under the building category, alongside ammo, fuel, and mechanical supplies. Your current stock sits in the bottom-right of the HUD and ticks down the moment a blueprint goes in — placing a couple of cheap items will visibly drop a stack of 1,001 to 998, then 994.
Hammer tiers, prices, and build speed
There are three hammers, and the one you carry decides which half of the build menu is even visible to you. Bigger hammers also swing faster, which matters a lot when a CIWS is half-finished and an enemy squad is pushing your gate.
| Hammer | Unlock | Builds | Speed | Beta price |
|---|---|---|---|---|
| Small Hammer | Available by default | Basic field defenses only | Slow | $100 |
| Medium Hammer | Support Level 3 | Basic and large buildables | Medium | $800 |
| Large Hammer | Support Level 7 | Everything in the game | Fast | $1,600 |
Note: building feeds Support class progression, so the hammers effectively pay for themselves. You do not need kills to climb that tree.
Where to get a FOB and what is inside it
A FOB kit costs roughly $2,500 from the vendor’s equipment tab. Equip it from your inventory, deploy it wherever you want the base, and it opens a construction area plus shared storage for build, ammo, fuel, and mechanical supplies. A fresh FOB ships with a Medium Hammer and a Small Hammer, two wrenches for vehicle repair, signal grenades for supply drops and landing zones, and bandages — so a teammate arriving empty-handed can pull a hammer straight out of the FOB inventory container and start working.
One thing to be clear about before you spend the cash: a FOB is a construction and logistics hub, not a respawn point. Respawning runs through deployment vehicles, which is why teams park a spawn vehicle behind the walls rather than treating the base itself as a spawn.
How to place and finish a structure


You know it worked when the holographic frame is replaced by the solid object and the build progress stops prompting you. Anything left half-built stays as a frame and can be finished by any teammate with a hammer of the right tier.
Why a blueprint will not place
Placement failures throw a specific message, and each one has a single cause. MUST PLACE ON GROUND means you are trying to put the object on something that is not terrain. CAN'T PLACE ON SURFACE means the spot itself is invalid — too steep, too cluttered, or on top of geometry the game rejects.
If a structure is missing from the menu entirely rather than refusing to place, the cause is one of three things: your hammer tier is too low for it, you are outside a friendly FOB zone, or the FOB does not have enough build supplies stored to cover the cost.
Stacking has its own limits. HESCO blocks make serviceable platforms and standard bunkers and anti-air turrets can be placed at height, but Recon Towers and Indirect Fire Shelters refuse to sit on top of them.
Build supplies cost for every structure
There are 22 buildables, and the spread is enormous. A Drill Rig costs more than 200 times what a piece of barbed wire does, so plan the fort before you start pouring HESCO.
Buildables that do not need a FOB
| Structure | Supplies | Purpose |
|---|---|---|
| Recon Tent | 5 | Hides Recon from infrared |
| Barbed Wire | 5 | Slows and damages infantry |
| Sandbags | 10 | Waist-high cover |
| Hedgehog | 14 | Blocks vehicle routes |
Structures that require a FOB
| Structure | Supplies | Purpose |
|---|---|---|
| HESCO Block (Small) | 10 | Bullet and grenade cover |
| Bremer Wall | 10 | Narrow tall wall, wire on top |
| Builder’s Radio | 13 | Plays music |
| HESCO Block (Large) | 14 | Taller bullet cover |
| Door | 14 | Infantry-only access point |
| HESCO Wall | 46 | Four blocks, cheaper in bulk |
| Gate | 52 | Vehicle access point |
| Bunker | 61 | Protection from fire |
| Recon Tower | 61 | Elevated firing position |
| Indirect Fire Shelter | 61 | Bunker with four doorways |
| Loudspeaker | 61 | Long-range voice comms |
| Mortar | 91 | Anti-infantry indirect fire |
| Stingray | 91 | Anti-armor, needs bought ammo |
| Refuel Station | 121 | Refuels vehicles from FOB fuel |
| Repair Station | 121 | Repairs using stored parts |
| Talon | 601 | Heat-seeking SAM launcher |
| CIWS | 901 | Manual anti-air gatling |
| Drill Rig | 1351 | Pulls the Hot Zone, burns fuel |
Tip: the HESCO Wall is four large blocks’ worth of protection for 46 supplies, which undercuts buying the same coverage one block at a time. Run walls with it and save the individual blocks for patching gaps.
Repairing and dismantling with the hammer
The hammer is not only a construction tool. Aim it at a finished structure and the interaction prompt switches to Dismantle, which is how you clear a badly placed wall, open a firing lane you got wrong, or tear down equipment that is in the way. The same tool handles repairs on damaged structures.


Keeping the FOB stocked
A FOB does not refill itself. Everything it holds — build supplies for construction, ammo for the CIWS and Talon, fuel for the Drill Rig and Refuel Station, mechanical parts for the Repair Station — has to be hauled in by someone.
Small amounts fit in vehicle cargo slots. For real logistics, buy a pallet from the Garage Vendor, sling it under a helicopter, drop it next to the base, and hold F to unload the supplies into the FOB. Air-dropping pallets means the pilot never has to land in a contested area.
Placement is the decision that makes or breaks all of this. Set the FOB slightly off the main fight, out of direct sightlines but still reachable by supply vehicles, with enough open ground around it to build walls, unload pallets, and get vehicles in and out. Wrap the FOB unit itself in HESCO and barbed wire, because an exposed core is an invitation for an enemy squad to walk in with explosives.
WARDOGS is in an Early Access window on PC through its Steam page, so prices, unlock levels, and structure costs are still moving targets between builds. The loop itself has stayed consistent, though: carry the hammer your structures need, keep supplies flowing to the base, and aim for the yellow Xs.