

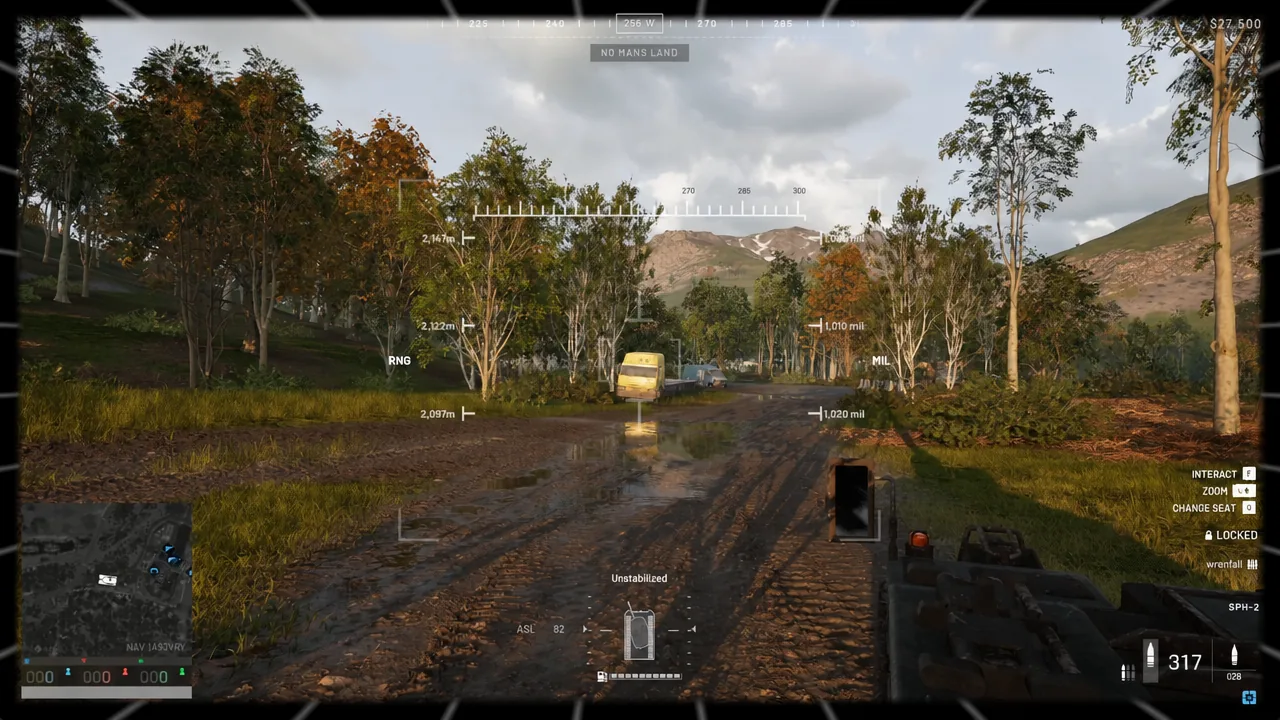
Indirect fire in WARDOGS is a maths problem before it is a shooting problem. The gun has no laser rangefinder and no lock-on, so the only way to put a 155mm shell on a roof two kilometres away is to work out the horizontal distance between your gun and the target, turn to the right bearing, and dial that distance into the sight. Get the number right and the first shell lands where the marker sits. Guess it, and you crater an empty field.
Quick answer: One map coordinate unit equals 100 m. Subtract the gun’s X/Y from the target’s, square each difference, add them, take the square root, and multiply by 100 for metres.
Reading the gunner sight: RNG and MIL
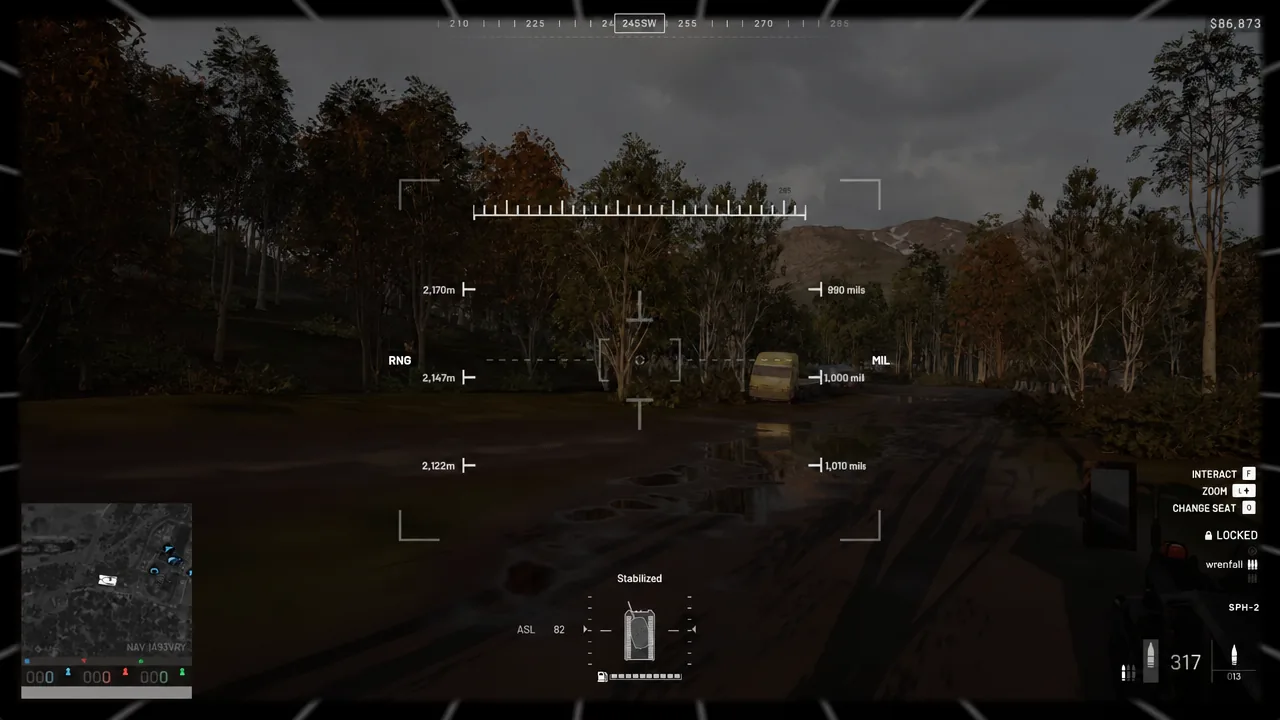
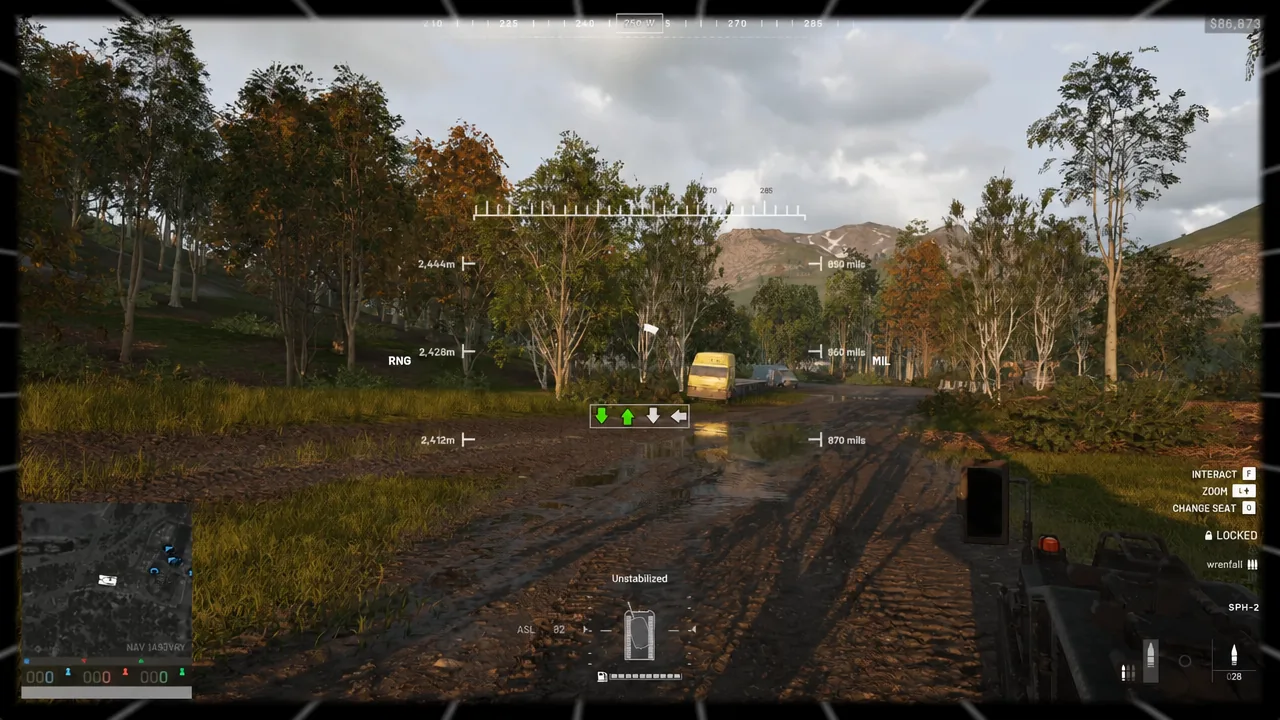
Drop into the gunner seat of an SPH-2 and the optic gives you two scales flanking the reticle. The left-hand column is marked RNG and reads in metres. The right-hand column is marked MIL and reads the barrel elevation on the gun’s own scale. They describe the same thing from two directions: as the barrel climbs, the mils go up and the range the gun covers changes with them.
The RNG scale is the one to dial, because it speaks the same language as your map measurement. On the SPH-2 the markings start at 750 m and run out past 2,630 m. The sight also prints its own altitude — the ASL figure — which is useful later when you start correcting for hills. A rough shorthand some gunners use on the SPH-2 is that roughly 1,000 mil of elevation puts a shell about a kilometre out, which is fine for a first ranging shell but no substitute for matching the RNG number to a measured distance.
SPH-2 and L81 mortar: reach, reload and arcs
Two platforms fire indirect, and the distance you measure means different things to each.
| Gun | Shell | Reload | Arcs |
|---|---|---|---|
| SPH-2 | 155mm HE | 27 s | Low and high |
| L81 Mortar | 81mm | 6.5 s | High only |
The SPH-2 is the long arm. It is a vehicle, not an emplacement, and it never appears on the map during a match — you buy one for $8,000 from the vehicle vendor inside your faction’s safe zone, after paying the one-time $500,000 unlock at Wardog level 90. A 155mm high-explosive shell weighs 42 kg, costs $120, and has a very large area of effect. Blow one up and the attacker collects $6,000.
The L81 is a buildable tube with a much shorter reach — community firing tables cover it from roughly 130 m out to about 685 m — but it reloads four times faster and drops its shell almost vertically, which is how you reach a target tucked behind a wall. Its 81mm ammunition runs $600 a shell, and you can stack up to three rounds in the tube before firing.
Both guns have a minimum range as well as a maximum. Nothing inside the SPH-2’s roughly 750 m dead circle can be hit no matter how the barrel is dialled, and the mortar has the same problem at close quarters. The answer is to move the gun, not to keep adjusting.
The fast method: count 100 m grid squares
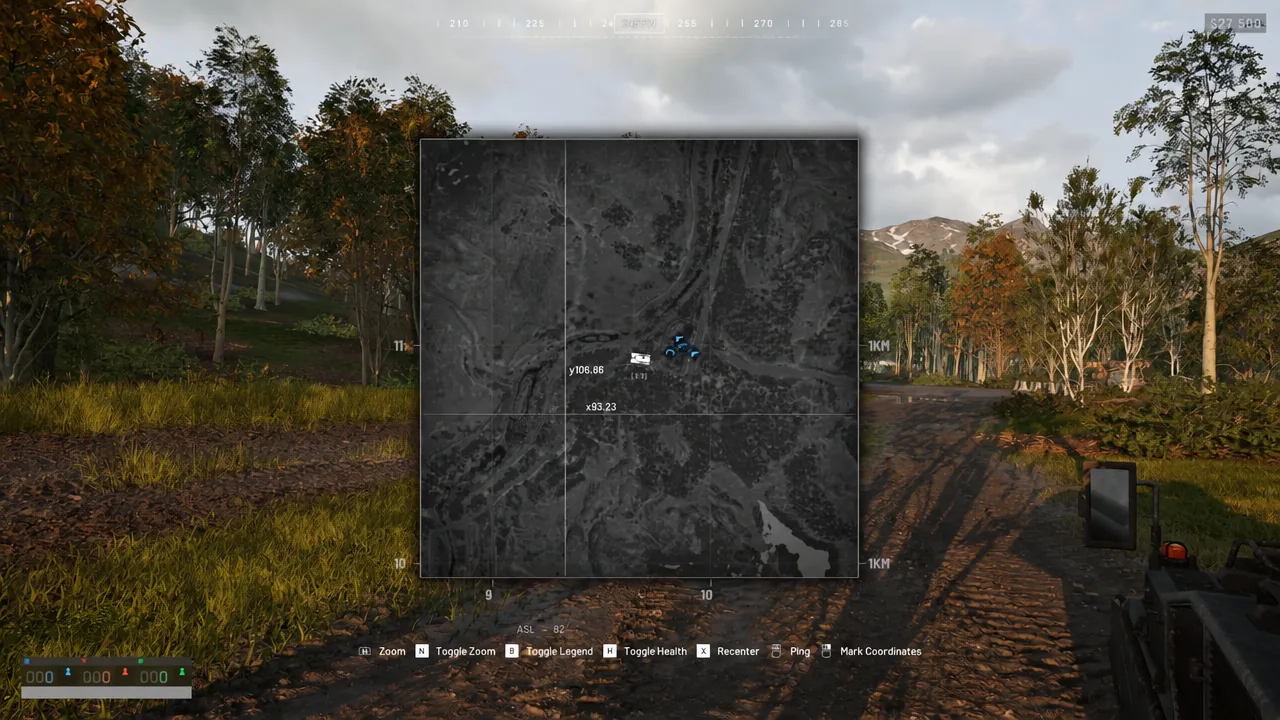
Open the tactical map and zoom in until the fine grid appears. Each small square is 100 m across, and it is labelled on the map itself. Count the squares between your gun and the target, multiply by 100, and you have a range good enough for a first shell — a target six squares out is roughly 600 m.
The catch is diagonals. A target that sits three squares east and four squares north is not three or four squares away, it is five. If you count only the bigger axis you will dial short every time, and the error grows the further you shoot. Grid counting works for the mortar at a few hundred metres and for walking a barrage onto a point you can already see. Past about a kilometre, do the arithmetic properly.
The exact method: distance from map coordinates
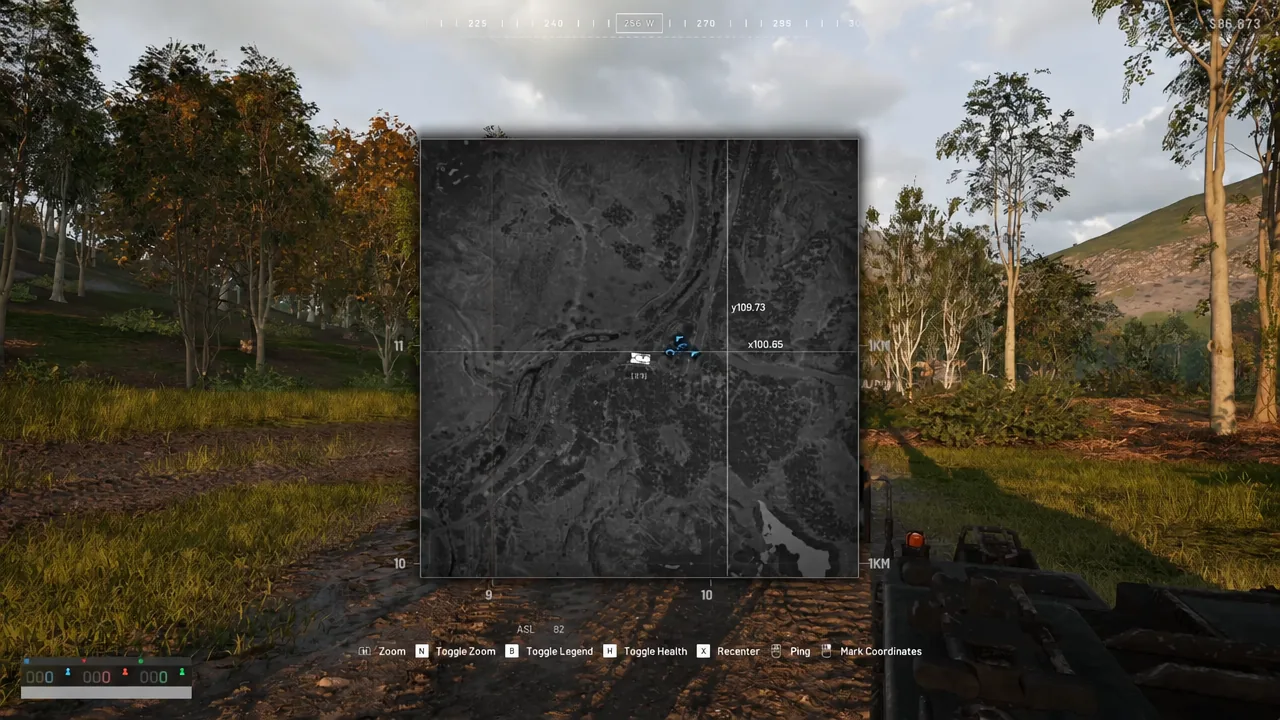
The map prints an X and a Y wherever your cursor sits, and one full coordinate unit is 100 m. That makes 0.10 equal to ten metres and 0.01 equal to a single metre, so a pair quoted to two decimals is accurate to the metre — finer than either gun can actually shoot. From there it is the Pythagorean theorem and nothing more.
Distance (m) = 100 × √( (Xtarget − Xgun)² + (Ytarget − Ygun)² )A cleaner example to learn the shape of it: a gun at X80.00 Y70.00 and a target at X83.00 Y74.00 gives differences of 3 and 4, which is the old 3-4-5 triangle. Five coordinate units, 500 m, and you can check it in your head before you trust a calculator.
Bearing: pointing the barrel the right way
A perfect range with a sloppy bearing still misses, and the horizontal error grows with distance. The same two differences give you the direction. Compass zero points north, so the formula is atan2 of the X difference over the Y difference, converted to degrees and wrapped to 0–360. In the 500 m example above, atan2(3, 4) works out to about 36.9 degrees — northeast of the gun. If you want it in mils instead, multiply the bearing by 6,400 and divide by 360, which gives roughly 656 azimuth mil.
Do not mix that number up with the elevation mils on the sight. Azimuth mil tells the turret how far to traverse; elevation mil tells the barrel how high to sit. A correct 656 azimuth says nothing whatsoever about whether the tube needs 460 or 1,057 elevation.
You can skip the trigonometry entirely for the horizontal axis. Middle-click the target on the map to drop a ping diamond, close the map, and centre the gunner’s reticle on that diamond. The bearing is then handled visually and you only have to dial the range.
Height difference and a level chassis
The distance you just calculated is flat horizontal separation. It contains no information about hills, and neither does the sight — the RNG scale prints the range a shell carries on level ground. Firing uphill, the true setting reads longer than your map distance; firing downhill, shorter.
The size of that correction surprises people. An SPH-2 shooting 1,500 m across flat ground sits at around 80 mil on the low arc. Put the target 100 m above the gun at the same horizontal distance and the low arc needs about 156 mil — the equivalent of a sight range near 1,830 m for a target that is genuinely 1,500 m away. Dial the flat-ground answer at a hilltop and the shell buries itself in the slope below it.
The SPH-2 adds a second problem no arithmetic can solve for you. It is a vehicle, and where the barrel actually points depends on how the hull is parked. Park on a slope and the elevation you dialled is not the elevation you get. In the gunner’s view, the two small markers either side of the vehicle silhouette show lateral tilt. Get them level before you fire, and pick flat ground over a scenic firing position when the two disagree.
Fire one ranging shell, then correct
Both platforms have a built-in grouping, and it is wider than most players assume — the SPH-2 holds about 10 MOA and the mortar about 50 MOA. Because that is an angle, it opens up the further you shoot.
| Gun and distance | Spread |
|---|---|
| L81 mortar at 200 m | ±2.9 m |
| L81 mortar at 685 m | ±10.0 m |
| SPH-2 at 1,000 m | ±2.9 m |
| SPH-2 at 2,660 m | ±7.7 m |
At the far end of its reach a mortar scatters rounds across roughly ten metres whatever you dial, which is the difference between a squad and an empty patch of grass. That is why the first round of any mission is a ranging shell rather than the shot. Watch where it lands, drag your mental marker onto the impact, read off the difference, and then fire for effect.

When you correct, check which way the elevation runs on the gun you are using, because there is no universal rule. On the L81 a longer shot means a lower mil number, so a round landing short with a good bearing needs less elevation. The SPH-2’s low arc behaves the opposite way — more mils carries further — while its high arc goes back to shorter-with-more. Think in terms of the range you want rather than memorising “up” or “down”, and you will not talk yourself into a correction that doubles the miss.
How to know the solution worked
Confirmation is visual and immediate. Fire, and the camera follows the shell through its arc to the impact, so you see exactly where it lands relative to the ping diamond you set. If the crater sits at the right distance but left or right of the mark, your arithmetic was fine and only the traverse needs nudging. If it sits on the correct line but short or long, the range figure is wrong — recheck the coordinate subtraction first, then the height difference.
With the SPH-2 you get one attempt every 27 seconds, so it pays to be sure before you commit. Skip the loading cutscene with C, clear the reload prompt, keep the hull level, and dial the number you measured rather than the number you guessed. The mortar’s 6.5-second cycle is forgiving enough to walk rounds in; the big gun is not.





